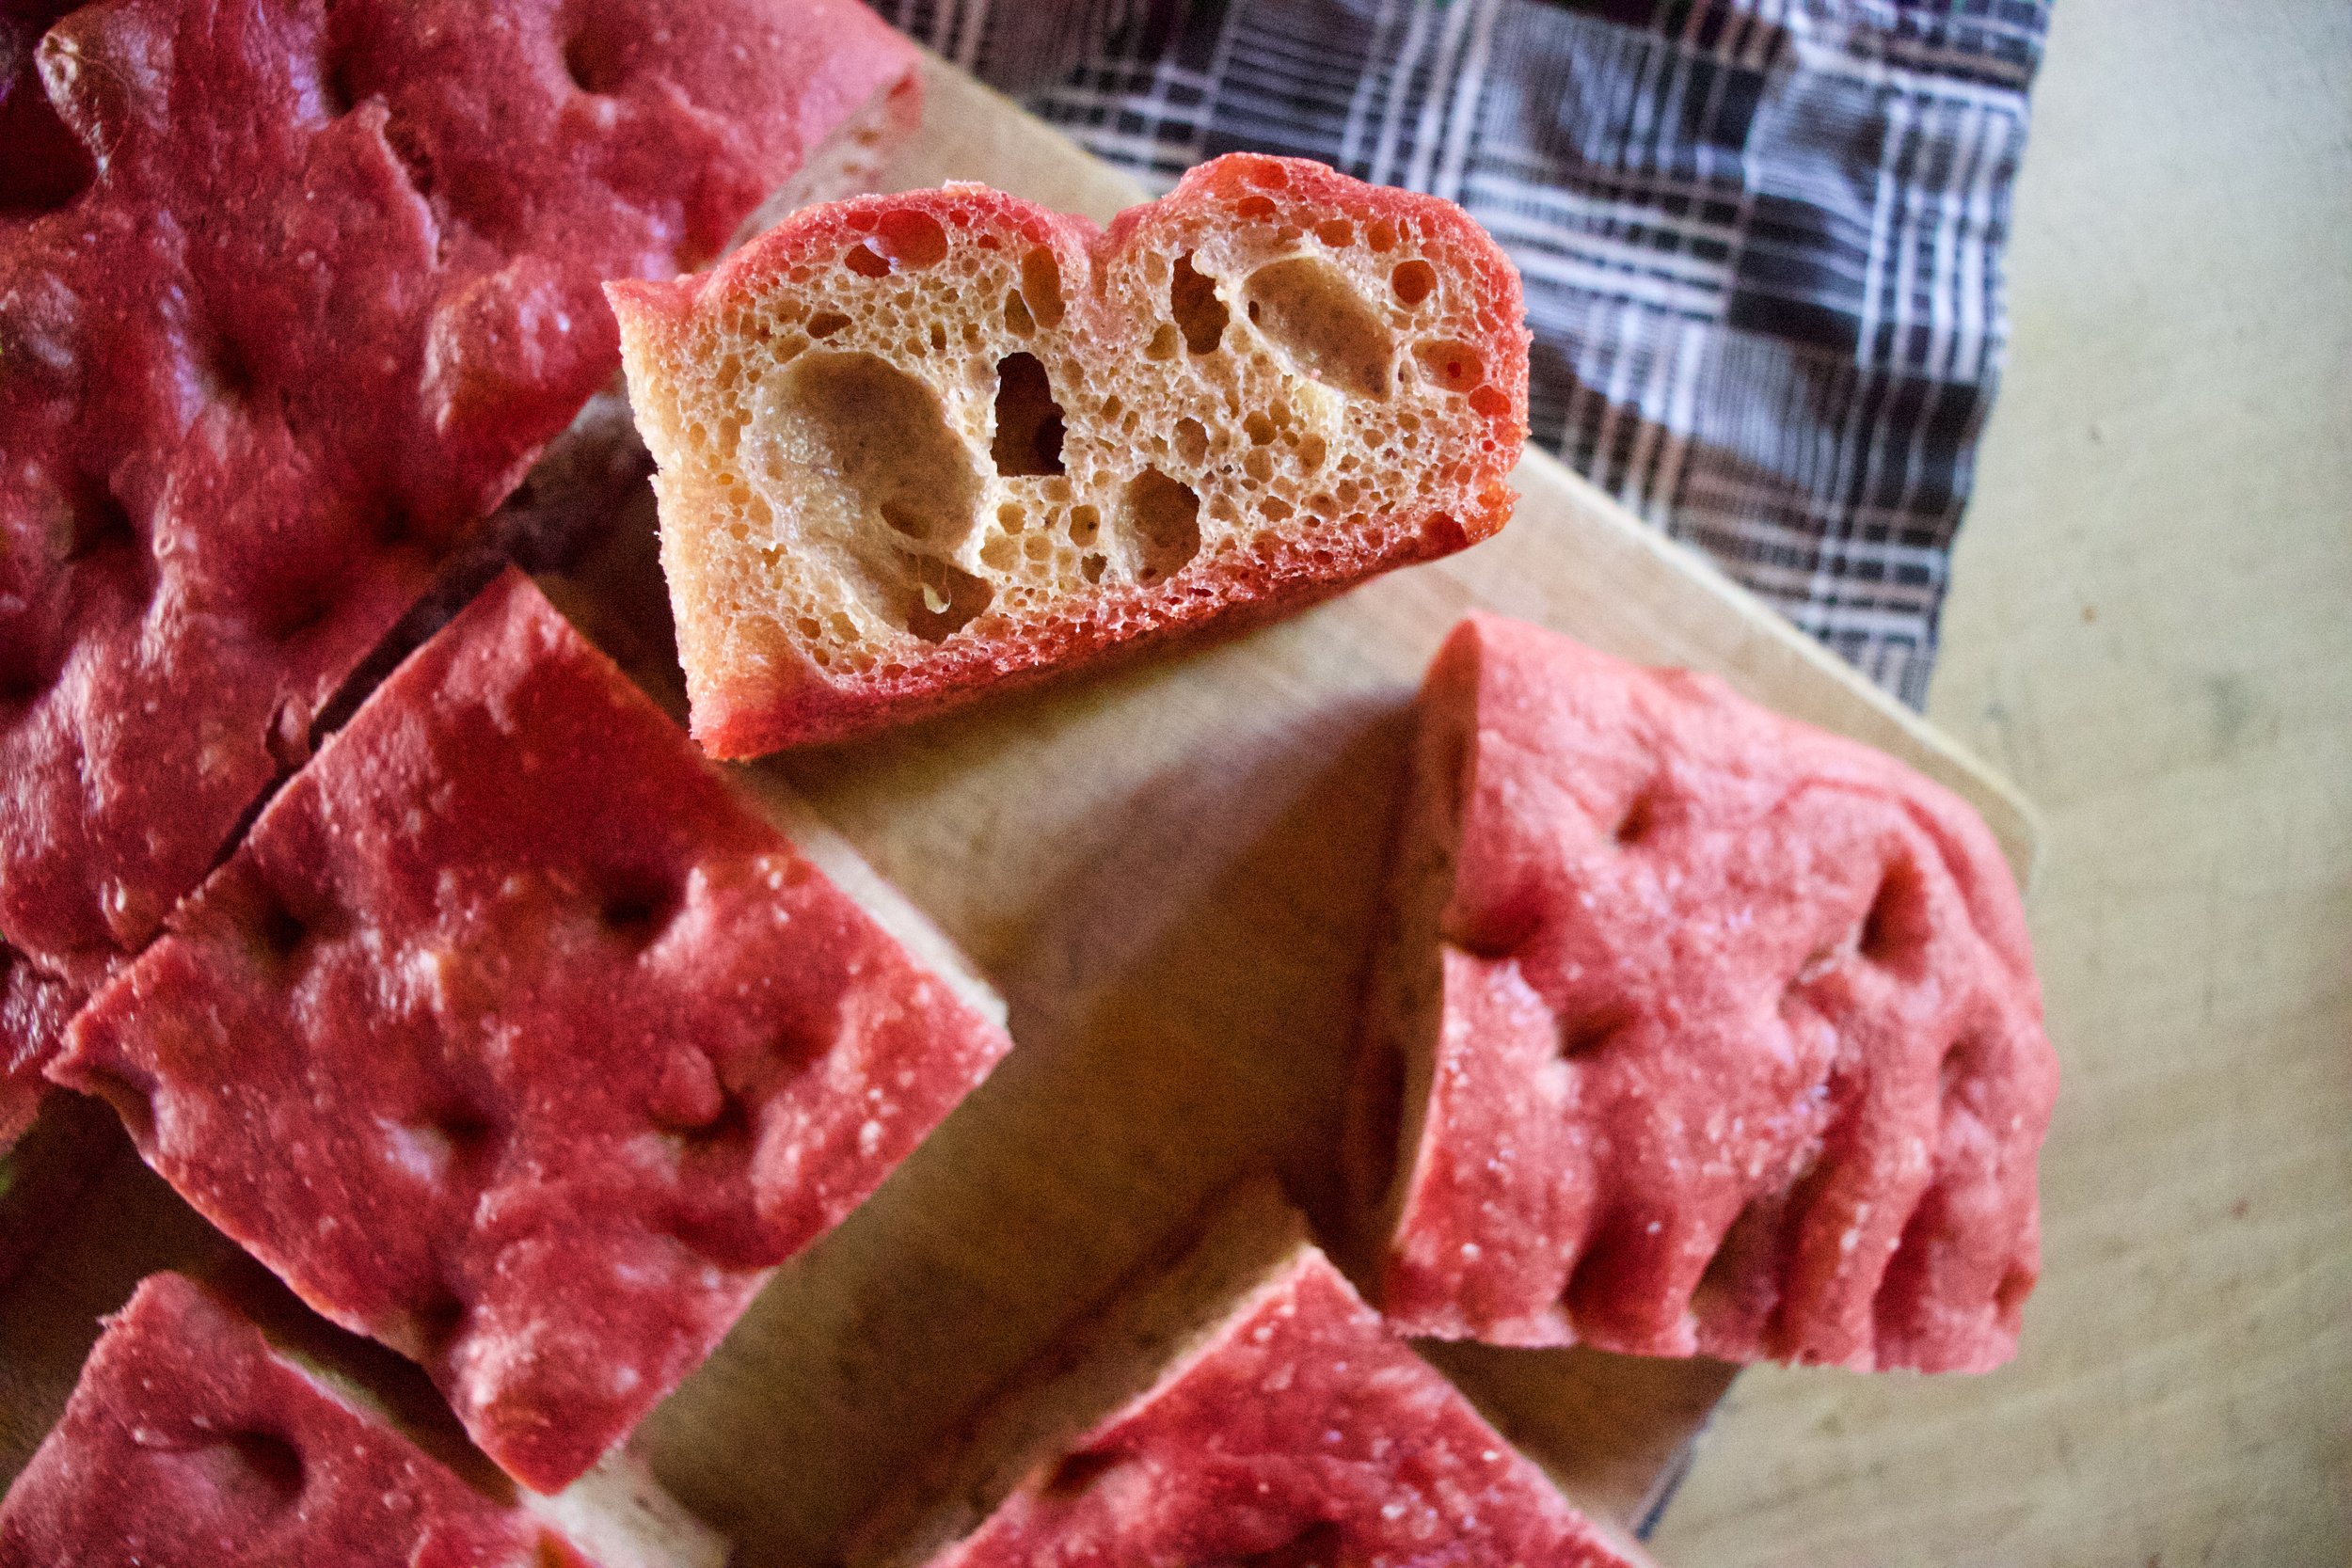
This is me trying to get into the holiday spirit (and also trying to keep my kitchen warm. We have’t turned the heat on yet), but I think I might be thinking of the wrong holiday. Whatever. Pink bread can be spooky and Halloweenie right? And it really doesn’t even matter cause it is bread and pink and awesome so no holiday needed to eat it.
So this focaccia is pink because it is made with pureed beets and before you go and say anything, no it doesn’t really taste like beets. It tastes like amazing bread with a soft tender interior and a nice crispy crust that might have a very slight earthiness to it that only makes it better. It is simple and delicious and again, pink. That is it.
Now you want to make it and all you need is a few beets, flour, yeast, salt sand oil then you are good to go. What a nice little weekend baking project for the last few days of October. And if the pink bread creeps anyone out, well all the better!
Now to the beet focaccia.
The stuff. Roasted beets, flour, yeast. salt, water, and there should definitely be olive oil in this picture.. I don’t know where it went.
First, peel your roasted beets (or roast them and then peel them) The skin should come right off and a little left over skin is fine. Oh and make sure you eat left over skins. They are fanatic.
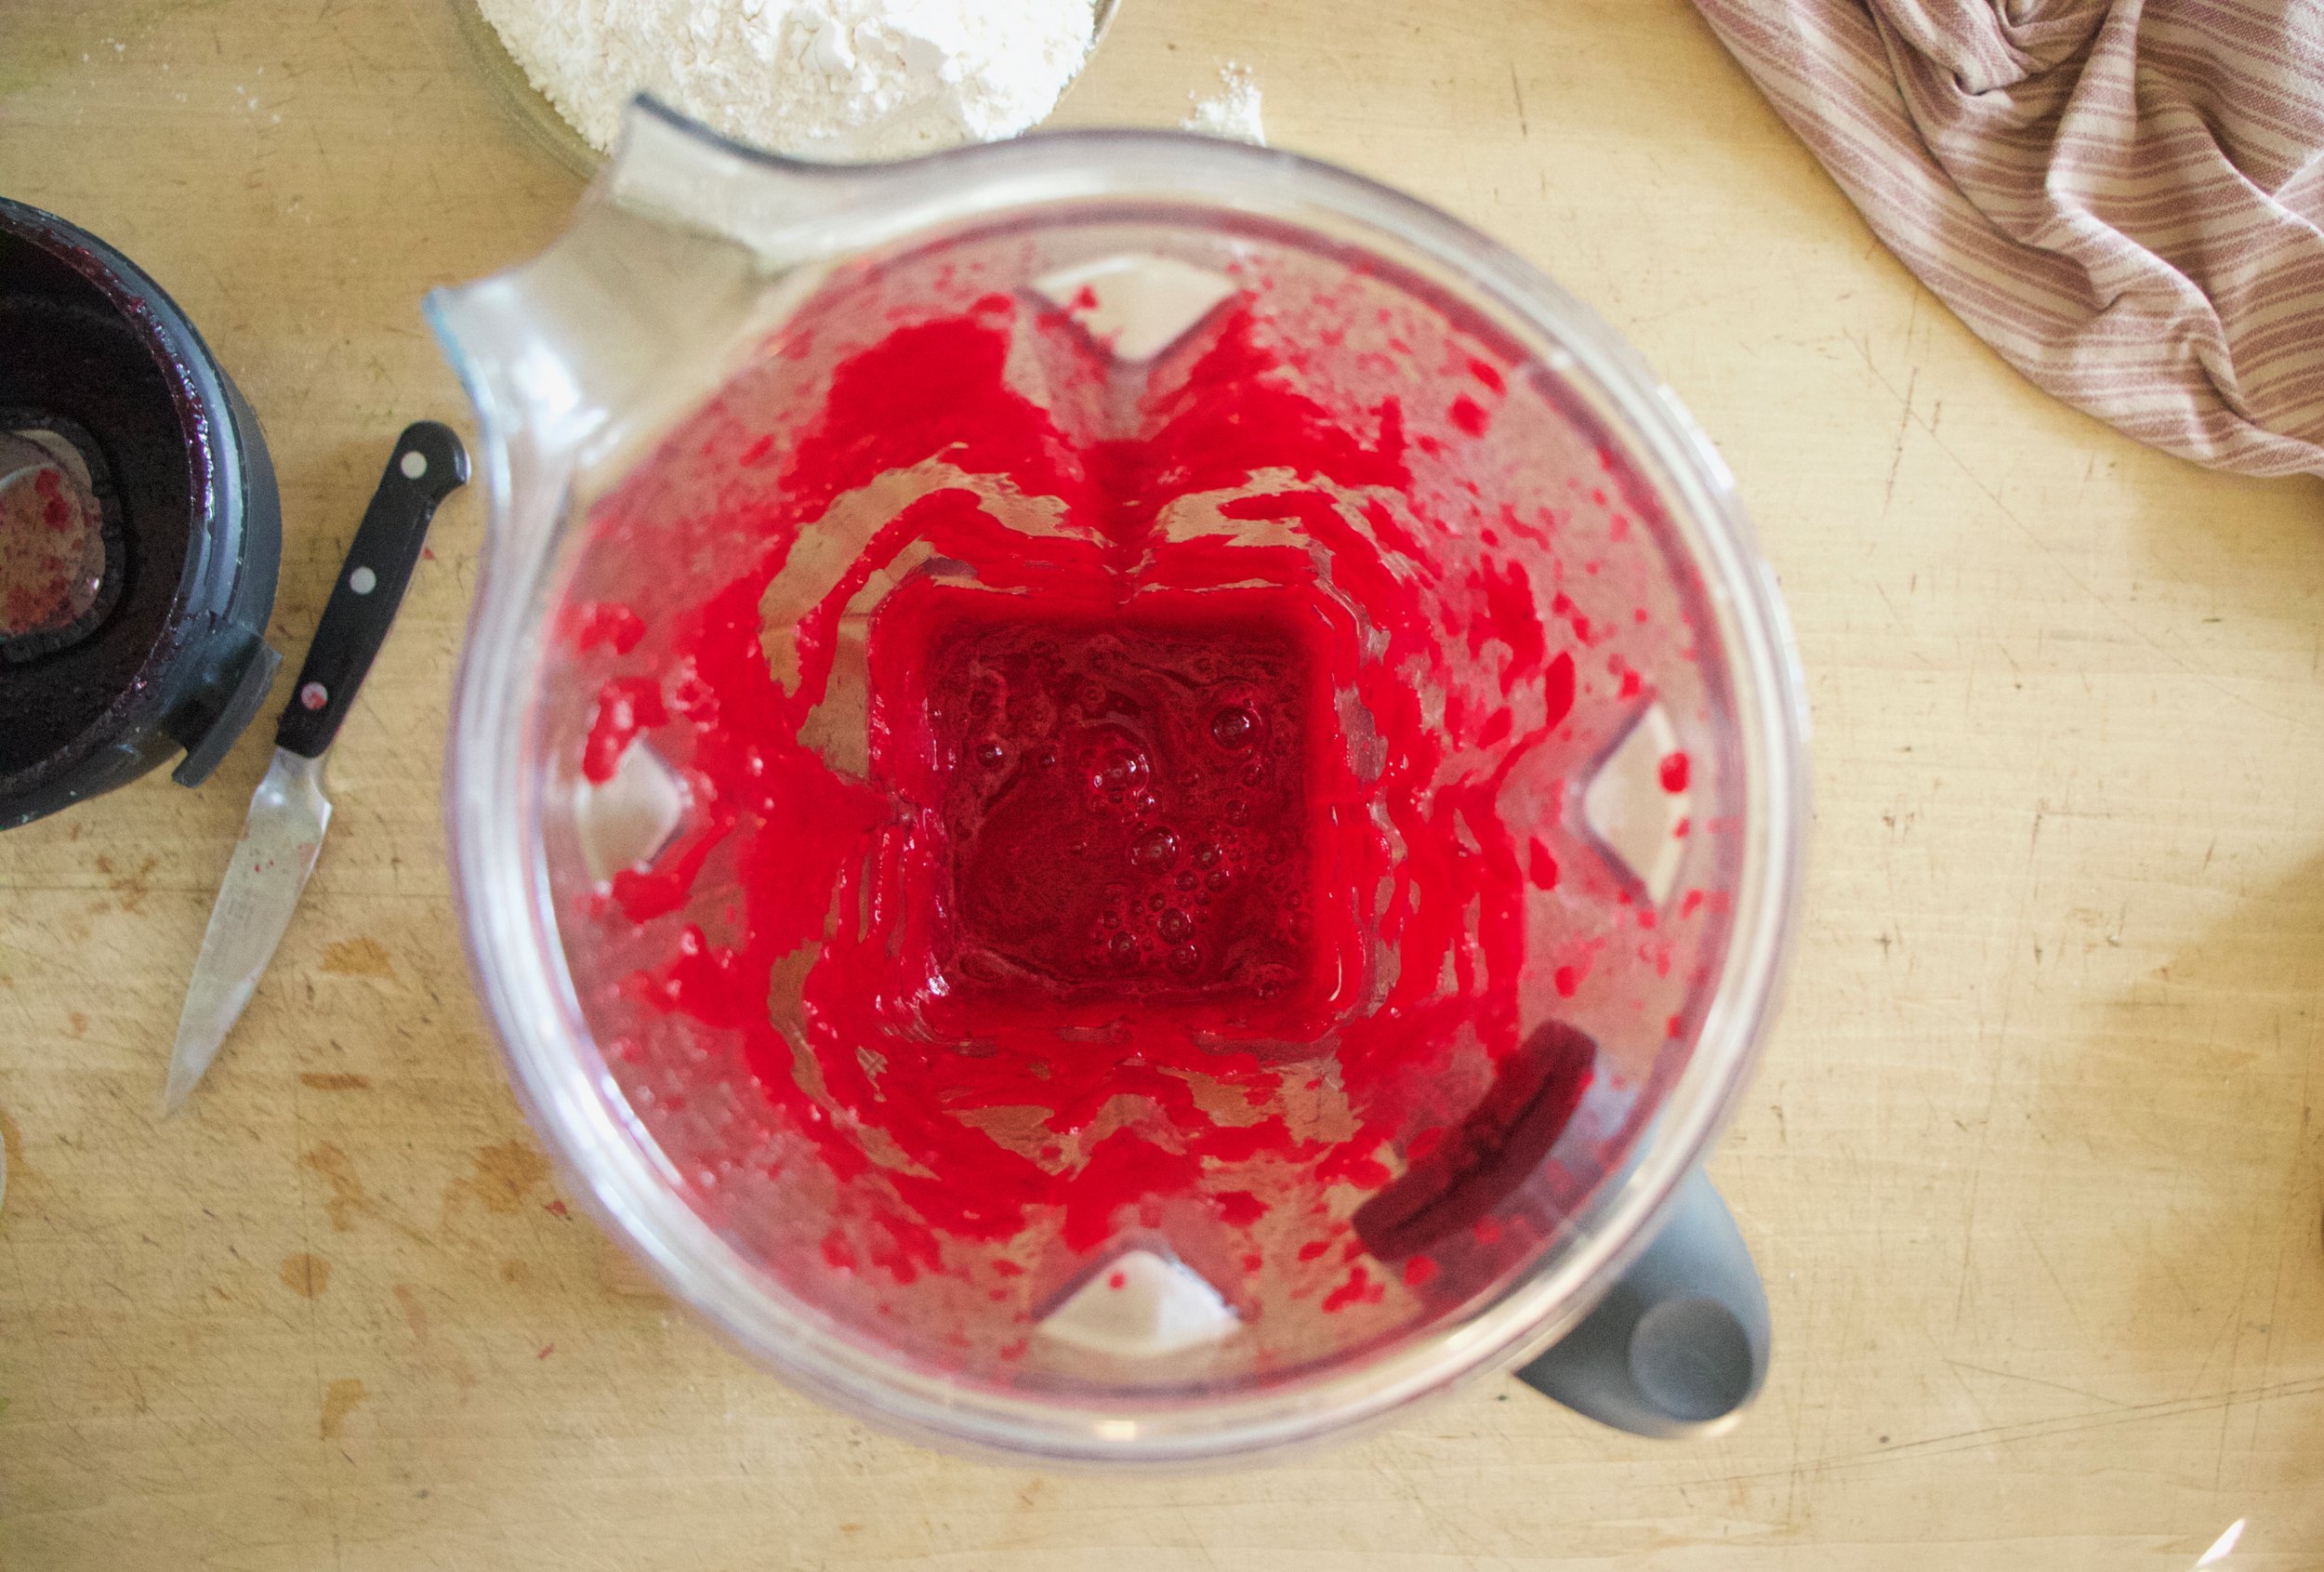
Now puree the skinned beets unite smooth.
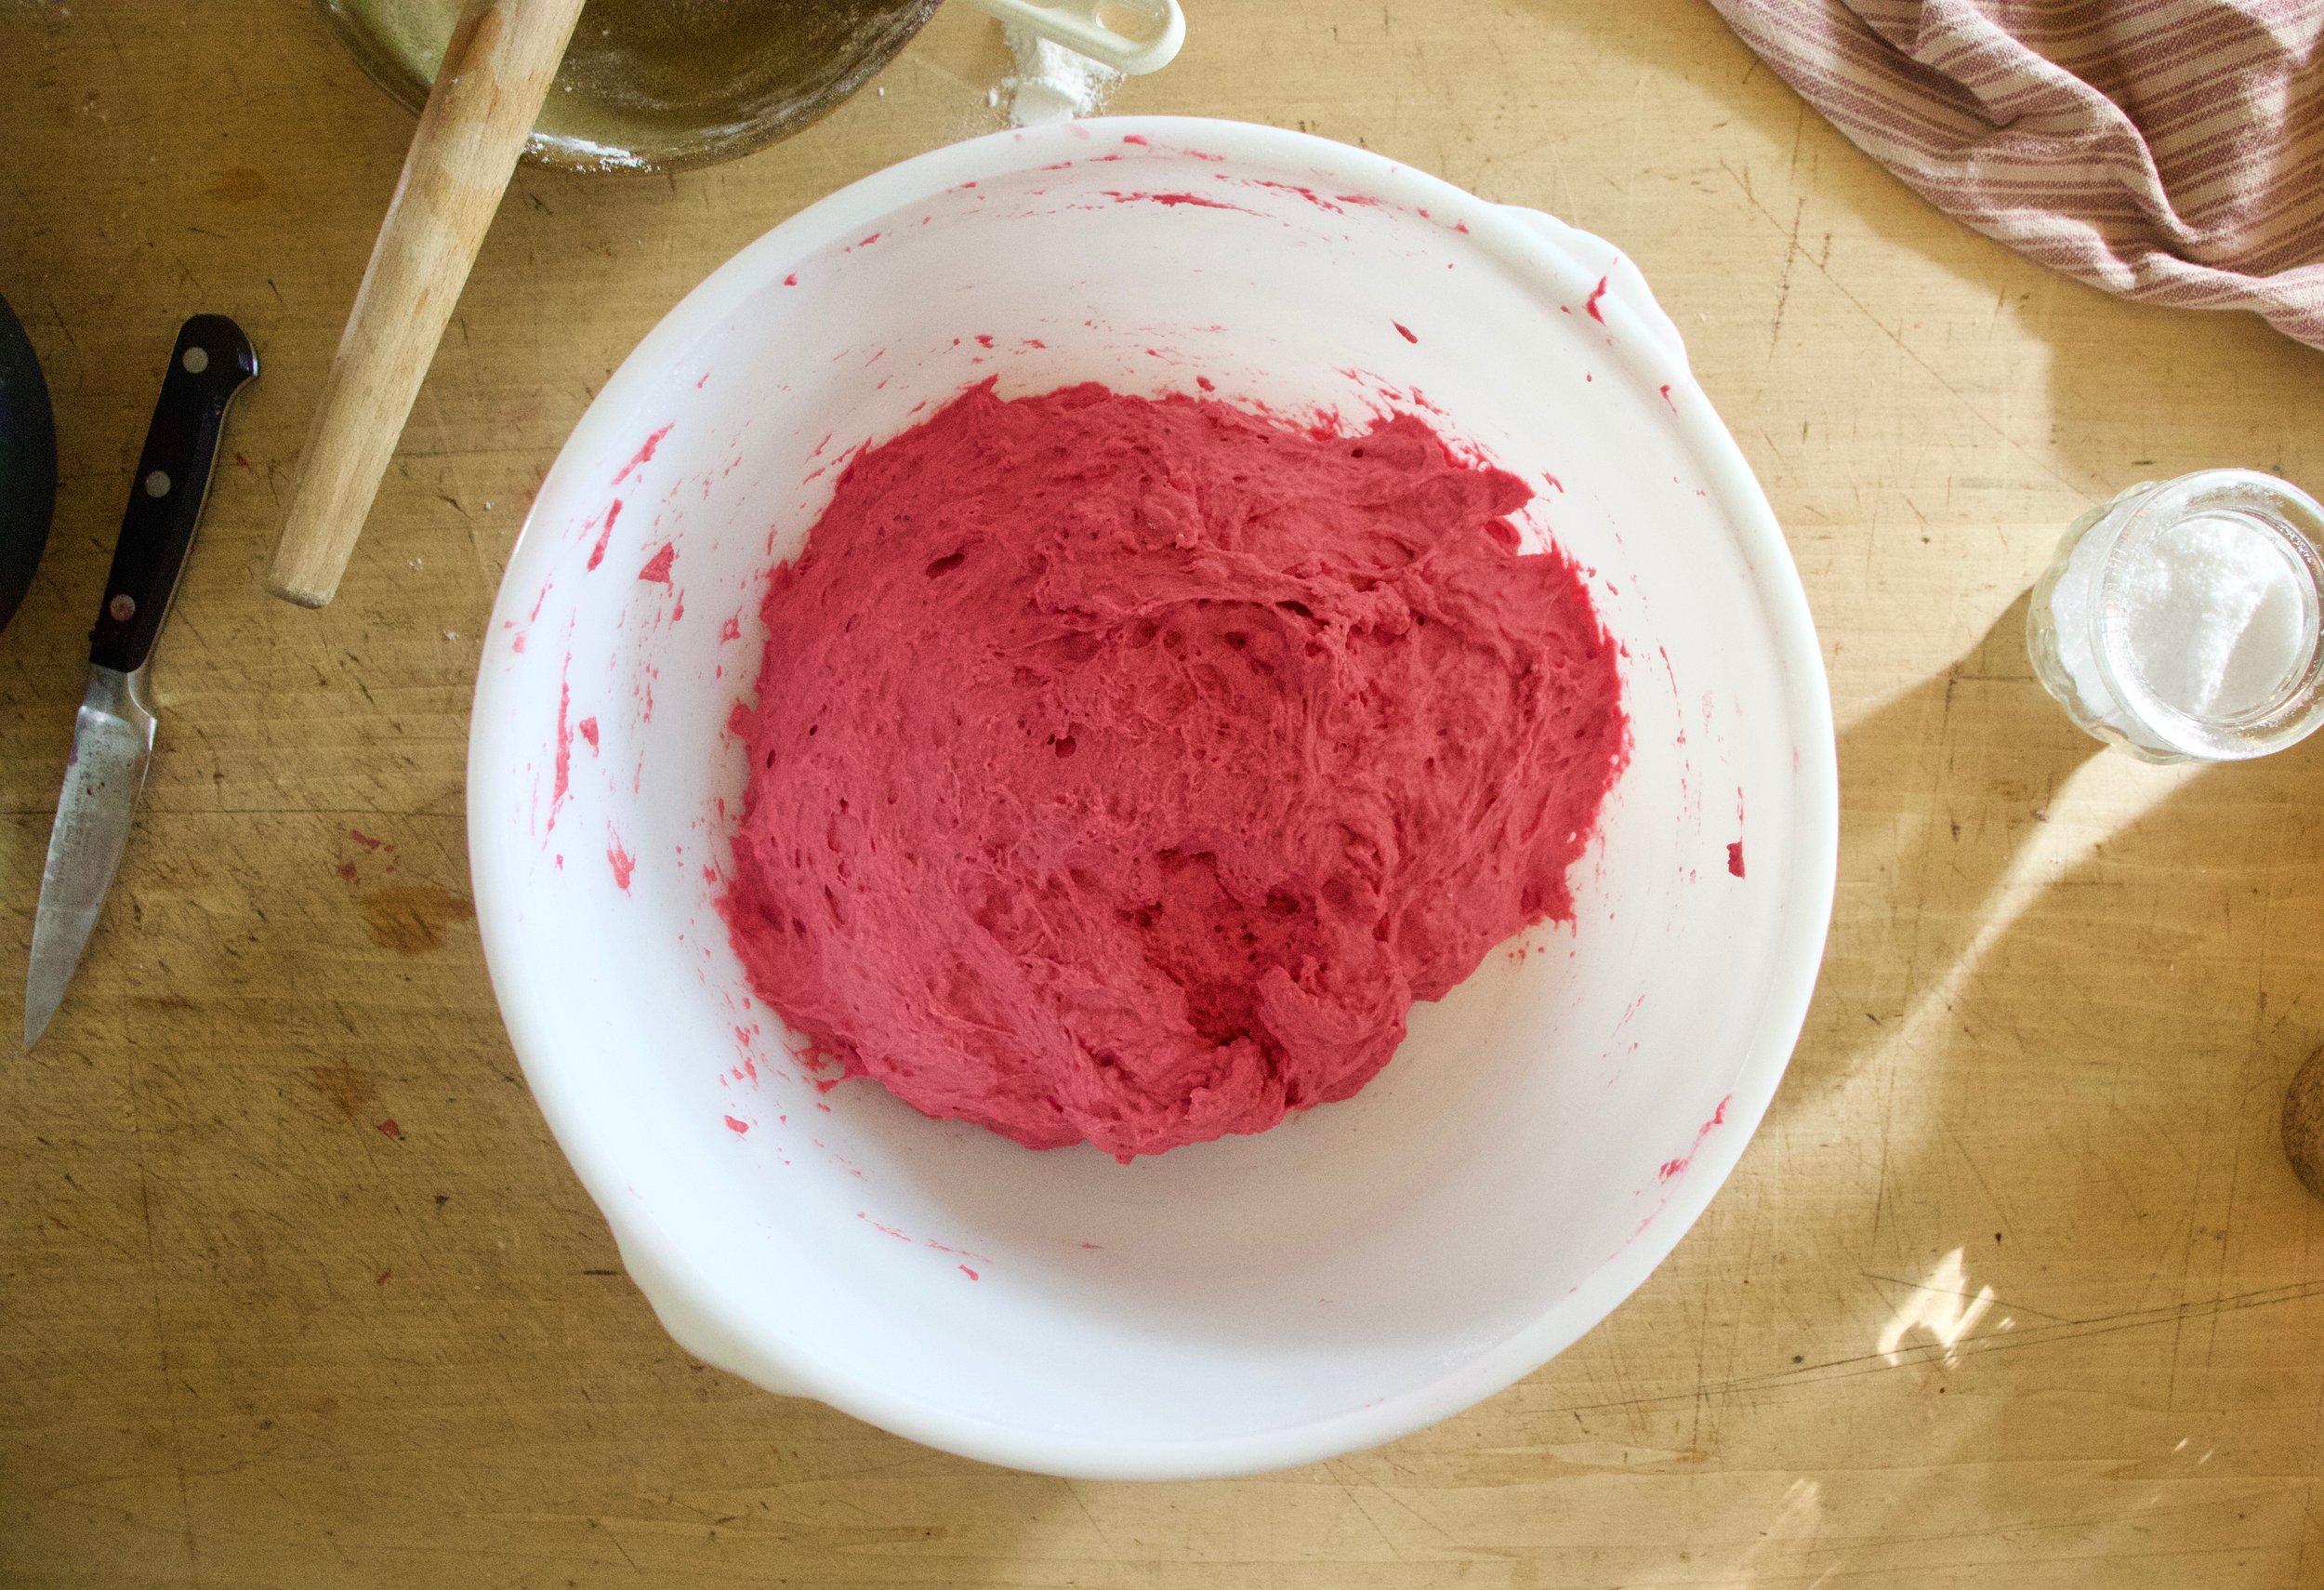
Pureed beets and water go into a big bowl along with the yeast and get mixed around. Then add in flour and a little salt and mix until a shaggy dough is formed. Cover and left rise.
Risen dough.
Grease baking sheet and add a puddle of olive oil to the middle. Scrap dough into the oil and gently smoosh and push dough into pan. Cove and let rest for another 1/2 hour and preheat oven.
Once dough has rested, drizzle more oil on top and dimple the dough with your fingers. Sprinkle the top with some good salt and pop into the hot oven and bake for about half an hour.
Done!
Pink and pretty and all sorts of good. Focaccia at its finest!
Now cut it up and eat it!
Beet Focaccia
makes a 9x13 inch loaf
4 cups all purpose flour
2 teaspoons yeast
1 cup pureed roasted beets (3-4 medium beets should do)
1 cup warm water
2-3 teaspoons salt
3-4 tablespoons olive oil
If you haven't roasted your beets yet, do that. Just toss beets on a sheet pan and stick into hot (like 450 degree) oven for about an hour until tender.
Start with beets. If still hot from roasting, wait until cooled and peel off skin. Place peeled beets into a blender and blend until smooth. You should get about a cup if puree. Any extra, well you got yourself a snack
Place the cup of beet puree into a large bowl along with the warm water and yeast. Mix until combined. Add in a teaspoon of salt and the flour. Mix until a shaggy and wet dough forms and there is not dry flour left. Scrap all the dough into a ball and then cover bowl with a bowl and place somewhere warm to rise for an hour, to an hour and a half (longer if your kitchen is cold)
Once dough has doubled in size, preheat oven to 425
Grab a 9x13 sheet pan and grease with a butter or shortening (this helps with sticking) them drizzle 2 tablespoon of olive oil in the middle. Scrap the dough into the oil oil puddle the with oiled fingers gently smoosh the dough into the pan. Cover again and le dough rest and poof up again for about 30 minutes.
The oven should be nice and hot and when you check the dough it should have poofed up a bit and spread little. Drizzle another tablespoon of oil on top of dough and with oiled fingers, dimple the dough. Press nearly to the bottom of the pan but be gentle about it to try and not knock all the air out. Once dimpled sprinkle the top with a teaspoon or two of good course or fishing salt and pop into the oven. Bake for about a 1/2 hour or until the top is starting to brown. Remove the bread from oven and let cool a few minutes in pan then transfer to a wire rack to cool some more. Or just cut into it warm and eat it.
Focaccia is best eaten within a day or two but freezes well.


 What is better for a bake sale then Oreo cookies?
  Cookie Time! Whats going on here is brown sugar and butter have be beaten together until nice and fluffy Then a good big splash of vanilla and another 2 big splashes of coffee are added to that.(I sacrificed my last few sips of my coffee for these cookies) The dry stuff, flour, salt and cocoa powder, are whisked together, waiting to be added to the wet.
  Mix the dry ingredients into the wet and mix. I ended up just using my hand and kind of squish mixing everything together until in tuned into a nice lovely uniformed dough. Form the dough into 2 balls and give each a few kneads to get any air bubbles out. Place dough back into bowl and stick in the fridge to sit for 10-15 minutes( it makes the dough a little easier to work with)
 Once the dough has had a little time to rest and cool, remove from fridge, one ball at a time. Place on a lightly cocoa or powdered sugar dusted surface and roll out the dough. Grab any size circle (or other shape) cookie cutter and get to shaping the cookies. Notice the tin can in the bowl? I could't find my biscuit cutters anywhere but the can was the perfect size, and it worked really well. Keep a little bowl of either powered sugar of cocoa to dip the cutter in in between making the cookies. It really helps the dough from sticking and breaking.
  While the cookies are getting their cool on, make the cream filling. All you need is a stick of butter, about 4 cups of powdered sugar, some vanilla and a few splashes of heavy cream. Beat that all up until nice and creamy thick and spoon it into a pastry bag (I used a big old ziplock bag) to be piped on the cookies.
  Filling the cookies is for sure the best part. Separate the cookies into pairs and pipe a big blob of filling onto one of the two cookies. Take the names cookie and place on top, giving it a little smooth to the disperse the cream. Keep doing that until the cookies are all filled.
 There is irish soda bread in your future. I can see it. A nice hardy hunk slathered in butter and honey, crumbs all over the place.
  White whole wheat flour and all purpose flour mixed together. Salt baking soda and buttermilk. That's it.
 All the dry whisked together and in goes the buttermilk. Mix together until dough starts to form then dump onto a floured surface. Handling dough as little as possible, knead into ball.
 Place on a baking sheet and dust with flour. Take a sharp knife and cut an X through the top about 1/2 inch deep.
 One of the best things about winter is that I can have something in the oven at any time and not worry about how hot the house is going to get. I get to spend my free time (or my in between free minutes) baking up all the thing that I would not dare bake in the summer. (lots of bread and cakes) Yeah, I might complain a little about how cold it is outside (to my defense, -20 is kind of a bitch) but then I think of the super hot humid days that come during the summer and cringe. At least when its cold out I am able to get warm, (que oven) but when its super hot and humid, I just turn into something that border lines a wet towel and the rabbit animal… Not so pleasant.
  The stuff, which isn't a whole lot… Flour and salt. A mixture of honey, water, and yeast. And olive oil.
 Mix together the wet and dry…I used my nifty dough whisk, but a wooden spoon or even your hand works. Mix mix mix. The dough should be really slack and sticky. And guess what.. no need to knead! Just make sure the dough is uniformly incorporated…hehe.. uniformly incorporated… sounds weird.
 Drizzle the dough (don't worry about making it into a ball, a blob is good) with a little oil and place in a nice warm place topped with a towel to rise for about an hour or until dough has doubled in size.
 When dough has finished its second rise, drizzle each with another tablespoon of oil and with your fingers, fill out the pan and indent the dough, kind of like playing a piano or tickling a puppy(?)….Then layer your toppings (if you want any) Start with any herbs, then the veggies. Then last, any cheese you got.
  Pulled from the oven when nice and golden brown..set on a wire rack to cool for a few minute and removed from the pans.
 The mister was practically salivating waiting for a slice… and he was so not disappointed.

 Everything all mixed together, dumped onto a floured surface and kneaded for 10 minutes by hand…..If you have a stand mixer, you can use it if you want, but you are missing out on the fun of doing it by hand….
 When dough has doubled, punch down and plop out onto floured surface. Dust the bottom of a griddle or in my case, two cast iron pans, with corn meal. Divide dough into 8-10 equal balls and smash into 2 inch thick disks.
  Place on griddle or pans and sprinkle more corn meal on top of each E.M. Cover and let rise for another 15 minute.
  Now the E.M.s have rested, turn the griddle (or pans) on to low heat. Once your griddle (or pans) gets hot, continue to cook that side for another 7-10 minutes, or until golden brown. Flip and cook other side for 10-12 minutes or until golden brown. Once browned, check for doneness with a thermometer. The inside should reach 200 degrees.( if you don't have a thermometer, fork split one open and check…. you are going to eat it anyway) If the outside cooked faster then the inside, no worries, just pop them into the oven at 350 for 8-10 minutes. I had to pop mine into the oven for to cook completely.
 Remove form griddle, let cool a bit, and ……Fresh, fluffy fat, fantastic….Everything and more that a real english muffin should be. Split open with a fork and……. the nooks and crannies! So spot on. Serve with anything your heart desires…I served these with whipped honey butter…. and eat the only kind of E.M. you will ever again eat. Grocery store english muffins be damned!