I bake a lot of bread in my house . A LOT. Like at least 2-3 times a week and have been doing so for years now so I know a thing or two about bread. And when I bake bread, I almost always use starter unless I really really need dough fast. Then I will add yeast but honestly, I haven’t used yeast in bread in probably 3+ years. I have developed such a rhythm with bread that I just have dough in the fridge at all times.
One reason I have never shared a sourdough recipe before on the blog is that I think a lot of people feel intimidated by baking bread and especially making bread with just a starter. Another reason is that up until the past year, I don’t think having a starter was as common as it is now (but thanks to COVID it is more common then ever!). Anyway, now more people are on the home made bread band wagon (about stinkin time) and I am here for it.
A word of advice if you are new to the bread game…. Don’t take it to seriously! I remember back in my early days of bread baking I would freak out about if I was doing it right. About timing and wondering if it is exactly the right amount of rising or if the temperature of this or that was exactly, or if I handled the dough to rough. Now after all these years, I have gotten pretty intuitive with bread dough but also I don’t worry to much. It will be good. It will be bread and you will love ever single bite.
This bread is a basic no knead bread with a little added goodness of walnuts and raisins. Easy, simple, and freaking delicious. A great bread to make if you are just getting into the sourdough bread game. Or if you want really dank ass bread!
To the bread!
The stuff. Ripe starter, flour, warm water, salt, raisins , walnuts, and a little cinnamon.
Start by dumping a little of the warm water onto the raisins to plump them up a bit and to make sure they are not all stuck together.
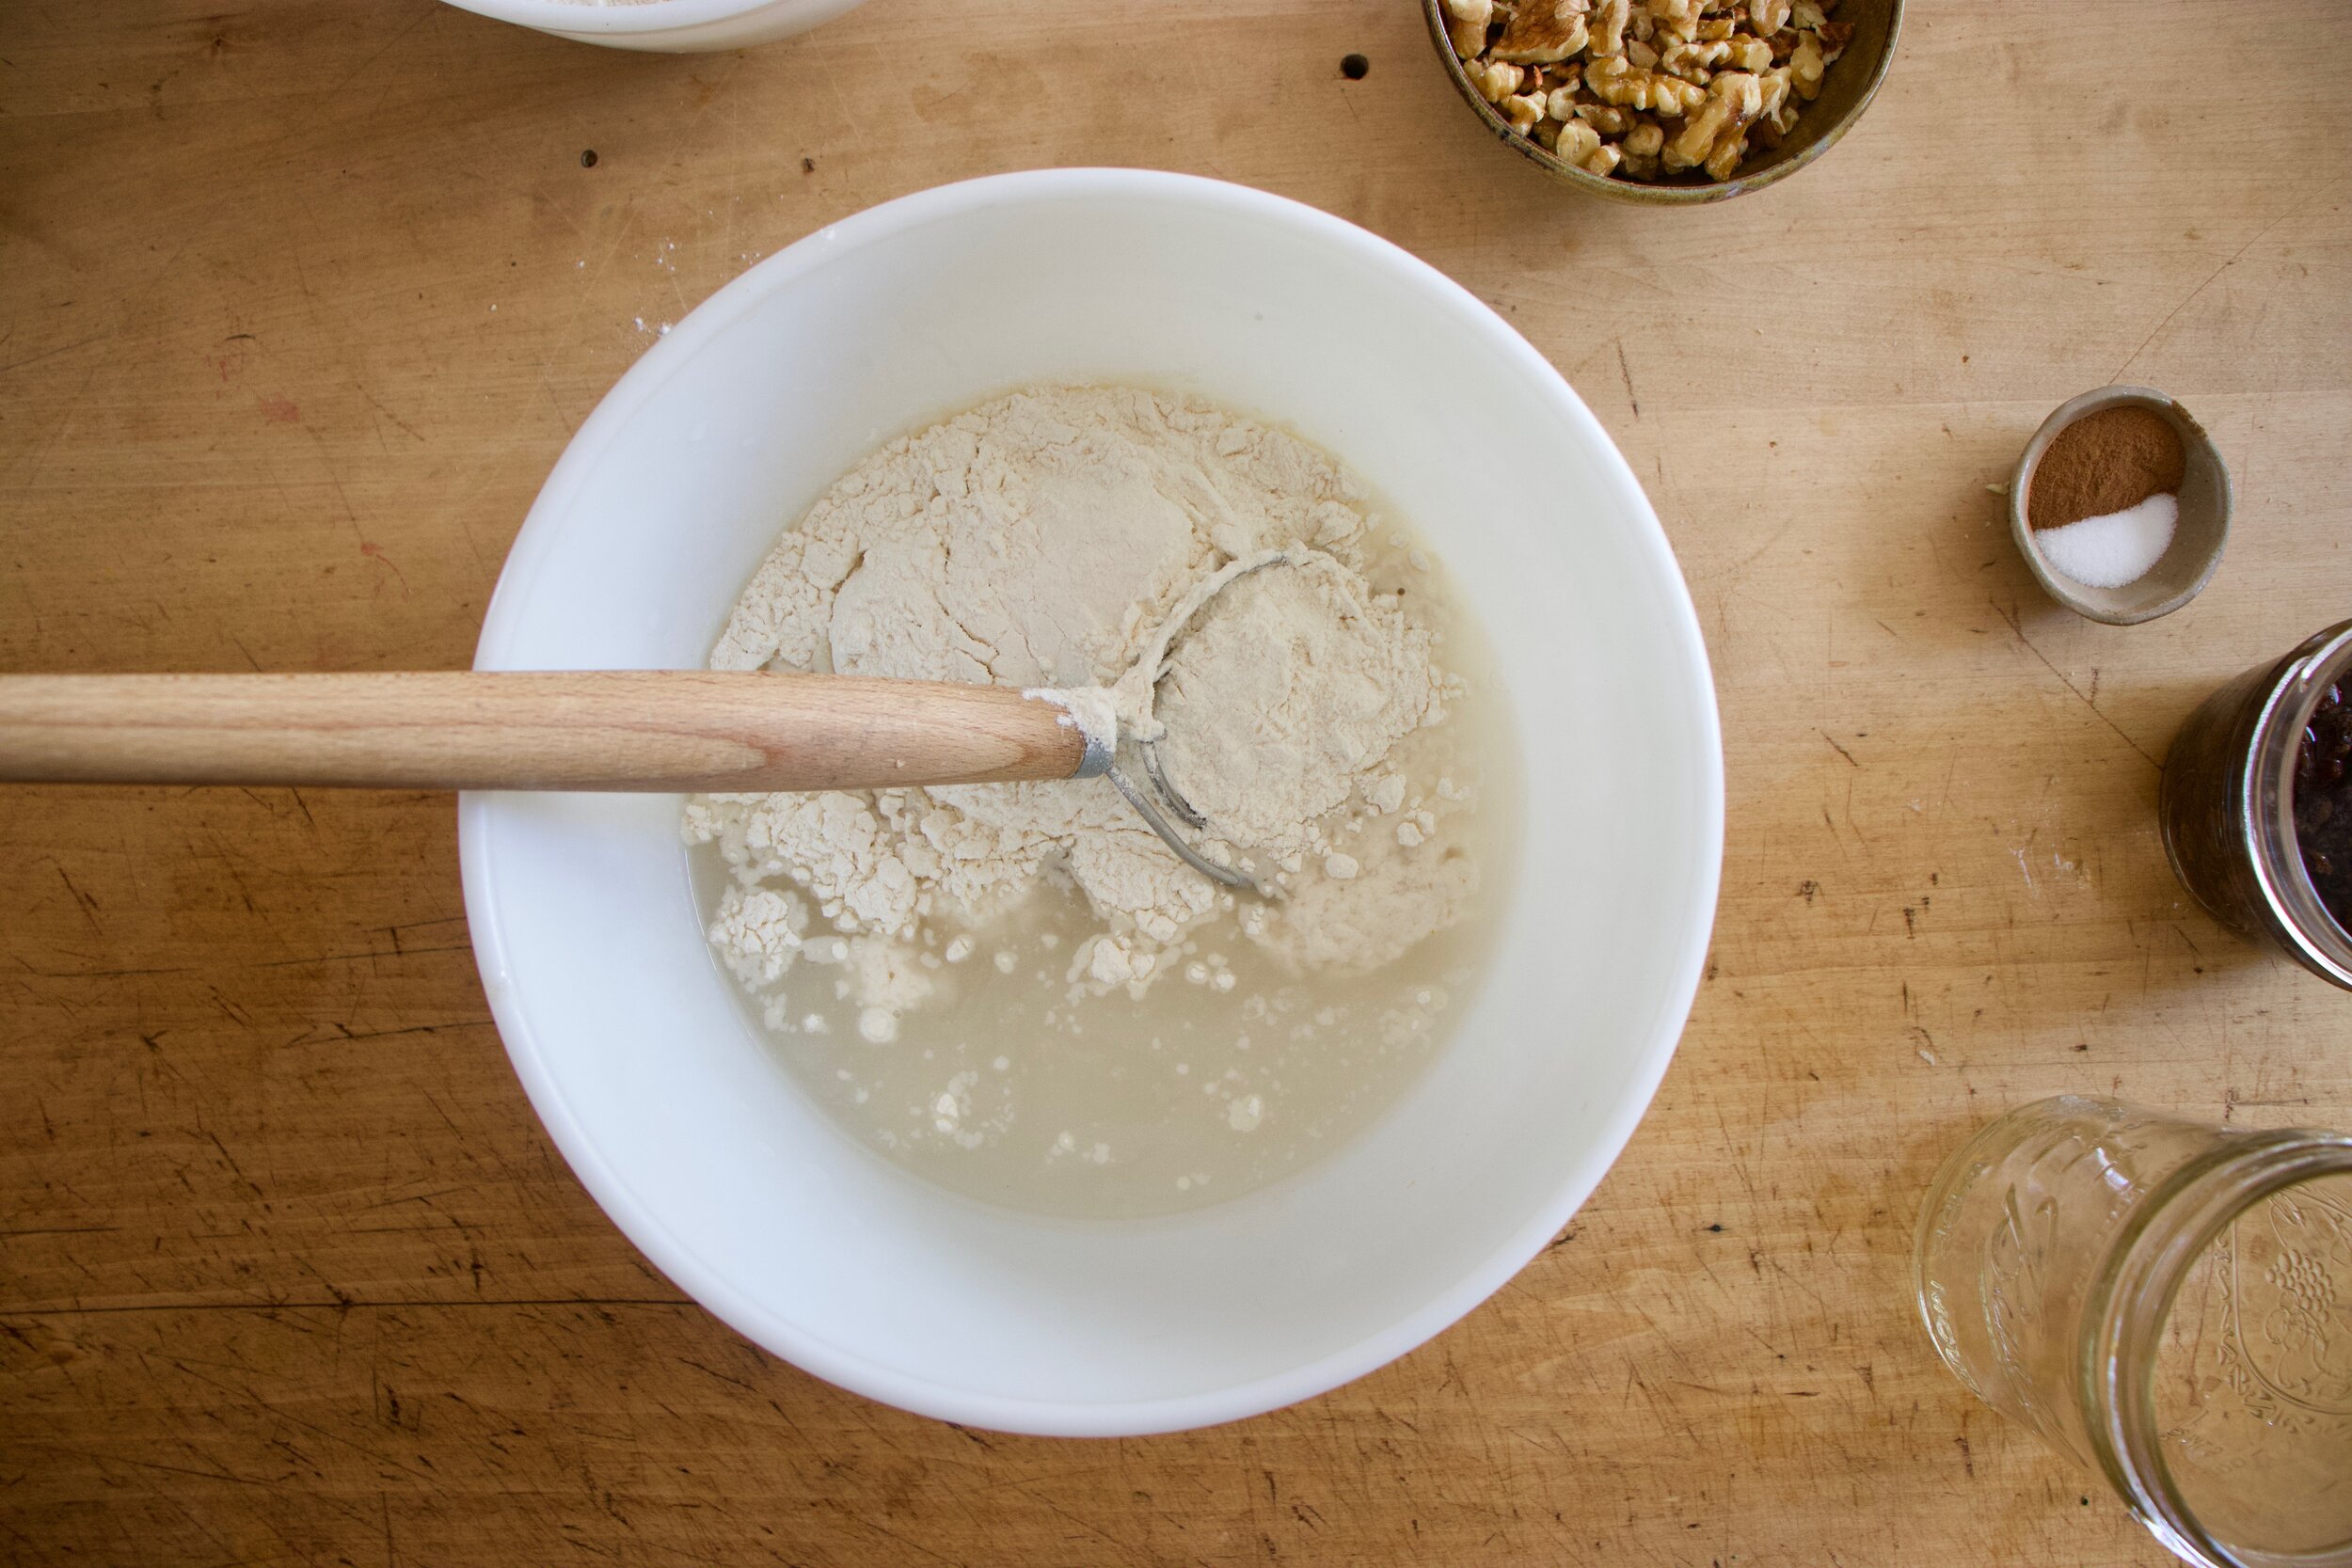
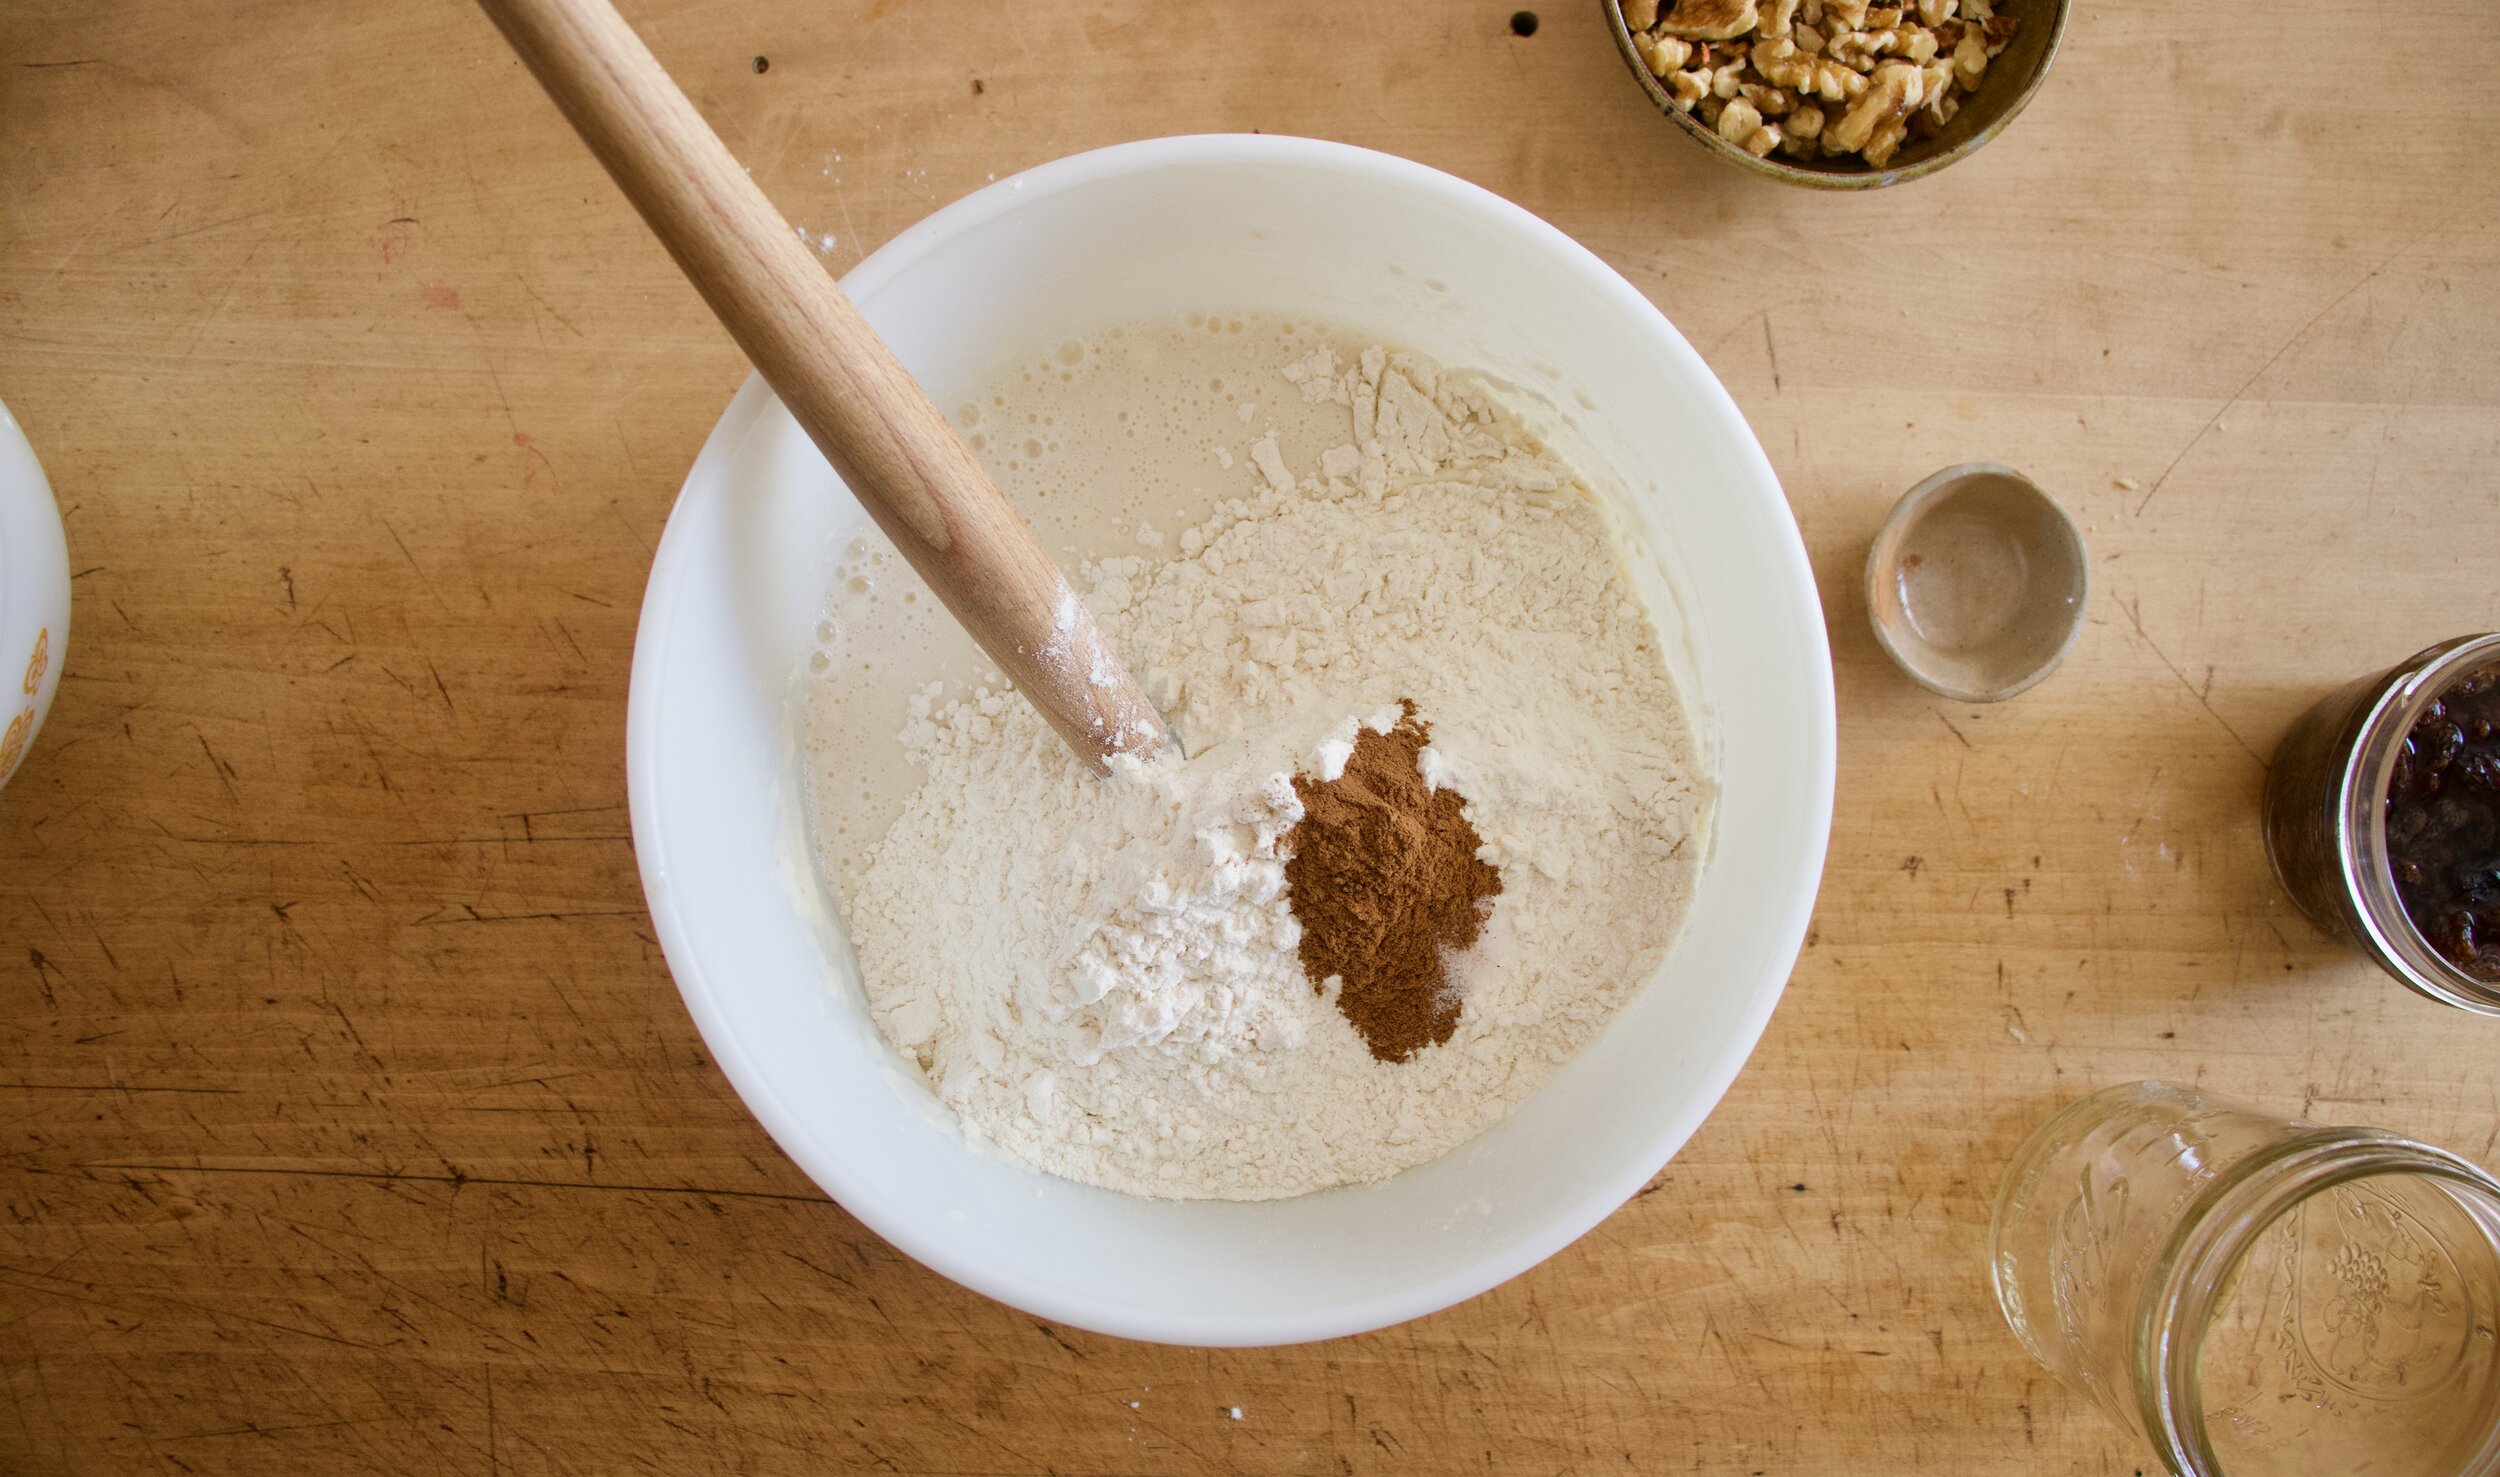
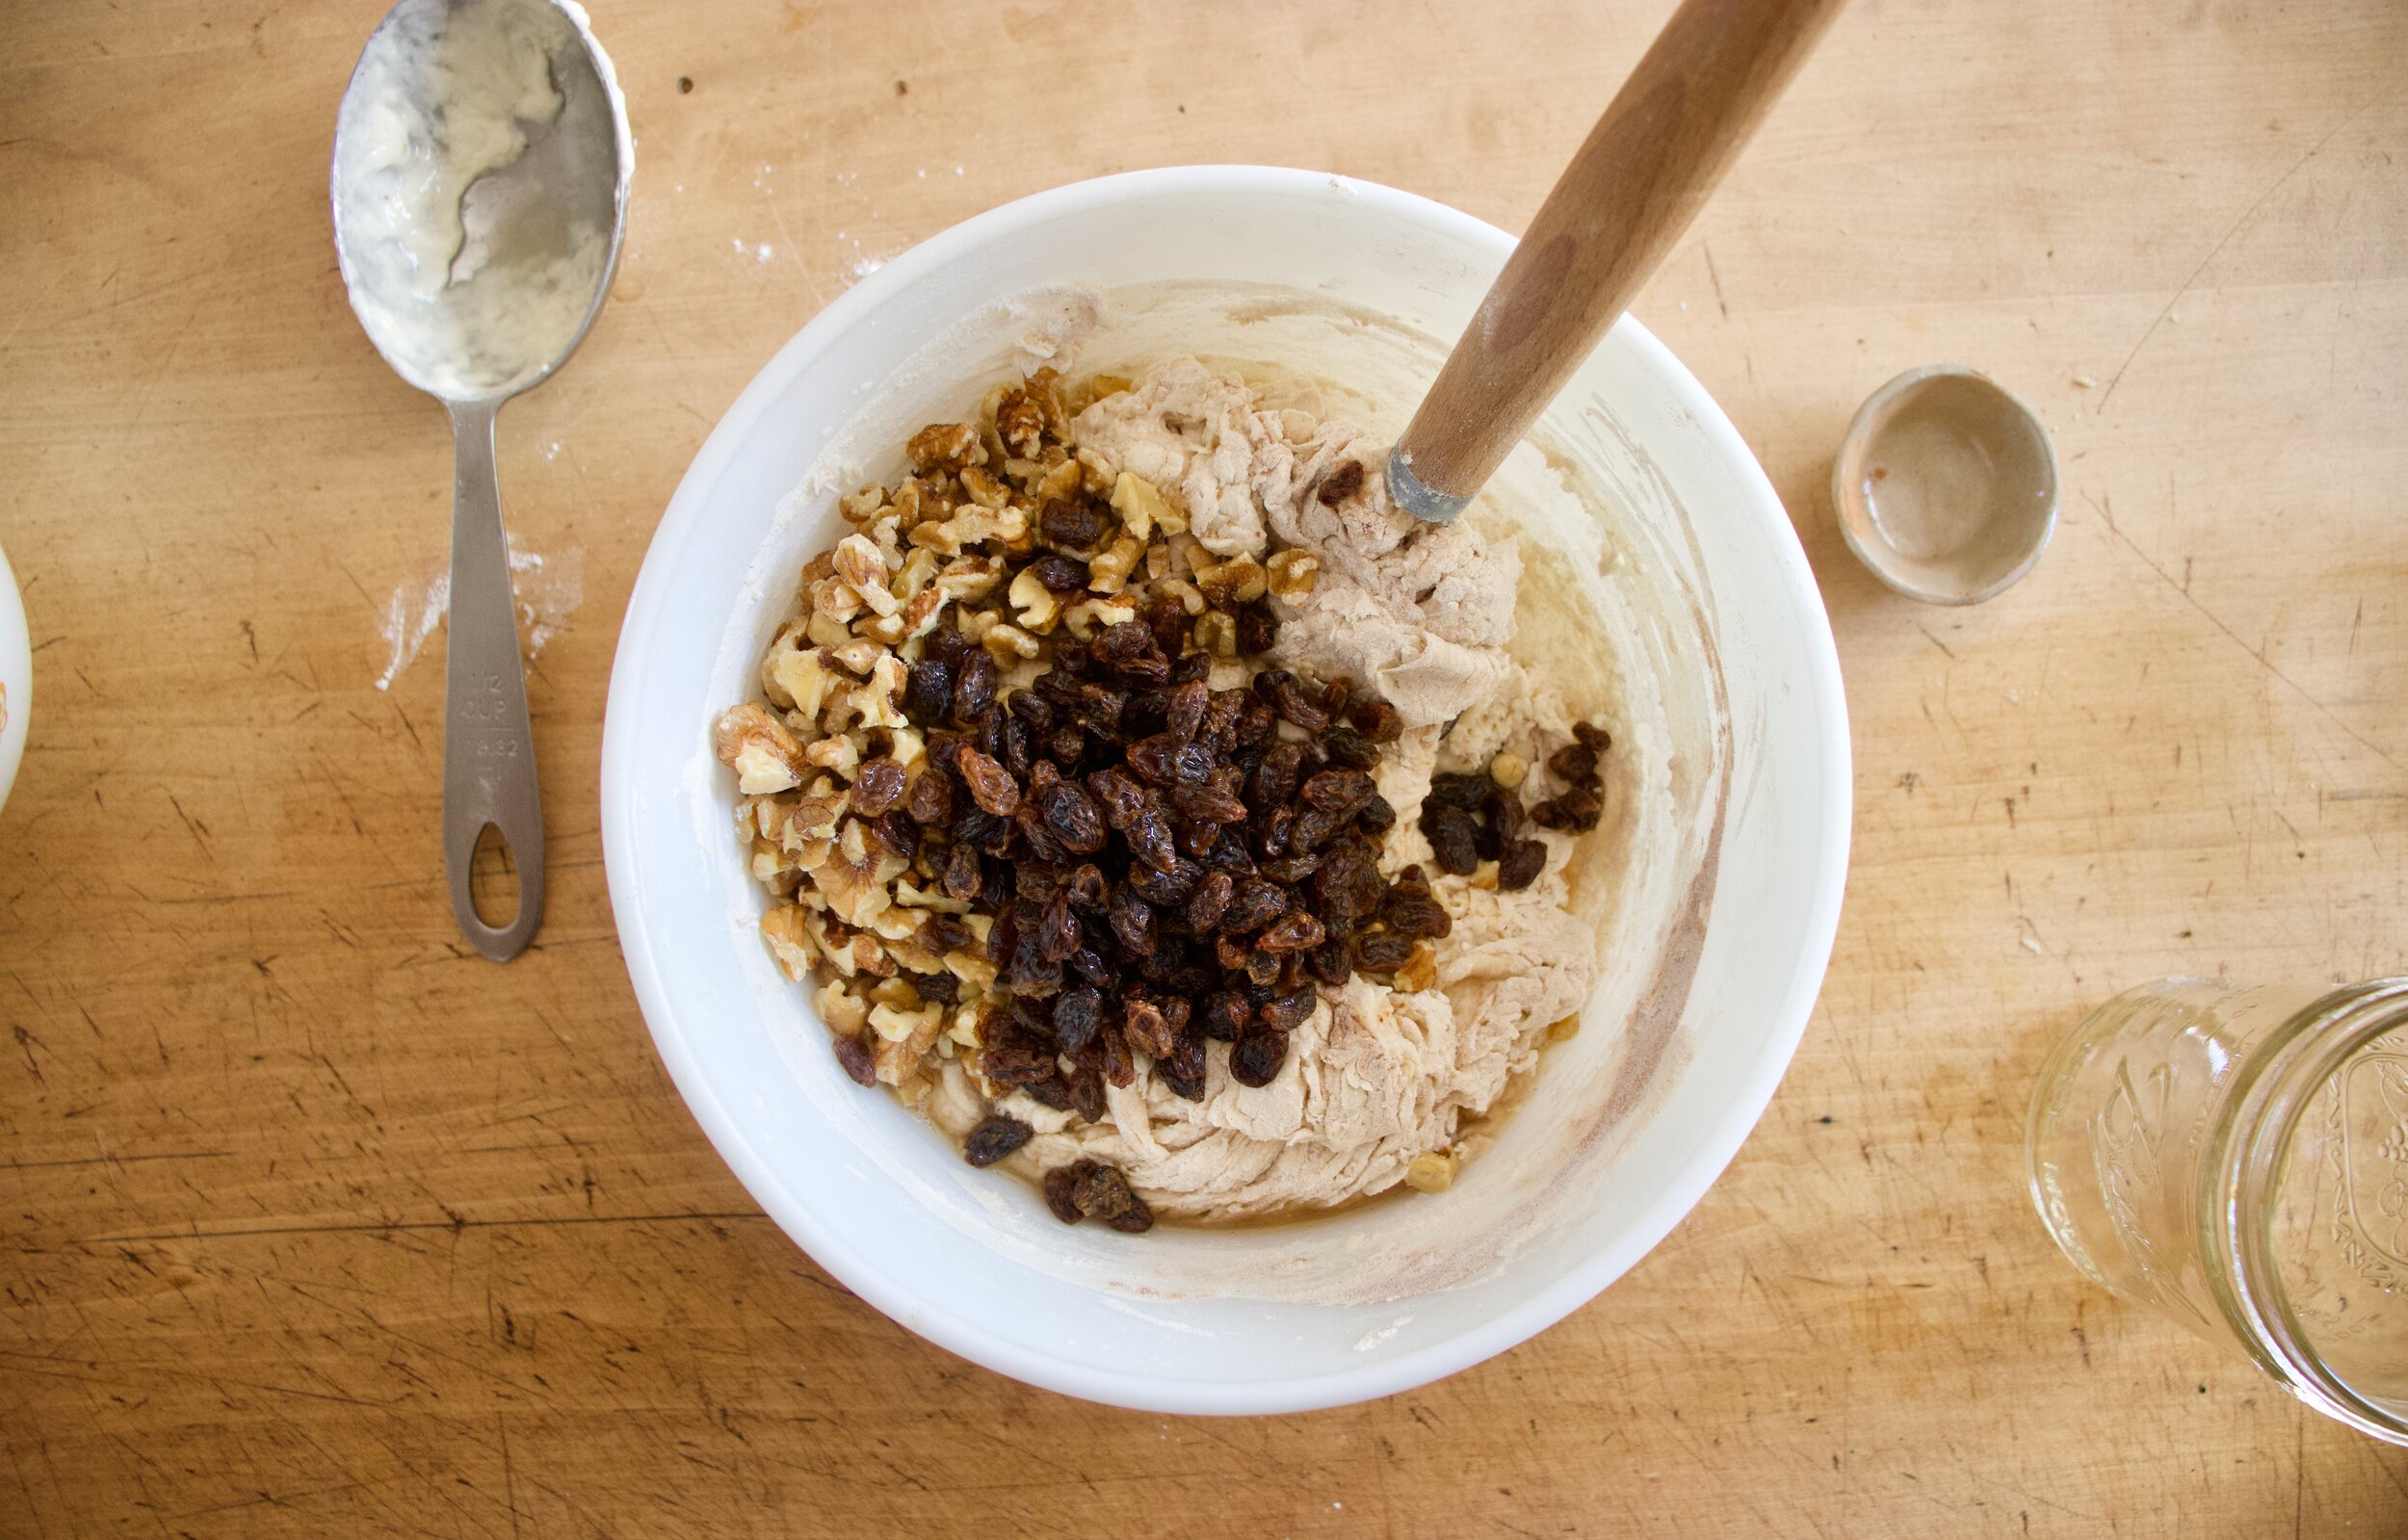
Make the dough. Stain the water from the raisins into a big bowl and add the rest of the water, along with the starter and a little flour. Mix until incorporated. Add in the salt, cinnamon, and rest of flour and mix until all the dry is mixed into wet you have a shaggy wet dough. Add in the raisins and walnuts and mix until incorporated.
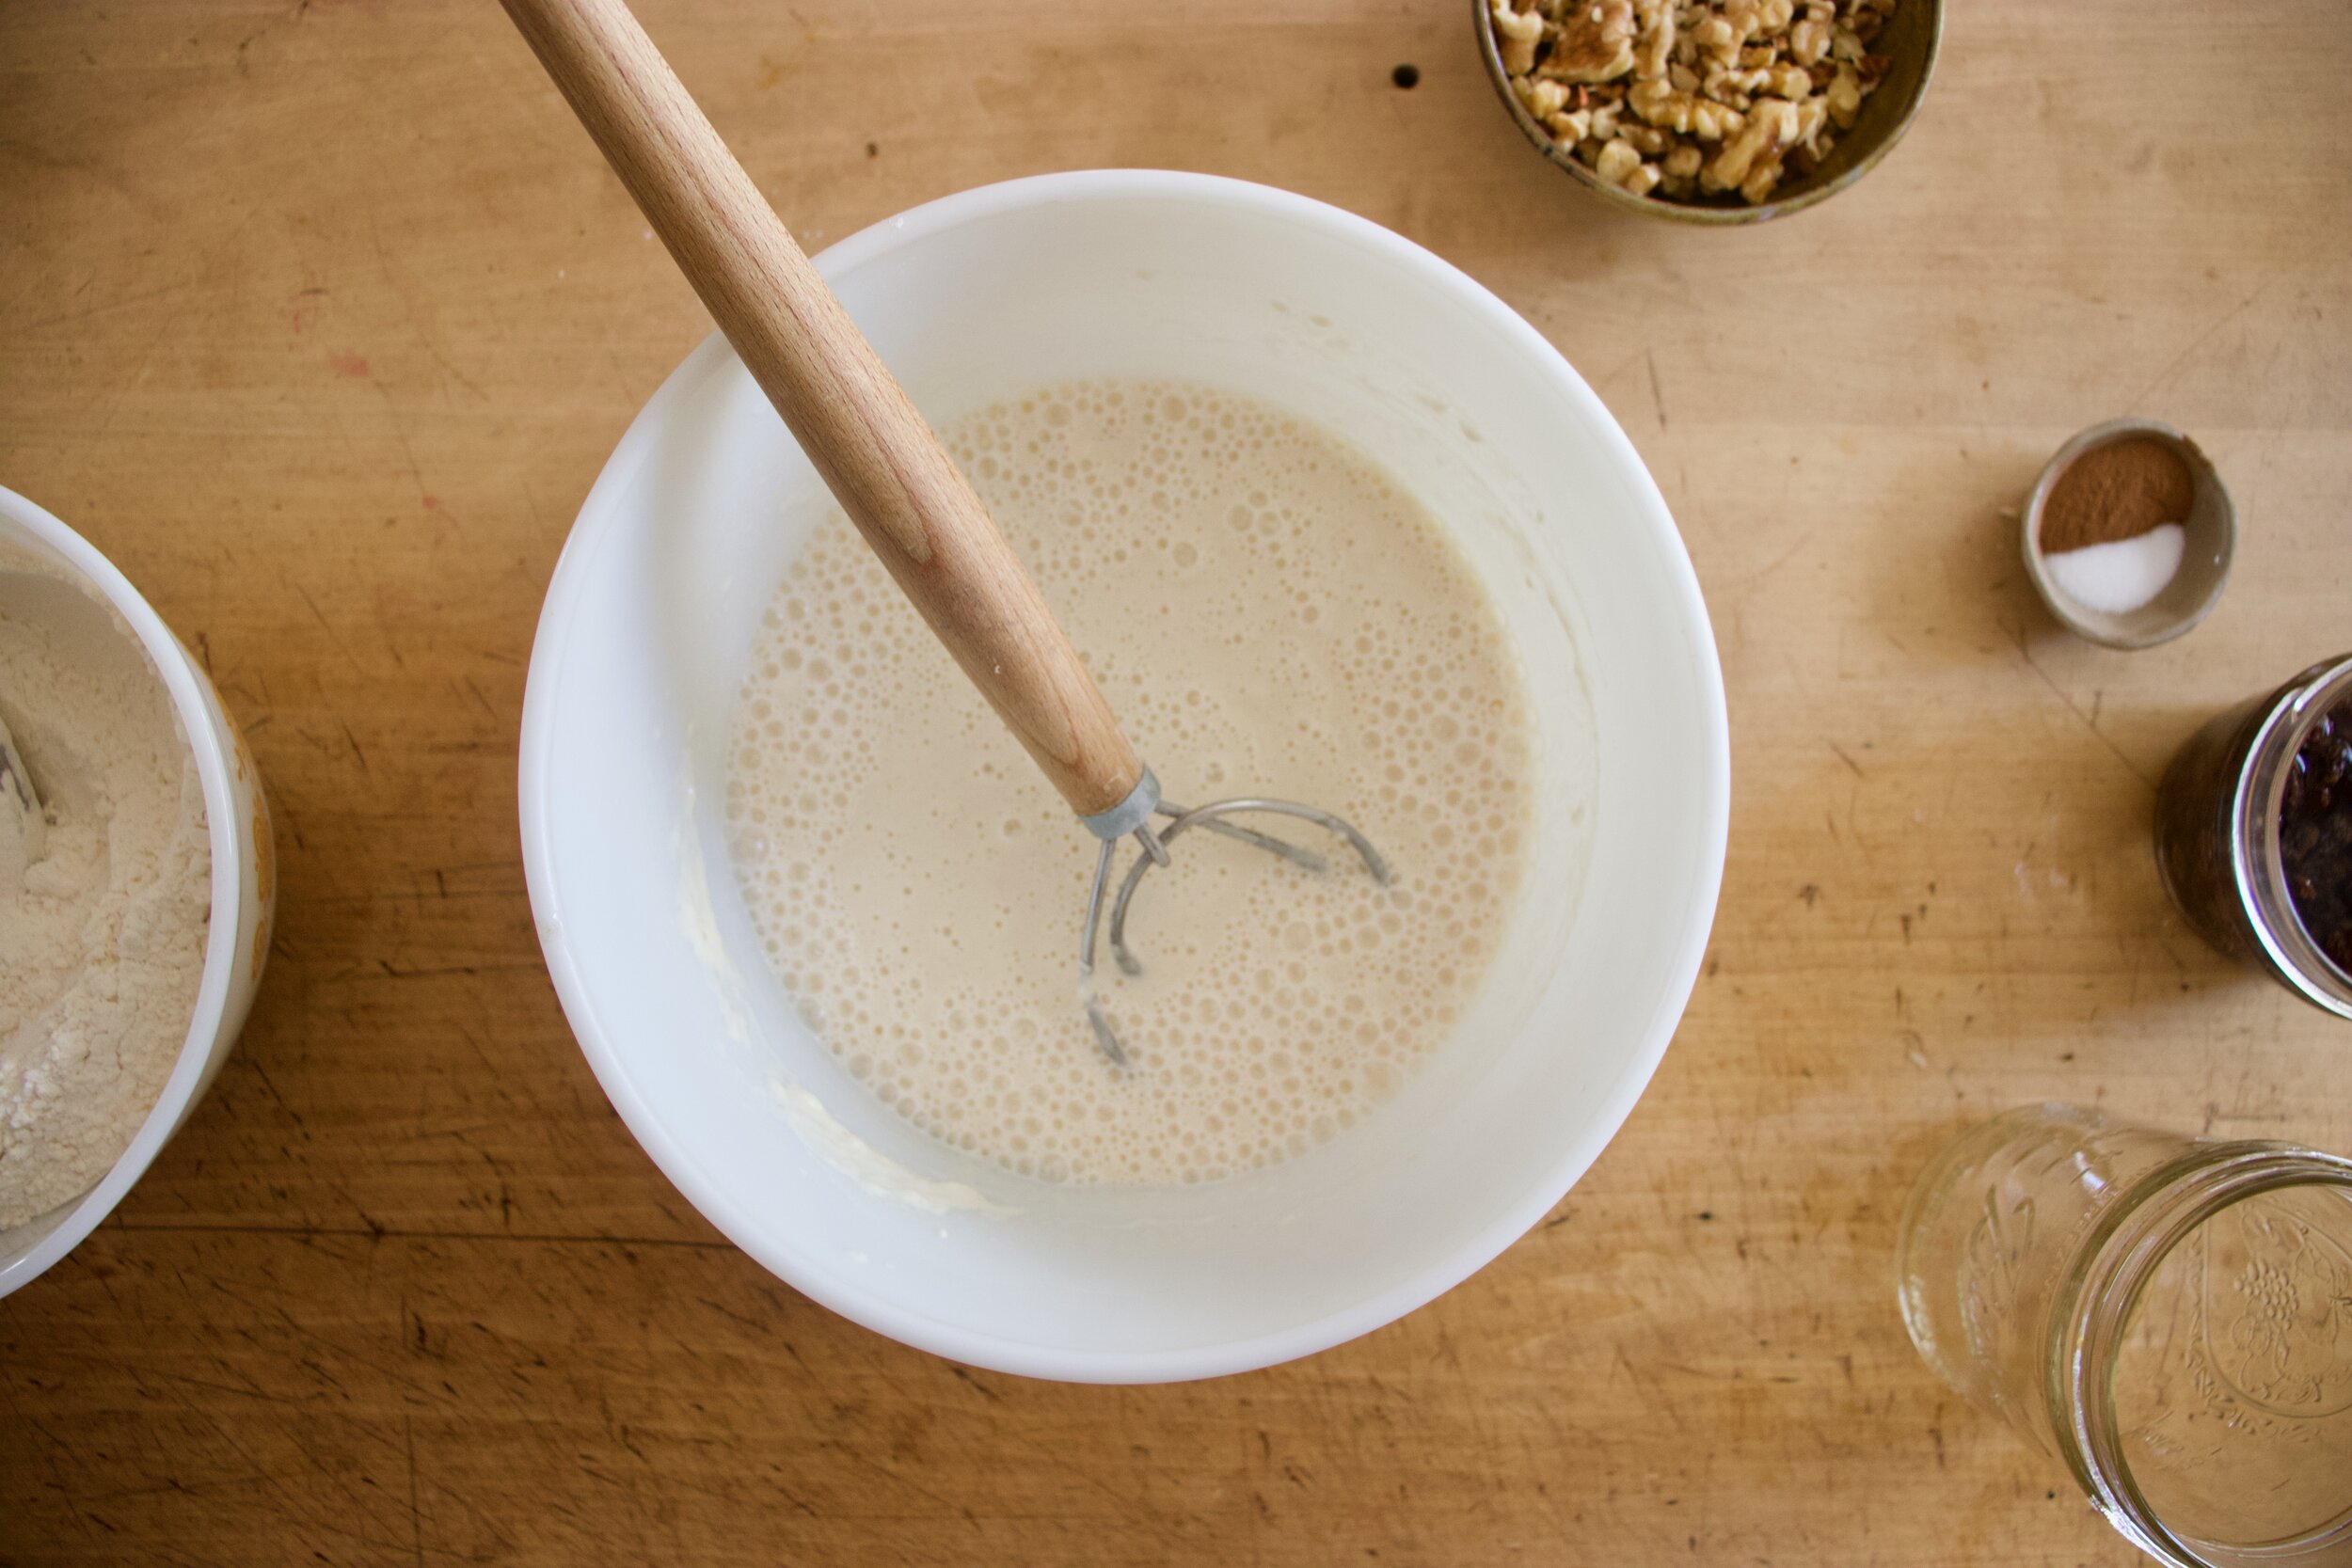
All mixed and ready to rest. Scrap sides of bowl and cover. Place In a warm spot for a couple hours.
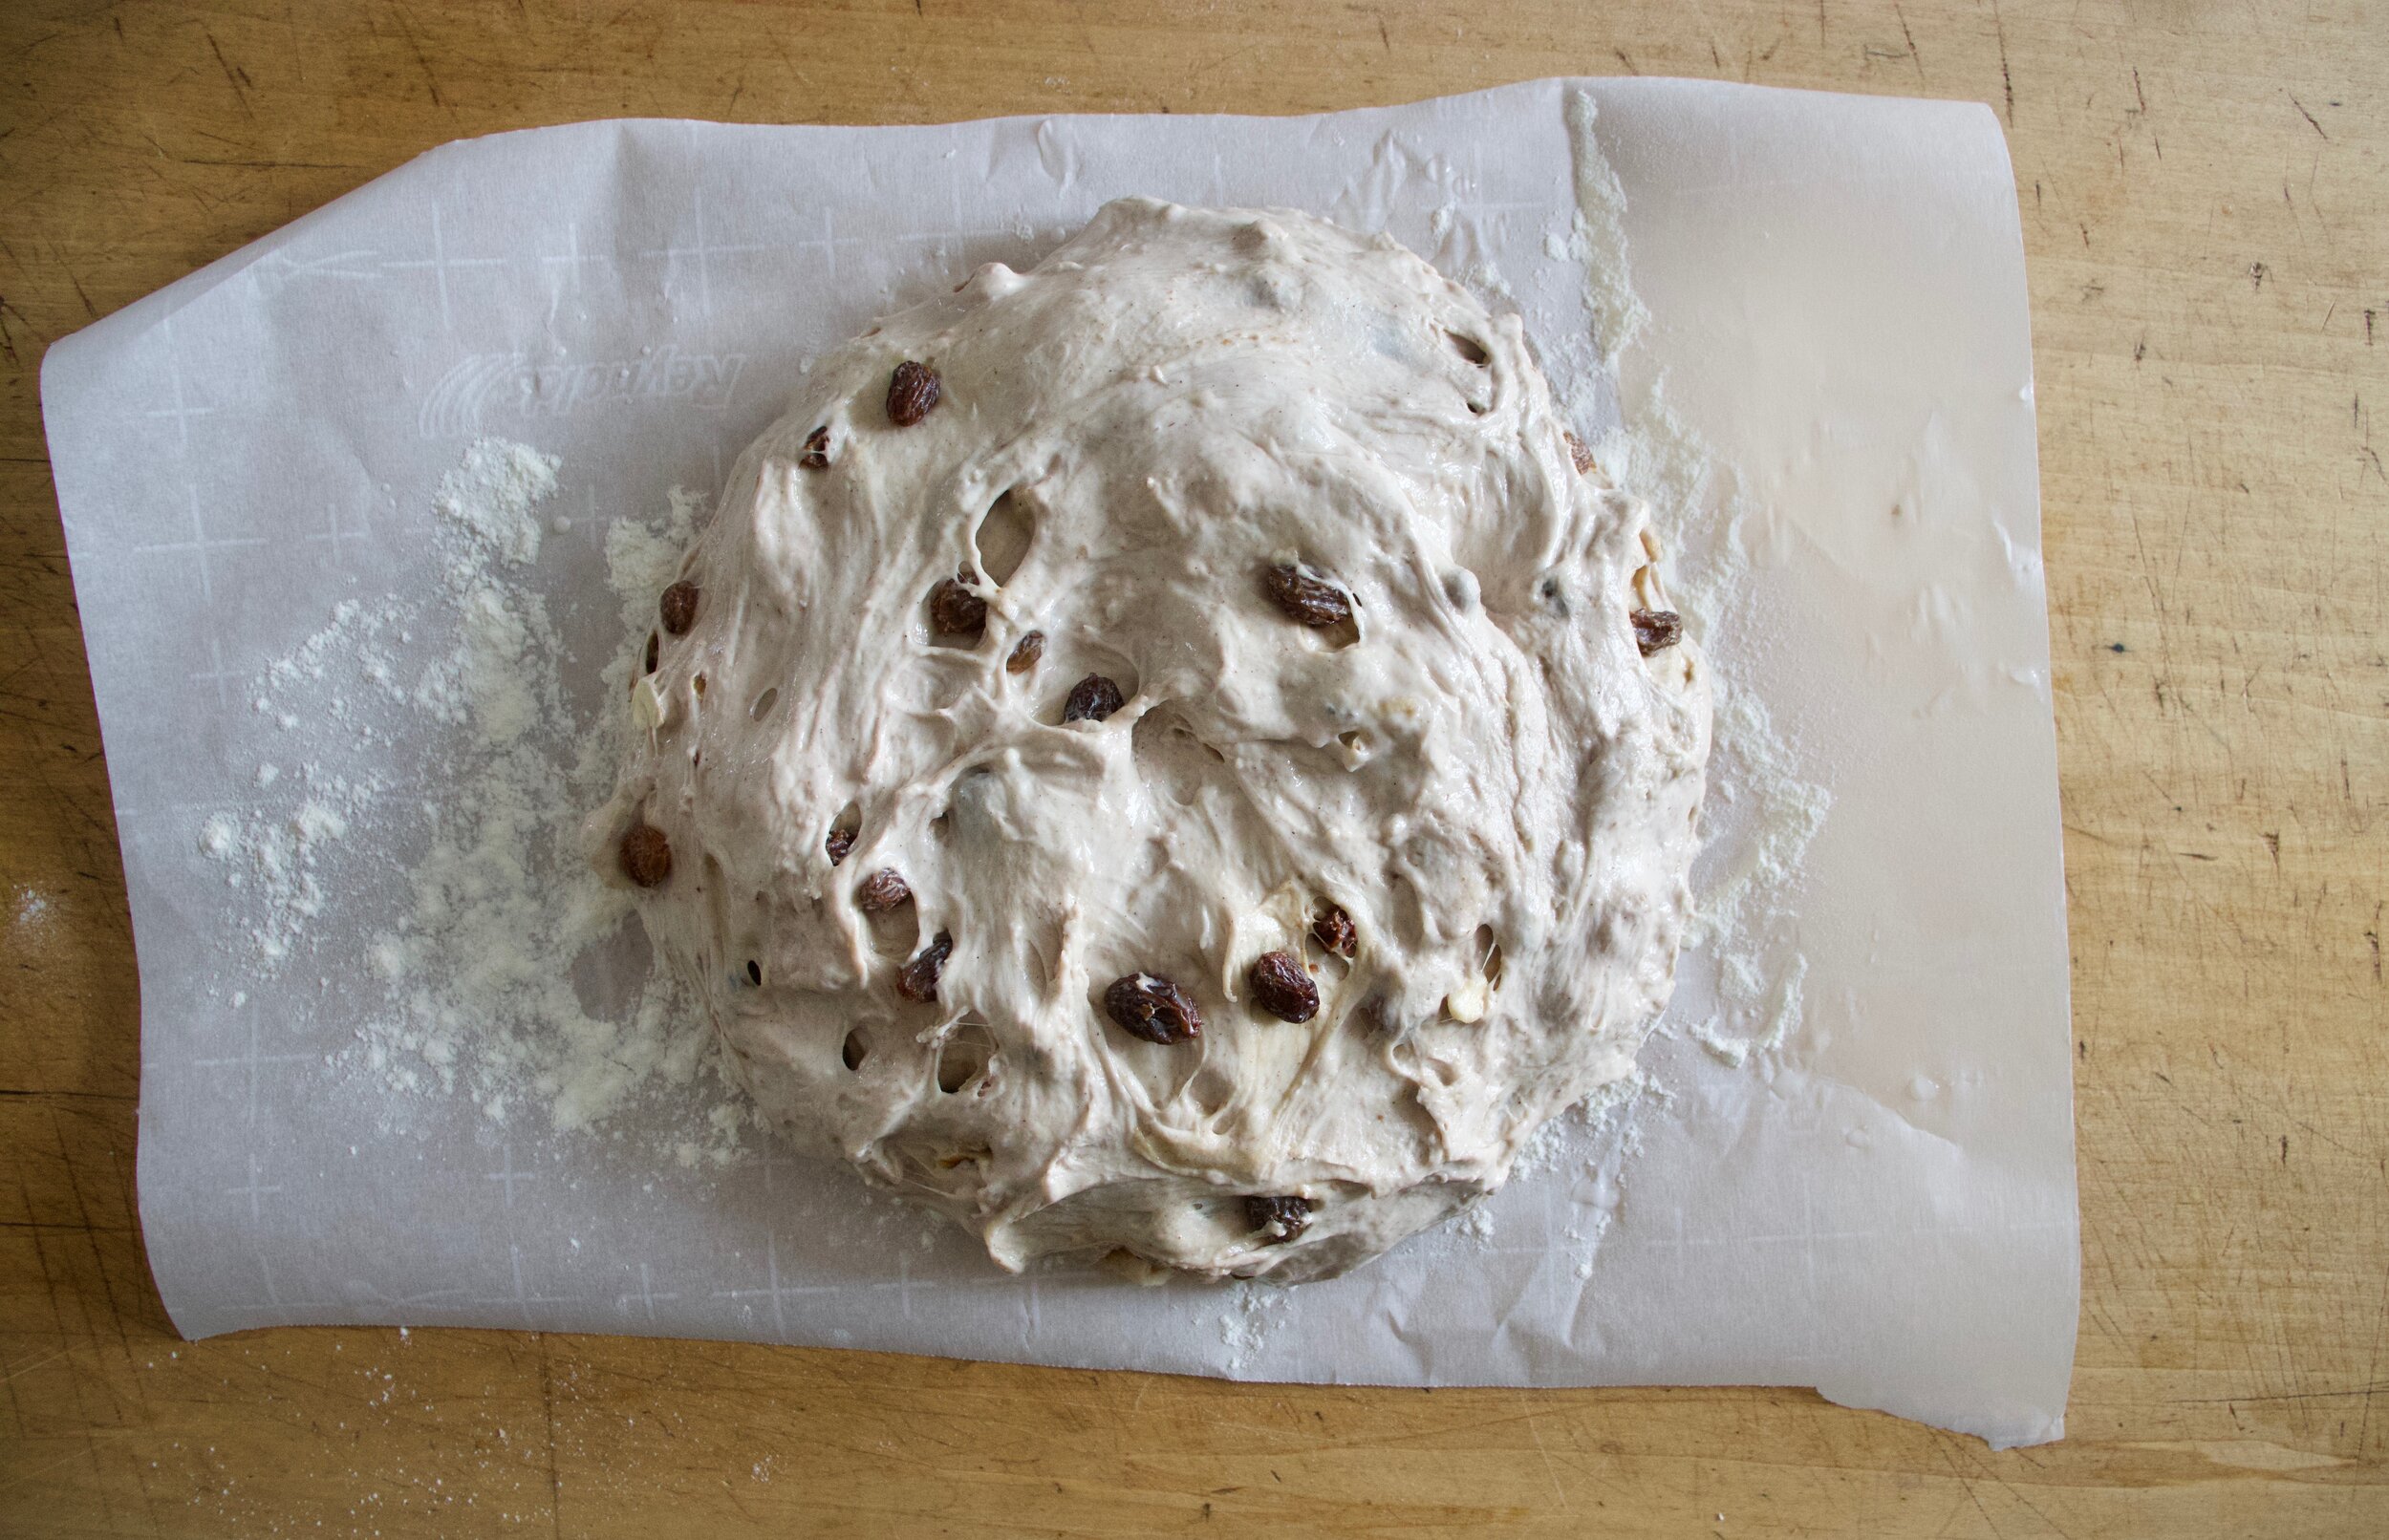
After about 2 hours, the dough hasn’t done much rising but that is what is suppose to happen. Take a damp hand and fold dough over itself a few times then cover ( with plastic or a silicon bowl topper) and place dough into fridge. Leave it in there over night. (at least 10 hours or for up to a week)
Dough the next day. It hasn't double, but that is fine.
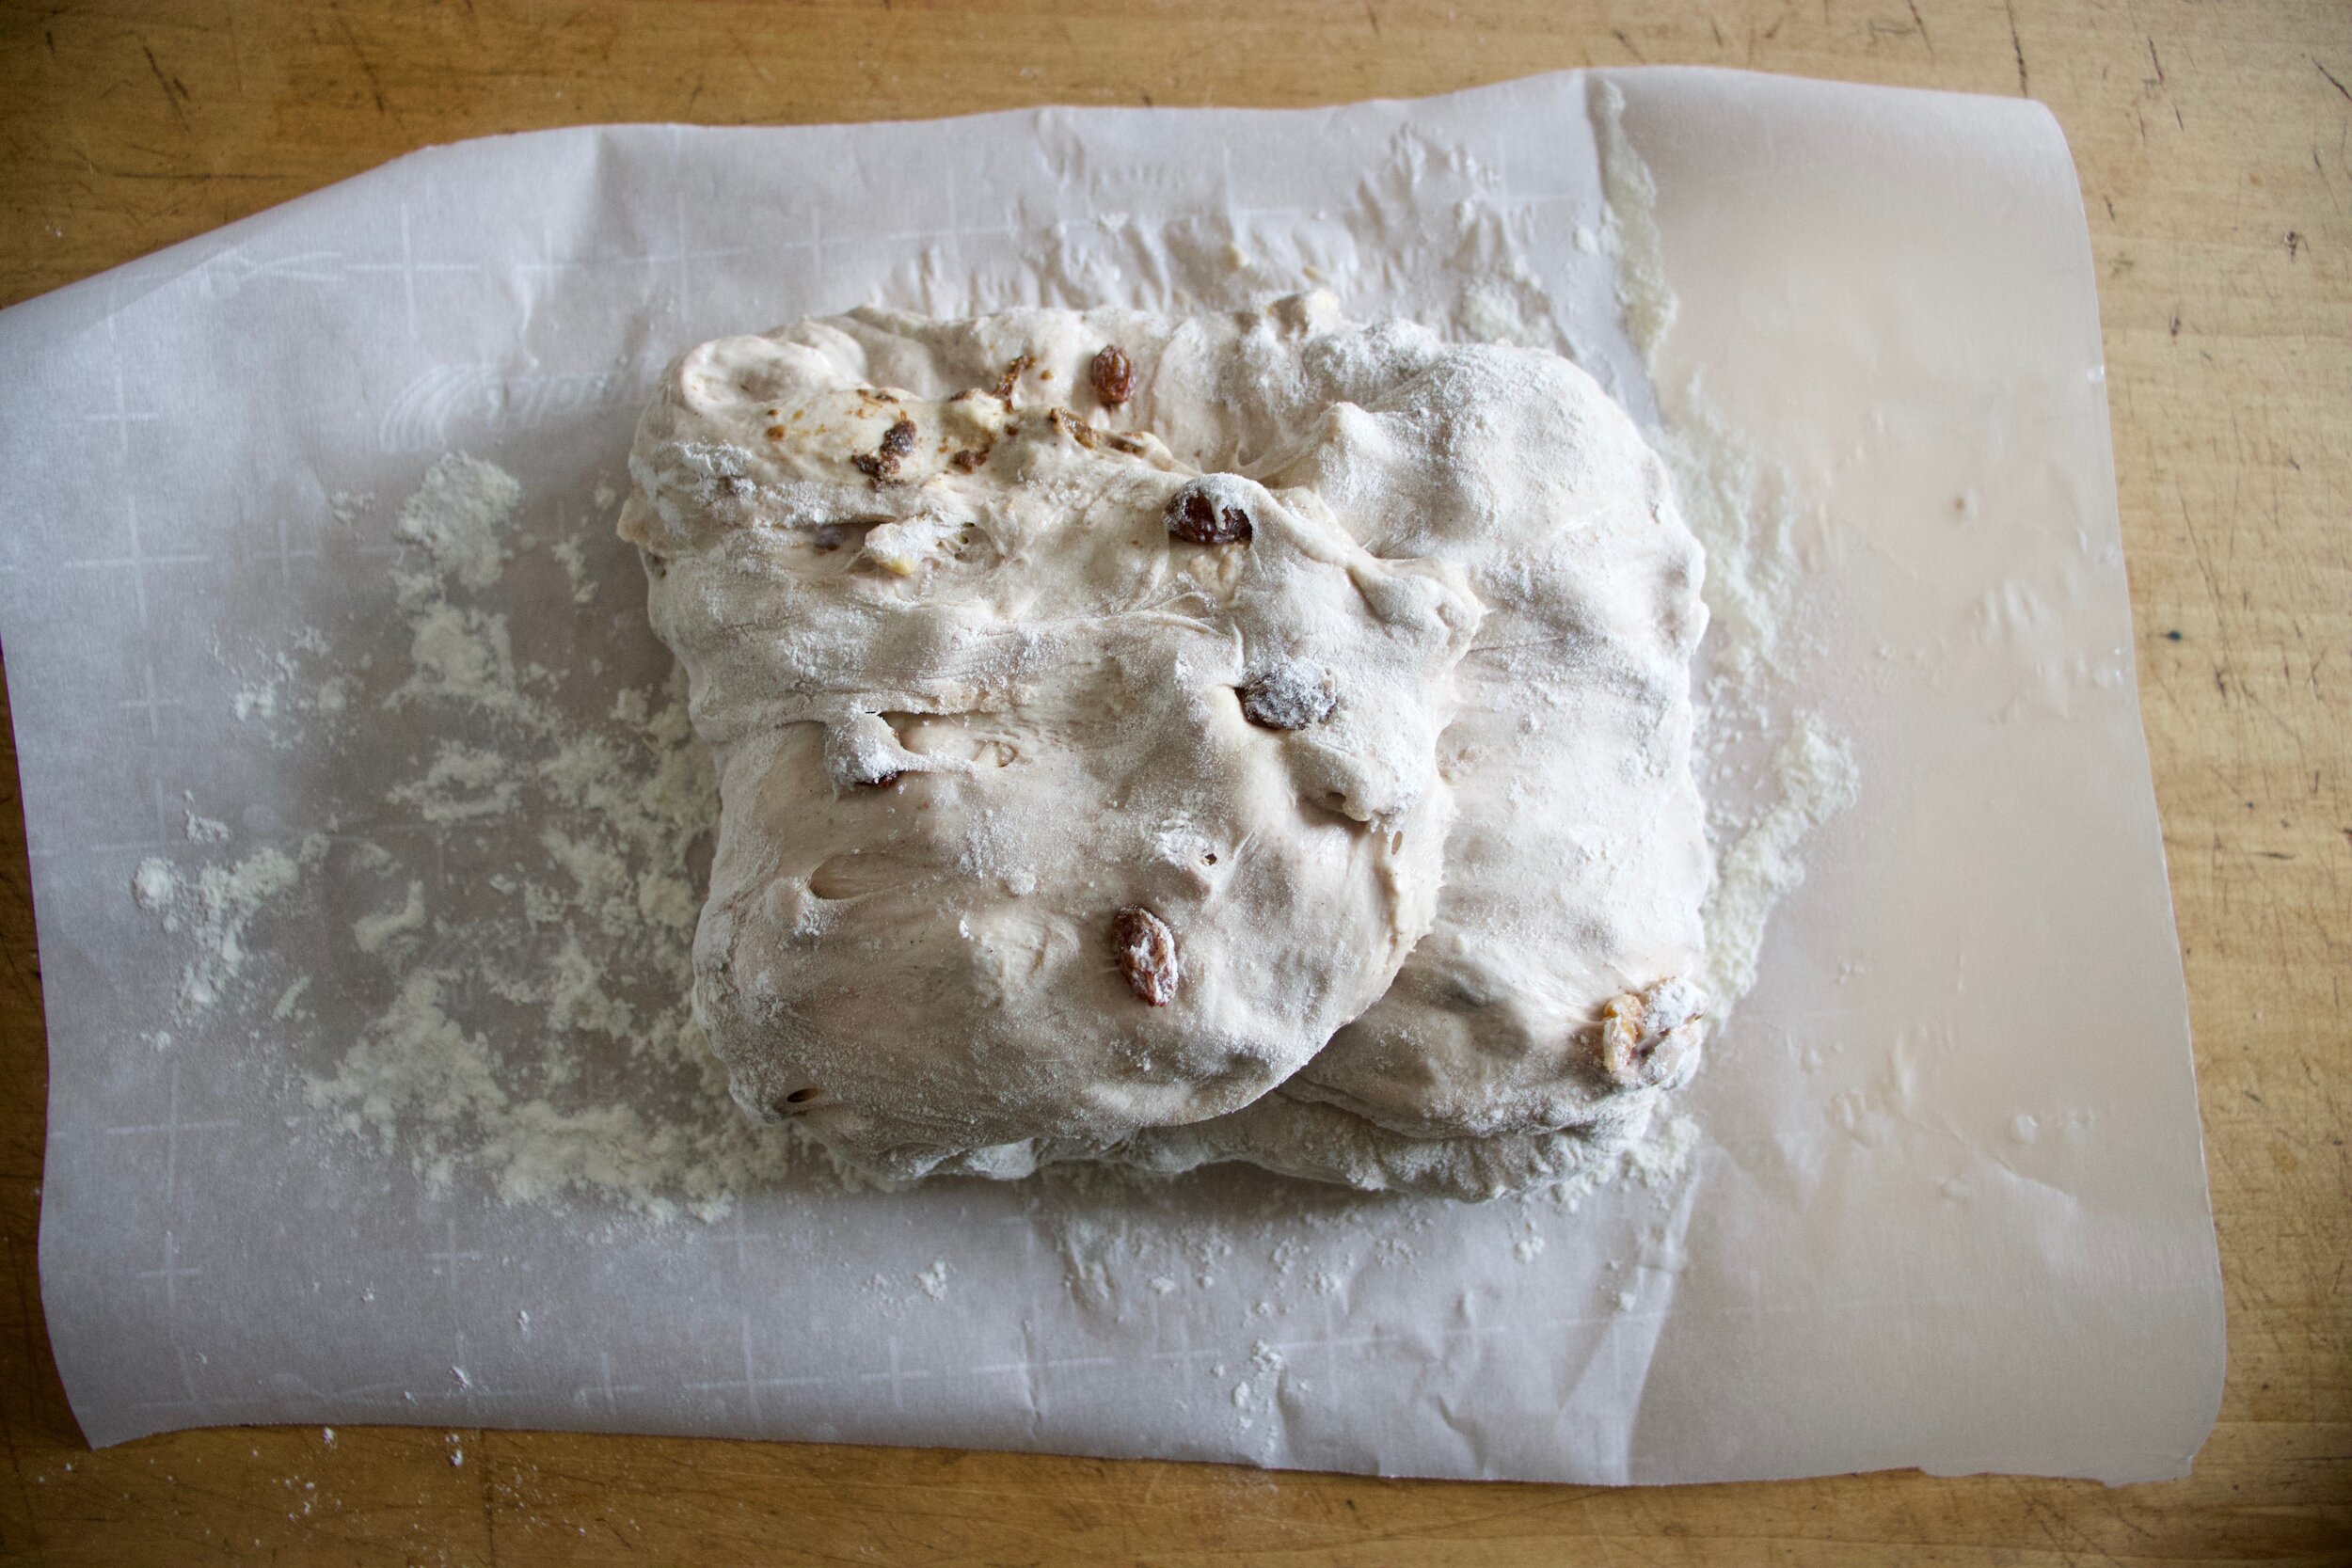
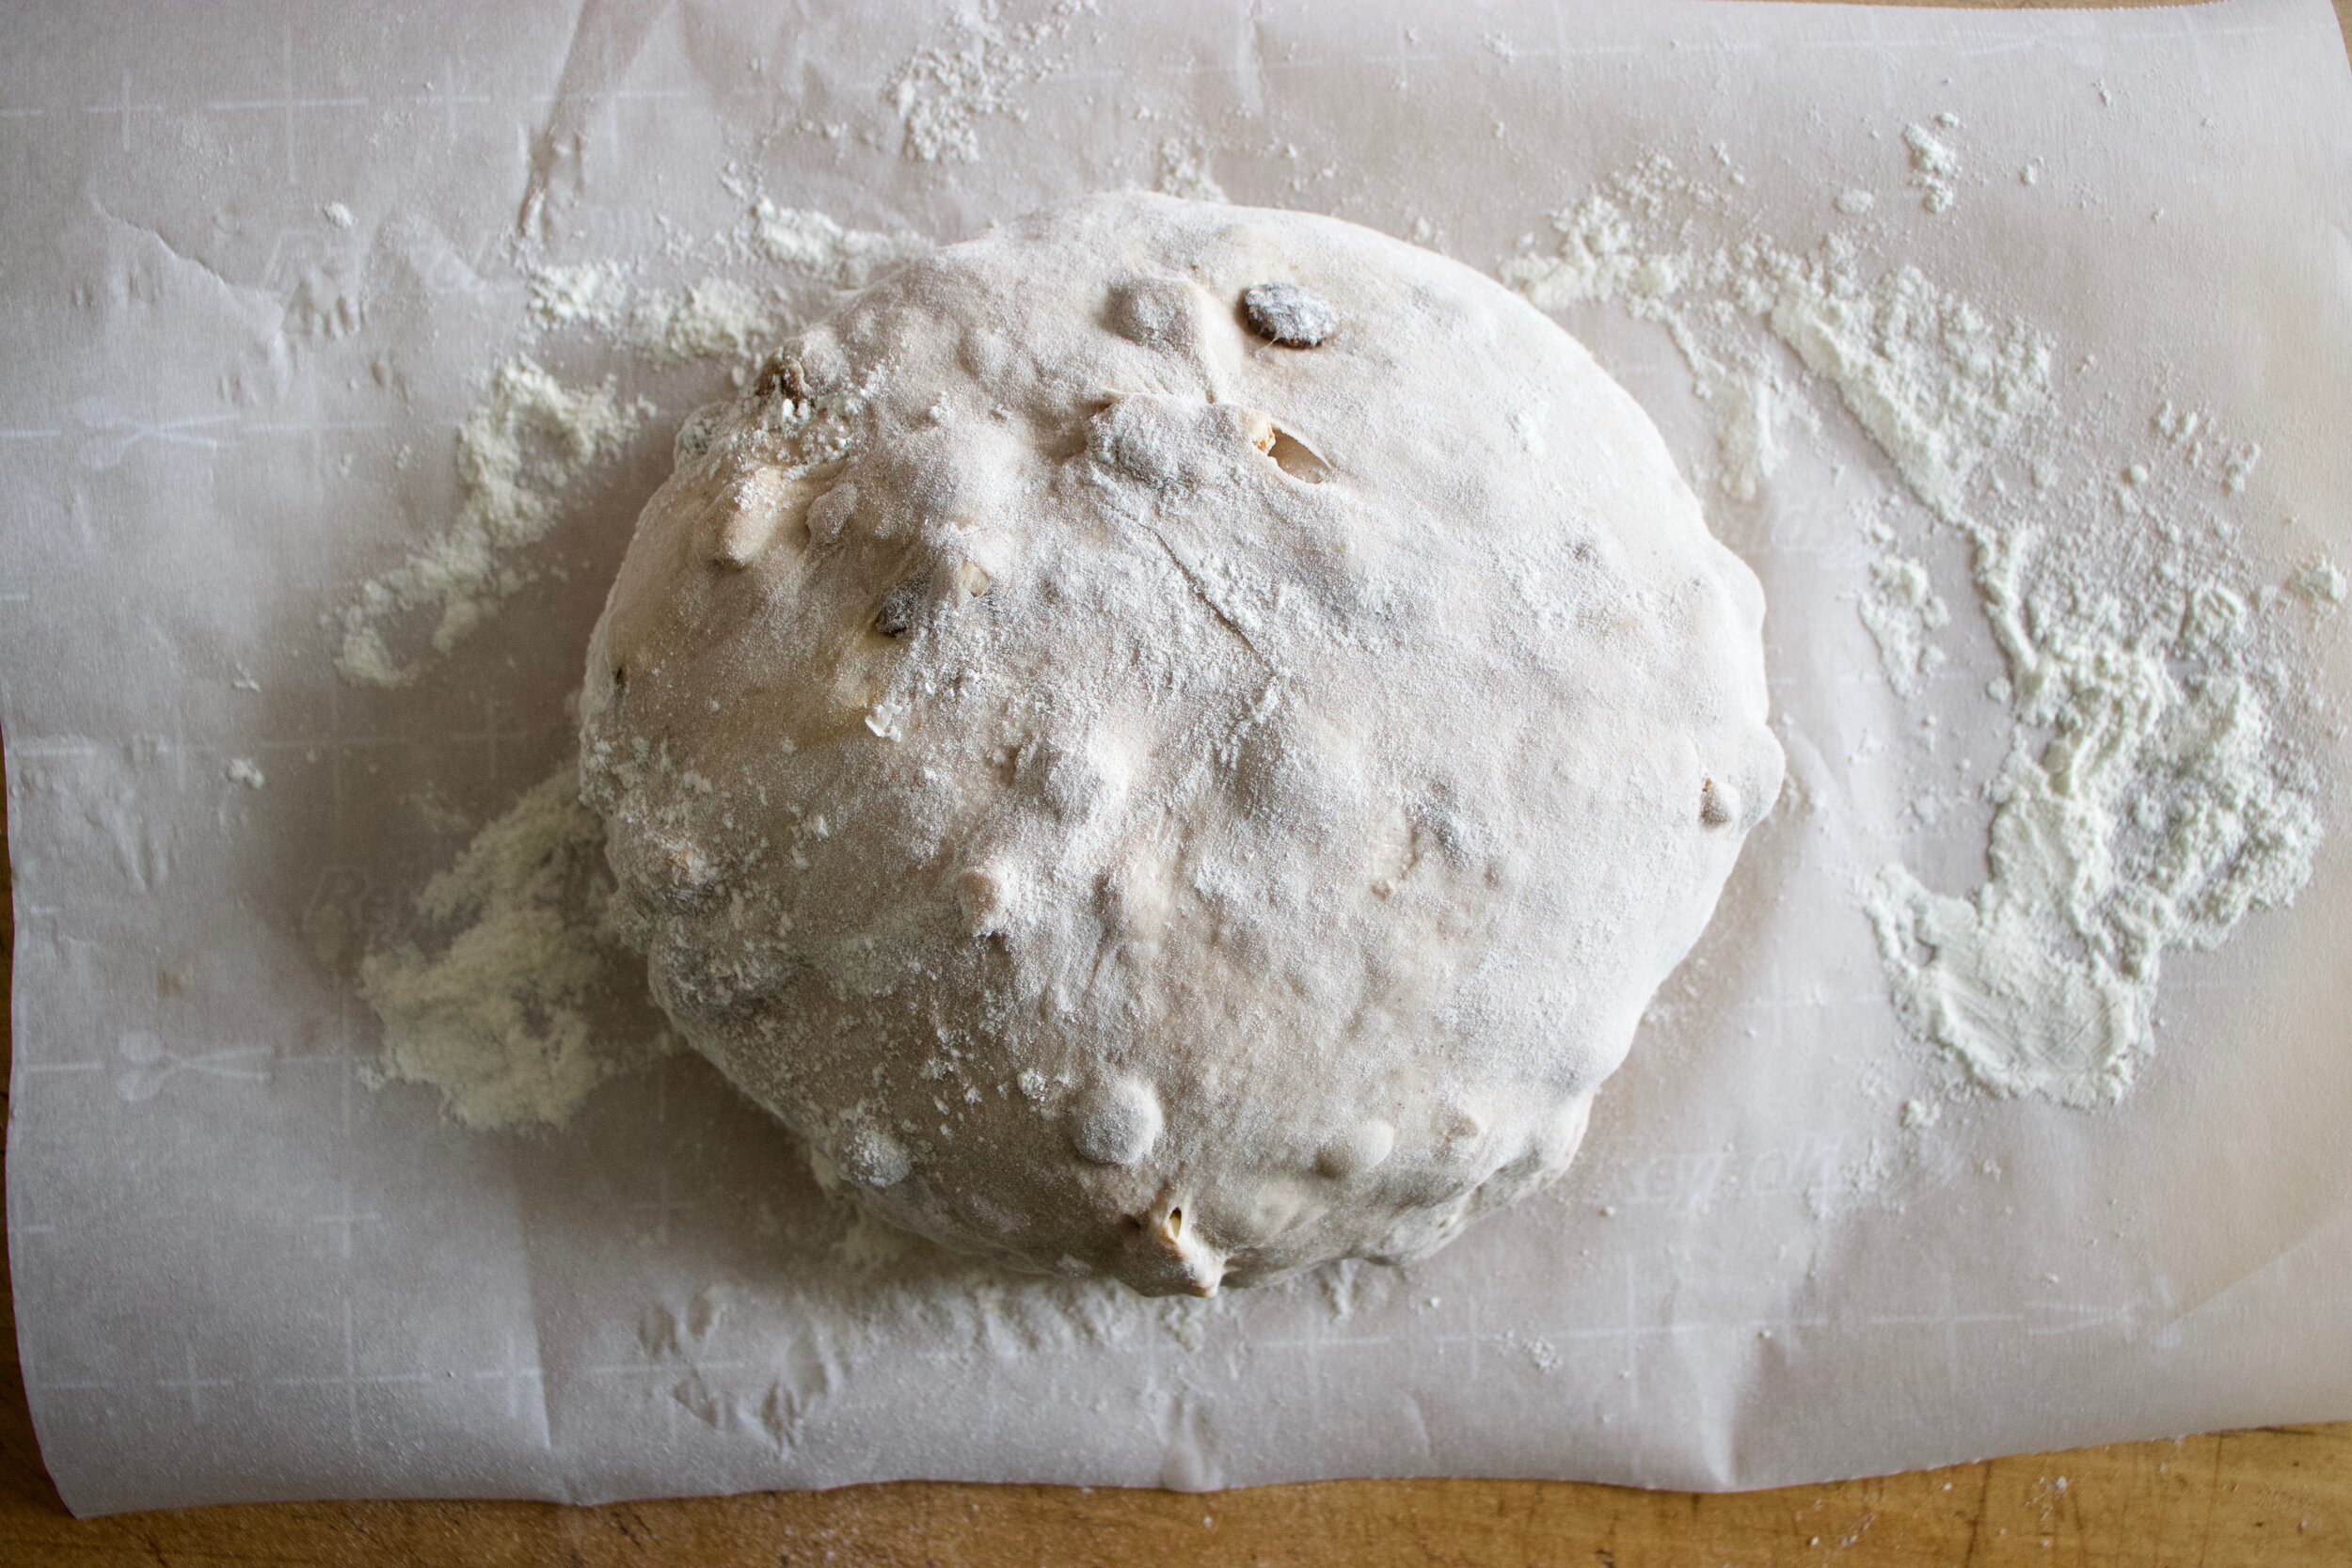
Dump dough out onto a flour piece of parchment. Fold each side over onto the top and them flip top side down. Gently shape into a nice ball.
Place doughstill on parchment into a large dutch oven. Cover and let rest for 2ish hours.
Preheat oven!
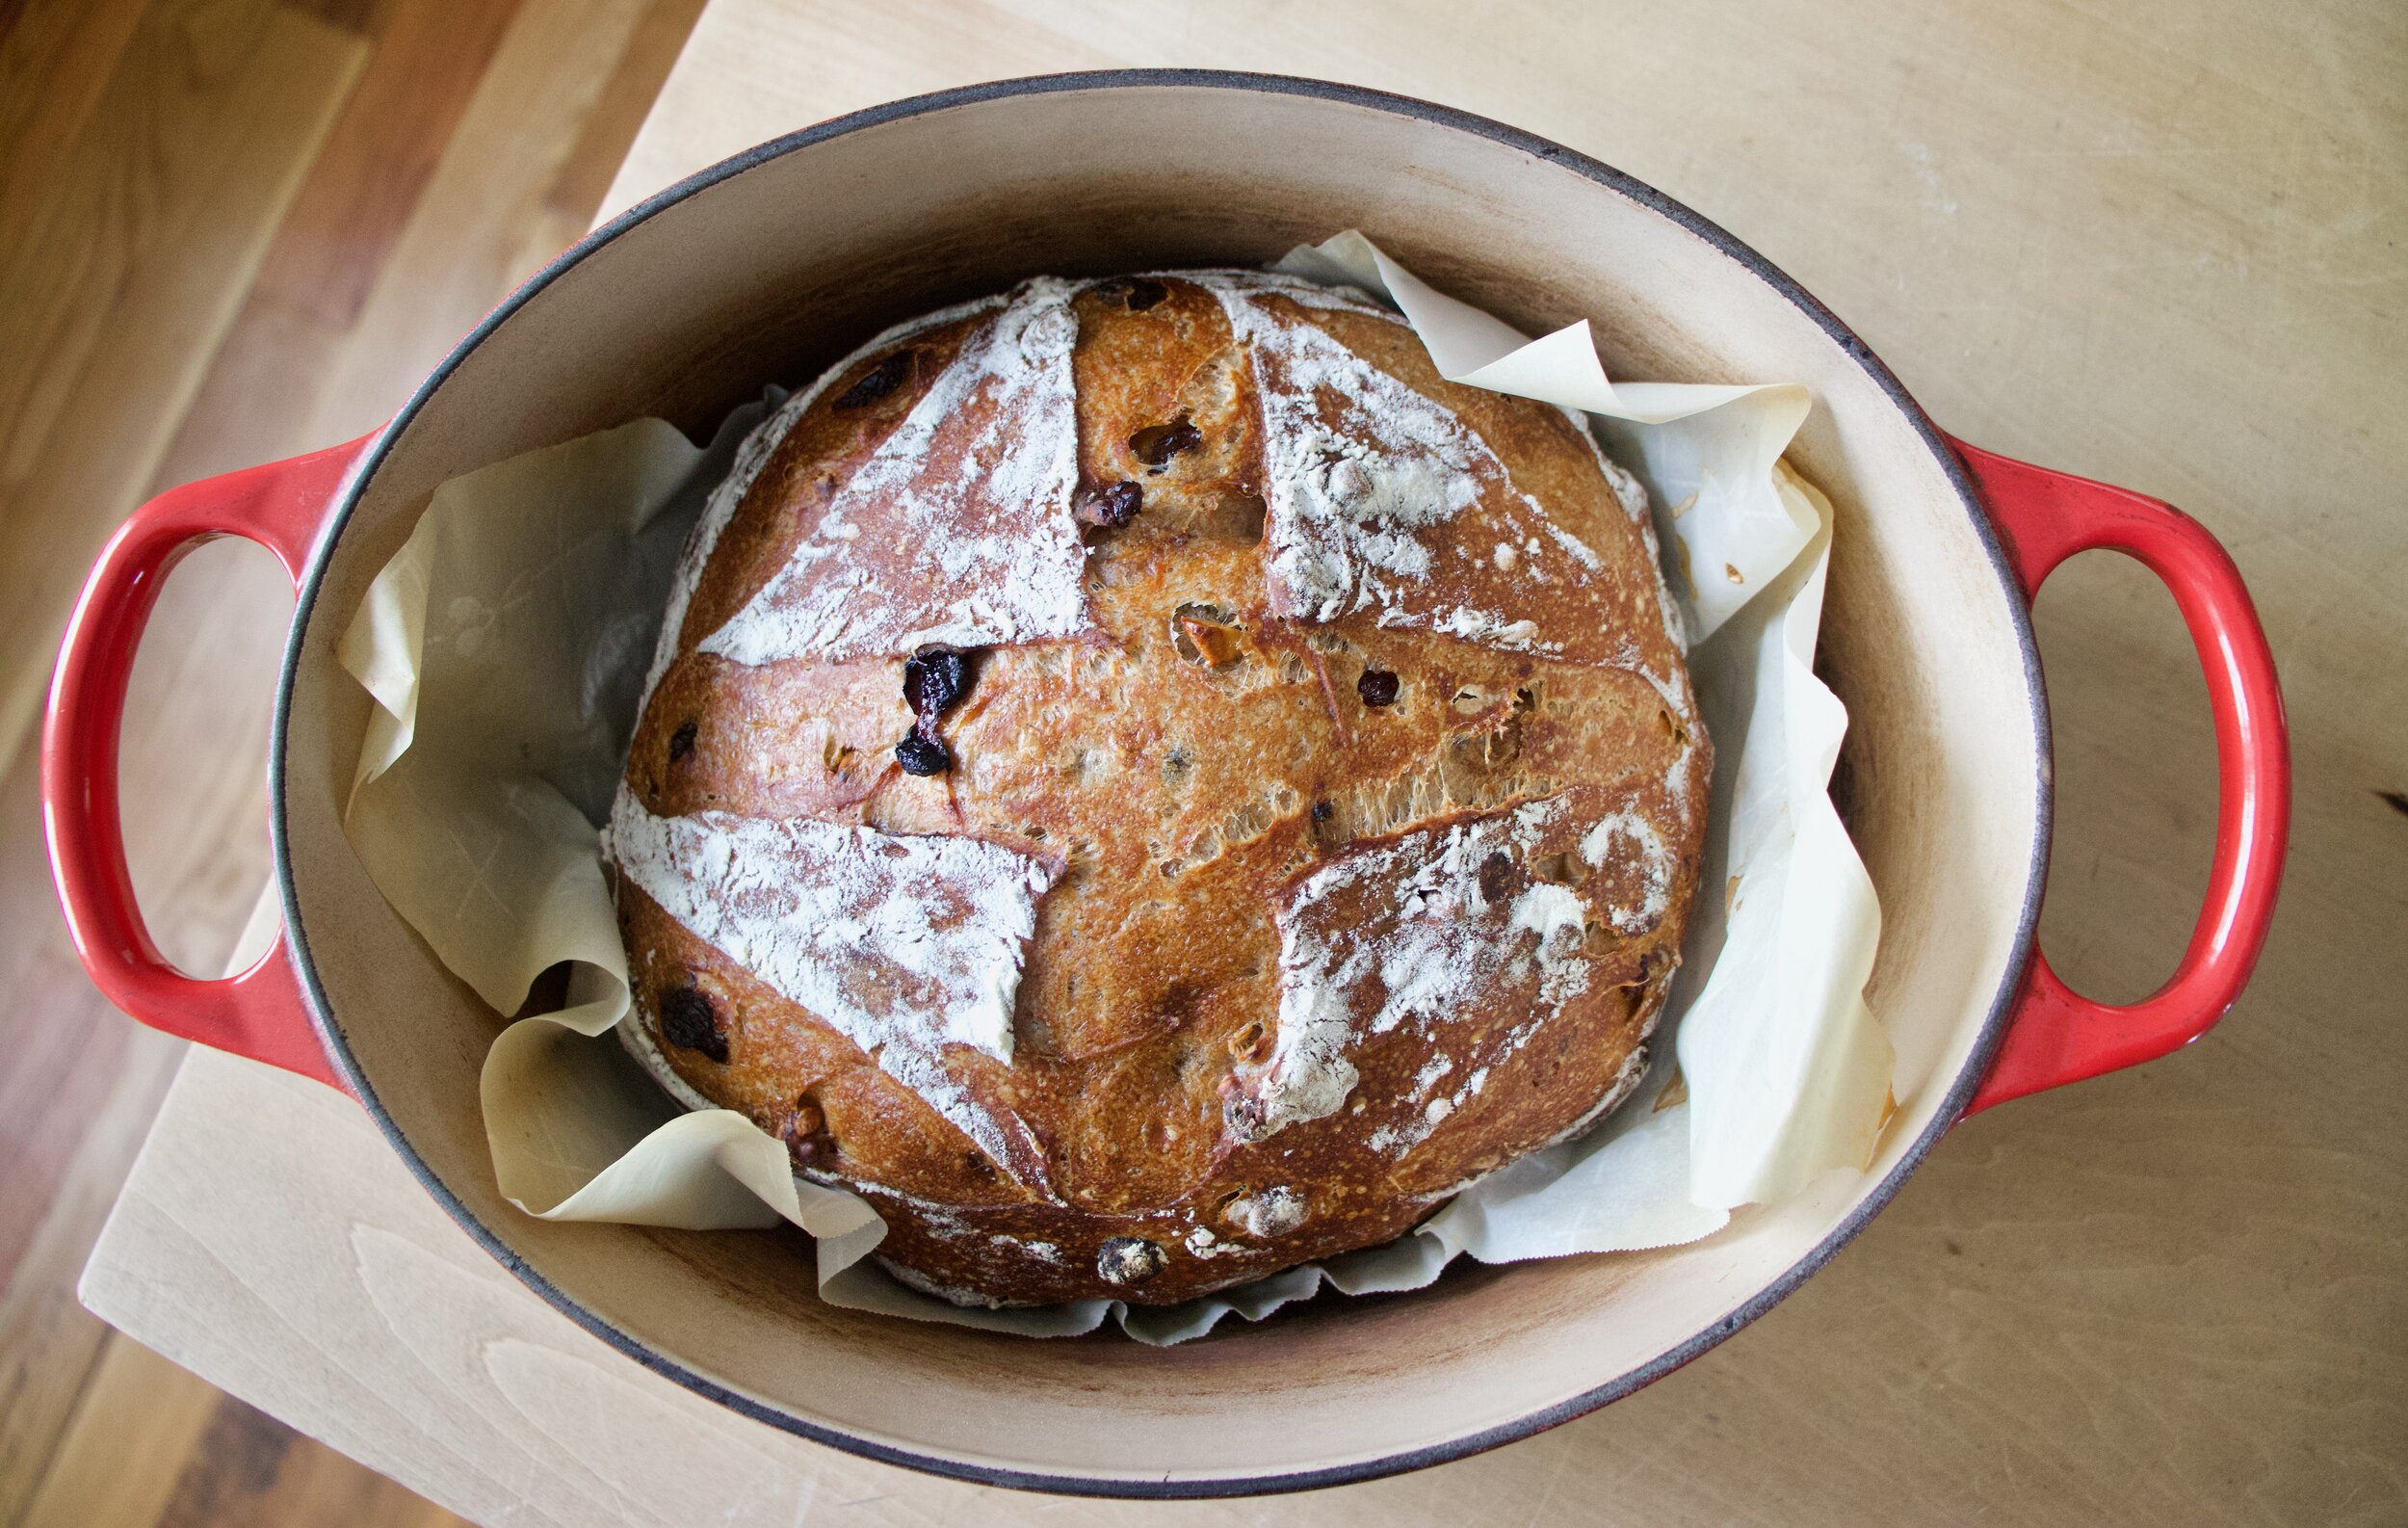
After the two hours and once the oven is nice and hot, remove lid and take a lame of serrated knife and slash the top of the loaf. One or two slashes or a few fancy placed ones. Just don’t press down to hard of cut it up to much. Now place lid back onto pot and place pot into hot oven. Bake for 30 minutes then carefully remove lid. Bake for another 20-25 minutes or until a deep golden brown.
What a beauty! Now take the bread out of pot and yes, you MUST wait to cut into it. Let cool for at least an hour. I know you want bread now but it will not end well if you try to cut into this loaf hot.
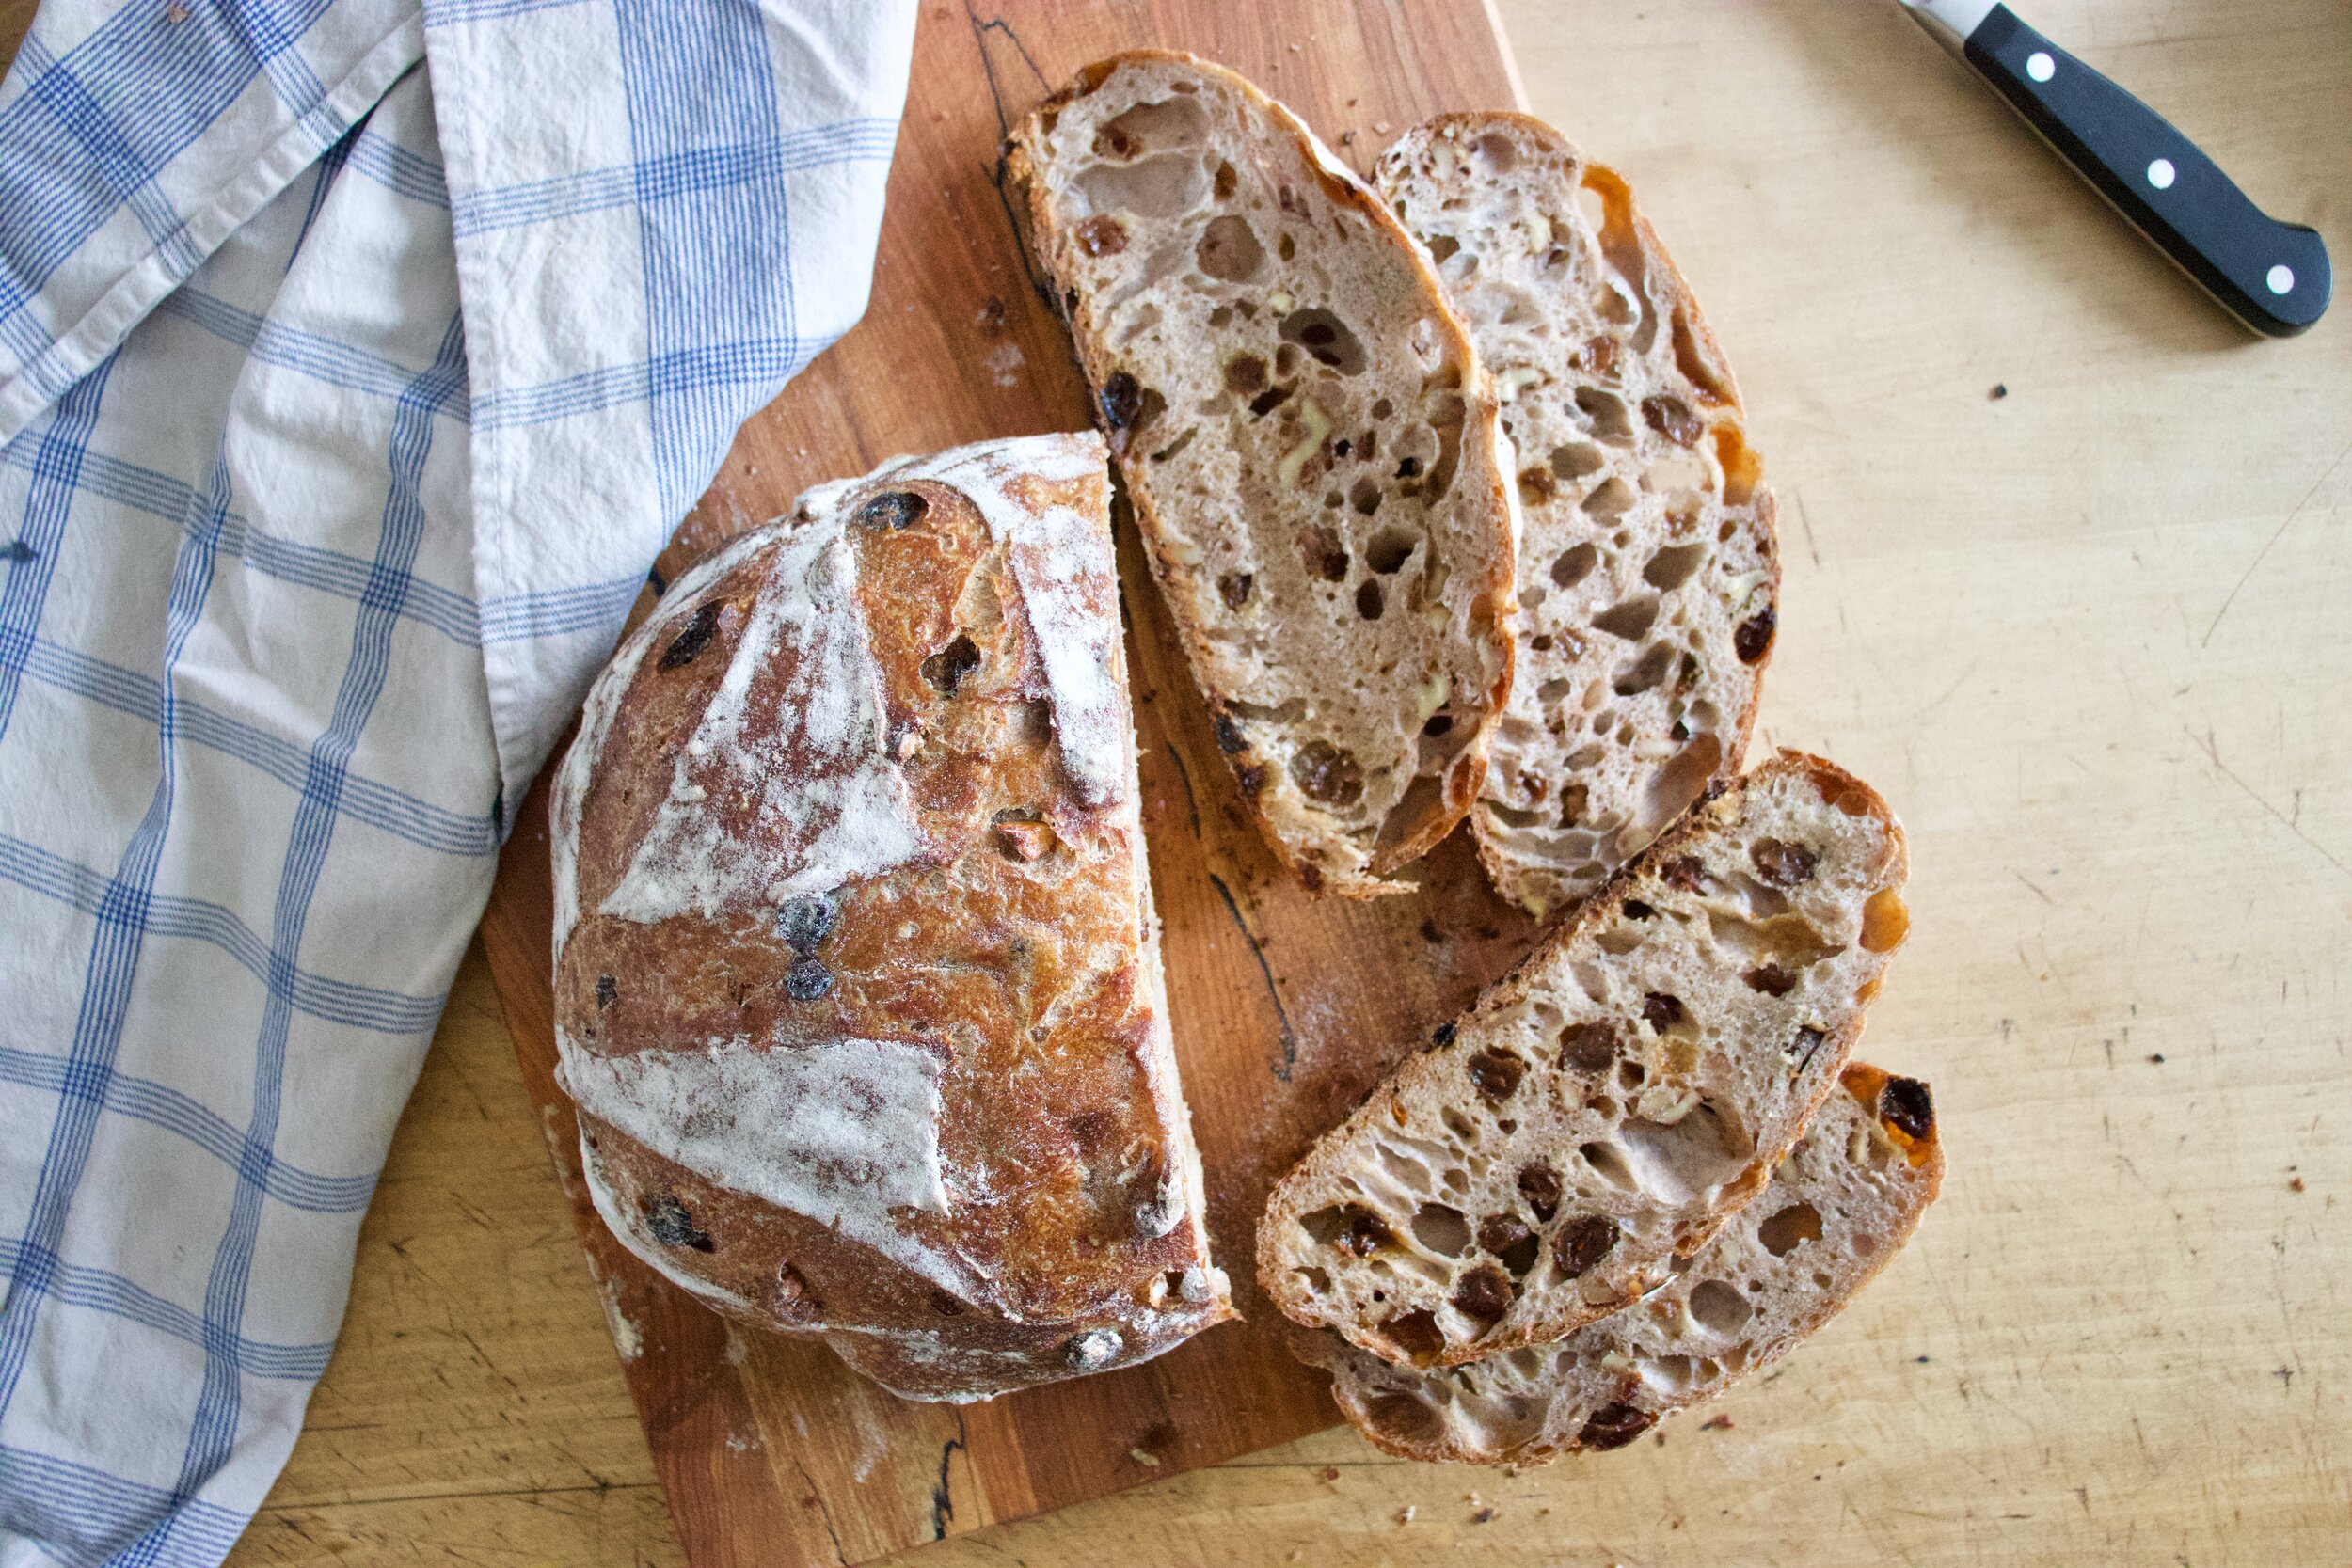
But once it is cooled and you slice into.. Worth every minutes of waiting.
-C
No knead Raisin Walnut Sourdough Bread
Makes one big road loaf but can also make 2 smaller round loafs
4 cups all purpose flour plus more for shaping
1 3/4 cup warm water
1/2 cup ripe sourdough starter
1 cup raisins
1 cup chopped walnuts
1 teaspoon salt
1 heapingtaspoon cinnamon
Start by dumping some of the warm water into a bowl with the raisins. Let sit for a few minutes until the y plump up a bit. Stain the water from raisins into a big bowl only with the starter and the rest of the warm water. Add in a cup or so of flour and mix until incorporated. Next add in the rest of the flour, the salt, and the cinnamon. Mix until all the dry flour is now wet and you have a shaggy wet dough. Dump in the walnuts and raisins and mix in. Scrape down sides of bowl, cover, and place in a warm spot for an hour to two. After sitting for a while, the dough should have risen a bit but to doubled in size. Grab the edge of dough and fold it over itself , cover back up (use plastic of a silicon top), and stick it in fridge overnight (at least 10 hours but up to a week)
The next day when you are ready to bake it off, remove the dough from fridge, dump out onto a floured covered piece of parchment, and fold side over to the top. Then roll the folded side over. Keep on parchment and gently shape into a round. Place shaped dough (pick up by the parchment paper) into a large dutch oven. Put the cover on and let rest. (You can also place on a baking sheet if you don’t have a dutch oven and gently cover a plastic bag that is not touching he dough). After about and hour and a half start reheating the oven to 500 degrees.
After the oven has been preheated (give it a good 1/2 hour so oven temp is truly hot) remove lid (or bag) and sprinkle a little flour on top of dough. With a lame or a sharp serrated knife, score the stop of the bread. One or two slashed should be fine. Now place lid back onto pot and place pot into hot oven. Or if not using dutch oven, add a separate baking pan to the bottom of oven with a cup of water to create steam and just slide baking sheet into oven. i After a few minutes, turn heat down to 450. For dutch oven, bake for 1/2 hour then carefully remove lid from pot and continue to cook for another 20- 25 minutes or until the bread is a nice deep golden brown. If not using dutch oven, the bread will back a bit faster so check after 40 minutes for a nice deep golden brown loaf. (When in doubt of doneness check internal temperature . 200- 210 degrees)
Once baked through, remove pot from oven, pop bread out of pot and place on a cooling rack. Let cool for at least an hour before cutting into it.
Once cooled, slice and eat. Best eaten within 2-3 days and if you are not going to eat it that fast, just slice it up and stick in the freezer.







 One of the best things about winter is that I can have something in the oven at any time and not worry about how hot the house is going to get. I get to spend my free time (or my in between free minutes) baking up all the thing that I would not dare bake in the summer. (lots of bread and cakes) Yeah, I might complain a little about how cold it is outside (to my defense, -20 is kind of a bitch) but then I think of the super hot humid days that come during the summer and cringe. At least when its cold out I am able to get warm, (que oven) but when its super hot and humid, I just turn into something that border lines a wet towel and the rabbit animal… Not so pleasant.
  The stuff, which isn't a whole lot… Flour and salt. A mixture of honey, water, and yeast. And olive oil.
 Mix together the wet and dry…I used my nifty dough whisk, but a wooden spoon or even your hand works. Mix mix mix. The dough should be really slack and sticky. And guess what.. no need to knead! Just make sure the dough is uniformly incorporated…hehe.. uniformly incorporated… sounds weird.
 Drizzle the dough (don't worry about making it into a ball, a blob is good) with a little oil and place in a nice warm place topped with a towel to rise for about an hour or until dough has doubled in size.
 When dough has finished its second rise, drizzle each with another tablespoon of oil and with your fingers, fill out the pan and indent the dough, kind of like playing a piano or tickling a puppy(?)….Then layer your toppings (if you want any) Start with any herbs, then the veggies. Then last, any cheese you got.
  Pulled from the oven when nice and golden brown..set on a wire rack to cool for a few minute and removed from the pans.
 The mister was practically salivating waiting for a slice… and he was so not disappointed.