• stem+node ceramics
  • HOME
  • Food Recipes
  • About
  • Contact
Menu

The Lovely Crazy

Street Address
City, State, Zip
Phone Number

Your Custom Text Here

The Lovely Crazy

  • stem+node ceramics
  • HOME
  • Food Recipes
  • About
  • Contact

Beet Focaccia

October 30, 2021 Colleen Stem
IMG_7745.jpg
IMG_7757.jpg

This is me trying to get into the holiday spirit (and also trying to keep my kitchen warm. We have’t turned the heat on yet), but I think I might be thinking of the wrong holiday. Whatever. Pink bread can be spooky and Halloweenie right? And it really doesn’t even matter cause it is bread and pink and awesome so no holiday needed to eat it.

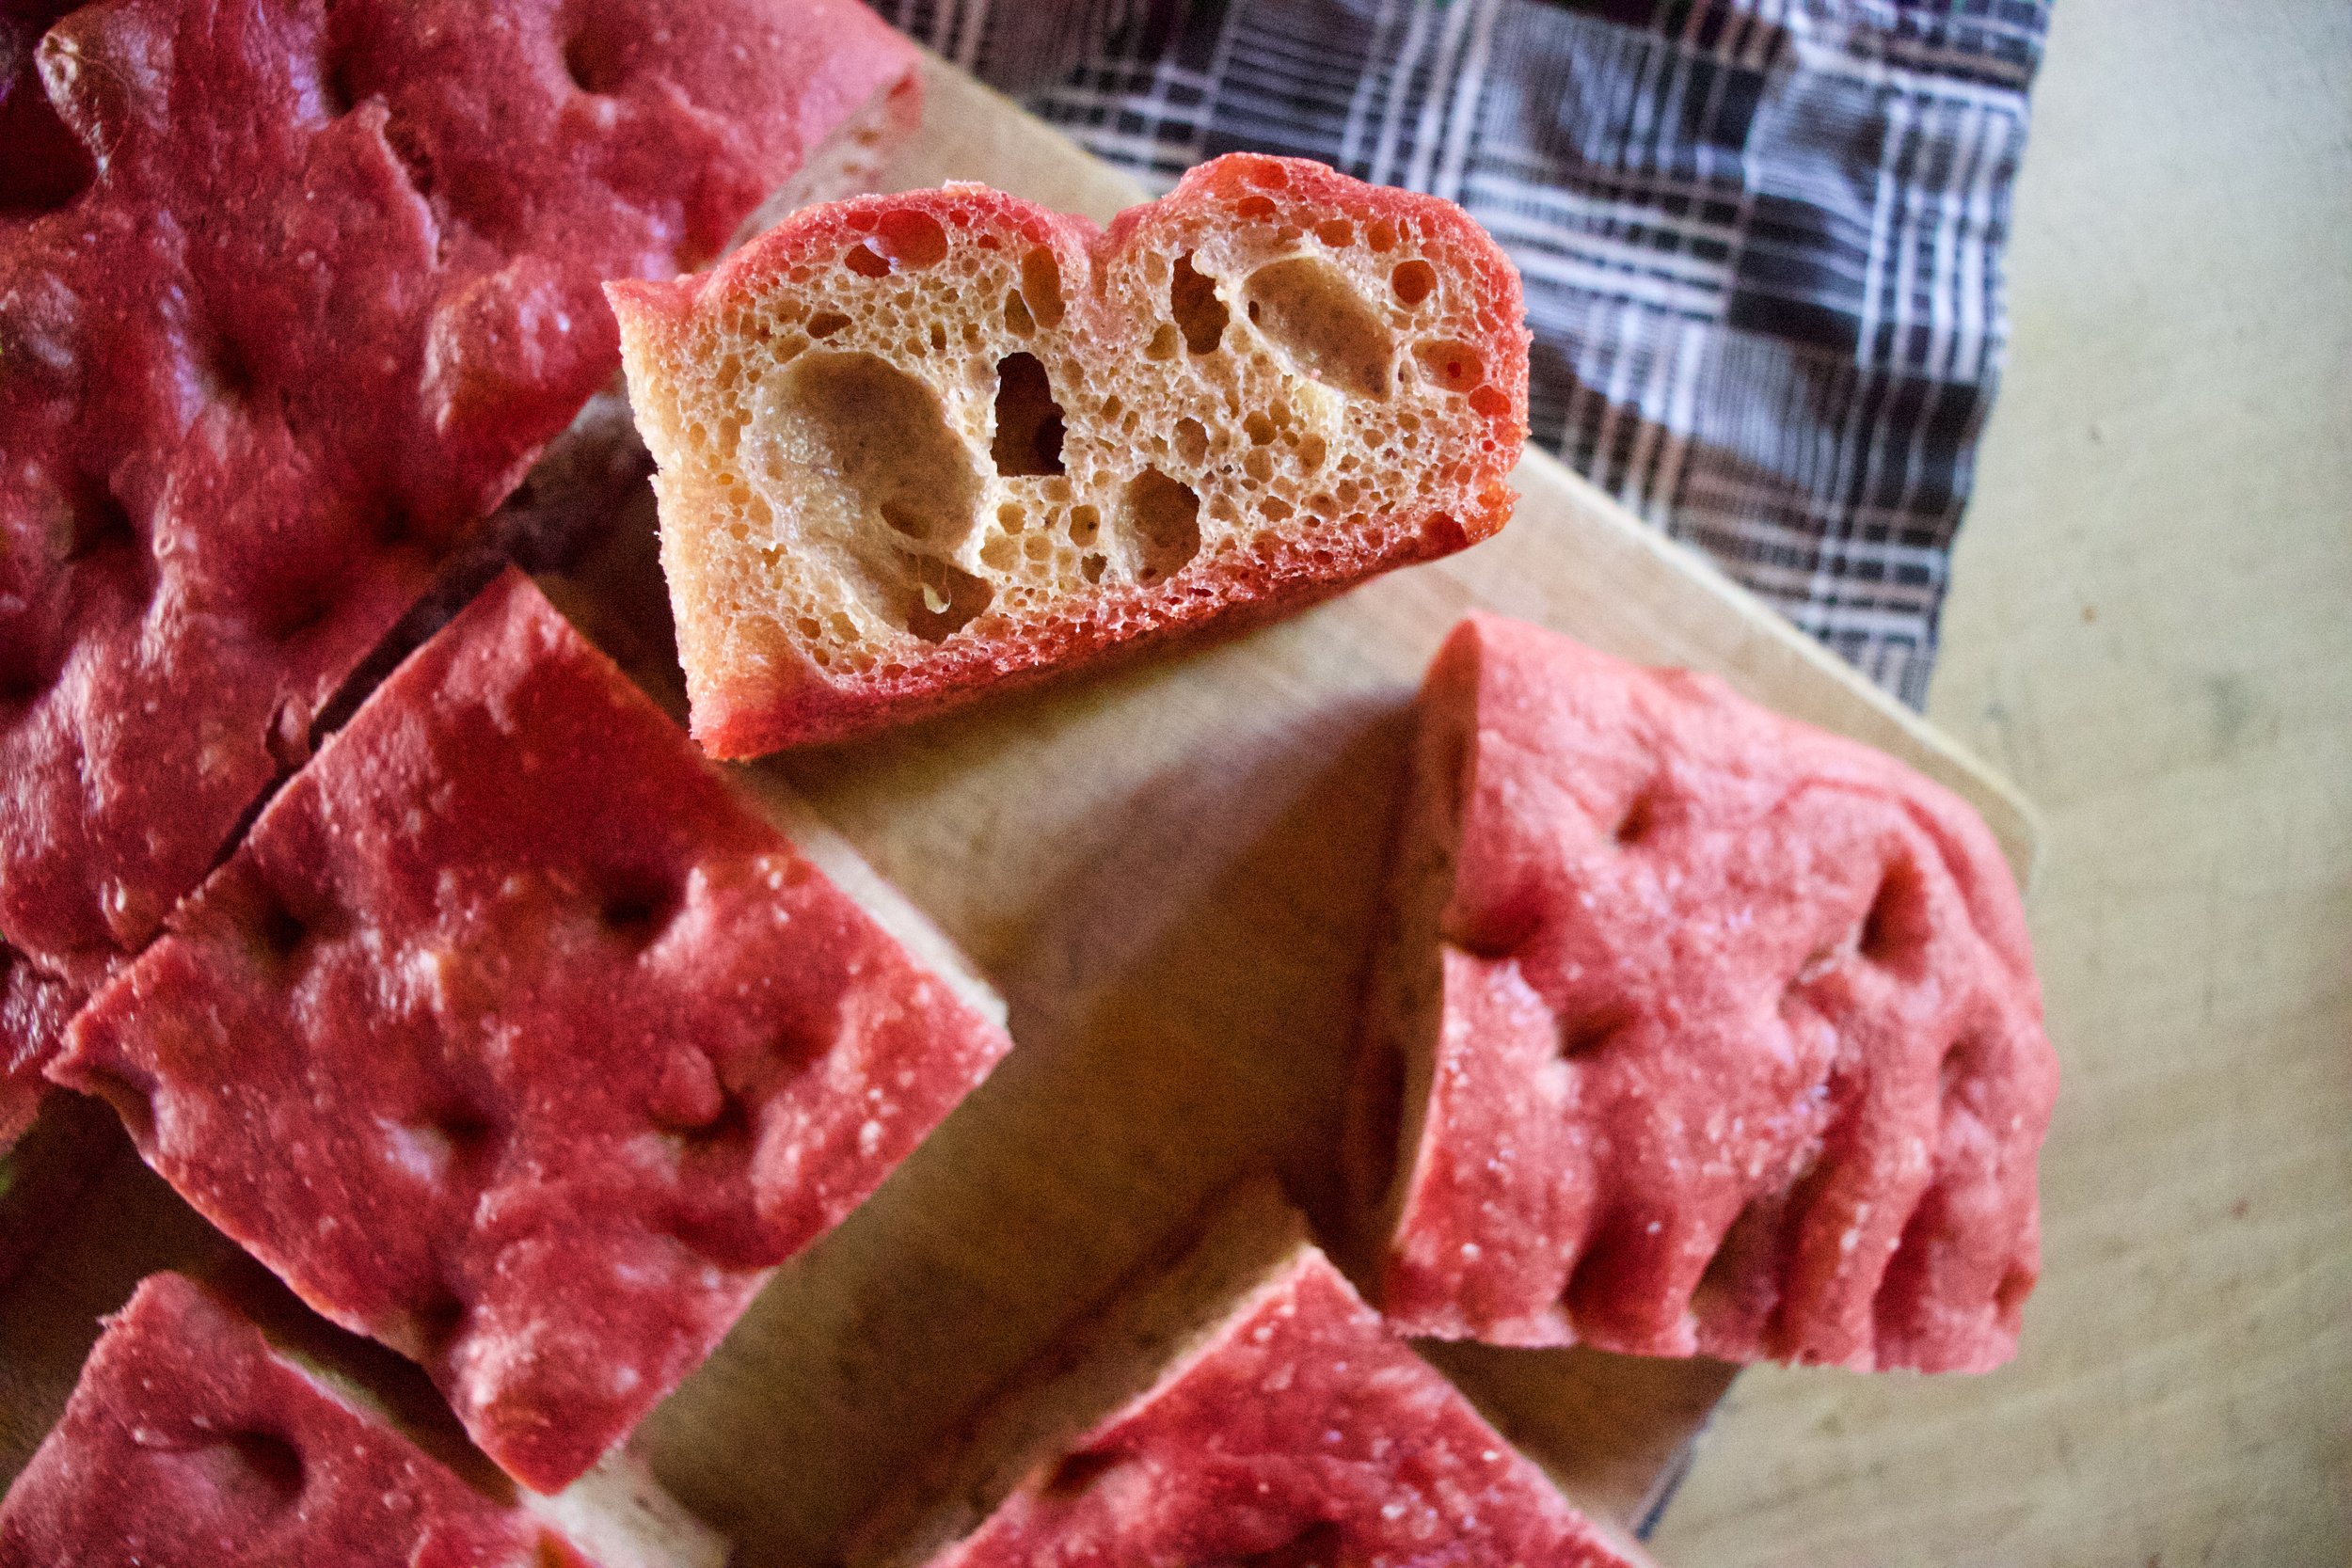
So this focaccia is pink because it is made with pureed beets and before you go and say anything, no it doesn’t really taste like beets. It tastes like amazing bread with a soft tender interior and a nice crispy crust that might have a very slight earthiness to it that only makes it better. It is simple and delicious and again, pink. That is it.

Now you want to make it and all you need is a few beets, flour, yeast, salt sand oil then you are good to go. What a nice little weekend baking project for the last few days of October. And if the pink bread creeps anyone out, well all the better!

Now to the beet focaccia.

The stuff. Roasted beets, flour, yeast. salt, water, and there should definitely be olive oil in this picture.. I don’t know where it went.

First, peel your roasted beets (or roast them and then peel them) The skin should come right off and a little left over skin is fine. Oh and make sure you eat left over skins. They are fanatic.

IMG_7672.jpg
IMG_7682.jpg

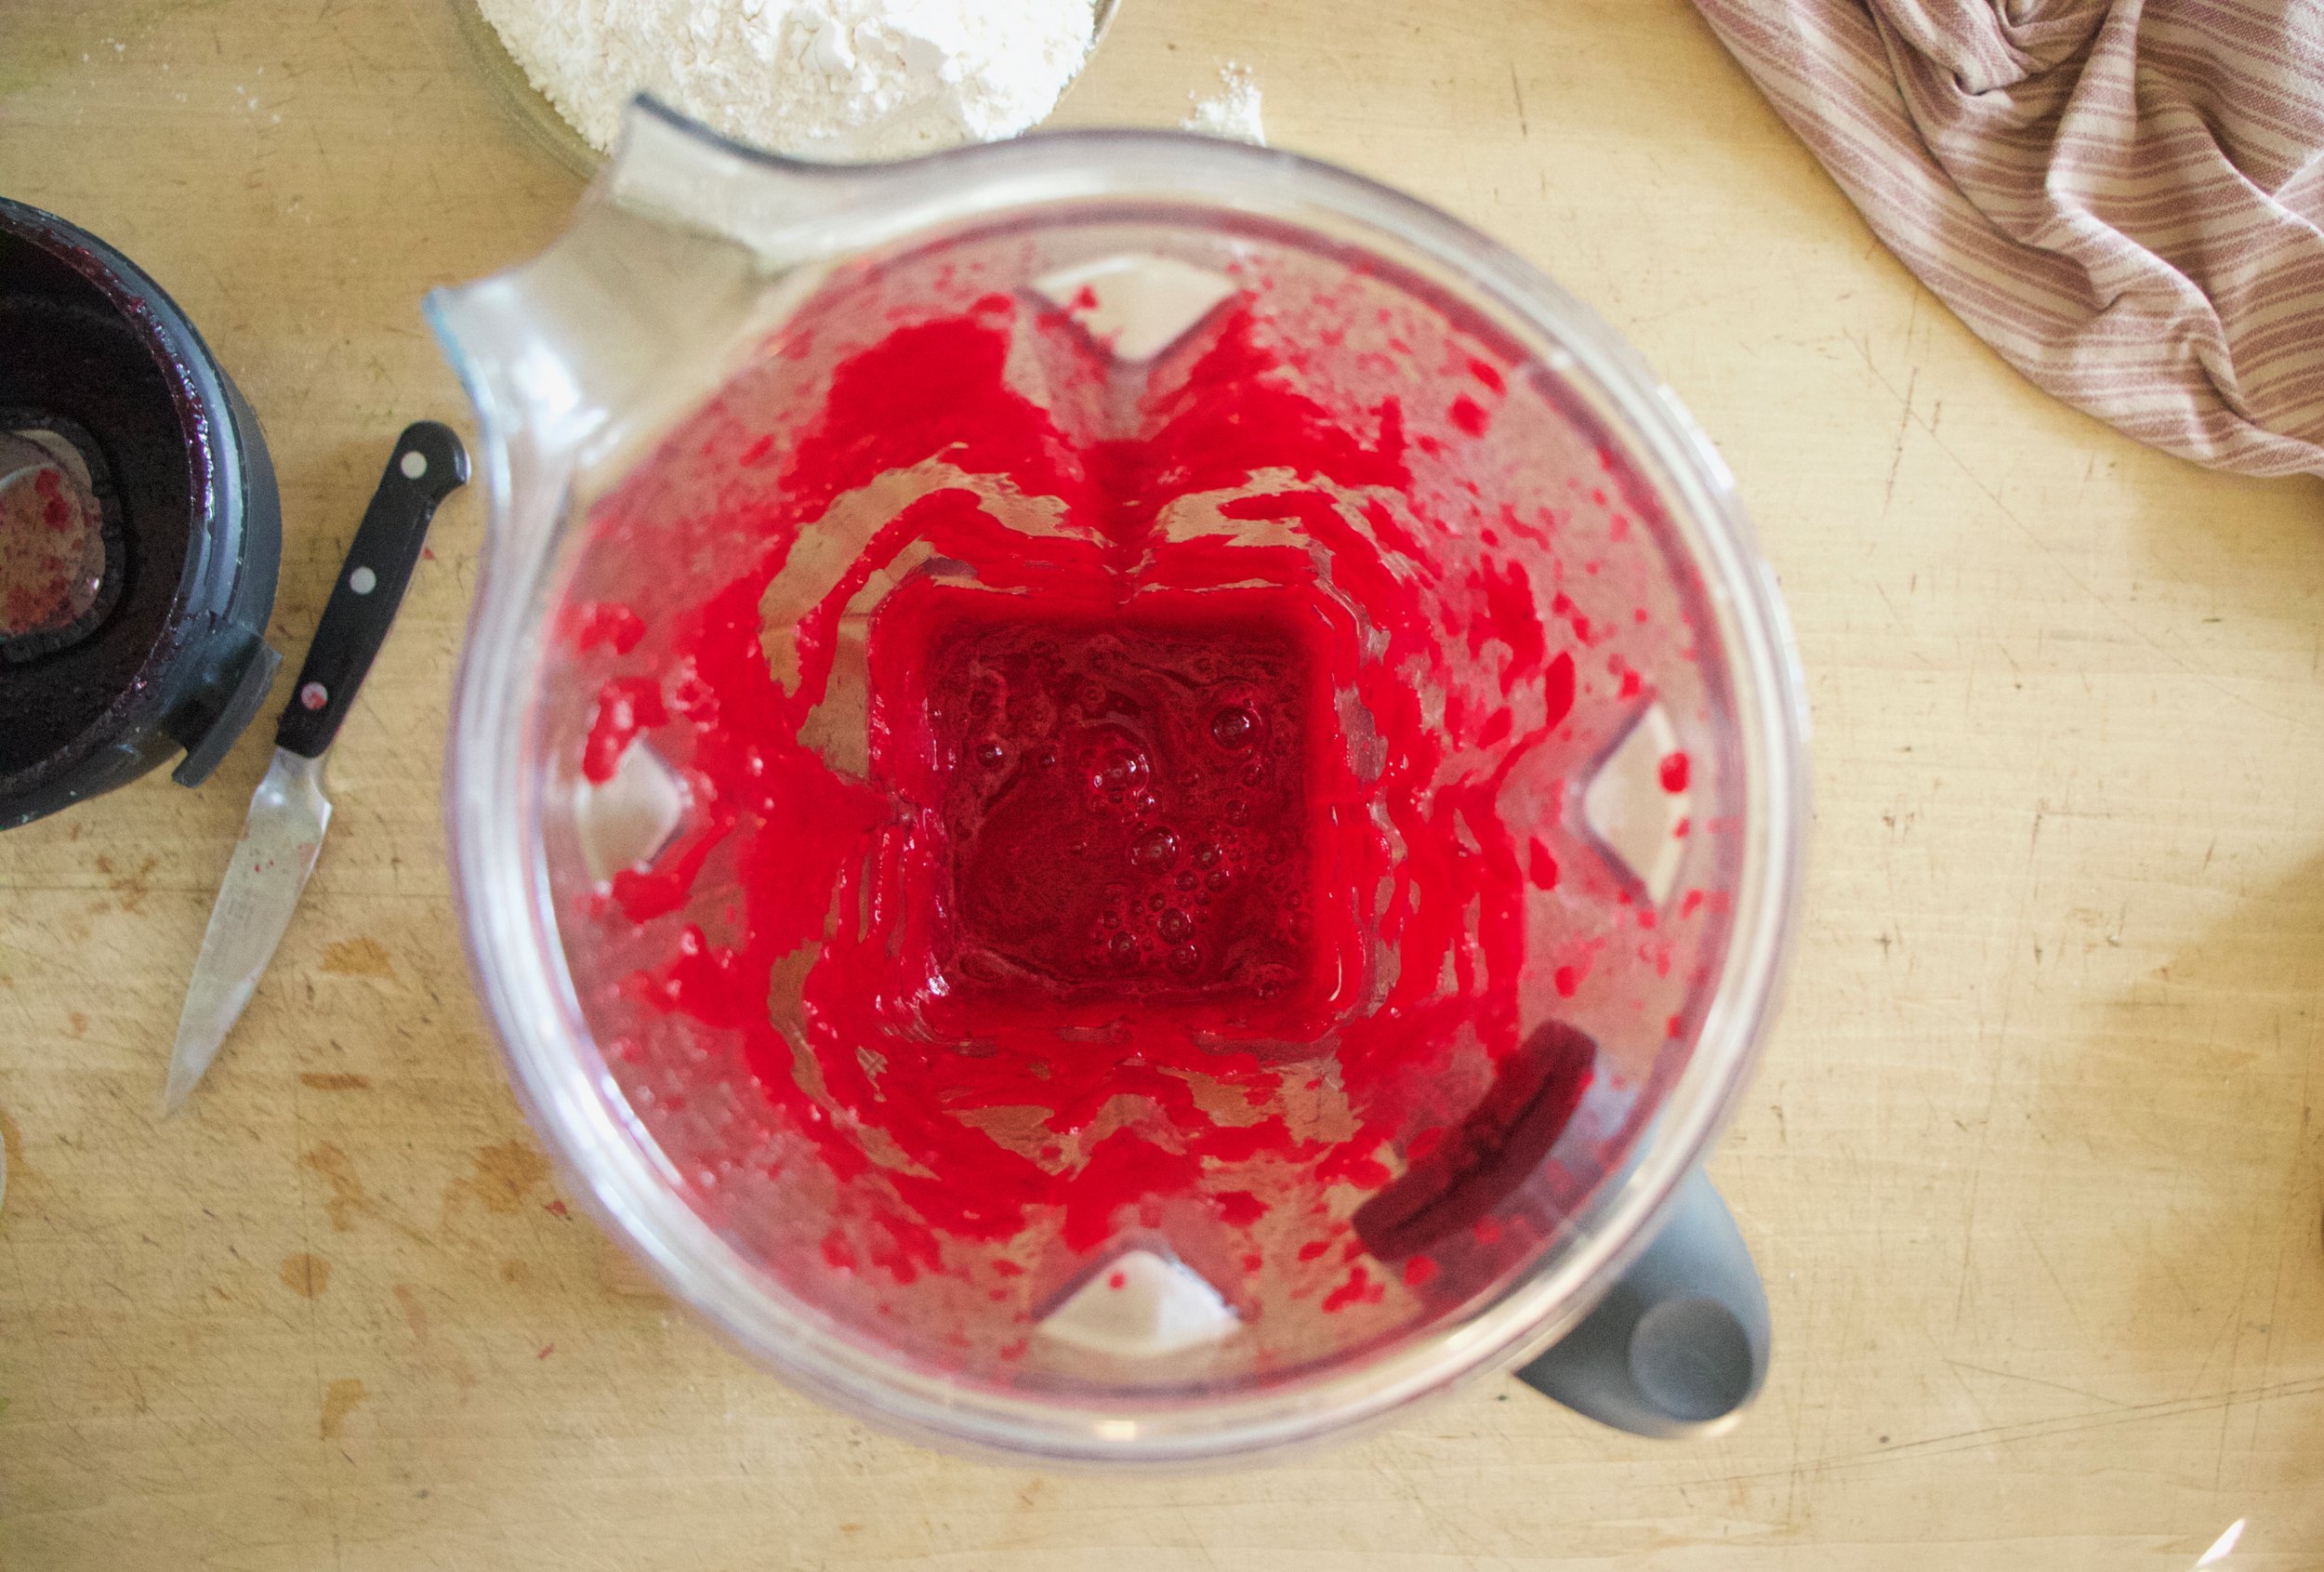
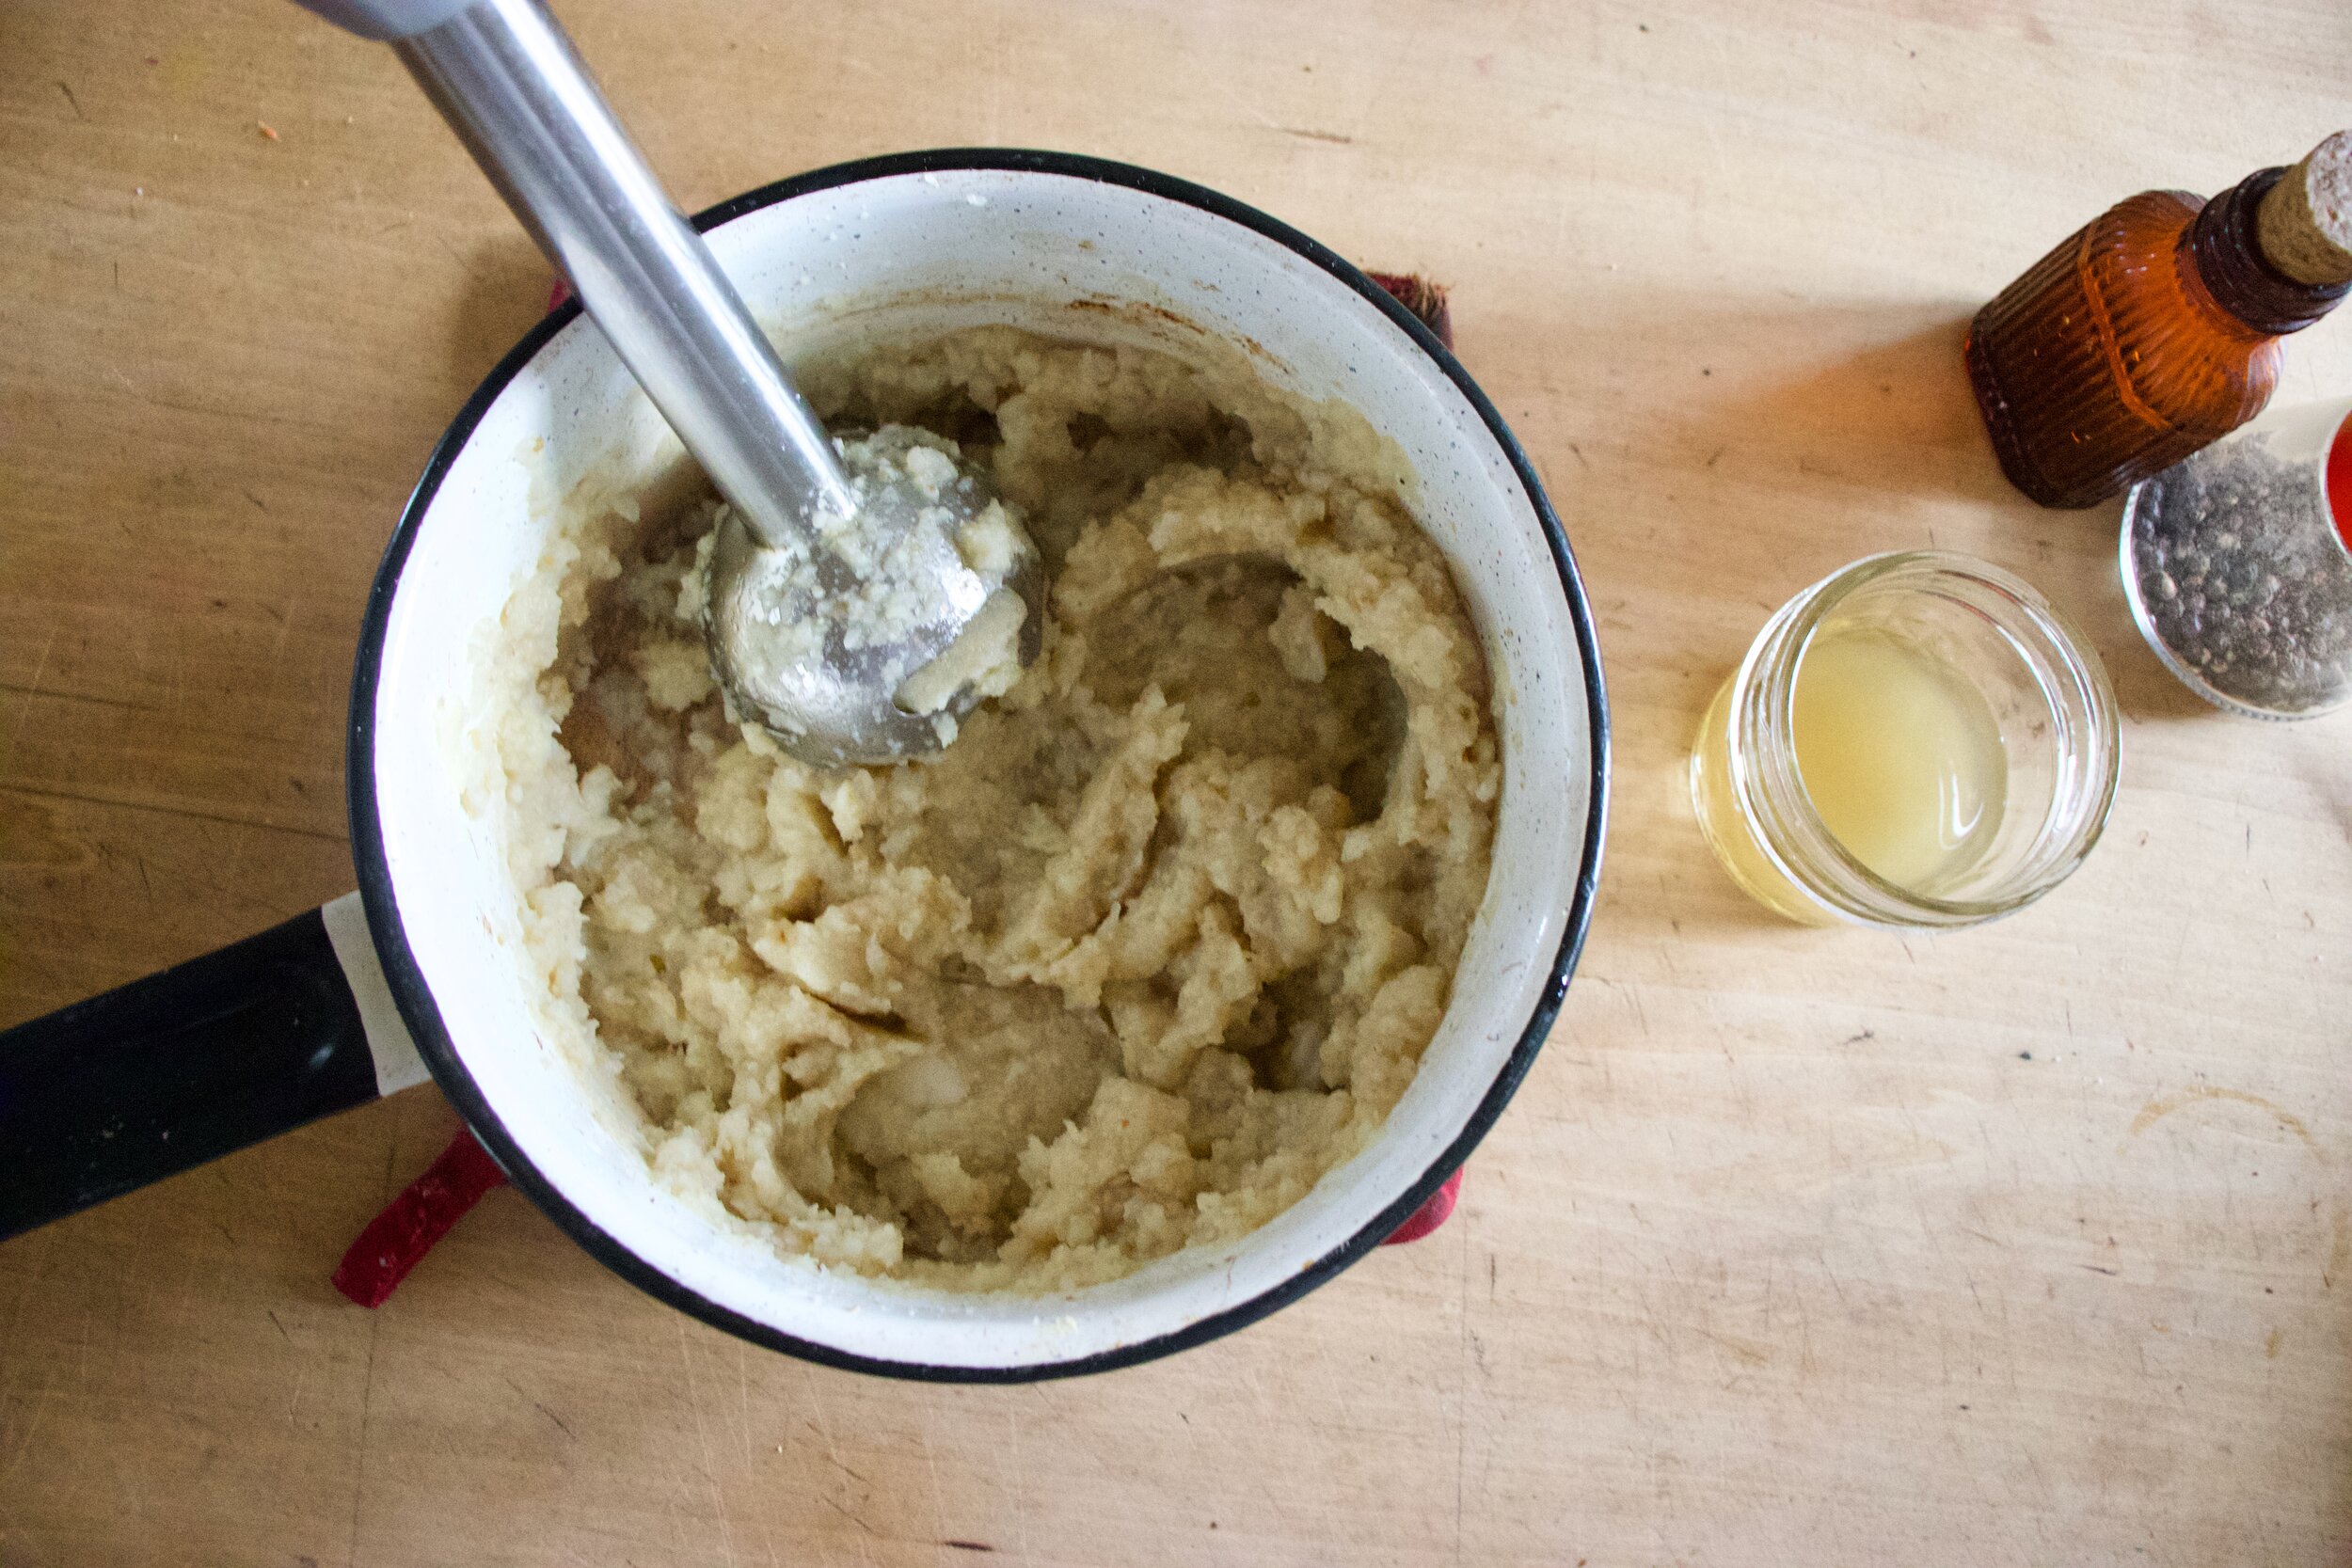
Now puree the skinned beets unite smooth.

IMG_7684.jpg
IMG_7690.jpg
IMG_7694.jpg

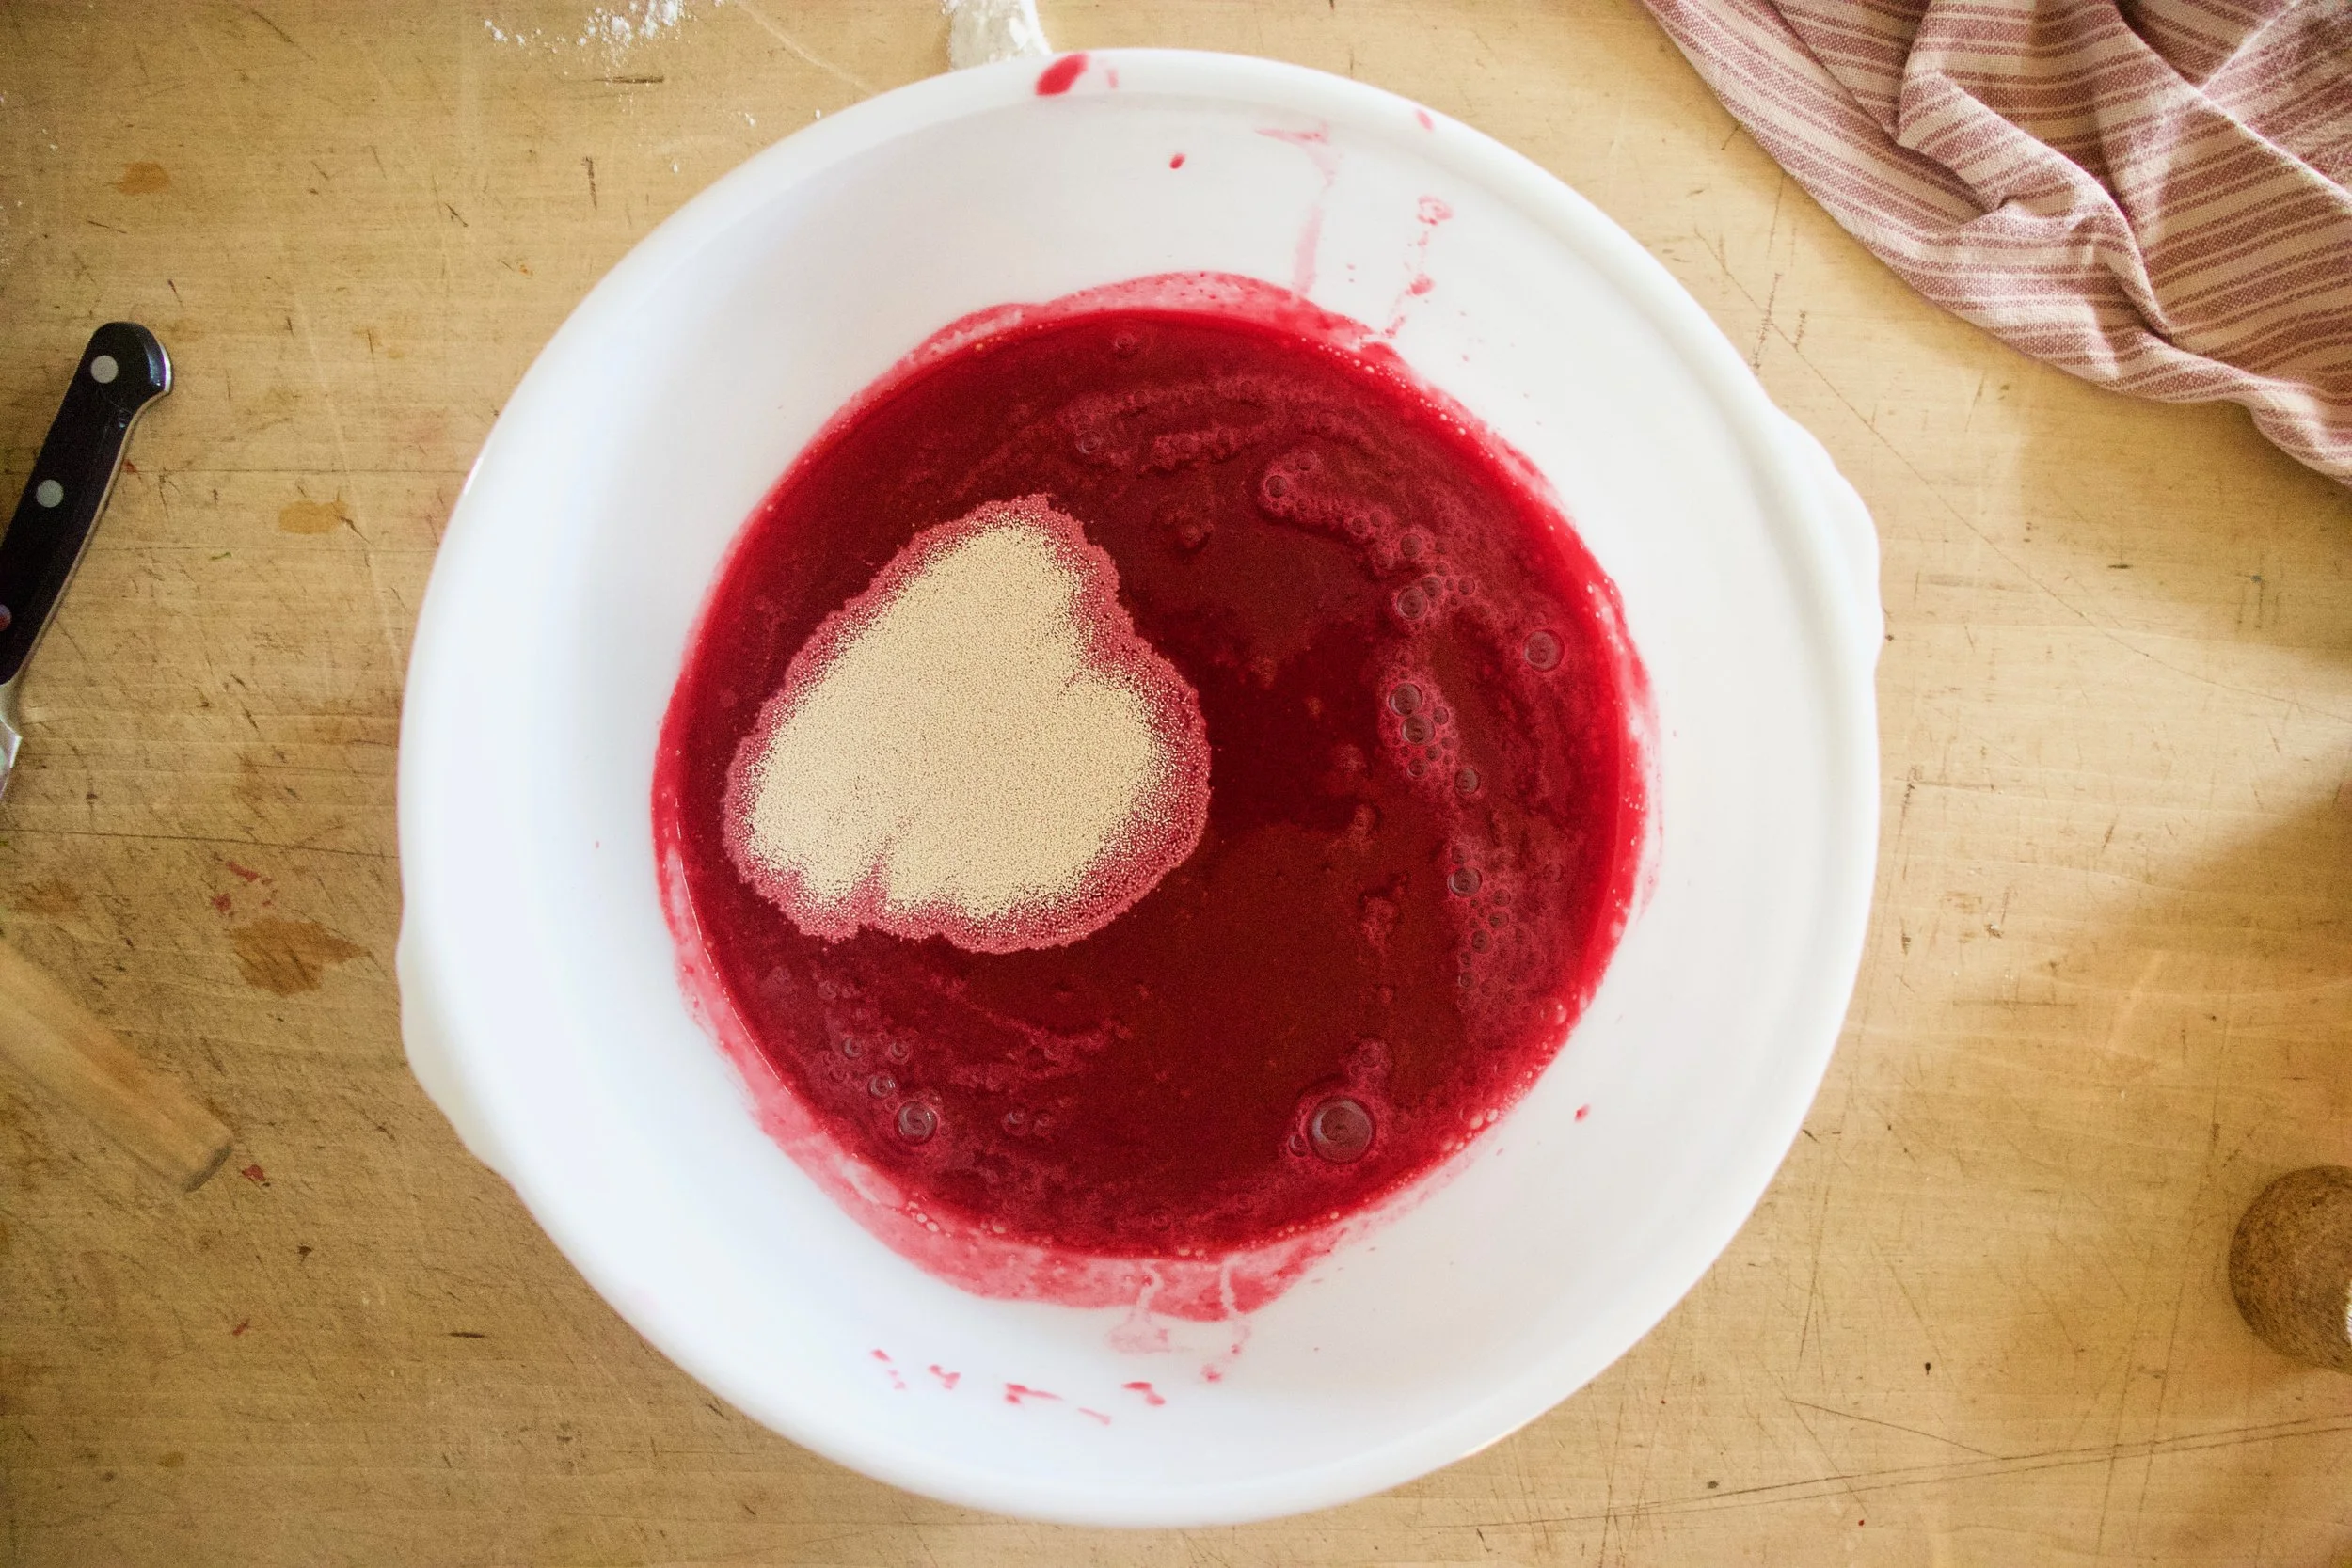
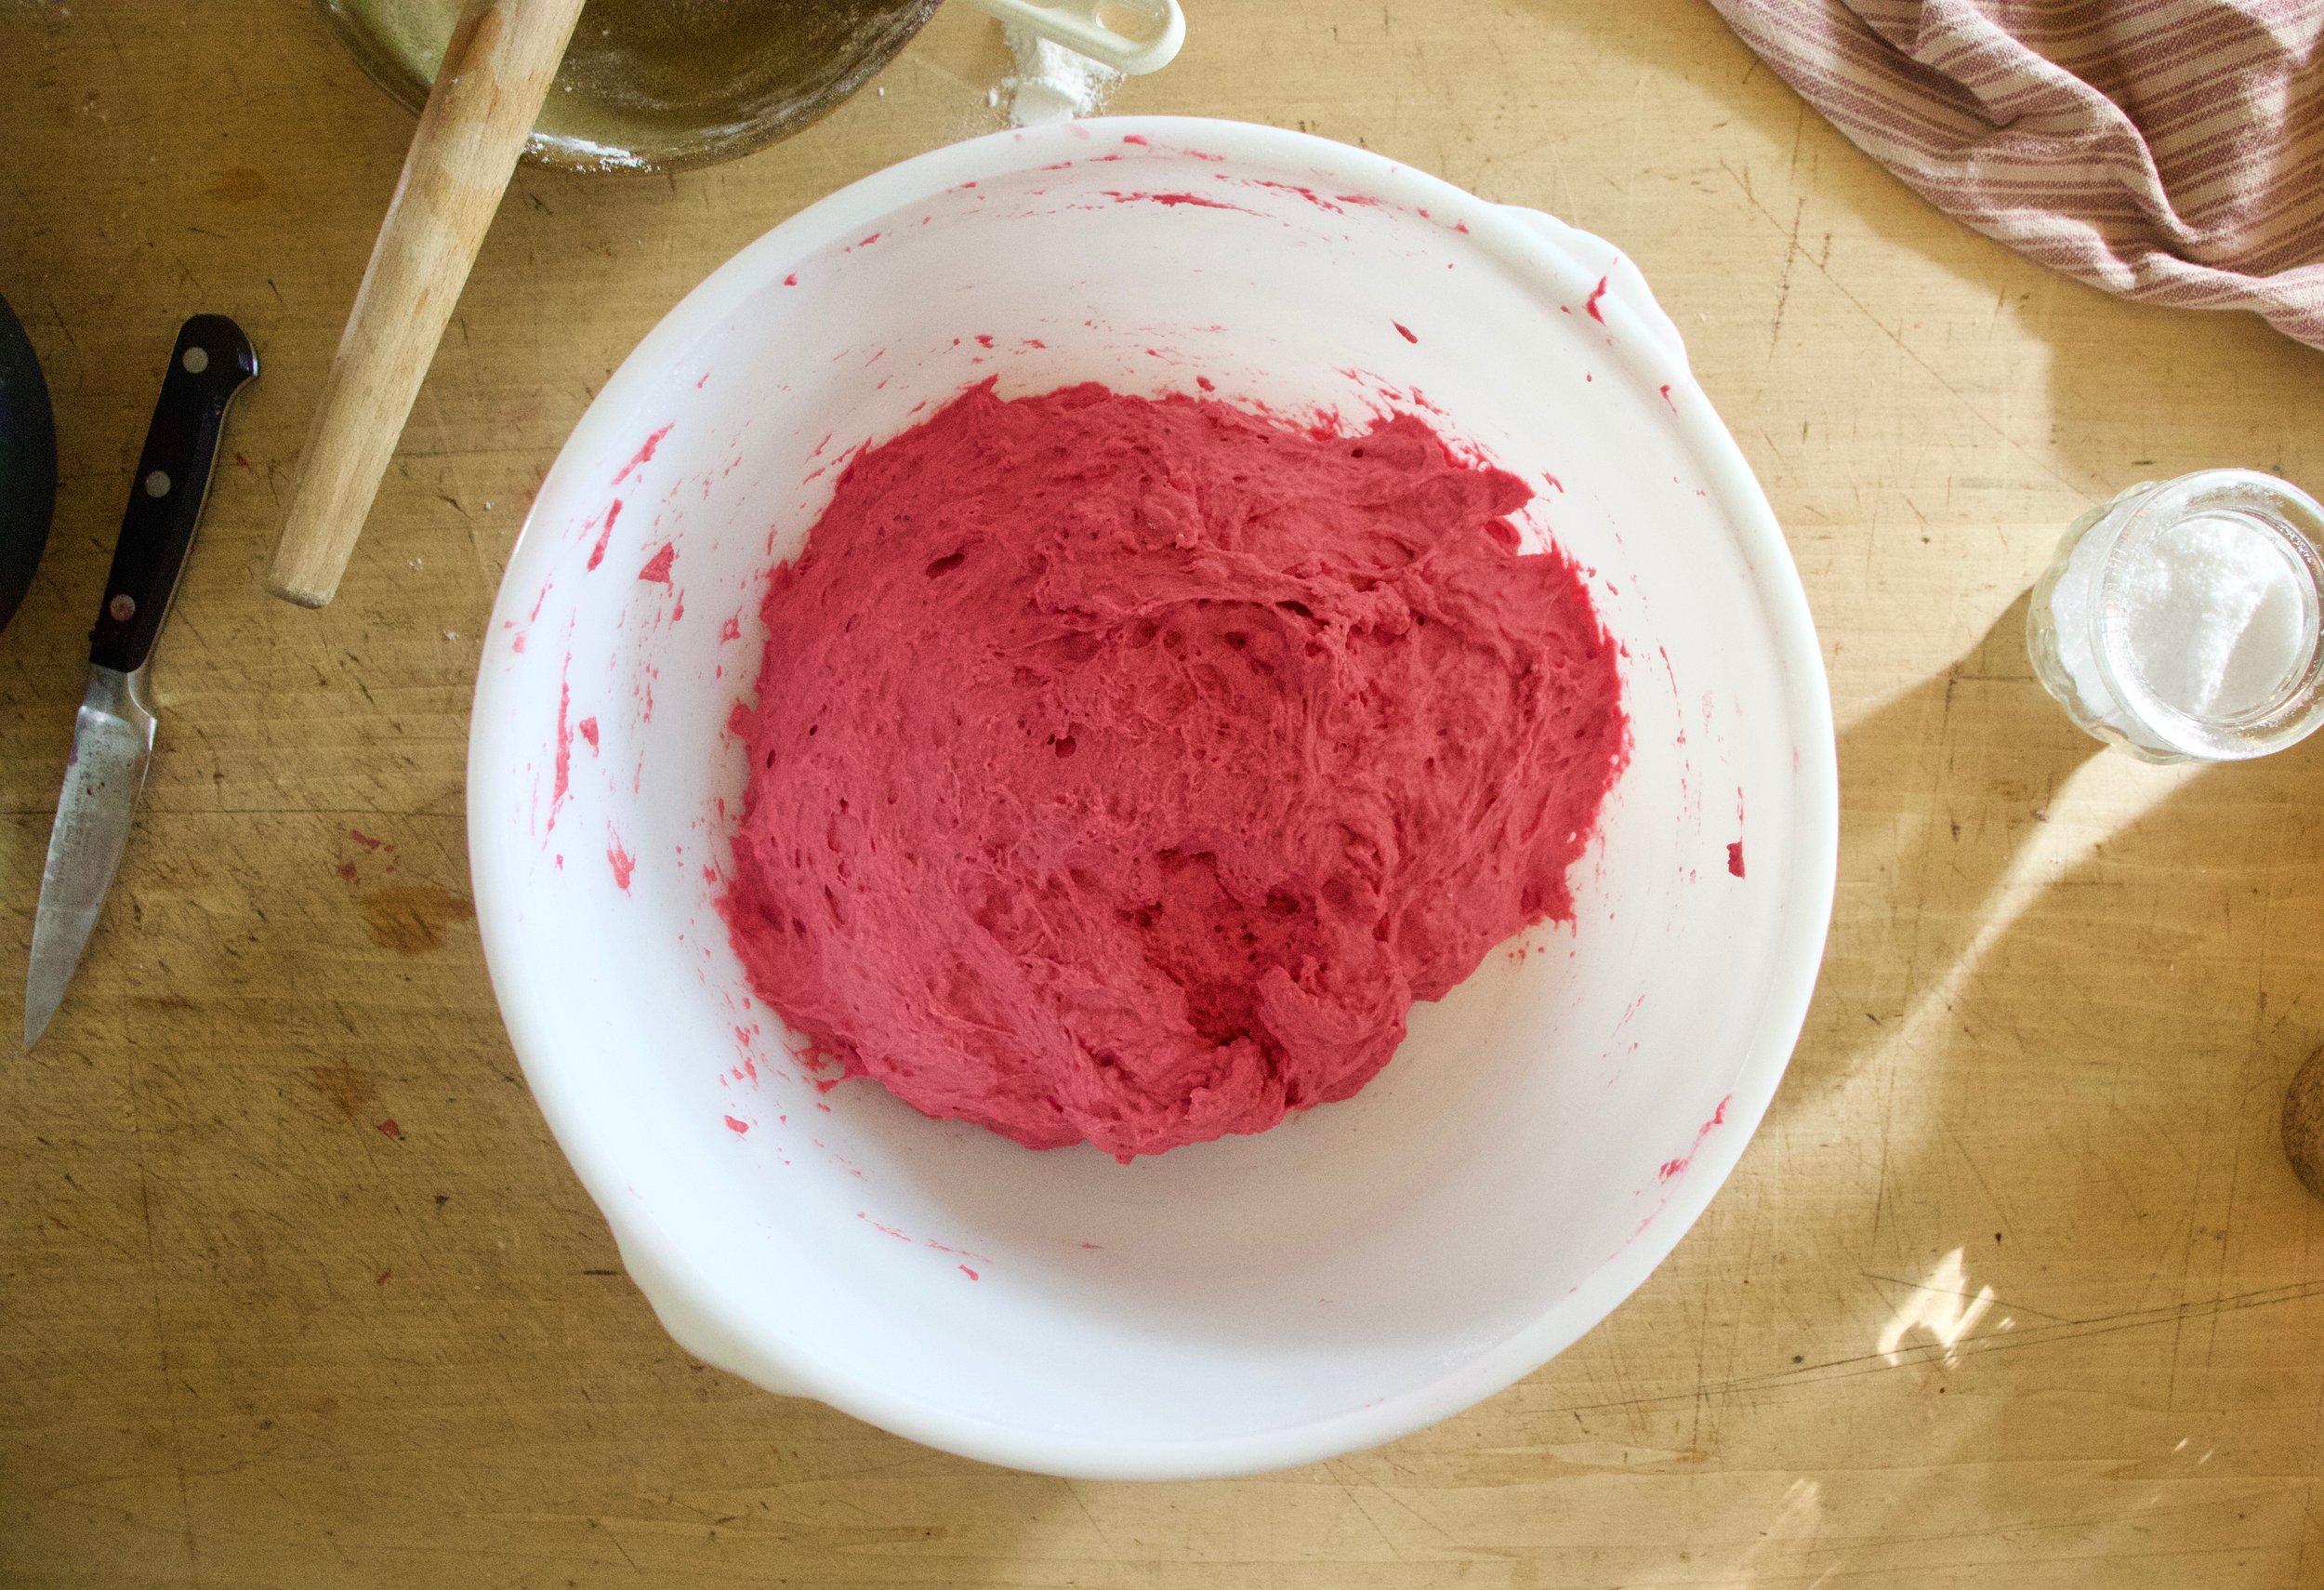
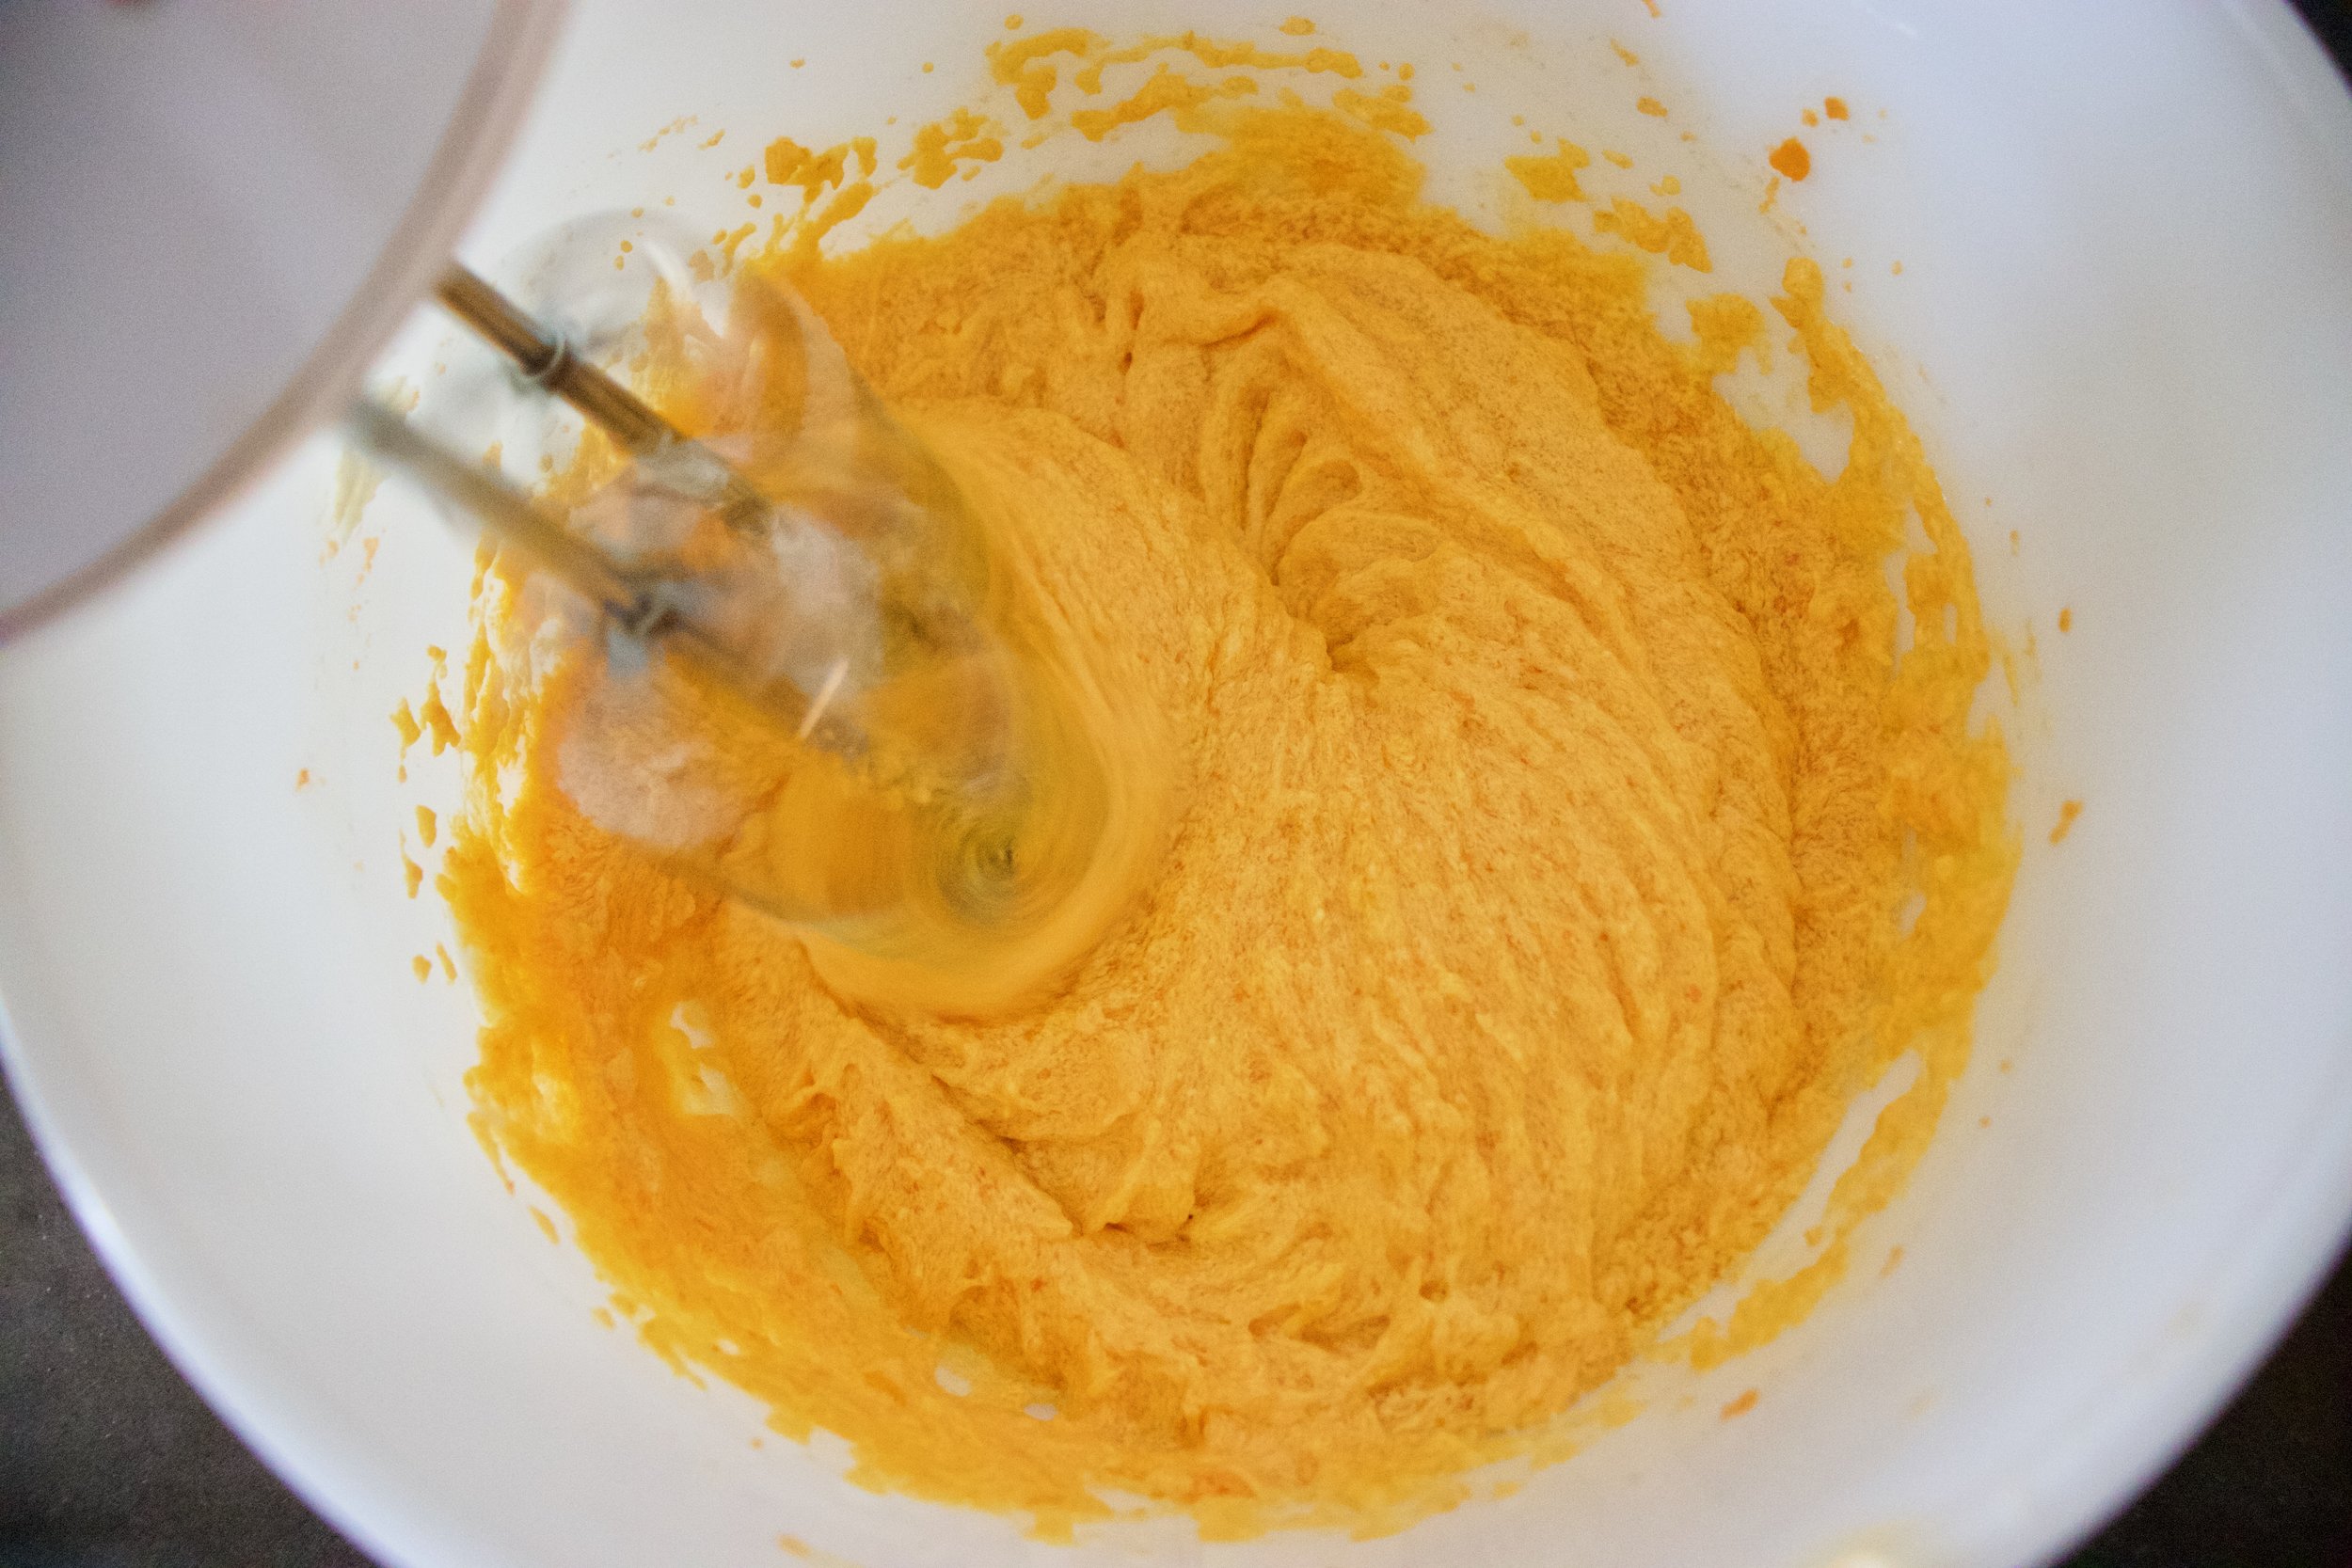
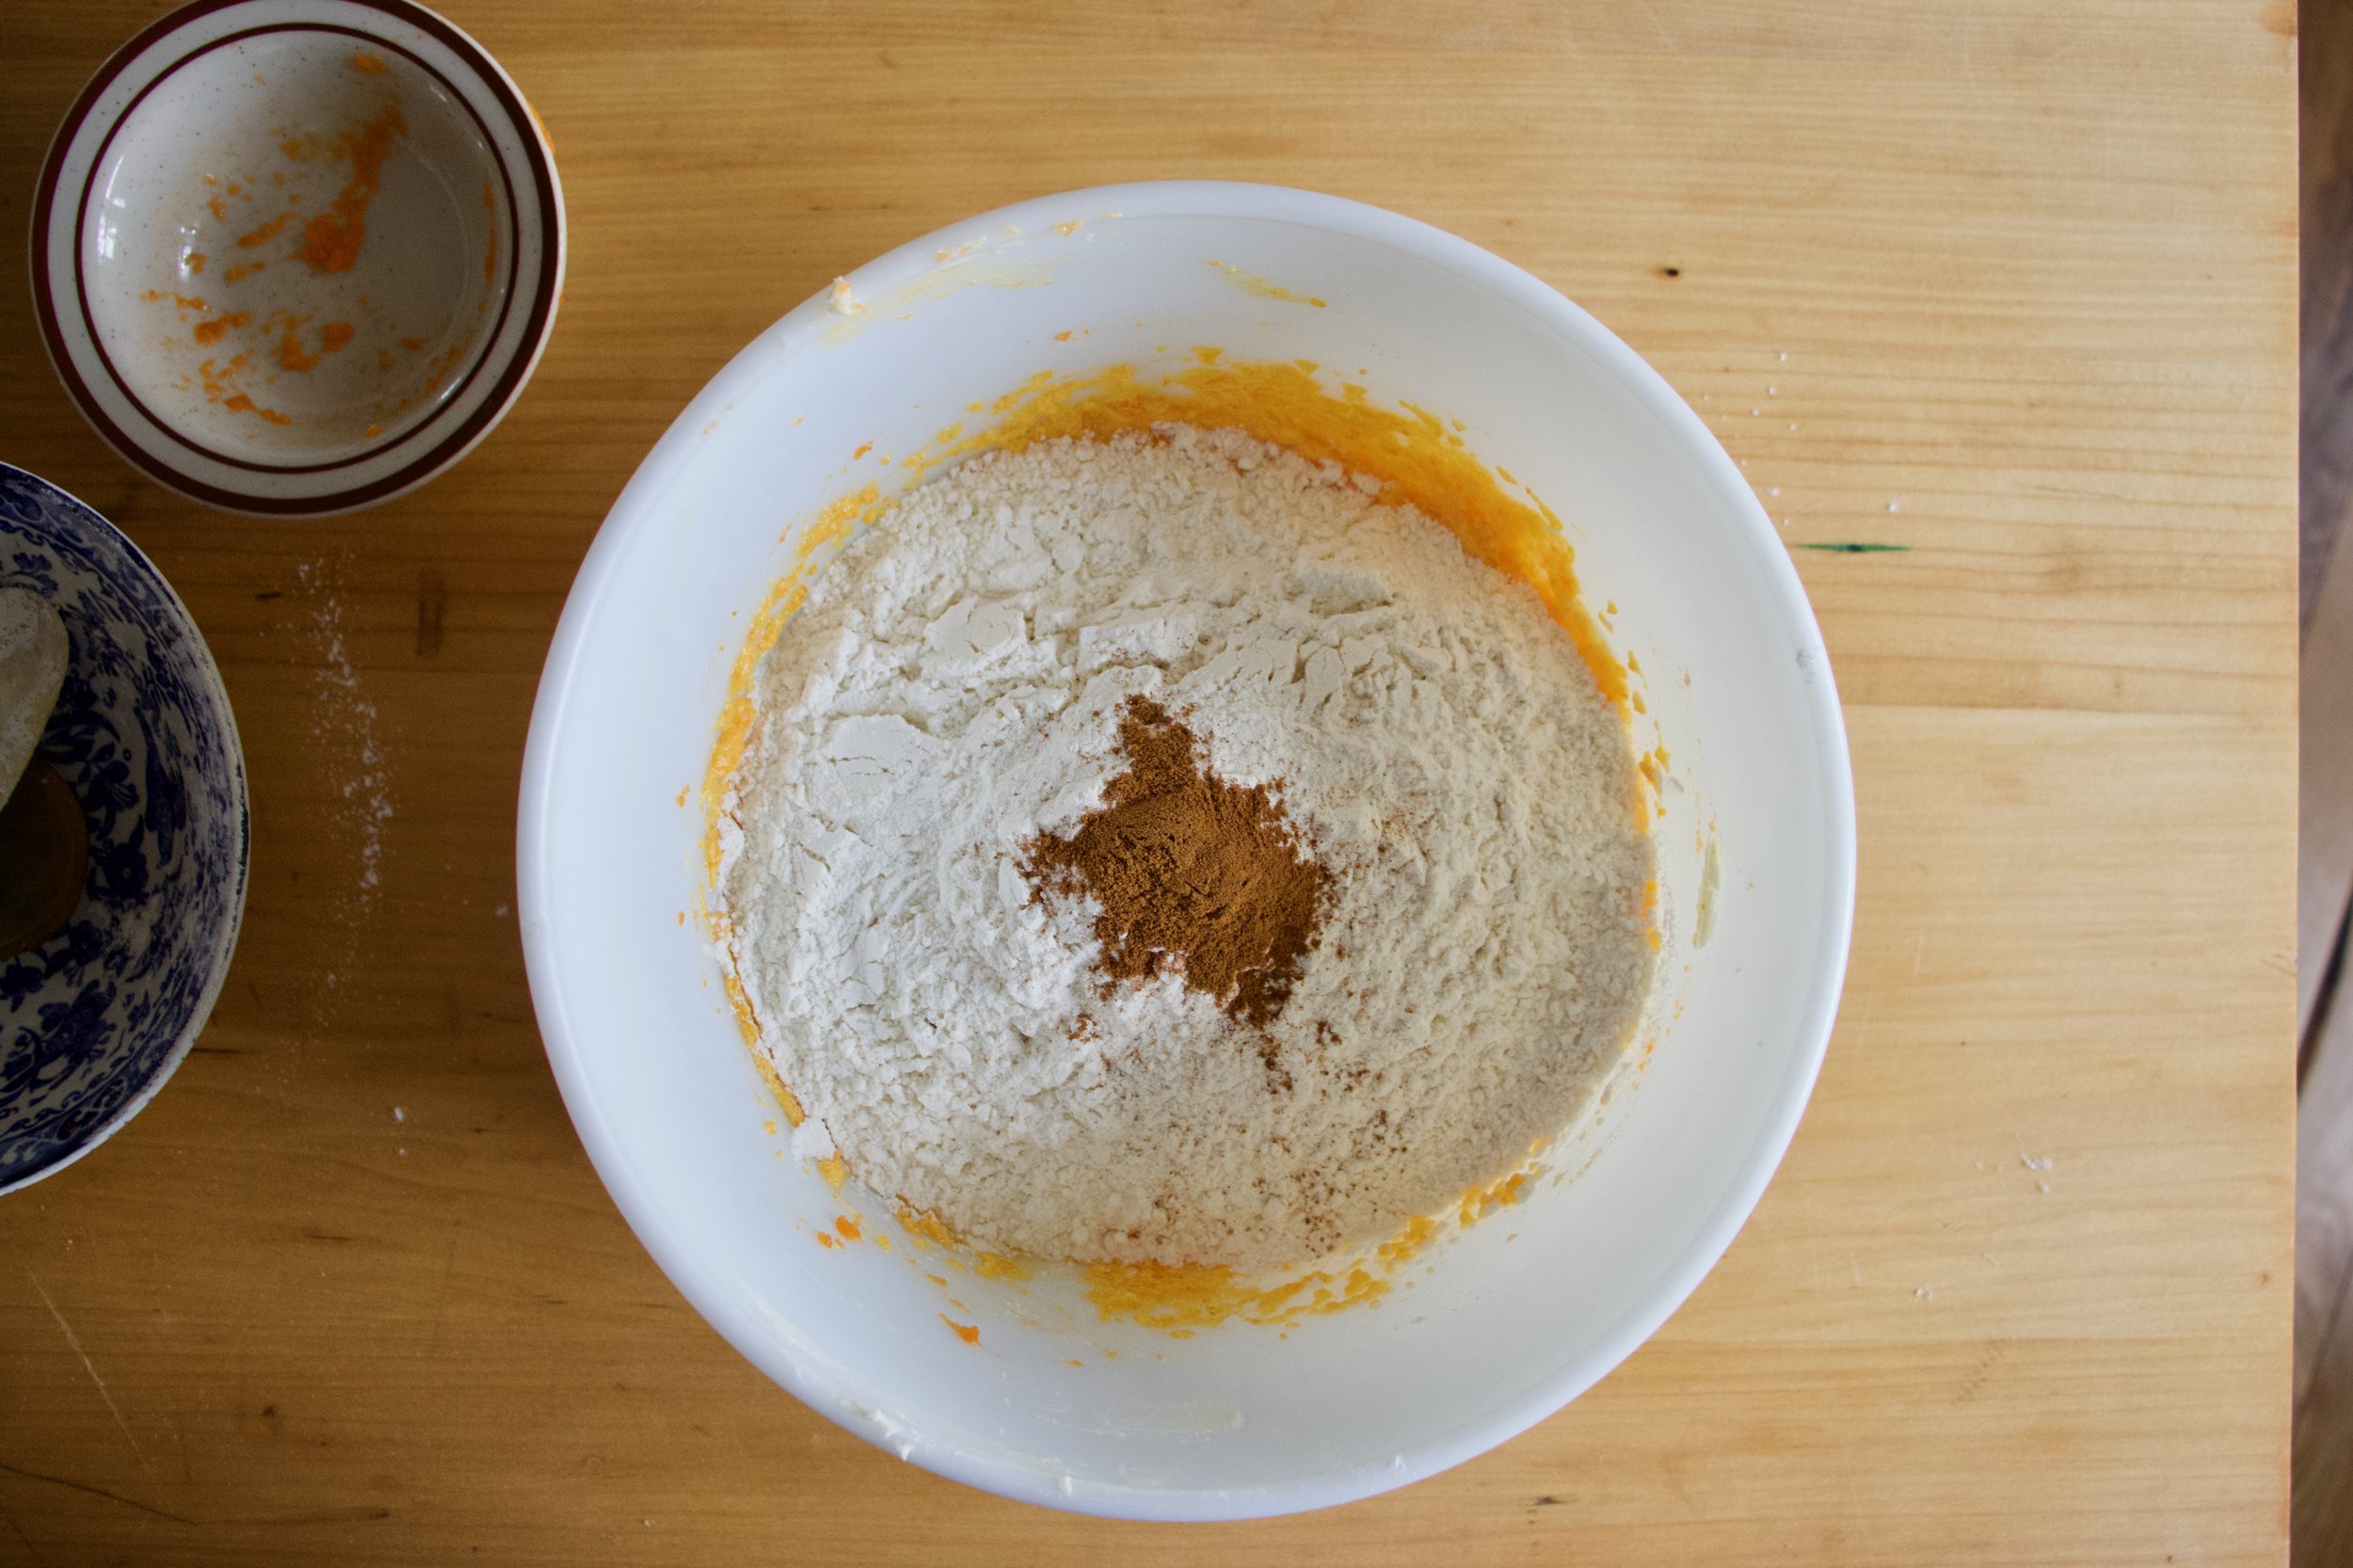
Pureed beets and water go into a big bowl along with the yeast and get mixed around. Then add in flour and a little salt and mix until a shaggy dough is formed. Cover and left rise.

Risen dough.

IMG_7714.jpg
IMG_7721.jpg

Grease baking sheet and add a puddle of olive oil to the middle. Scrap dough into the oil and gently smoosh and push dough into pan. Cove and let rest for another 1/2 hour and preheat oven.

Once dough has rested, drizzle more oil on top and dimple the dough with your fingers. Sprinkle the top with some good salt and pop into the hot oven and bake for about half an hour.

Done!

Pink and pretty and all sorts of good. Focaccia at its finest!

Now cut it up and eat it!


Beet Focaccia

makes a 9x13 inch loaf

  • 4 cups all purpose flour

  • 2 teaspoons yeast

  • 1 cup pureed roasted beets (3-4 medium beets should do)

  • 1 cup warm water

  • 2-3 teaspoons salt

  • 3-4 tablespoons olive oil

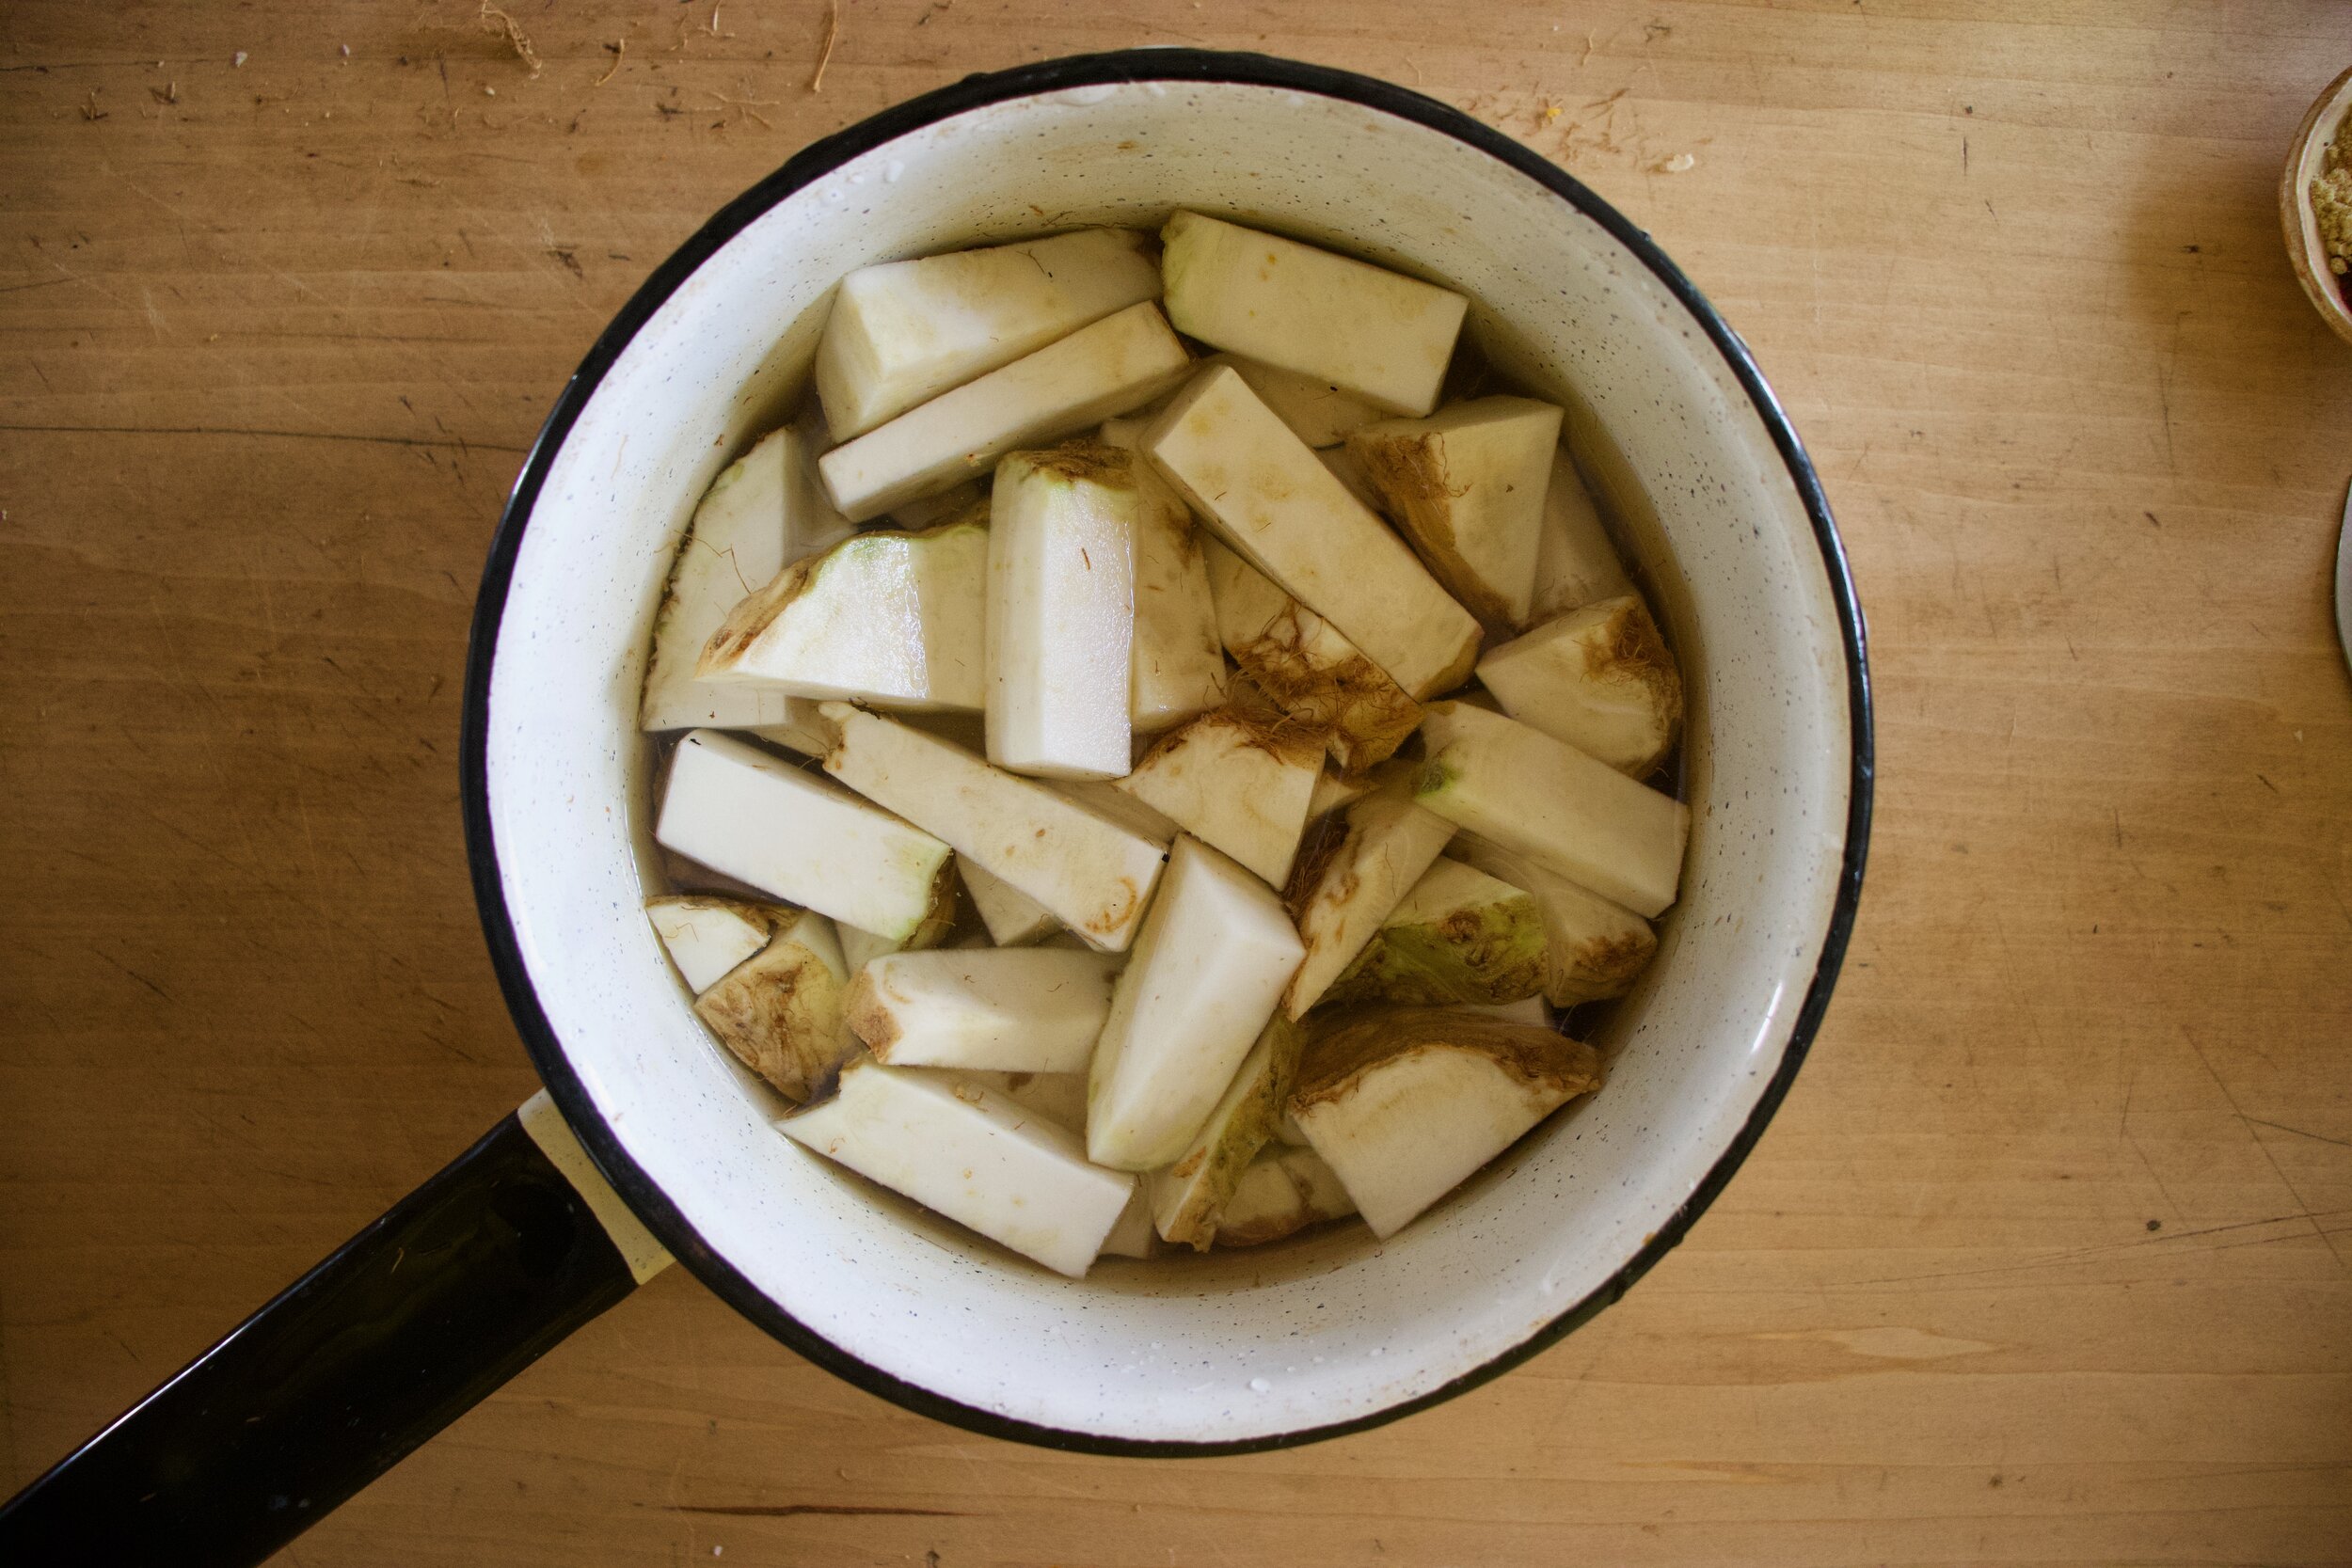
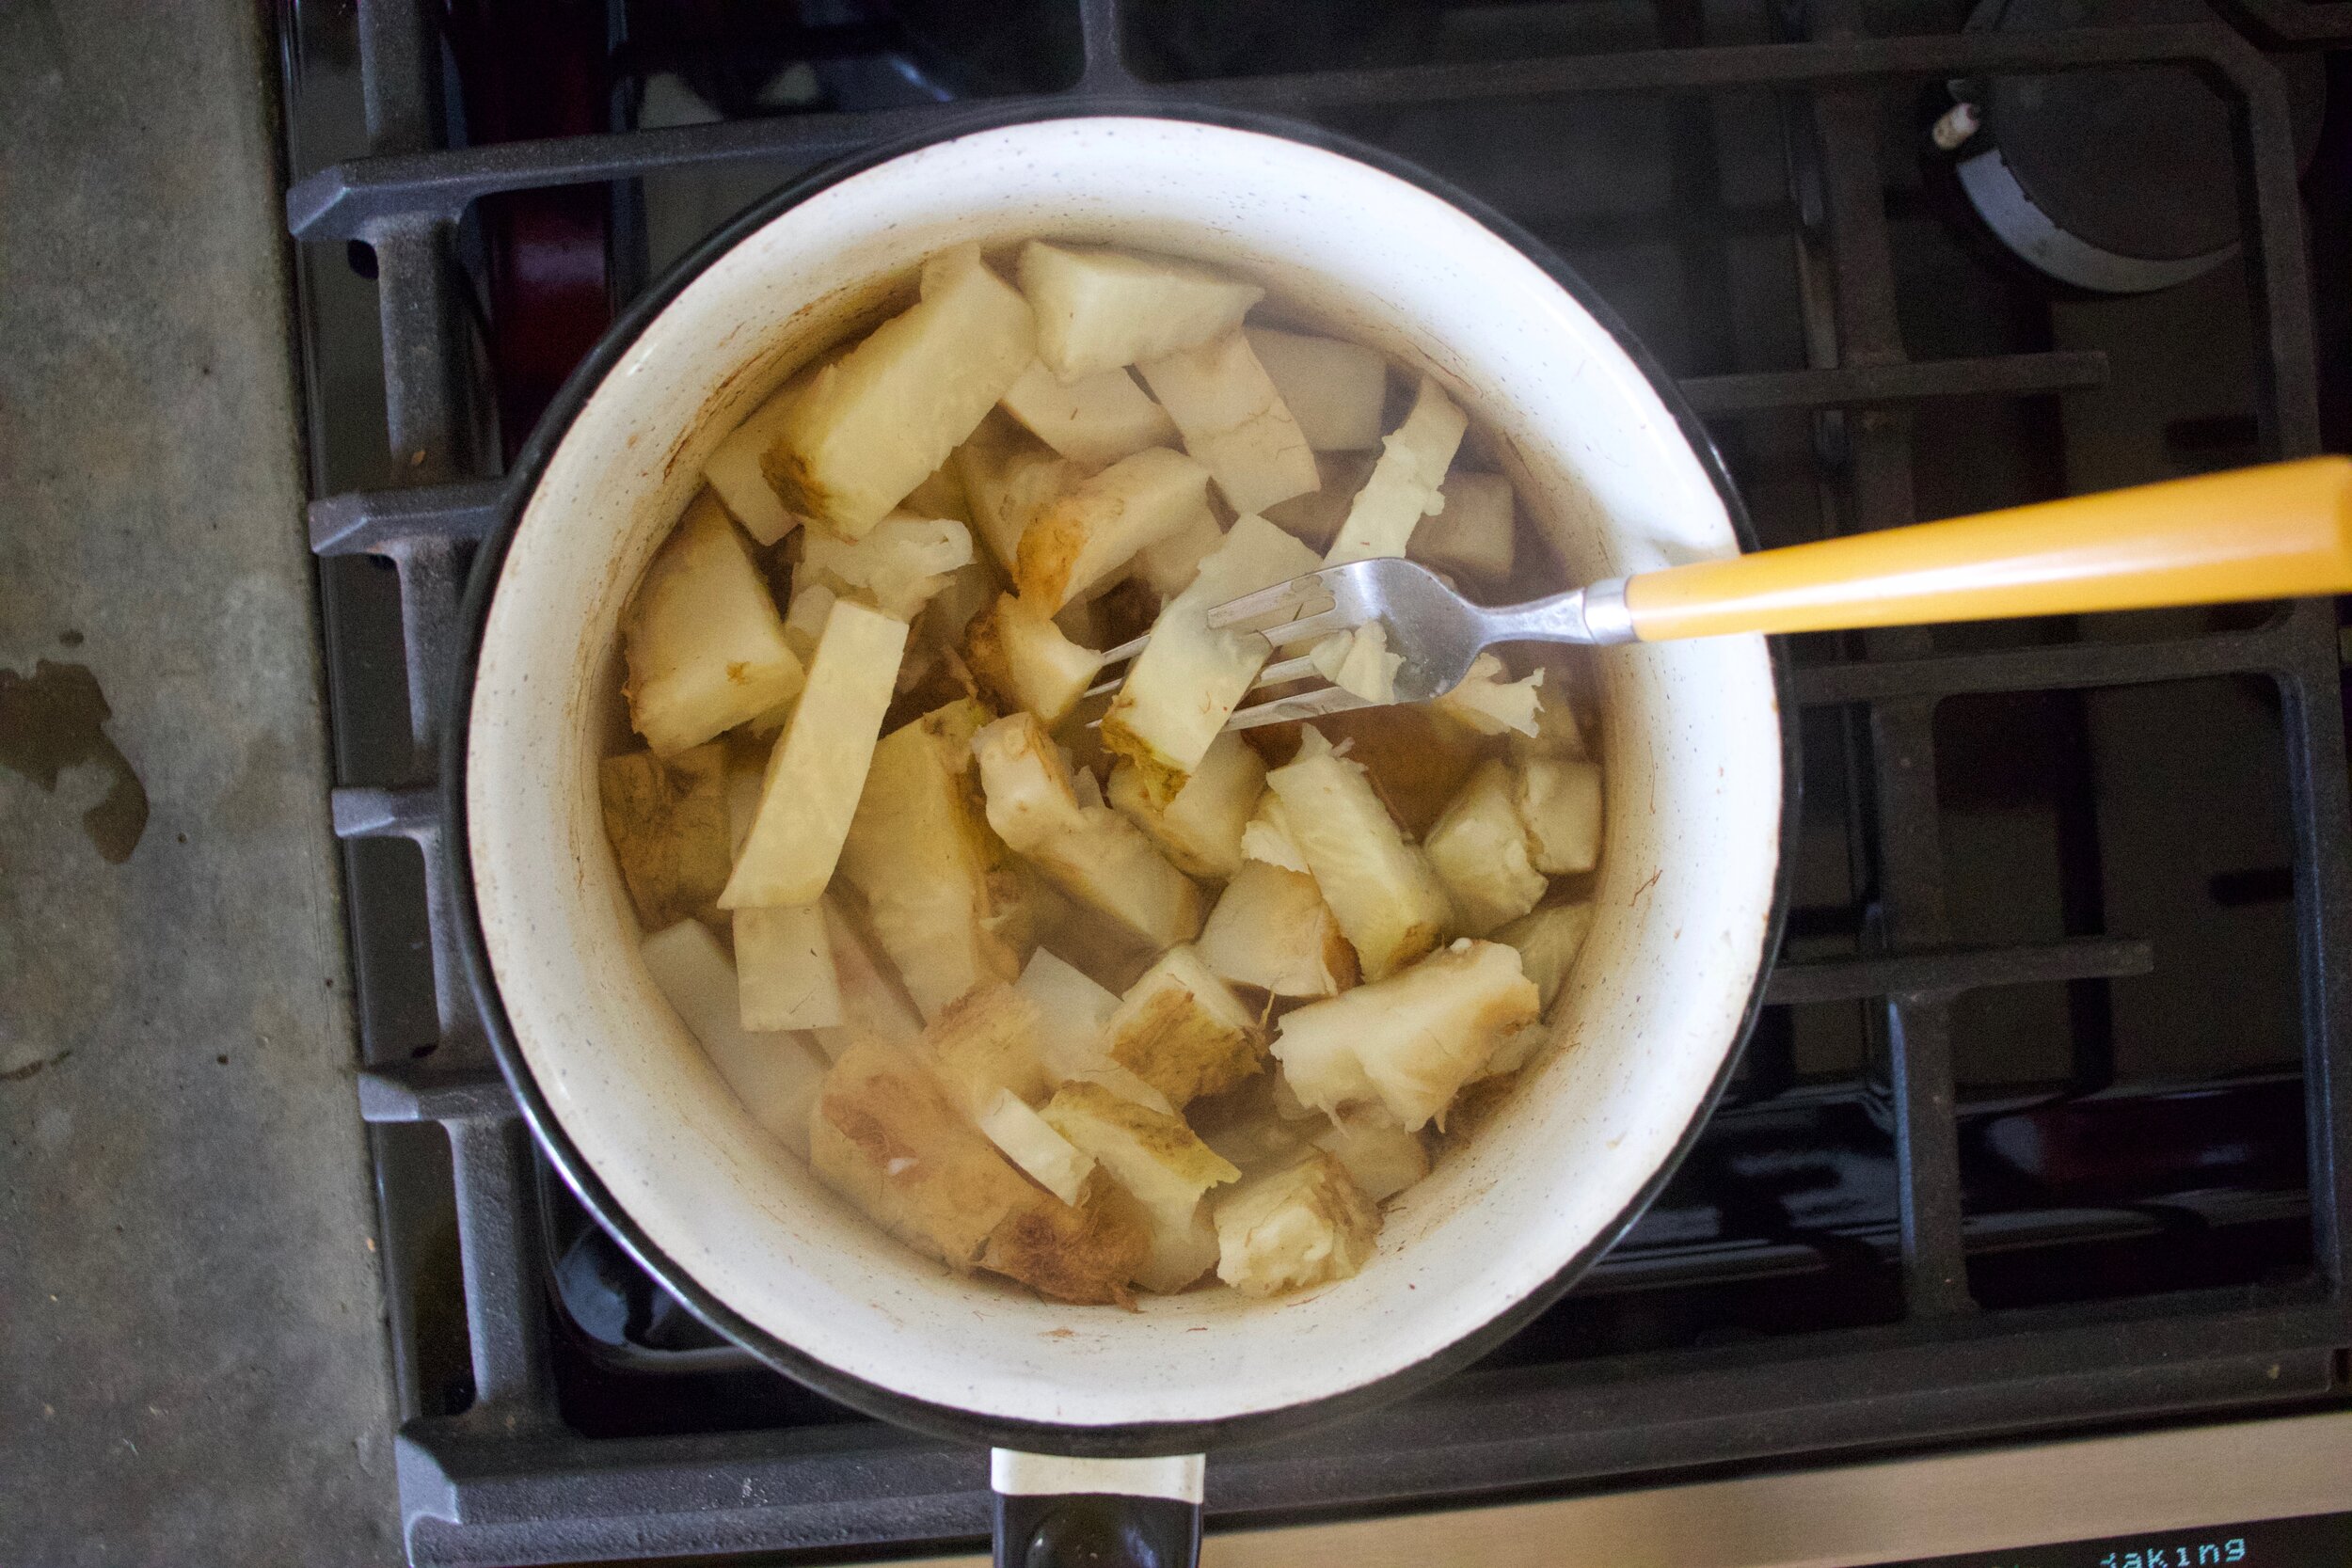
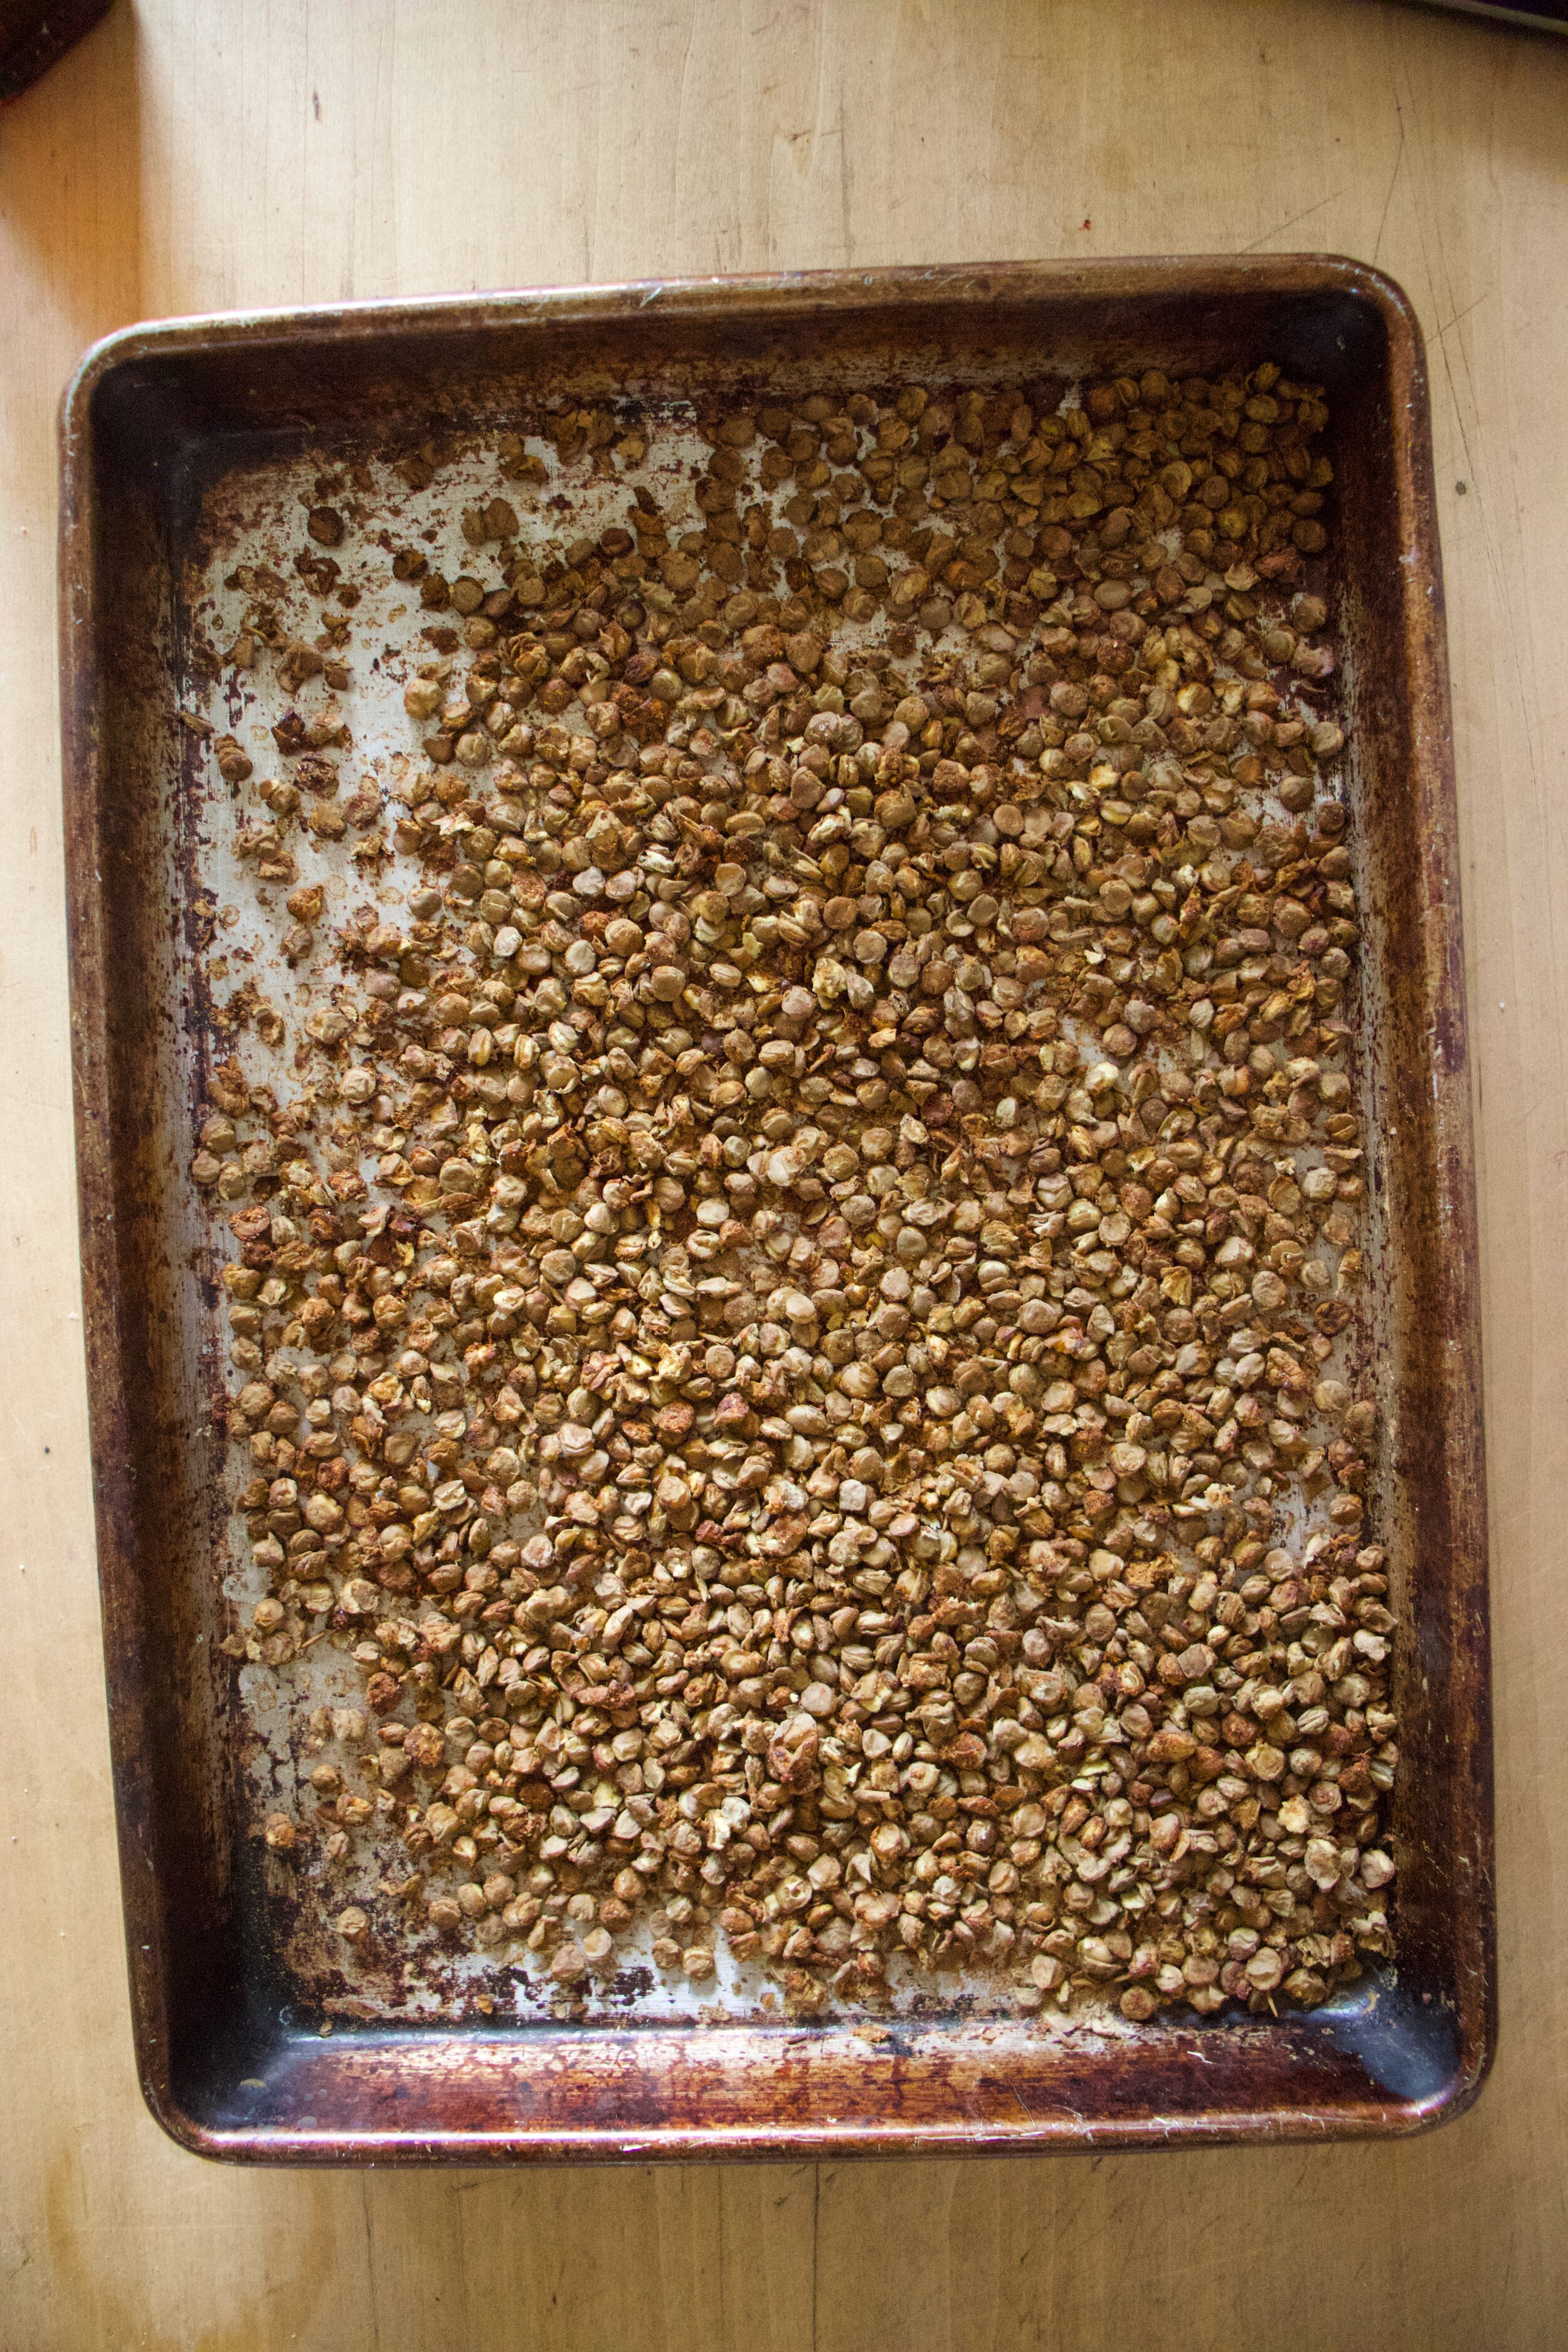
If you haven't roasted your beets yet, do that. Just toss beets on a sheet pan and stick into hot (like 450 degree) oven for about an hour until tender.

Start with beets. If still hot from roasting, wait until cooled and peel off skin. Place peeled beets into a blender and blend until smooth. You should get about a cup if puree. Any extra, well you got yourself a snack

Place the cup of beet puree into a large bowl along with the warm water and yeast. Mix until combined. Add in a teaspoon of salt and the flour. Mix until a shaggy and wet dough forms and there is not dry flour left. Scrap all the dough into a ball and then cover bowl with a bowl and place somewhere warm to rise for an hour, to an hour and a half (longer if your kitchen is cold)

Once dough has doubled in size, preheat oven to 425

Grab a 9x13 sheet pan and grease with a butter or shortening (this helps with sticking) them drizzle 2 tablespoon of olive oil in the middle. Scrap the dough into the oil oil puddle the with oiled fingers gently smoosh the dough into the pan. Cover again and le dough rest and poof up again for about 30 minutes.

The oven should be nice and hot and when you check the dough it should have poofed up a bit and spread little. Drizzle another tablespoon of oil on top of dough and with oiled fingers, dimple the dough. Press nearly to the bottom of the pan but be gentle about it to try and not knock all the air out. Once dimpled sprinkle the top with a teaspoon or two of good course or fishing salt and pop into the oven. Bake for about a 1/2 hour or until the top is starting to brown. Remove the bread from oven and let cool a few minutes in pan then transfer to a wire rack to cool some more. Or just cut into it warm and eat it.

Focaccia is best eaten within a day or two but freezes well.

In bread, Vegan, Vegetables Tags Beet Focaccia, Focaccia, beets, pink, bread, King Arthur flour, flour, easy, yeasted, spooky, vegan, roots
Comment

Ginger Mustard Roasted Turnips

July 24, 2021 Colleen Stem
IMG_6581.jpg
IMG_3388.jpg
IMG_6609.jpg

The turnips in my garden are doing me right and have gotten all nice and big and beautiful and just did a really good job growing this year. I (my stomach) am really appreciating it. So is the mr. He is a huge turnip fan too!

Now if you are not a turnip fan, well first off, why the heck not? But also have you even ever tried them? I have found that sometimes people say they don’t like something when in fact they have never tried it. Don’t be like that. Try the dang turnip. They are awesome. For those who don’t know, they taste basically like a big radish. Kind of spicy and crispy when raw, sweet and tender when roasted. These particular ones are roasted and tossed in a gingery mustard sauce and then roasted a little more so they are sweet and spicy and mustardy and just so good. I made a batch to share with the mr for dinner but I actually just ended up eating all of them to my face. Yup, and not shame there. I just cut up a couple of raw ones for the mr and threw them on his dinner plate. He did’t really notice. Ha!

Now to the turnips!

IMG_6490.jpg

The stuff. Turnips, dijon mustard, ground ginger, balsamic vinegar, pepper. and a splash of water.

IMG_6492.jpg

Dice up the turnips into small cubes. I never peel a turnip but if you get yours from a store and they cover it in wax, well you might want to.

IMG_6524.jpg

Place cut up turnips on a baking sheet. You can also drizzle the turnips with a little oil here if you want. (I prefer to roast without oil and use a baking mat.)

And place them into a hot hot oven to roast.

IMG_6499.jpg
IMG_6506.jpg

While turnips are getting hot, mix up the ginger mustard sauce. Place mustard, ginger, balsamic vinegar and a splash of water into a bowl and mix it all together.

IMG_6534.jpg

Once turnips are fork tender (about 1/2 hour) remove pan, gather all the turnips into a pile, and drizzle on most of the sauce. Toss around until evenly coated then re-spread them around and pop them back into oven for another 12- minutes or so or unit golden brown and nice and roasted.

IMG_6552.jpg

Once they are roasted to your liking, remove from oven ,drizzle oin remaining sauce, add lots of cracked black pepper and some fresh parsley if you got it. And that is it.

Eat your turnips.

-C


Ginger Mustard Roasted Turnips

seves 2-3 as a side

  • 4 medium sized turnips

  • 4 hefty tablespoons dijon mustard

  • 1 1/2 tablespoon balsamic vinegar

  • 1/2 teaspoon ground ginger

  • 2 teaspoon water

  • black pepper

  • oil (optional)

Preheat oven to 425

Prepare turnips. Wash them really well and then dice into small cubes and pace them on a baking sheet. You can toss them in a little oil if you want (I do not roast them in oil), then pop them into hot oven.

While turnips are roasting, grab a small bowl and mix up the ginger, mustard, and balsamic vinegar. Add about 2 teaspoons of water to thin it out a little bit.

After about 25-30 minutes the turnips should be fork tender and starting to brown a bit. Remove pan from oven and carefully gather the turnips into a pile on the baking sheet. Drizzle about 3/4 of the mustard sauce on turnips and toss around (carefully). Once all the turnips are coated, sprinkle with black pepper and re-spread them on the baking sheet and pop the back into the oven to bake for another 15ish minutes or until they are a nice golden brown.

Once roasted to your liking, remove from oven, drizzle on remaining sauce, and then eat.

Tags Ginger Mustard Roasted Turnips, vegan, vegetables, food, recipe, plant based, roots, home grown, dinner, side dish, mustard, ginger, simple, grain free, gluten free
Comment

Sweet Potato Steaks on Arugula and Kale with Pea Avocado Cream

April 10, 2021 Colleen Stem
IMG_4654.jpg

All I want to do is eat fists fulls of arugula. Ok, maybe that is not all I want to do, but it is something that I have been doing a lot. I have always really like arugula but as of right now, it is my top choice green!

Anyway, big green salads are all I want to eat because it is spring and all and greens are the best in the spring. But I still am eating a lot of roots and will be eating them for a few more weeks unit winter farm share dies down. And because it is the end of the season, the choice of roots is dwindling and we basically get a bucket of carrots, beets, and sweet potatoes. Lots of sweet potatoes, which by the way, I am not made about. And greens, We get lots of greens!

So my new favorite salad comes to fruition. Thick cut sweet potato steaks on a bed of fresh spring arugula and kale toped with a thick creamy avocado pea situation and some toasted walnuts for flair and crunch. I mean, is your mouth watering and your tummy grumbling yet?

Mine is but that is just how it always is.

Now to the steaks and salad!

IMG_4603.jpg

The stuff. A sweet potato, some arugula and tender kale, peas (frozen and thawed) half an avocado, some toasted walnuts, a lemon, and salt and pepper.

IMG_4609.jpg

Start by cutting the sweet potato into thick steaks. 4-5 same thickness slices if you may.

IMG_4612.jpg
IMG_4617.jpg

And no roast up the sweet potato steaks. Just place hem onto a baking sheet and pop them into a hot oven. Bake for 2-30 minutes, flipping over after 15-20 minutes. Once tender, remove from oven and set aside.

IMG_4629 2.jpg
IMG_4632.jpg

While sweet potatoes are baking, make pea avocado cream. Place peas and avocado into a blender or cup if using a hand blender along with the juice of the lemon and about a tablespoon of water. And a small pinch of salt. Blend until smooth. Add more water a tablespoon at a time until you get a thick but pourable constancy.

IMG_4644 2.jpg

Now rough chop the kale and toss together with the arugula and place in a large salad bowl

IMG_4650.jpg

Place the sweet potato steaks on top of the greens. Note here that the sweet potato steaks can be hot, warm, or cold. The are good all the ways.

IMG_4653 2.jpg

Then top it all with the pea avocado cream. Toss on the toasted walnuts and add some more black pepper and that be that. Grab a fork and a knife if you wish and get to it.

So much goodness in the mouth!

-C


Sweet Potato Steaks on Arugula and Kale with Pea Avocado Cream

serves 1-2

  • 1 medium sweet potato

  • 1/2 cup frozen (and thawed) green peas

  • 1/2 of an avocado

  • a small lemon

  • 2 large handfuls of fresh arugula

  • 4-5 leaves of tender kale

  • 1/4 cup toasted walnuts

  • around 1/4 cup cold water

  • salt and pepper

Preheat oven to 450. Wash sweet potato and cut into 4-5 equal thickness slices. Place cut pieces on a baking sheet and sprinkle with salt and pepper and pop into oven. Bake for 25-30 minutes, flipping after 15 or until the sweet potato is tender. Remove from oven and let cool a bit.

While sweet potato is baking off, make pea avocado cream. Place the peas and avocado into a blender or cup if using a hand blender, add in the juice of the lemon and a pinch of salt. Blend until smooth. Add in a tablespoon or two (or more) to thin out until it is still thick but pourable. Also rough chop the kale and mix together with the arugula in a big salad bowl.

Once sweet potato steaks have baked and cooled off a little bit (you can eat them hot or cold so whatever temperature you want), place them on top of the greens then top with the pea avocado cream, sprinkle on toasted walnuts, more black pepper, and maybe a squeeze of more lemon if you have it.

Then grab a fork and knife and start eating.

In Vegan, Vegetables, winter, Spring, salad Tags Sweet Potato Steaks on Arugula and Kale with Pea Avocado Cream, Arugula, kale, sweet potato steaks, vegan, grain free, dairy free, gluten free, plant based, dinner, salad, roots, winter, spring, avocado, peas, walnuts, easy, heathy, quick, delicious, yummy
Comment

Celeriac Puree With Crispy Lentils

October 12, 2019 Colleen Stem
IMG_2848.jpg
IMG_2859.jpg

Every now and then I make something for me. All for me. This is one of those dishes that was not destined to be shared with anyone. That I had no one else in mind to eat besides me. No worring about what anyone else with think. Just a simple little dish that I was craving and wanting.

So I made it and man, was it so freaking satisfying. Cooking for oneself is very much a gratifying experience.

Celeriac, or also know as celery root. Have you ever had it? If not, well duder, you need to. It is in my top 3 favorite vegetables and that is saying a lot. So anyway, celeriac, has a slight celery taste, but also kind of earthy and nutty. It pairs well with anything that a potato might, but also is amazing on it’s own. Roasted, steamed, raw. Just really fantastic. And it is in season so get on it and go find yourself some.

And lentils. In my top 3 favorite foods. Made them crispy because pureed celeriac and crispy lentils just sounded right and I love me crispy things. Again, I was making this dish fo me so crispy was happening.

Together, the creamy, delicious pureed celeriac covered with a bunch of spiced, crispy lentil….Amazing. Eating it, I couldn’t have been happier. I did myself one good with this one.

I might even have to make it to share someday.

Now to the celeriac and lentils!

The stuff. A bulb of celeriac, some cooked lentils, salt and pepper, chili powder, garlic powder. mustard powder, and oil. (oil is optional)

The celeriac. Ok, so most people peel it. I actually get weird looks from people when I tell them I don't , but let me do me, you know. So anyway. Peel it if you want, or not, just cut it up into chunks.

IMG_2815.jpg
IMG_2841.jpg

Place cut up celeriac into a pot and cover with water. Place on stove on medium heat and cook until fork tender.

IMG_2816.jpg

Lentils meet spices and get mix all together. Add a pinch of salt and lots of cracked pepper too.

IMG_2820.jpg
IMG_2847.jpg

Spread now spiced lentils onto a baking sheet, pop into oven, and bake until crispy. Easy peasy.

IMG_2852.jpg

And to puree the celeriac. Strain any extra water into a cup. Season with a pinch of salt and pepper and grab the hand blender (or regular blender) and blend it, adding back in some of the strained water as needed, to get to a consistency that you like. Me, I liked it pretty smooth, but also with a little chunk. Heck, you could leave it really chunky or go all out completely smooth. Up to you. Also if you want a creamier texture, add in a teaspoon or so of the olive oil. That is a taste preference. I didn't add oil this time, but I have before. It’s good both ways.

IMG_2894.jpg

And there you have it. Add the celeriac puree to a bowl, top with crispy lentils, and garnish with something green if you want.

Then eat it.

Not going to lie. After this picture was taken, I busted out the spicy mustard and covered everything with it. And it was amazing.

-C


Celeriac Puree With Crispy Lentils

serves 1 as a meal, or a few as a side dish

  • 1 1/2 cups cooked green lentils

  • 1 large celeriac bulb (soft ball sized)

  • 1 teaspoon chili power

  • 1/2 teaspoon ground mustard powder

  • 1/2 teaspoon garlic powder

  • salt and pepper

  • olive oil (optional)

Grab celeriac and peel if you want, or just give it a really good wash. Cut into chunks and place into pot. Add enough water to just cover the celeriac and place on medium heat on the stove. Cook until fork tender.

In the mean time, mix all the spices and a good pinch of salt and lots of pepper together with the lentils. Dump them and spread them out onto a lightly oiled baking sheet. Place in oven and turn to 400 degrees (you can start cooking the lentils while the oven is preheating). Bake for about 20 minutes or until lentils are crispy.

Once the celeriac is tender, strain water into a cup and either with a hand blender or a regular blender, blend until smooth, adding in some of the poured off water as needed. You can puree as smoothly as you like or leave a few chunks.. Also, you might want to add in a teaspoon or so of olive oil for a slightly richer and creamier taste. Season to taste with salt and pepper.

Ehen the lentils are done, take them from oven. Place large amount (or all) of the celeriac puree to a bowl, cover with some (or all) of the crispy lentils and that is that. Eat away.

Serving suggestion…. Mustard. Any kind. So good.

In Dairy Free, dinner, entree, Gluten Free, grain free, pulses, quick and easy, side dish, Vegan, Vegetables Tags Celeriac Puree With Crispy Lentils, plant based, vegan, roots, vegetable, pulses, lentils, easy, gluten free, grain free, celery root, heathy, clean eating, dinner, dairy free, celeriac puree, crispy lentils
Comment

Carrot Sugar Cookies with Orange glaze

April 20, 2019 Colleen Stem
IMG_7690.jpg
IMG_7717.jpg
IMG_7740.jpg

These are definitely my favorite shaped cutout cookies I have ever made. I mean seriously, carrot shaped carrot cookies, what could possibly ever be better? Nothing, and that’s truth for you.

Not only are they carrot shaped, they are also carrot flavored. Yup, Carrot shaped, carrot flavored, awesomeness. A little cinnamon added to the cookie for little extra boost of flavor and an orange glaze because it works and orange is good and fresh and springing. All good stuff.

You might be thinking, huh, carrot puree in a cookie, well that doesn’t sound right. But it is, it is right. And you know how I know that these cookies are awesome? Well I packed them up, (2 dozen of them) and took them over to the littles house for an after school treat. When I got there, the two older ones had friends over. I asked them if they wanted a carrot which earned me that look that said “are you serious” but them showed them the cookies. Of course the wanted a carrot so I gave them each one. They ate their cookies then proceeded to beat the shit out of the mr. Then they asked for another cookies and beat the shit out of the mr some more. This when on and on for about a 1/2 hour until all the cookies were gone and the mr was crouched in the corner with a broom trying to defend himself against 4 rulely kids who where slashing at him with light sabers and spraying him in he face with kitchen cleaner. It’s because they wanted more cookies. (and yes, the littles are getting crazy). So yeah, the cookies are good. Ass kicking good.

Anyway, a cookie with some goodness mix into it, shaped into a great shape, that will make everyone smile and happy. You could make them by yourself, make them with your friends, make them with some kids, with some old people. They are the perfect cookie to leave out for the easter bunny(do you leave carrots out for the easter bunny?) or to serve up at any easter party, spring party, or any garden party you might be attending. This cookie is pretty much perfect for any and every occasion that required a cookie. Or a carrot because carrots are always welcome.

To the carrots! I mean, the cookies!

The stuff. Flour, baking soda, salt, sugar, vegan butter, carrot puree, cinnamon, an orange, some powdered sugar, and food coloring.

IMG_7554.jpg

Into a big bowl the sugar, vegan butter, and carrot puree go.

Beat for a minute or two until completely incorporated.

IMG_7574.jpg

Add in all the rest of the dry stuff and mix by hand until it turns to dough.

IMG_7590.jpg

This is the dough it turned into.

Gather the dough and wrap it or place in a plastic bag and stick it Into the fridge for a few hours or overnight. The dough NEEDS to chill.

IMG_7607.jpg

After you let the dough be, remove from fridge, liberally dust counter, and roll out dough about 1/4 inch thick.

IMG_7610.jpg
IMG_7621.jpg

And then it’s time to cut the cookies out. I unfortunately do not have a cookie cutter so I improvised and make 2 carrot cutouts from paper and hand cut each cookie. That worked but took forever so I got crafty and used a fat Christmas tree cookie cutter then just did a little trim and pinch to make it into a cookie. (I am a genius for that). Any way works, and you can also do other shapes too, the cookies don’t change taste in different shapes. (but that would be so cool if they did)

Carefully place cut out cookies onto a baking sheet, giving them a little space because they do spread a tiny bit.

And into the oven to bake they go.

Out in 10 minutes looking all carrot like.

IMG_7653.jpg

Carrots waiting to cool so they can be glazed.

The glaze. Pretty straight forward. Just zest orange into powdered sugar and juice the orange into the sugar and mix.

Divide glaze and dye one orange and one green

IMG_7678.jpg

And glaze away. I recommend doing it over a rack and baking sheet to minimize mess because they do drip a bit.

Now just you look at that, carrot shaped carrot sugar cookies .What a sight!

IMG_7754 2.jpg

And of course, carrots come in bunches. HA

Enjoy some carrots!

-C


Carrot Sugar Cookies with Orange glaze

makes about 2 and a half dozen (depending on size)

  • 2 1/4 cups all purpose flour plus more for dusting

  • 1 teaspoon baking soda

  • 1/2 teaspoon salt

  • 1 teaspoon cinnamon

  • 1/2 cup vegan butter

  • 3/4 cup granulated sugar

  • 1/2 cup carrot puree ( see note about how to make puree)

    For the glaze

  • 2 to 3 cups powdered sugar

  • on orange

  • orange and green food coloring

Note. To make carrot puree, steam a couple carrots until completely soft them blend until smooth.

Place sugar, vegan butter, and carrot puree into a big bowl. Beat with a beater until light and fluffy. Add in the flour, baking soda, salt, and cinnamon and mix by hand until completely incorporated and mixture tunes into dough. Gather dough into a disk and wrap in plastic or place in a plastic bag and refrigerate for at least 2 hours or up to overnight.

Once dough has chilled enough and you are ready to go, preheat the oven to 350.

Place dough on a flour dusted counter and roll out about 1/4 inch thick. Cut out the cookies with a cutter or by hand and place on a baking sheet. Bake cookies for 10-11 minutes or until just starting to turn slightly brown around the edges. Remove from oven and place on a wire rack to cool.

Once cookies are all baked and cooling, make the glaze. Place powered sugar into a big bowl, zest in the orange then add in the juice od half the orange. Mix completely and check consistency. You want it to be slightly running but not liquid, but also not to stiff. Add more juice or more sugar to get it right. Once it is the right consistency, separate into 2 bowls. Dye one green and one orange. Now glaze you cookies. A knife or small spatula works best and yes, the glaze drips a little so do it over a baking sheet, but after about 10 minutes the glaze hardens.

And then you have carrot cookies and all is good. Now go eat a carrot cookie!

Store uneaten cookies in an airtight container for up to 5 days. They can be frozen too.

In Vegetables, Vegan, Sweets, Spring, desserts, cookies Tags Carrot Sugar Cookies with Orange glaze, Carrot cookies, vegan, vegan sugar cookies, sugar cookies, carrot cookies, carrots, plant based, desserts, cookies, easter, spring, holiday, garden party, vegetable, roots, orange, citrus, glaze, fun, food, egg free, dairy free
Comment
Older Posts →
 

https://thelovelycrazy.squarespace.com/config#/|/about/

Me. Food Maker.Food eater. Woo HOO!

STEM+NODE  SMALL BATCH AND ONE OF A KIND POTTERY

stem+node ceramics


____________________

Subscribe

GET NEW POSTS IN YO EMAIL

You are AWESOME!!!


@thelovelycrazy 2014-2021