• stem+node ceramics
  • HOME
  • Food Recipes
  • About
  • Contact
Menu

The Lovely Crazy

Street Address
City, State, Zip
Phone Number

Your Custom Text Here

The Lovely Crazy

  • stem+node ceramics
  • HOME
  • Food Recipes
  • About
  • Contact

Black eyed Pea-Sweet Potato and Tangerine Stew

January 1, 2022 Colleen Stem
IMG_8495.jpg
IMG_8524 2.jpg

I guess black eyed peas are good to eat on New Years because they bring you good luck or money or something. I have heard this and a lot of other food traditions but I don’t really do New Years so I have never really actively thought about what I consume on the day. But when I went to ponder my bean selection ( I have so many varieties) I figured what the hell, why not make the stew I was about to make into a good luck black eyed pea stew. I mean I was already making it (I was leaning towards black beans) but If there is a chance that eating these delicious beans will give me a little extra luck (and or money) this year, well by all means I’ll take it. And the stew because that is really what I was after.

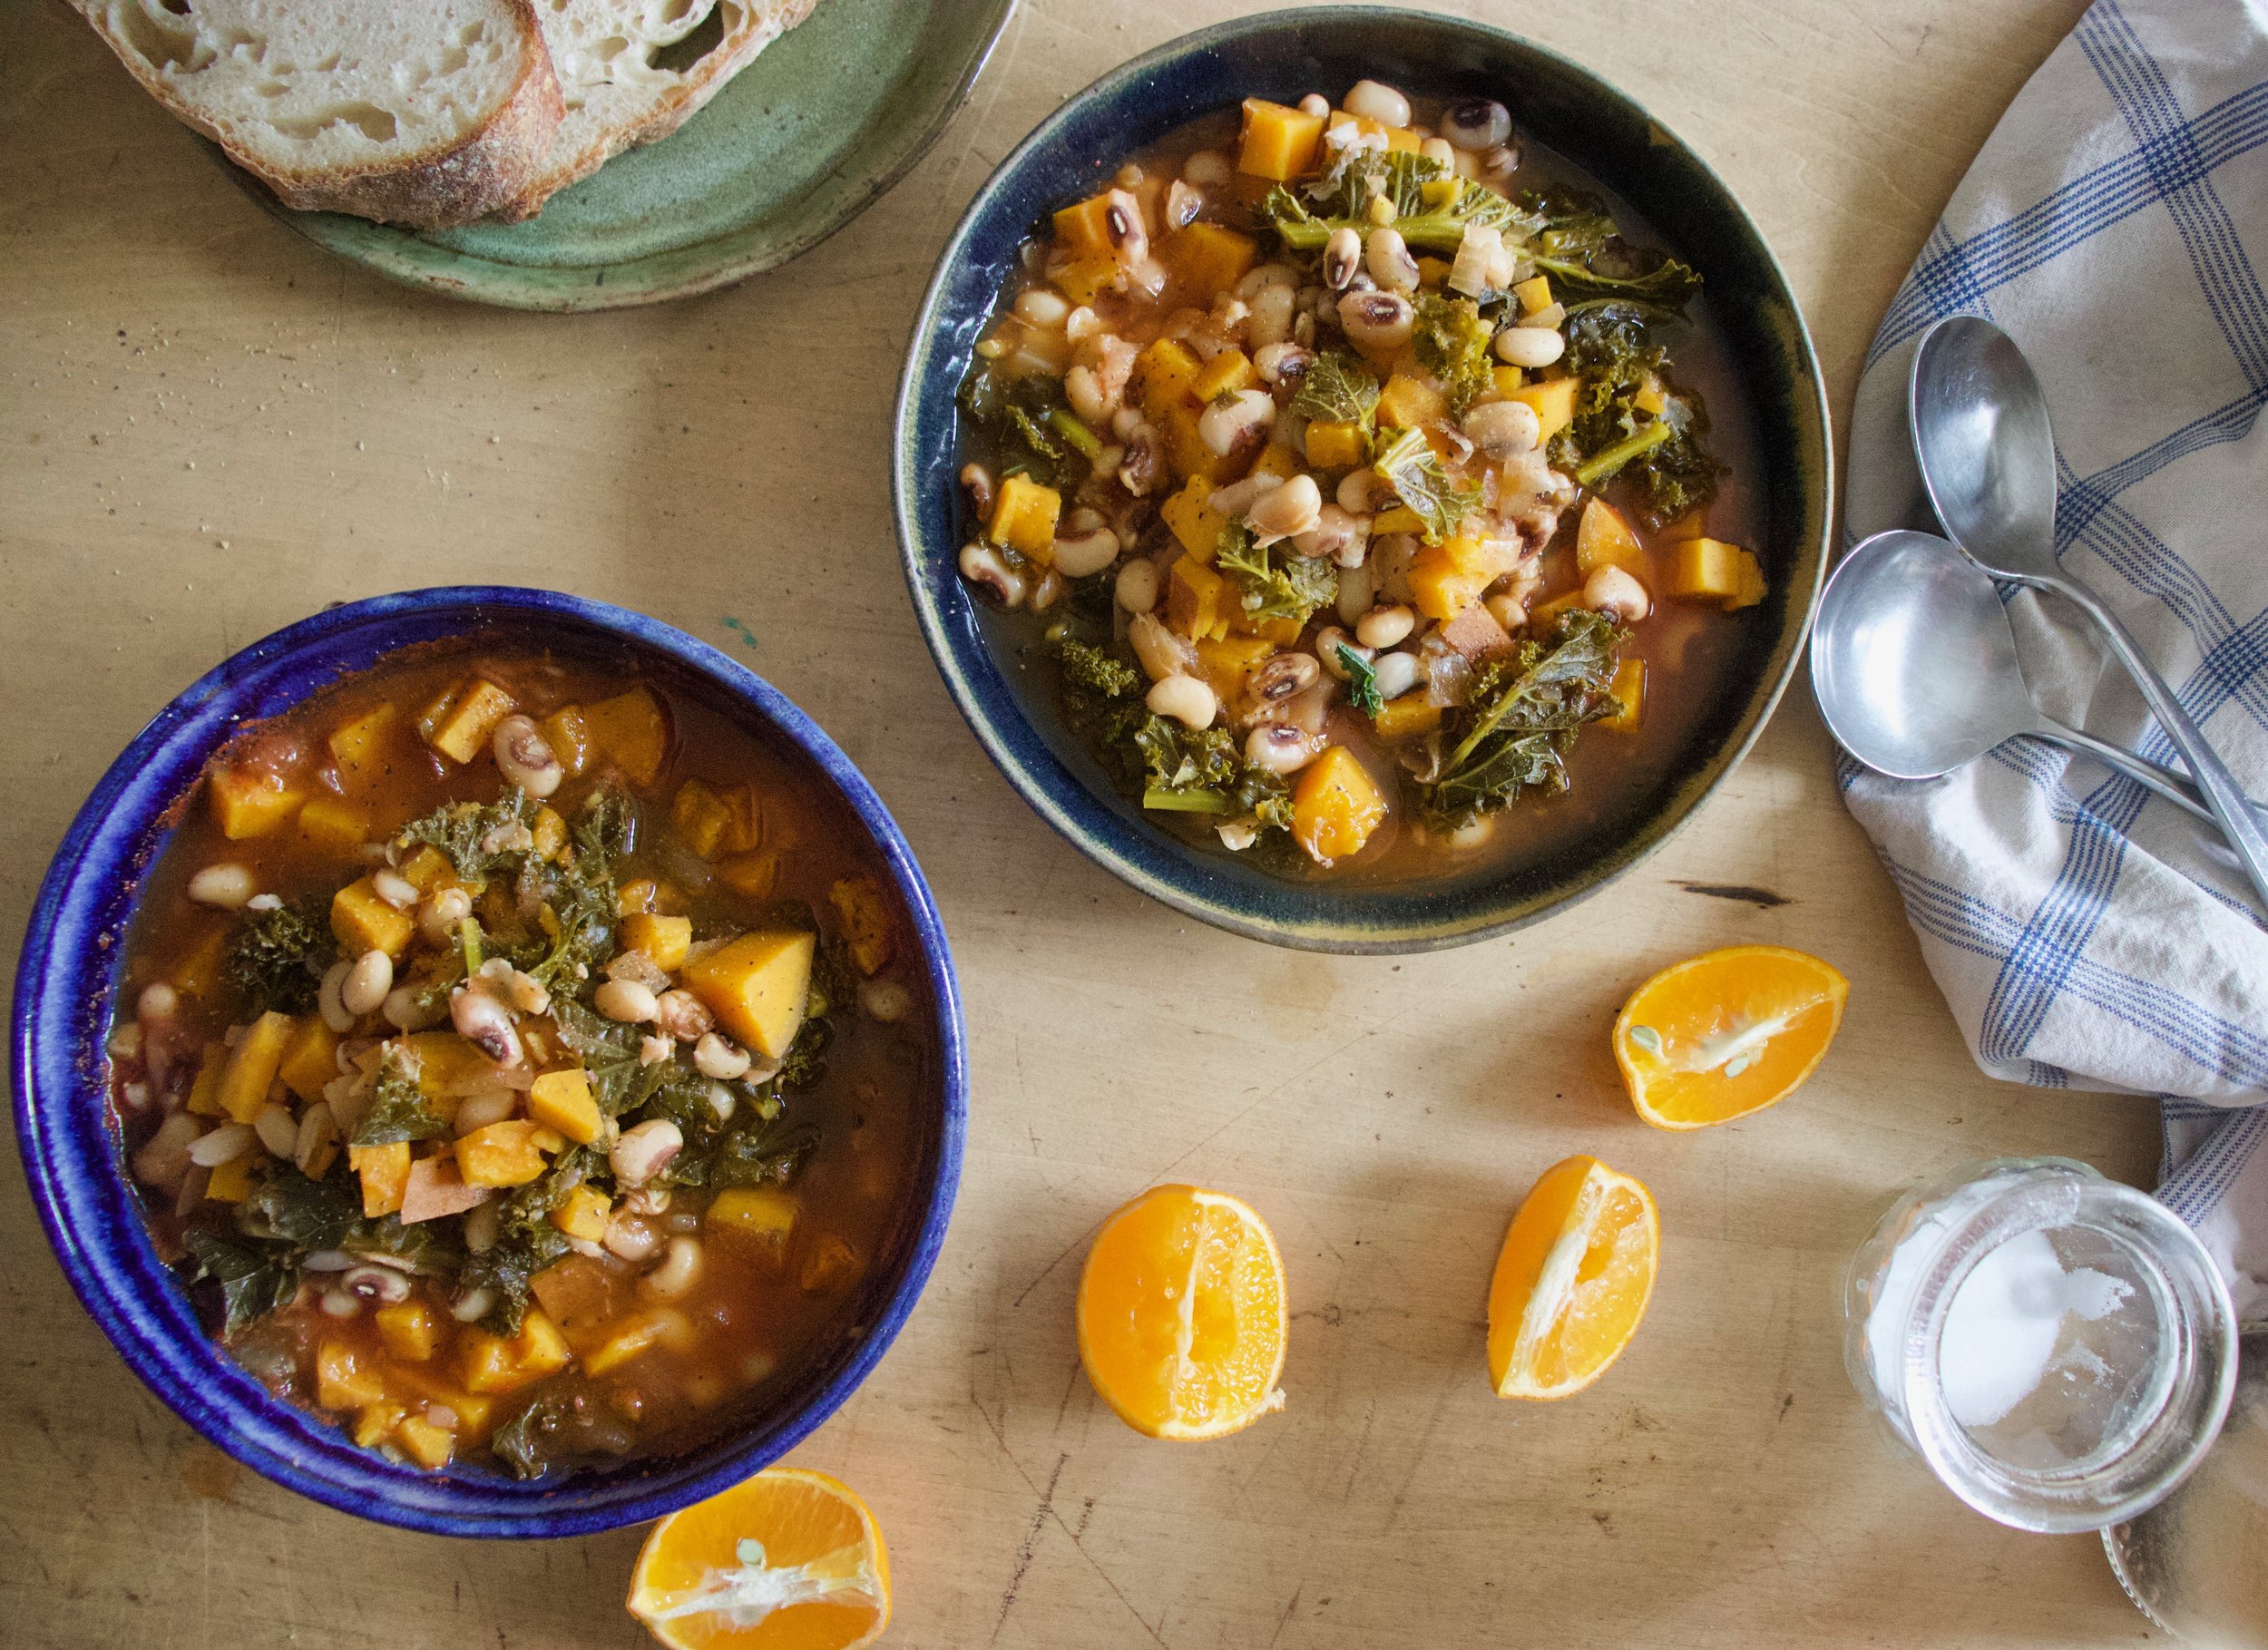
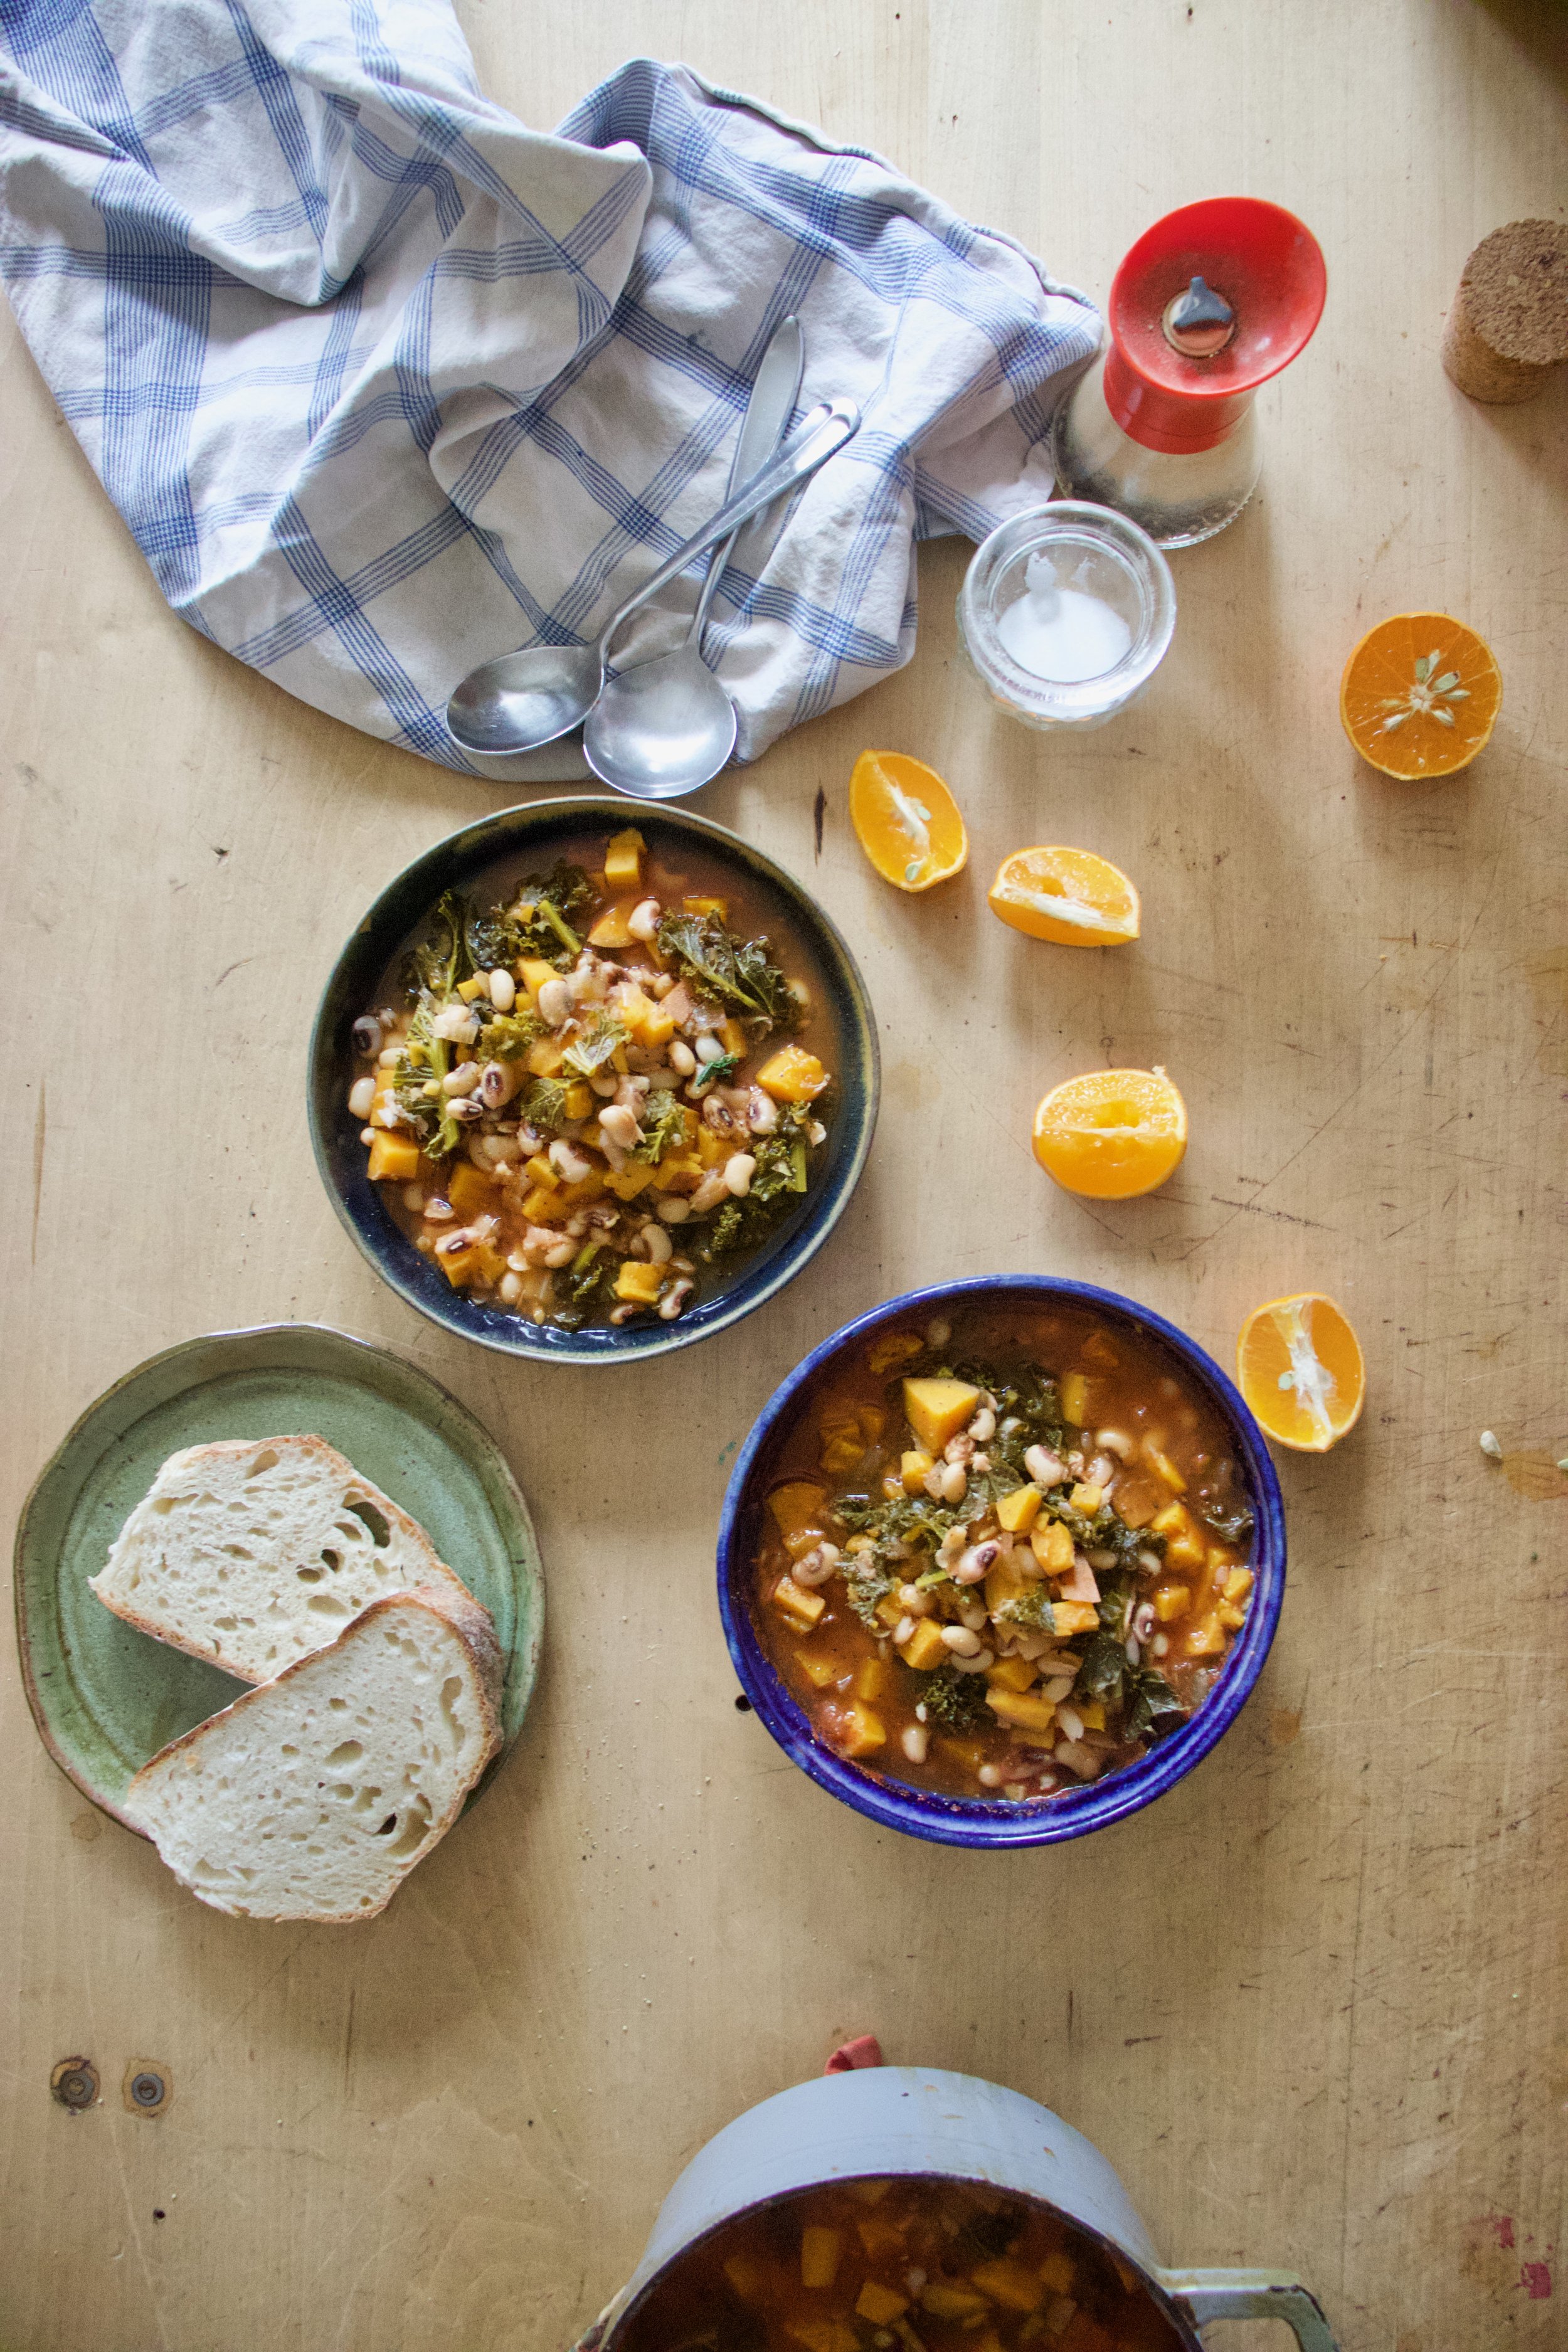
This stew. It is thick and creamy from the sweet potato and beans, bright and light from the ginger and tangerines, and hearty because it is stew. It is a perfect stew situation to eat on any given day but especially nice on a cold winter evening. And I guess on New Years. Like today.

Now to the black eyed pea stew!

The stuff. Cooked black eyed peas. a sweet potato, some kale, a few tangerine, an onion, some garlic and ginger, tomato puree, and salt and pepper.

IMG_8403.jpg
IMG_8413.jpg

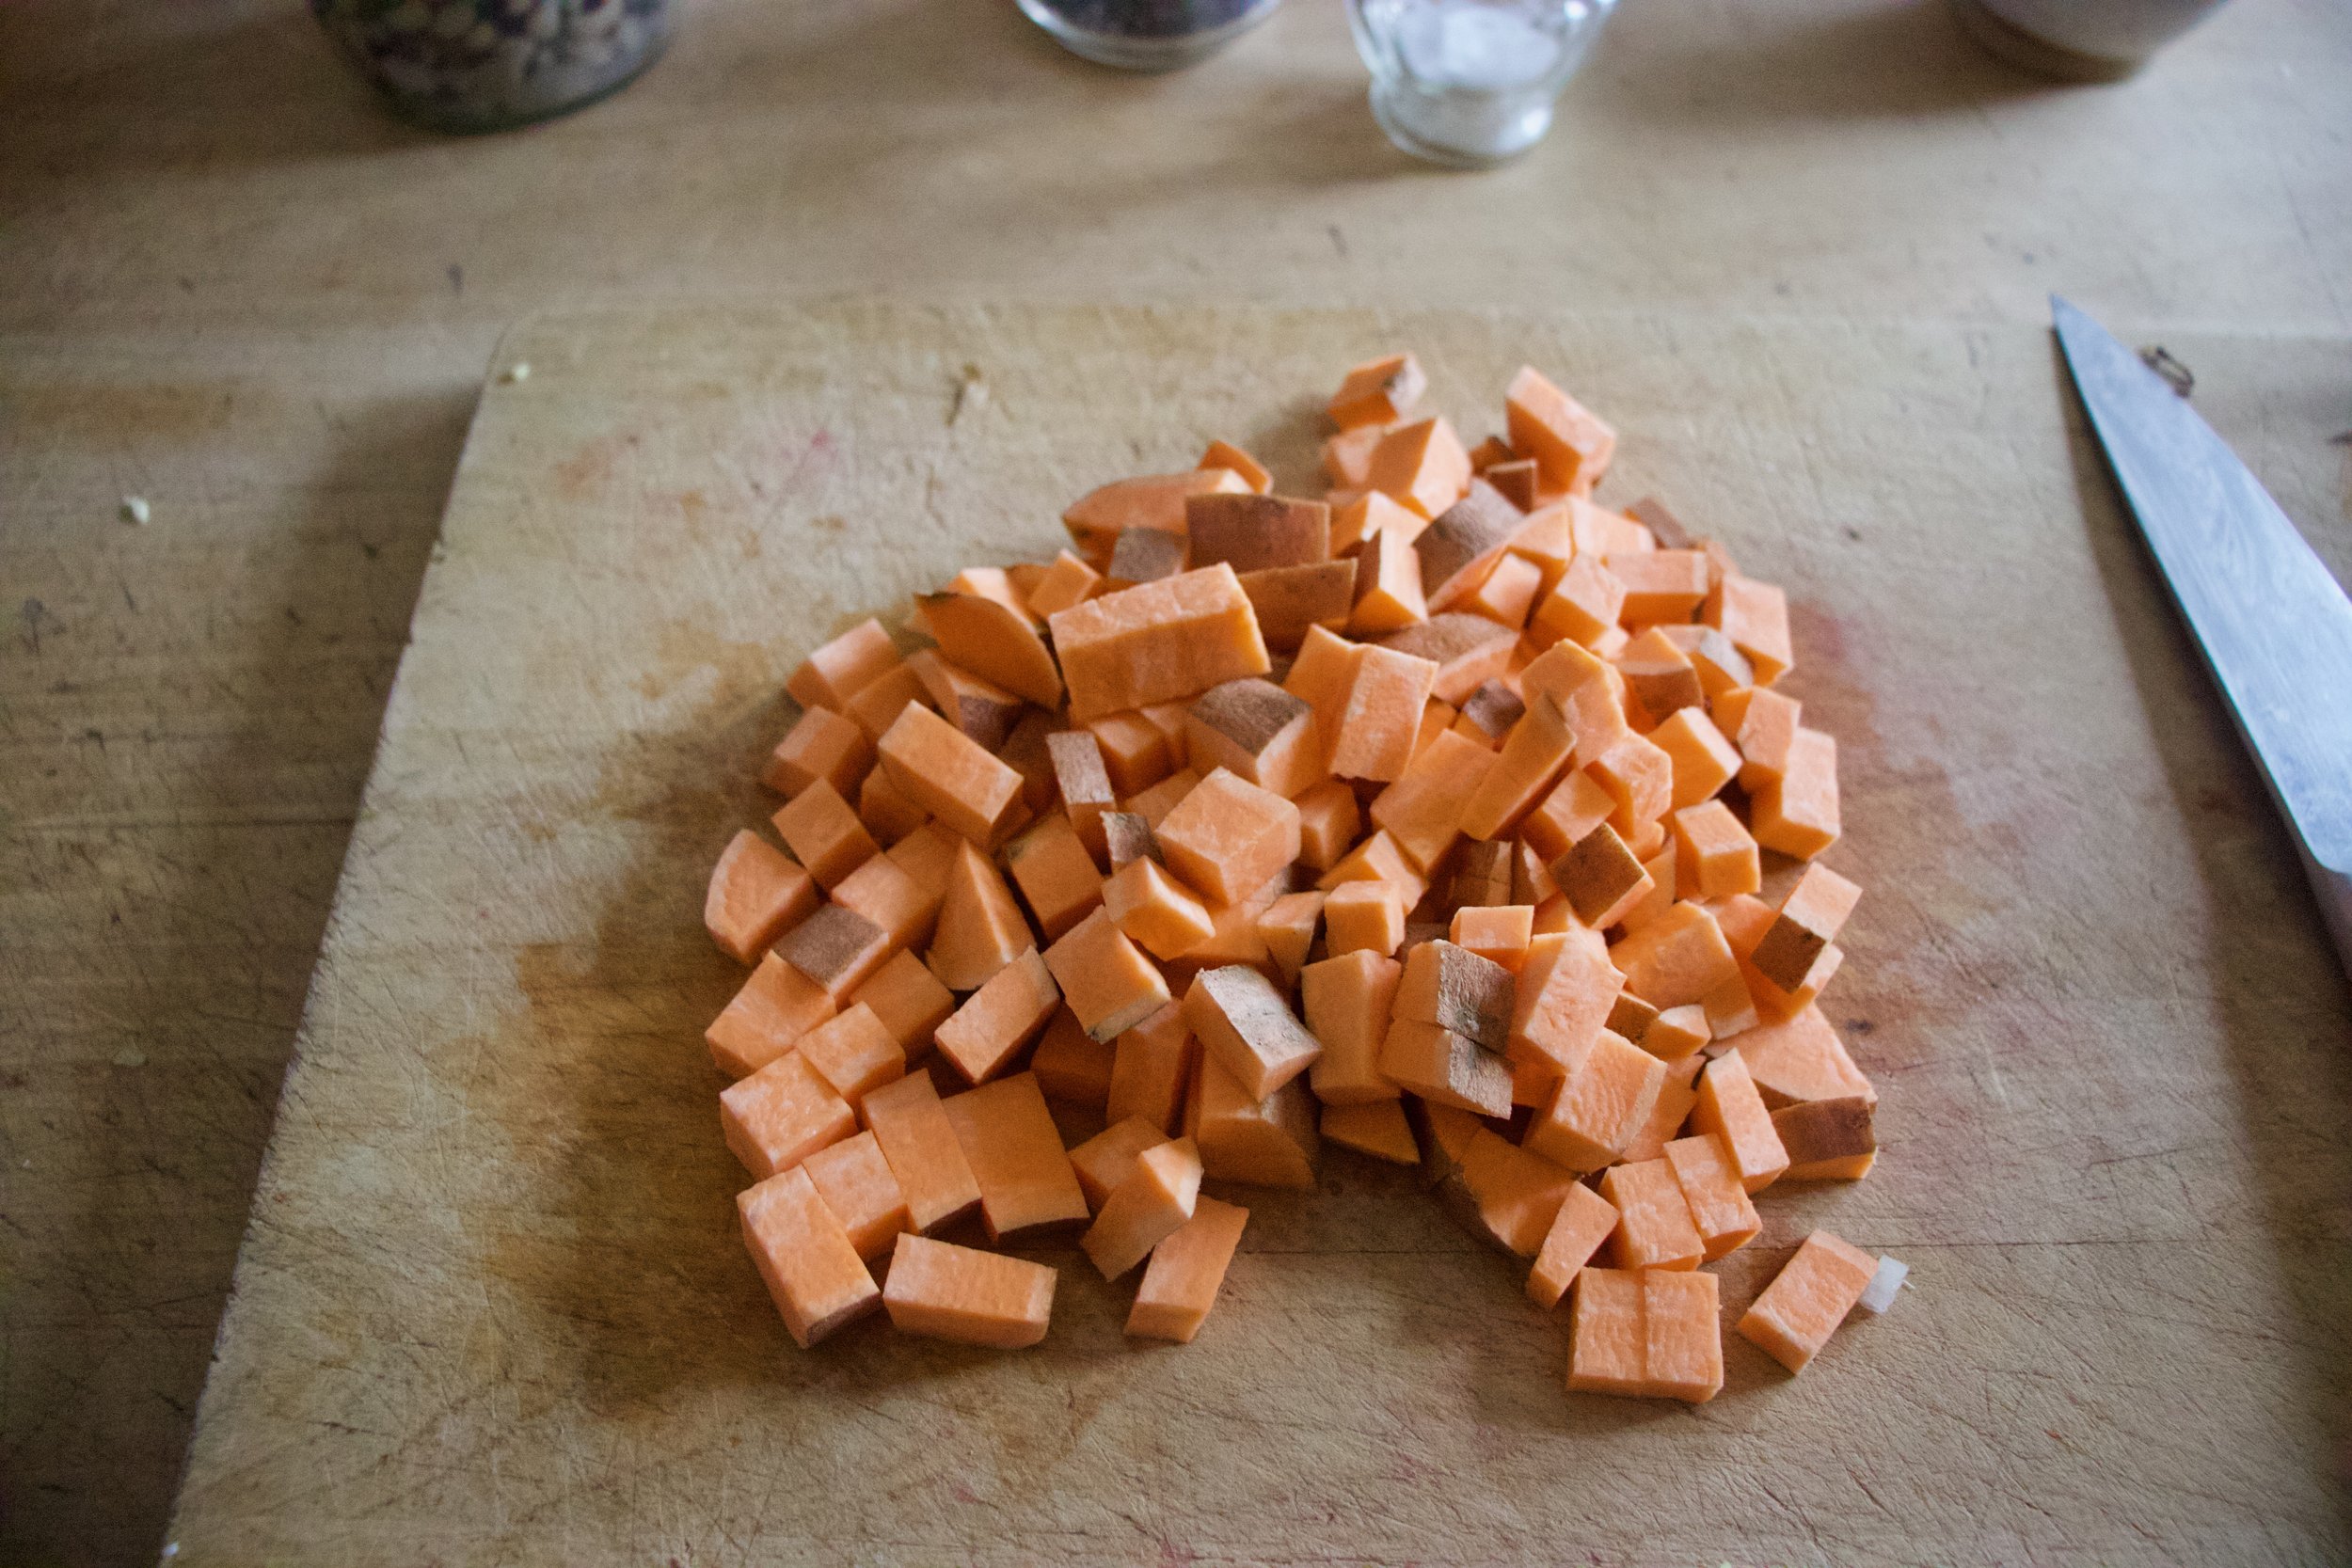
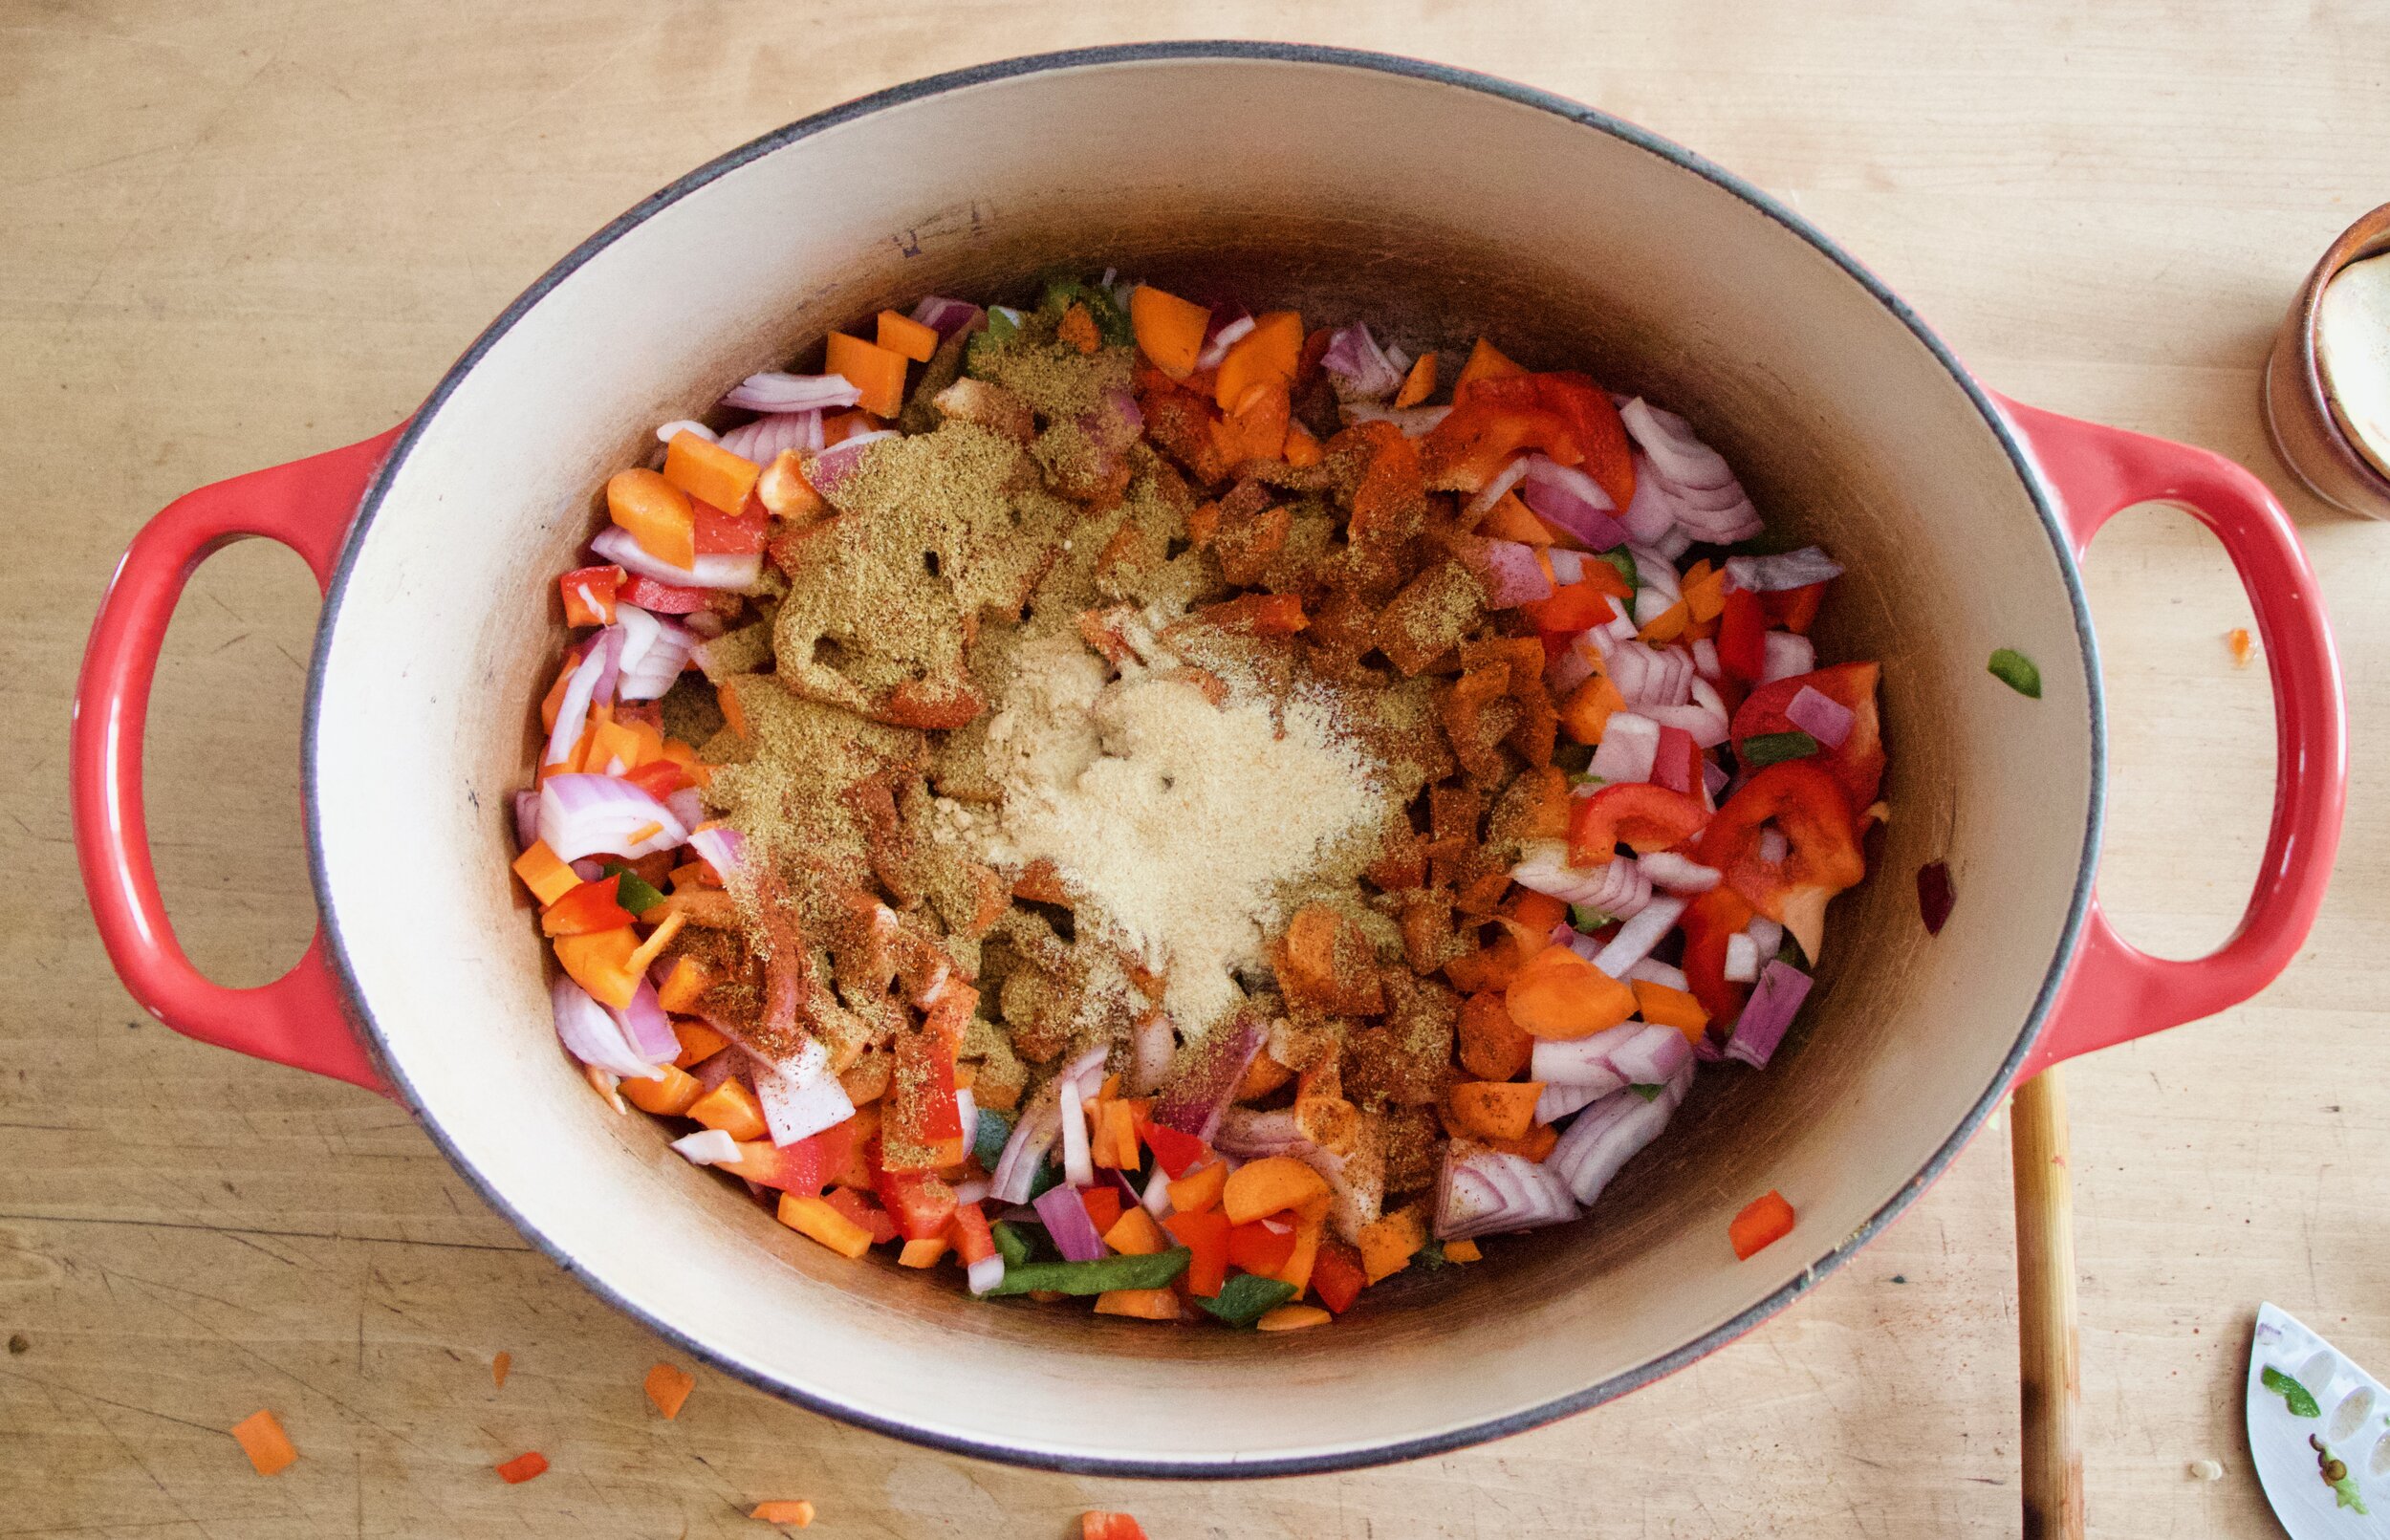
Start with chopping up the onion, mincing the garlic and ginger, and dicing up the sweet potato.

IMG_8410 2.jpg
IMG_8425 2.jpg
IMG_8430 2.jpg
IMG_8436.jpg

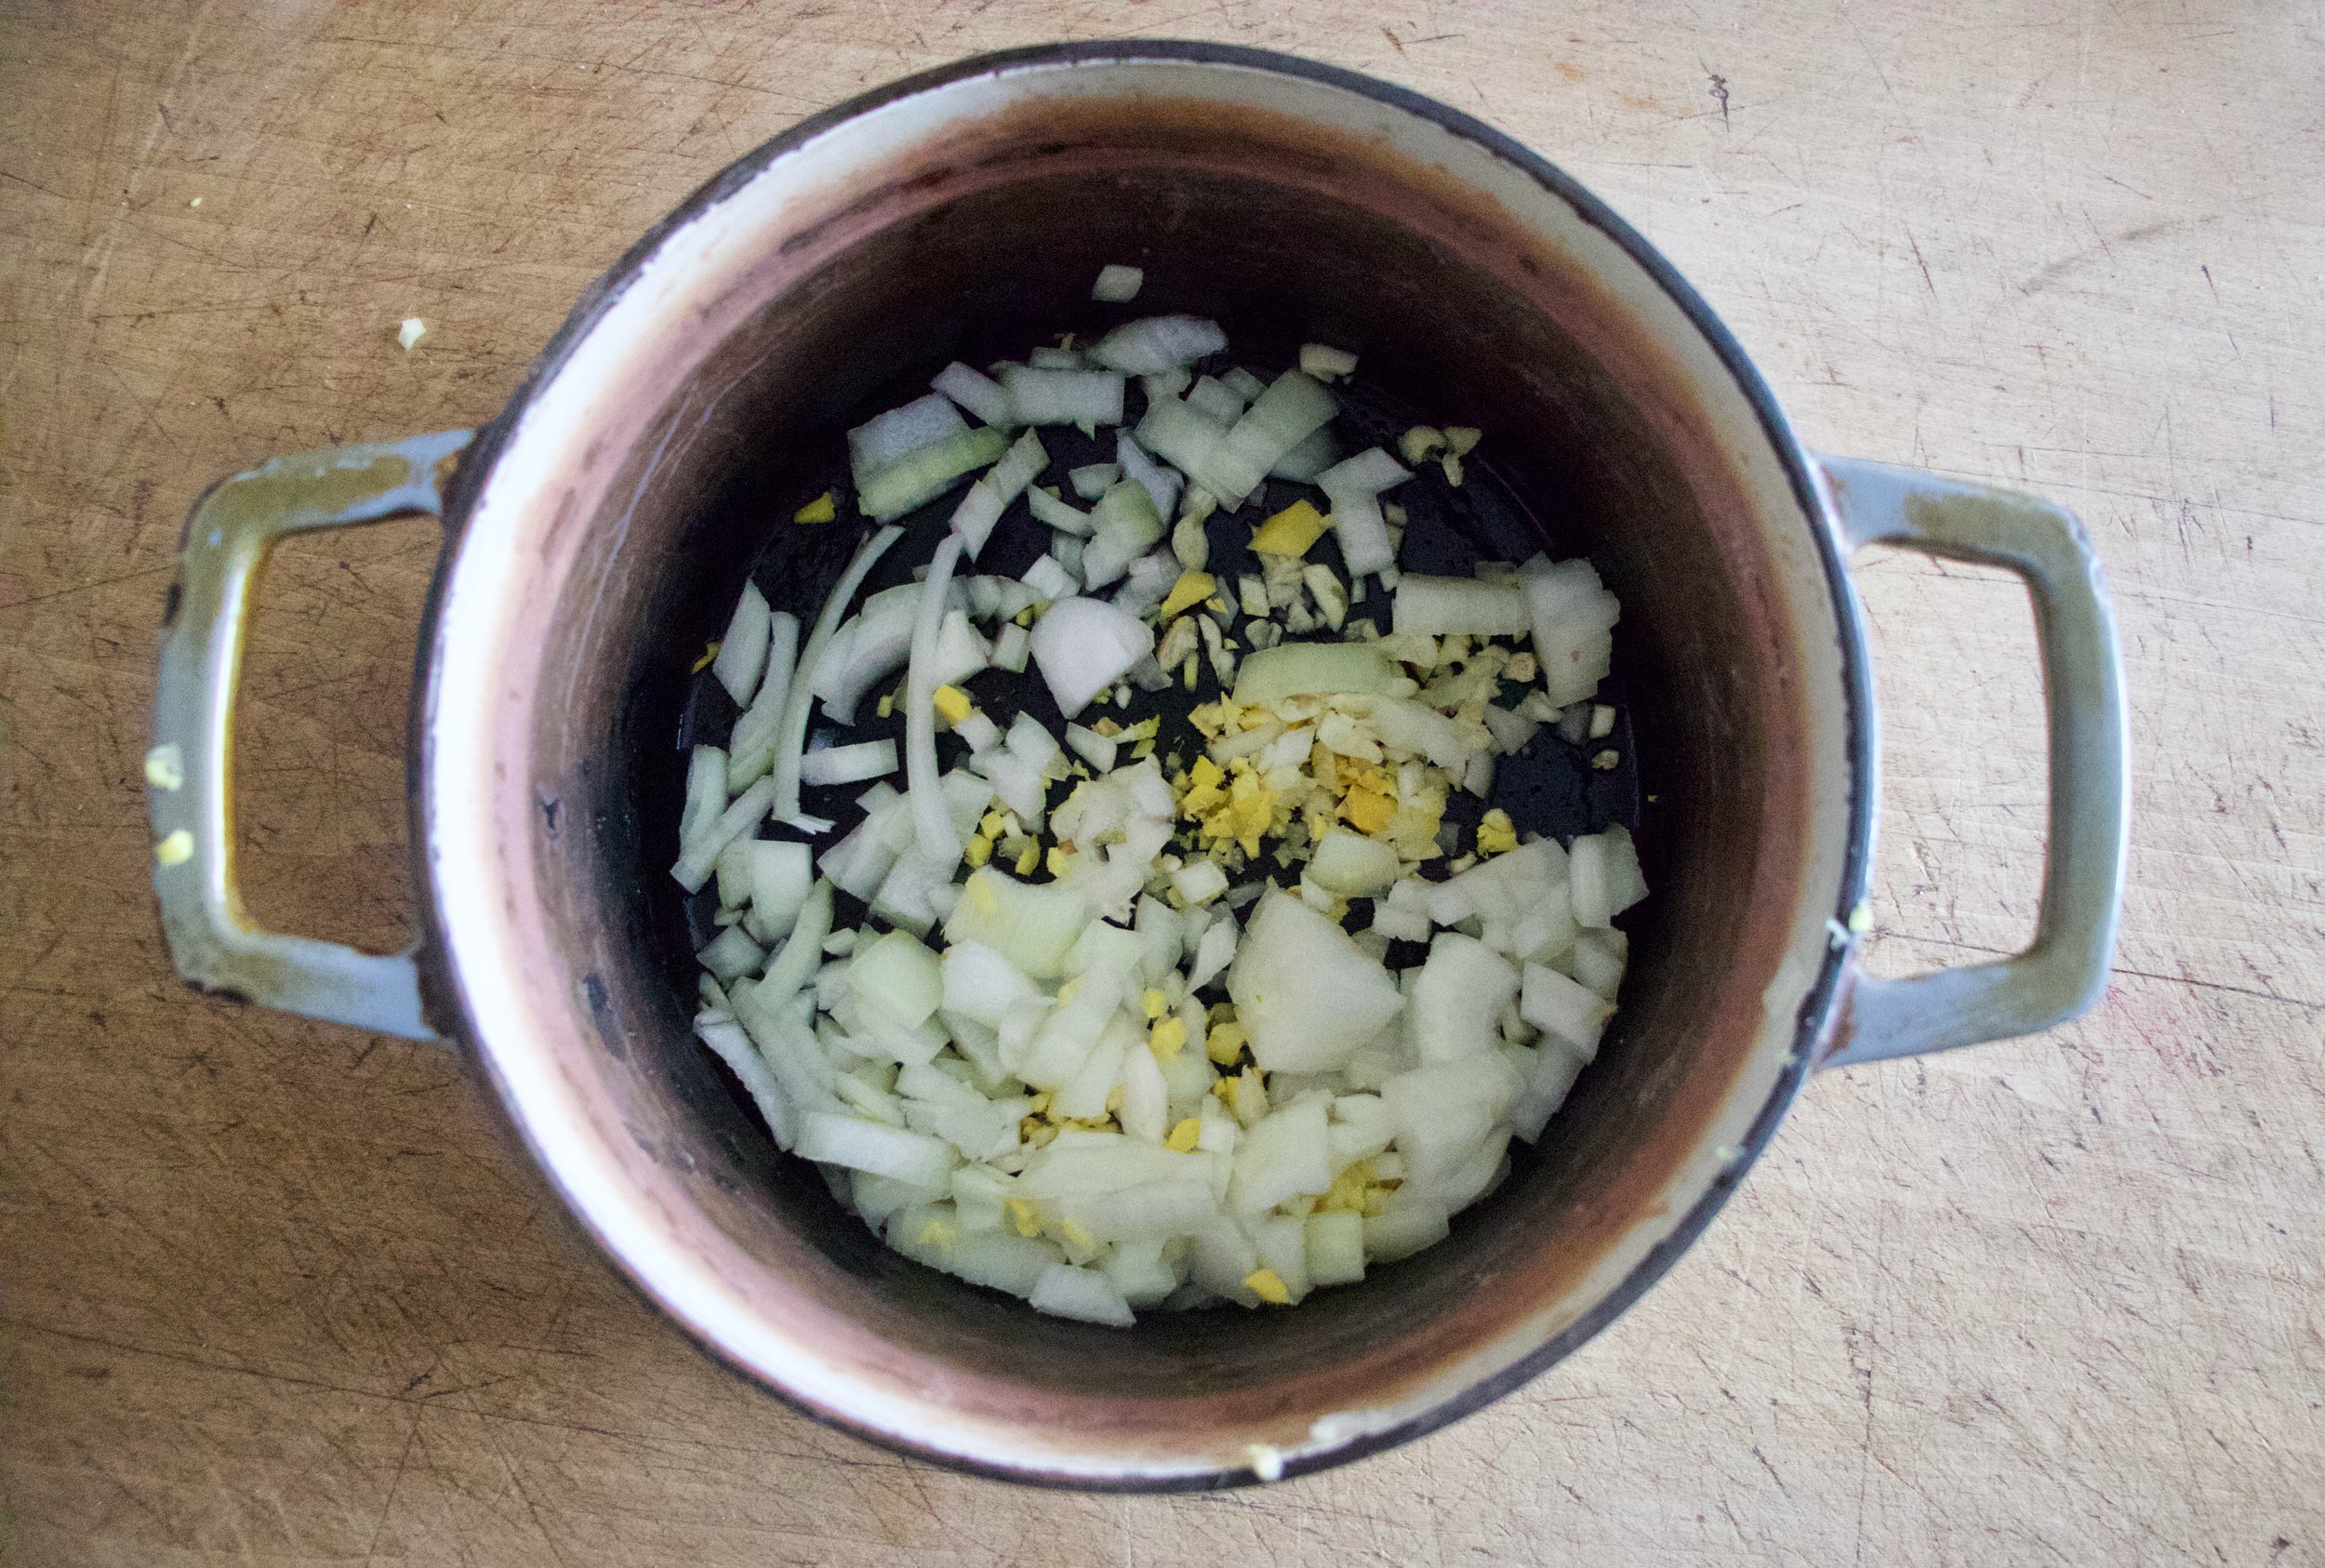
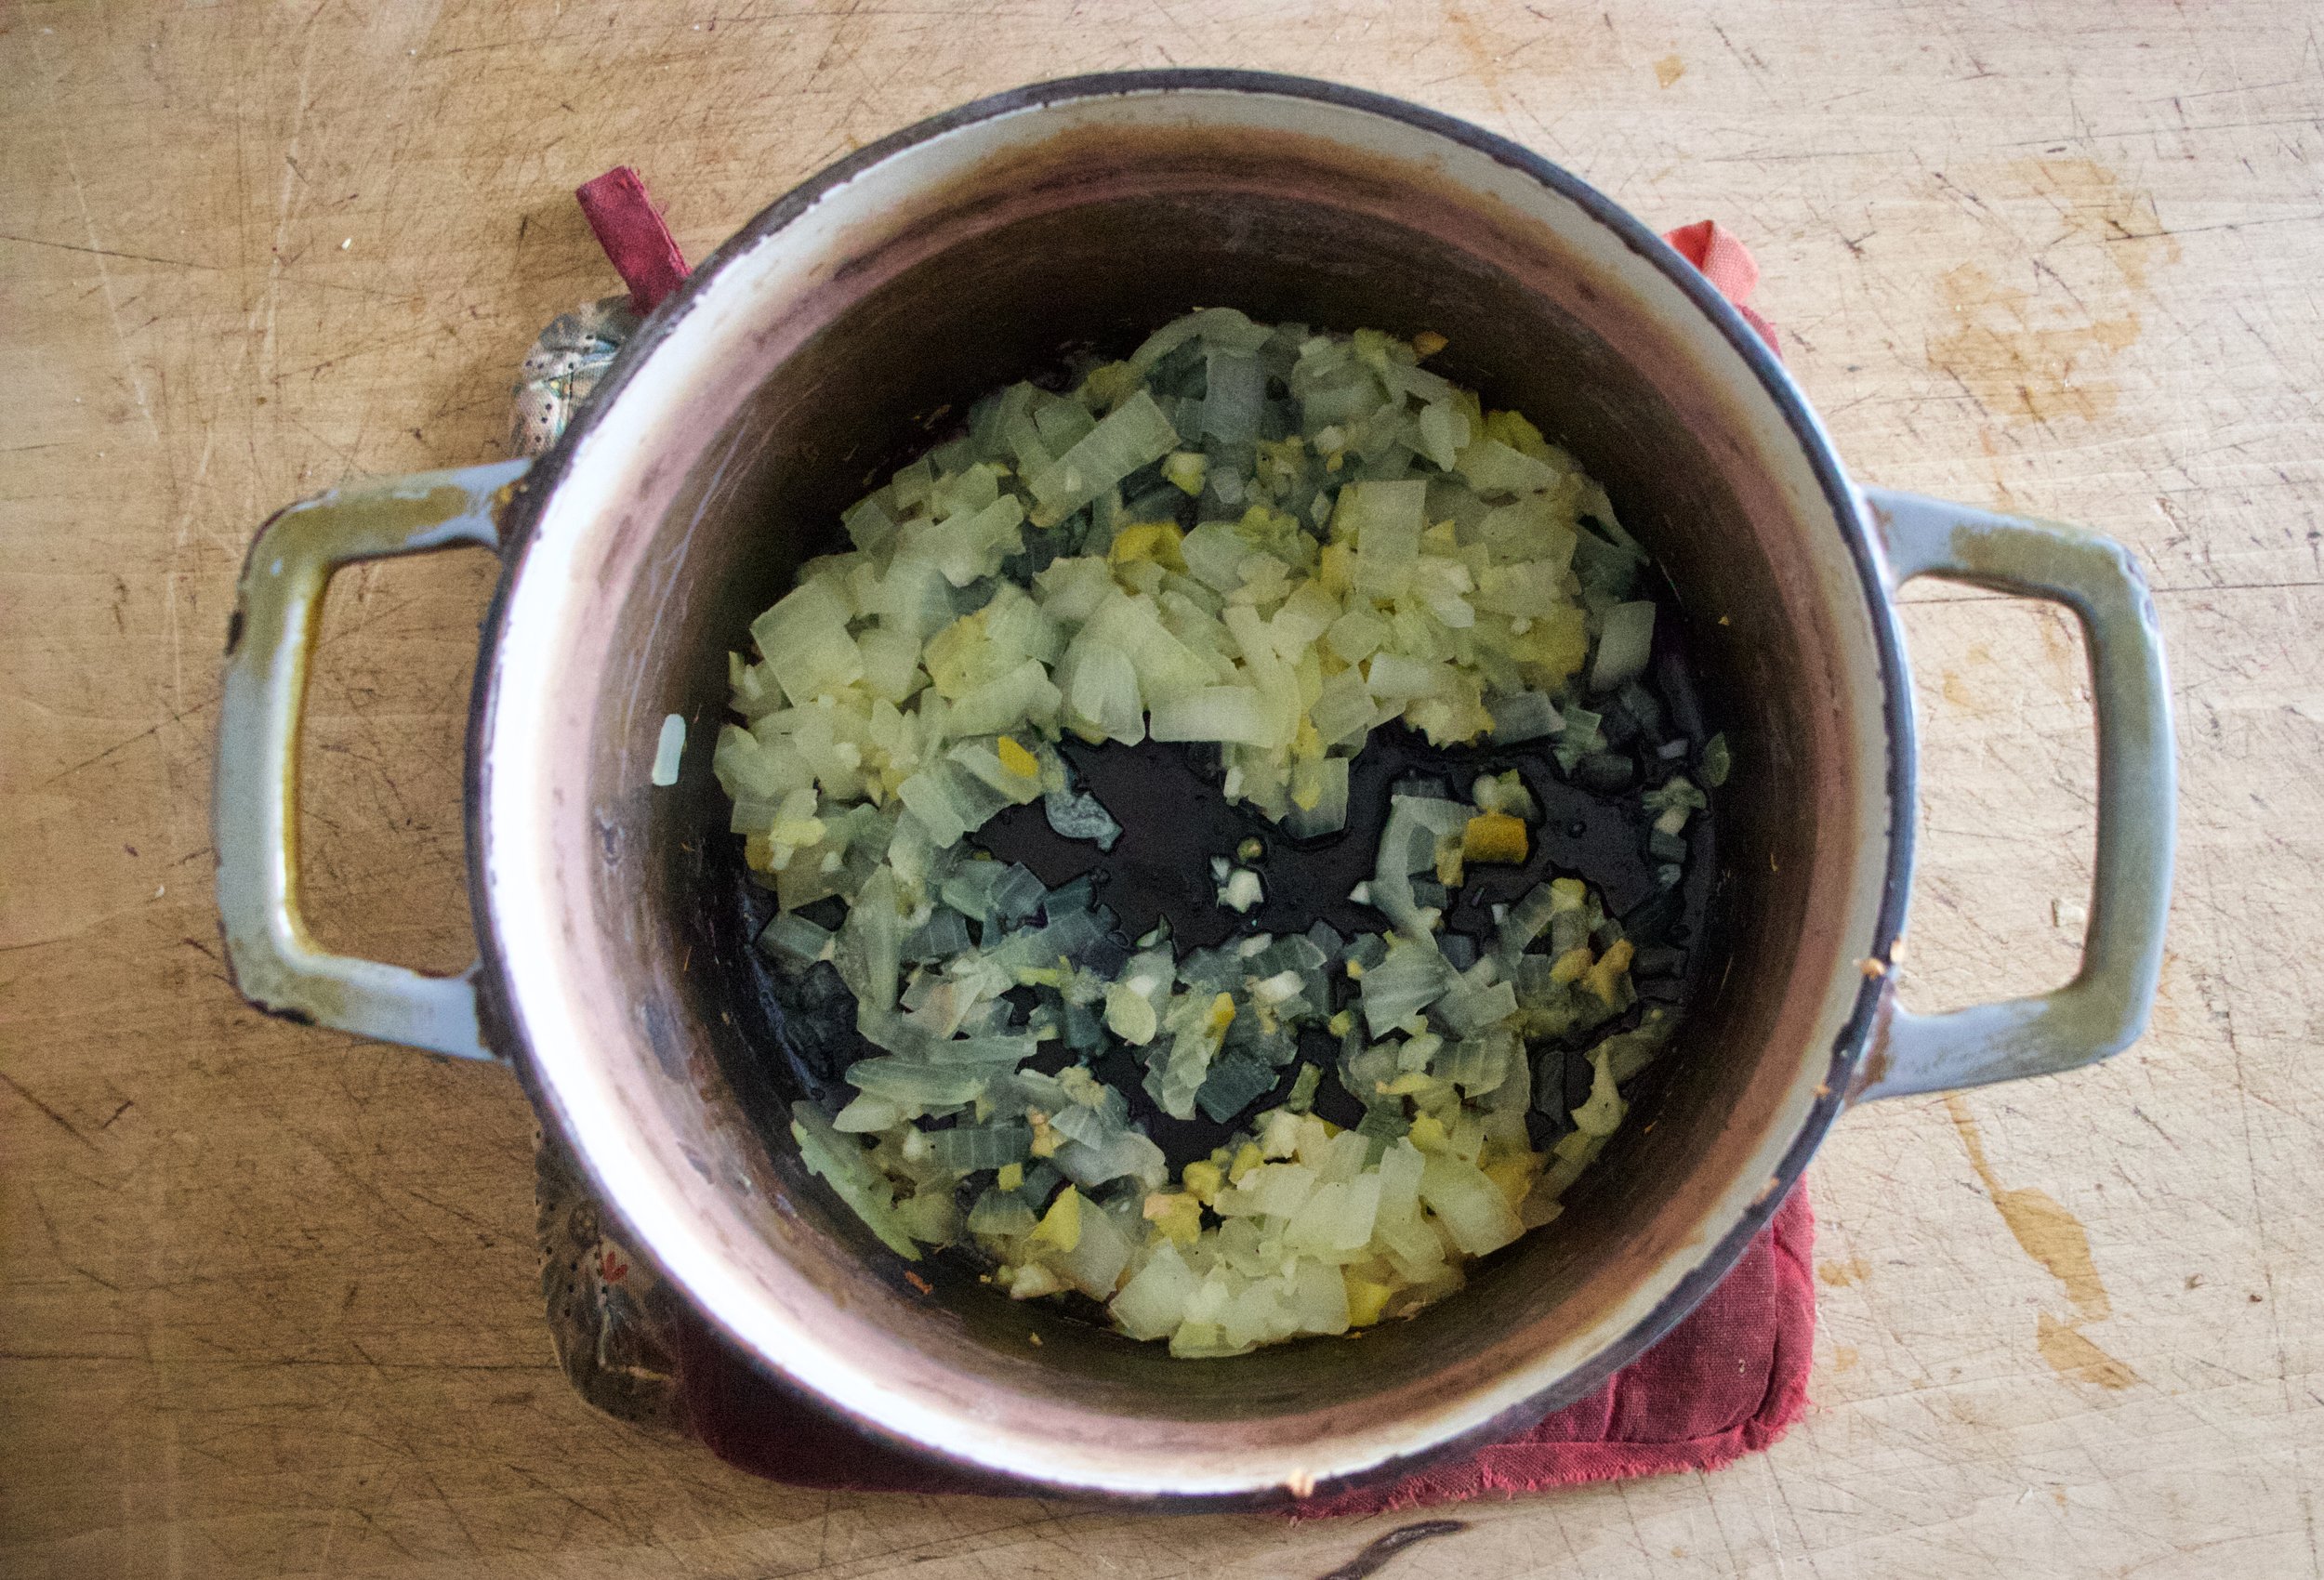
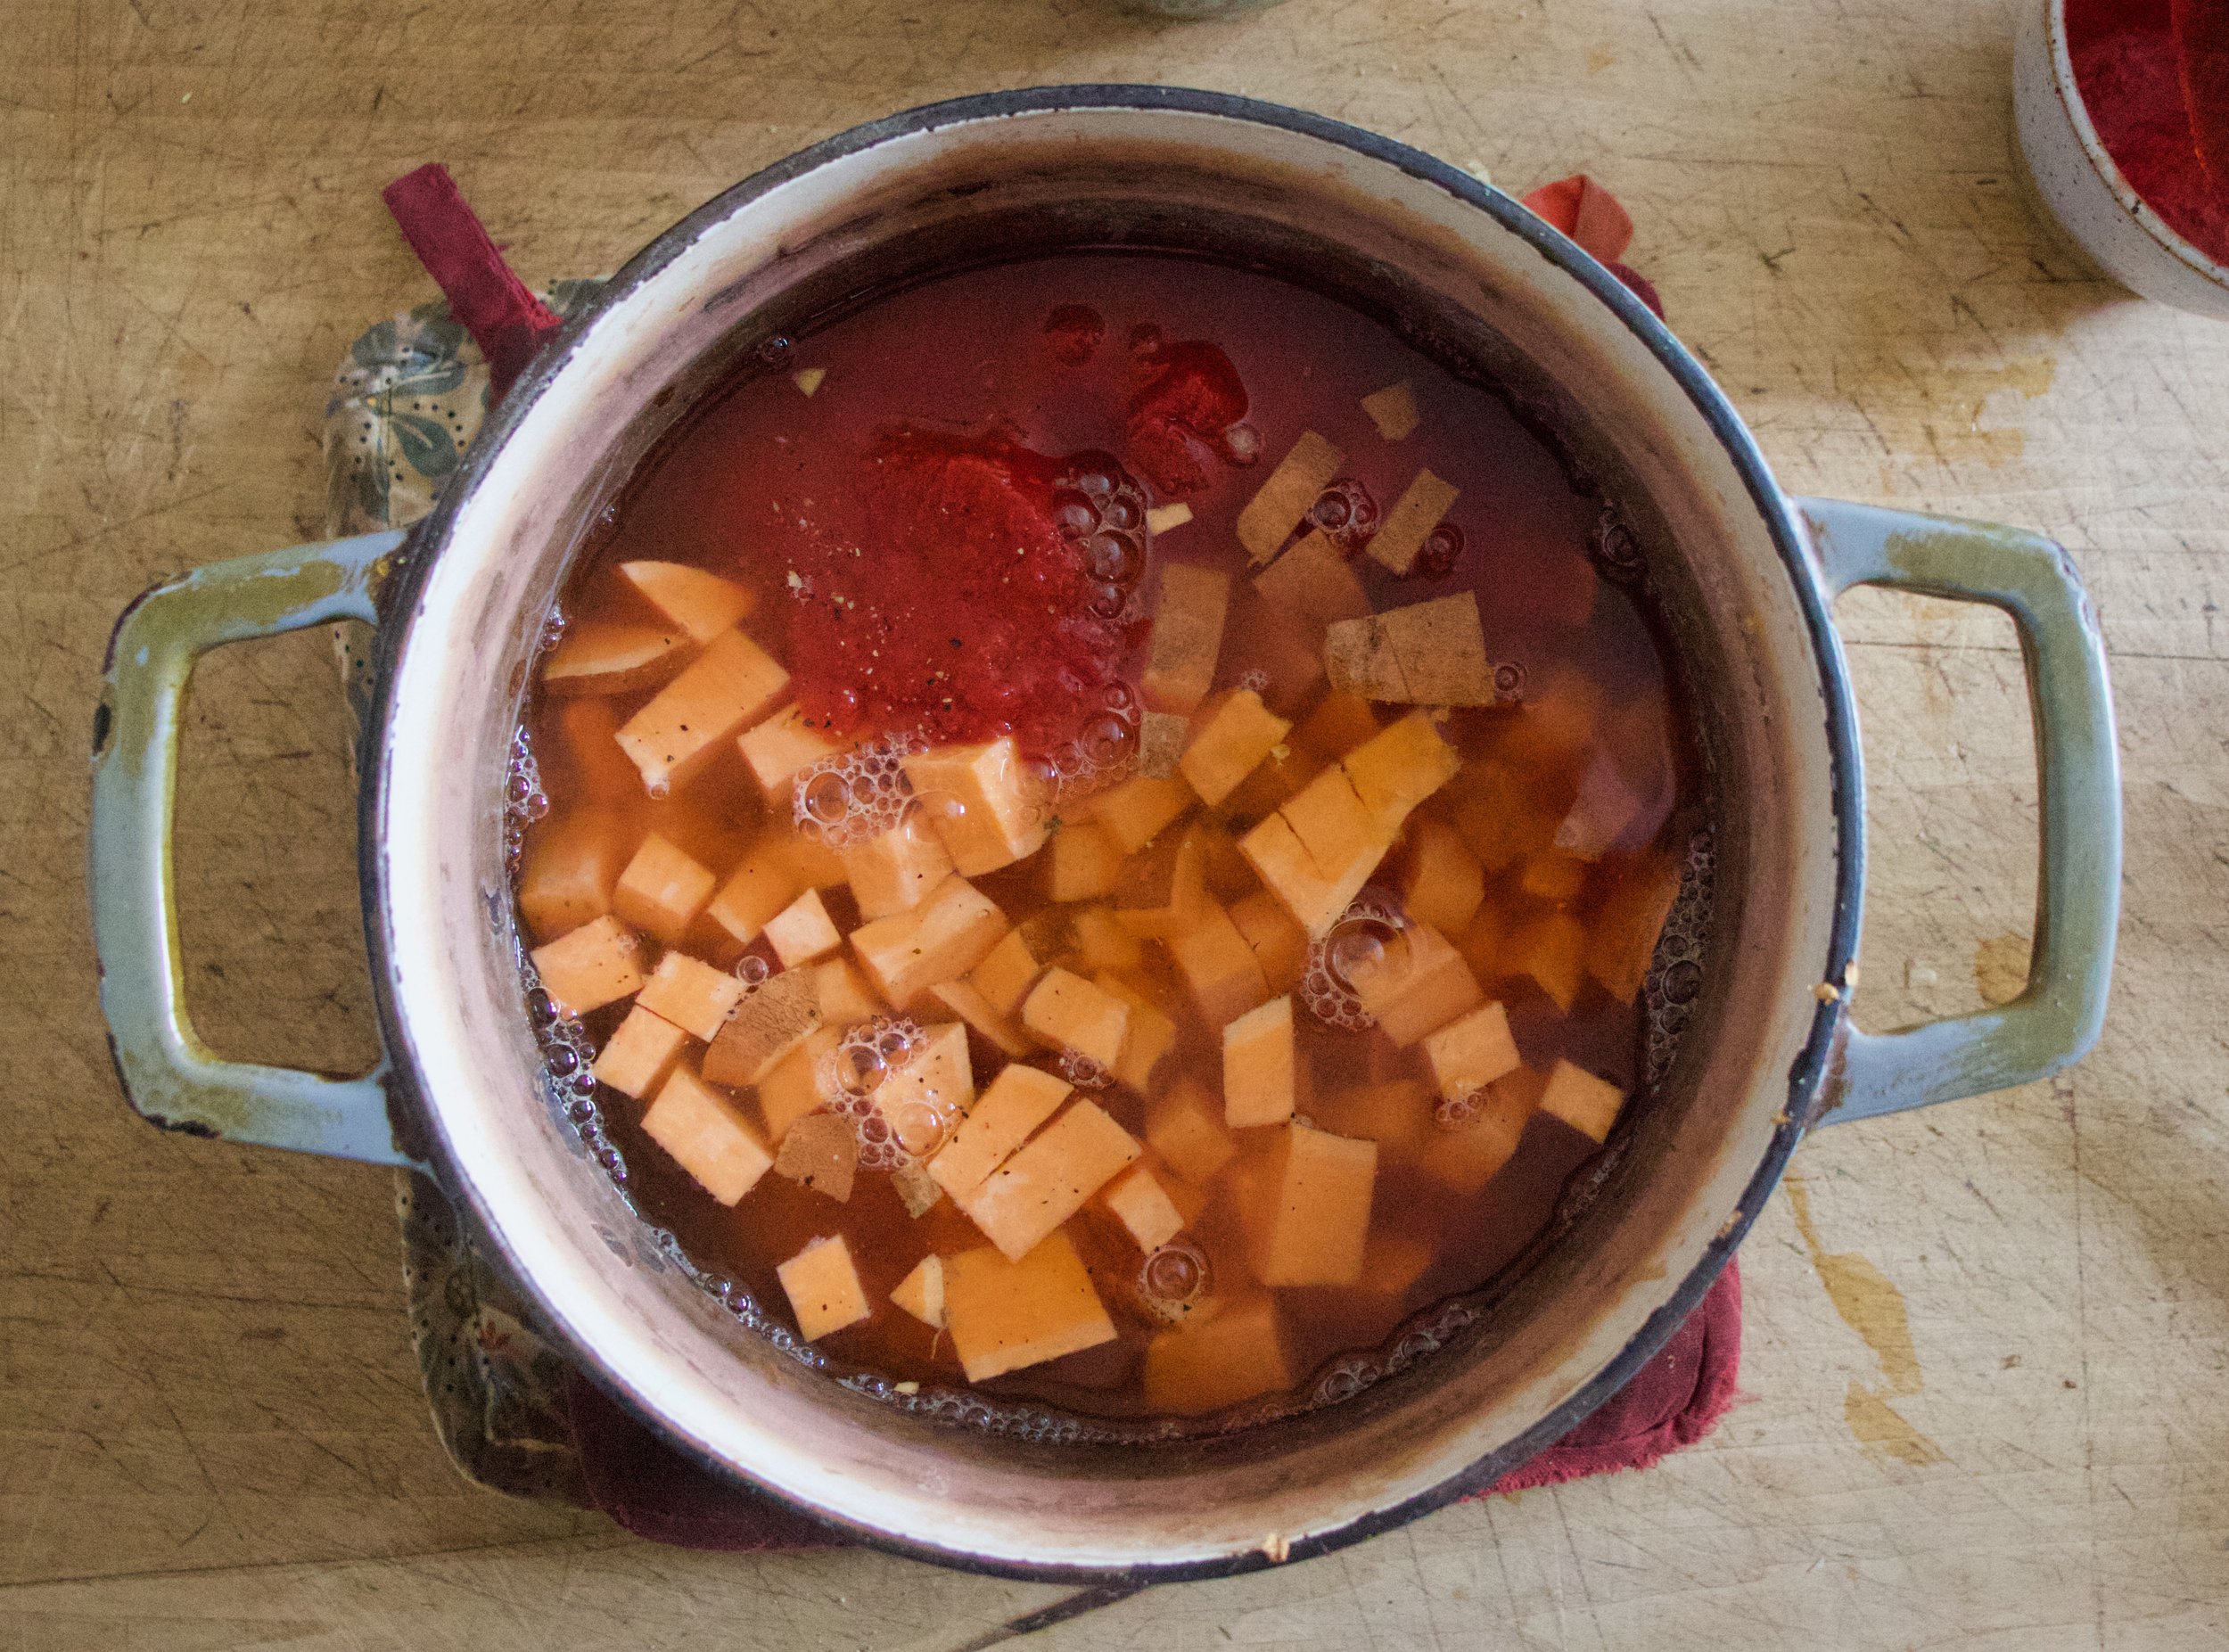
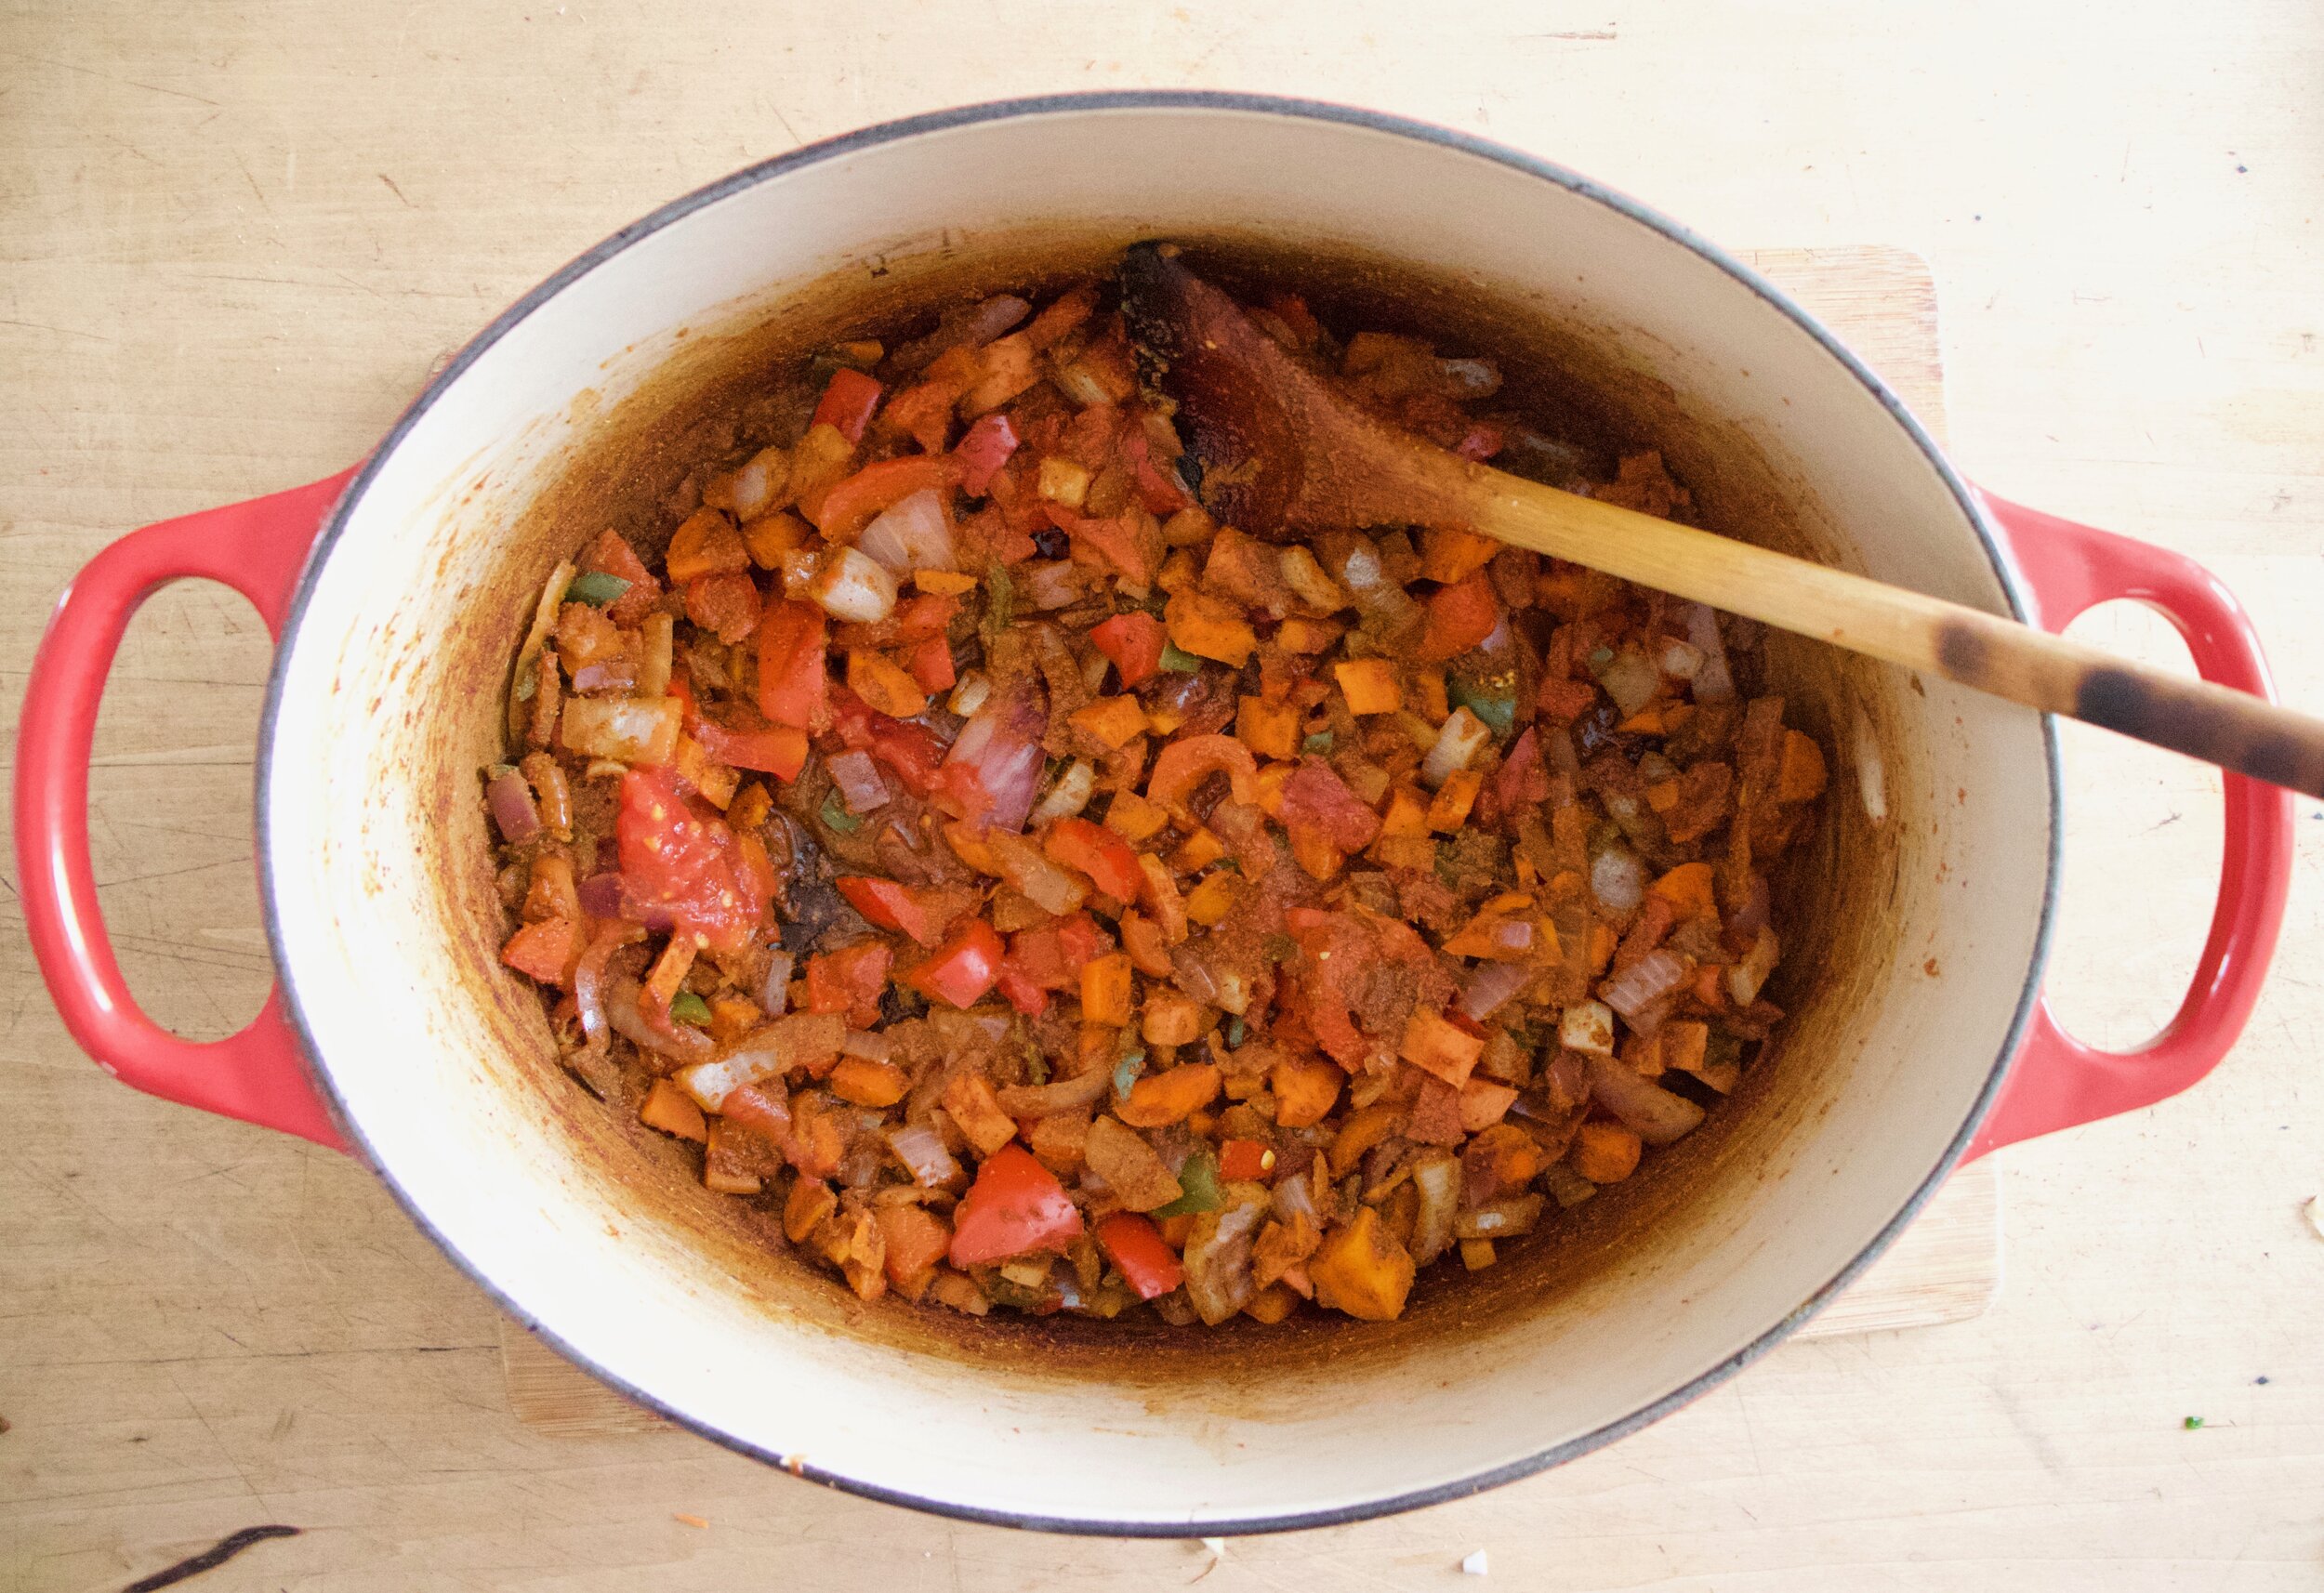
Toss the onion, garlic, and ginger into a big pot and add in a splash of water or oil and a pinch of salt. Place on medium heat ans cook until tranlucent and fragrant. Add in the sweet potatoes, tomato puree, and enough water to completely submerge it all. Keep on medium heat and cook until sweet potties are fork tender. Add more water if needed.

In he mean time chop up the kale.

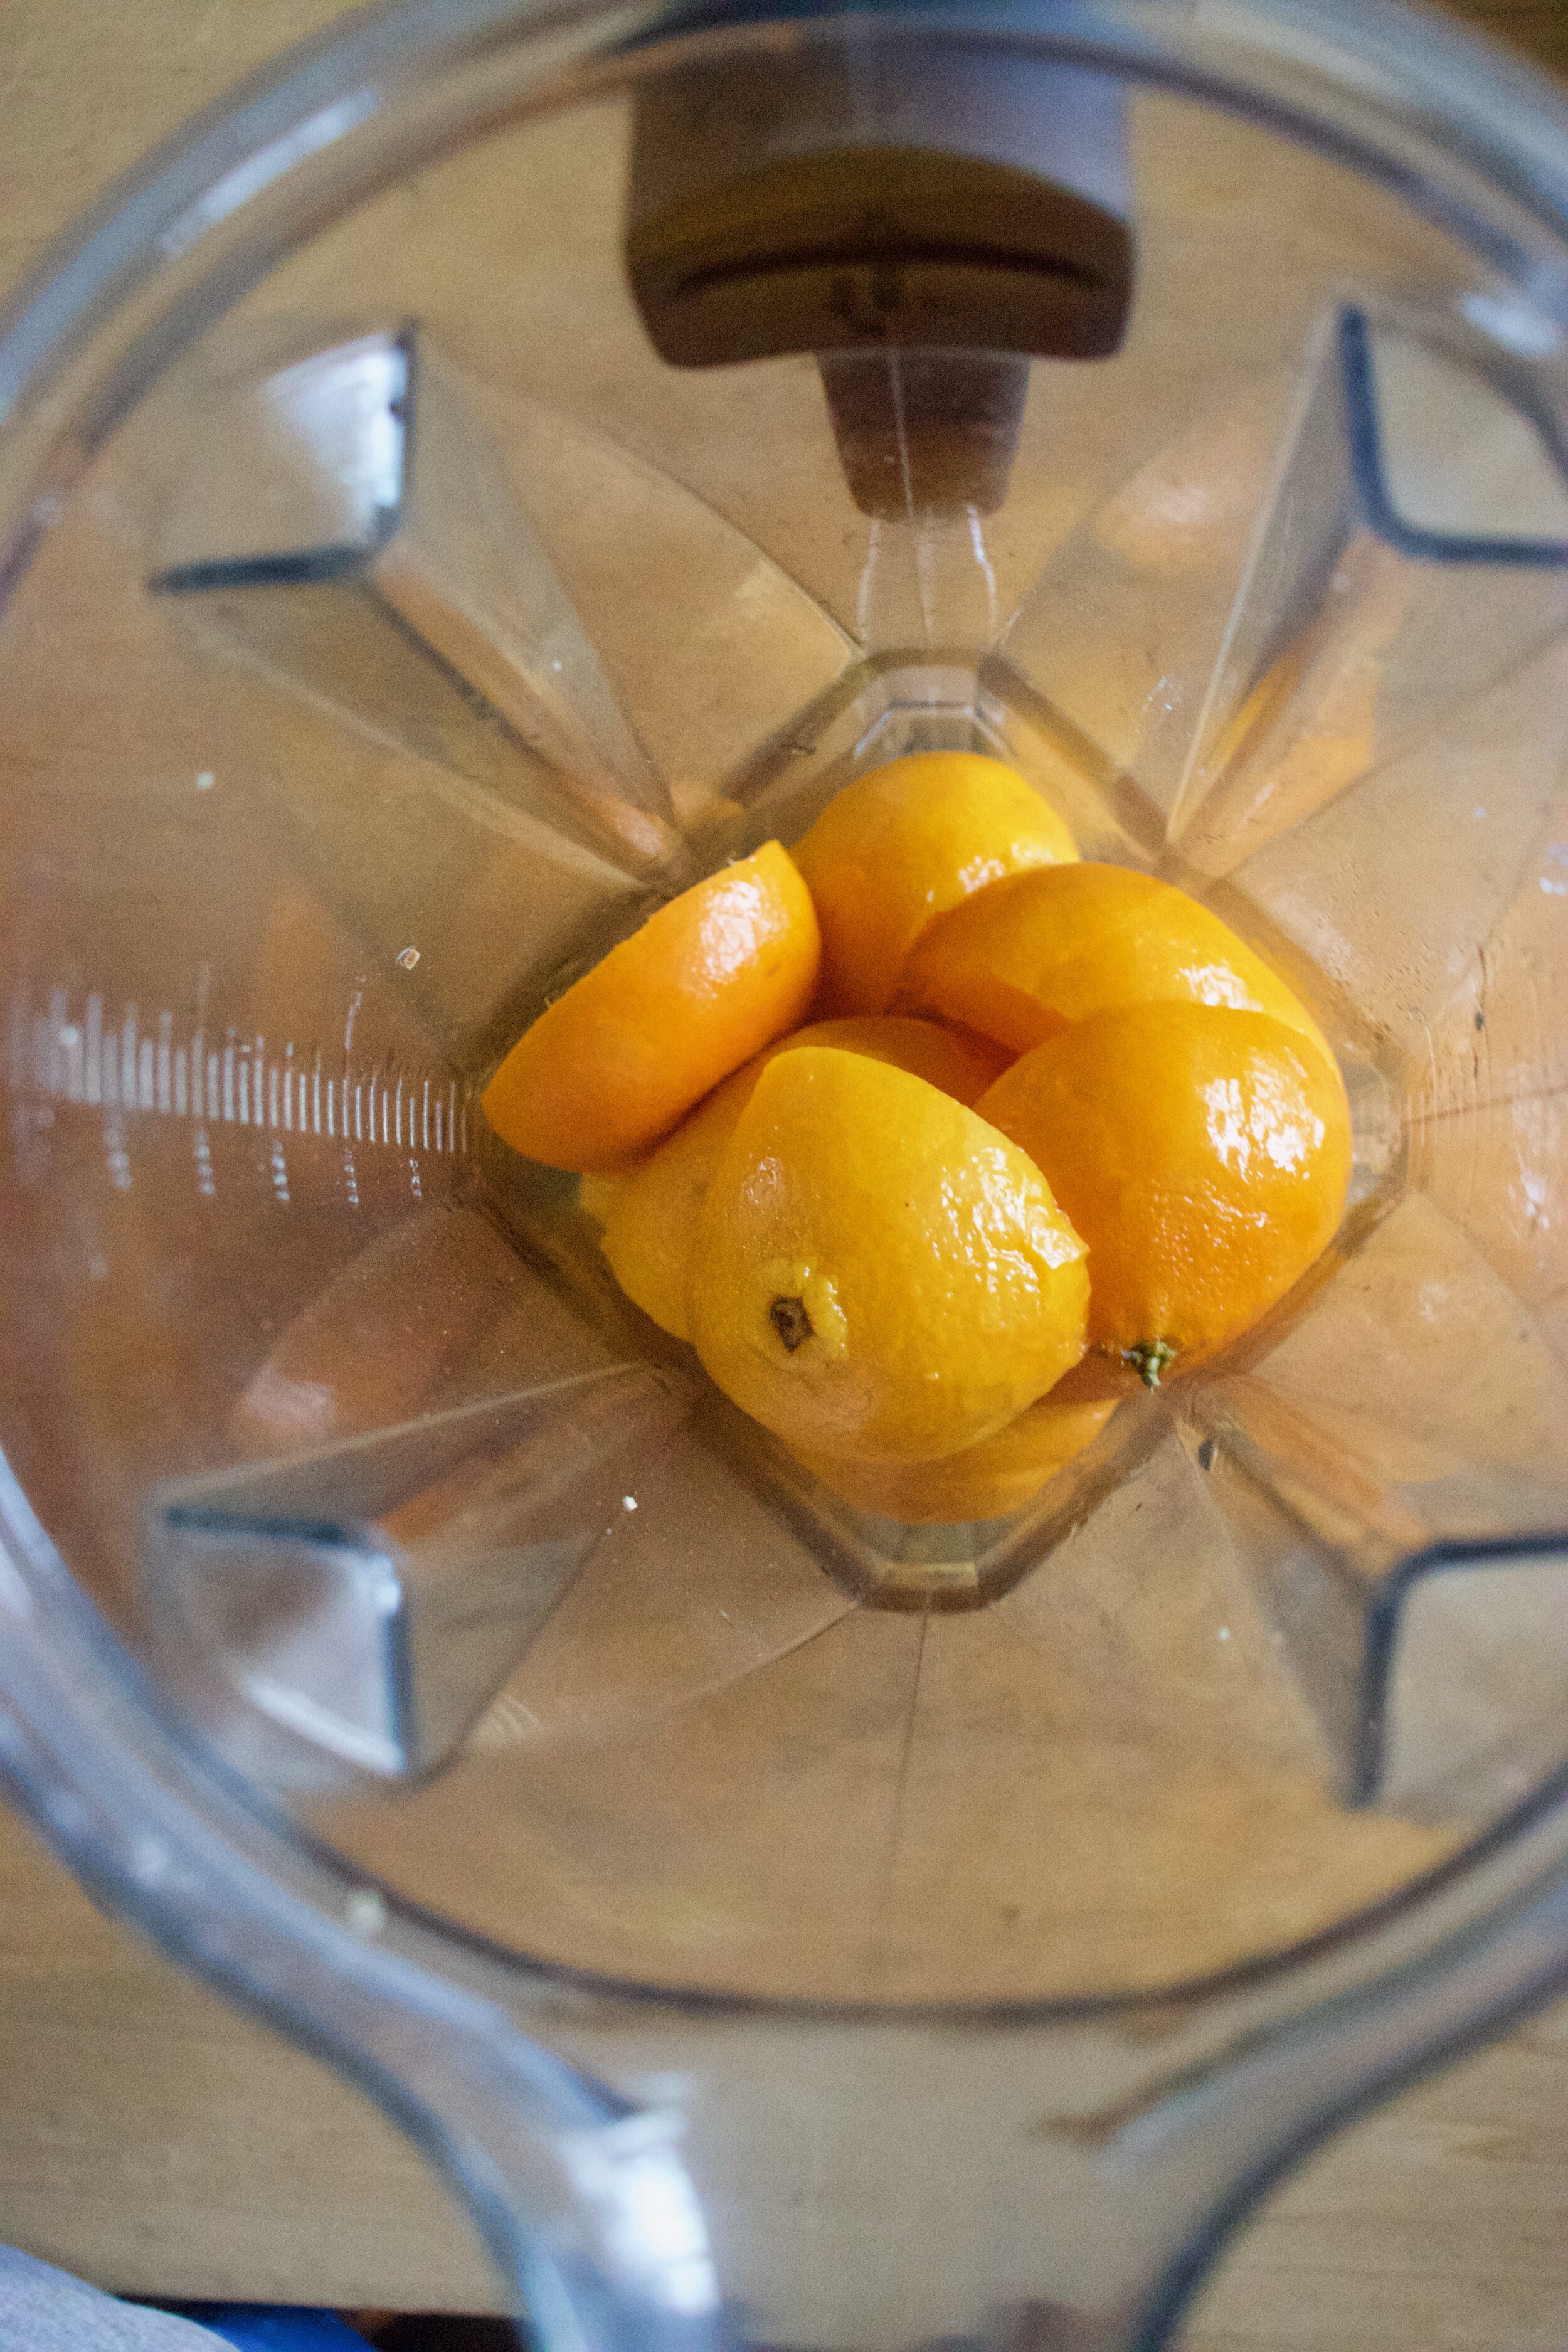
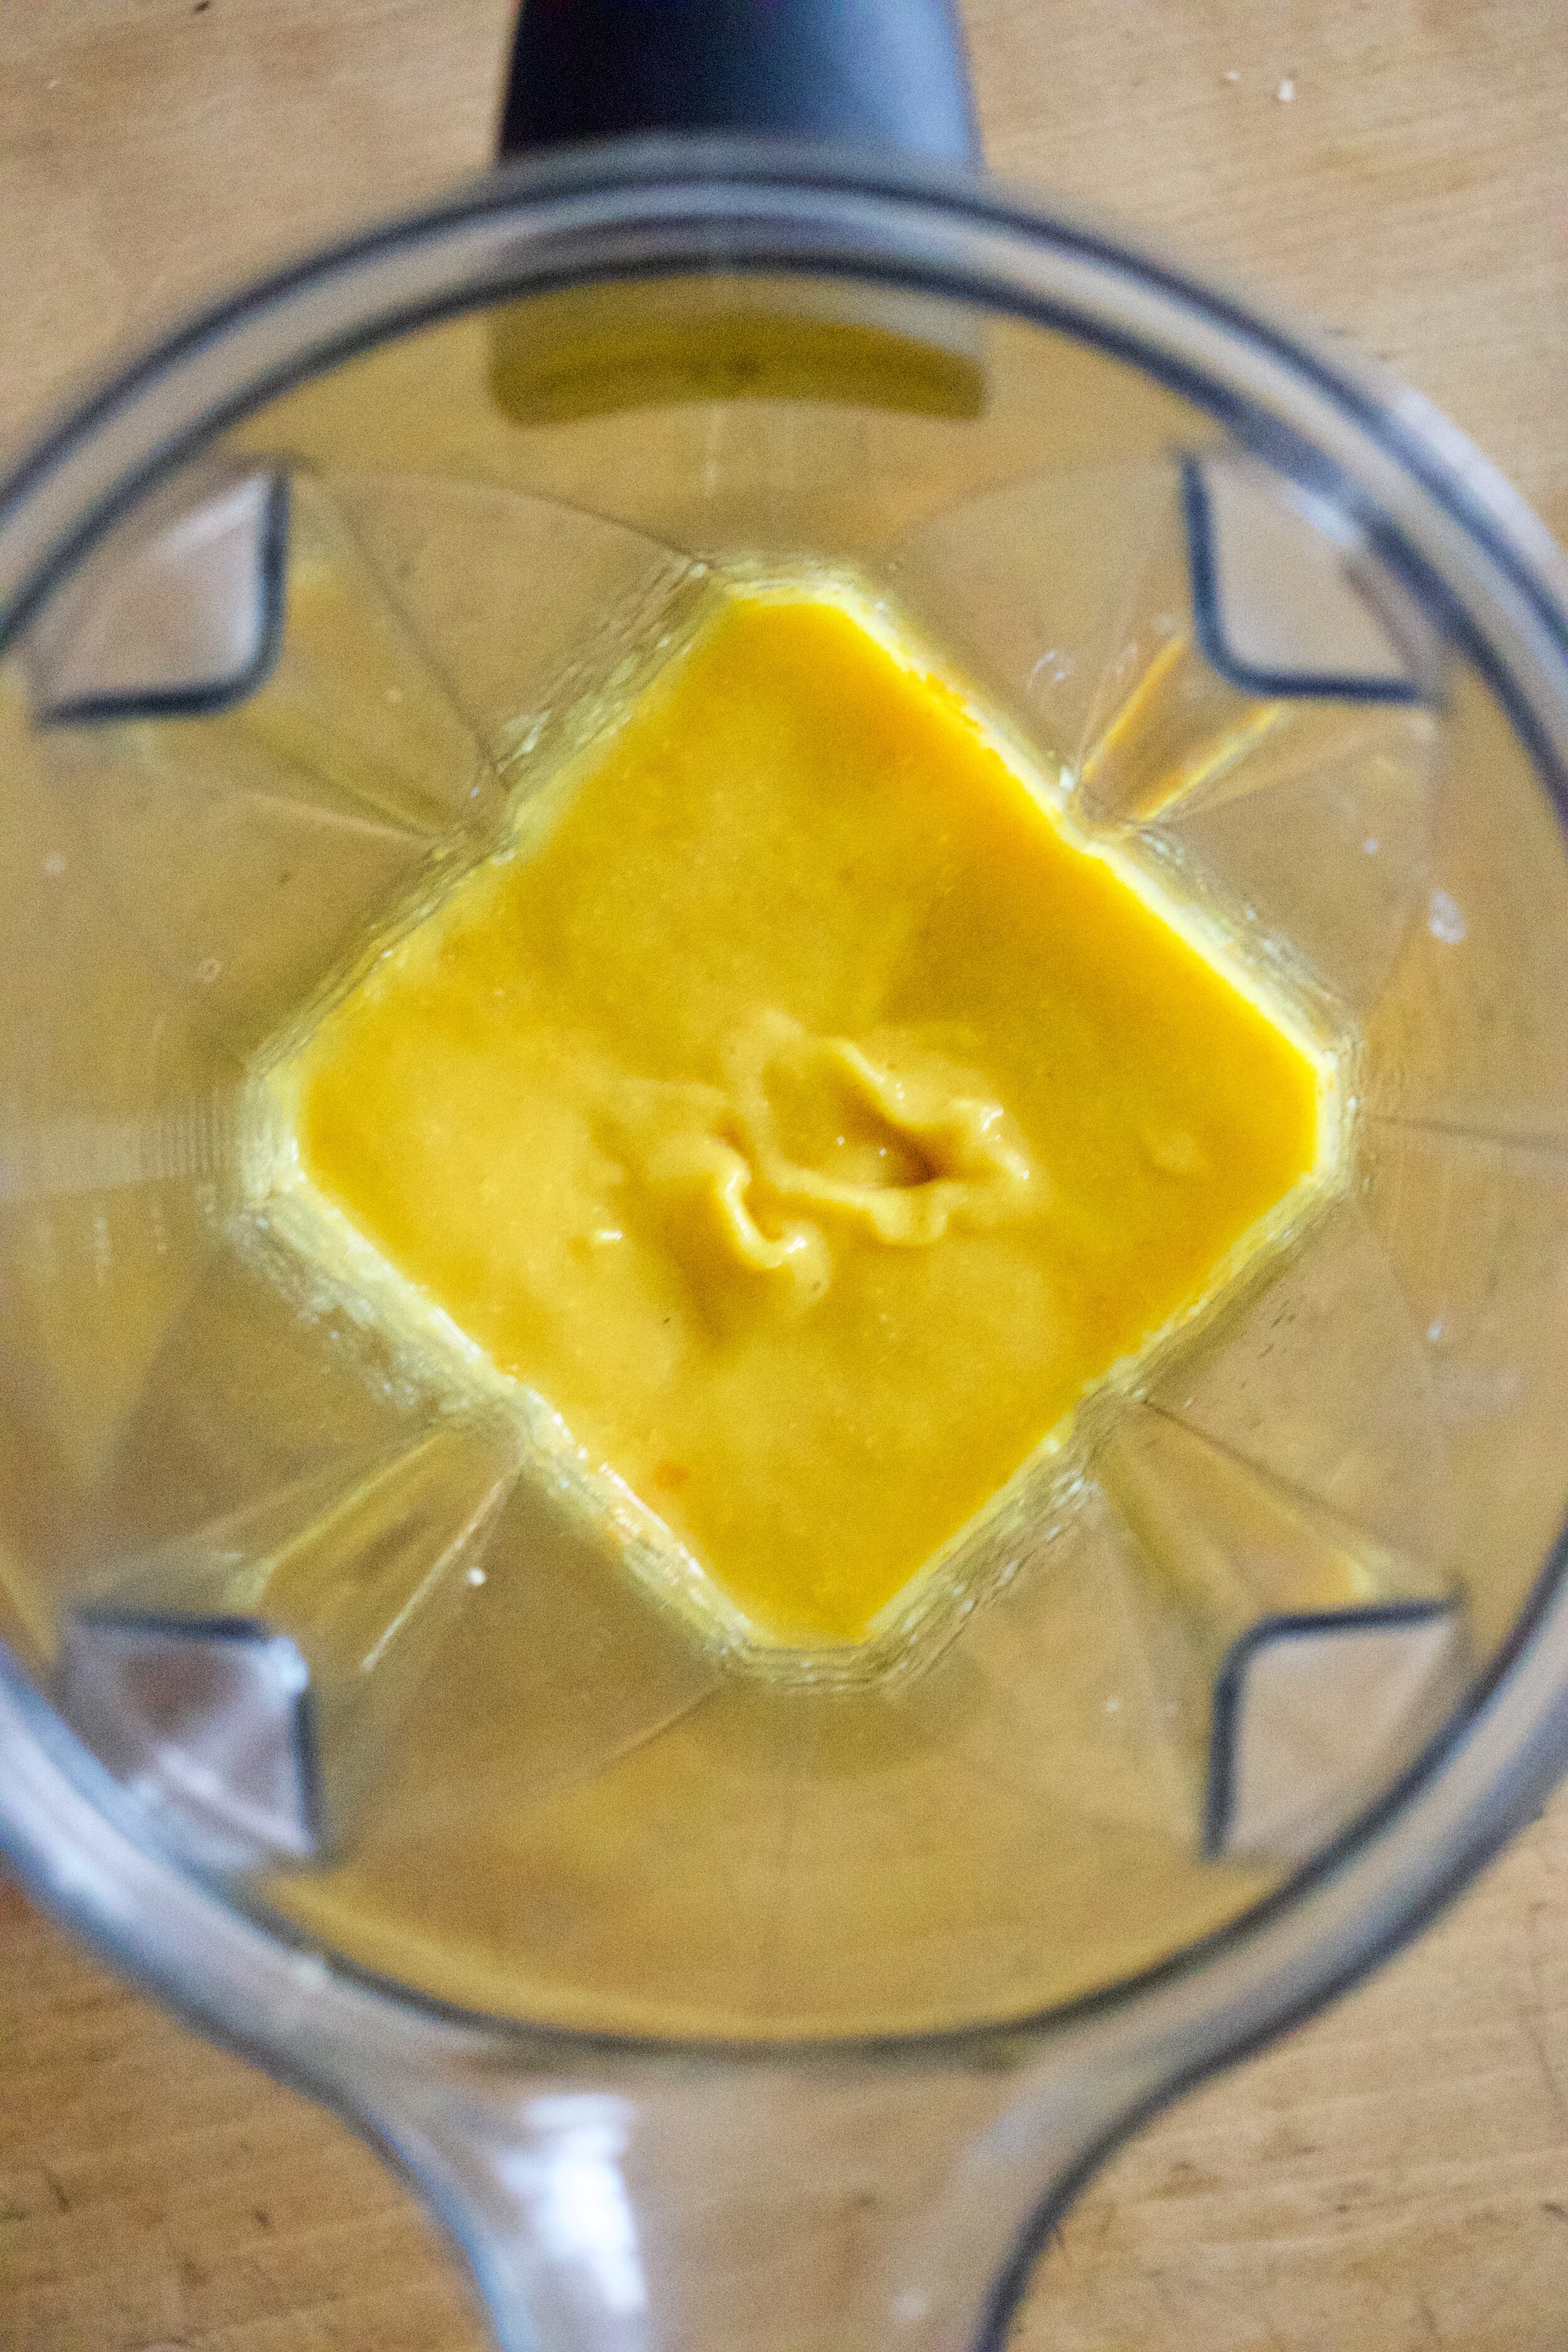
And juice the tangerines.

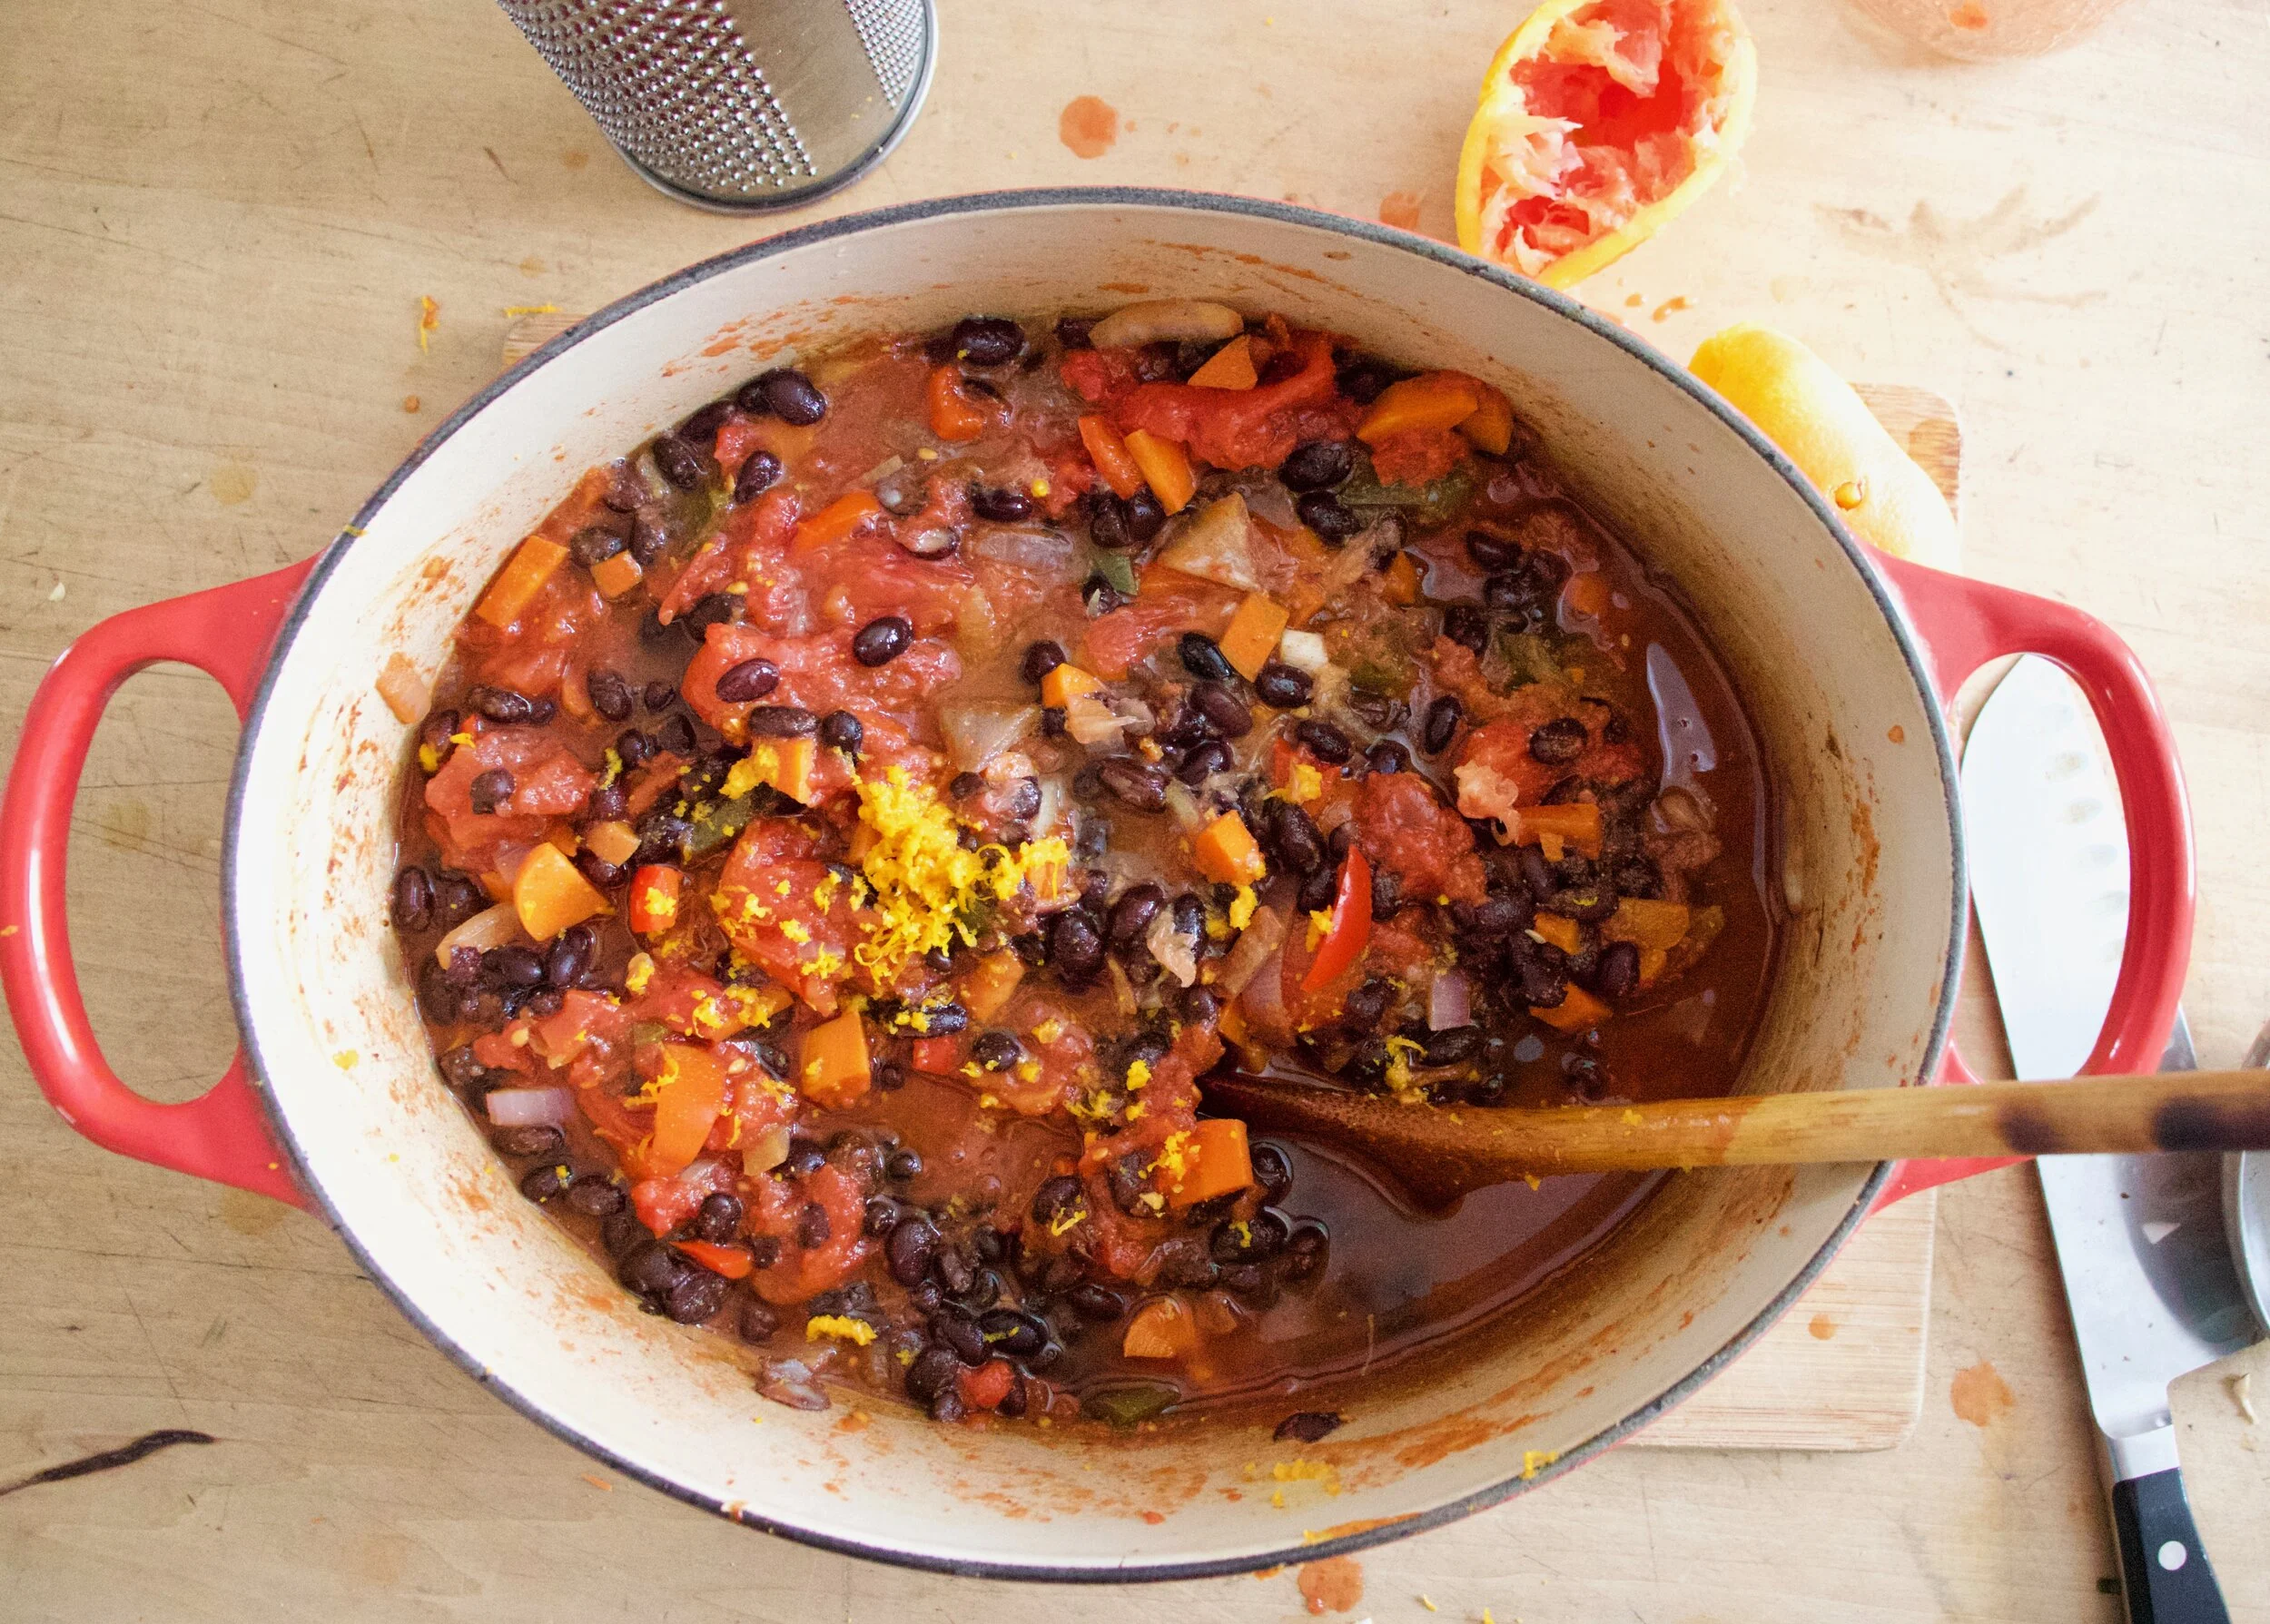
Once potatoes are tender, add in the black eyed peas, the kale and the tangerine juice. Add more water to completely submerge again. And keep on medium high heat and cook for another 10-15 minutes or went everything is all melded and cooked together.

Like this. A pot of good goodness.

All that is left is to scoop the stew into blows and eat it. Squeeze more tangerine juice on top too, it makes it nice.

Good luck all year long!

-C


Black eyed Pea-Sweet Potato and Tangerine Stew

  • 2 cups cooked and drained black eyed peas

  • 1 medium sweet potato

  • 2-3 tangerines

  • 1/2 cup tomato puree

  • 1 small onion

  • 2 cloves garlic

  • 1/2 inch fresh ginger root

  • a few leaves of kale, chard, or collard greens

  • 4-6 cups water

Start by dicing up onion and peeling and mincing up the garlic and ginger. Place into a large pot with about 1/4 cup of water or a splash of oil and stick on stove on medium heat. Cook the mixture for 5-8 minutes or unit fragrant and translucent. While that is cooking dice up the sweet pot into small 1/2 inch cubes then add them into the pot once onion mixture has cooked, along with the tomato puree and enough water to completely submerge in all. Stir and and keep on medium heat and cook for another 20 or so minutes or until the sweet potatoes are fork tender.

Chop up kale and juice tangerines.

Once the sweet potato is tender add in the rinsed and drained black eyed peas, the chopped kale, and the tangerine juice. Add a sprinkle of salt and pepper and more water to submerge it all again and keep on medium heat. Cook for another 20 minutes so that all the flavors have time to meld and turn into a great pot of stew. Depending on your preference for thickness, cook down more for thicker stew, or add more water to keep it brothy.

Once cooked, scoop into bowls, season with more salt and pepper, and if you have an extra tangerine, squeeze a little more fresh juice on top.

In soups/stews/chilis, Vegan Tags Black eyed Pea-Sweet Potato and Tangerine Stew, beans, vegan, soup, chili, plant based, stew, food, recipe, delicious, dairy free, easy, cities, citrus, pulses, dinner
Comment

Watermelon Radish Orange and Pistachios Salad

March 20, 2021 Colleen Stem
IMG_4348.jpg

Have you ever seen a radish as pretty as a watermelon radish?

Is it weird that I got, what’s the word… giddy at the sight of watermelon radishes at my last farm share pick up? I legit did a little jig, yelled out to the farmers that I loved them and that that farm share pick up was the best on ever!

My farmers love me, but I am pretty sure they think I am crazy. (Maybe just a little bit)

Anyways I got me some of these super beauty radishes and have been munching away on them all week. Then I made this salad because sweet and juicy oranges and creamy pistachios go so well with peppery radishes. I added in some red onion for a little more bite and flavor, gave it a simple dressing of salt, pepper, and vinegar, and ate it all up. A big bowl of color and flavors. A bowl of happiness.

Now to the salad!

IMG_4280.jpg

The stuff. A couple watermelon radishes, oranges (I used a navel and and blood orange) a small red onion, a handful of pistachios, red wine vinegar, and salt and pepper.

IMG_4310.jpg

First slice up the radishes and onion very thinly. Use a mandolin if you have one.

IMG_4311.jpg

Toss the radish and onion into a big bowl along with the vinegar and a pinch of slat.

IMG_4303.jpg

Now cut peels from oranges and then cut oranges very thinly as well.

IMG_4313.jpg

Add the oranges to the bowl with the radishes and onion.

IMG_4320.jpg

Rough chop the pistachios.

IMG_4324.jpg

Toast them into the salad. And then top with pepper.

IMG_4346.jpg

Prettiest salad ever.

-C


Watermelon Radish Orange and Pistachios Salad

  • 2 medium sized watermelon radishes

  • 2 small oranges (navel or blood)

  • 1 small red onion

  • a handful of unshelled pistachios

  • 1 1/2 tablespoons red wine vinegar

  • salt and pepper

Start by slicing the rashishes and onion pretty thin. (use a mandolin if you have one) then place into a big shallow bowl. Sprinkle with a pinch of salt and drizzle in the vinegar. Toss around

Grab oranges and cut away peels. Then cut the whole oranges as thinly as you can (You can see the segments who or cut into smaller pieces) then place into bowl with the radishes and onions. Toss around.

Grab pistachios and give the na little rough chop then toss them into the salad. Add a little black pepper to taste then give the whole salad a little toss.

Eat.

In fruit, Nuts, Raw, quick and easy, salad, Vegan Tags Watermelon Radish Orange and Pistachios Salad, salad, vegan, plant based, spring, citrus, healthy, fruit, vegetable, nuts, color
Comment

Orange Black Bean Chili

January 18, 2020 Colleen Stem
IMG_5050.jpg
IMG_5025.jpg

I have been on a severe citrus kick lately. Oranges, limes, lemons, kumquats. I want it all and have been eating it all. A lot of it all. Espeically the oranges which are just so good right now. We have been going through bags of them faster then ever and I am not mad about it.

Which then brings us to chili. Chili is one of the things that I make on a very regular bases. It’s beans, veggies, tomatoes, and a ton of spices. Easy as can be, most people like it, and I never get sick of it. I mean, how could you get sick of it, it is so good! Anyway. Chili, its great but have you ever added orange to it? Oh man is it amazing. Bright and acidic and sweet. The whole pot of chili just radiates more goodness, more intensity, more, moreness. (I know that doesn’t make sense but you get it.) It’s a whole new level of chili and I don’t if there will ever be a time when I don’t add orange to my chili again. Well at least during citrus season.

But enough about all that, what you really want is to just start making this orange black bean chili so you can eat it. I hear you, so I’ll let you at it.

To the chili!

The stuff. Oranges, black beans, crushed tomatoes, an onion, a couple carrots, a pepper, and jalapeños. Also lots of cumin, chili powder, ground ginger, garlic powder, and salt and pepper.

Small dice up the pepper, onion, carrots, and jalapeños. Don’t want it super spicy, don’t add the jalapeños.

IMG_4980 2.jpg

All that stuff gets tossed into a big pot along with all the spices, some salt and pepper, and a little water too. Place on stove to start cooking down the veggies.

Slightly tender and smells amazing.

IMG_5008.jpg

Now add in the beans, the tomatoes, and the zest and juice of an orange. Mix it all up, set it back on stove and keep on cooking,

Done and ready.

Now eat your chili, with extra orange slices to squeeze all over it of course. And maybe you want to serve it with some corn bread? That is entirely up to you, but who would be made about it?

-C


Orange Black Bean Chili

Serves 4-6 people

  • 1 pound cooked black beans drained (about 5 cups or 3 cans)

  • 5 cups crushed tomatoes (or 2 28oz cans)

  • 2 oranges (navel or cara cara work)

  • 2 carrots

  • 1 large onion

  • 1 bell pepper

  • 2 jalapenos (optional)

  • 2 heaping tablespoons cumin

  • 2 tablespoon chili powder

  • 2 teaspoons garlic powder

  • 2 teaspoons ground ginger

  • salt and pepper

Start by chopping up the veggies. Small dice the carrot, the onion and the pepper. If using jalapeño, dice that into small little bits too. And remove seeds for less heat or leave them if you like it. Once that is all cut up, dump it all into a large heavy bottom pot along with the cumin, chili powder, garlic and ginger powder, and about a teaspoon or so each of salt and pepper. Add about 1/2 cup water, mix it all up, and place the pot on stove on medium heat and start to cook the veggies and spices until they begin to smell fragrant and are ever so slightly tender, which should take 5-10 minutes.

Now add in the beans, the tomatoes, and the zest and juice of one orange. Mix together and keep cooking on medium heat, partially lidded, for about 45 minutes to an hour, stirring once in a while, until the chili has thicken and tastes good to you.

Once done, season to taste with more salt and pepper and either stir the juice of the second orange into the whole pot or serve with slices of orange to squeeze on top.

Eat. Store any left overs in fridge. Tastes delicious cold too.

In beans, dinner, one pot meal, soups/stews/chilis, Vegan, Vegetables Tags Orange Black Bean Chili, Vegan, beans, pulses, vegan dinner, one pot meal, plant based, grain free, gluten free, citrus, orange, heathy, dinner, food, delicious, tasty, yummy, protein
Comment

Clementine Cake

December 28, 2019 Colleen Stem
IMG_4524.jpg
IMG_4602.jpg

It’s not too late to get in a little end of the year baking. It is actually the perfect time to bake. All the holiday hub bub is still going on so there is usually still people all around still willing and able to eat your offerings (if you were so inclined to share), the days just feel more slow and of need of warmth and lovely smells. Plus we need something to do while while waiting for New Years, because we are just all sitting around waiting for that ball to drop, right? HAHAHA. No.

Anyway, I have been wanting to make some version of a boiled clementine cake for a while now. I love that fact the the whole clementine goes into the cake, that there is no peeling or zesting or juicing. It is just boil the clems for a little while to get the bitterness out and you are good to go. And it doesn’t hurt that right now is citrus season so I have a humngo bowl of clementines, plus a shit load of other oranges and other citrus to go through so the thought of tossing a good few clementines into a cake, well it was just what needed to be done.

And the family is coming over to eat and trash my house so I needed another dessert besides the half eaten ice cream cake left in the freezer from Camereon’s birthday/Christmas. So I baked that they will eat. And there we go. Win win.

Now to the clementine cake.

The stuff. Flour, baking powder and soda, salt, sugar, oil, cinnamon, vinegar, clementines, and powdered sugar.

First you need to boil the clementines. Big pot, fill with water, place clems inside, bring to a boil, then simmer for 2 hours. Seems like a long time but just do it while you are making and drinking coffee or doing laundry or whatever. You don’t need to keep an eye on them, other then to check that the water hasn’t evaporated, and it smells so nice.

After the 2 hours are up, remove clementines from water and let cool enough to handle. Cut in half. If there are giant seeds, remove them.

IMG_4432.jpg
IMG_4446.jpg

Place the clementines into blender and blend until silky smooth.

Now the other stuff. Flour, sugar, salt, baking powder and soda, and cinnamon. All into big bowl.

IMG_4453.jpg
IMG_4455.jpg

Whisk together until incorporated then add in the clementine puree, the oil, and the vinegar. Whisk together until it becomes a uniform batter.

IMG_4466.jpg

Unbaked cake.

IMG_4472.jpg
IMG_4473.jpg

Scoop batter into a very well greased bundt cake pan and bake, 50-60 minutes, until tester comes out clean.

IMG_4479.jpg

The big revel…. And it went perfect! Now time to let this sucker cool a bit on a wire rack.

IMG_4496.jpg

While the cake is cooling, make a simple glaze. Just powdered sugar and fresh (not boiled) clementine juice. Mixed unit glaze consistency.

Once the cake is pretty much cooled, pour on the glaze.

IMG_4525.jpg

And now it is cake time.

-C


Clementine Cake

Makes one bundt cake

  • 2 1/4 cups all pupose flour

  • 1 cup white sugar

  • 1/2 teaspoon salt

  • 1 teaspoon baking powder

  • 1 teaspoon baking soda

  • 1 tablespoon vinegar

  • 1/2 cup any neutral oil

  • 1 teaspoon cinnamon

  • 6 clementines (you need 2 cups pureed)

    For the glaze

  • 1 cup powdered sugar

  • 1 clementine

To start, place 6 clementines into large pot and fill with water. Place on stove and bring water to a rapid boil then reduce heat and continue to simmer clementines for about 2 hours.

Once clementines are cooked, cut in half and check and discard any large seeds. Place the clementines into a blended and blend until smooth. Should have about 2 cups puree. If you are short on volume, add water to make up the difference.

Preheat oven to 350

Grab a large bowl. Dump the flour, baking powder and soda, salt, cinnamon, and sugar and whisk together until completely incorporated. Now add in the clementine puree along with the oil and the vinegar. Mix until completely incorporated. Scoop batter into a well greased burnt pan (at least 10 cup capacity) then place into oven on middle rack and bake for 50-60 minutes until a tester (or a fork) stuck in to the deepest part of the cake comes out clean.

Once baked, remove cake from oven and allow to cool for a few minutes in pan, then flip the cake out of pan, gently of course, and hope you greased it well enough for it to just pop out. Once removed from pan, allow to cool on a wire rack.

While cake is cooling, make the glaze. Powered sugar into a bowl along with the juice of a clementine. Mix together. If the glaze is to thick, add more juice (or water), to thin, a little more powdered sugar until you reach your desired consistency (pourable but not runny is good) and once cake is cooled, pour glaze all over.

And then eat cake.

In cake, Dairy Free, fruit, Vegan Tags Clementine Cake, bundt cake, vegan, no eggs, dairy free, King Arthur flour, food, food 52, citrus, dessert, Homemade, sweets, holiday, easy, boiled clementines
Comment

Carrot Sugar Cookies with Orange glaze

April 20, 2019 Colleen Stem
IMG_7690.jpg
IMG_7717.jpg
IMG_7740.jpg

These are definitely my favorite shaped cutout cookies I have ever made. I mean seriously, carrot shaped carrot cookies, what could possibly ever be better? Nothing, and that’s truth for you.

Not only are they carrot shaped, they are also carrot flavored. Yup, Carrot shaped, carrot flavored, awesomeness. A little cinnamon added to the cookie for little extra boost of flavor and an orange glaze because it works and orange is good and fresh and springing. All good stuff.

You might be thinking, huh, carrot puree in a cookie, well that doesn’t sound right. But it is, it is right. And you know how I know that these cookies are awesome? Well I packed them up, (2 dozen of them) and took them over to the littles house for an after school treat. When I got there, the two older ones had friends over. I asked them if they wanted a carrot which earned me that look that said “are you serious” but them showed them the cookies. Of course the wanted a carrot so I gave them each one. They ate their cookies then proceeded to beat the shit out of the mr. Then they asked for another cookies and beat the shit out of the mr some more. This when on and on for about a 1/2 hour until all the cookies were gone and the mr was crouched in the corner with a broom trying to defend himself against 4 rulely kids who where slashing at him with light sabers and spraying him in he face with kitchen cleaner. It’s because they wanted more cookies. (and yes, the littles are getting crazy). So yeah, the cookies are good. Ass kicking good.

Anyway, a cookie with some goodness mix into it, shaped into a great shape, that will make everyone smile and happy. You could make them by yourself, make them with your friends, make them with some kids, with some old people. They are the perfect cookie to leave out for the easter bunny(do you leave carrots out for the easter bunny?) or to serve up at any easter party, spring party, or any garden party you might be attending. This cookie is pretty much perfect for any and every occasion that required a cookie. Or a carrot because carrots are always welcome.

To the carrots! I mean, the cookies!

The stuff. Flour, baking soda, salt, sugar, vegan butter, carrot puree, cinnamon, an orange, some powdered sugar, and food coloring.

IMG_7554.jpg

Into a big bowl the sugar, vegan butter, and carrot puree go.

Beat for a minute or two until completely incorporated.

IMG_7574.jpg

Add in all the rest of the dry stuff and mix by hand until it turns to dough.

IMG_7590.jpg

This is the dough it turned into.

Gather the dough and wrap it or place in a plastic bag and stick it Into the fridge for a few hours or overnight. The dough NEEDS to chill.

IMG_7607.jpg

After you let the dough be, remove from fridge, liberally dust counter, and roll out dough about 1/4 inch thick.

IMG_7610.jpg
IMG_7621.jpg

And then it’s time to cut the cookies out. I unfortunately do not have a cookie cutter so I improvised and make 2 carrot cutouts from paper and hand cut each cookie. That worked but took forever so I got crafty and used a fat Christmas tree cookie cutter then just did a little trim and pinch to make it into a cookie. (I am a genius for that). Any way works, and you can also do other shapes too, the cookies don’t change taste in different shapes. (but that would be so cool if they did)

Carefully place cut out cookies onto a baking sheet, giving them a little space because they do spread a tiny bit.

And into the oven to bake they go.

Out in 10 minutes looking all carrot like.

IMG_7653.jpg

Carrots waiting to cool so they can be glazed.

The glaze. Pretty straight forward. Just zest orange into powdered sugar and juice the orange into the sugar and mix.

Divide glaze and dye one orange and one green

IMG_7678.jpg

And glaze away. I recommend doing it over a rack and baking sheet to minimize mess because they do drip a bit.

Now just you look at that, carrot shaped carrot sugar cookies .What a sight!

IMG_7754 2.jpg

And of course, carrots come in bunches. HA

Enjoy some carrots!

-C


Carrot Sugar Cookies with Orange glaze

makes about 2 and a half dozen (depending on size)

  • 2 1/4 cups all purpose flour plus more for dusting

  • 1 teaspoon baking soda

  • 1/2 teaspoon salt

  • 1 teaspoon cinnamon

  • 1/2 cup vegan butter

  • 3/4 cup granulated sugar

  • 1/2 cup carrot puree ( see note about how to make puree)

    For the glaze

  • 2 to 3 cups powdered sugar

  • on orange

  • orange and green food coloring

Note. To make carrot puree, steam a couple carrots until completely soft them blend until smooth.

Place sugar, vegan butter, and carrot puree into a big bowl. Beat with a beater until light and fluffy. Add in the flour, baking soda, salt, and cinnamon and mix by hand until completely incorporated and mixture tunes into dough. Gather dough into a disk and wrap in plastic or place in a plastic bag and refrigerate for at least 2 hours or up to overnight.

Once dough has chilled enough and you are ready to go, preheat the oven to 350.

Place dough on a flour dusted counter and roll out about 1/4 inch thick. Cut out the cookies with a cutter or by hand and place on a baking sheet. Bake cookies for 10-11 minutes or until just starting to turn slightly brown around the edges. Remove from oven and place on a wire rack to cool.

Once cookies are all baked and cooling, make the glaze. Place powered sugar into a big bowl, zest in the orange then add in the juice od half the orange. Mix completely and check consistency. You want it to be slightly running but not liquid, but also not to stiff. Add more juice or more sugar to get it right. Once it is the right consistency, separate into 2 bowls. Dye one green and one orange. Now glaze you cookies. A knife or small spatula works best and yes, the glaze drips a little so do it over a baking sheet, but after about 10 minutes the glaze hardens.

And then you have carrot cookies and all is good. Now go eat a carrot cookie!

Store uneaten cookies in an airtight container for up to 5 days. They can be frozen too.

In Vegetables, Vegan, Sweets, Spring, desserts, cookies Tags Carrot Sugar Cookies with Orange glaze, Carrot cookies, vegan, vegan sugar cookies, sugar cookies, carrot cookies, carrots, plant based, desserts, cookies, easter, spring, holiday, garden party, vegetable, roots, orange, citrus, glaze, fun, food, egg free, dairy free
Comment
Older Posts →
 

https://thelovelycrazy.squarespace.com/config#/|/about/

Me. Food Maker.Food eater. Woo HOO!

STEM+NODE  SMALL BATCH AND ONE OF A KIND POTTERY

stem+node ceramics


____________________

Subscribe

GET NEW POSTS IN YO EMAIL

You are AWESOME!!!


@thelovelycrazy 2014-2021