• stem+node ceramics
  • HOME
  • Food Recipes
  • About
  • Contact
Menu

The Lovely Crazy

Street Address
City, State, Zip
Phone Number

Your Custom Text Here

The Lovely Crazy

  • stem+node ceramics
  • HOME
  • Food Recipes
  • About
  • Contact

Blueberry Orange and Pistachio Cabbage Salad

January 15, 2022 Colleen Stem

Ever since the mr got a gigantic bag of pistachios from my Dad for Christmas he has been eating them almost every night and not once has he asked if I wanted some. And I know he has been trying to hide them in the pantry on me, (obviously he has failed since it is MY pantry) so I took some when he was not home. Does that make me an asshole? Maybe a little but I share ALL of my food with him so he can give up a couple small handfuls of nuts.

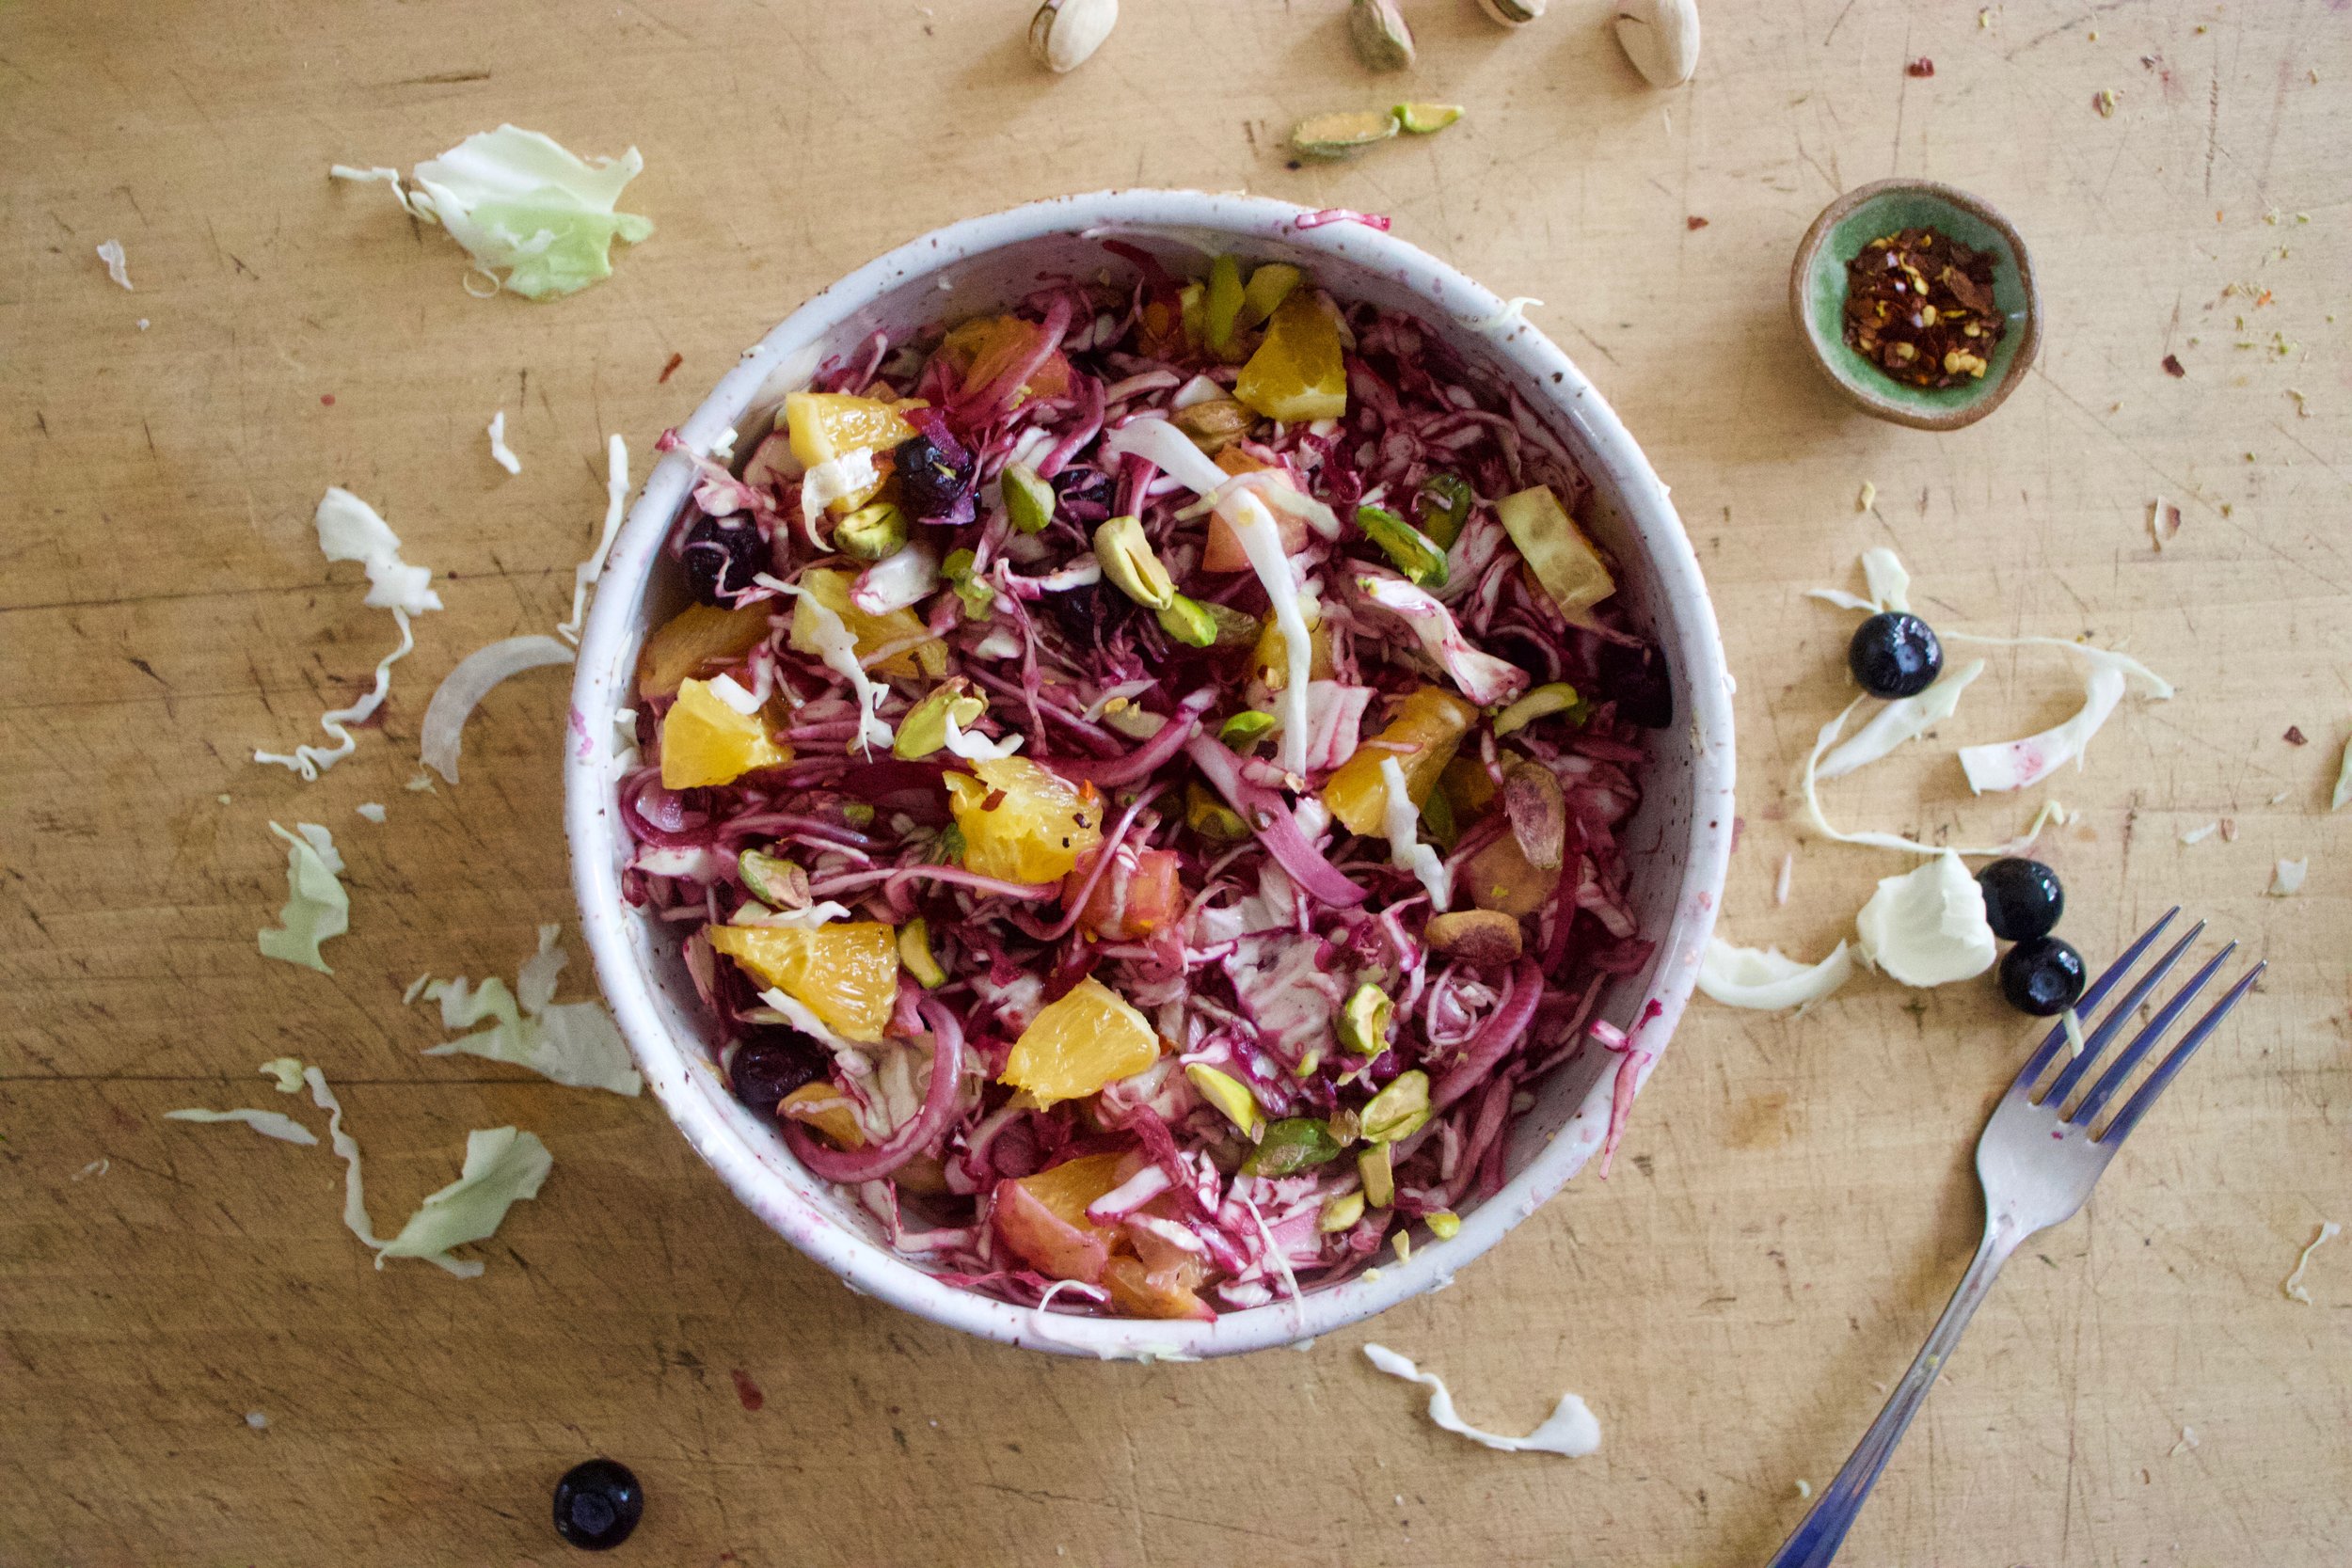
Anyway I made salad with my stolen pistachios. A big cabbage salad with orange and blueberries because they pair amazingly with pistachios and plus I want to eat all the citrus right now. The blueberries, well they go so well in a savory situation and I wanted them in there too. (Plus the the color from the berries makes the salad so pretty!) So I made the salad and it was delicious. I ate some but you know what? I ended up sharing my stolen pistachio salad with the mr. And he liked it too, especially the pistachios. And he didn’t ask if I took then from him so I took that as a invitation to take more… Thats what it means right?

Now to the blueberry orange and pistachio cabbage salad!

The stuff. Cabbage, frozen blueberries, a big navel orange, pistachios, an onion, salt and pepper, red wine vinegar, maple syrup, and red pepper flakes.

IMG_8641.jpg
IMG_8663.jpg

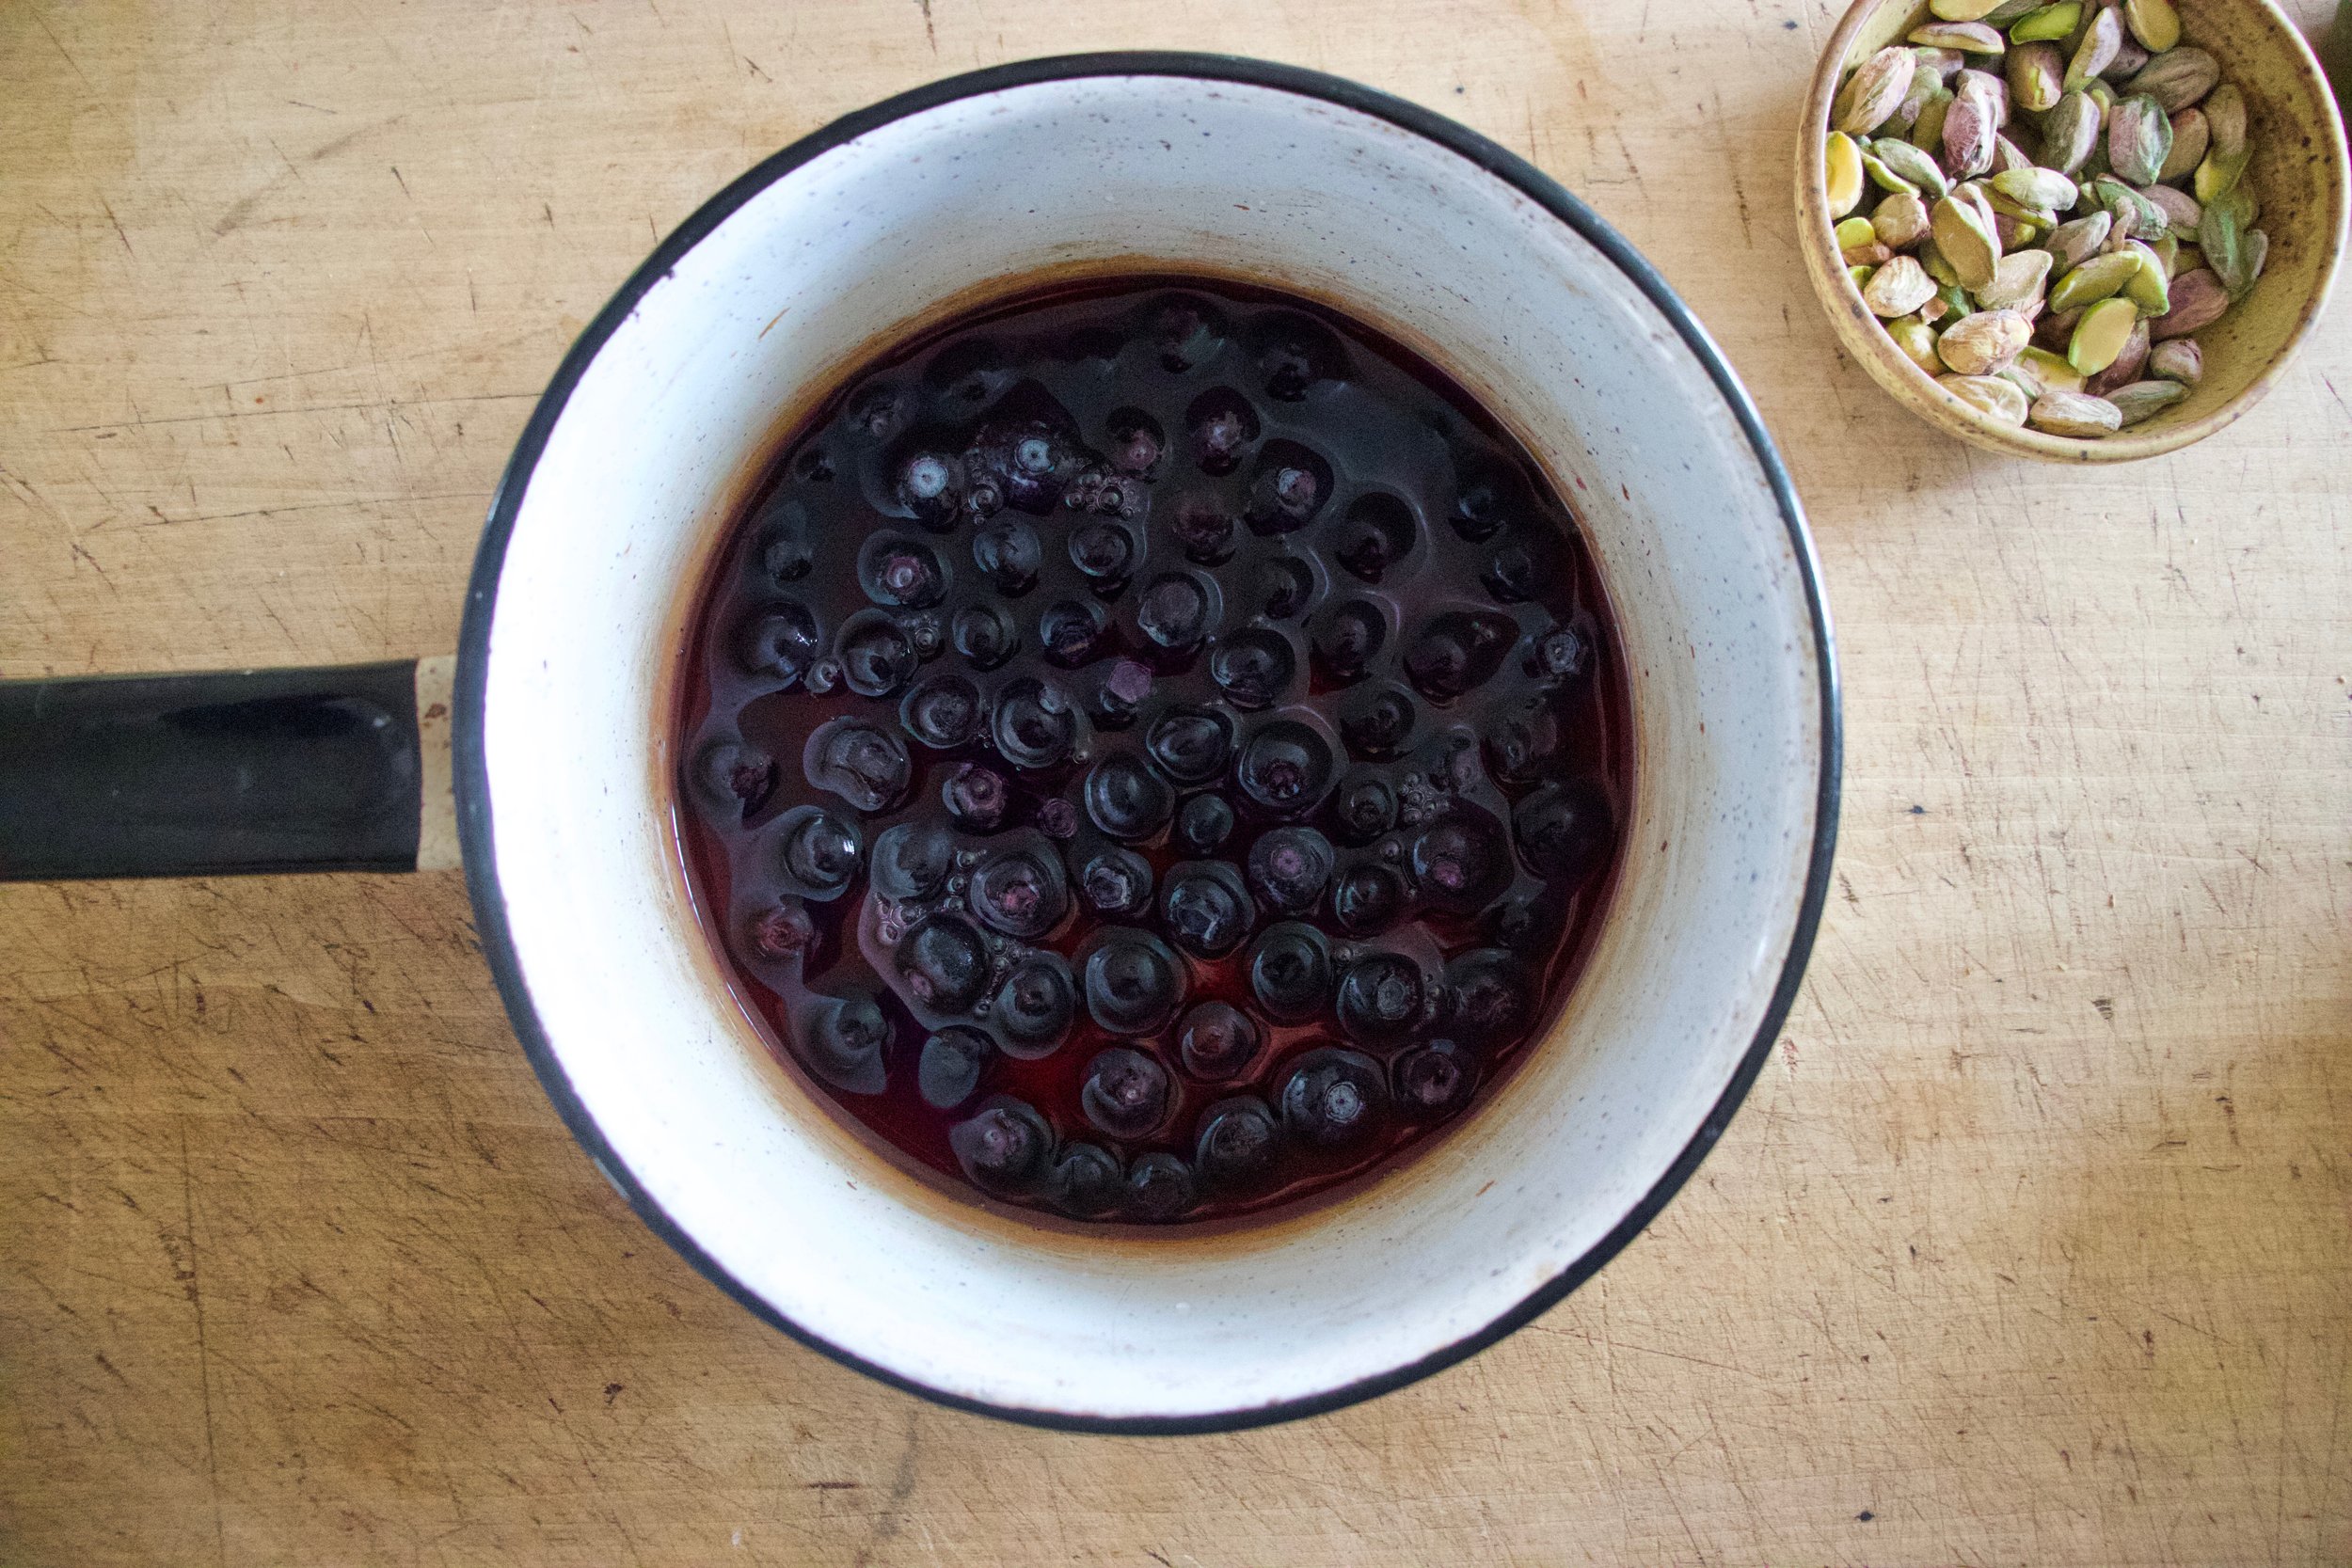
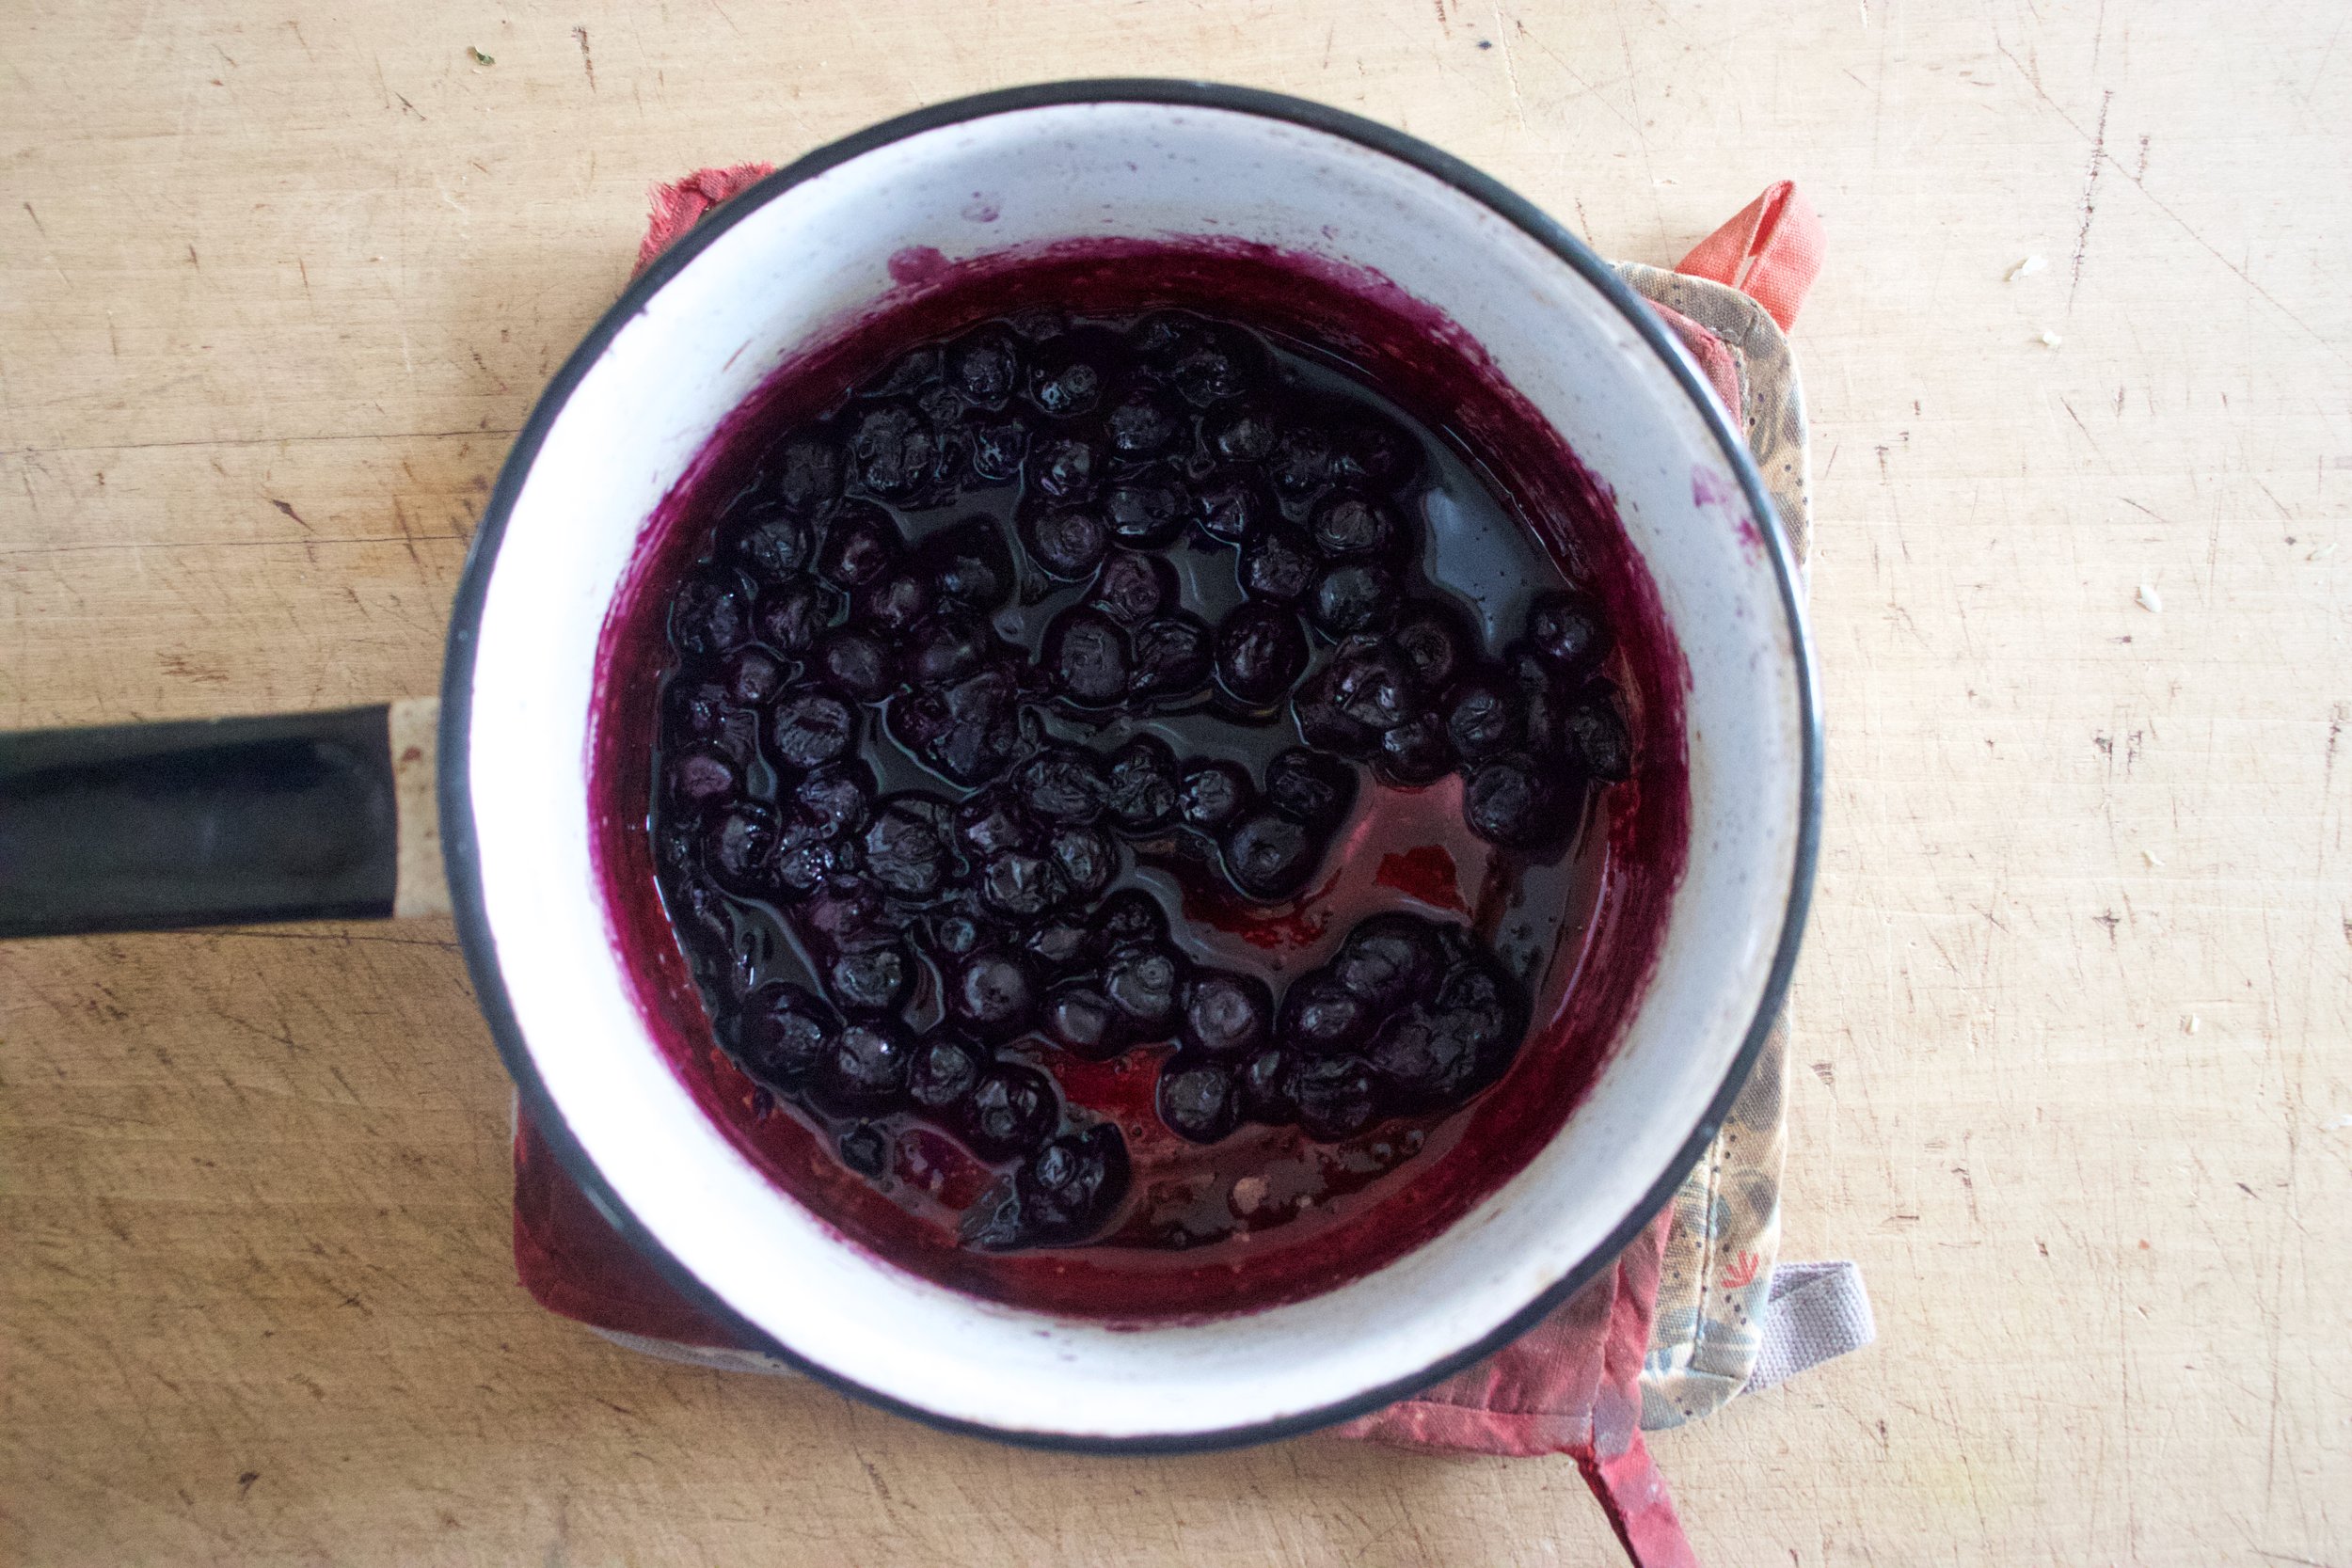
Start by adding the blueberries to a pot with the maple and a little water. Place on medium heat and cook until blueberries pop to the touch and the liquid has reduced to ta thin syrup like consistency.

IMG_8646.jpg
IMG_8651.jpg

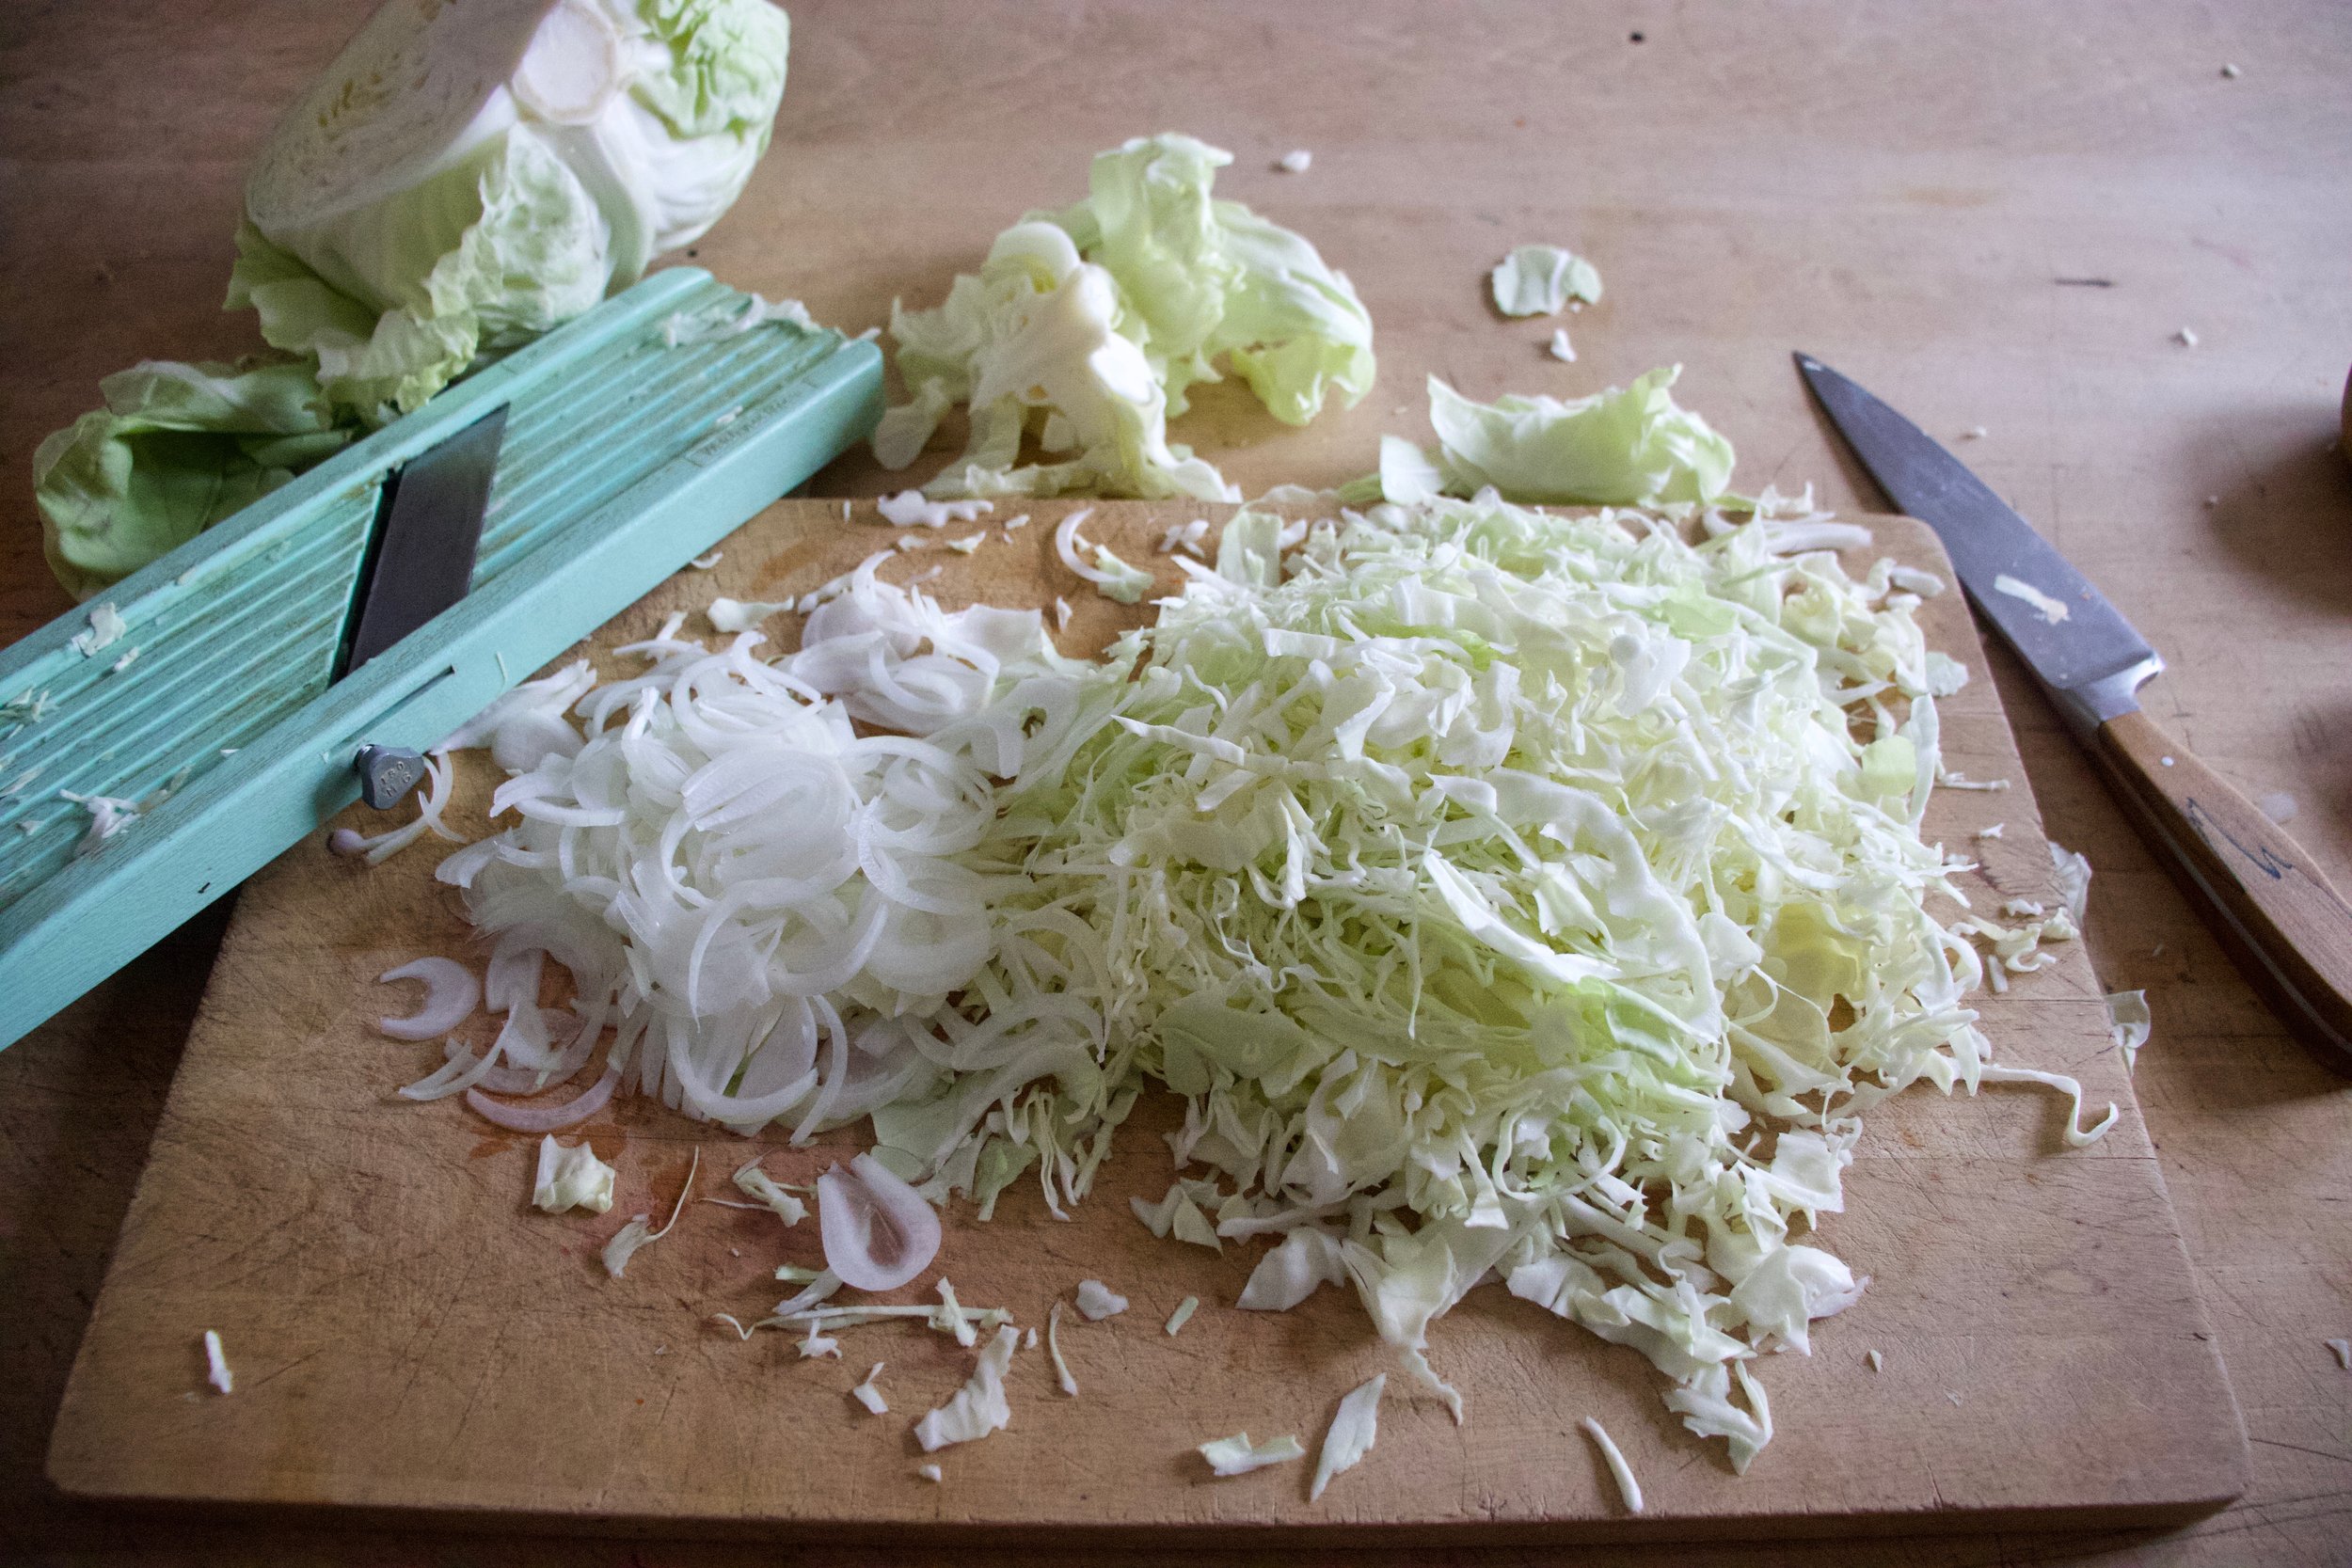
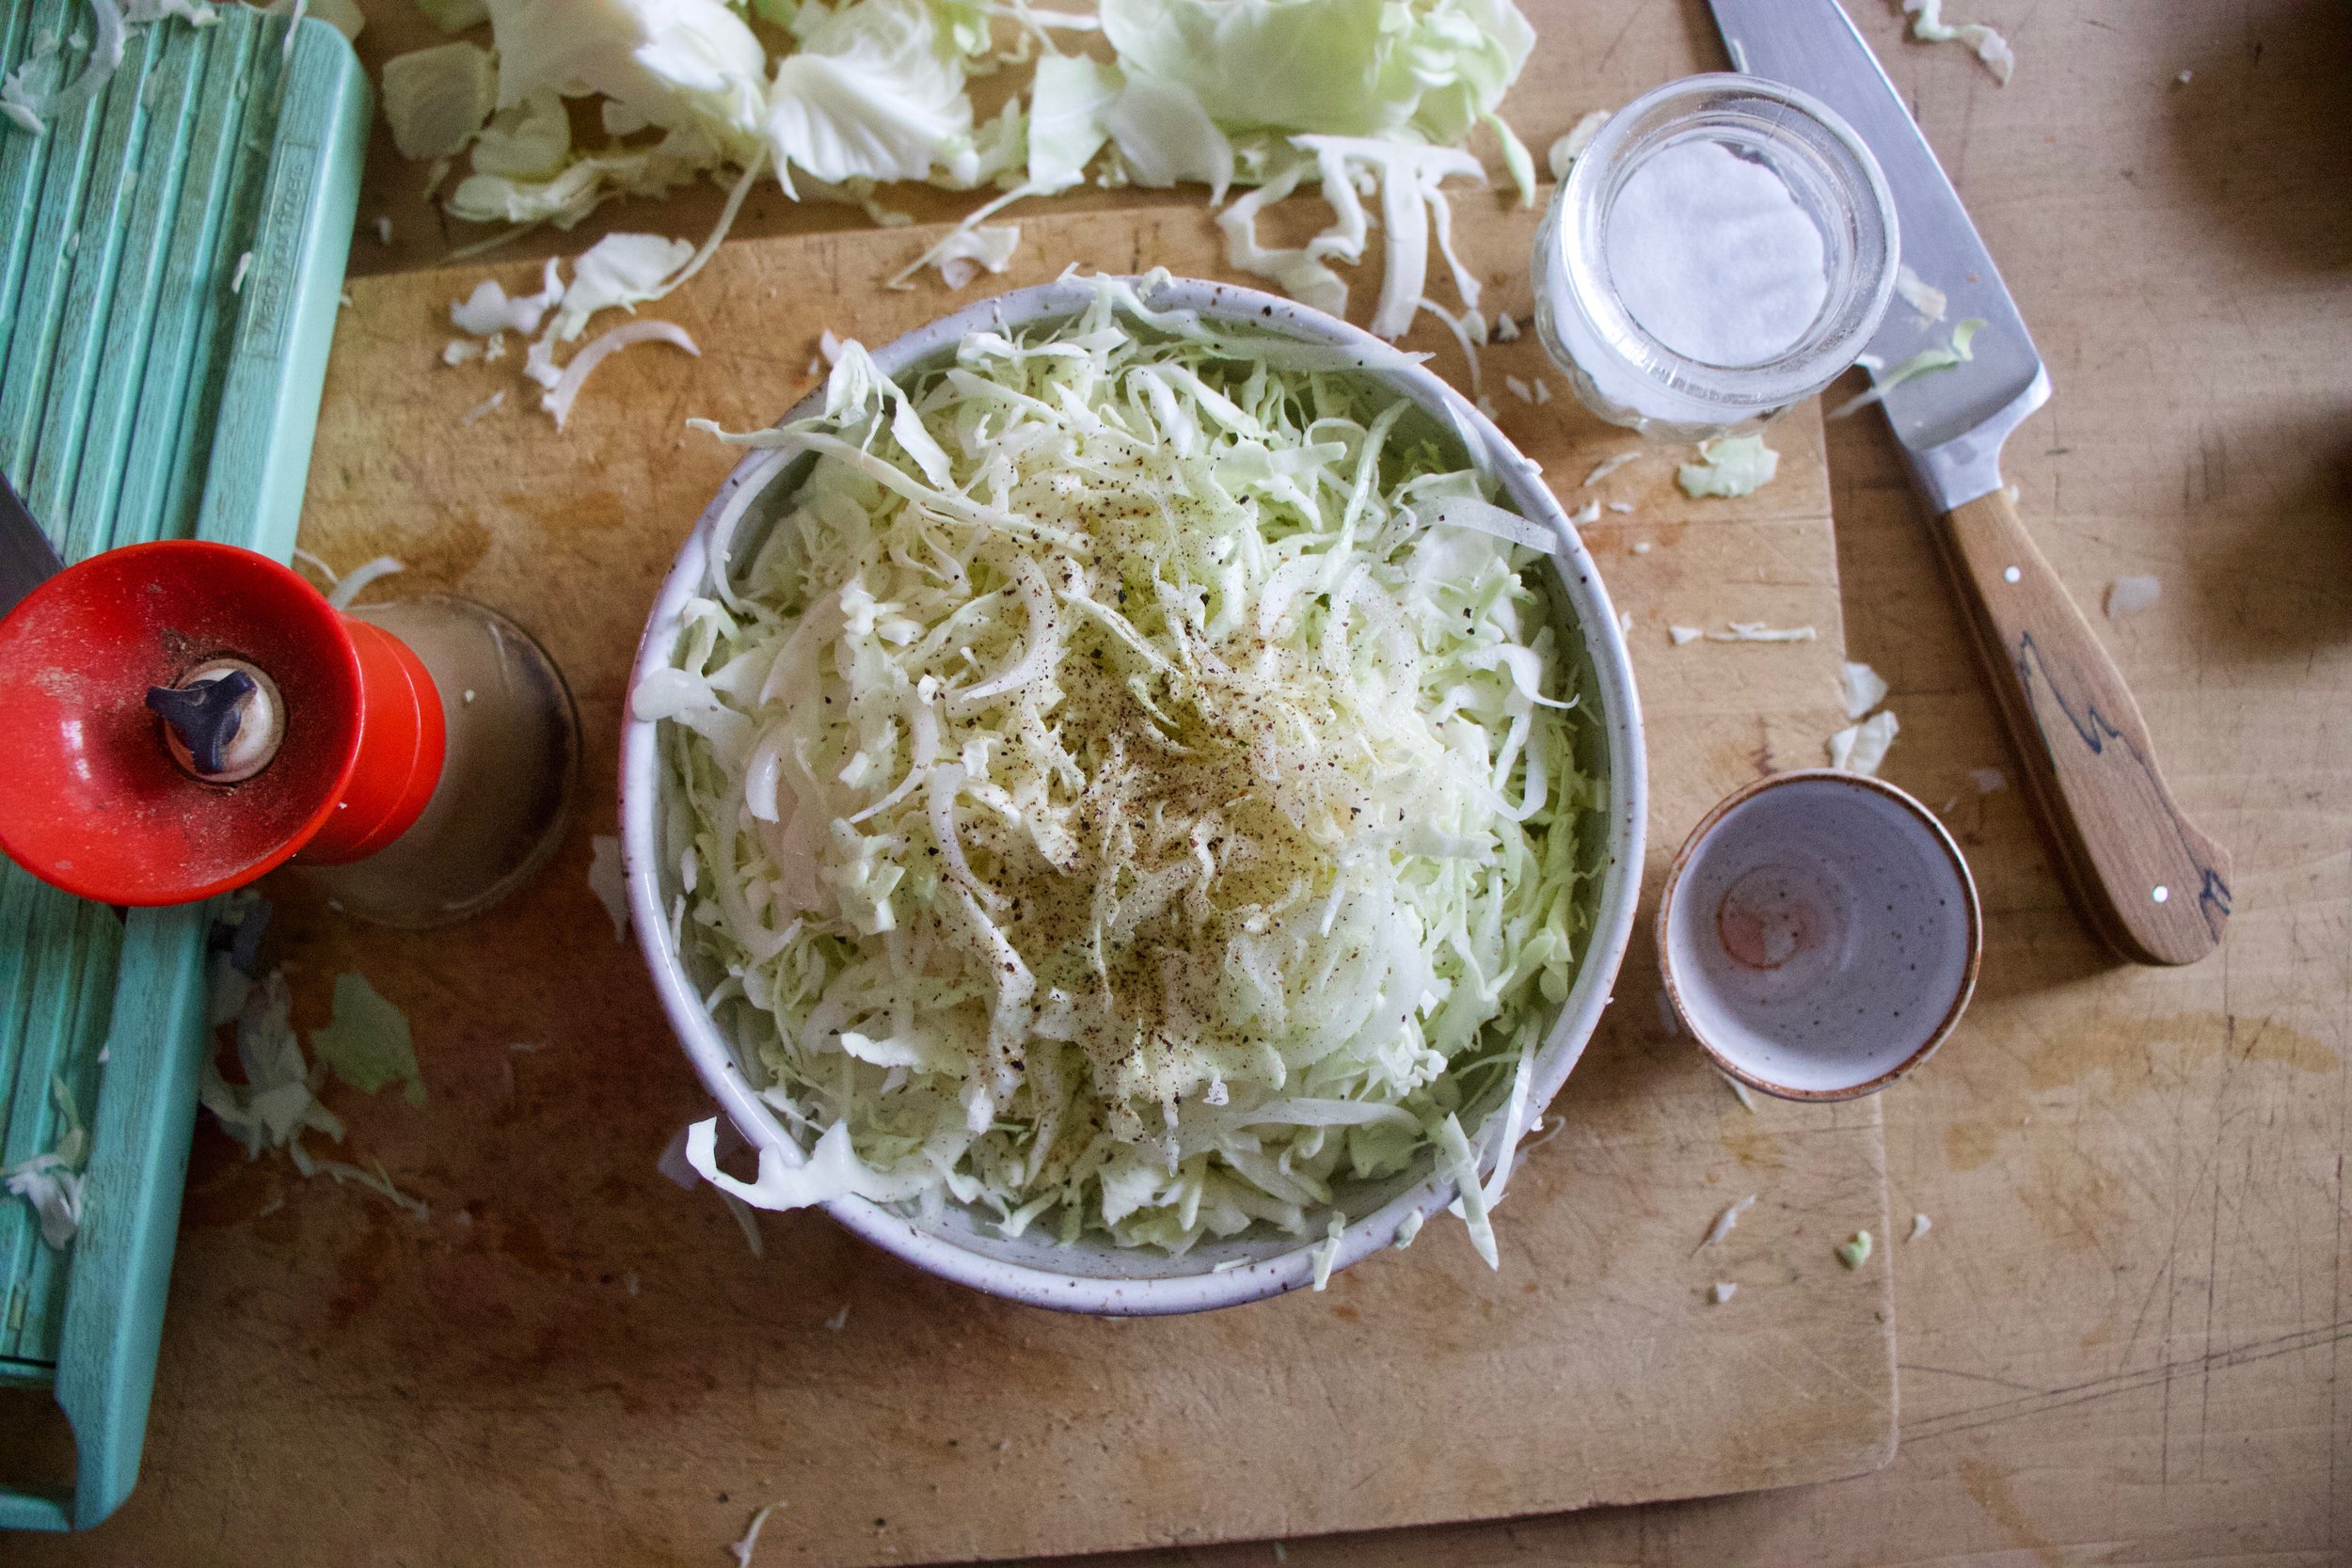
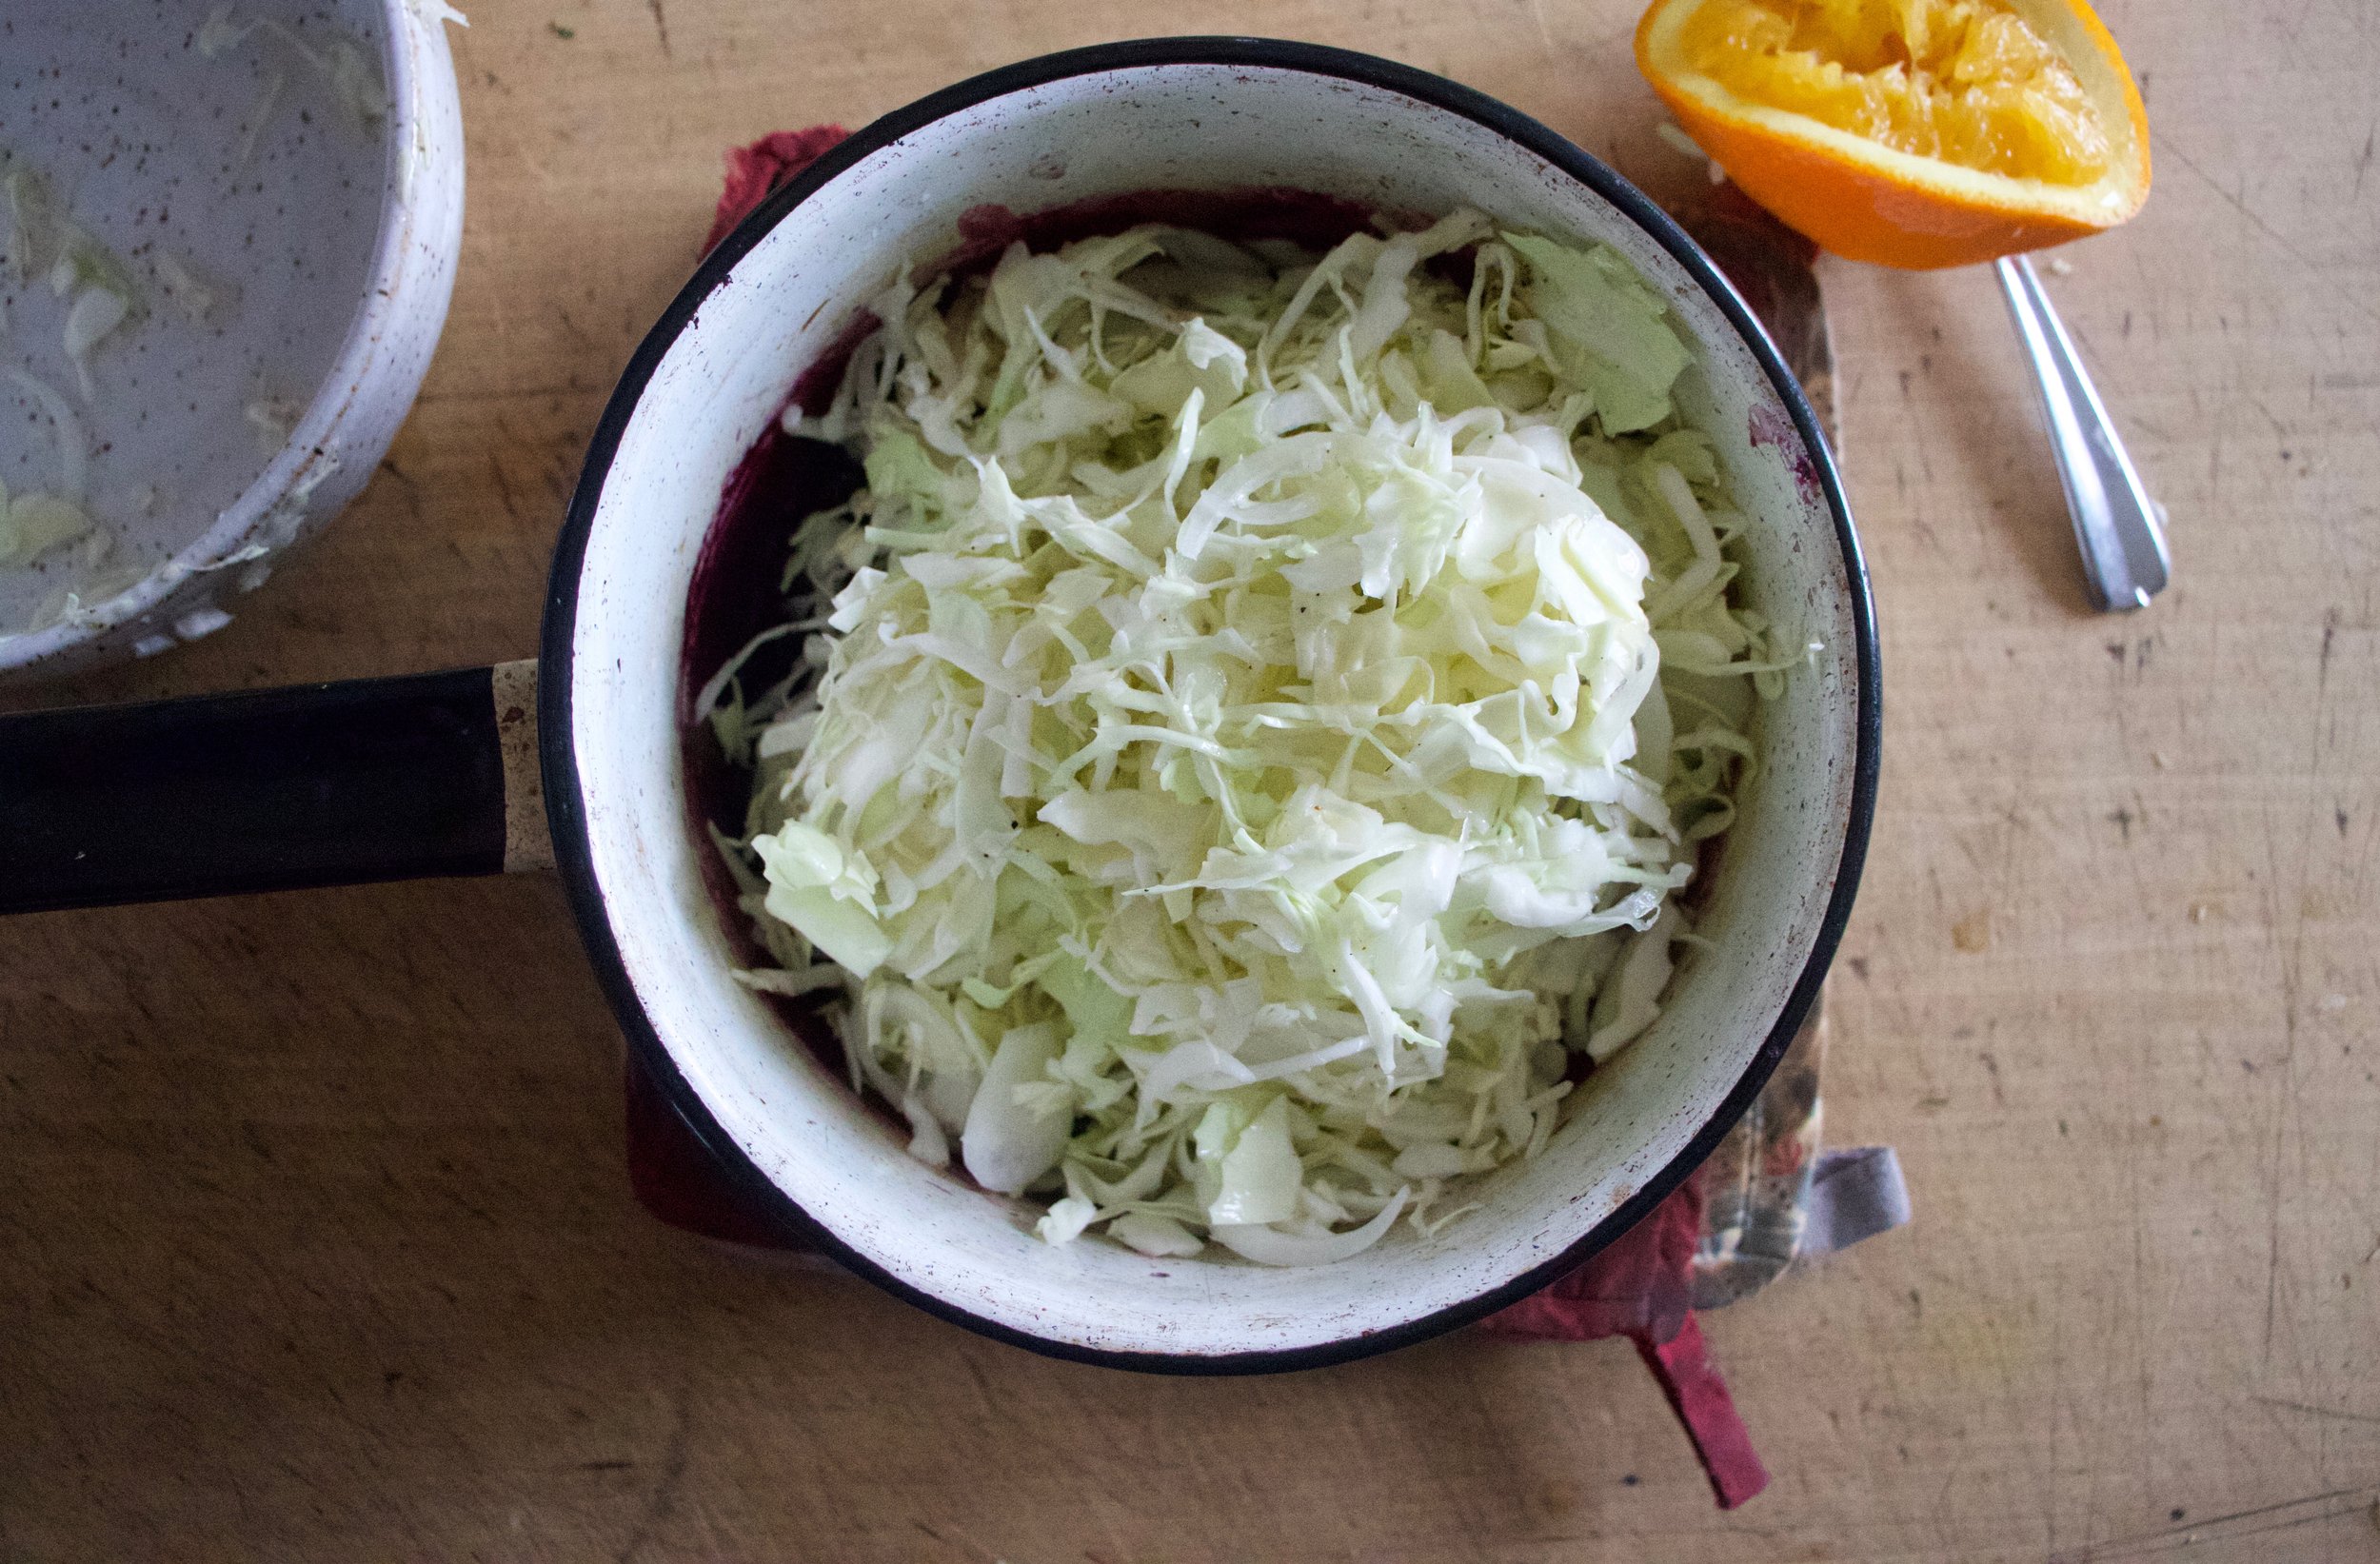
While blueberries are doing that, grab cabbage and shred as thin as you like. Also grab onion and slice a thin as you can. Place both into a big bowl and sprinkle with salt and pepper and red wine vinegar.

Take orange and cut in half. Remove peel and pith from one half and cut into small segments.

IMG_8666.jpg
IMG_8670.jpg

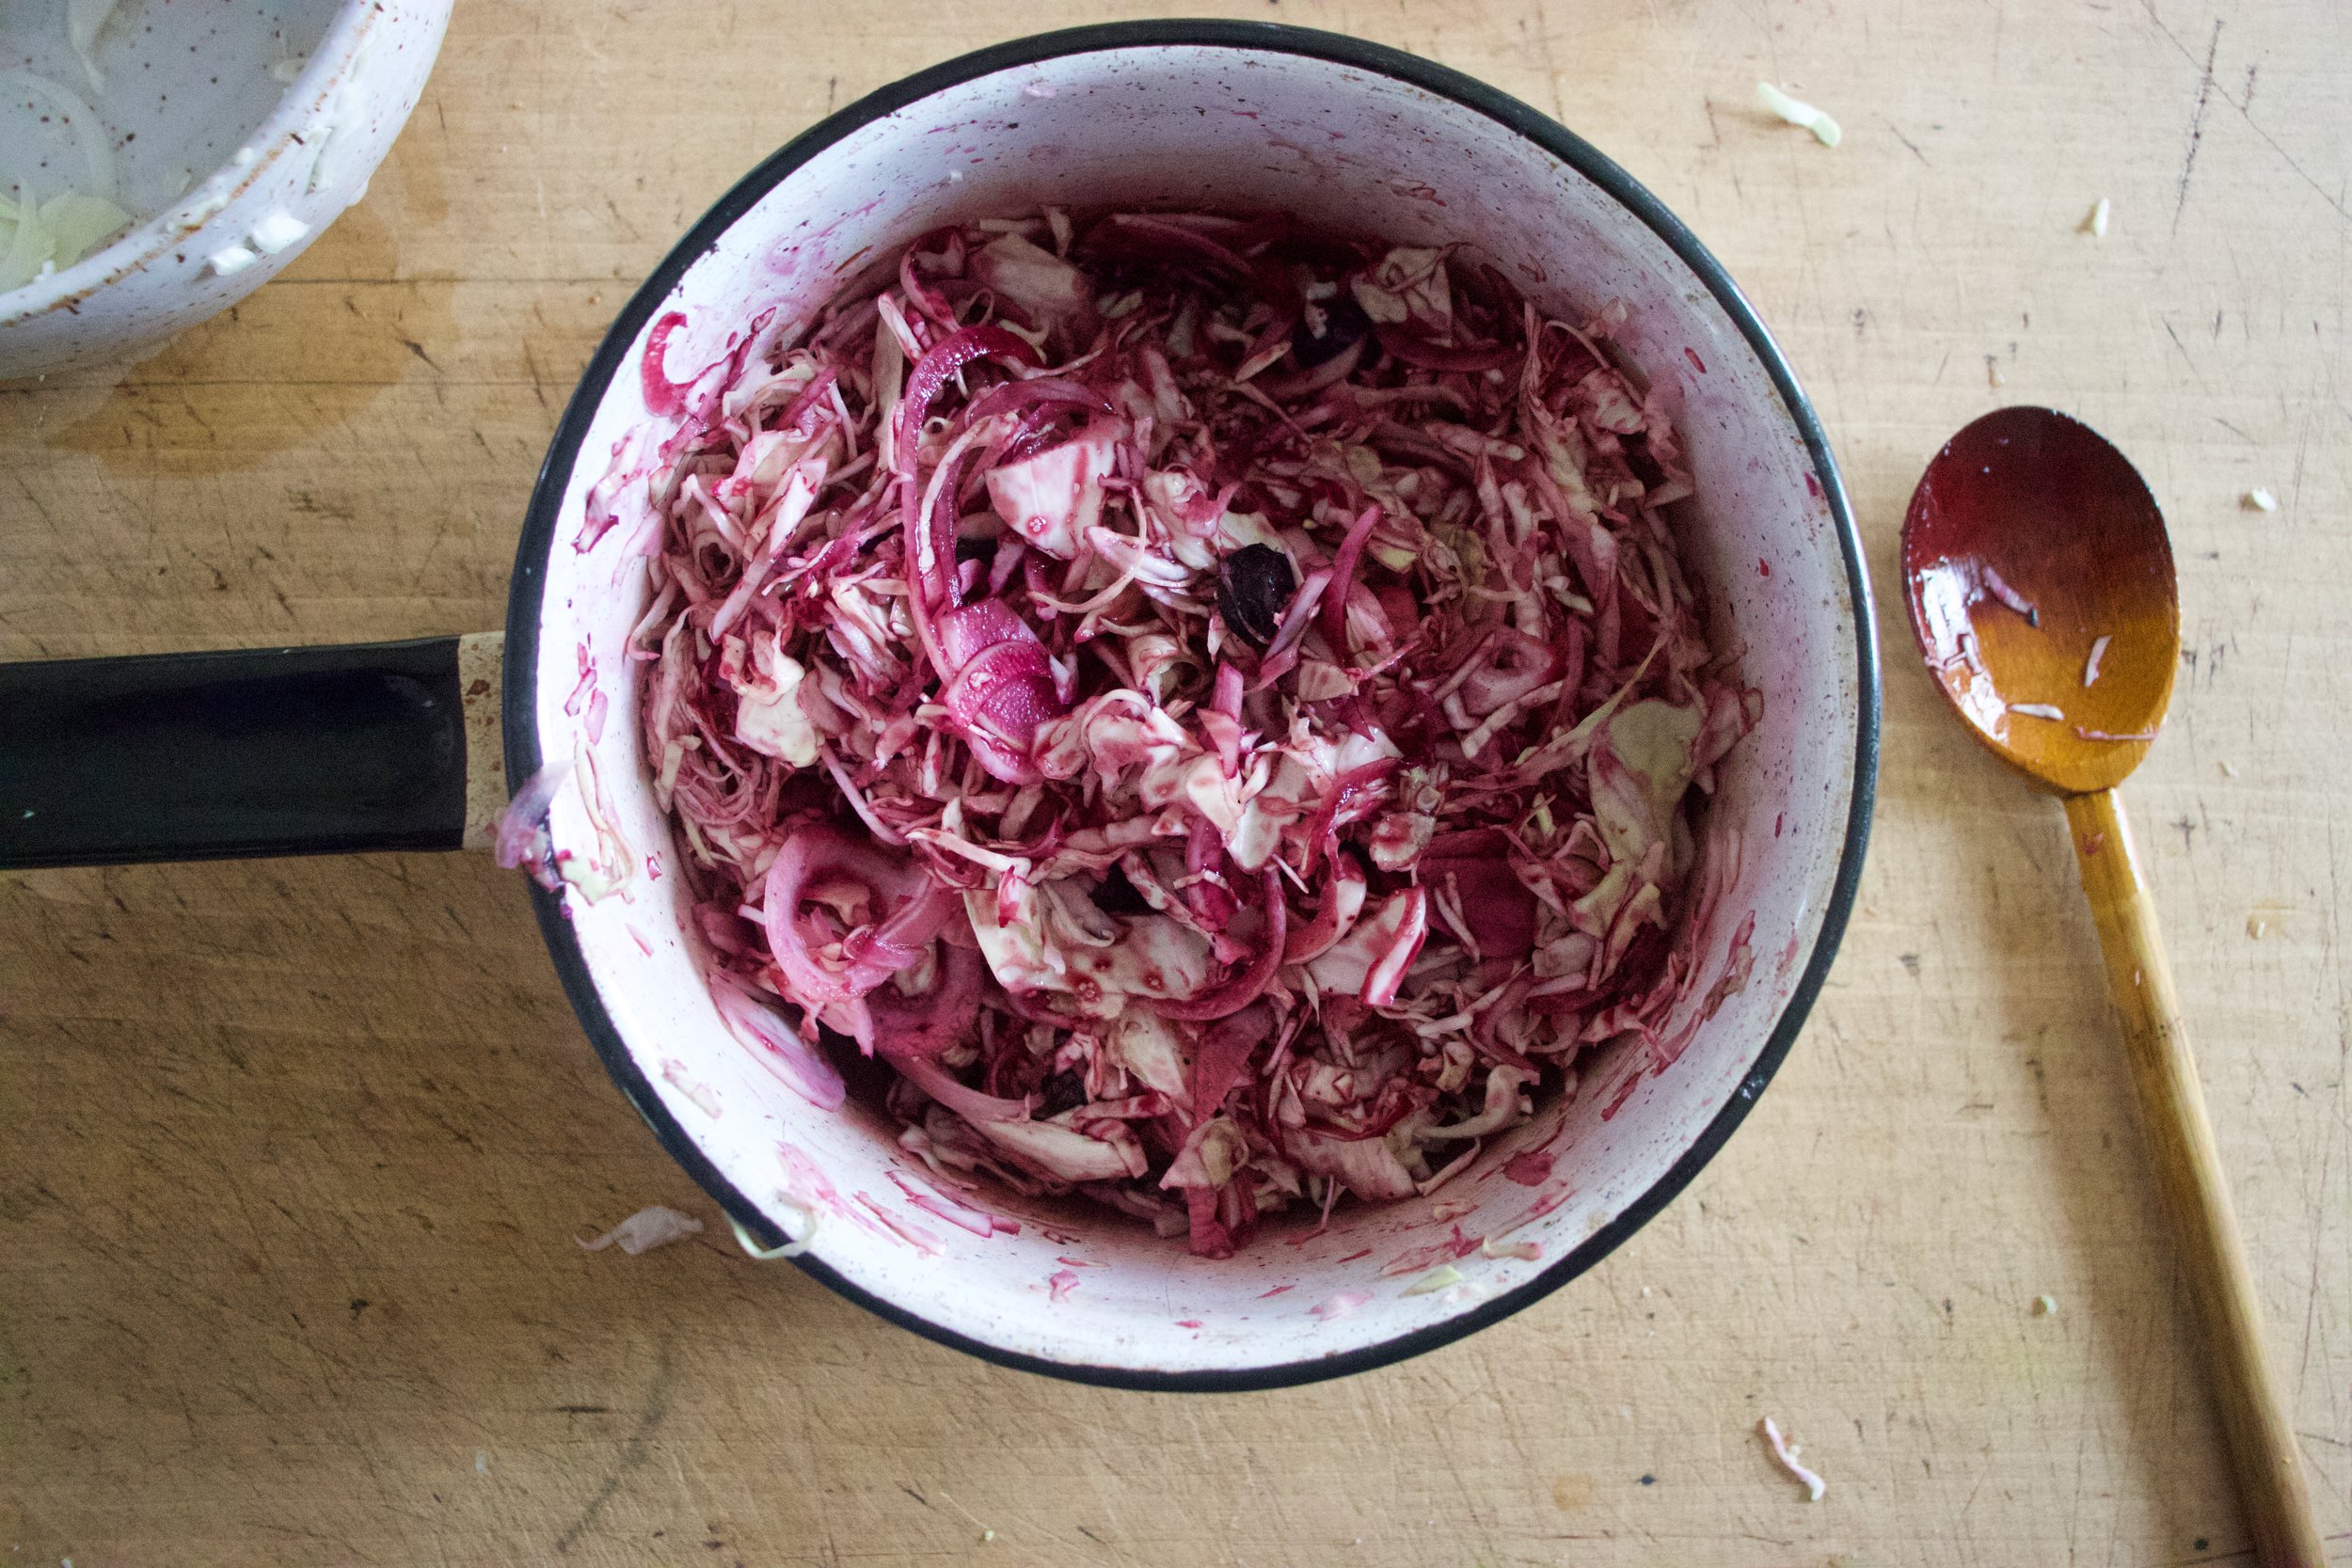
Once the blueberries are cooked, dump the cabbage and onion mixture into warm pot. Squeeze the juice of remaining half orange and toss around until everything is evenly coated.

Dump it all back into the bowl and add the orange pieces and pistachios.

Toss around, add in a pinch of red pepper flakes and eat away.

-C


Blueberry Orange and Pistachio Cabbage Salad

  • 4 cups shredded cabbage (about 1/2 a head)

  • 1 small onion

  • 1 1/2 cups frozen blueberries

  • 1/2 - 1 cup water

  • 2 teaspoons maple syrup

  • 1 orange

  • 2 tablespoon red wine vinegar

  • 1/2 cup pistachios

  • salt and pepper

  • red pepper flakes (optional)

Start by placing blueberries into a medium pot with 1/2 cup of water and maple. Place on medium heat and cook for about 8-10 minutes or until the blueberries pop to the touch and the liquid has reduced to a thin syrup. Remove from heat.

Grab cabbage and shred or cut into thin pieces. Also grab onion and cut into thin rings. Place into a bowl, add in a good pinch of salt and pepper and the vinegar and toss around. You can do this while the blueberries are cooking,

Now take the tossed cabbage and onion and dump into the pot of warm blueberries. Toss around unit everything is nice and purple and dump it all right back into the big bowl.

Cut orange in half and add the juice of one half. Take the other half and remove the peel and pith and cut remaining orange into small pieces.

Add orange and pistachios to the salad and toss. Season with more salt and pepper if needed and add a pinch or so of red pepper flakes.

Eat.

Can be serves warm or cool and left overs only taste better. Store in fridge in fridge for up to 5 days.
In salad, fruit Tags Blueberry Orange And Pistachio Cabbage Salad, vegan, plant based, salad, slaw, berries, pistachio, orange, fruit, vegetable, grain free, gluten free, dairy free, healthy
Comment

Just Freeze the Tomatoes

September 11, 2021 Colleen Stem
IMG_4170.jpg

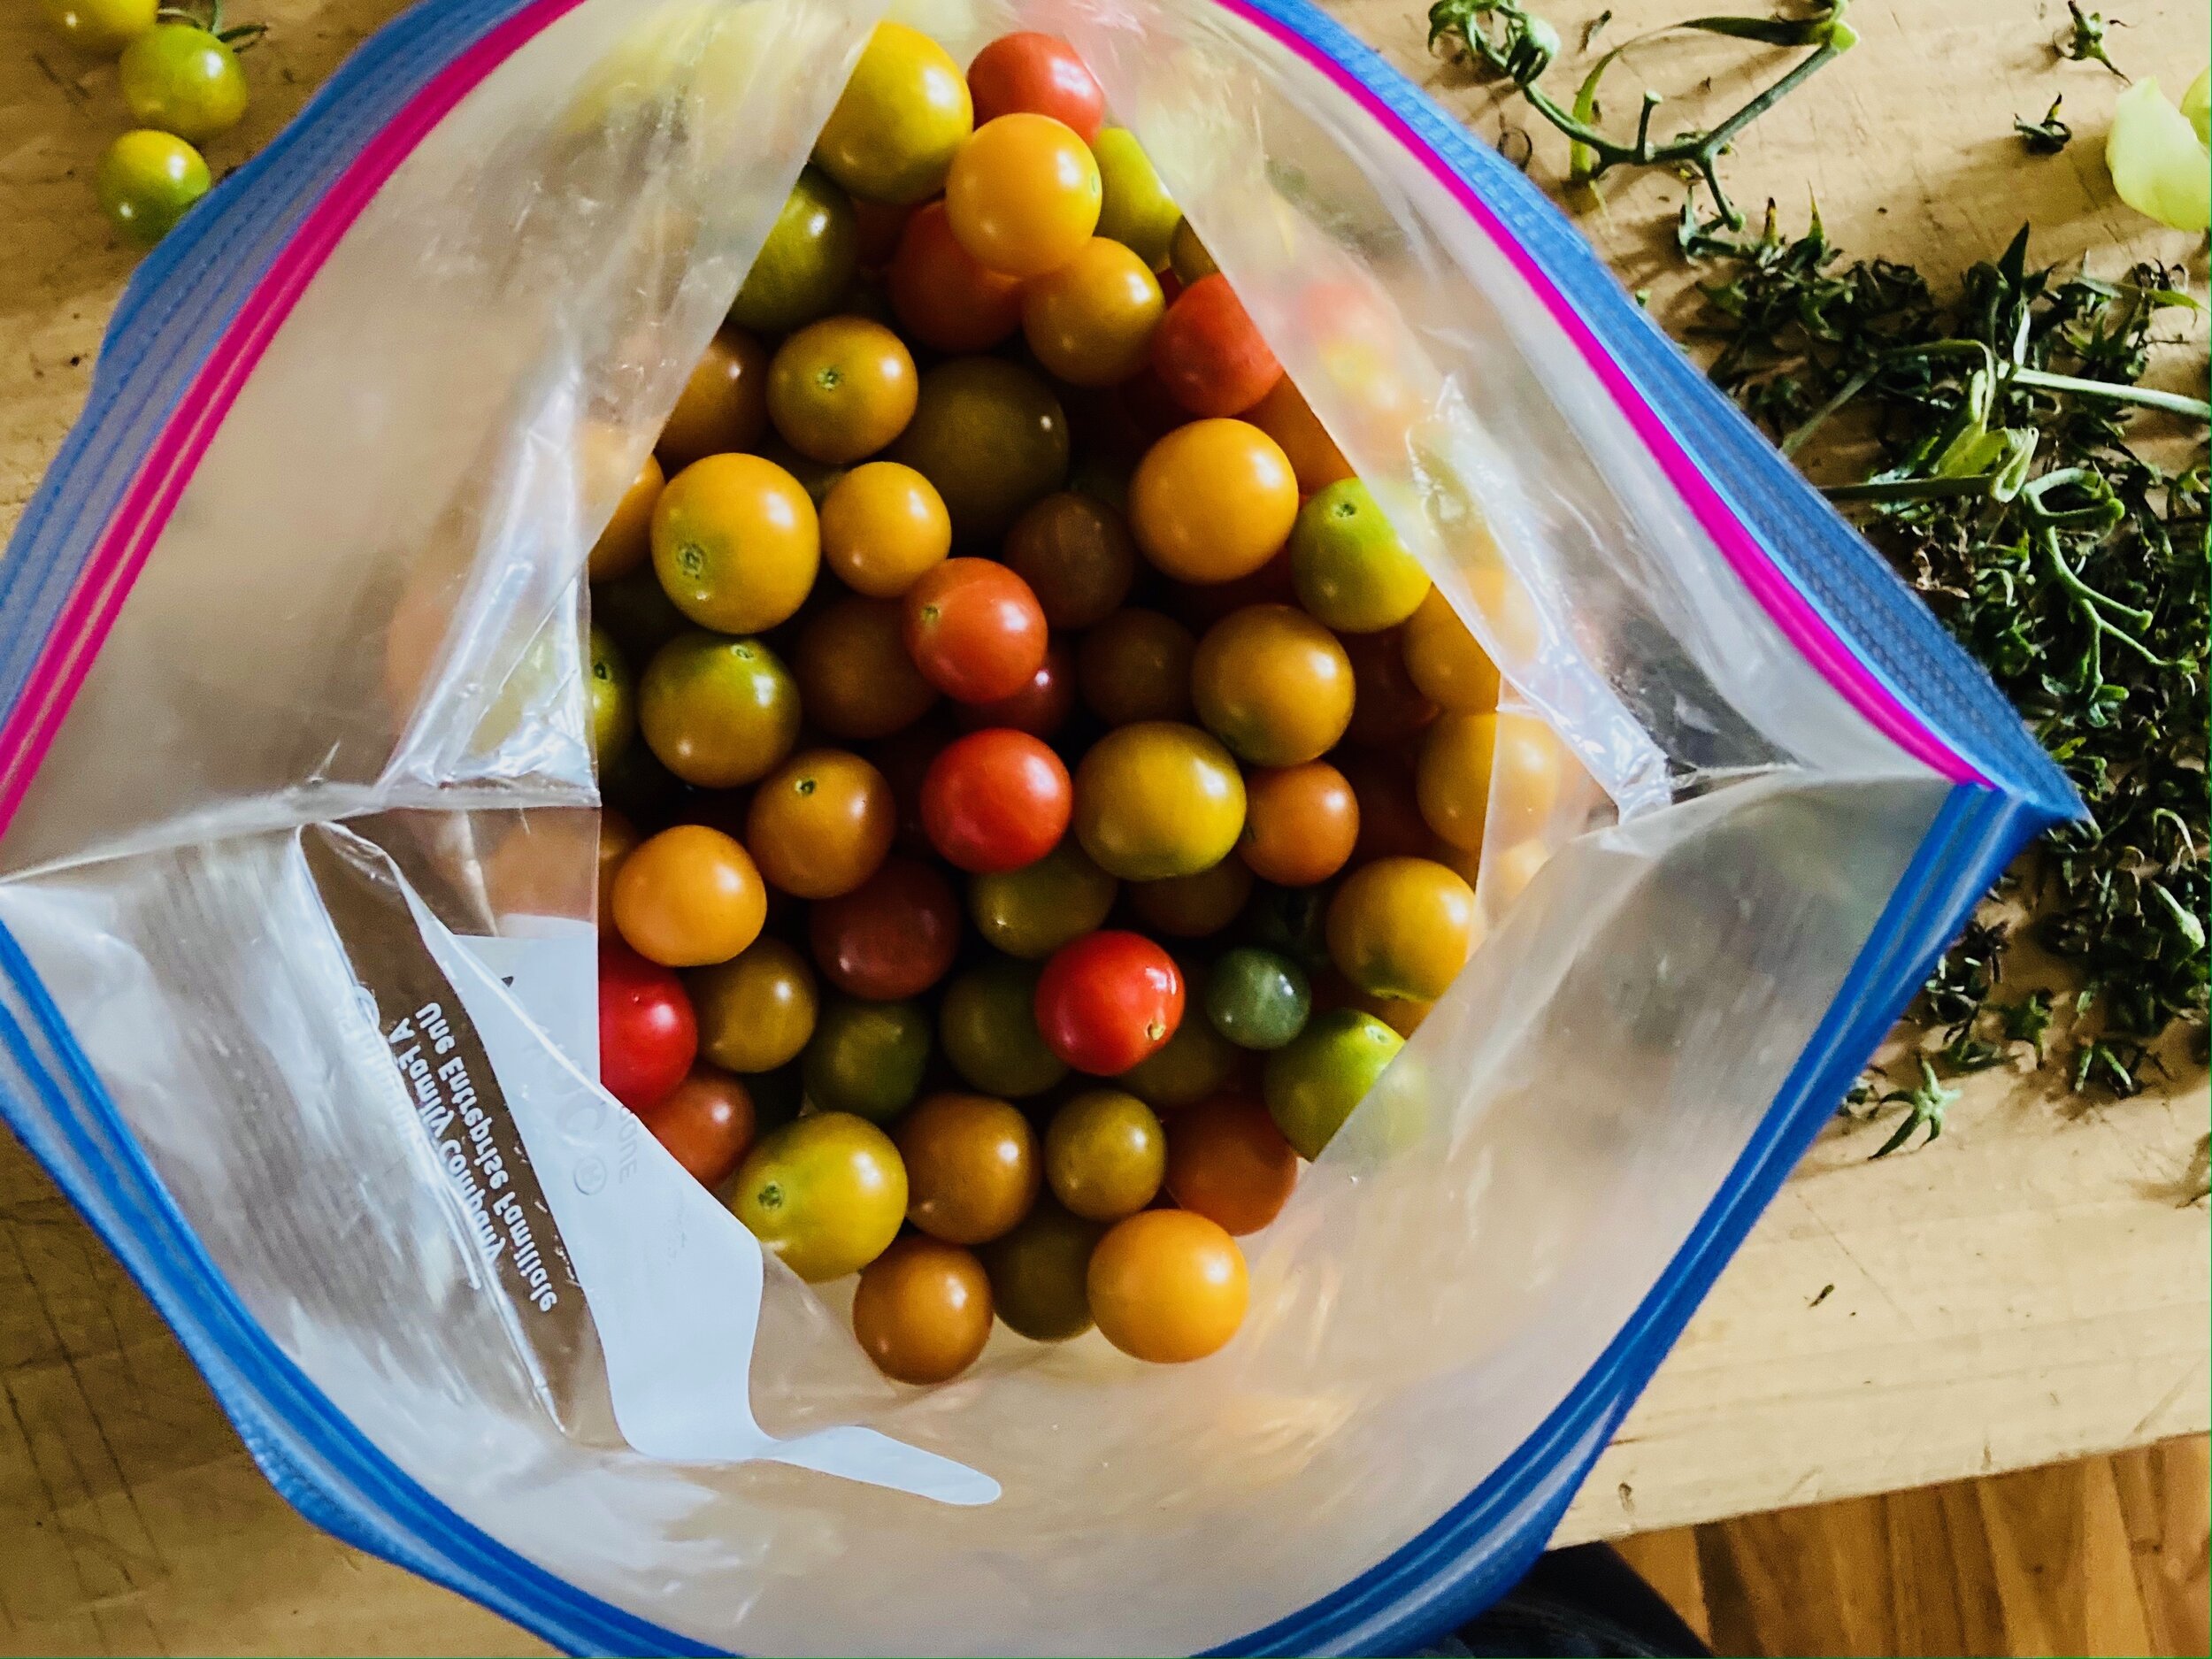
Do you have a shit ton of tomatoes? Do you not have the capacity in you body to eat them all fresh or the will or desire or time to can them but really want to save some tomatoes for later? Well you know you can just freeze them right?

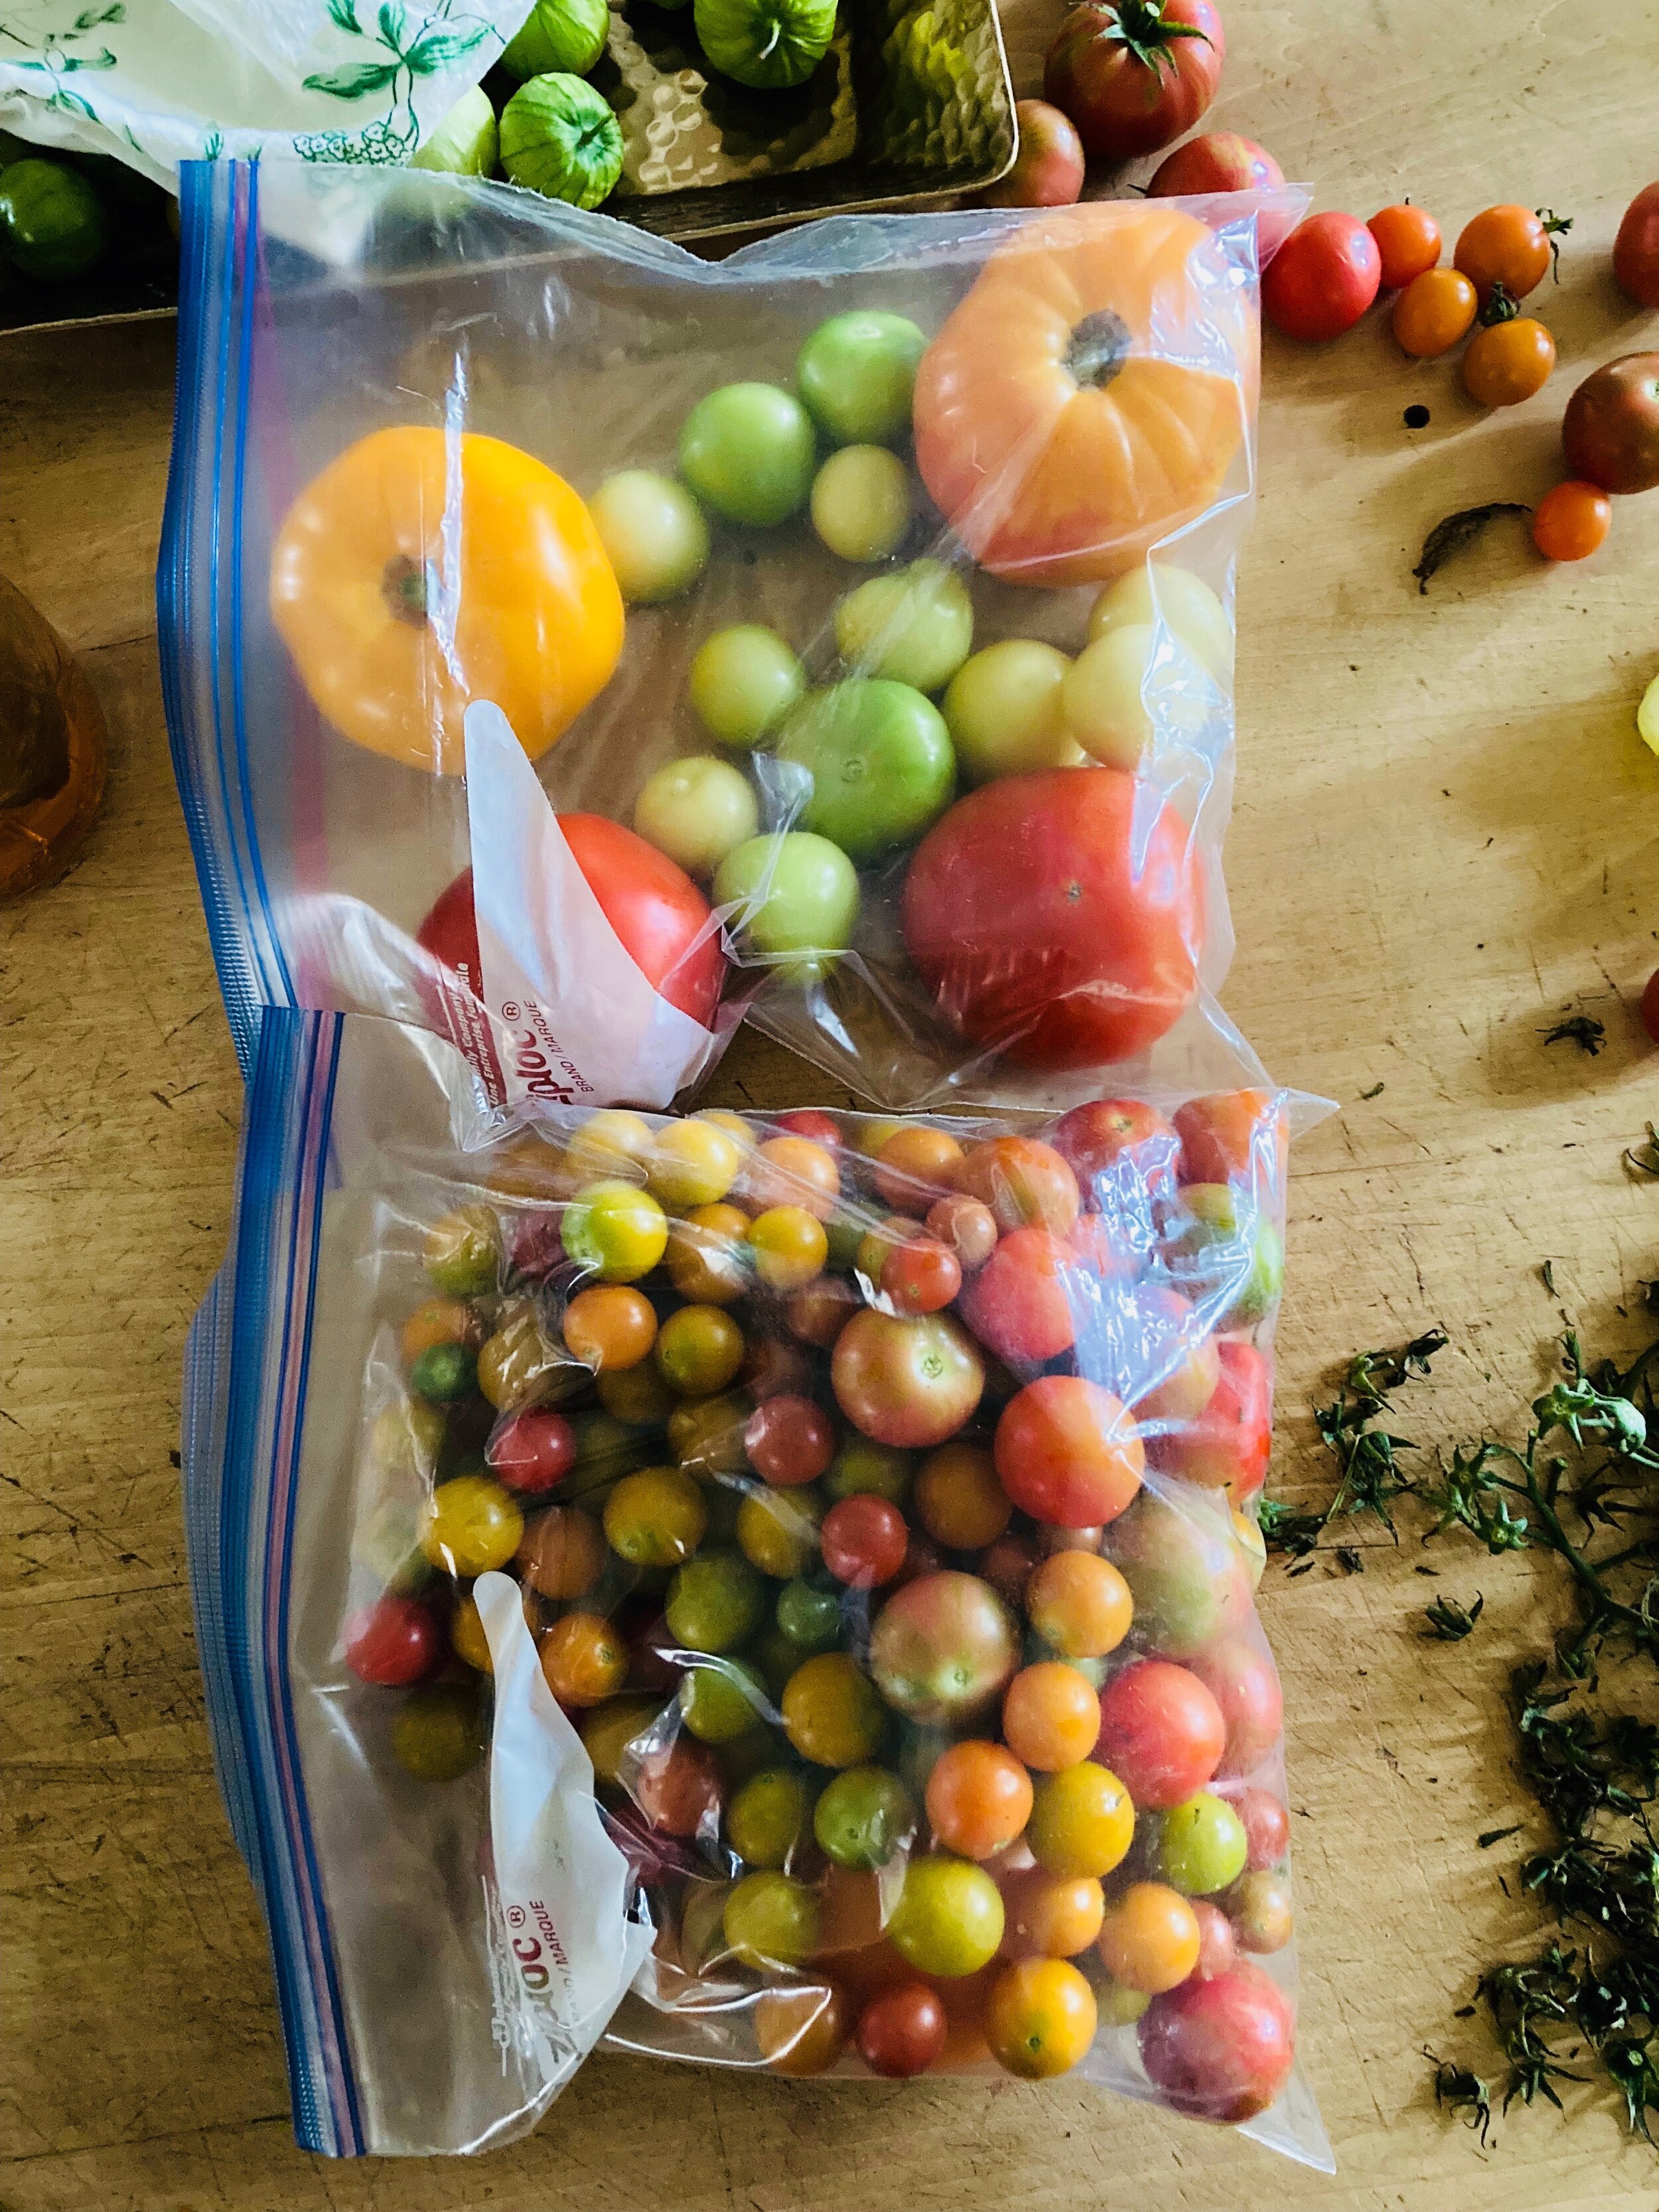
Yup. You don’t have to do anything fancy, pretty much anything at all. Just wash, remove any green stuff, then pop the whole tomatoes (any variety, large or small and tomatillos for that matter. Just remove the papery skin.) into a freezer bag or airtight freezer container and stick in the freezer. That is it.

IMG_4657.jpg
IMG_4658.jpg

Then all winter long (or until you run out) you will have peak summer tomatoes right there ready to be dropped into soup, roasted into deliciousness , simmered into a thick and luscious sauce, or do whatever the heck you usually do with tomatoes besides eating them fresh. I mean, you can even eat them frozen too. Not a bad little snack if I do say so myself.

Happy tomato-ing!

-C

In kitchen tips, Vegetables, Vegan, fruit, summer Tags tomatoes, freeze tomatoes, canning, no can, summer, produce, vegetable, fruit, easy, no waste
Comment

Pear Cobbler

August 21, 2021 Colleen Stem
IMG_6973.jpg
IMG_6998.jpg
IMG_7024.jpg

My neighbor has a couple pear trees and every year, for a few weeks in August, every time I pass his house (I walk by it like 5 times a day) he jumps out at me asking if want some pears. I always say yes, even if it is just one or two. How can I pass up free pears?

The last batch of pears I got from him were a little on the meh side, like at the point were you wouldn’t really enjoy eating them raw but are still good for baking which is fine by me and the reason I made a cobbler. Well that and the mr asked me to. (#1 girlfriend here!)

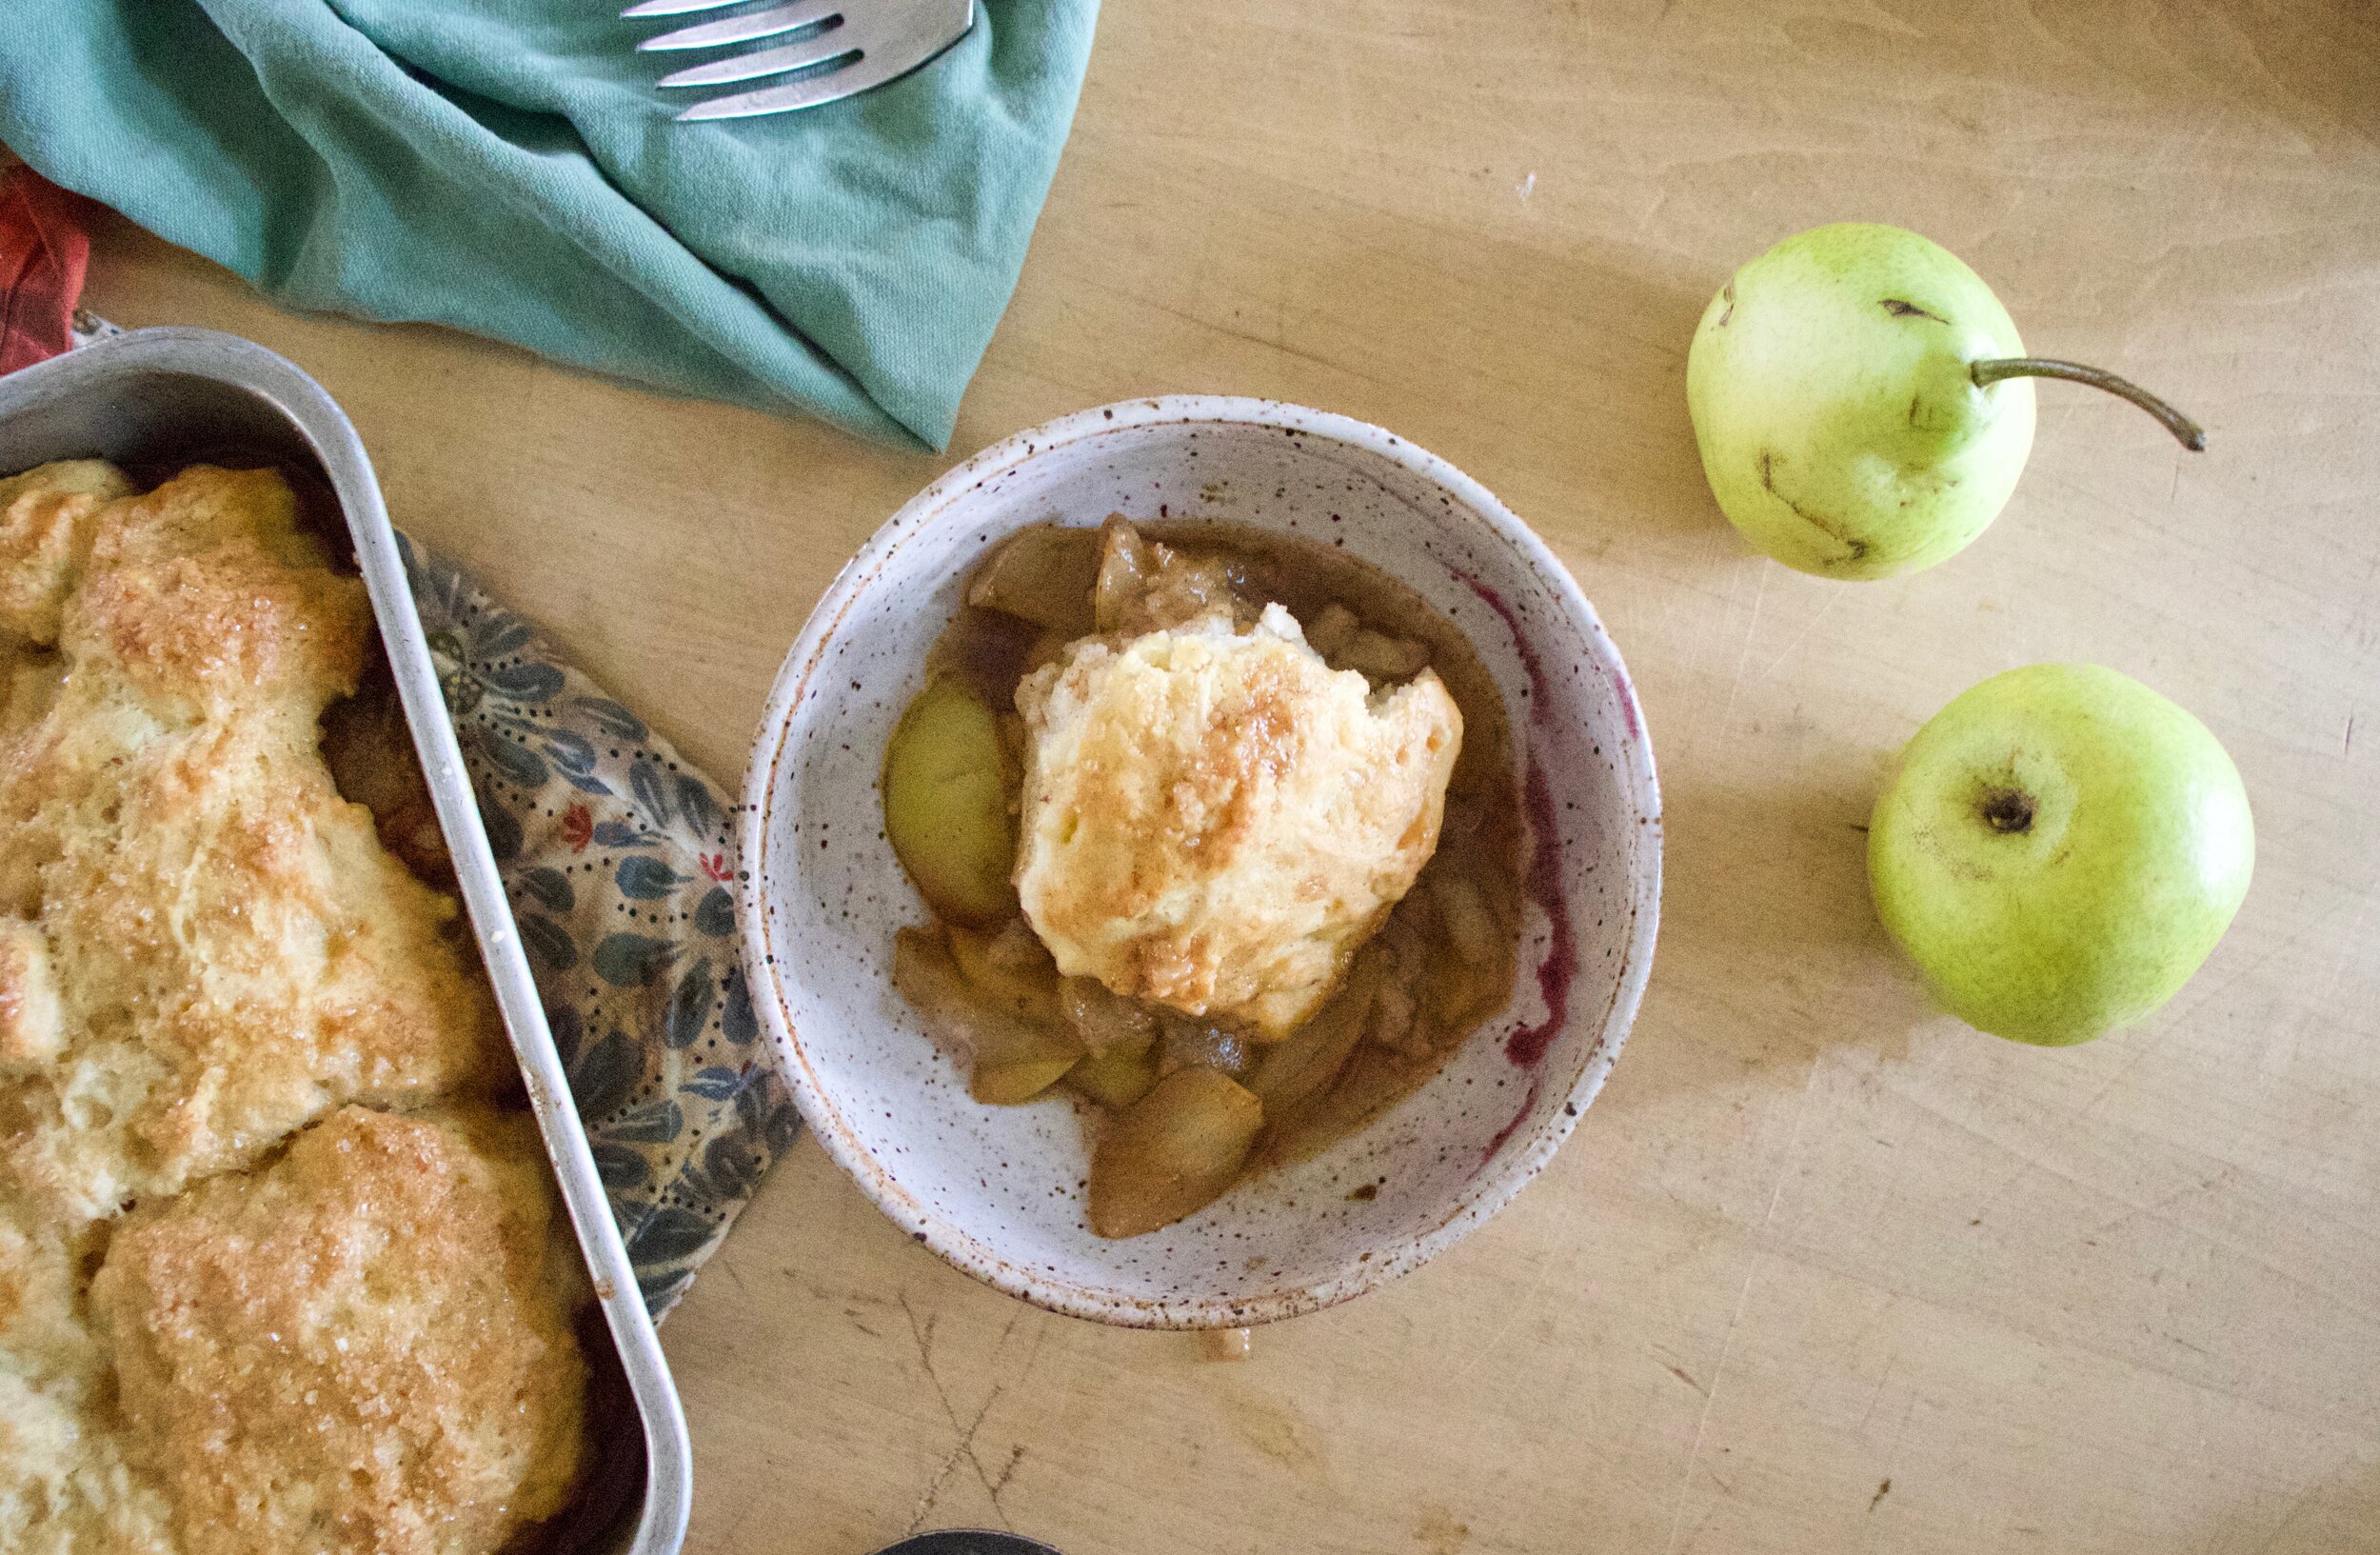
So here is it. A pretty basic pear cobbler which is to say a pretty fantastic pear cobbler. It is like a pear pie but with a biscuity top instead of a pie crust. And thats it, nothing fancy, just straight up pear goodness.

You know you want it so just make it.

Now to the cobbler.

IMG_6904.jpg

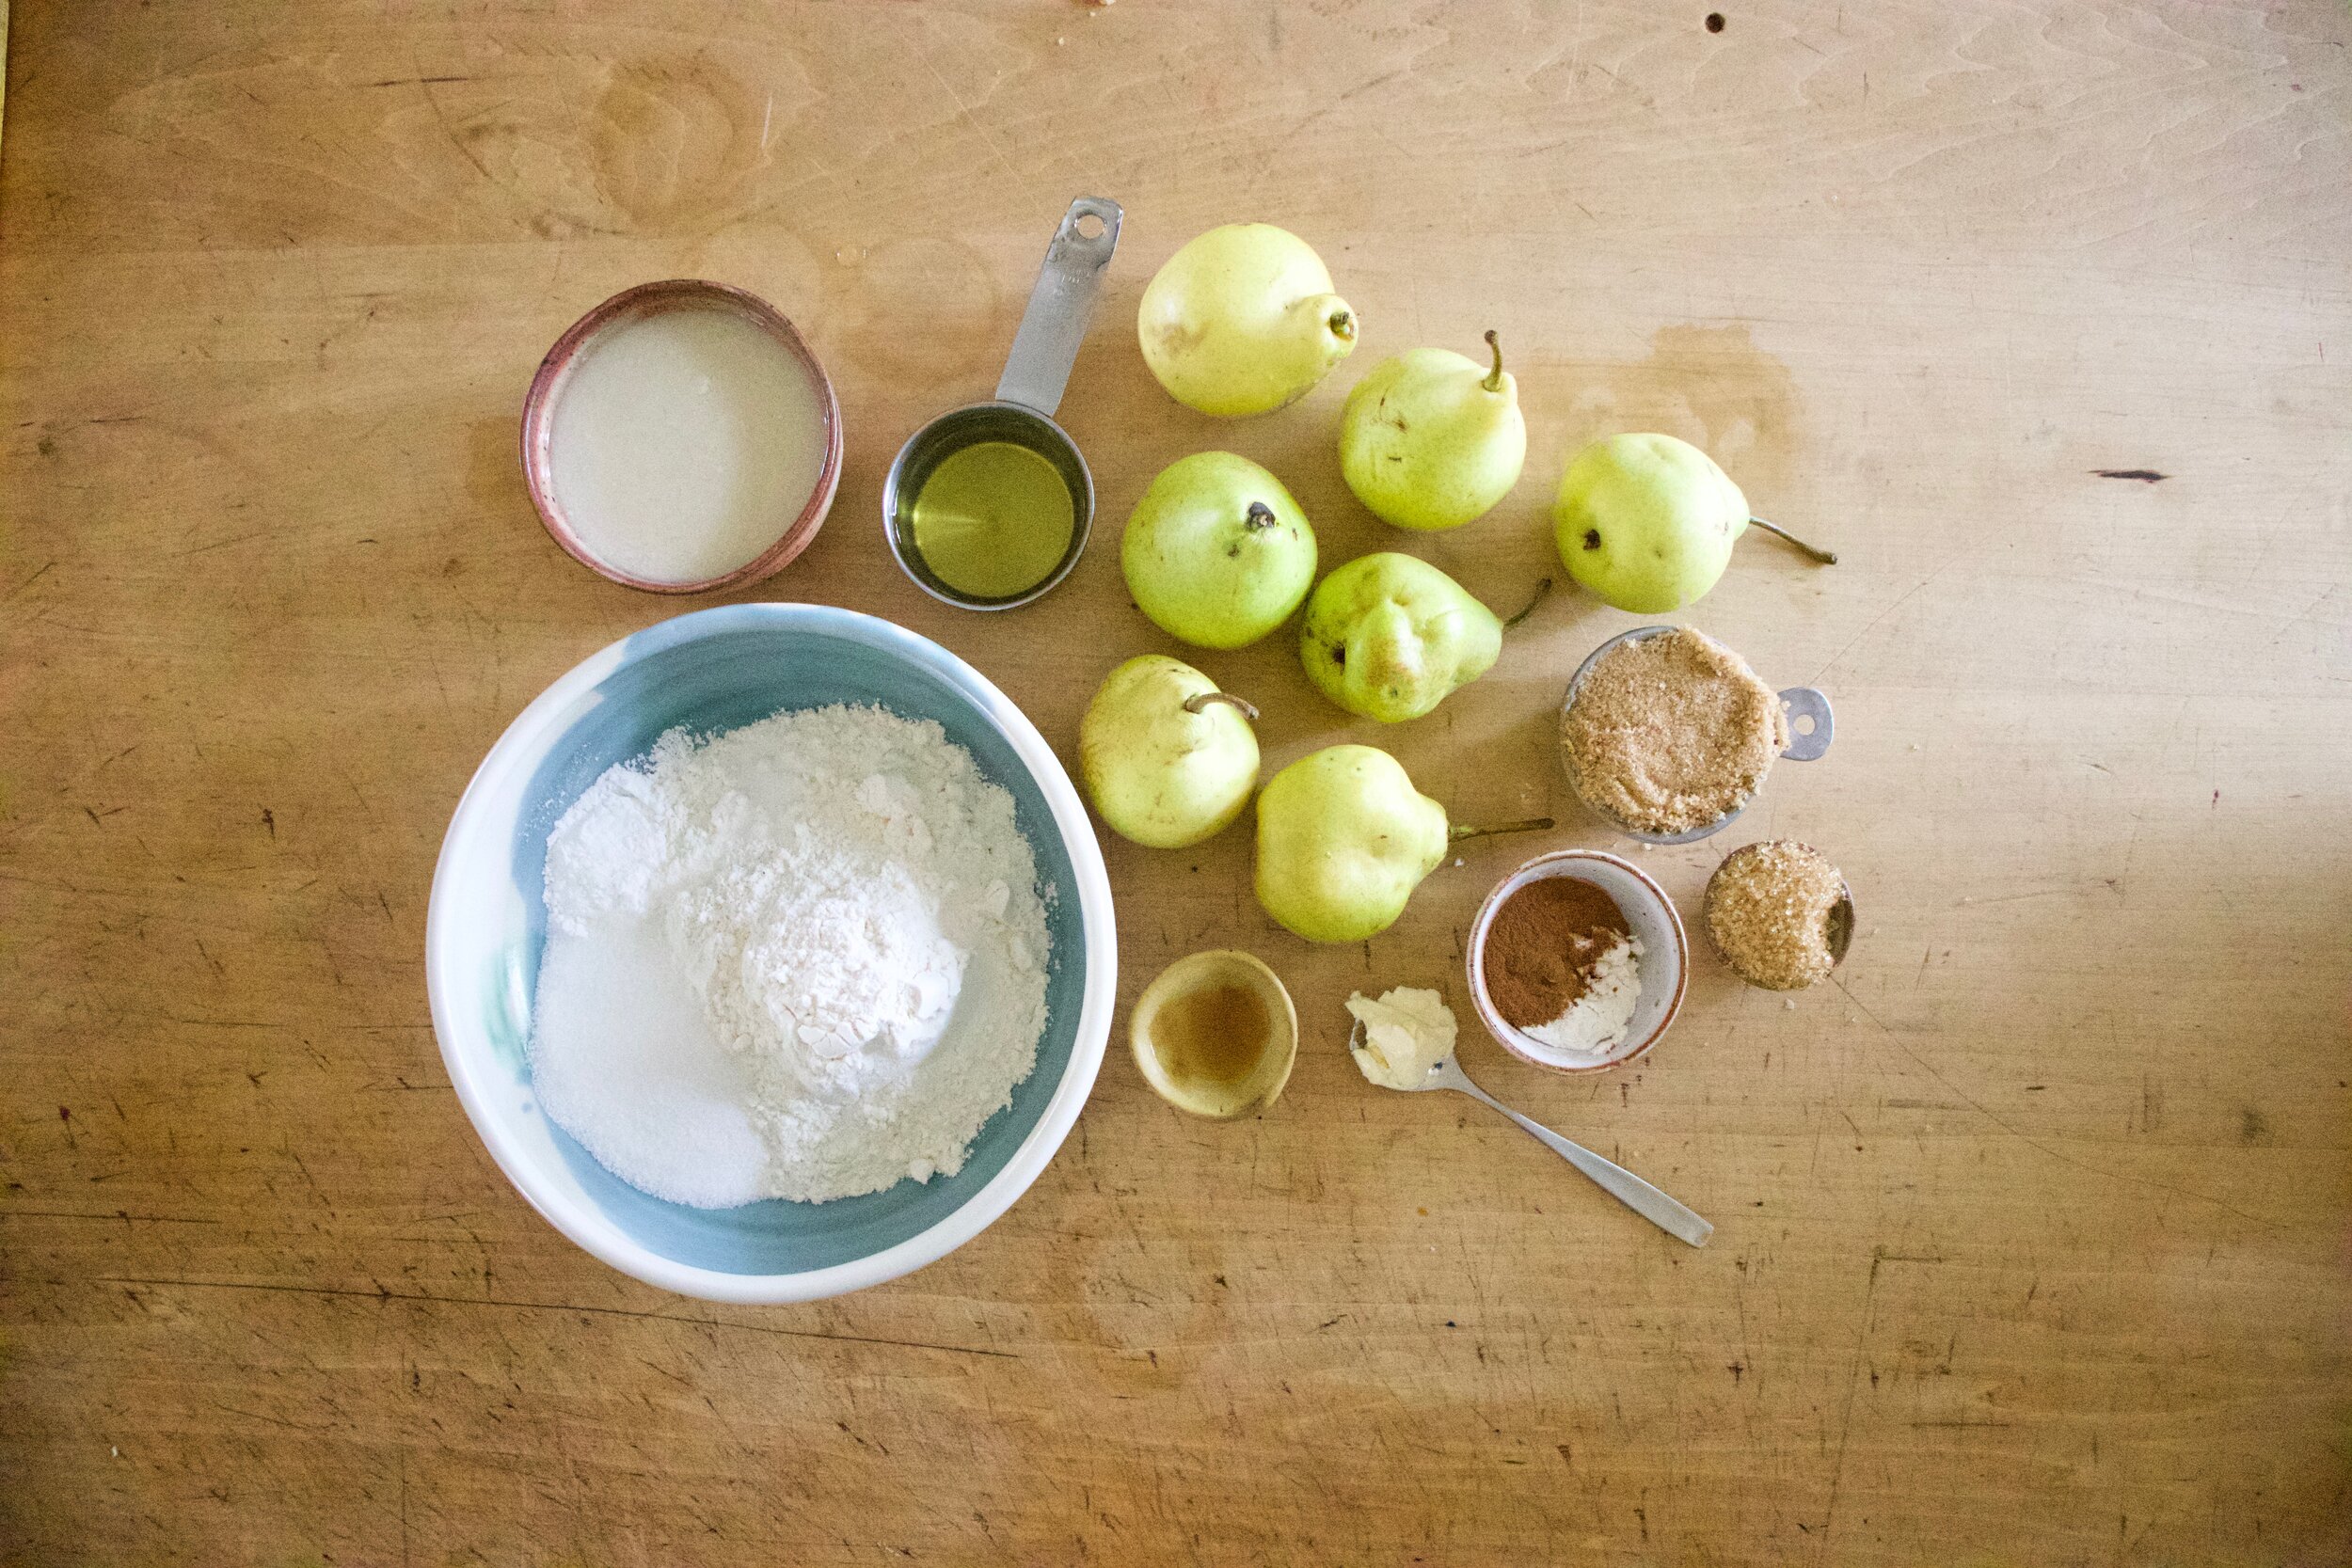
The stuff. Pears, flour, sugar, baking powder, salt, plant milk, oil, noise sugar, cinnamon and alittle more flour, apple cider vinegar, and little plant butter.

IMG_6906.jpg

clean, core, and slice up pears.not to small and roughly the same size.

IMG_6914.jpg
IMG_6919.jpg

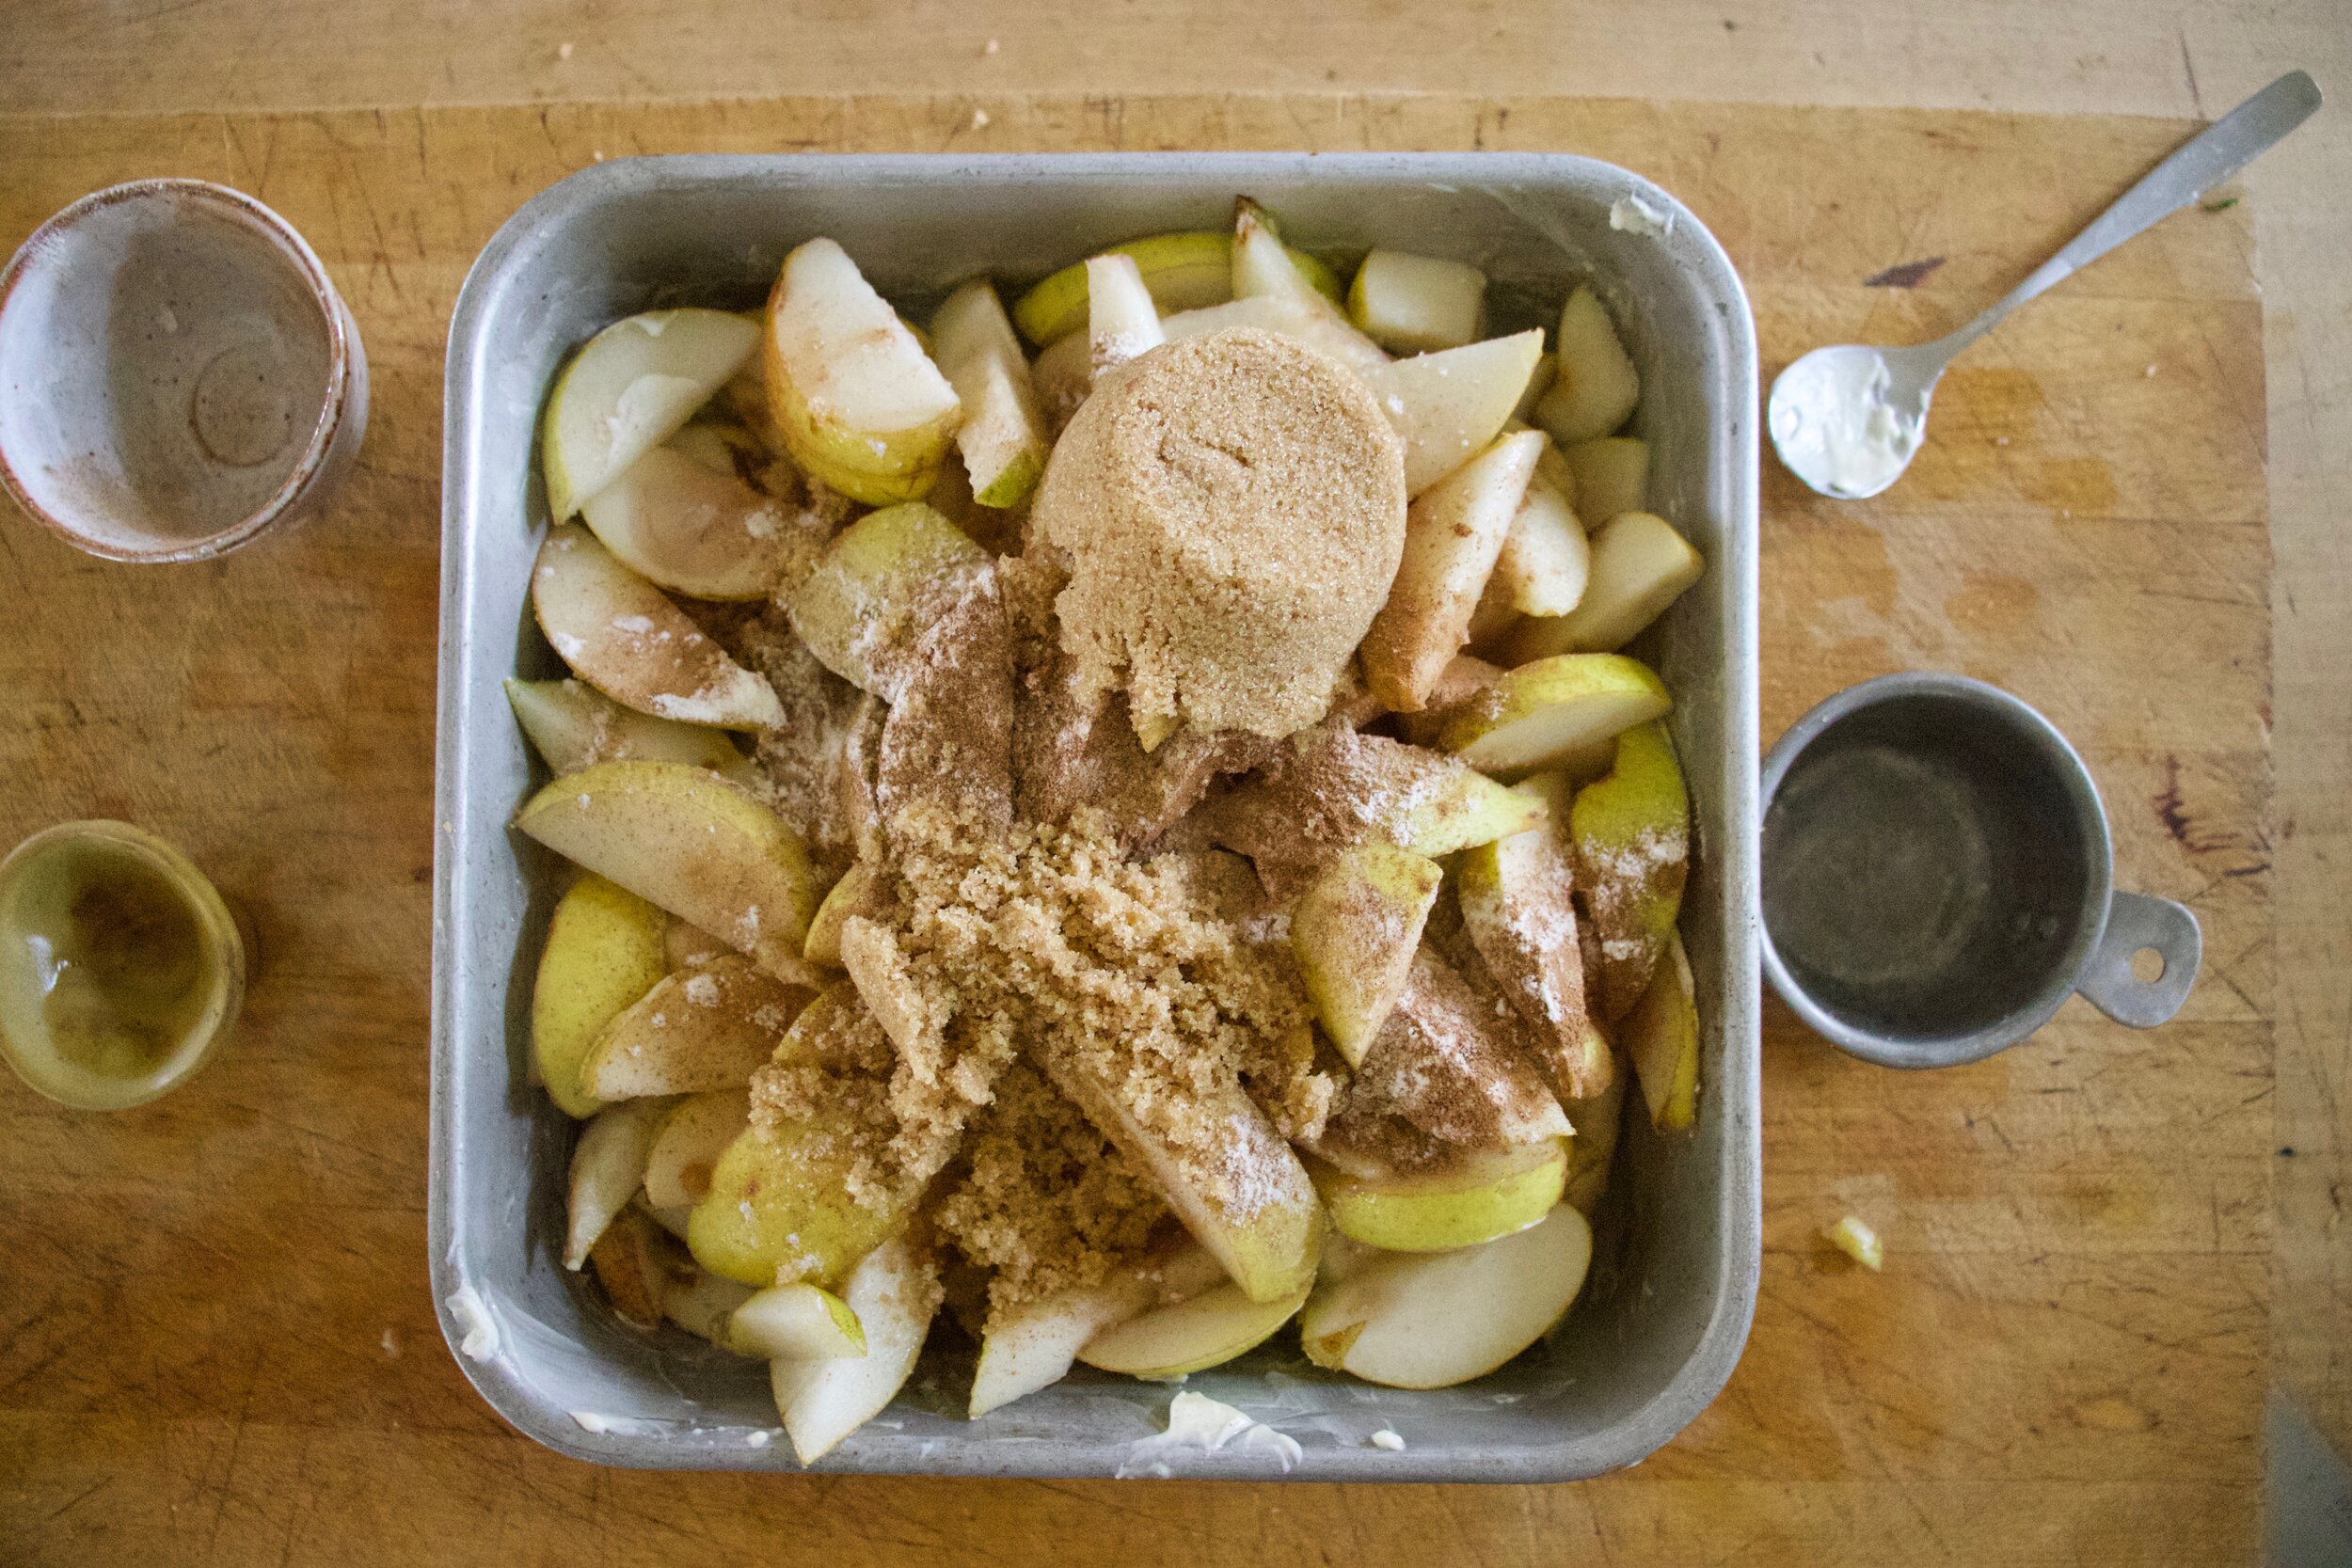
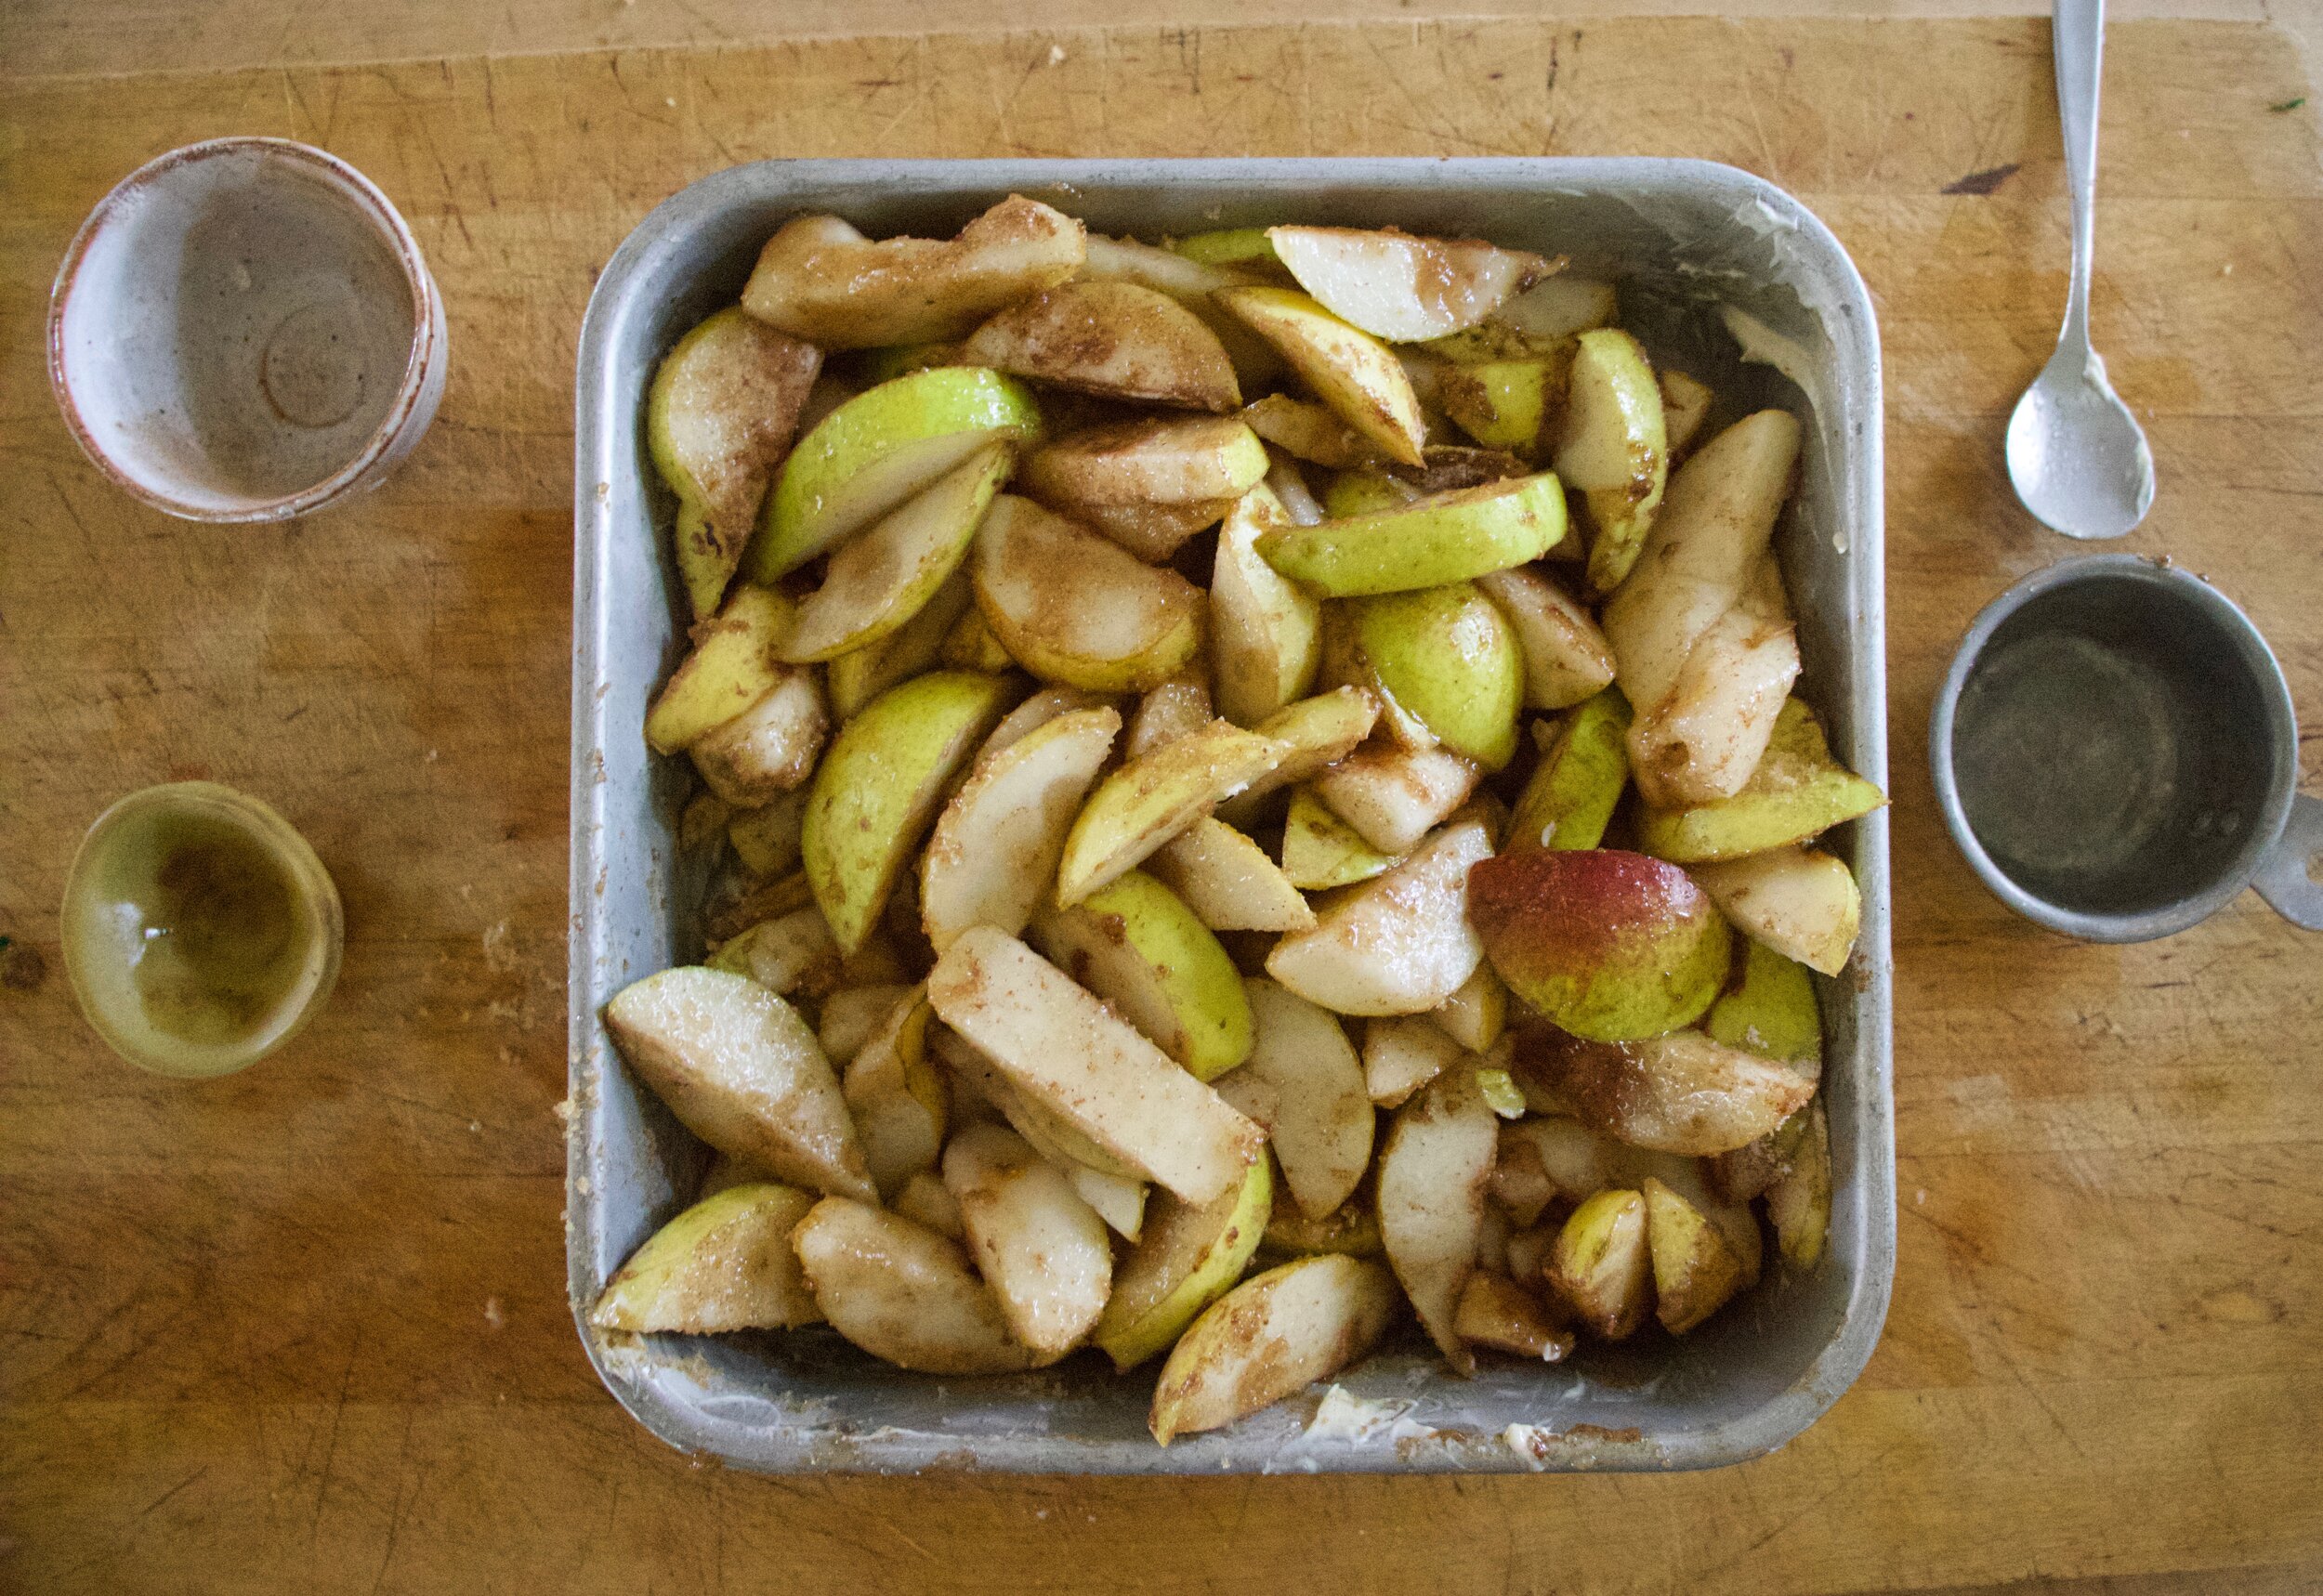
Butter a baking, dump in the pears and toss with sugar, cinnamon, and a little flour. Place in oven while preheating to start the pears cooking.

IMG_6927.jpg
IMG_6928.jpg
IMG_6933.jpg

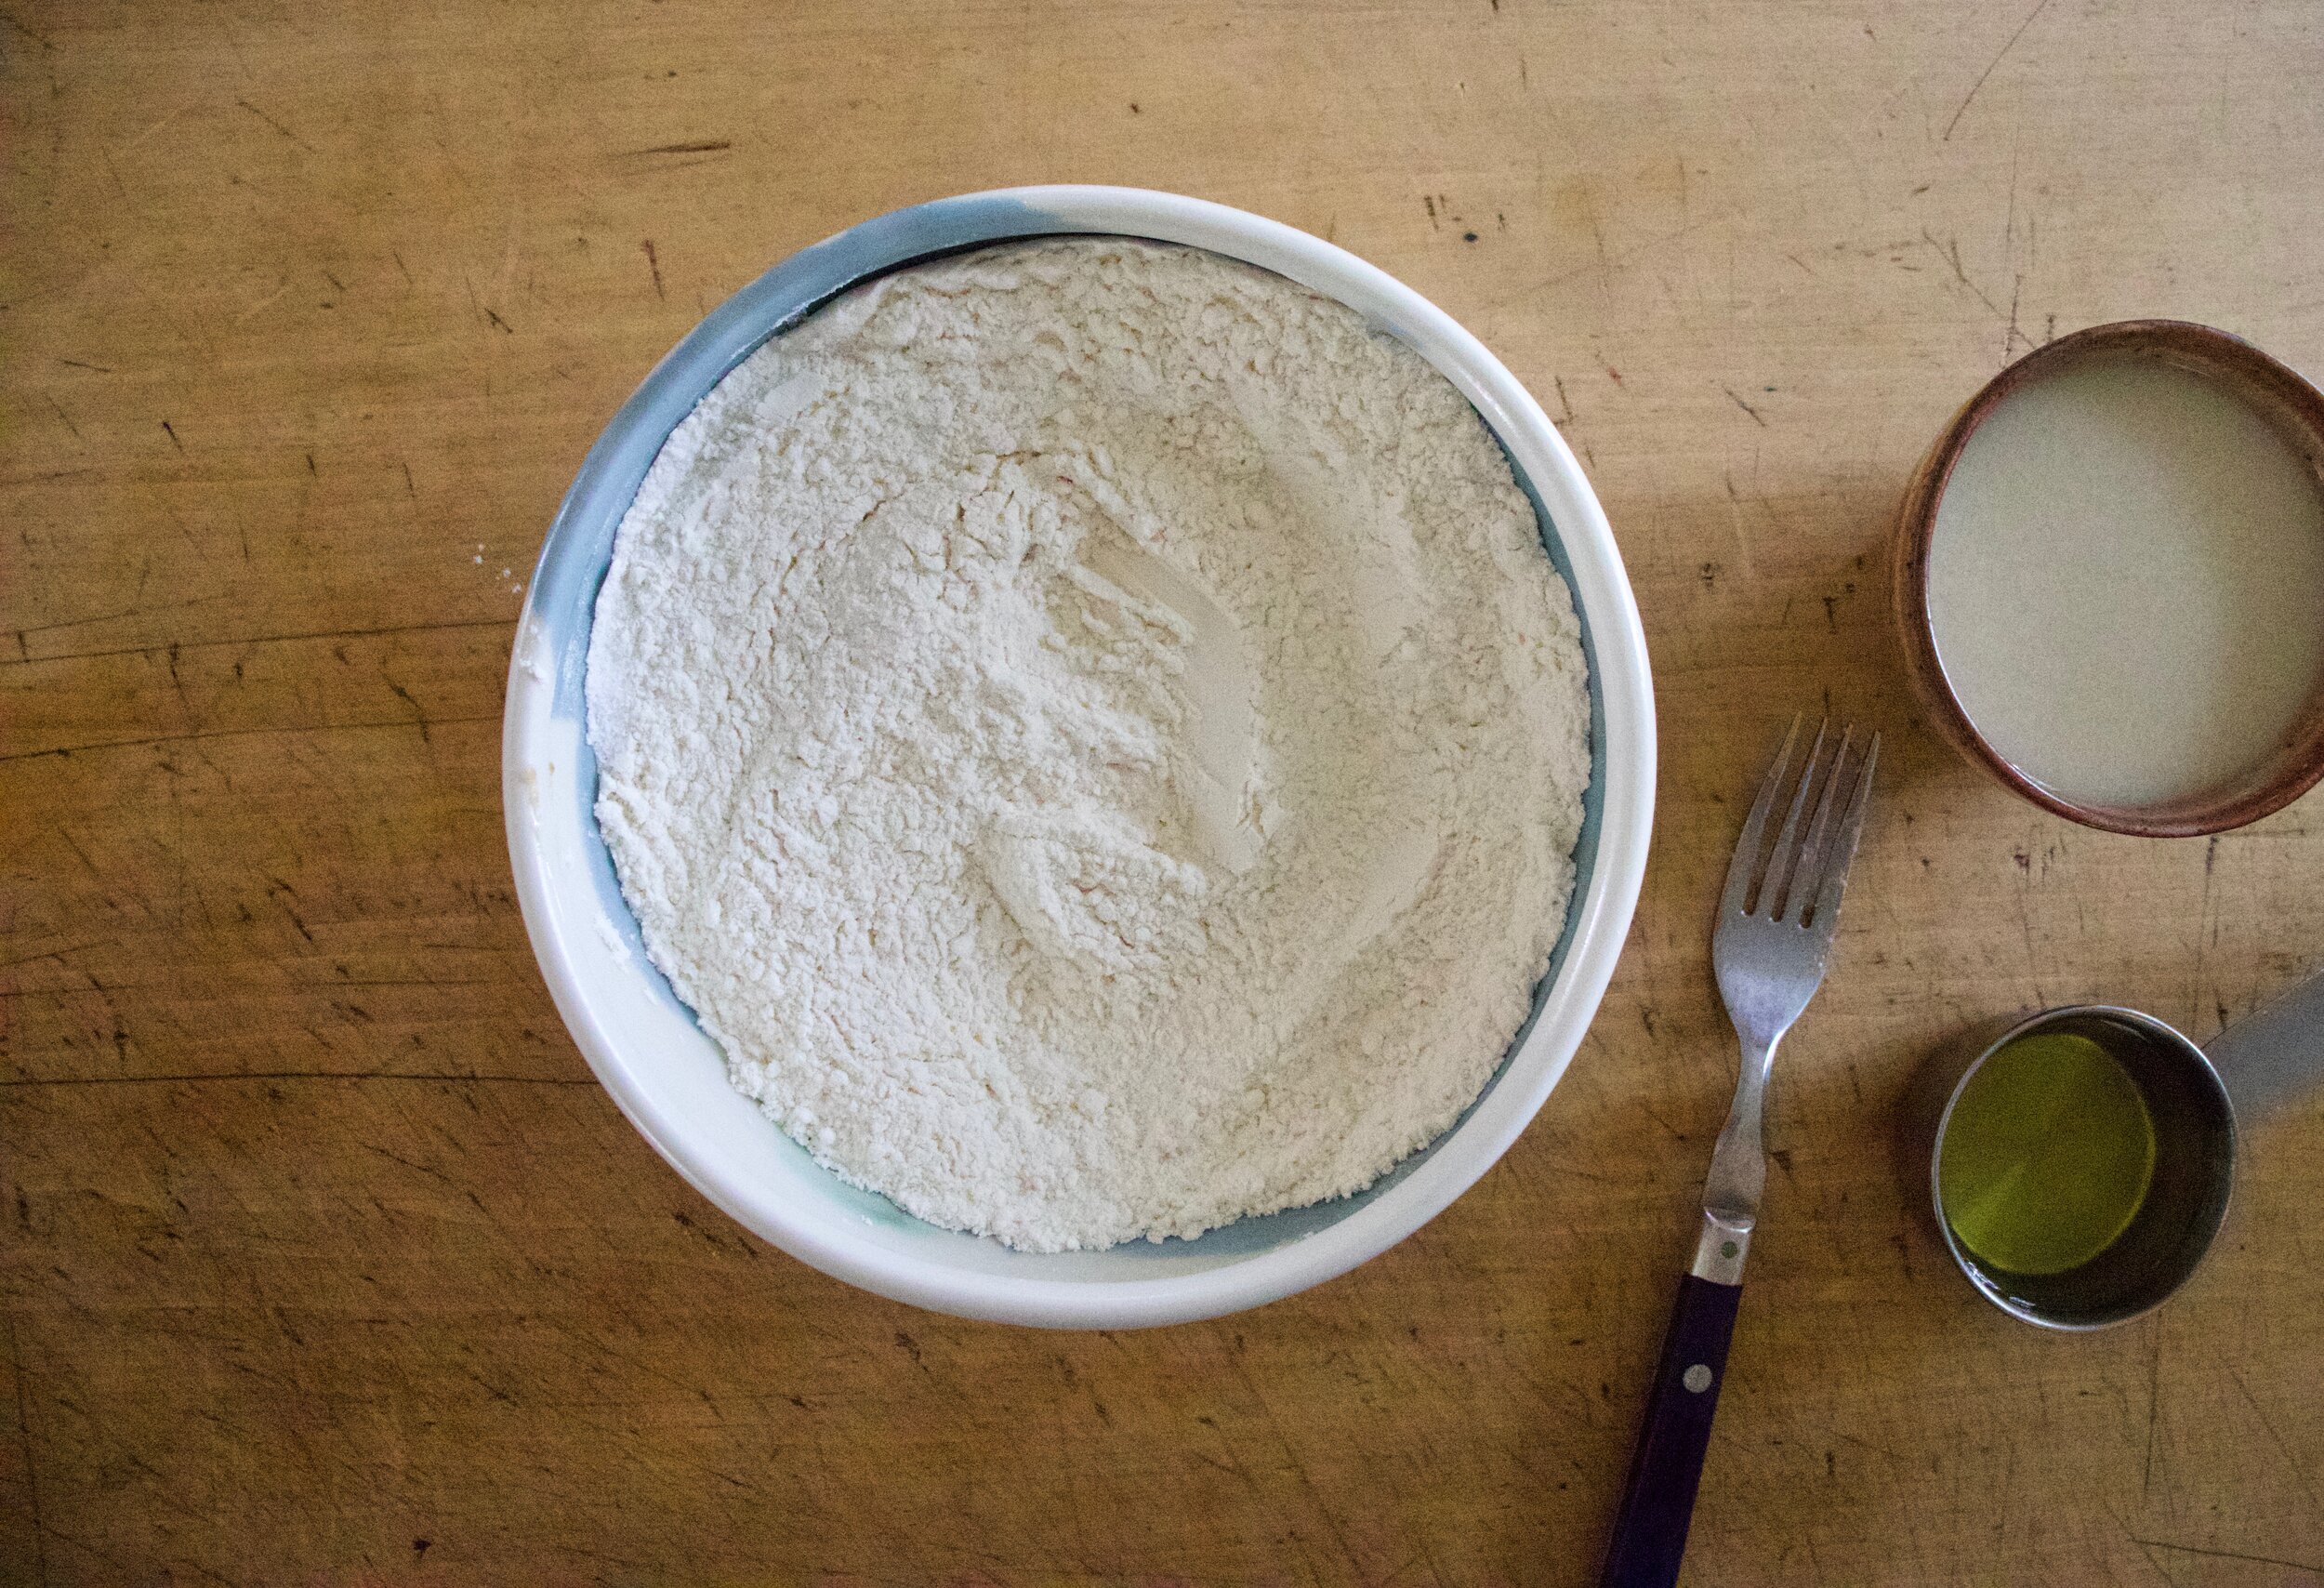
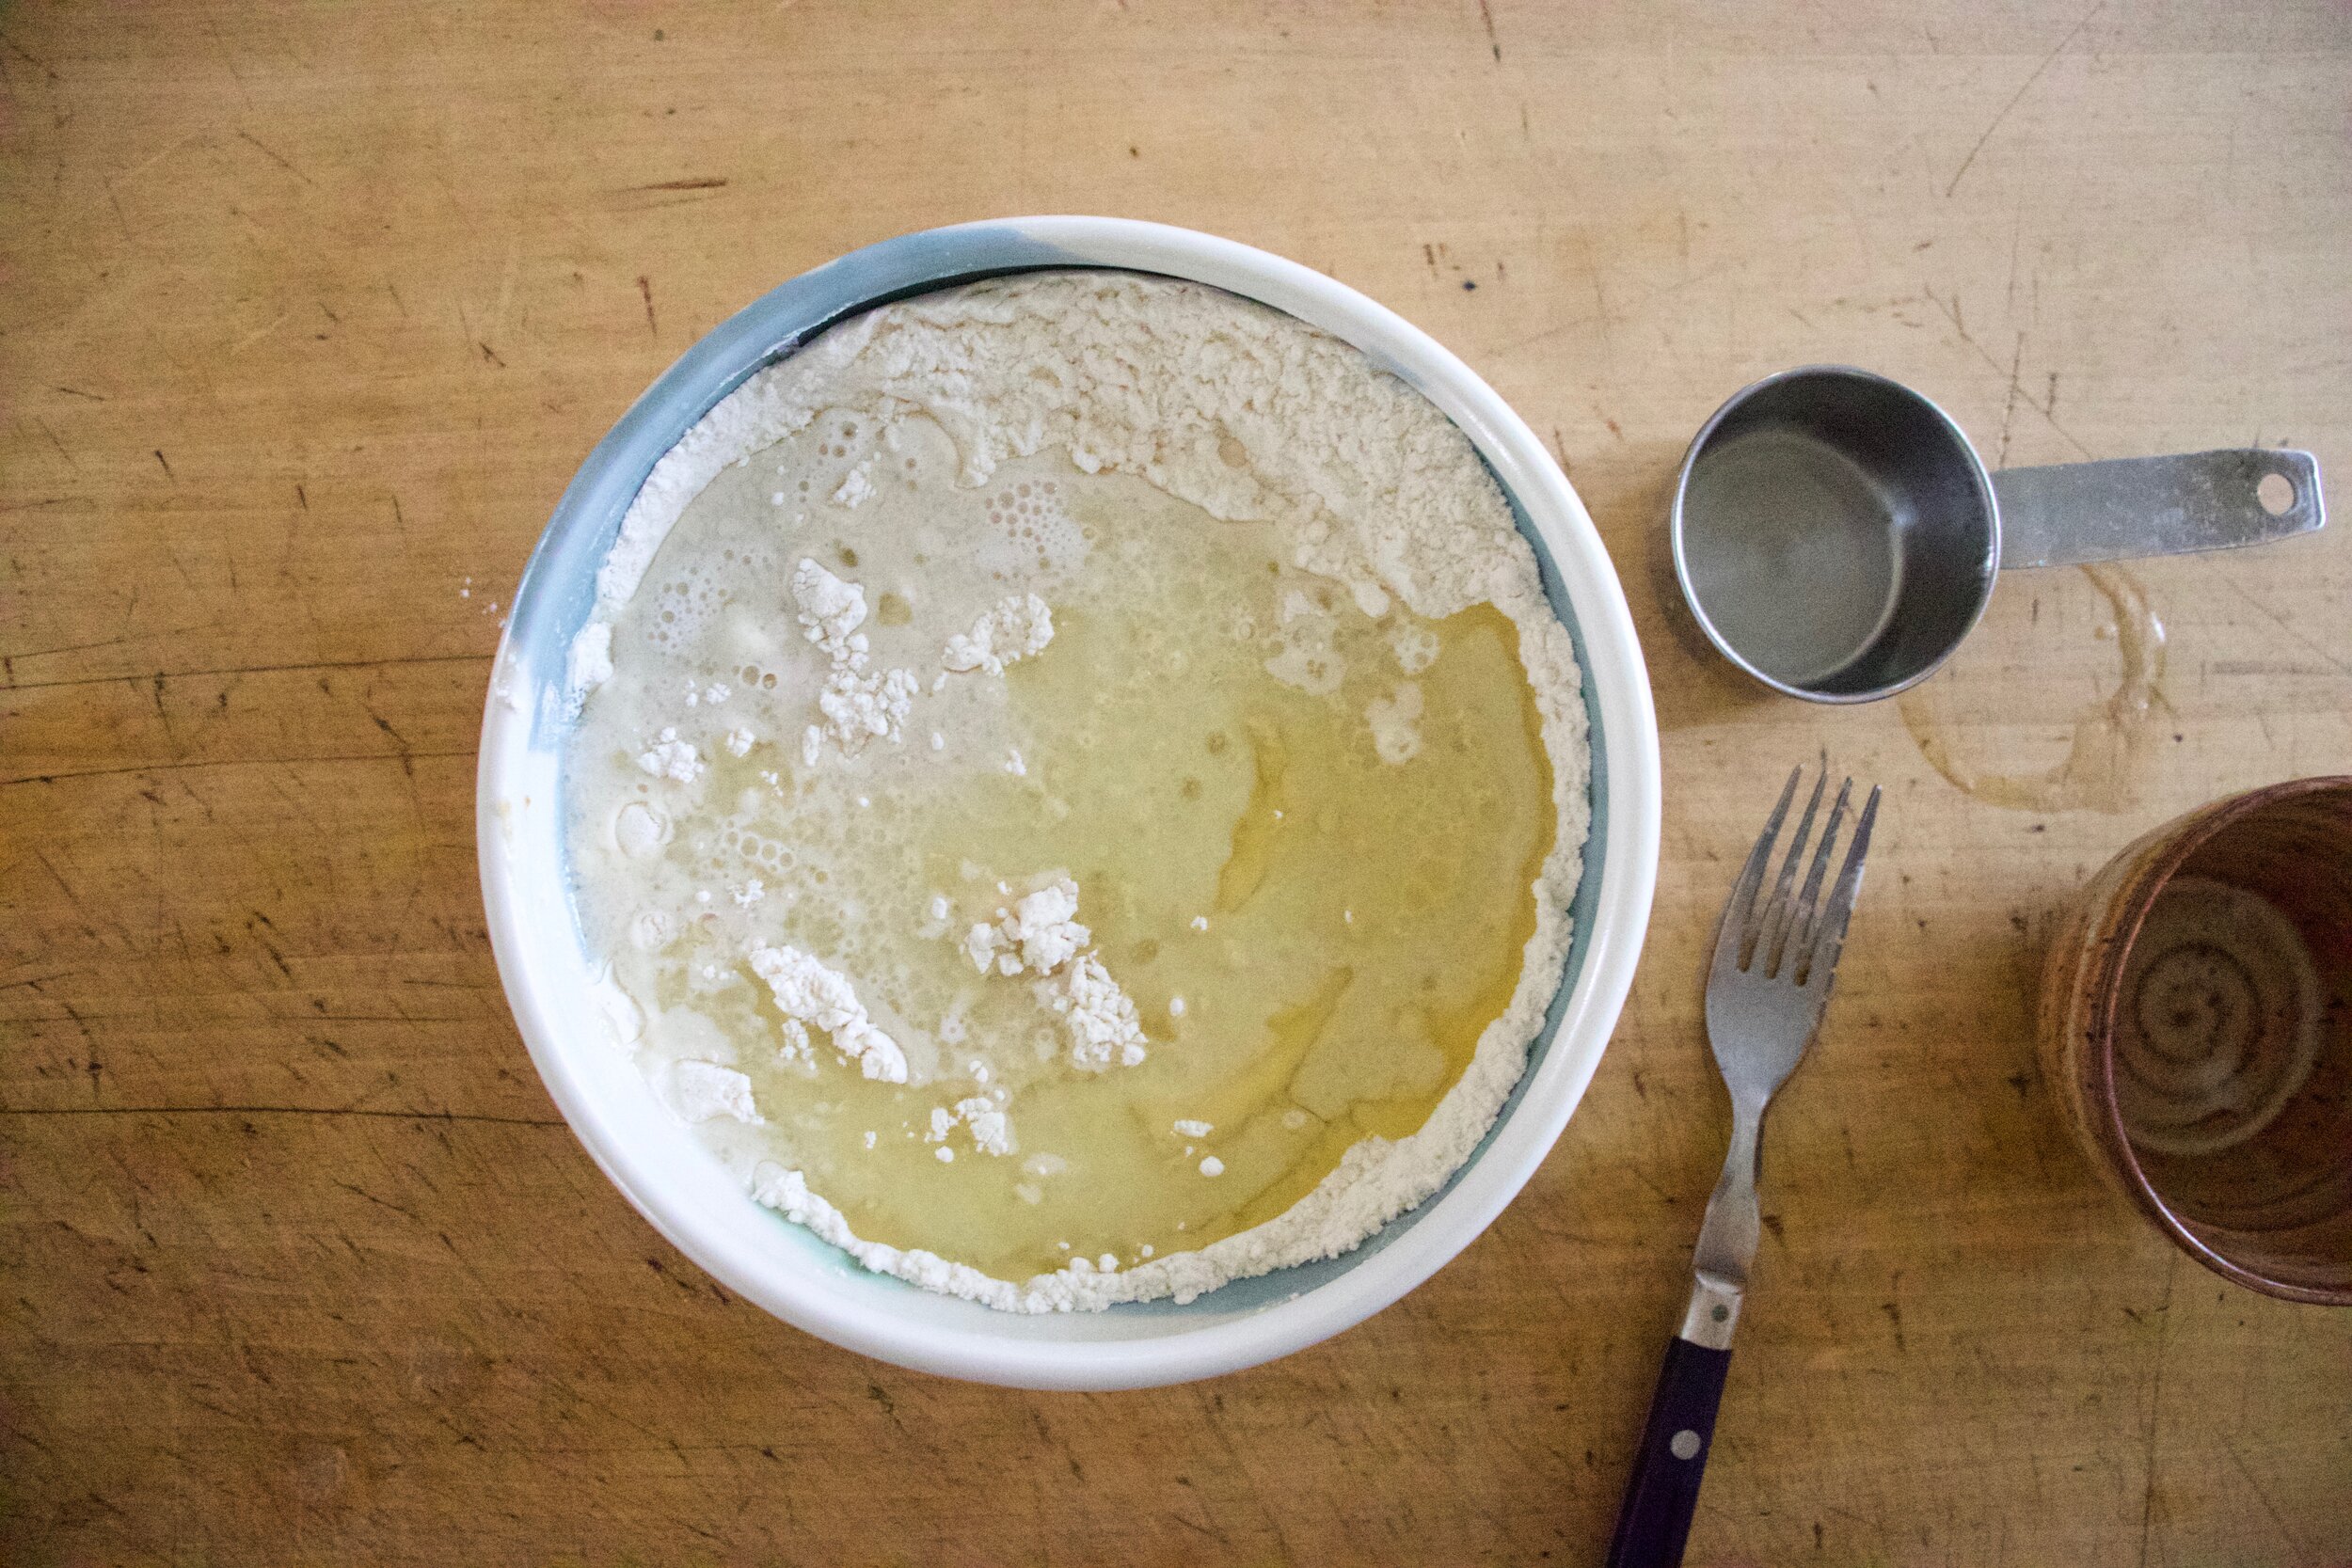
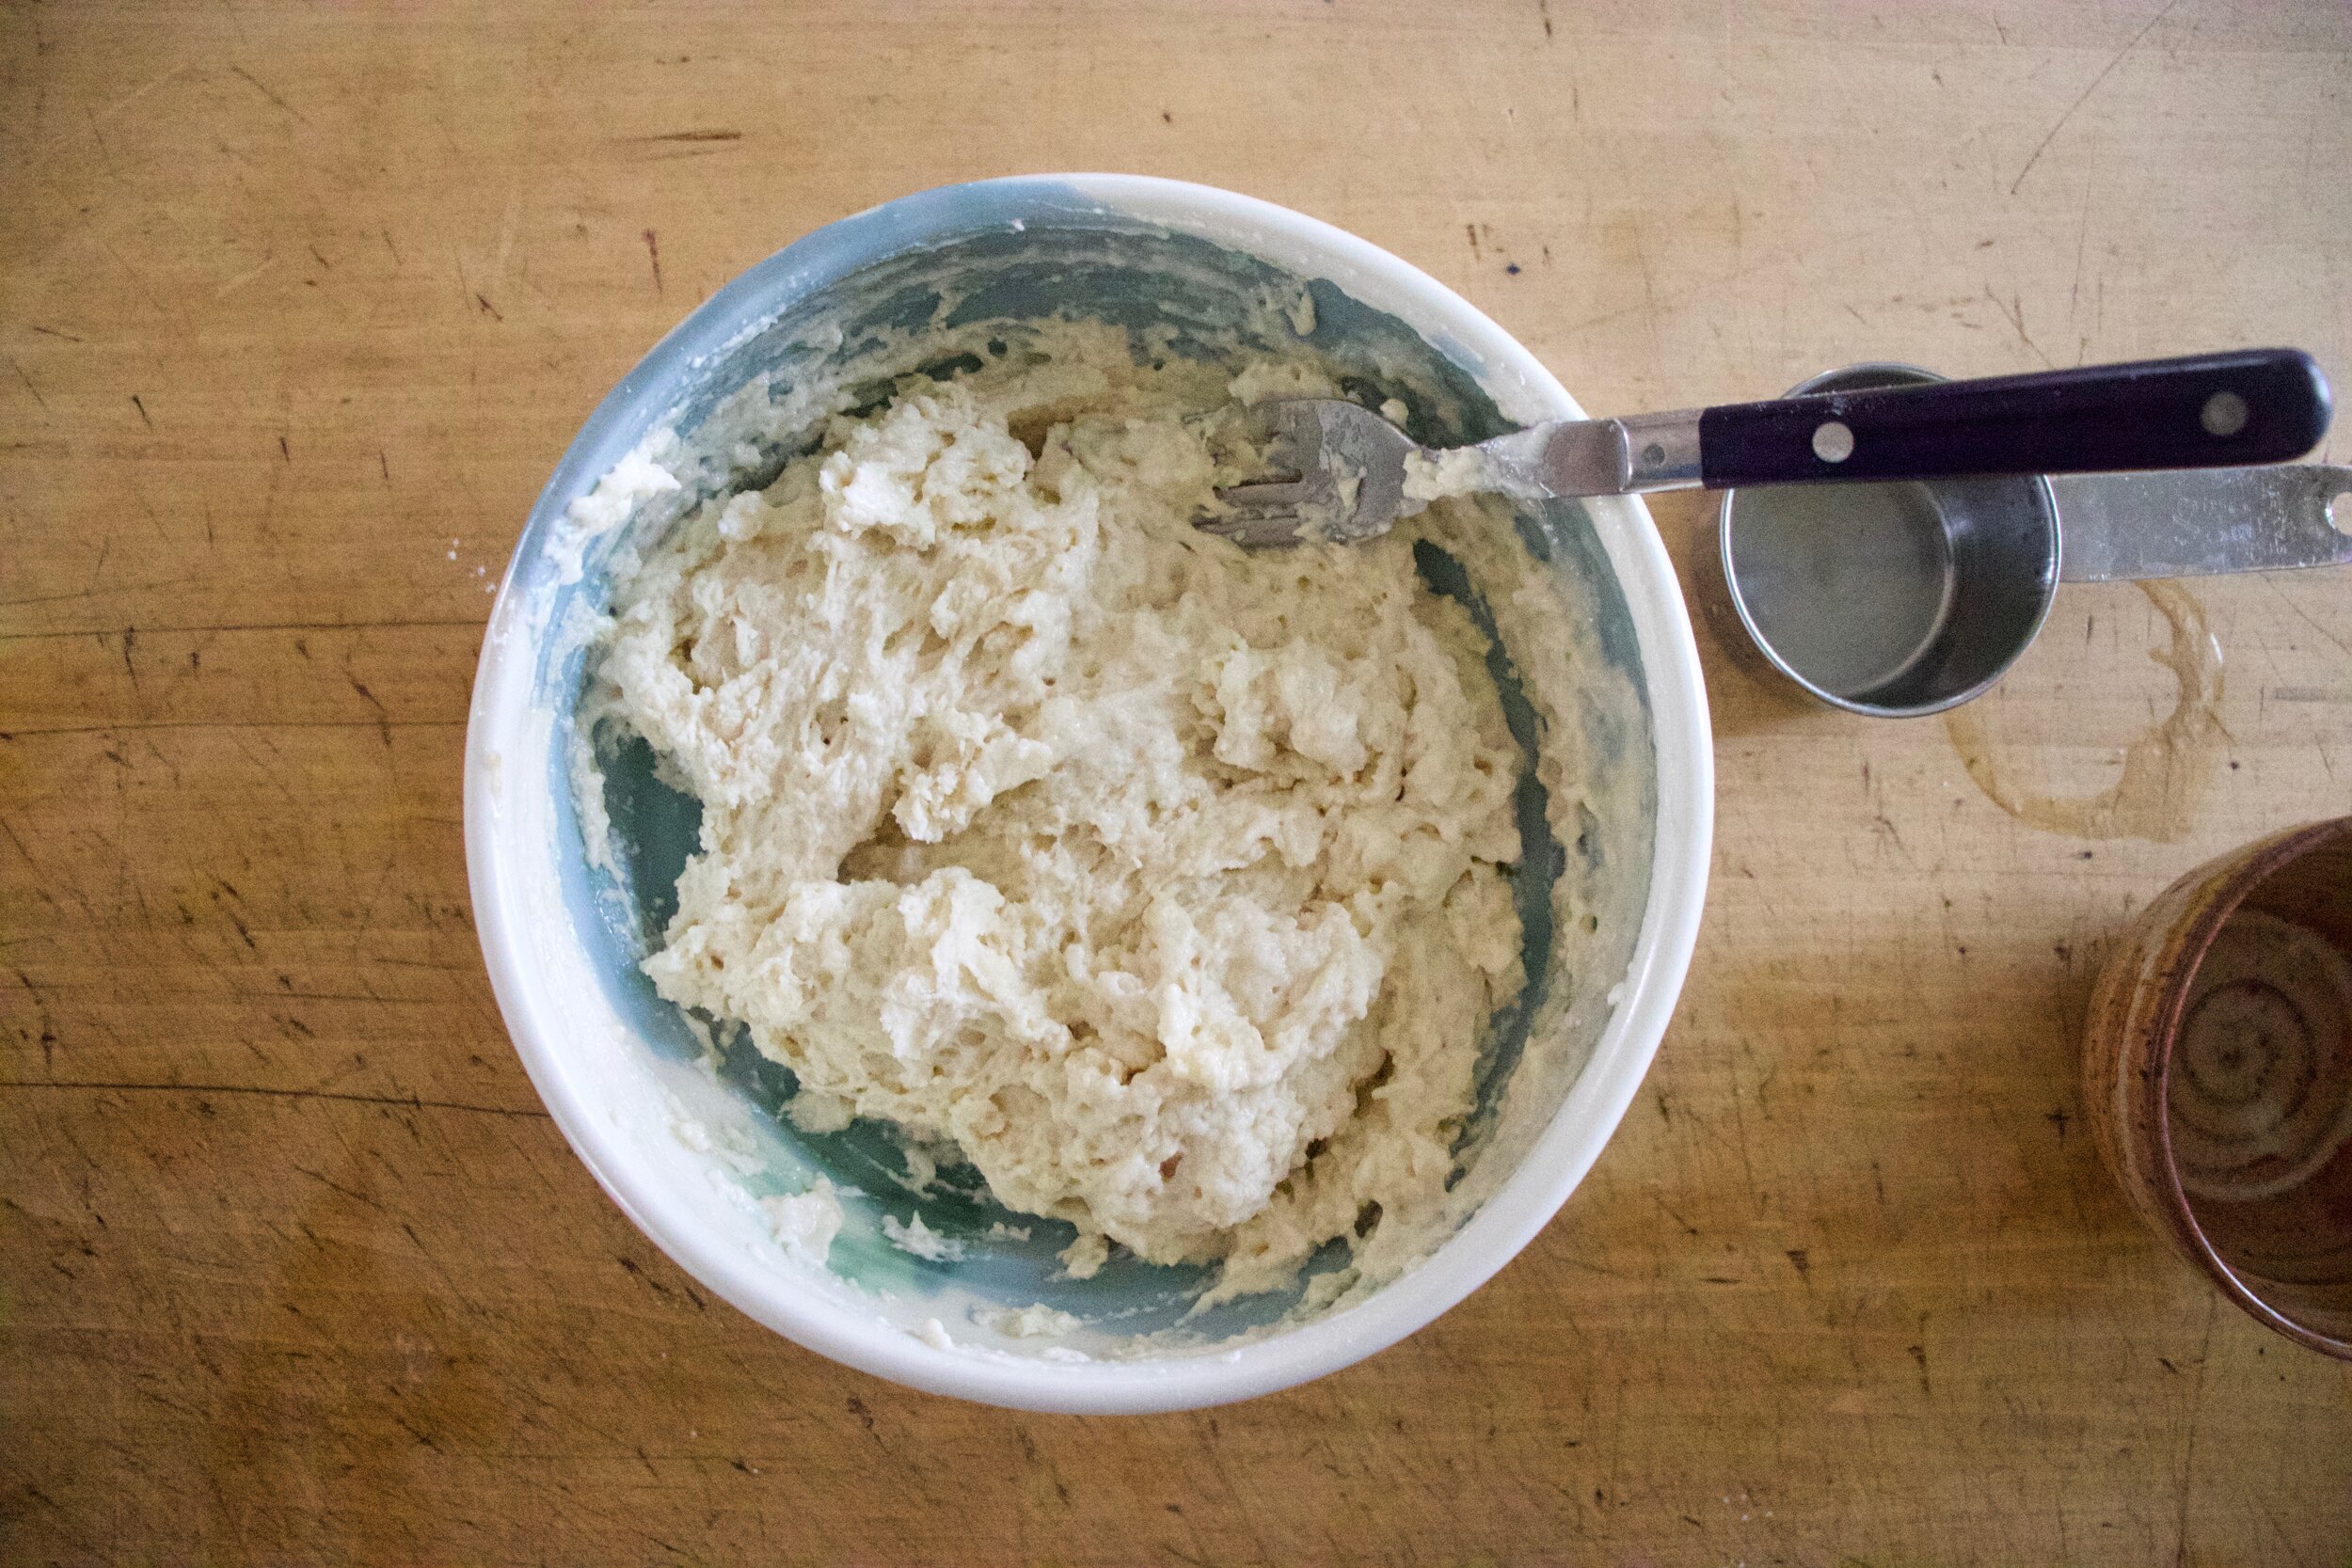
Now biscuits. Mix all the dry together then add in the oil and milk, Gently fold just until the wet and dry are incorporated . Place mixture in fridge while pears cook.

IMG_6947.jpg

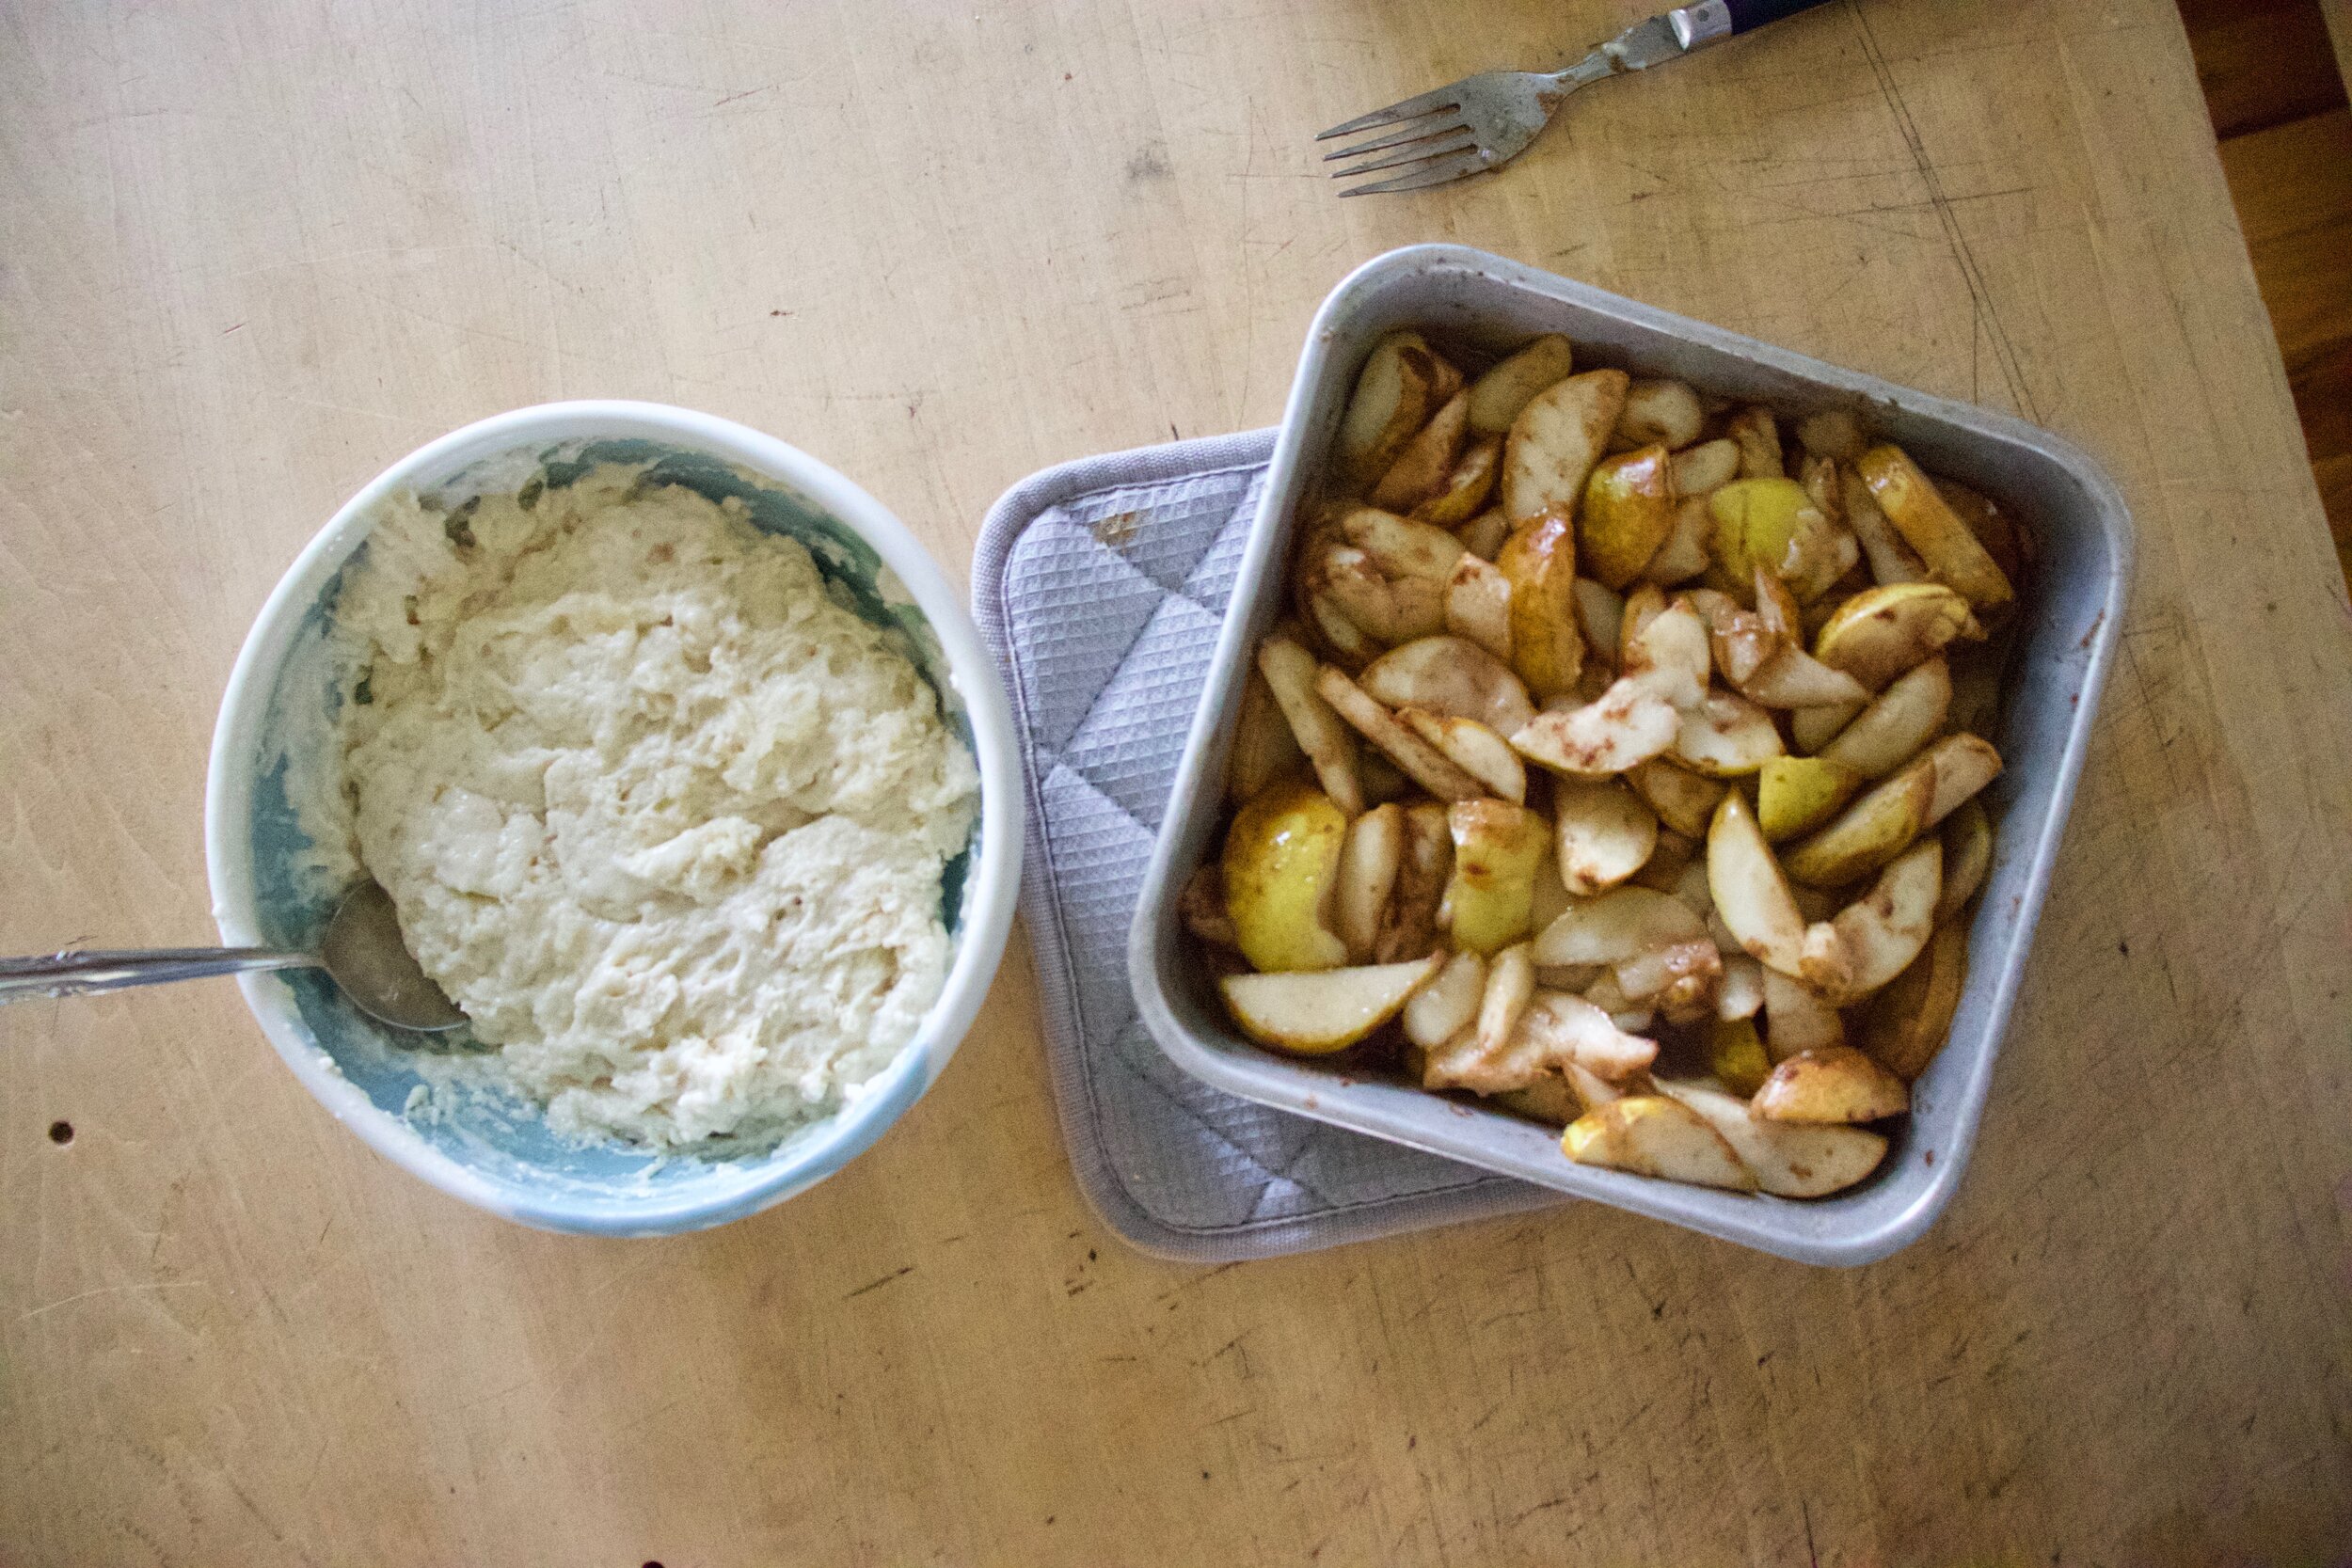
Once the oven is preheated and the pears have had a time to cook a bit, grab the cold biscuit dough from fridge and carefully grab the pears from the oven.

IMG_6953.jpg

Drop biscuit dough on top of the hot pears, sprinkle with the raw sugar, and pop it the whole shebang back into the oven for another half hour or so.

IMG_6970.jpg

Out of the oven looking all fine and shit.

IMG_6995.jpg

And the you eat it.


Pear Cobbler

serves 6ish people

For filling

  • 4 large or 6-7 smaller pears

  • 1/4 cup brown sugar

  • 1 1/2 teaspoon cinnamon

  • pinch salt

  • 2 teaspoons flour

  • 1 tablespoon apple cider vinegar

  • 1 teaspoon vegan butter (to grease pan)

    for biscuits

  • 1 3/4 cups all purpose flour

  • 2 teaspoon baking powder

  • 3 tablespoons white sugar

  • 1/2 teaspoon salt

  • 1/3 cup neutral oil (or olive if you want)

  • 2/3 cup of plant milk

  • 1 tablespoon raw sugar

Clea, core and slice up pears. Grease a square ( 8x8 or a little larger) baking pan with the butter and dump the pears in. Add the vinegar , brown sugar, 2 teaspoons flor, and the cinnamon into the pan and toss around until the pears all all coated. Place the pan into the oven and start to preheat to 425 degrees.

Once pears are in oven, make biscuits. Mix all the dry together then add in the oil and milk. Gently fold the wet with dry just until incorporated (don’t over mix or they will be tough). Place dough in fridge,

One oven is preheated, let pears cook for about another 8ish minutes the carefully remove pan from oven. Grab biscuit dough from fridge and carefully drop clumps of dough on top of hot pears. Sprinkle with the raw sugar n then pop pan back into oven, redoing heat to 400.

Bake for 30-35 minutes or until biscuits are a nice deep golden brown.

Remove from oven, let cool far a few minutes, then dig in.

Left overs can be stored in the fridge, covered, for a few days and eaten cold or reheated.

In biscuits and such, cobblers and crumbles, desserts, fruit, Vegan Tags vegan, plant based, pear cobbler, cobbler, pears, fruit, dessert, easy, fall, pie, breakfast
Comment

Strawberry Oat Milk

June 26, 2021 Colleen Stem
IMG_6133.jpg
IMG_6141.jpg
IMG_6122.jpg

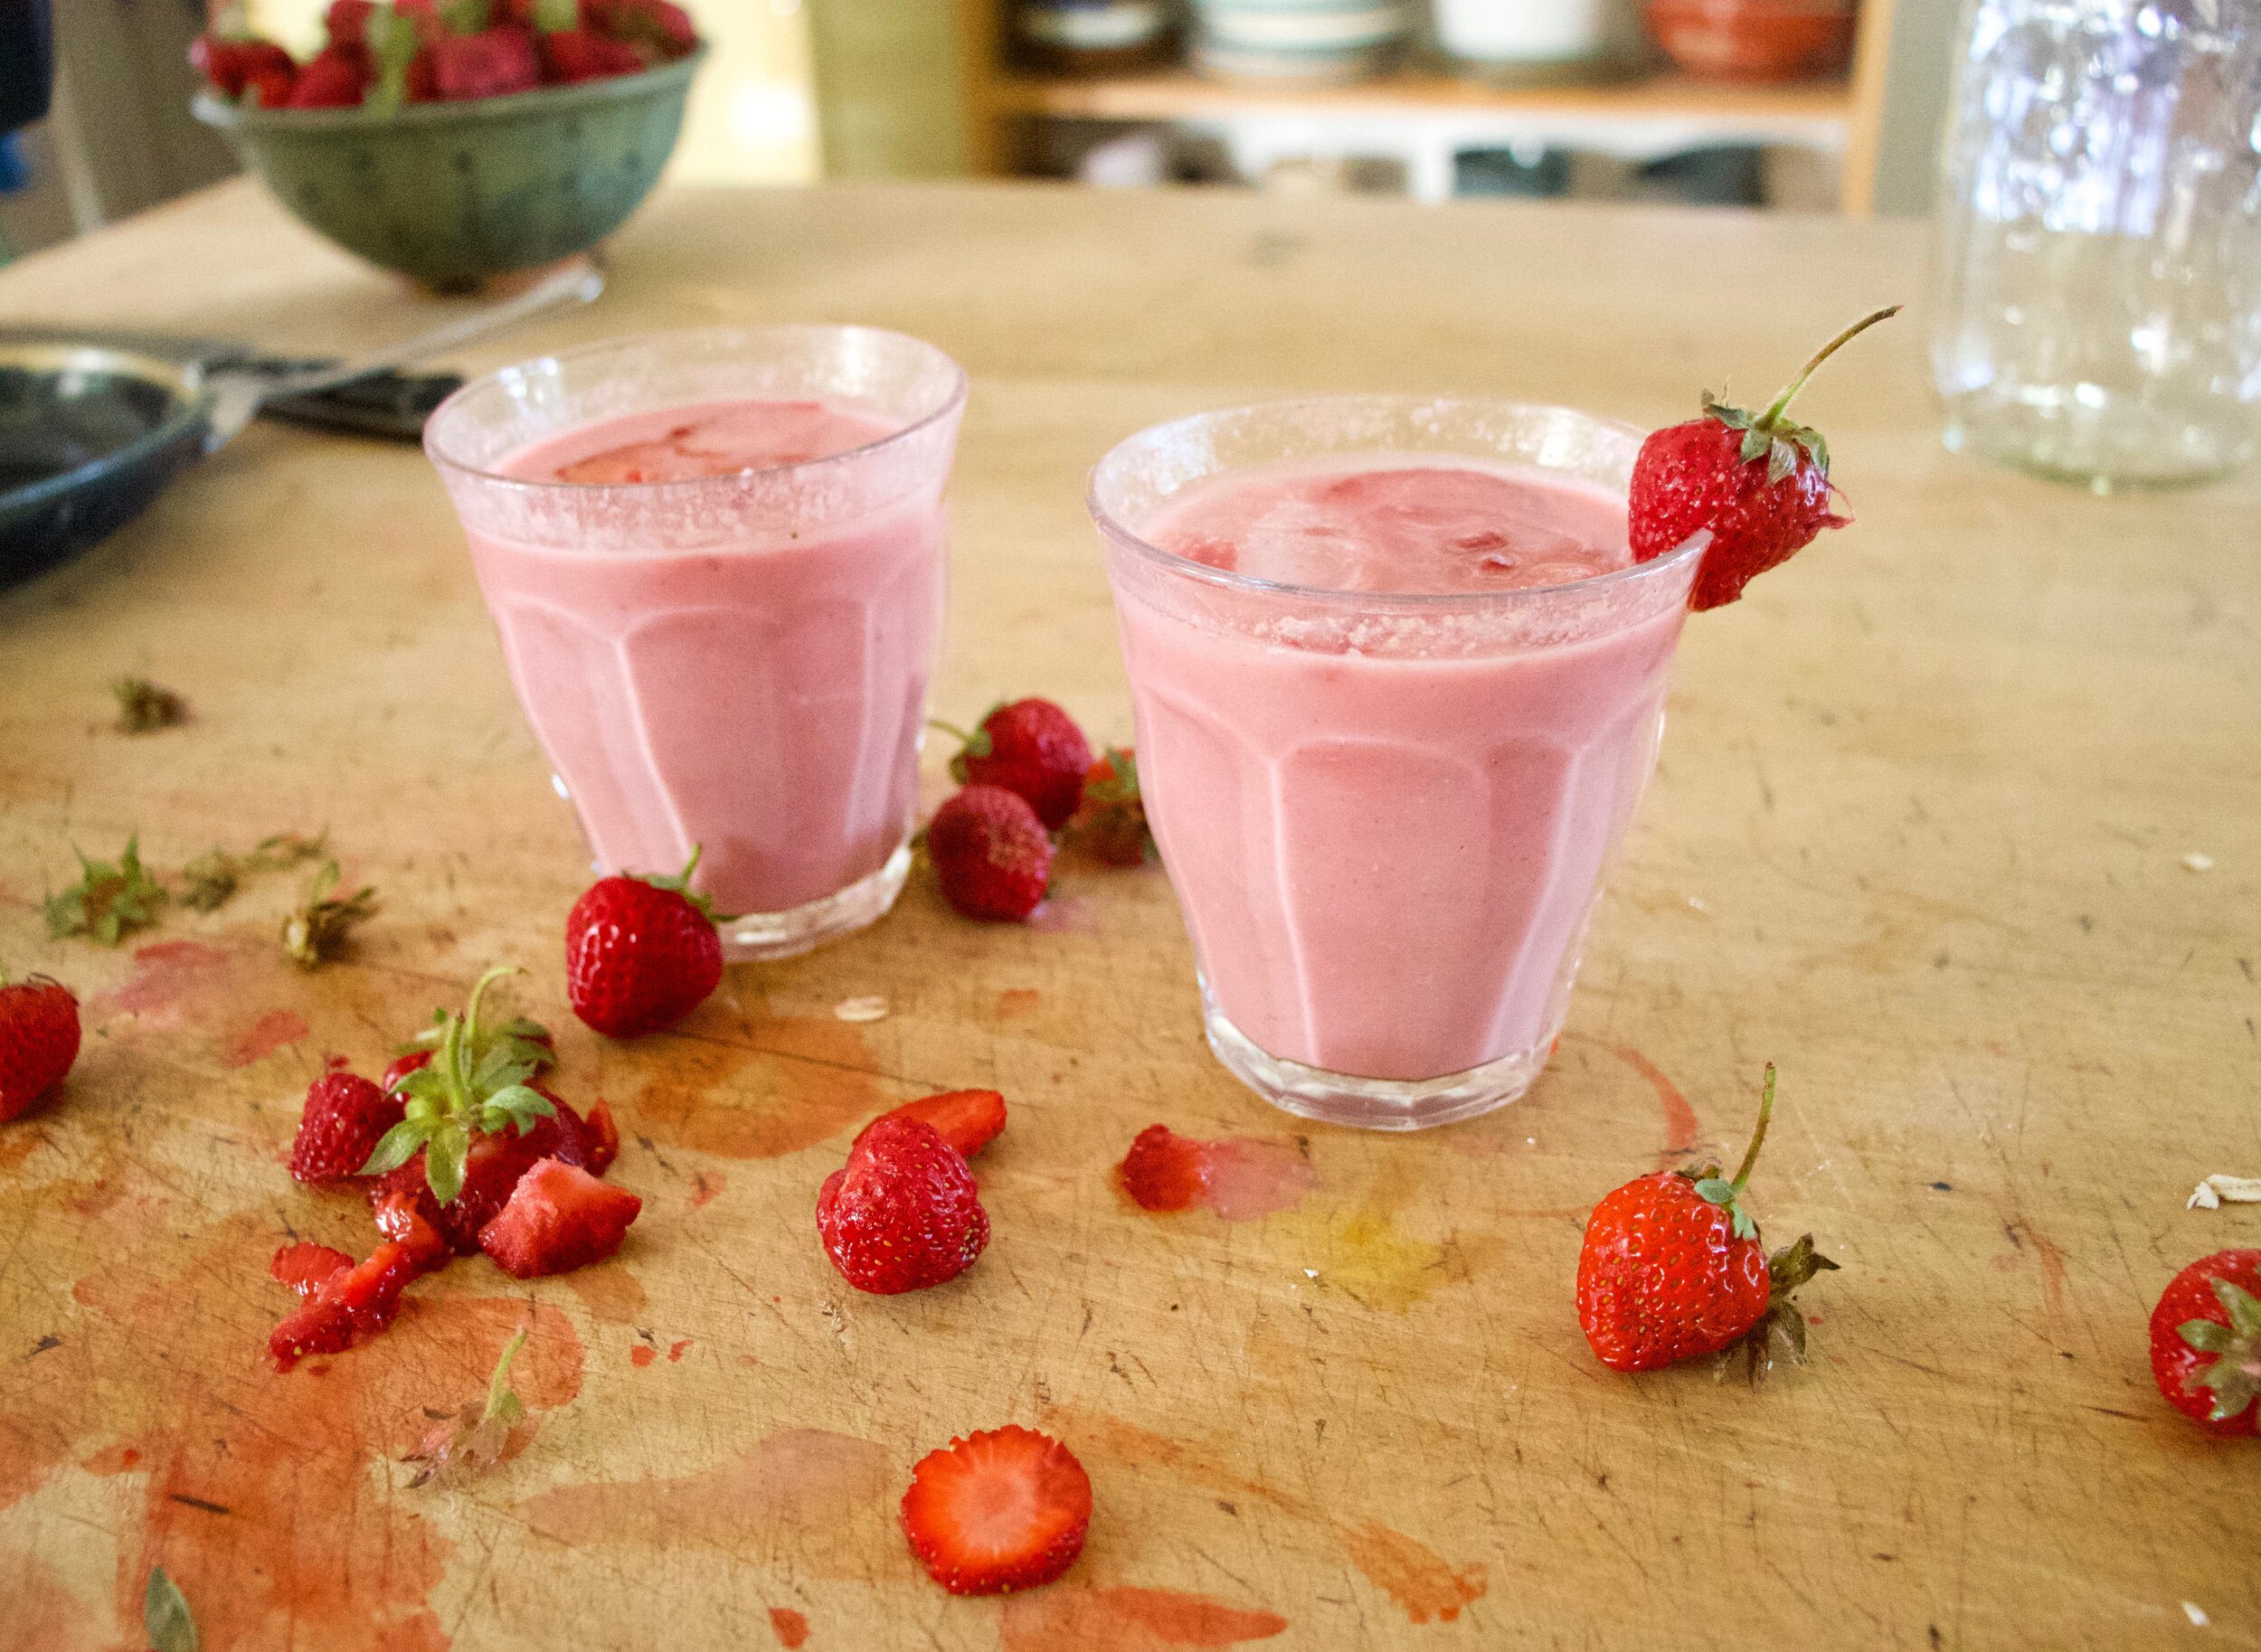
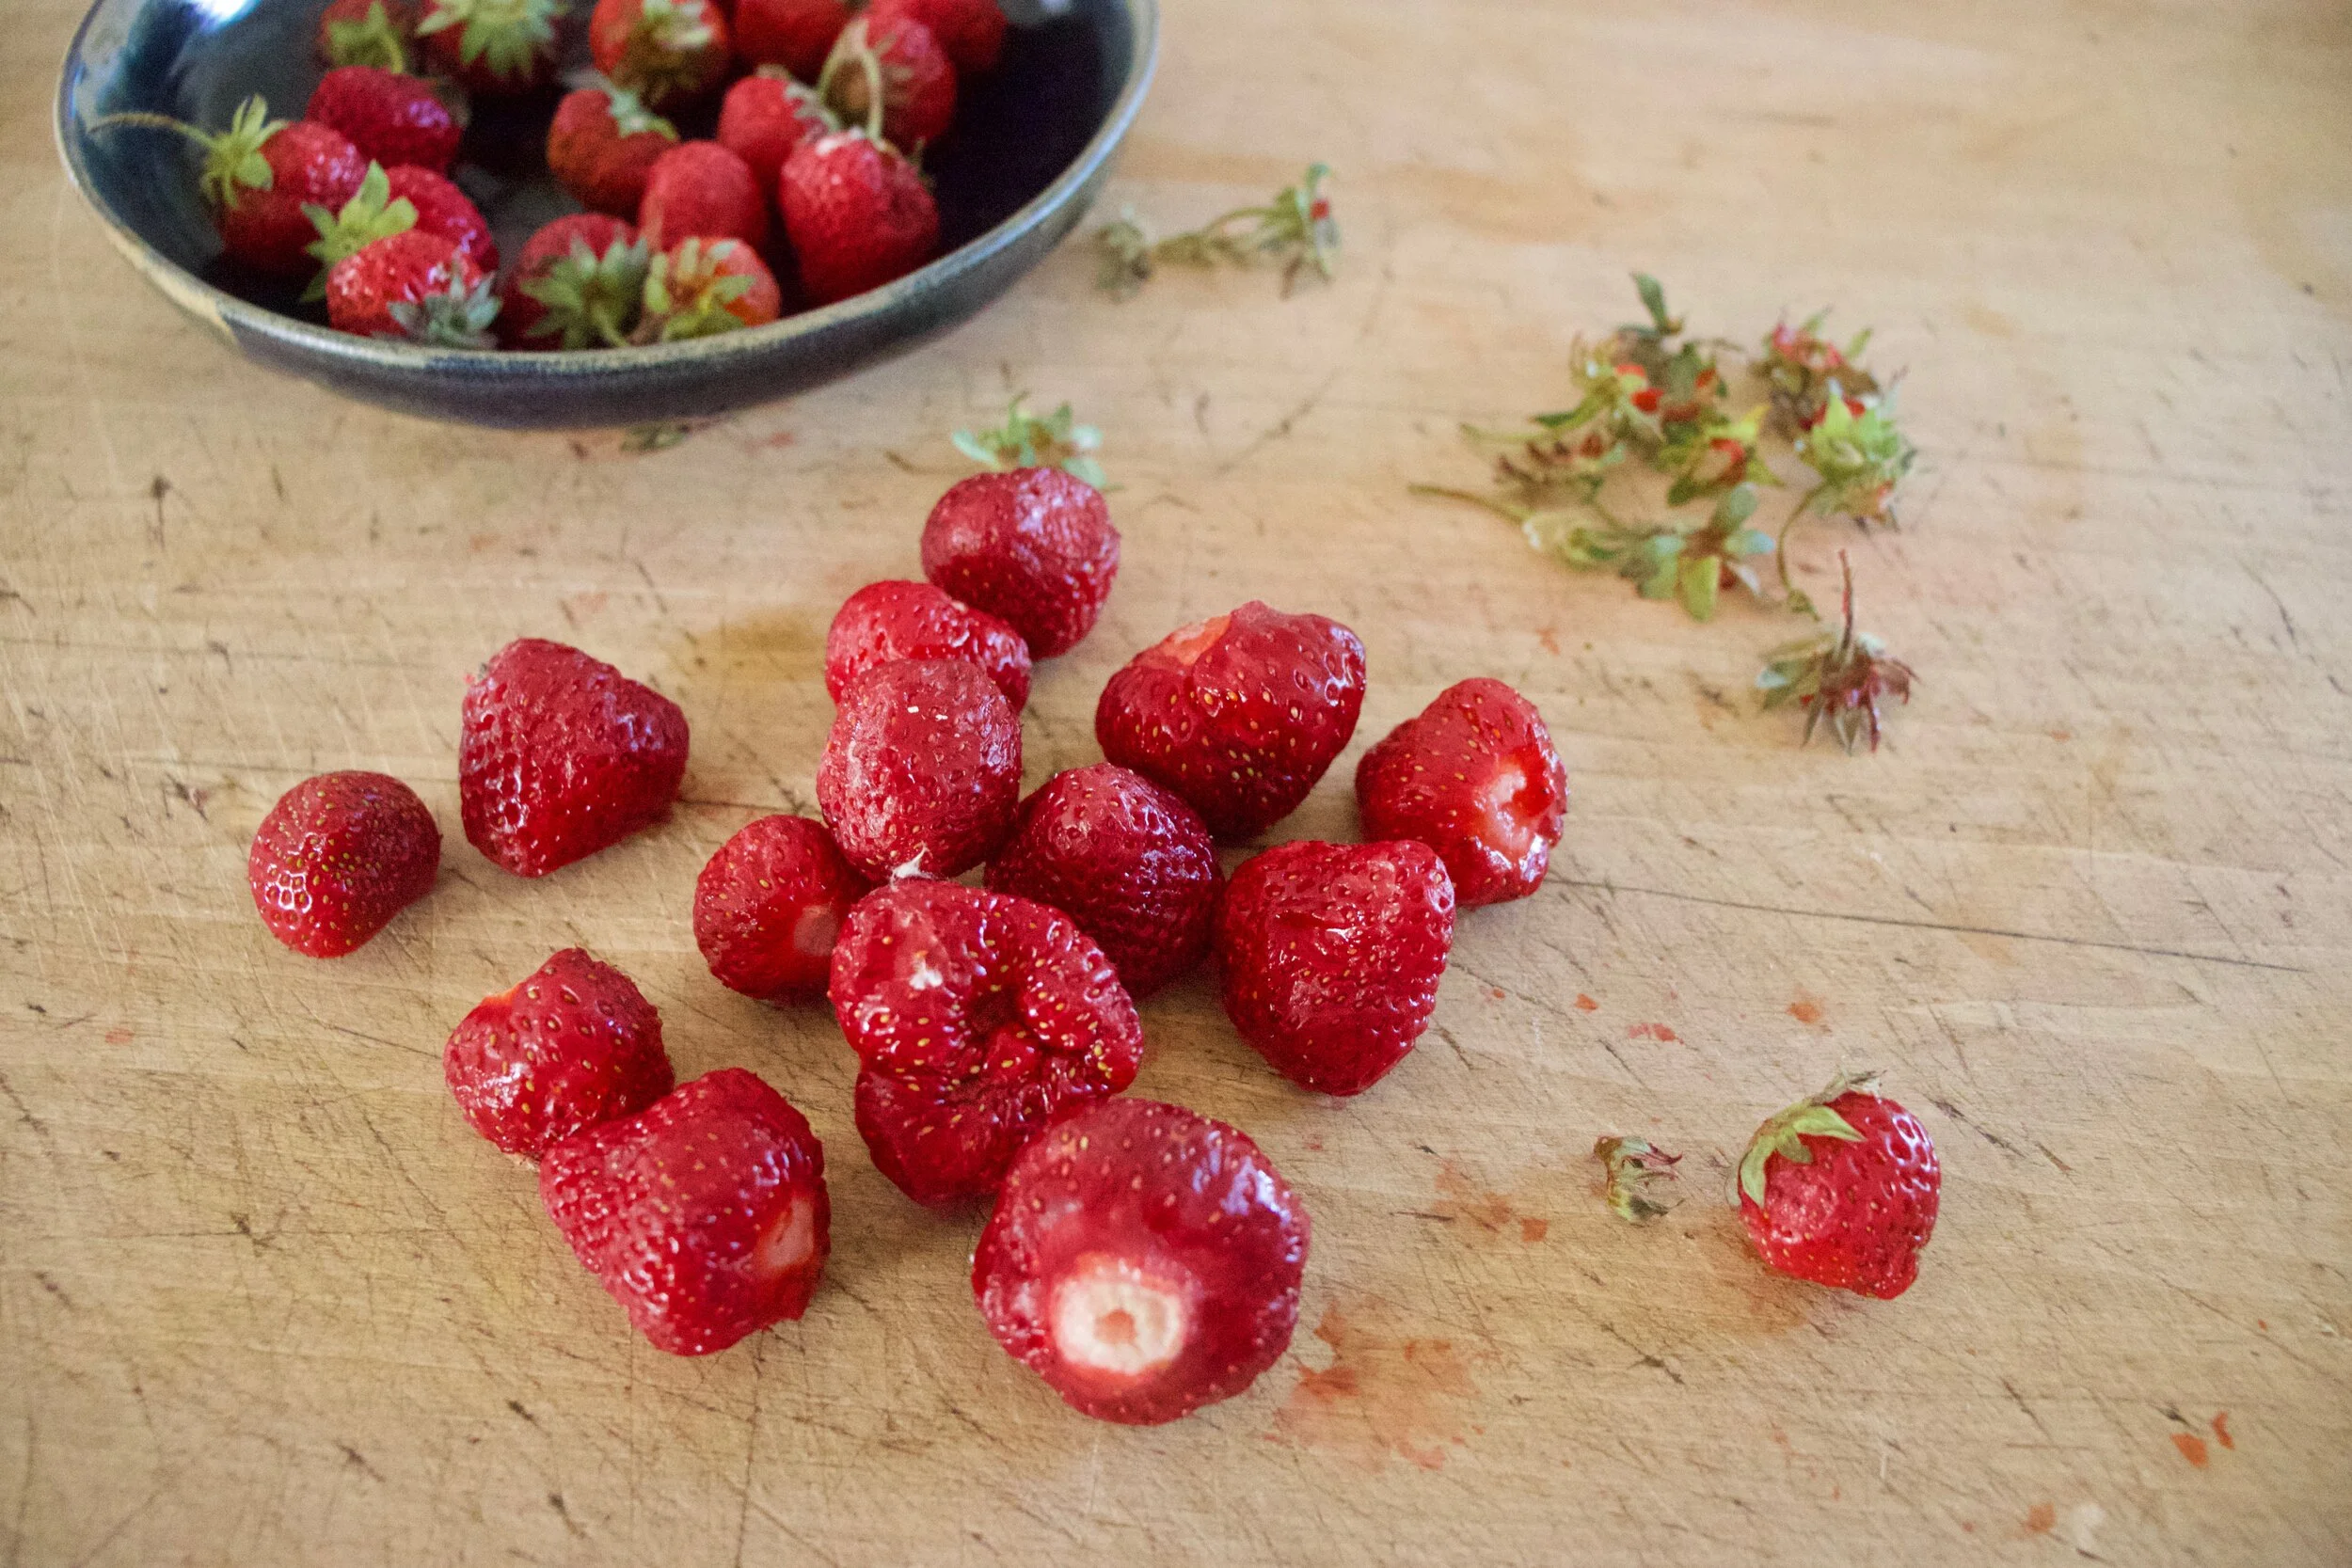
One of the most redeeming qualities of summer is the fresh, super sweet, strawberries that grow in the early part of the season. Bright red little gems that I go and hand pick from a strawberry field (early in the morning because who wants to be in a beating hot field in he middle or the day?), eating one berry for ever two I pick. Hands stained red. Belly full of berry happiness. It’s times like these that I am glad for summer.

And now that I have strawberries, I can make strawberry milk. Have you ever had it? This strawberry milk is nothing like the milk made from the nasty and crazy sweet fake pink syrup (strawberry syrup reminds me of my little brothers when they were little. They would drink cups and cup of the fake strawberry milk and I always thought that they were gross. But not just because of the milk…hehe). No this strawberry milk is oat milk with fresh strawberries and taste just like a berry explosion of goodness in your mouth. Its smooth and creamy and tastes like real strawberry, like it should.

A true summer treat. And it is so easy to make, almost as easy as squirting syrup into a cup.

Now to the strawberry oat milk!

IMG_6069.jpg

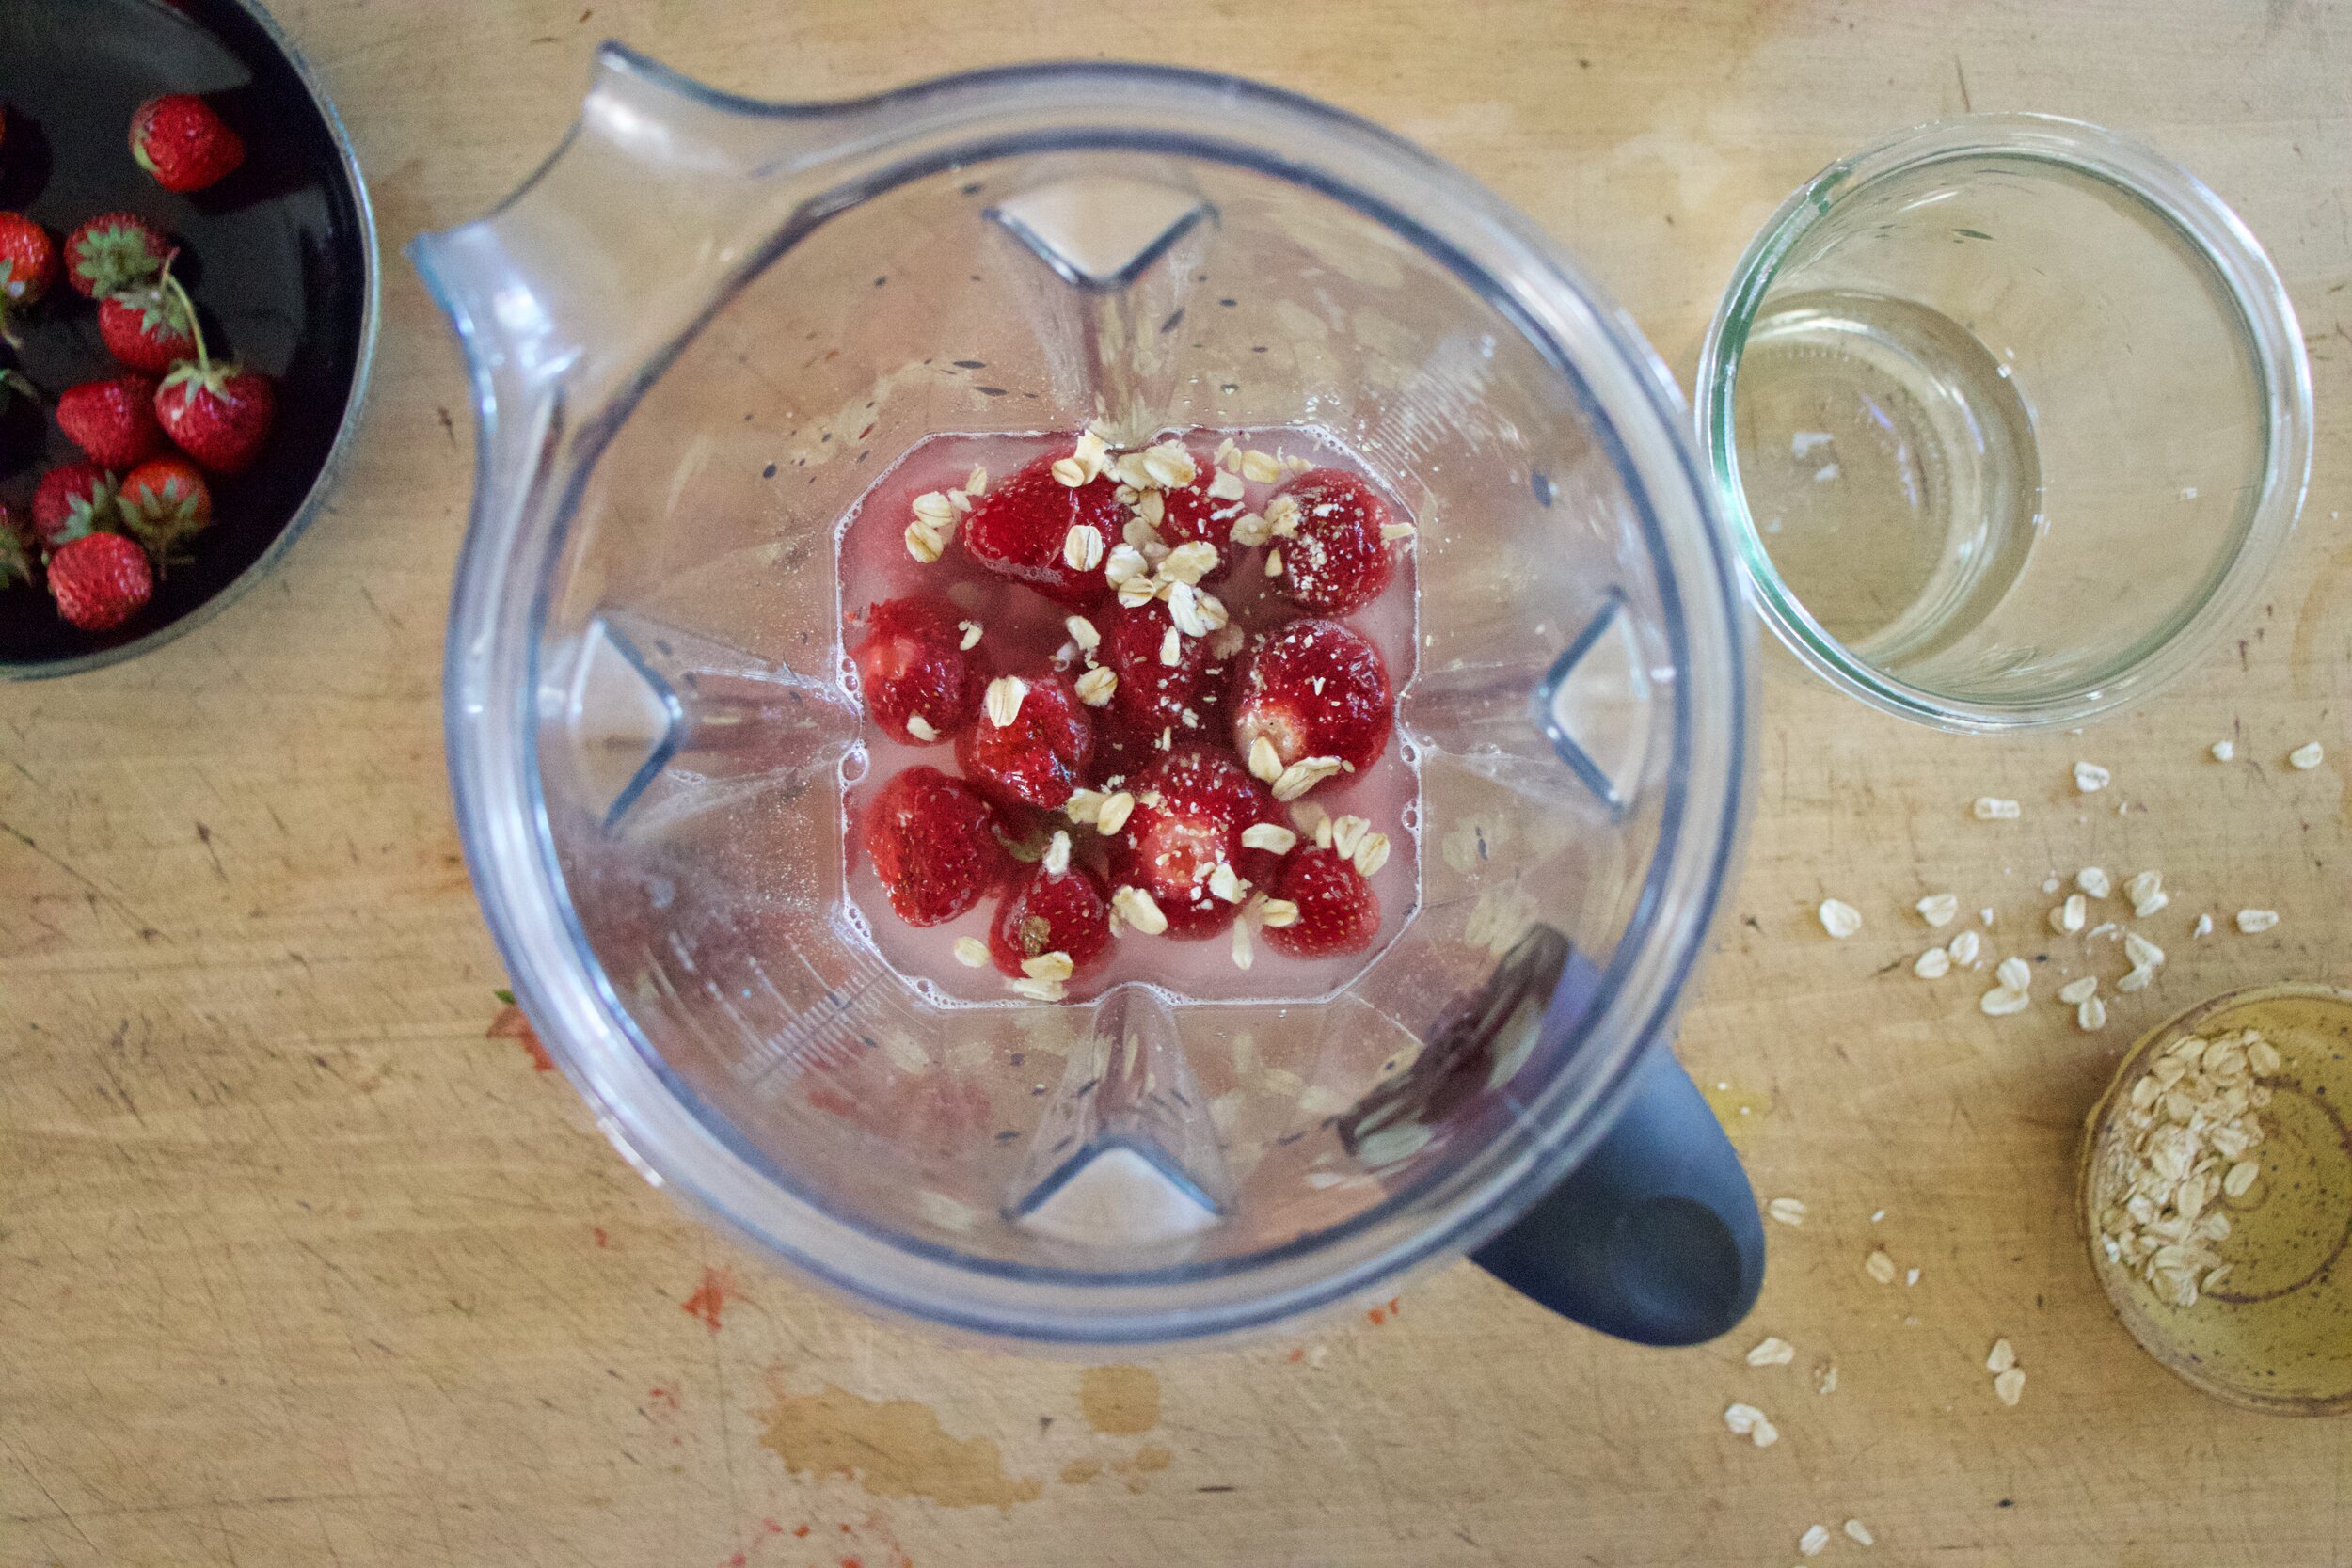
The struff. Strawberries, oats, and water.

IMG_6078.jpg

Only thing you really need to do is remove the greens from the berries.

IMG_6083.jpg
IMG_6094.jpg

Then pop them into a blender with water and oats and blend until smooth and creamy. That is it. Now you have strawberry oat milk.

IMG_6130.jpg

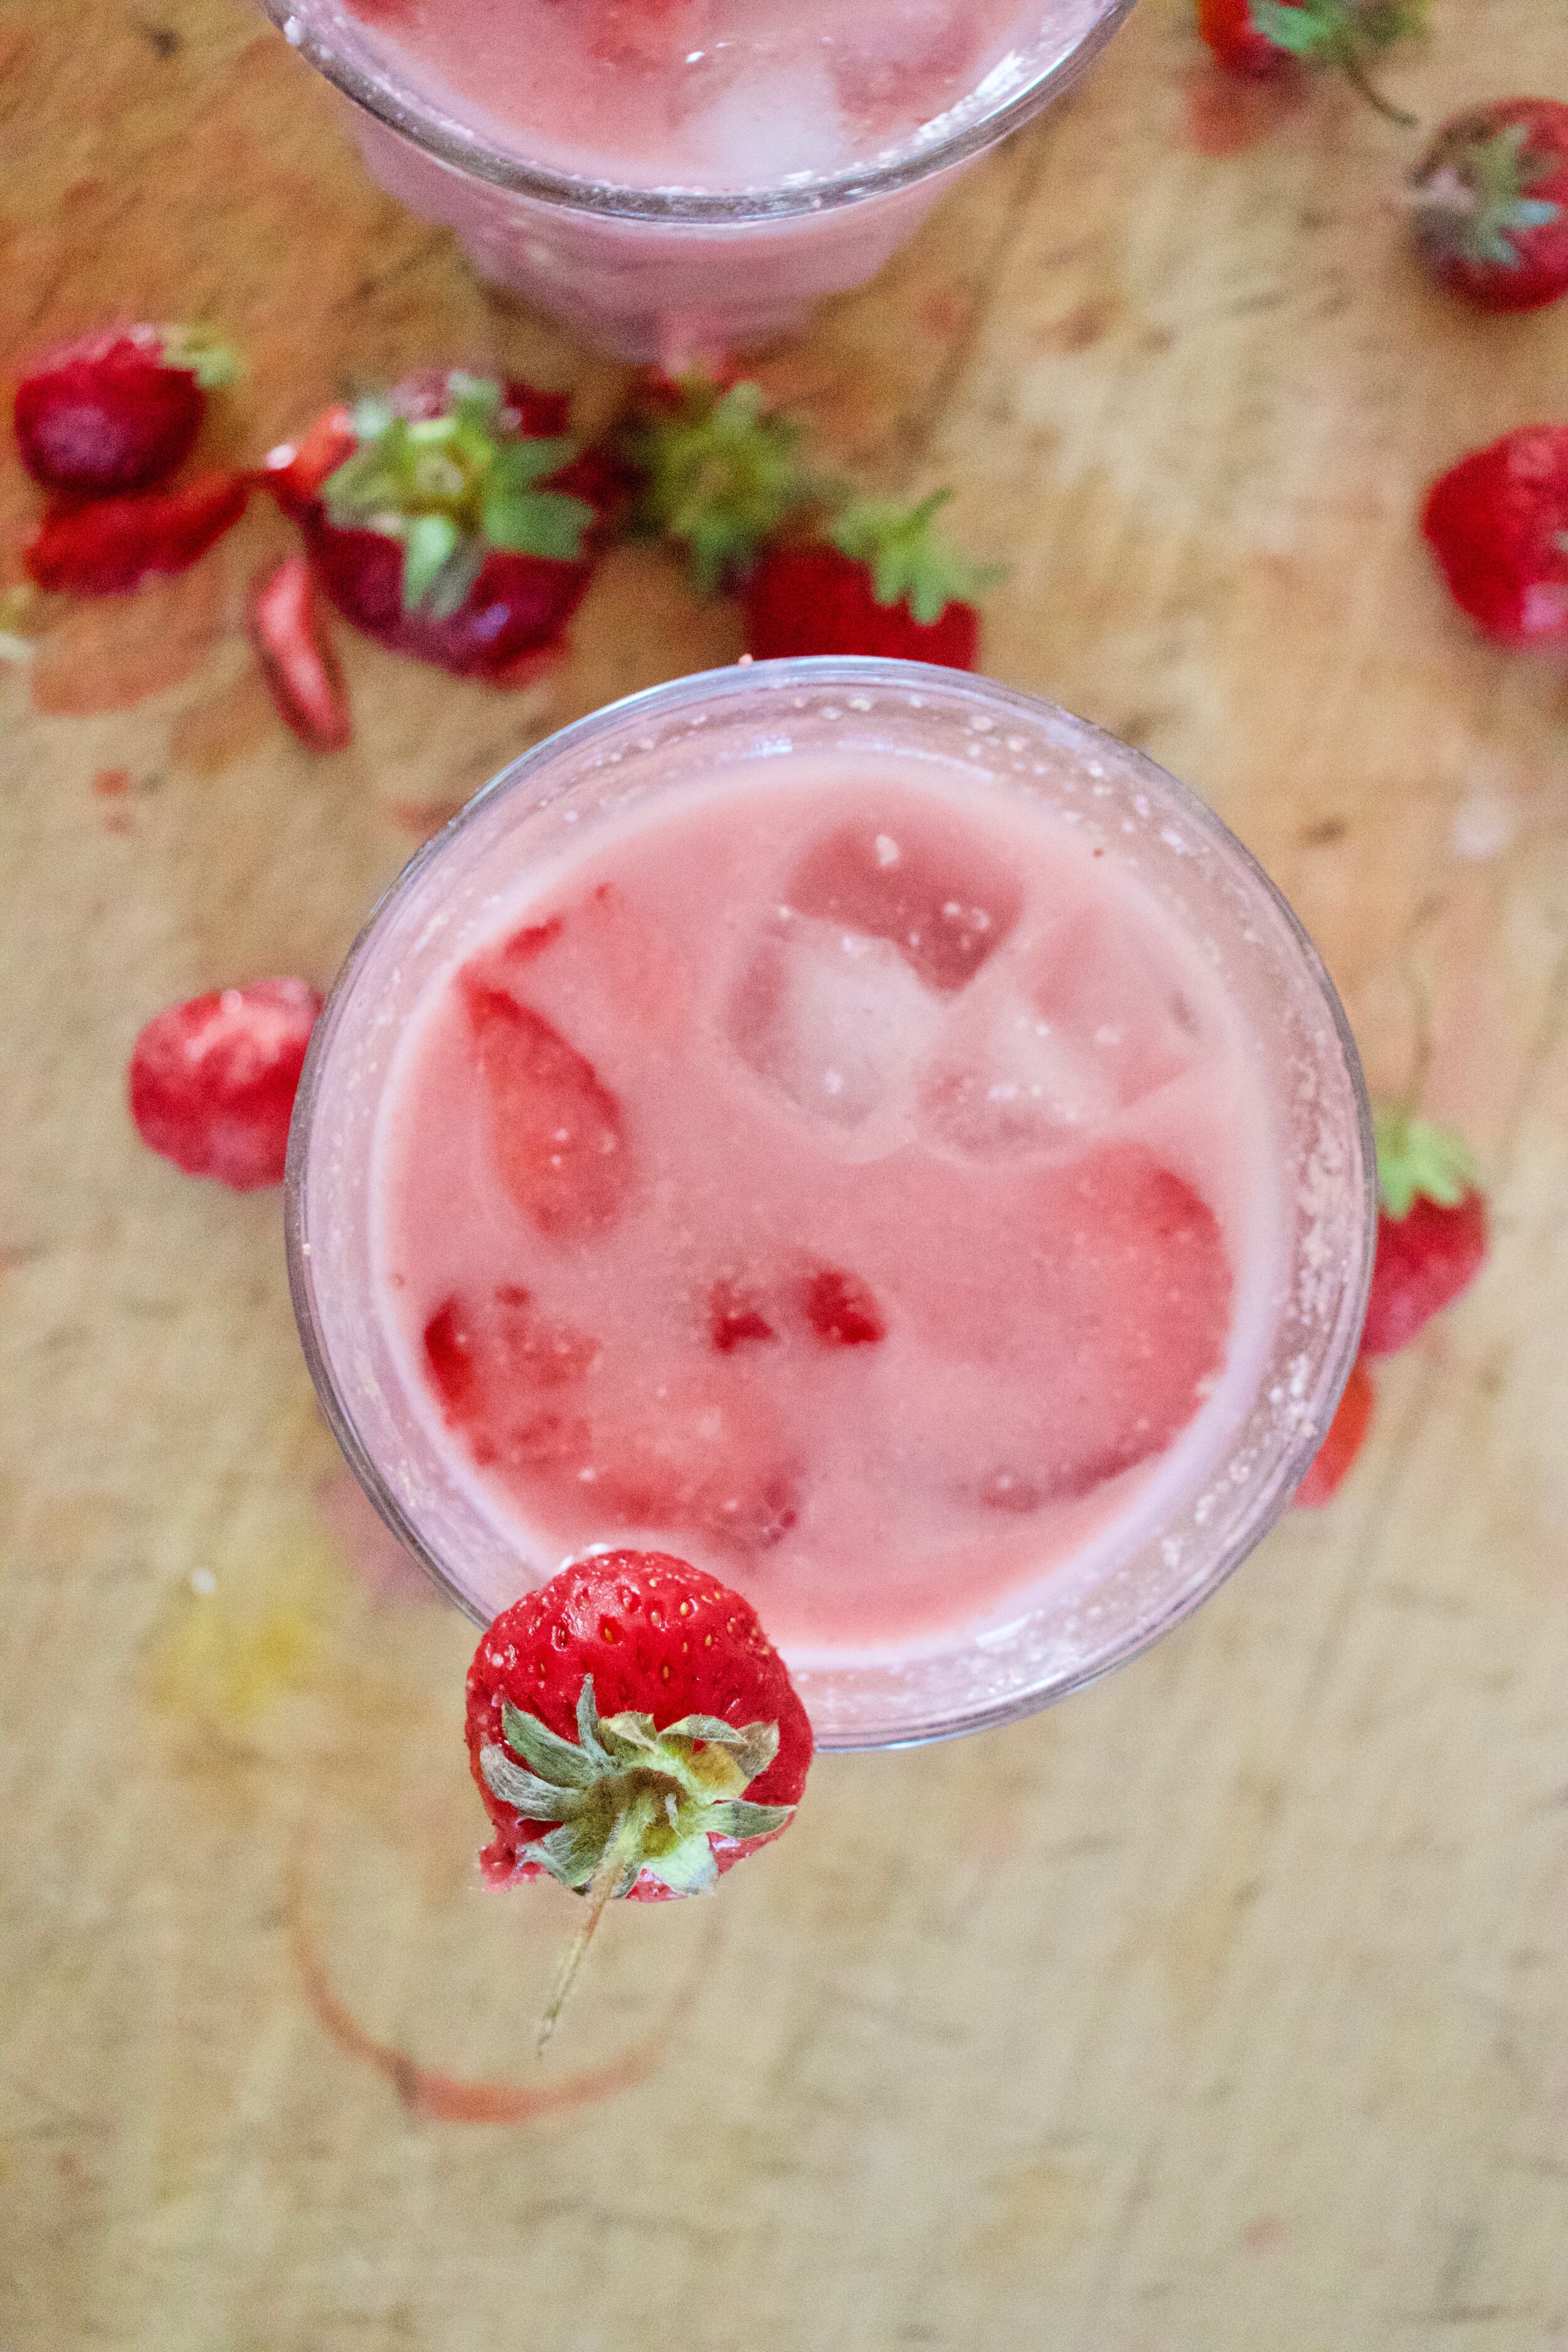
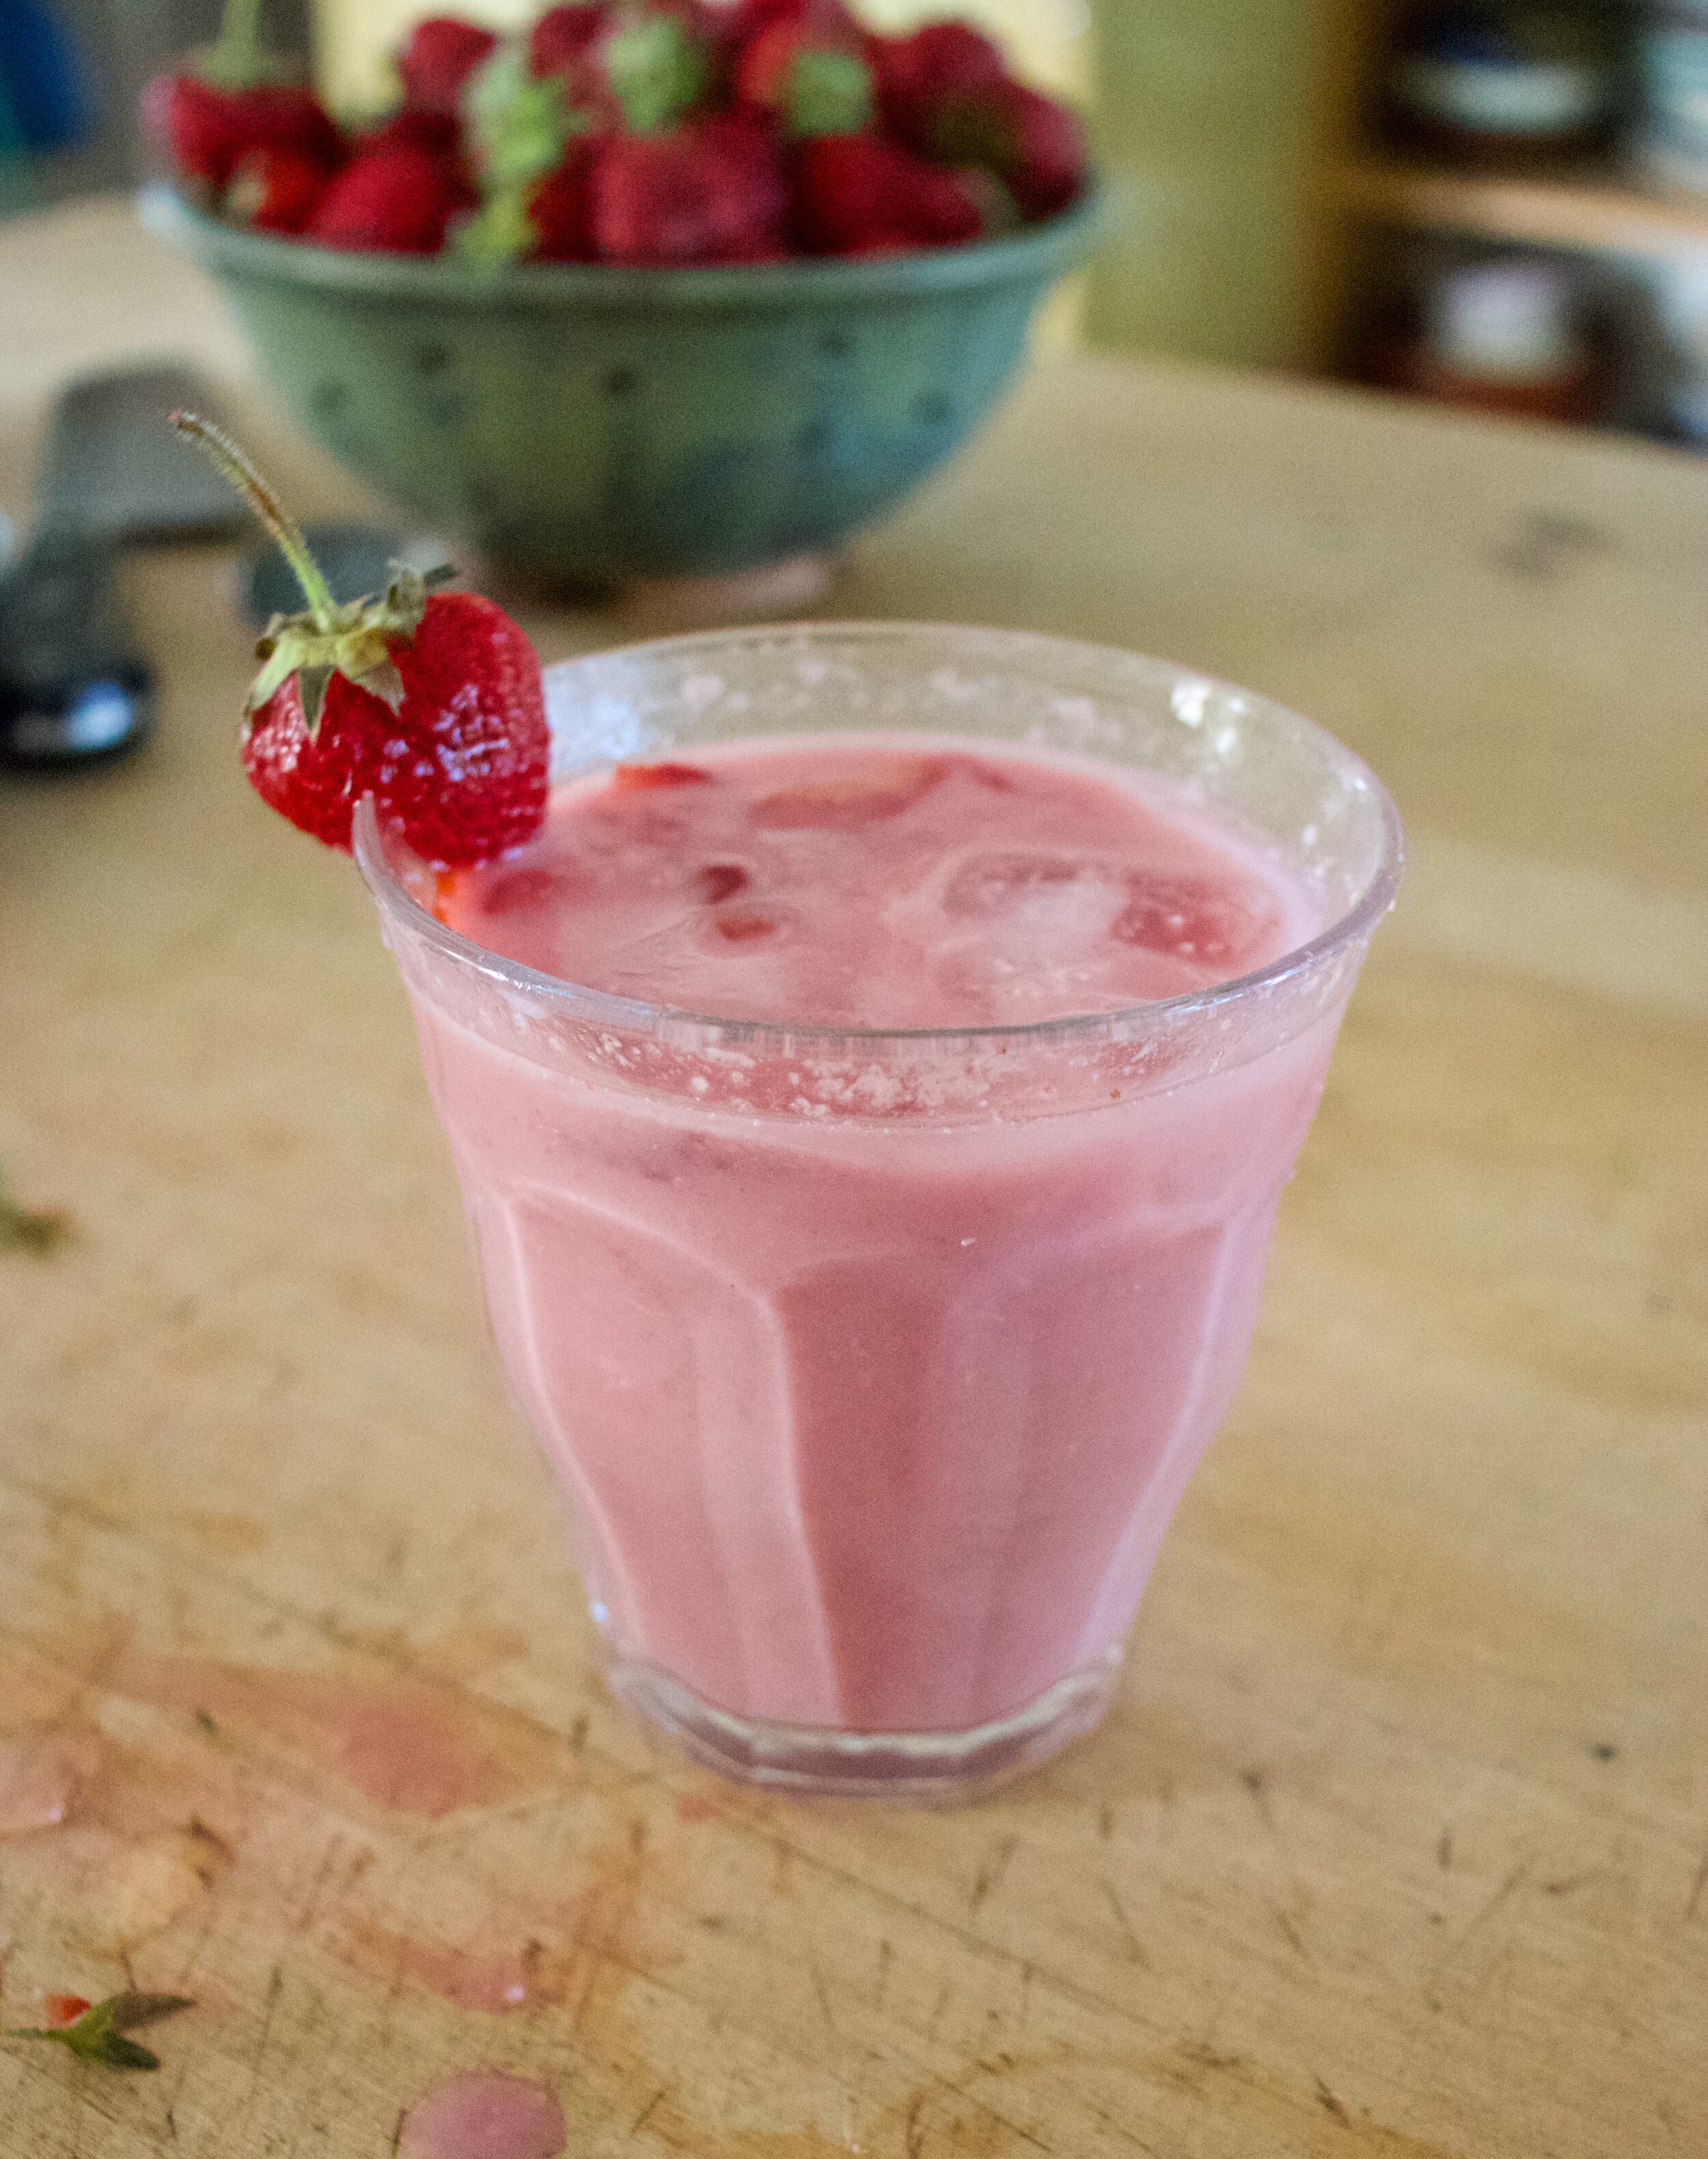
Pour into glasses, garnish with a few berries (or a bowl to snack from) and that is that.

Summer milk.

-C


Strawberry Oat Milk

  • 3/4 cup old fashion oats

  • 2 1/2 cups cold water

  • 1 cup fresh strawberries

  • 1 tablespoon sweetener or a couple dates (optional to add sweetness)

Note. For a thicker and creamer milk just add another 1/4 of oats.

Remove greens from strawberries and toss them into a blender with the oats and water and any sweetener (if using). Blend until smooth.

Optional. Pour through a strainer or nut milk bag to remove any grittiness. I do not do this.

Pour into glasses and enjoy.. I like to add an ice cube or a cut up frozen strawberry into the milk to make it really cold.

Milk can be stored in a jar in fridge for 2-3 days.
In drinks, fruit, Vegan Tags Strawberry Oat Milk, oat milk, homemade, fresh, summer, fruit, drink, vegan, gluten free, dairy free, easy, milk, oats, plant based, healthy
Comment

Chocolate Covered Peanut Butter Date Balls

June 12, 2021 Colleen Stem
IMG_5841.jpg

This is me here trying to be nice and make a sweet little treat for the mr. And to prove to him (without him knowing) that he really does like dates because really, every one does they just might not know it.

Why do I care if he likes dates or not? Well I don’t think I really care but the past few weeks I have been making batches of trail mix with all sorts of goodies (dried fruits and nuts ) and have been chopping up dates and throwing them in as well. He’s been picking around the dates because he thinks they are gross. And that is just not true. He just doesn’t understand. So I made him understand. And understand he did when I made a batch and he ate them al within a day. Don’t like dates my ass.

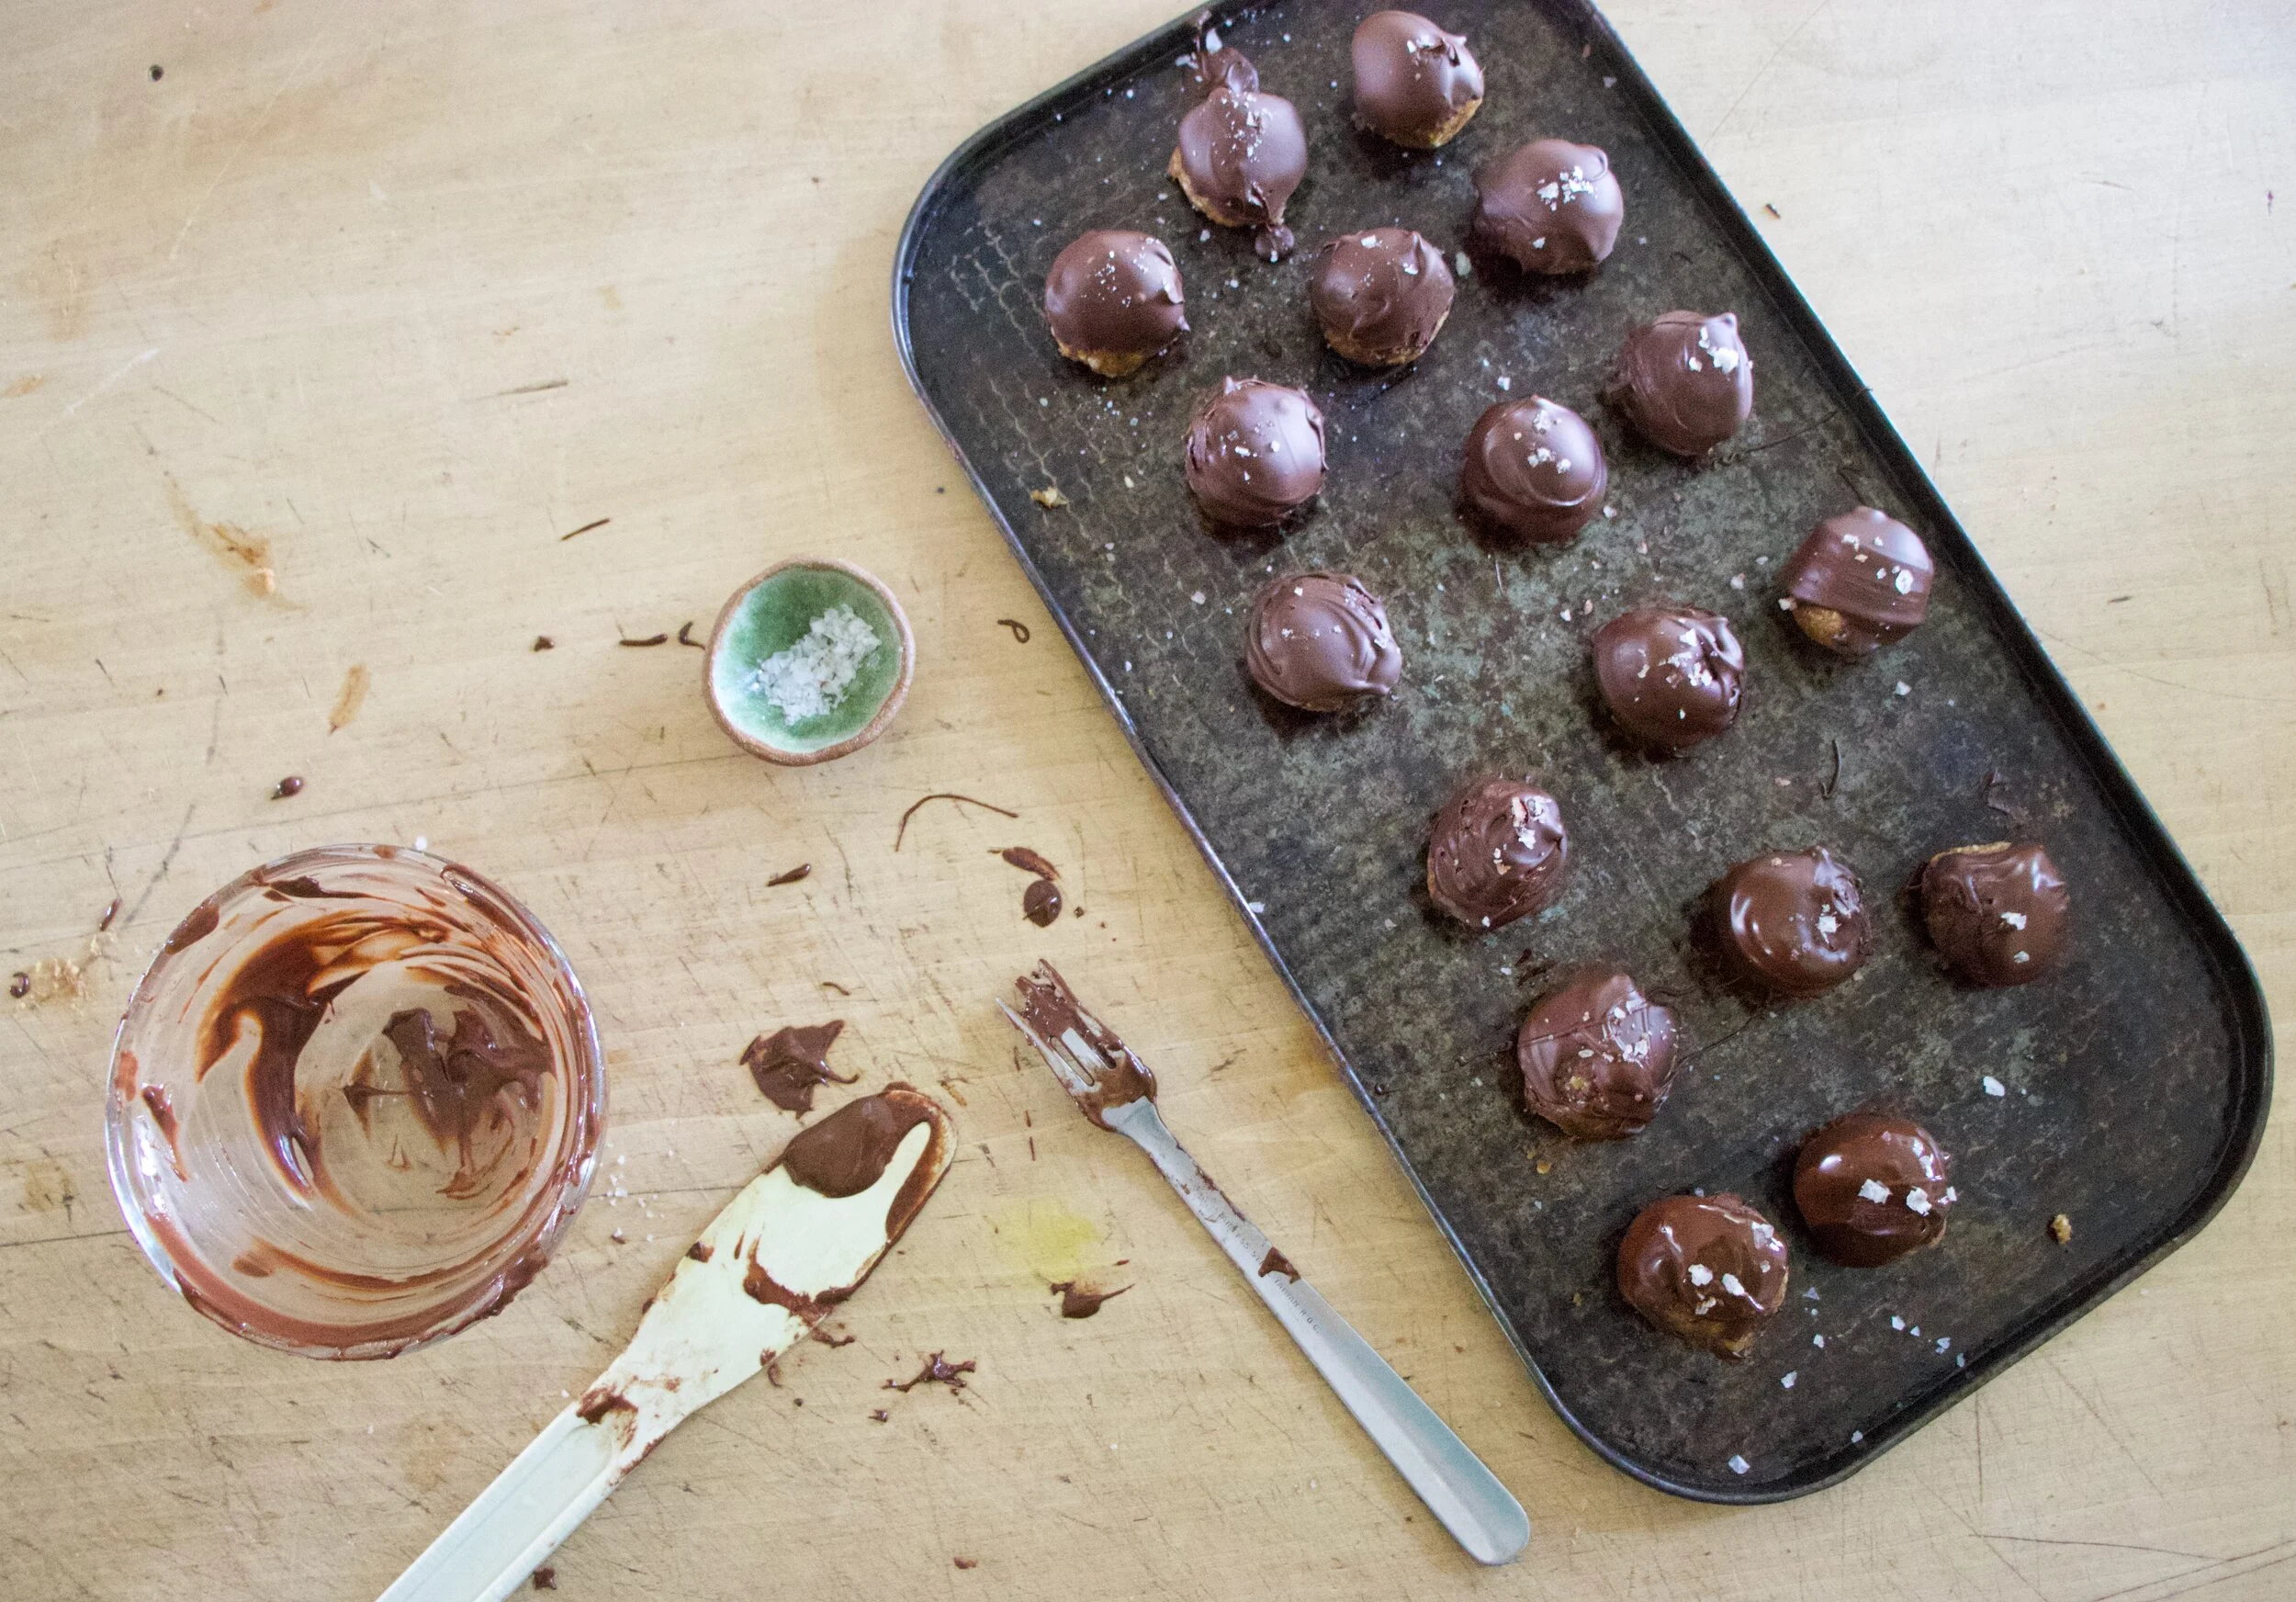
These little chocolate covered peanut butter balls are freaking awesome. I would describe them as tasting like a soft, chewy, more nutty peanut butter cup and who doesn't want that? Plus they take little to no hands on time, require no oven, and all you need are just a a few ingredients. Win win win!

Are these little sweet peanut butter date balls made of love? Of course. Are they vindictive? Maybe a little but I don’t really care because they are awesome and everyone loves them. Even if they say they hate dates.

Now to the peanut butter date balls!

IMG_5696.jpg

The stuff. Pitted delget dates, oats, peanut butter, chocolate chips, a little coconut oil, and flaky salt.

IMG_5698.jpg

Soak the dates in hot water for a few minutes to make sure they are really soft.

IMG_5707.jpg
IMG_5724 2.jpg

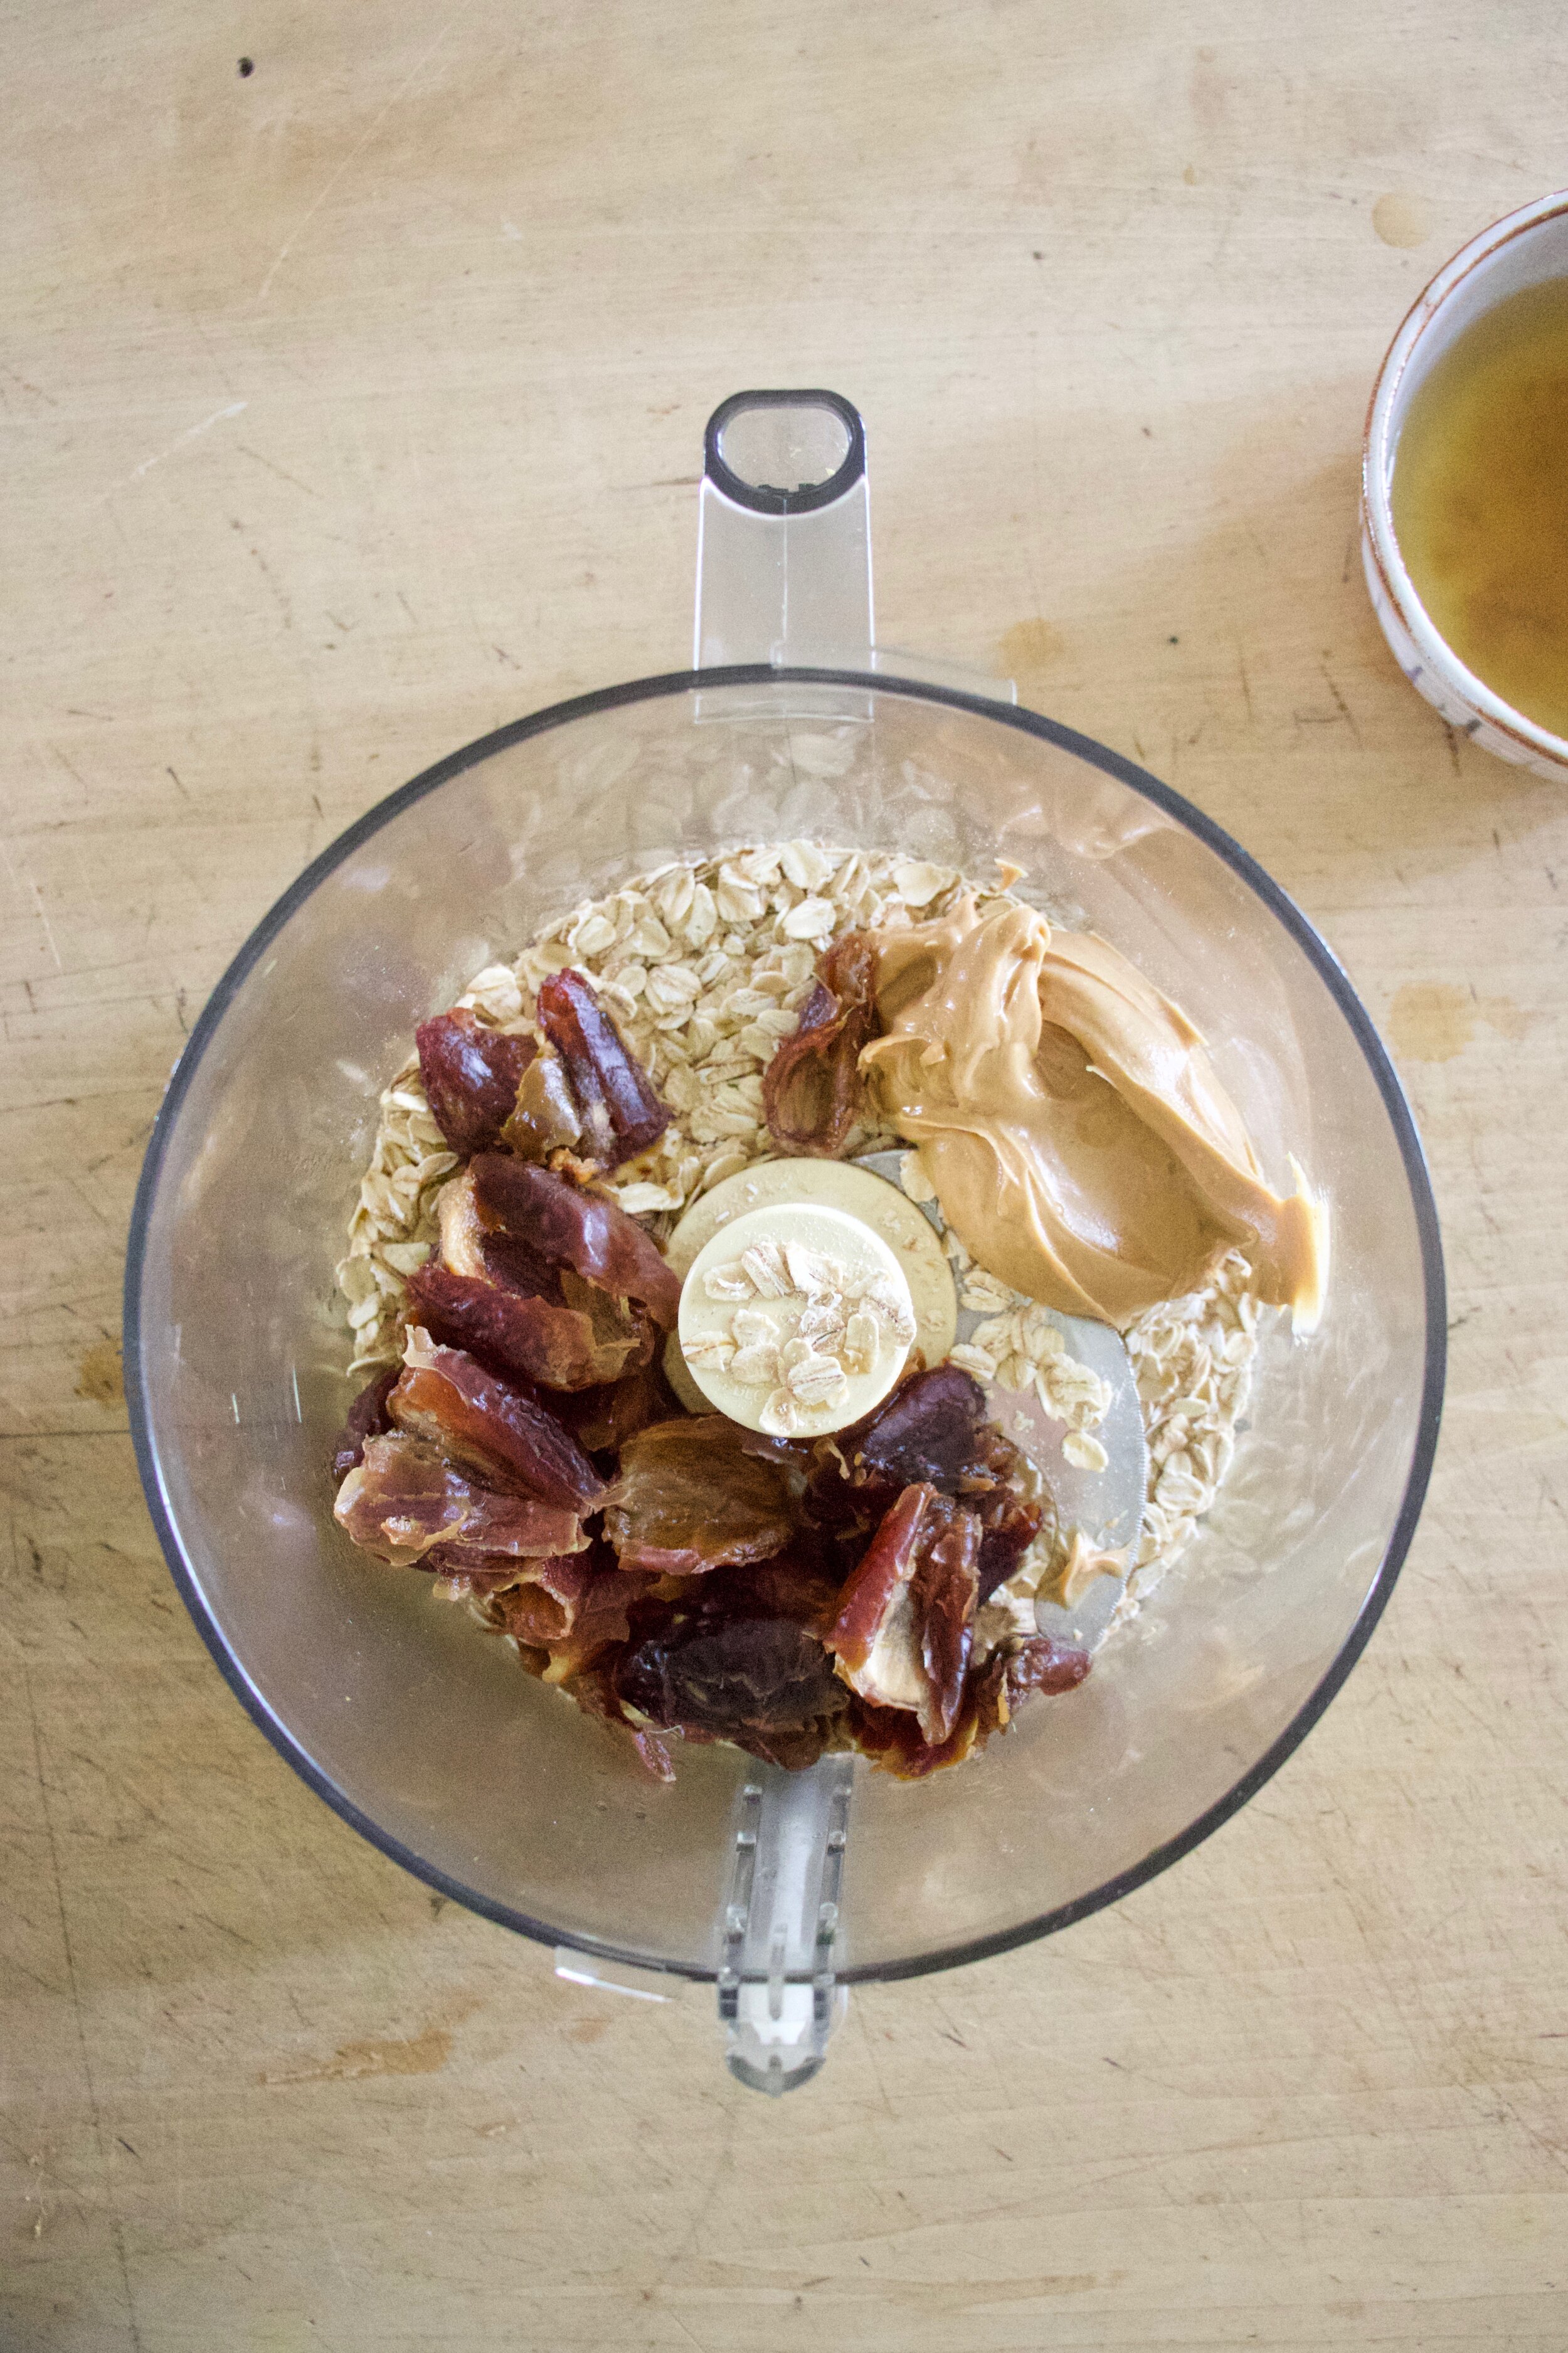
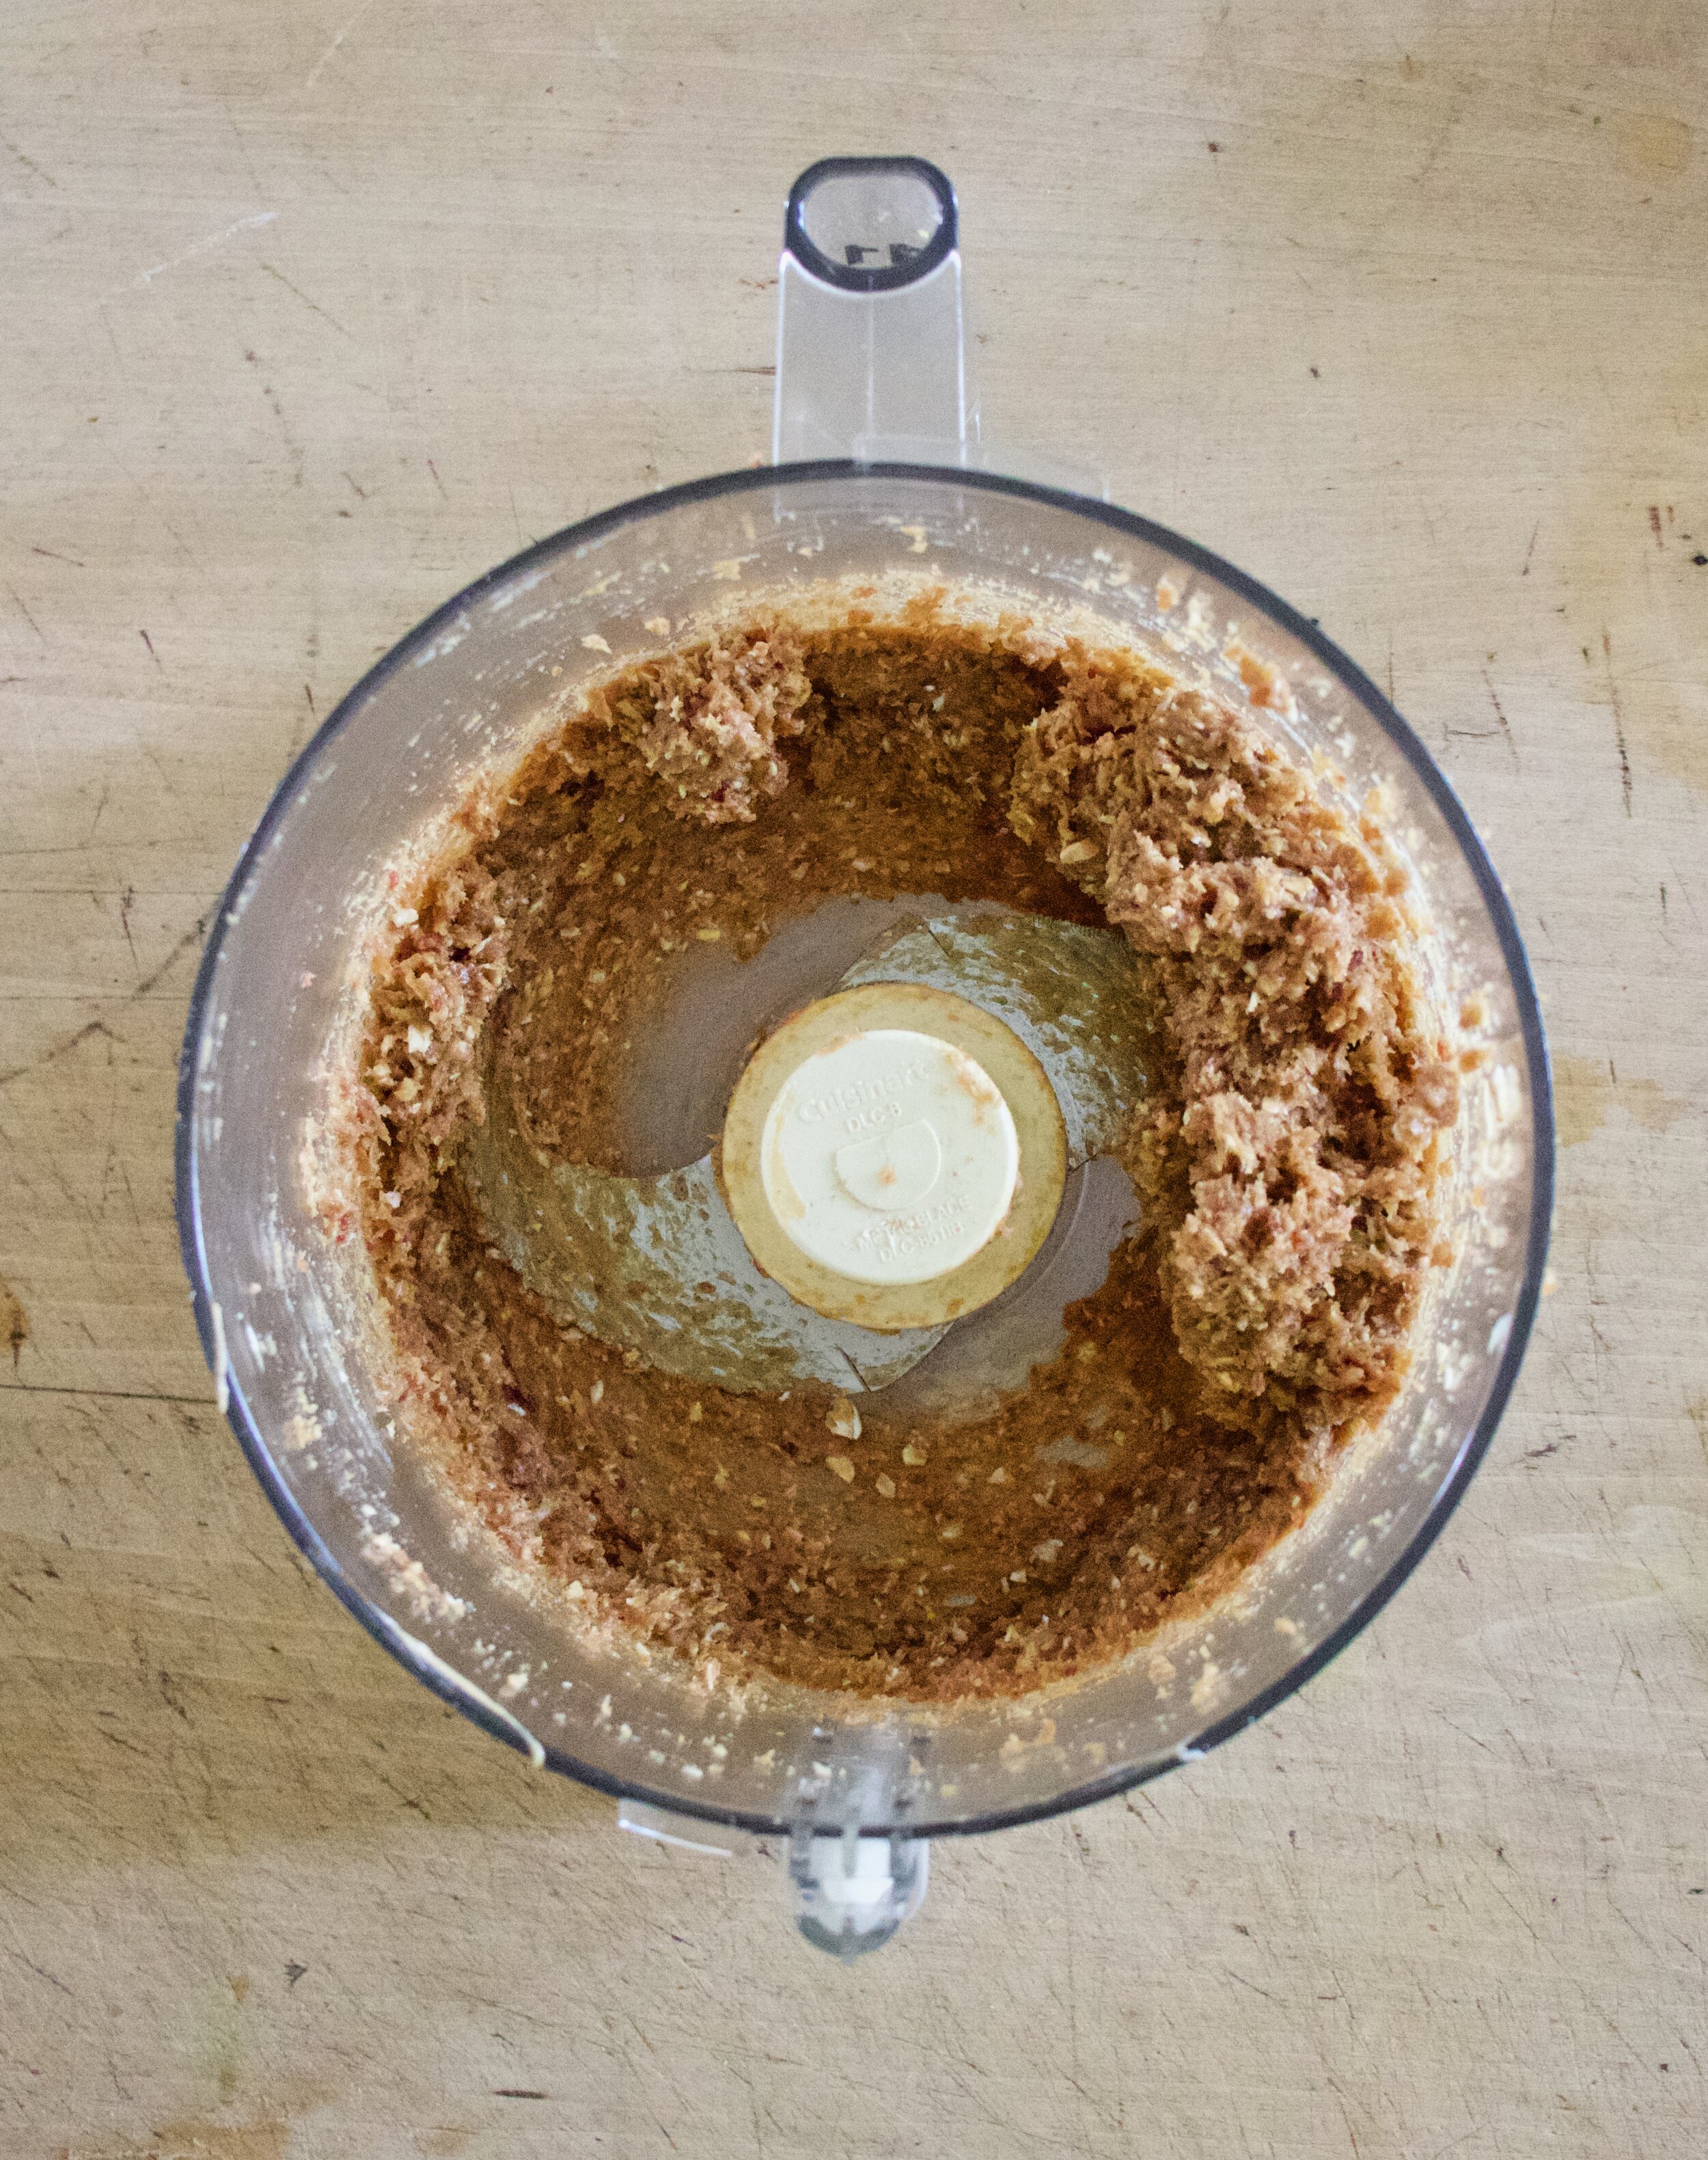
Then you place dates, peanut butter, and oats into a food processor and blend unit la smooth stick dough forms.

IMG_5726.jpg

Scoop and roll dough into balls and place into freezer for 1/2 hour or so to firm up.

IMG_5738.jpg
IMG_5744 2.jpg

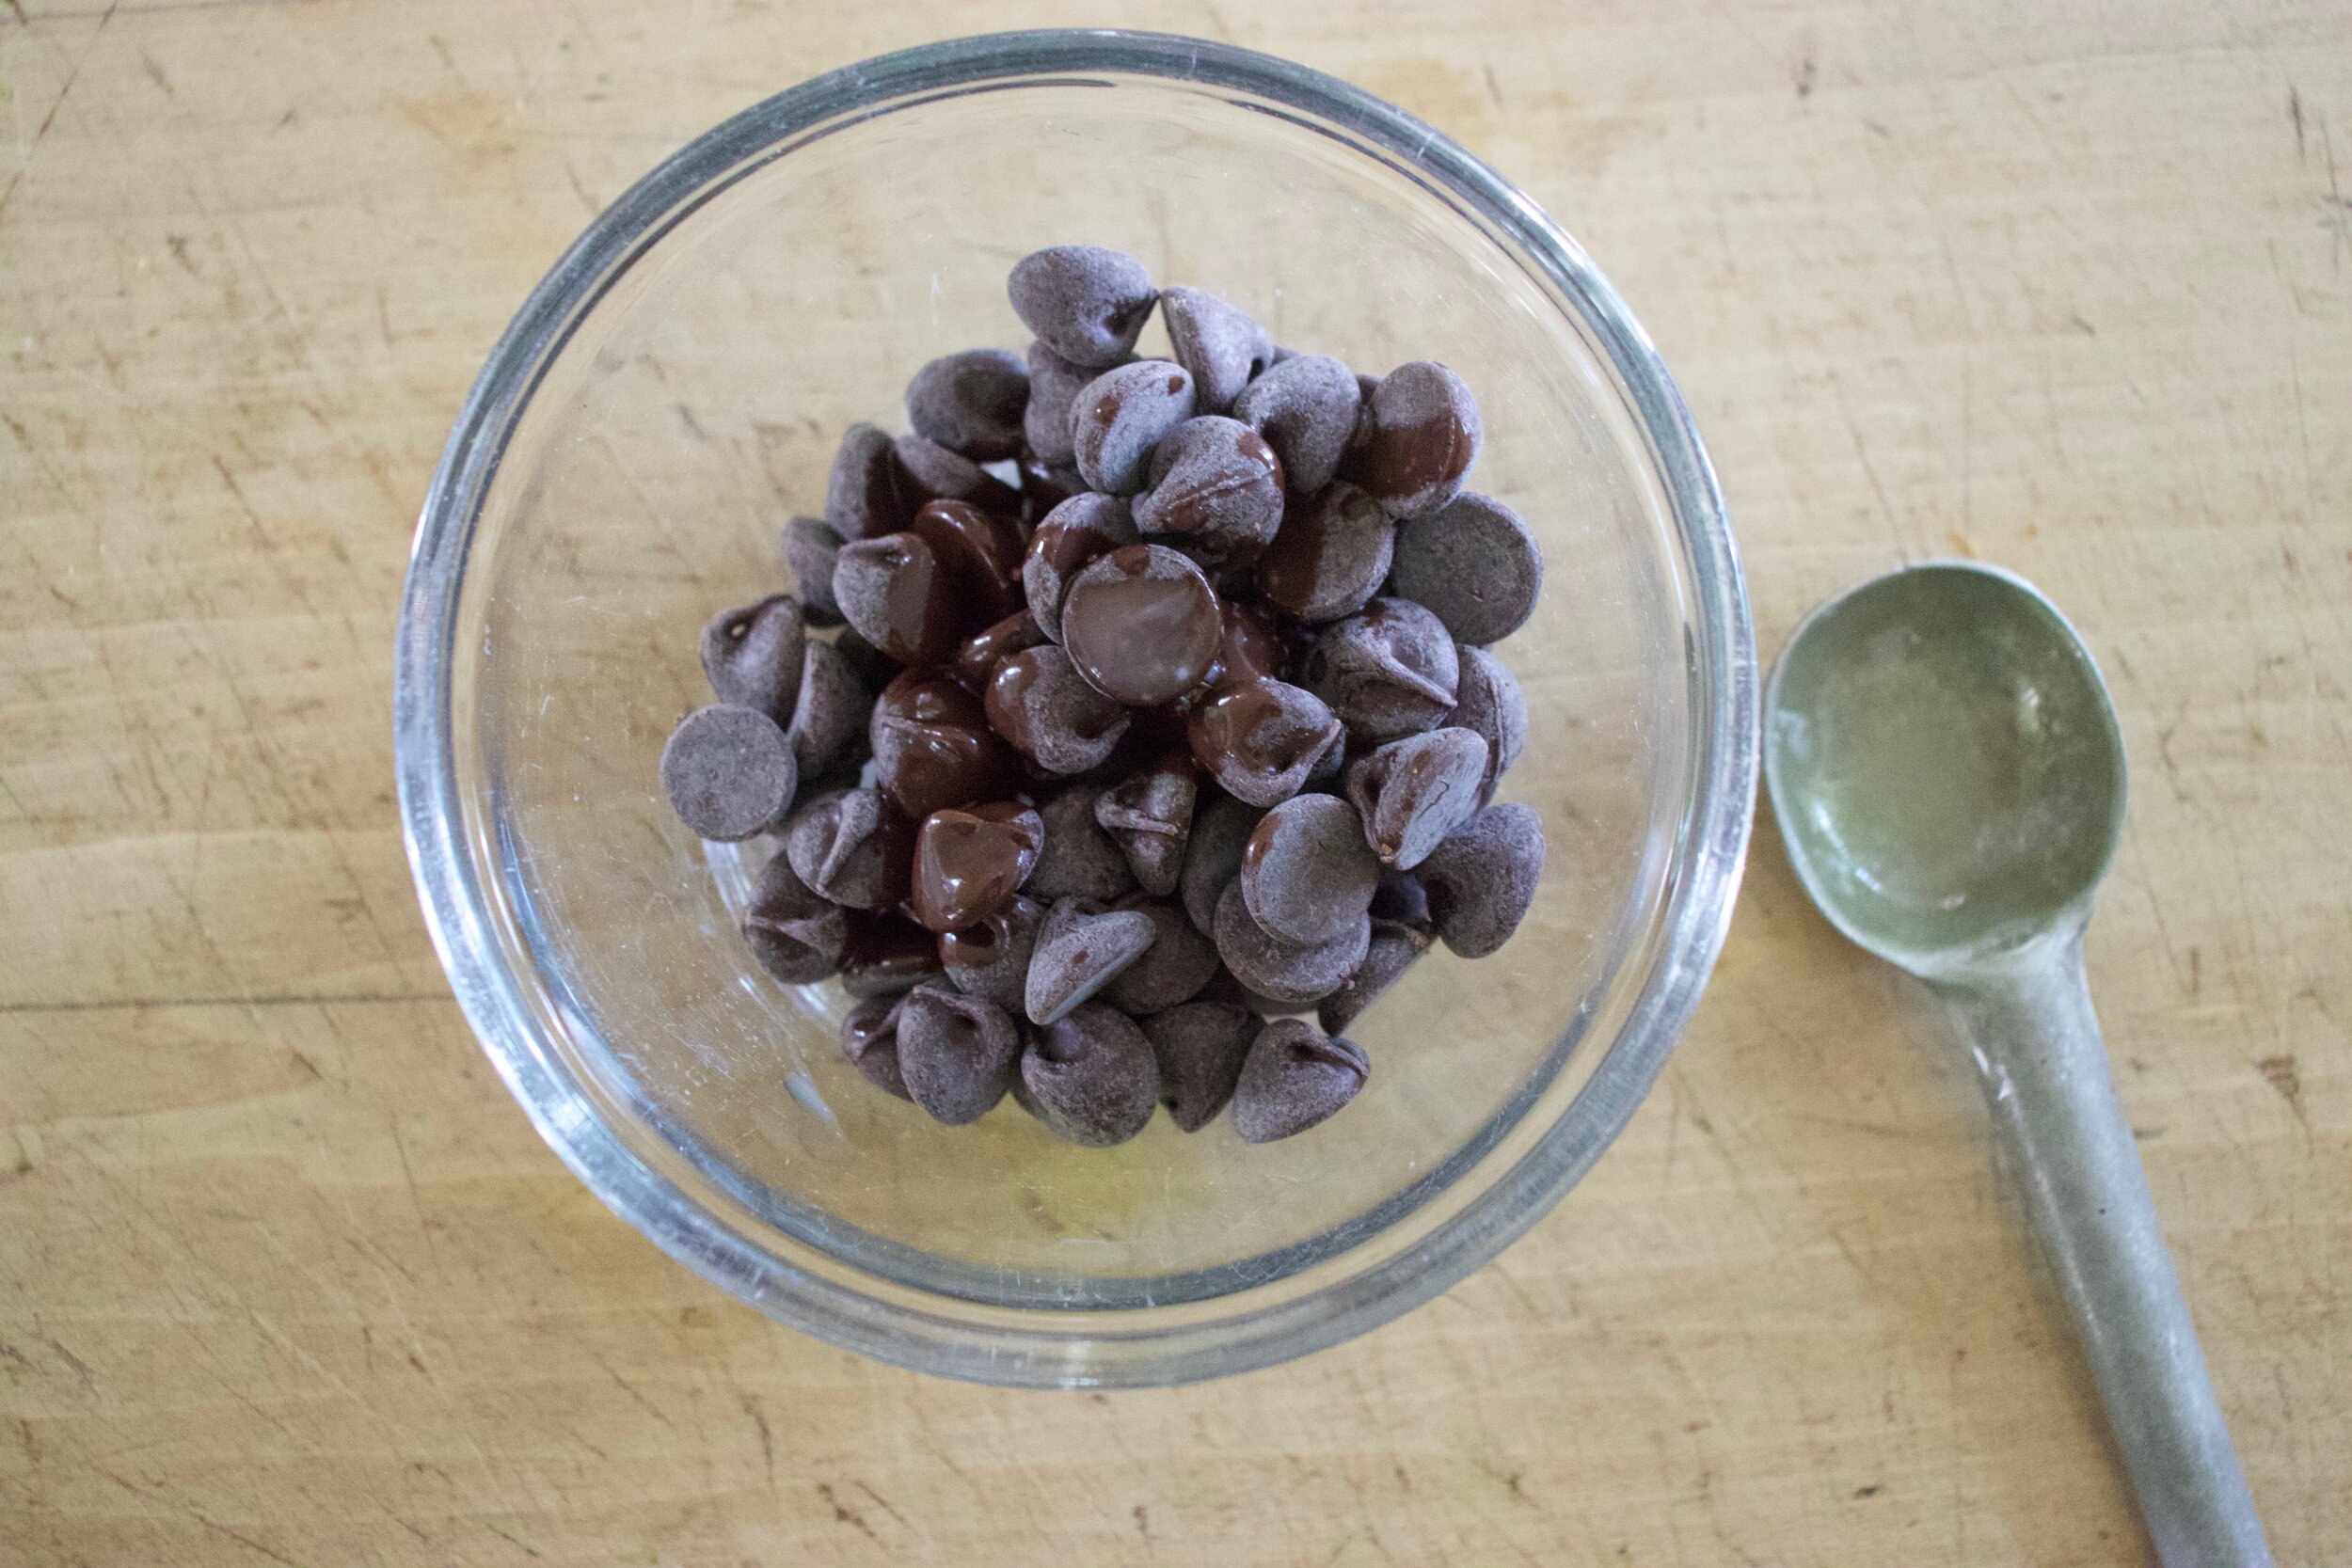
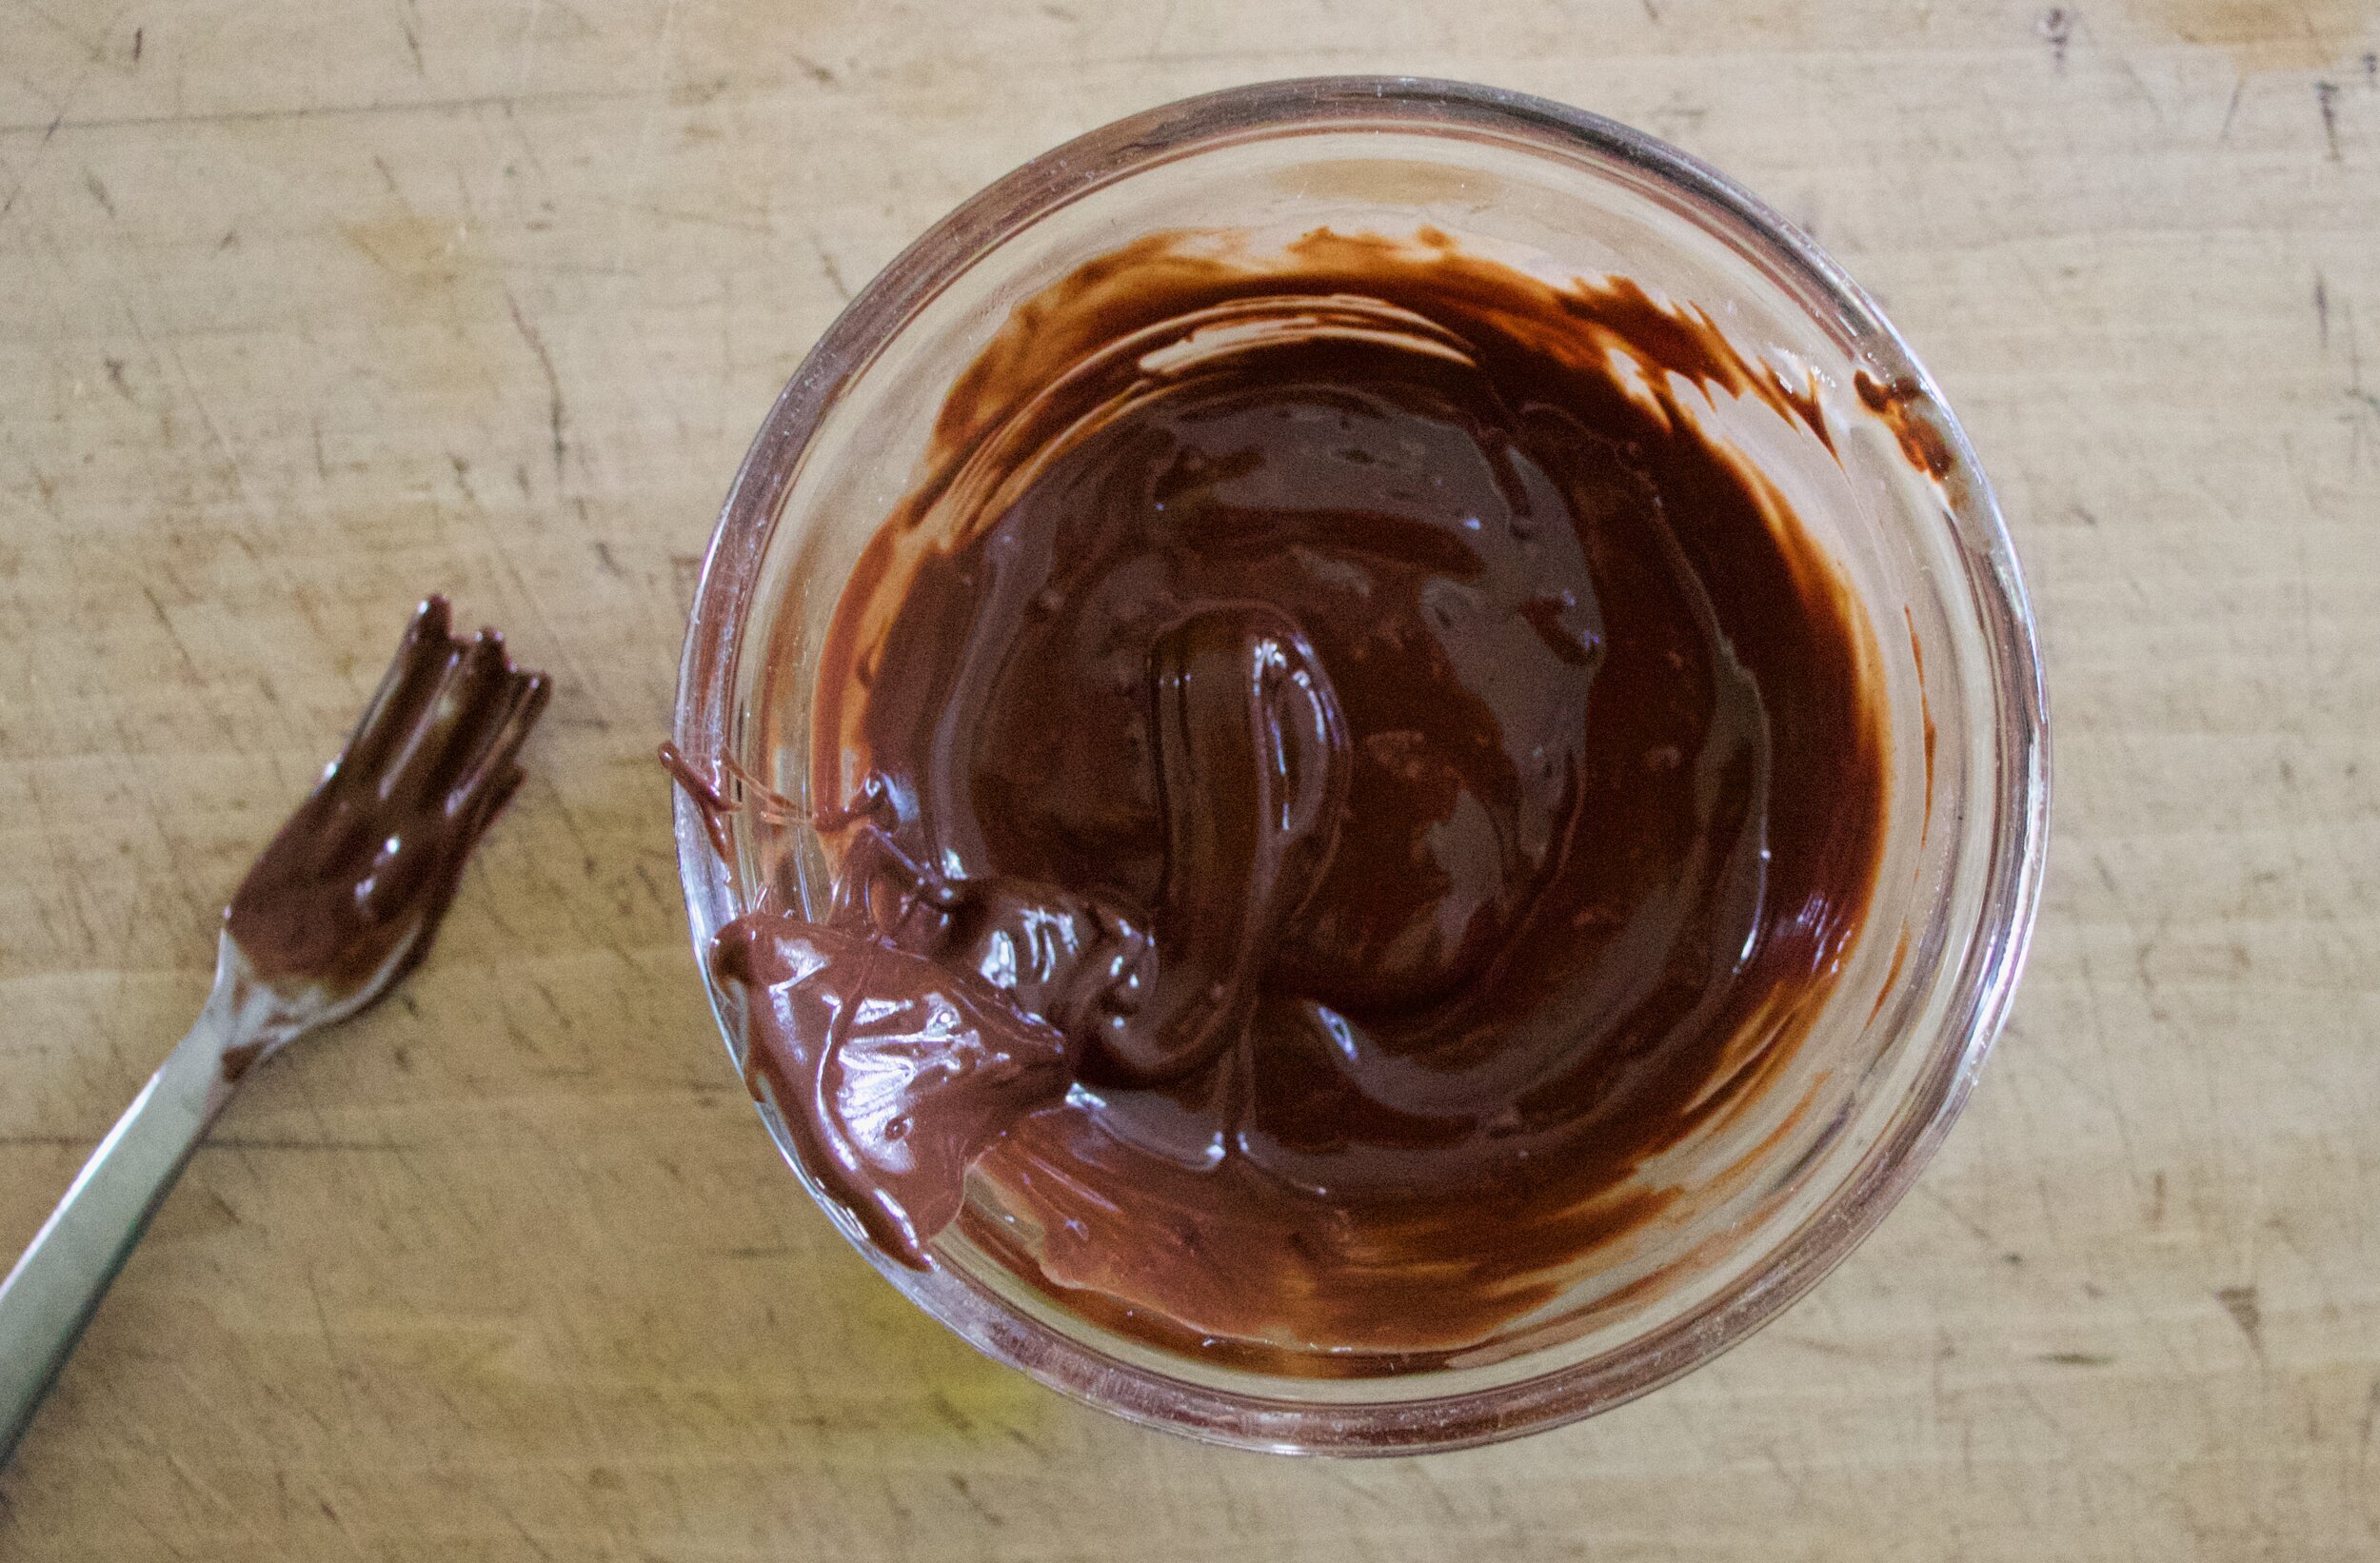
And melt the chocolate with the coconut oil until smooth.

IMG_5751.jpg

Once chocolate is melted, remove balls from freezer and start dipping them into chocolate. After a few are covered, sprinkle the tops with a few flakes of salt before he chocolate hardens.

IMG_5827.jpg

And that is it. Place balls in a airtight container and keep in freezer. Eat whenever. And you will eat them fast because, BECAUSE! dates are delicious.

-C


Chocolate Covered Peanut Butter Date Balls

makes 12-16 balls

  • 20 pitted delget dates ( You can use medjool but they are twice as expensive and sweeter., and bigger so only use 12 or so)

  • 1/2 cup old fashion oats

  • 1/3 cup peanut butter

  • 1/3 cup chocolate chips

  • 1 teaspoon coconut oil

  • flaky sea salt

Start by soaking dates in hot water for 5-10 minutes until they soften a bit. Drain water and place the dates, oats, and peanut butter into a food processor. Pulse then blend until a everything is all blended smooth and a sticky dough forms. You are going to have to stop a few times to scrap the sides down. Once dough forms, take a spoon or scooper and scoop out the dough into 12 equal sized balls. With take each ball and roll around to make smooth and place on a plate or a baking sheet. Once all balls are scooped and rolled, place in freezer for 1/2 hour to firm up.

Right before taking the balls out, add coconut oil to chocolate chips and melt either in microwave (15 second intervals until melted) or on stove. Grab frozen balls (they don’t get hard, just firm), and start dipping them into the chocolate. After doing 2-3 three, sprinkle the tops with a couple flakes of sea salt.

Once all balls are covered( eat one) place in the freezer in air tight container until you want to eat them.

They should be good for a least a month in the freezer but I wouldn't know for sure seeing as these were gone the day after I made them. Both times.

In Vegan, snack, Raw, quick and easy, fruit, Dairy Free, Gluten Free, cookies, candy Tags Chocolate Covered Peanut Butter Date Balls, dates, vegan, gluten free, simple, no bake, frezzer, freezer, balls, oats, plant based, snack, energy, raw
1 Comment
Older Posts →
 

https://thelovelycrazy.squarespace.com/config#/|/about/

Me. Food Maker.Food eater. Woo HOO!

STEM+NODE  SMALL BATCH AND ONE OF A KIND POTTERY

stem+node ceramics


____________________

Subscribe

GET NEW POSTS IN YO EMAIL

You are AWESOME!!!


@thelovelycrazy 2014-2021