• stem+node ceramics
  • HOME
  • Food Recipes
  • About
  • Contact
Menu

The Lovely Crazy

Street Address
City, State, Zip
Phone Number

Your Custom Text Here

The Lovely Crazy

  • stem+node ceramics
  • HOME
  • Food Recipes
  • About
  • Contact

Roasted Roots Snack Plate

February 5, 2022 Colleen Stem

Did I make a roasted roots charcuterie of sorts? Yeah maybe I did, but I don’t know about calling it a charcuterie. I like to think of it more as a snack plate. And I say snack plate only because I placed everything on a plater which is, in fact, a very large plate. I could have showed you how I usually eat this, directly off a baking sheet, but that wouldn’t be as fun. And a snack plate looks a heck of a lot nicer when/if you want to share. Think of it. All your people around, snacking away in some dank ass roasted veggie. (No I did not share or even intend to share any. This was my lunch thank you very much.) Well not exactly something to day dream about but your people, if choosing to share, will really enjoy themselves while eating. Plus it works for any occasion where there are like people withl food allergies and easy to make all the people with all the different diets happy. Everyone can eat it. And it is really pretty. That counts as another plus.

This snack plate. Well it is basic. Just a bunch of the most delicious roots roasted up and served with dips. It is so simple and can be made with pretty much any veggies you like and then served with whatever dips you want. It is a choose your own adventure snack plate. You can even get fancy with it and serve it with nuts and olives and maybe some fruit or whatever but it is not necessary. And also I a want to make it clear, just because I called it a snack plate does not mean it needs to be a snack or that you have to share (see previous paragraph.) Eat is all to your face. I applaud you.

Now to the roasted roots!

The stuff. A bulb of celeriac, a big watermelon radish, a couple carrots and ac couple of beets. A big parsnip, some beets, vinegar and water, and salt and pepper.

Wash all the roots then cut them up. IF you want to peel go for it, but I don’t because I prefer not to.

Anyway, cut them all into wedges, shtik and or rounds. A variety of shapes is nice, just make sure that they are all roughly the same thickness.

Arrange all the cut roots on a baking sheet, trying not to overlap much. Sprinkle with water and vinegar then toss on a good pinch of salt and pepper.

Place in hot oven and roast.

40 fish minutes later, all tender and ready.

Place all your roasted roots on a large plate or plater, grab some dips of your choice (Mustard, hummus, and guacamole are excellent choices) and eat away. Or wait and serve whenever cause these snack situation is delicious eaten at any temperature.

-c


Roasted Roots Snack Plate

Note. The following is more of a suggestion then a recipe. Use as many roots as you like or stick with a just one or two.

  • a bulb of celeriac

  • 2 carrots

  • a large watermelon radish

  • 2 parsnips

  • 2 medium turnips

  • 2 medium beets

  • a couple teaspoons white vinegar and water

  • salt and pepper

  • Hummus, mustard, guacamole.. anything you like to dip veggies in. (optional)

Preheat oven to 425.

Prepare roots. Wash and cut them all into sticks, rounds, and or wedges, just make sure they are roughly the same thickness. Once all cut, place them on a baking sheet, trying not to overlap much, and sprinkle with a little water and a few teaspoons of vinegar (you can use a spray bottle or just flick the the water and vinegar with your fingers) Sprinkle with a good pinch of salt and black pepper.

Place in oven and bake for about 40 minutes or until all veggies are tender.

Remove from oven and let cool enough to handle them arrange on a large plate or plater along with at least one, if not many dips that you like.

Serve hot. Or warm. Room temperature is good or you can pre roasted refrigerate, then serve cold. Whatever temperature it’s fantastic!

In Vegan, Vegetables, snack Tags charcuterie, vegan, roasted roots, fresh, winter roots, dips, plant based, oil free, easy, snack plate, snack, lunch, dinner, gluten free, party, food, simpe
Comment
Share

Winter Squash, Beet, and Avocado Toast

November 28, 2020 Colleen Stem
IMG_2187.jpg

I don’t know about you but this weekend I just want to keep things simple. And easy. (That applies to life and food.) And I’m pretty sure that I am not the only one.

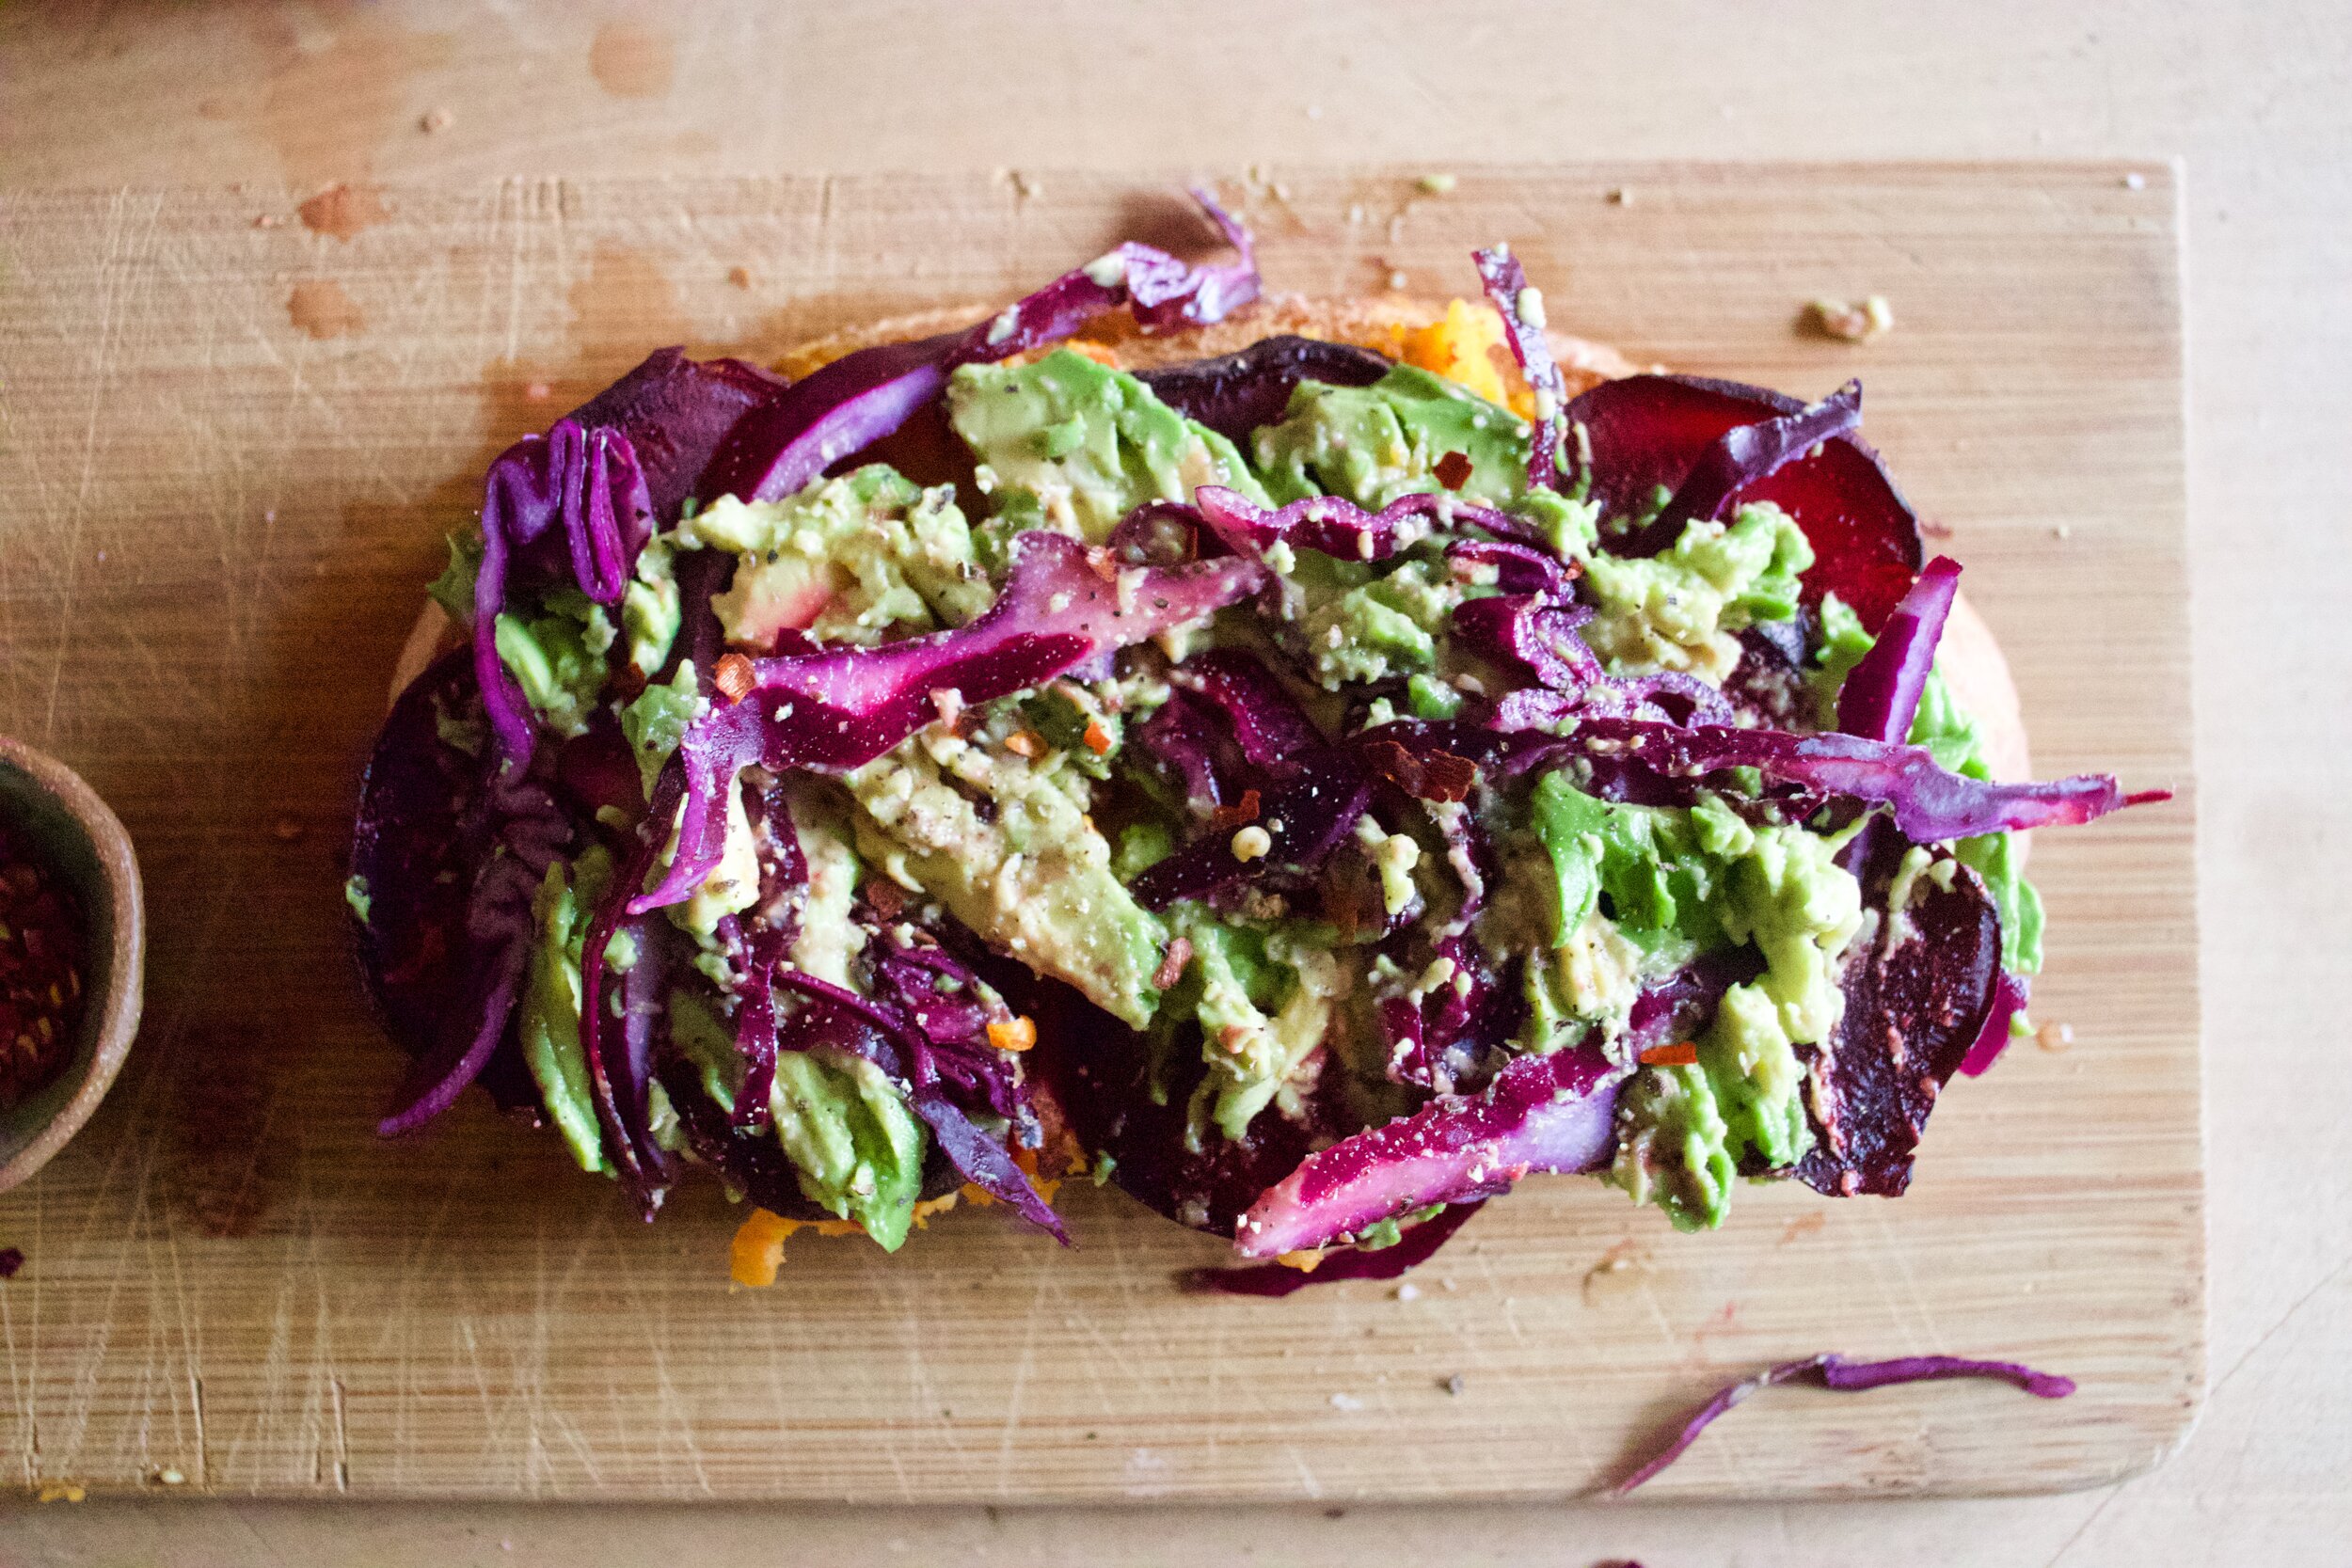
Which brings me the toast, or fancy toast as some people call it. Simple in it’s own right of being a piece of bread cooked until lightly crunchy and toasty. Piled on with stuff, almost like a sandwich, but it left opened faced because, well just because. This particular piece toast is piled on with stuff is what I have been eating all week (roasted squash, beets and avocado) and am pretty sure is my new favorite food combination.

So for lunch, wanting to share my favorite flavors, I toasted a nice big piece of my homemade sourdough, grabbed the stuff (some people call left overs which you might have bunch of but I just call it ready to eat food) and made the mr a fantastic, beautiful, and delicious piece of goodness that we call toast.

The mr, well he was a little spectacle at first but one bite and he was in. Might just be his new favorite food combo too.

Gosh he is lucky I have such good taste. HA

Now to the Toast!!!
The stuff. A good add piece of bread. (or rolls, or baguette.. whatever you have). Also need mashed winter squash (I used mashed butternut and there is also sweet potato in there too). Roasted and sliced beet, 1/2 an avocado, a little red cabbage, salt and pepper, a splash of vinegar, and red pepper flakes.

IMG_2156.jpg
IMG_2157.jpg
IMG_2161.jpg
IMG_2162.jpg
IMG_2166.jpg
IMG_2167.jpg

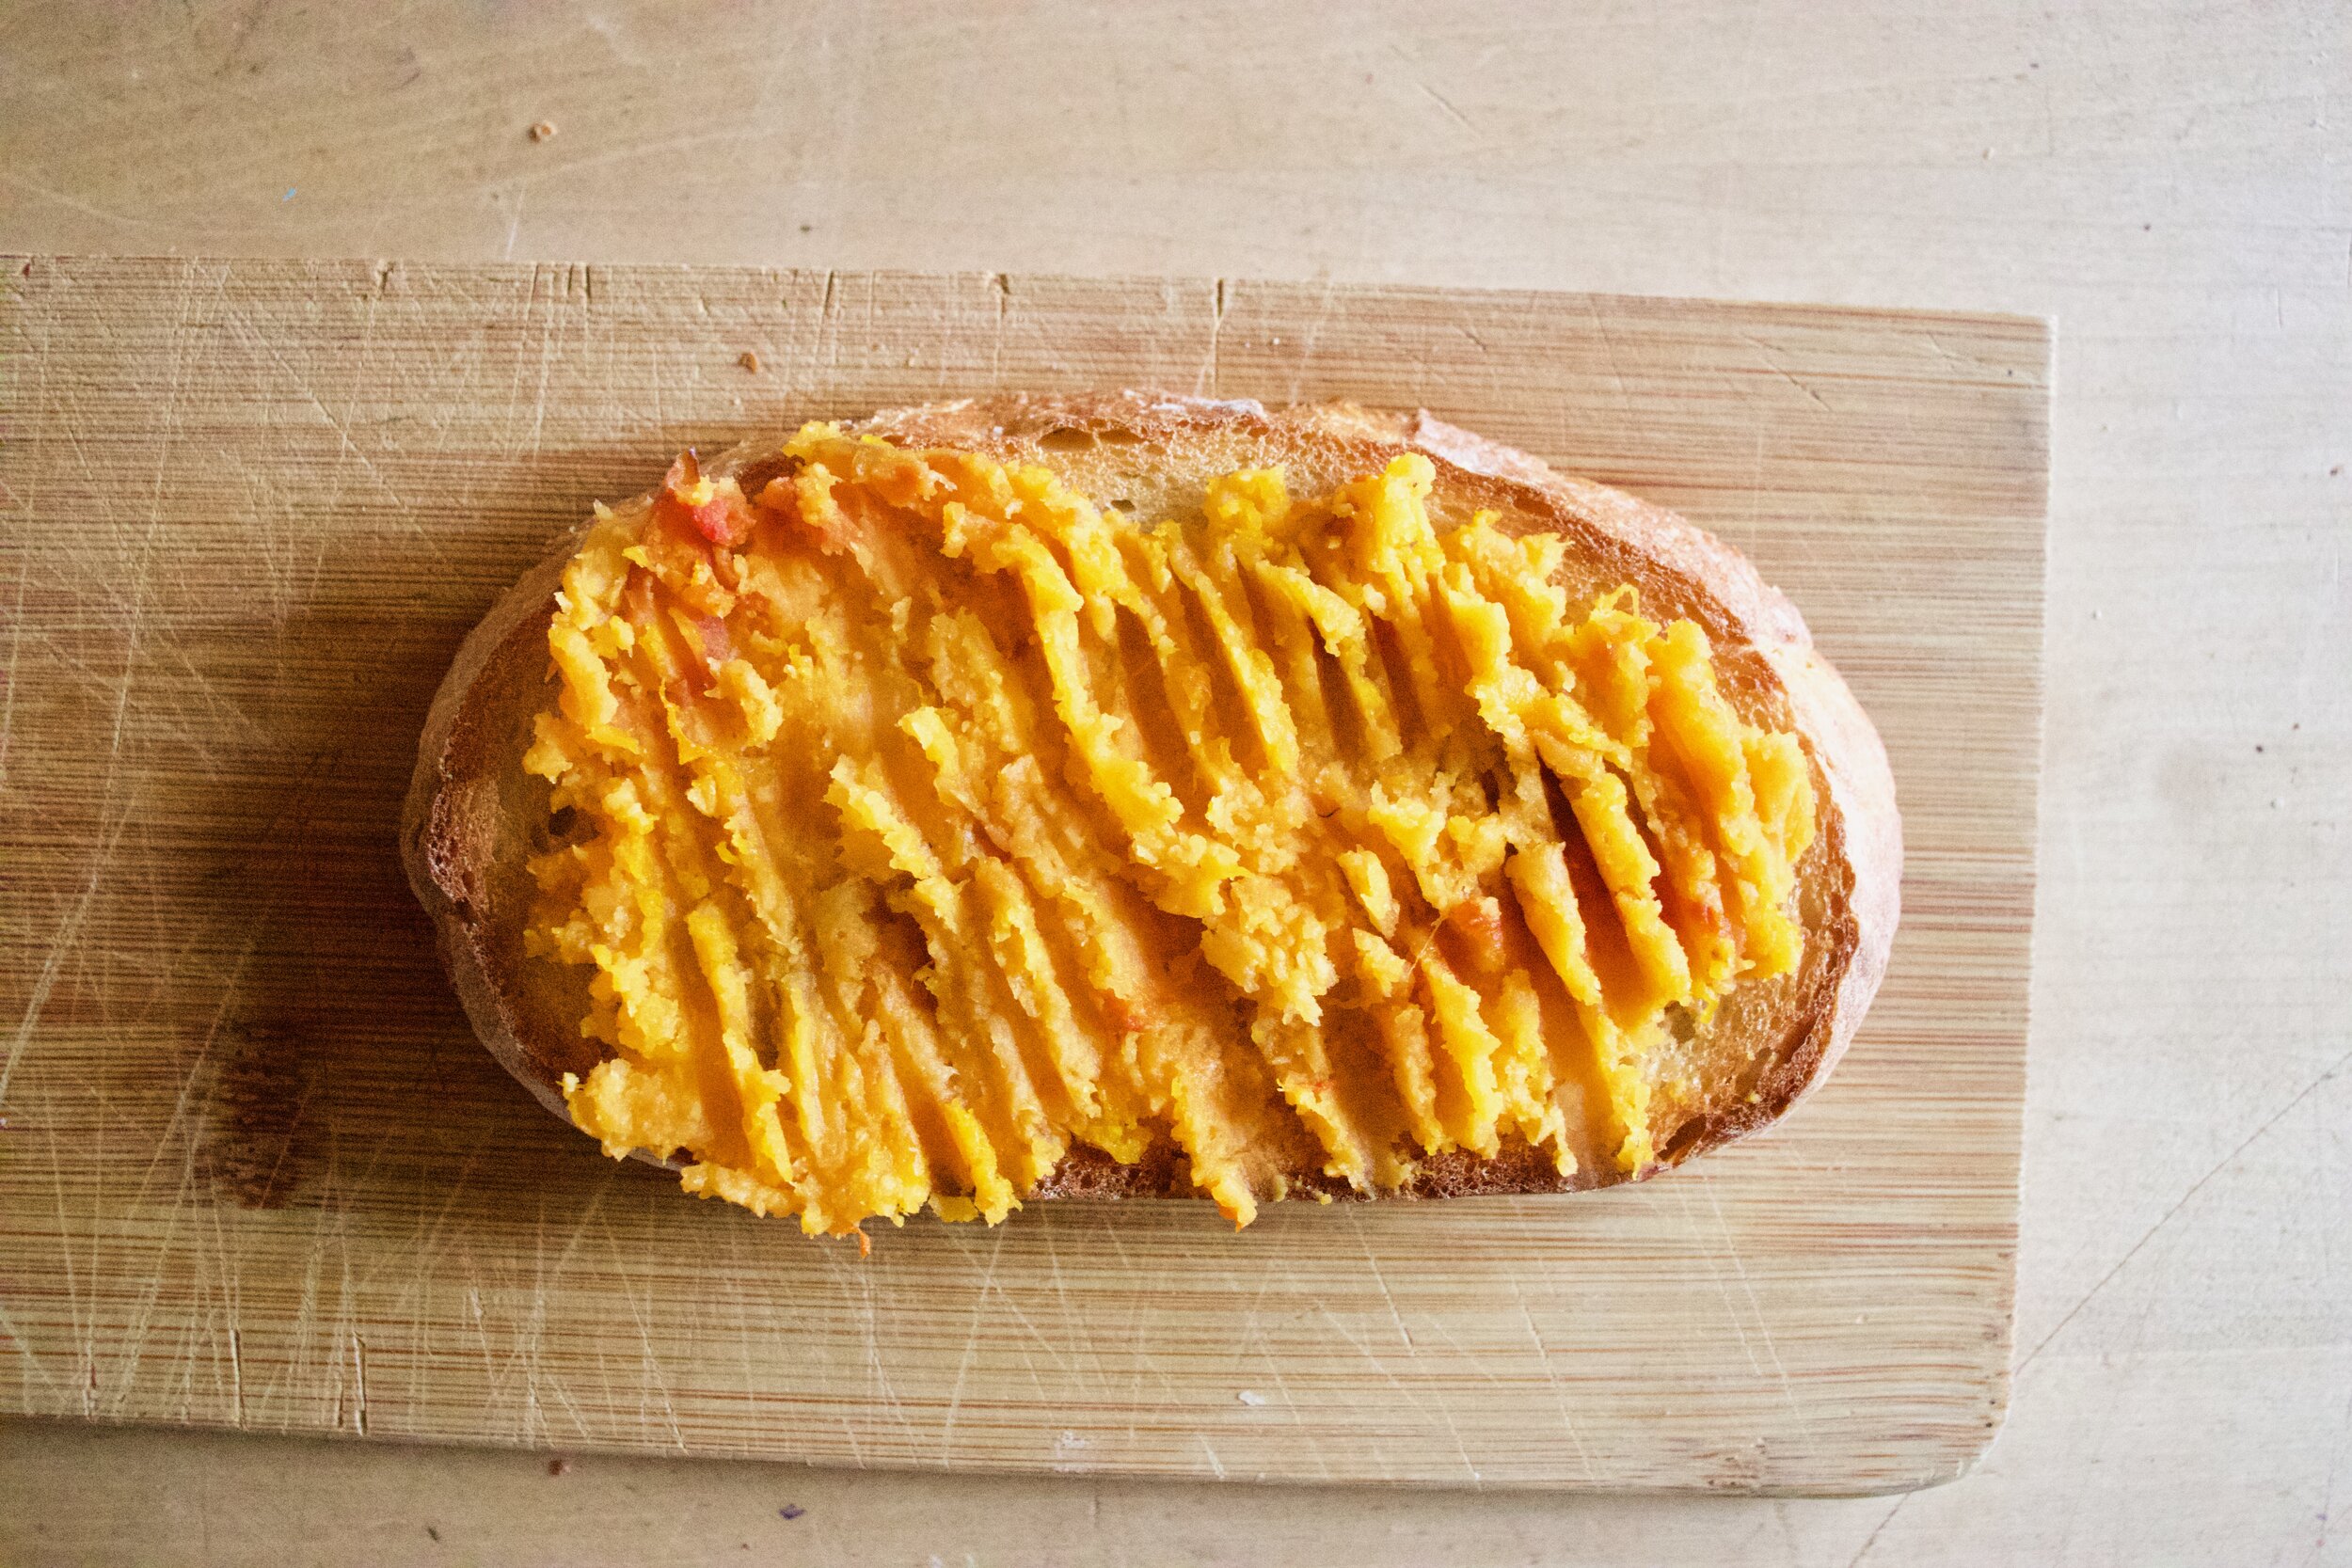
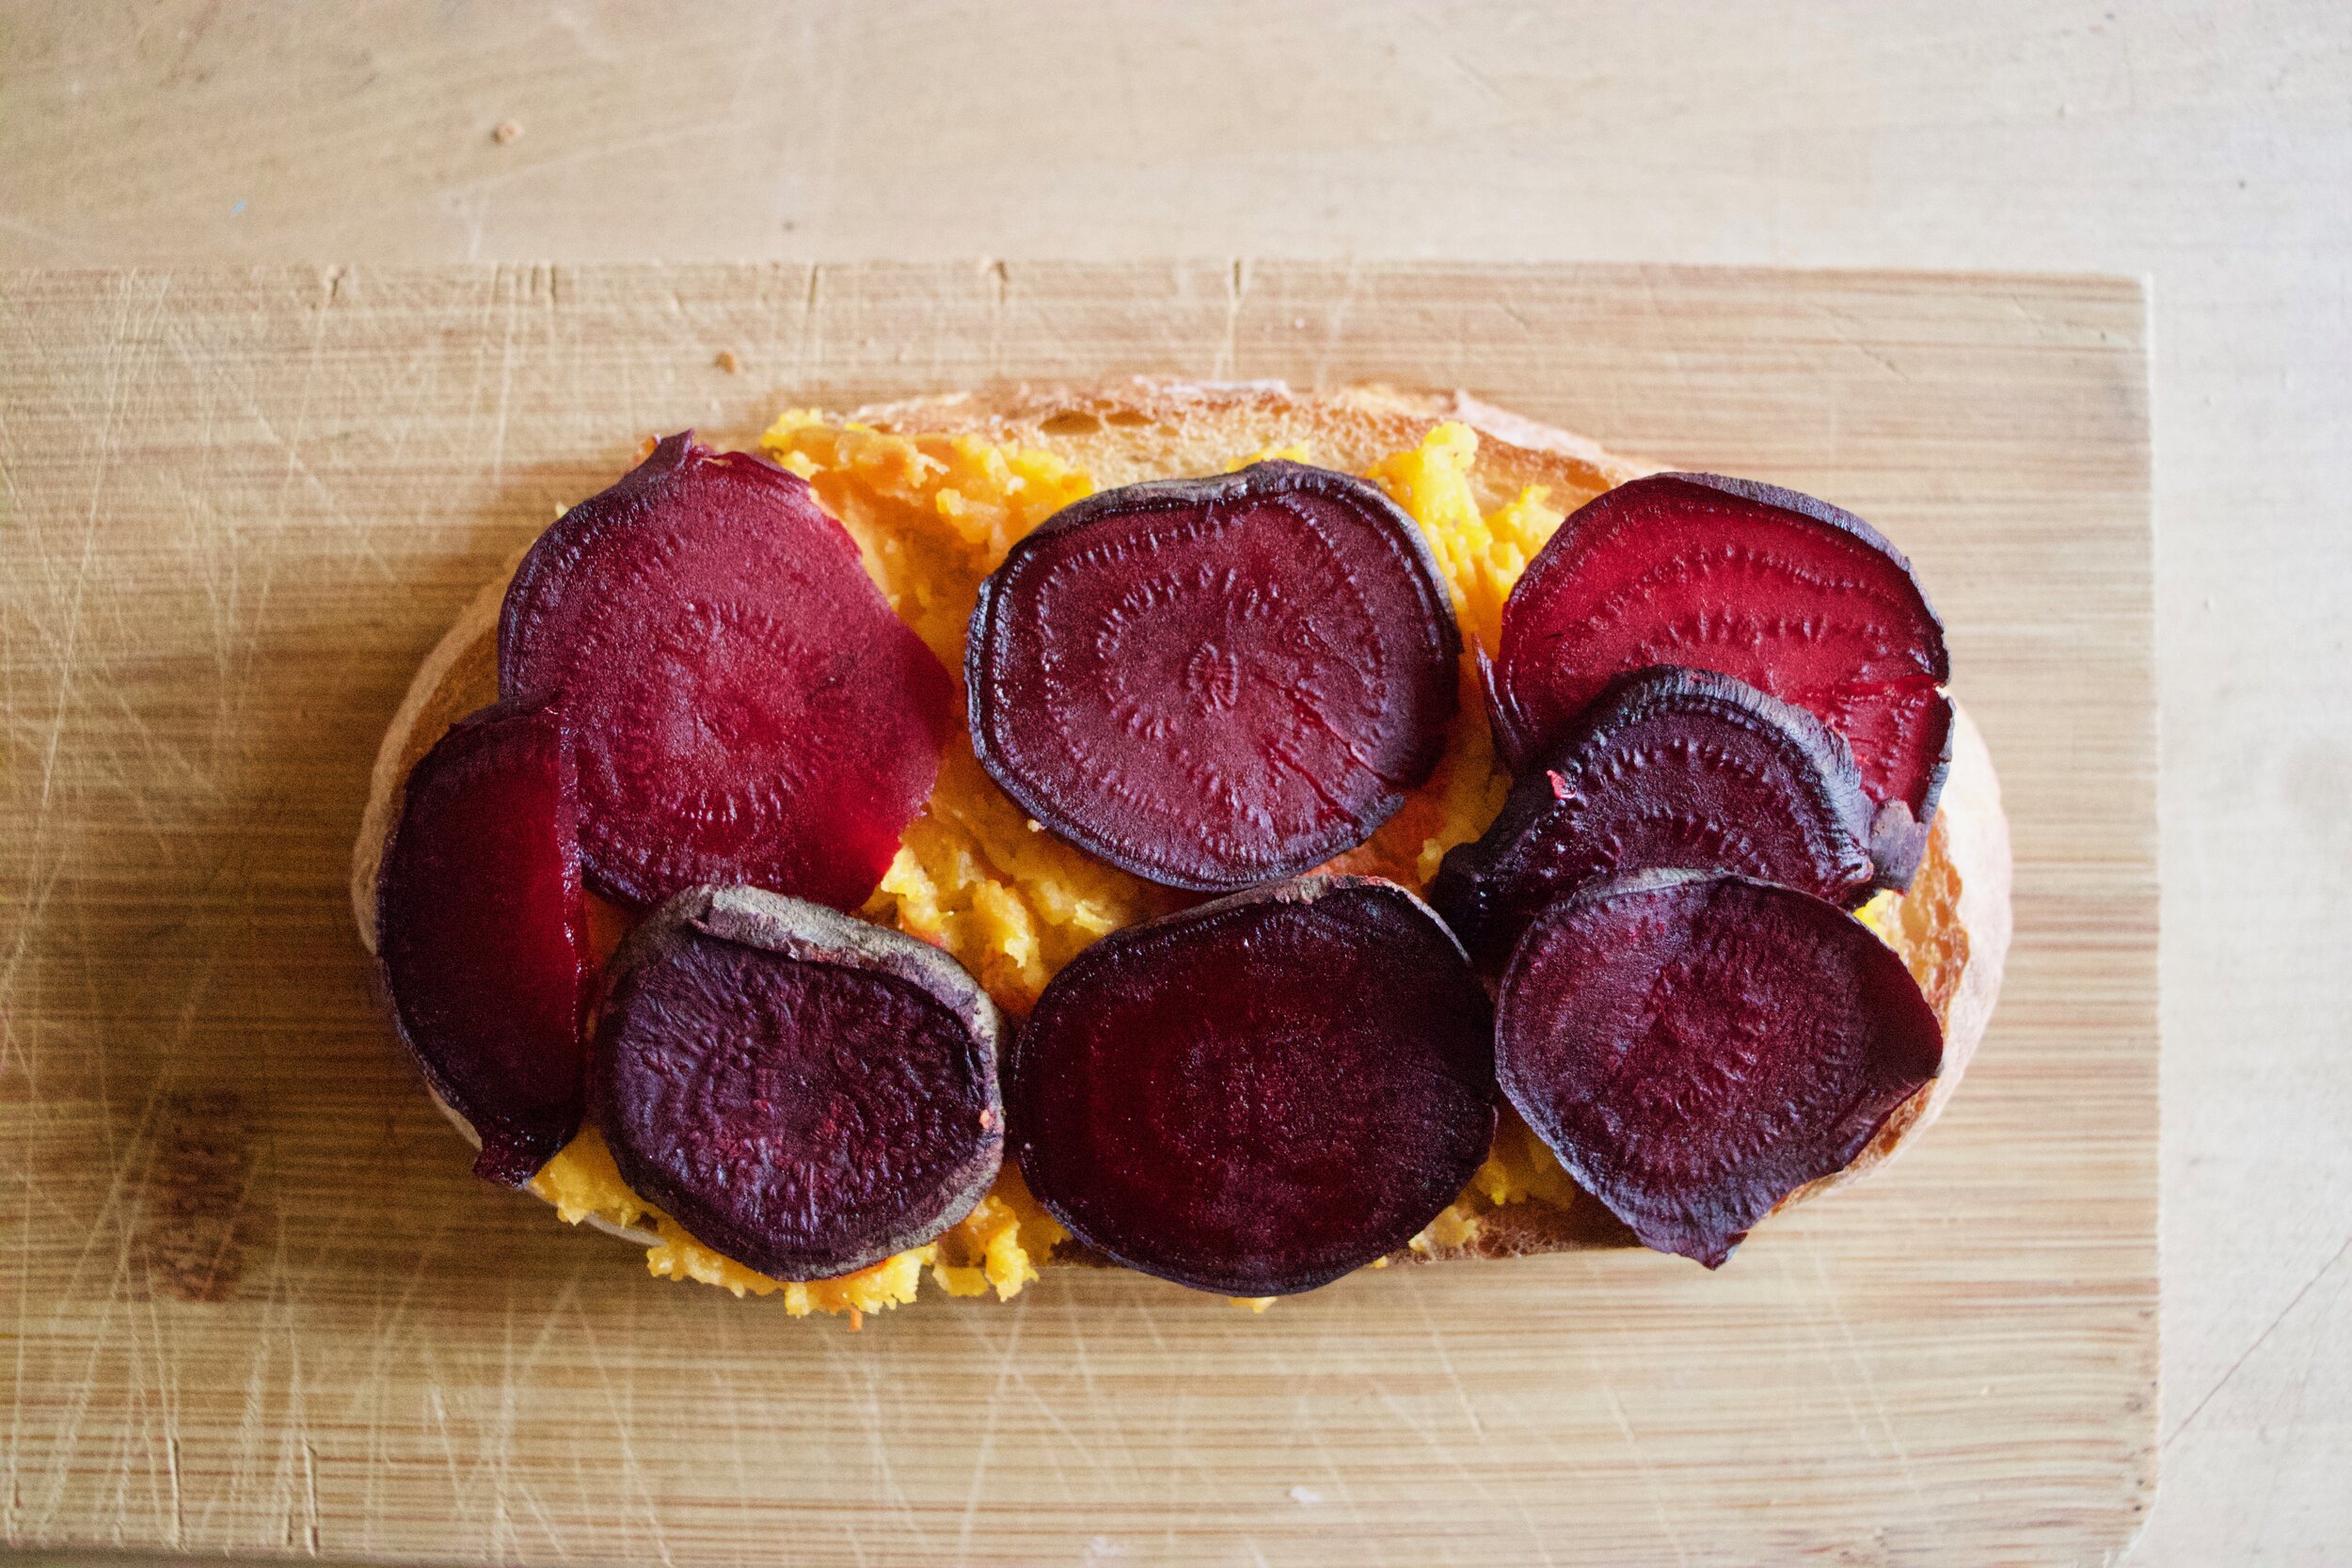
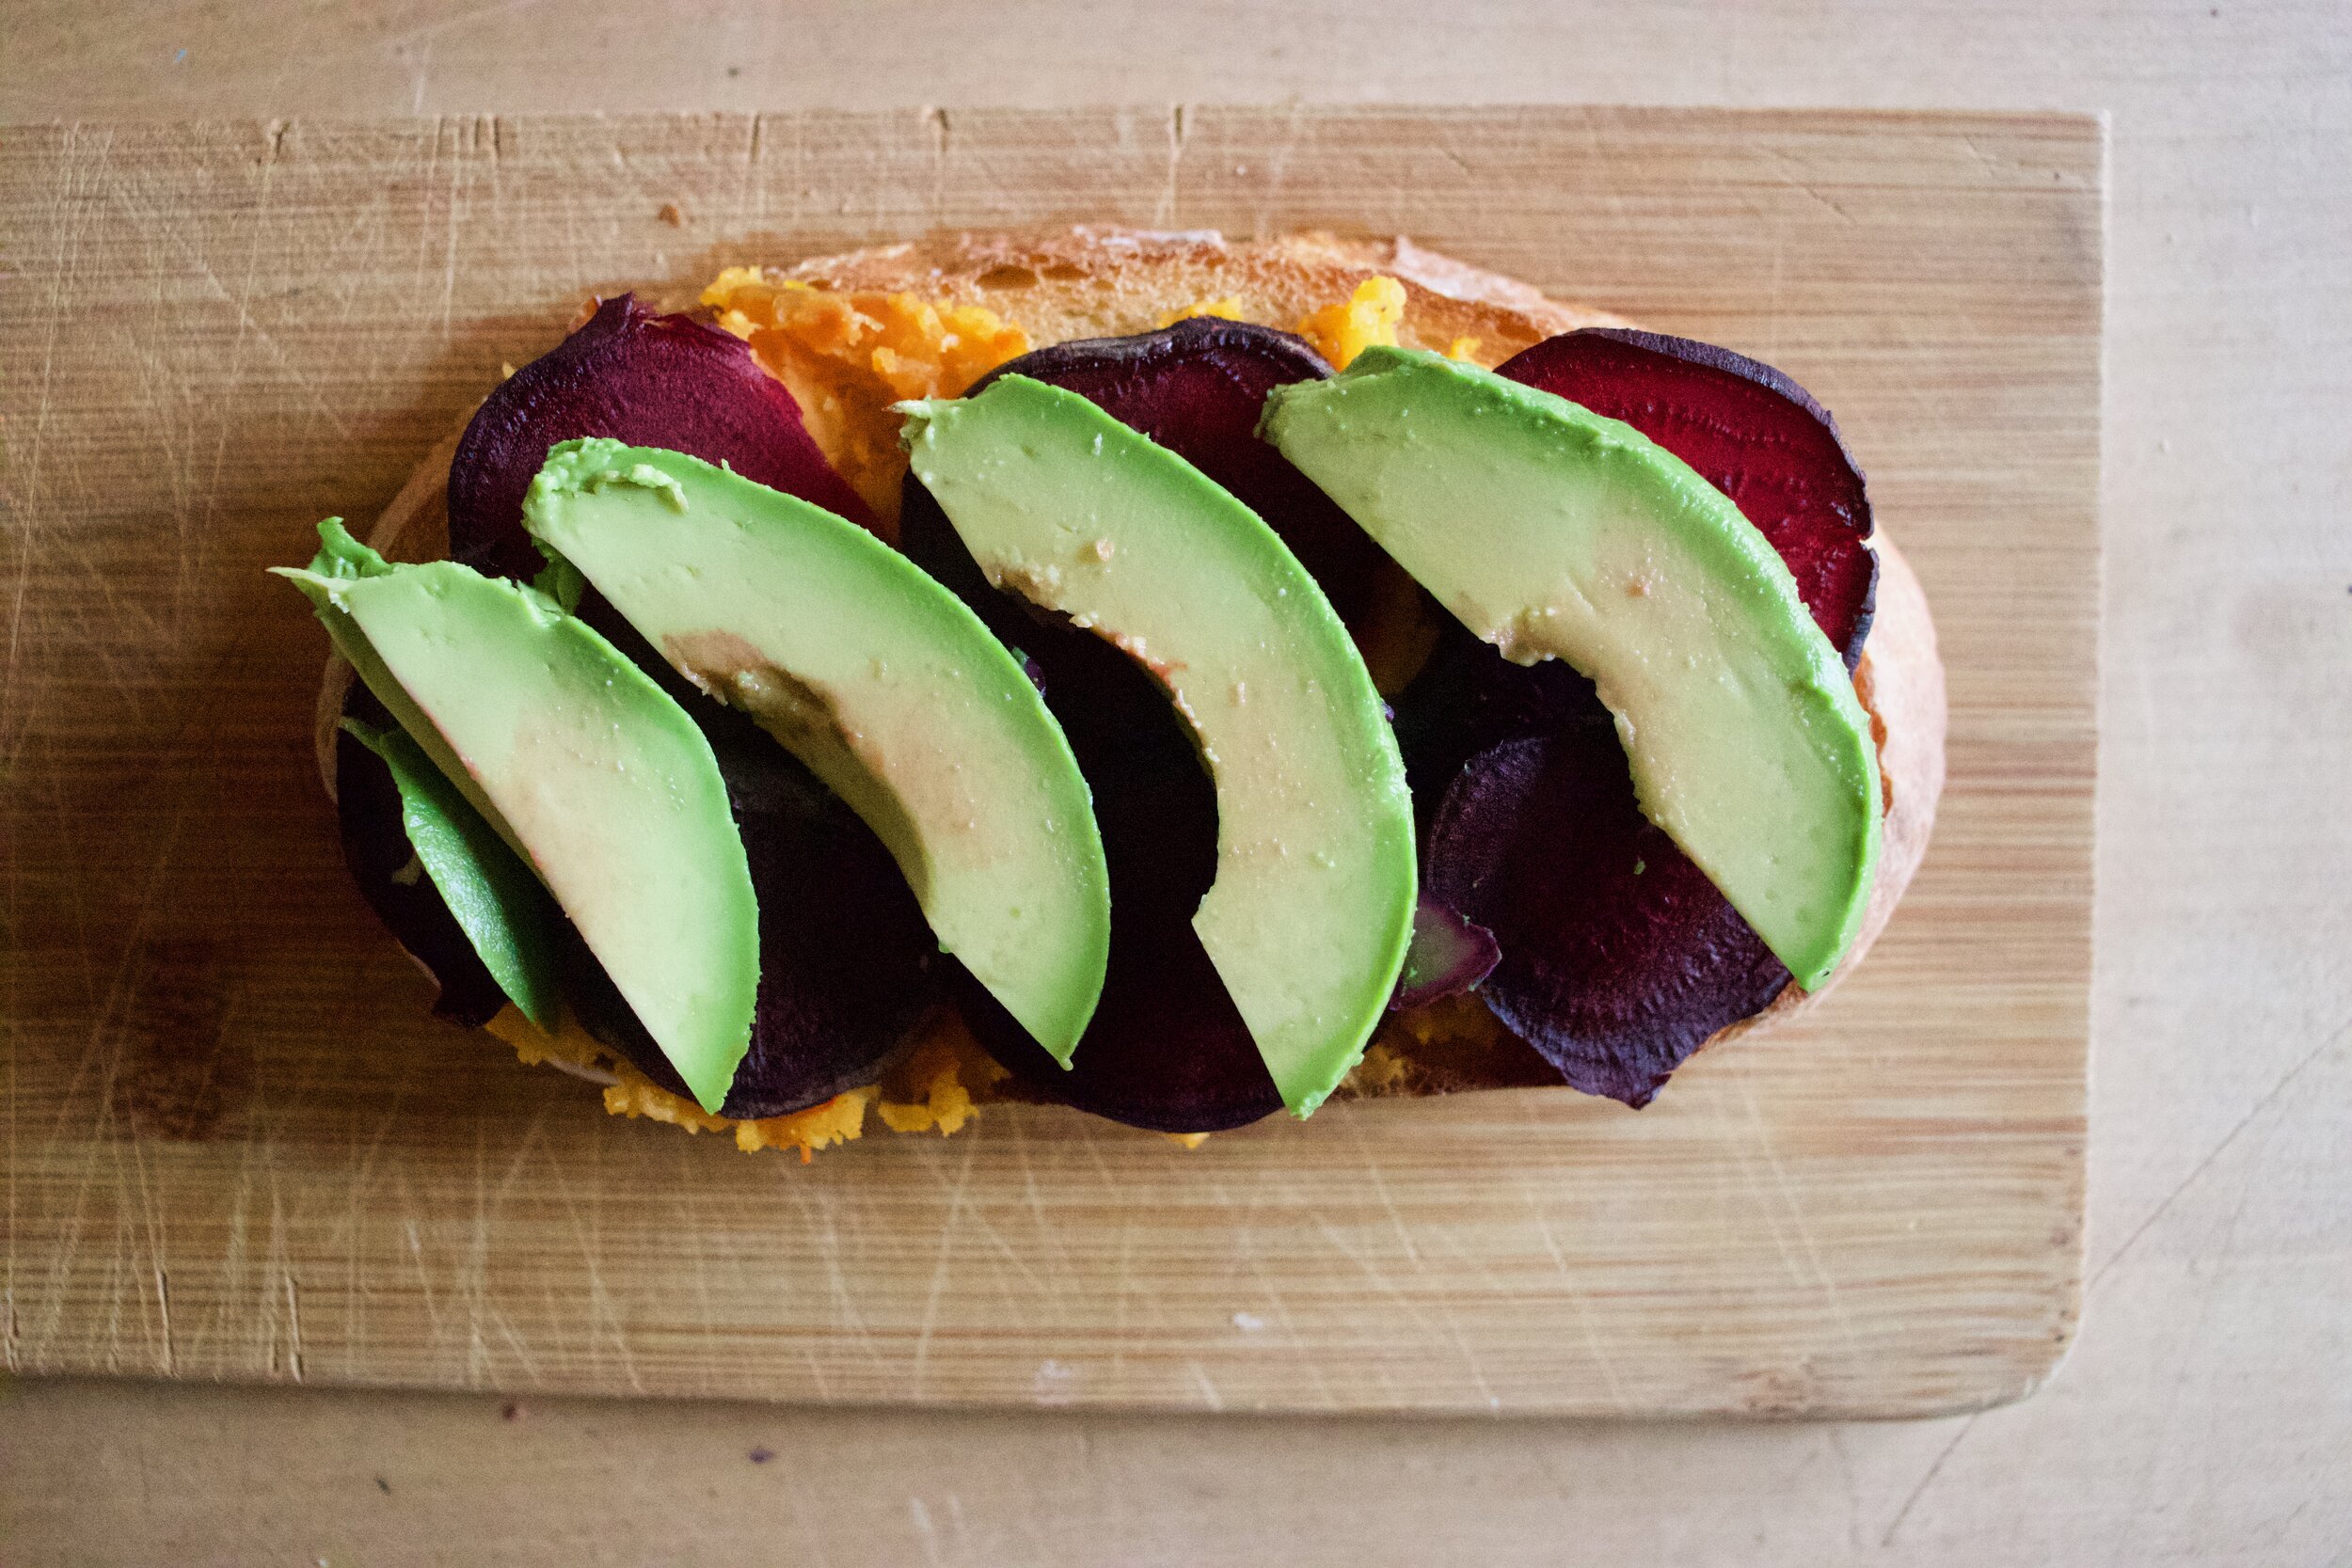
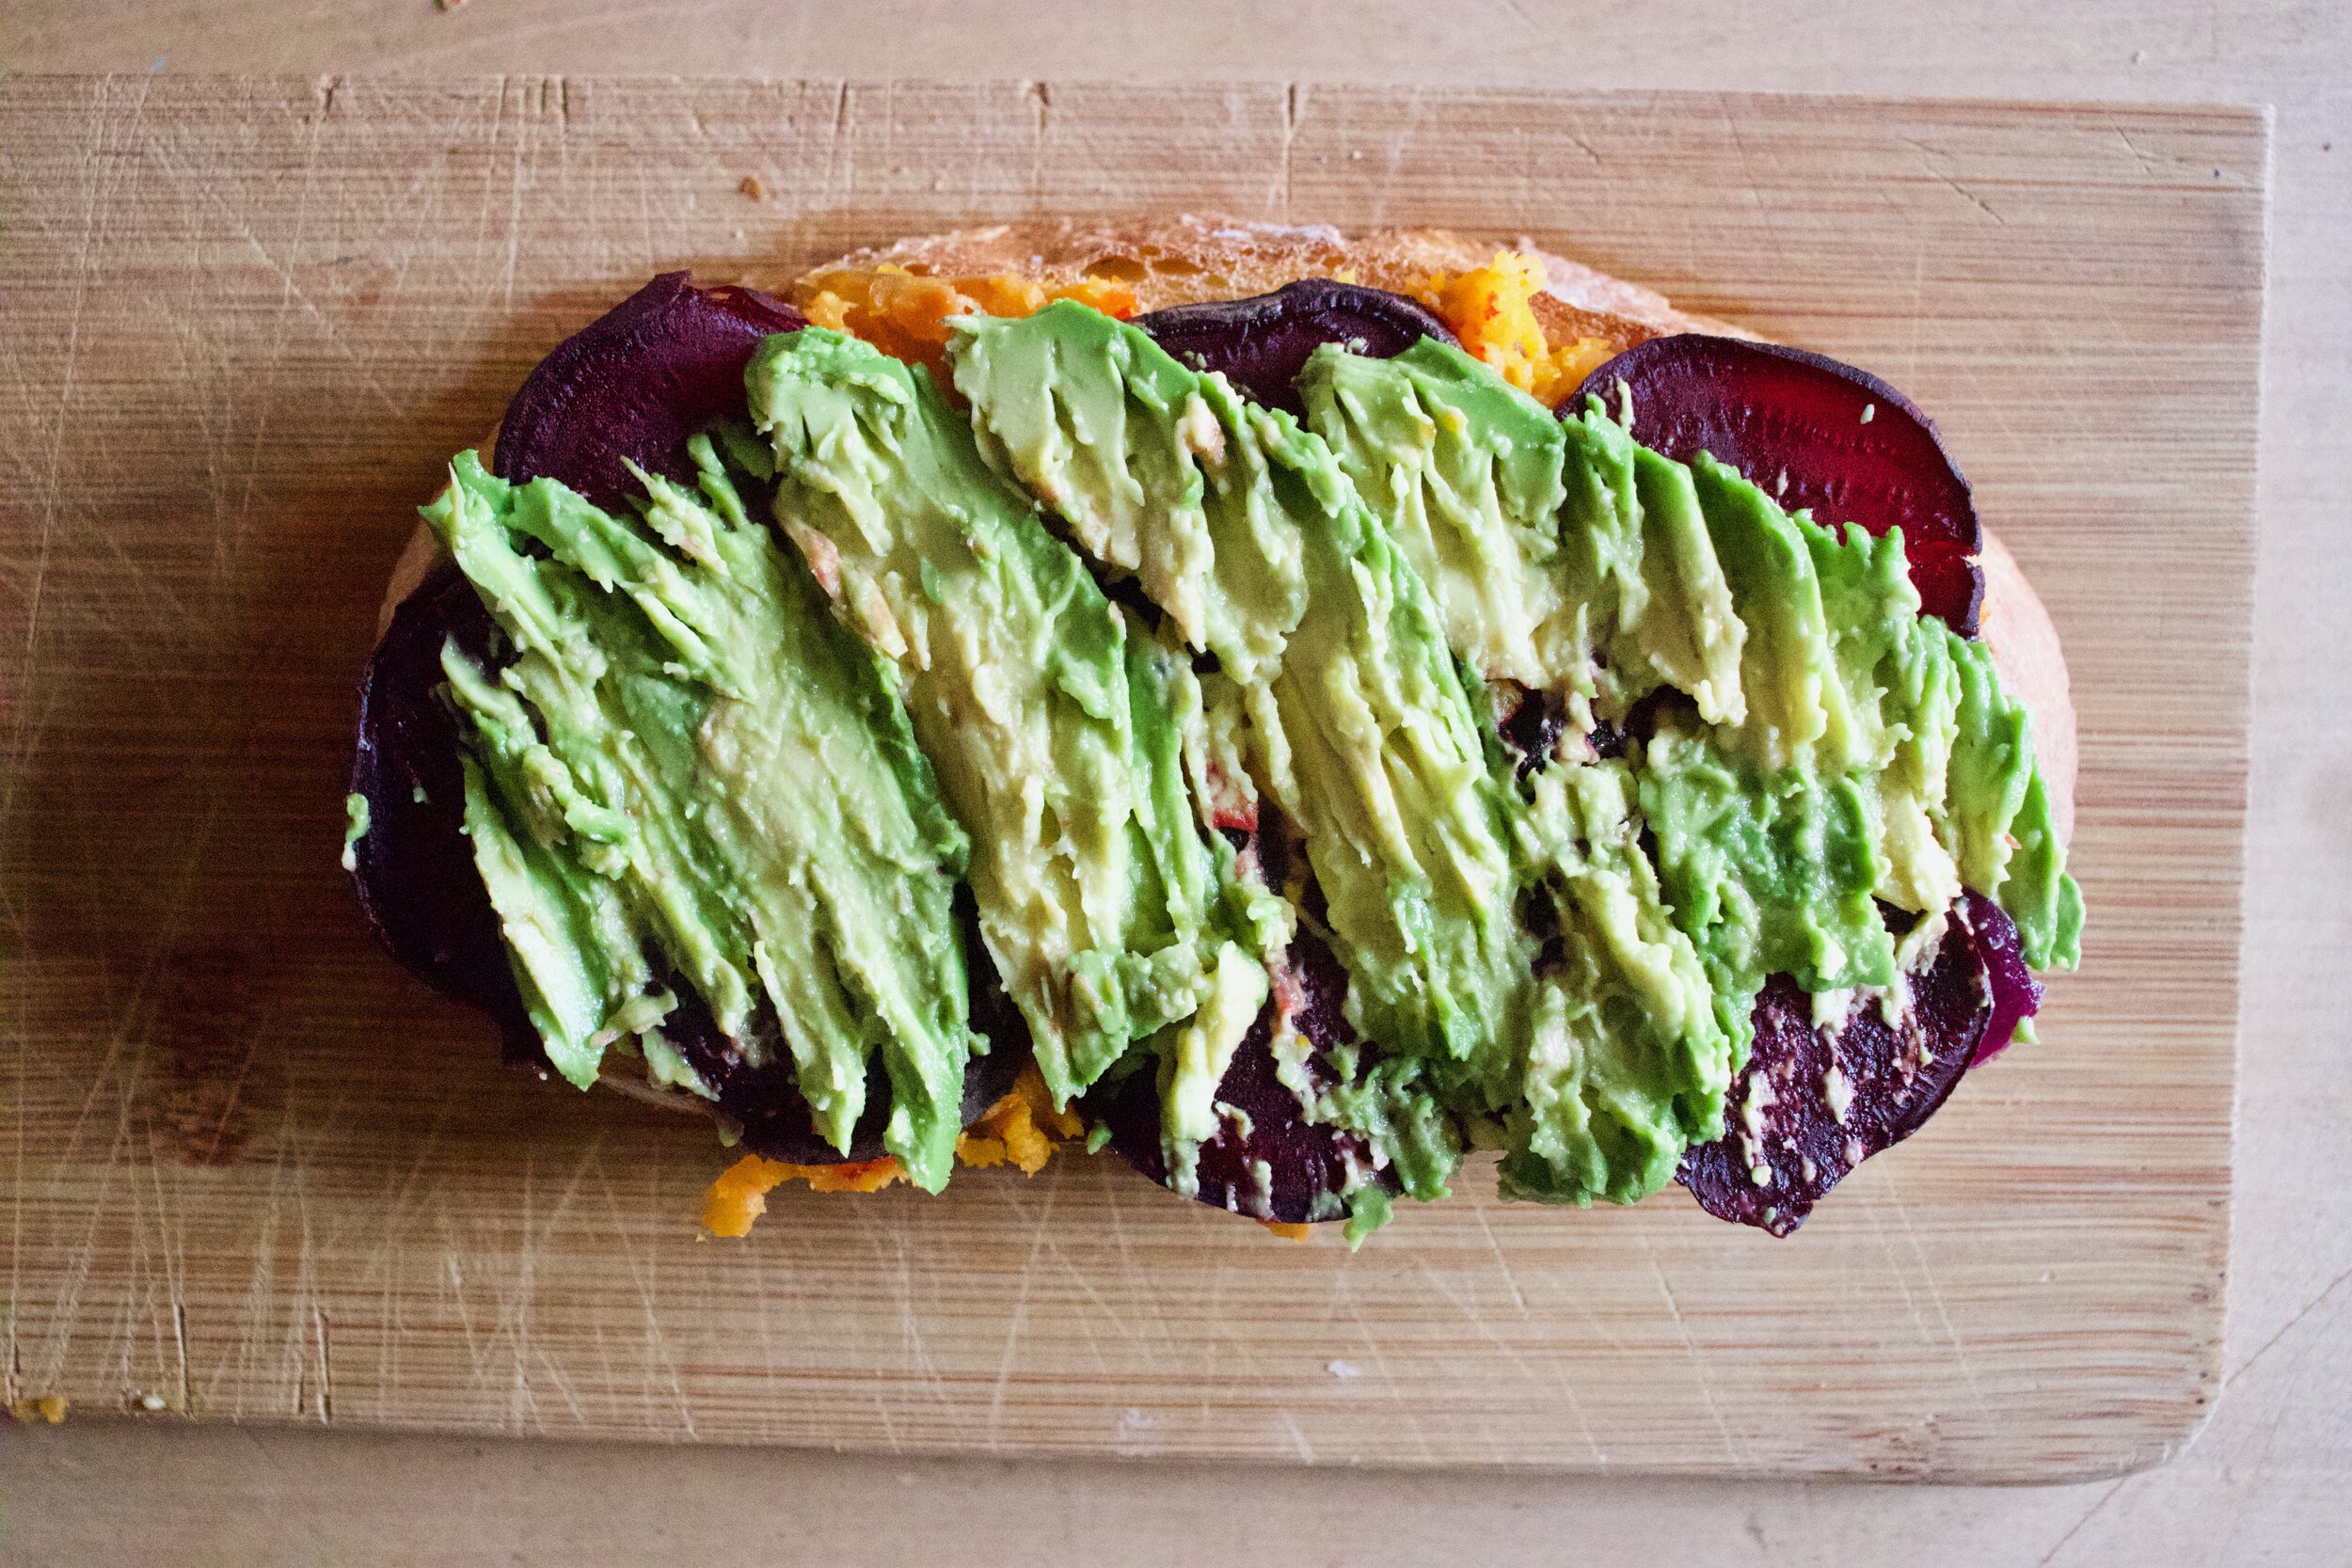
How it’s done. Step 1. Toast bread to preferred toasted-ness. Step 2. Cover entire side (right to the edges) with mashed up winter squash. Step 3. Add on sliced roasted beet. Step 4. Layer on avocado then mash it up. Step 5. Add on shredded cabbage Step 6. Drizzle on vinegar and sprinkle with salt, pepper, and red pepper flakes.

Last step. EAT IT!

-C


Winter Squash, Beet, and Avocado Toast

makes one great piece of toast

  • a few slices of roasted or steamed beet (cold or warm)

  • about 1/3 cup mashed winter squash and or sweet potato (cold or warm)

  • 1/2 an avocado

  • 1 big piece of good bread

  • salt and pepper

  • teaspoon red or white wine vinegar

  • a small little handful of shredded cabbage (optional)

  • red pepper flakes

Grab great bread and toast it to your preferred toastedness. Once toasted cover with mashed squash then add on the sliced beet. Now grab avocado, place on top of beets and mash with a fork, Top with shredded cabbage and drizzle the top with the vinegar. Sprinkle with salt, pepper, and red pepper flake.

Eat.

Tags Winter Squash, Beet, and Avocado Toast, fancy toast, toast, thanksgiving, left overs, beets, dinner, snack, breakfast, lunch, easy, simple, vegan, plant based, healthy, food, delicious, fast
Comment
Share

Vegetable Dumpling Soup

October 5, 2019 Colleen Stem
IMG_2729.jpg
IMG_2778.jpg

Soup. No joke (although people make jokes about me), is eaten in my house, at lunch and sometime even at dinner. Every. Single. Day. There is just no going wrong with a big pot or veggies, spices, sometimes beans, sometime not. I make it in big batches, in small batches. Sometimes it’s more a bisque, or a chili or a stew, or just a really really spicy broth. Whatever I have in the fridge or freezer, the stuff that might not be great eaten fresh, sad spinach…. It all turns in soup.

Does that make me some kind of weird soup freak? Maybe, but I am ok with that. And to those who see me walking down the street and yell silly things about me having to get home to eat my soup (it happens more then you know) well, you know you are just jealous and secretly wish you were eating soup with my too. So 😝.

Are you a soup person too? I mean, who isn’t, especially right now that is is fall time and it’s getting chilly and darker out and all we want to do is hibernate. Definitely a soup time if there was ever a specific time for soup. And this soup, made even more hardy and comforting with the addition on dumplings. I actually made it specifically for the mr because, well just because I love him and thought he would enjoy it. And well, he loved it because dumplings of course. Light and slightly chewy, soup thickening dumplings with hot and comforting soup. A perfect end to a day of him working outside in the cold.

So soup. Make it. Dumplings. Add those too. You will be a winner with food, and in life.

To the soup and dumplings!

The stuff. A few stalks of Swiss chard, a couple carrots and a few potatoes. An onion, dried navy beans, some cherry tomatoes. Then there is flour, with salt and baking powder, a little oil, plant based milk, and salt and pepper.

IMG_2604.jpg
IMG_2608.jpg
IMG_2613.jpg
IMG_2607.jpg
IMG_2645.jpg
IMG_2648.jpg

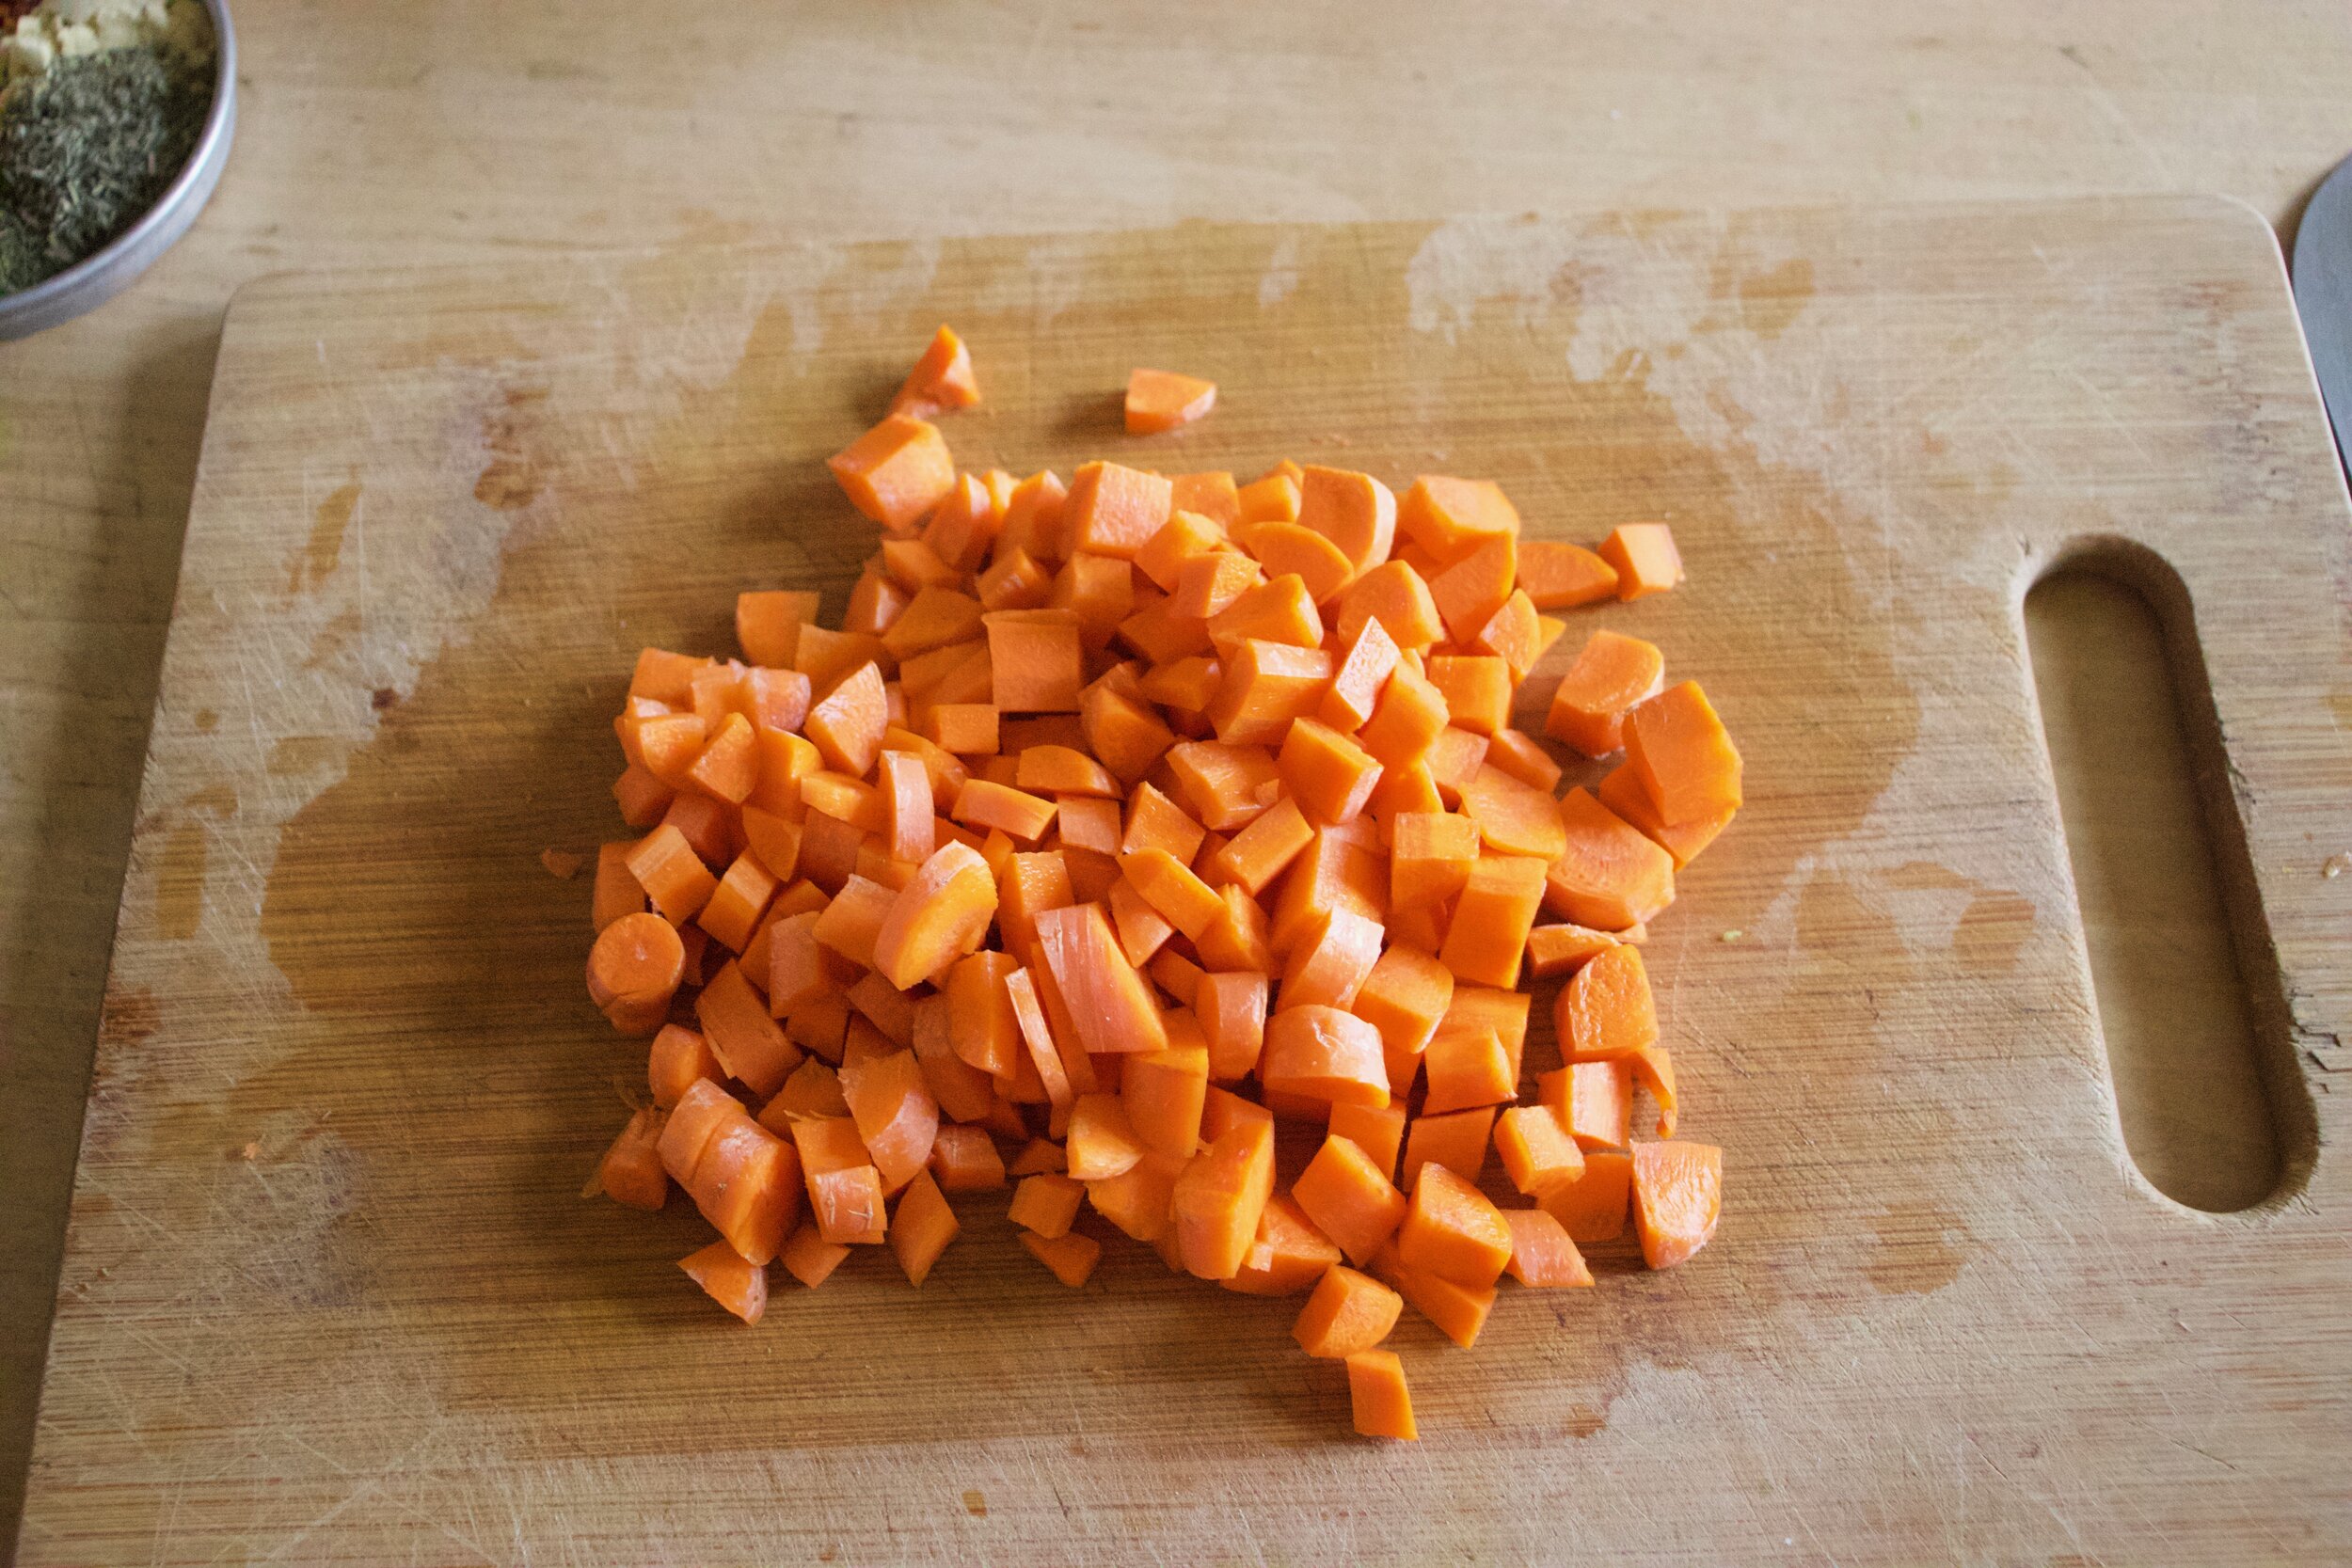
Veggie chopping time. Dice the potatoes, the onion, the carrots, and the stalks of the chard into small mouth sized pieces. Cut the cherry tomatoes in half and the chard leaves into small ribbons. Set the tomatoes and greens aside.

Dump the carrots, onion, chard stalks, and potatoes into a very large pot, add all the spices, a good pinch of salt, lots of black pepper, and a few splashed of water. Cook on medium high heat for 5-7 minutes to just kind of sweat the veggies a bit.

IMG_2638.jpg
IMG_2640.jpg

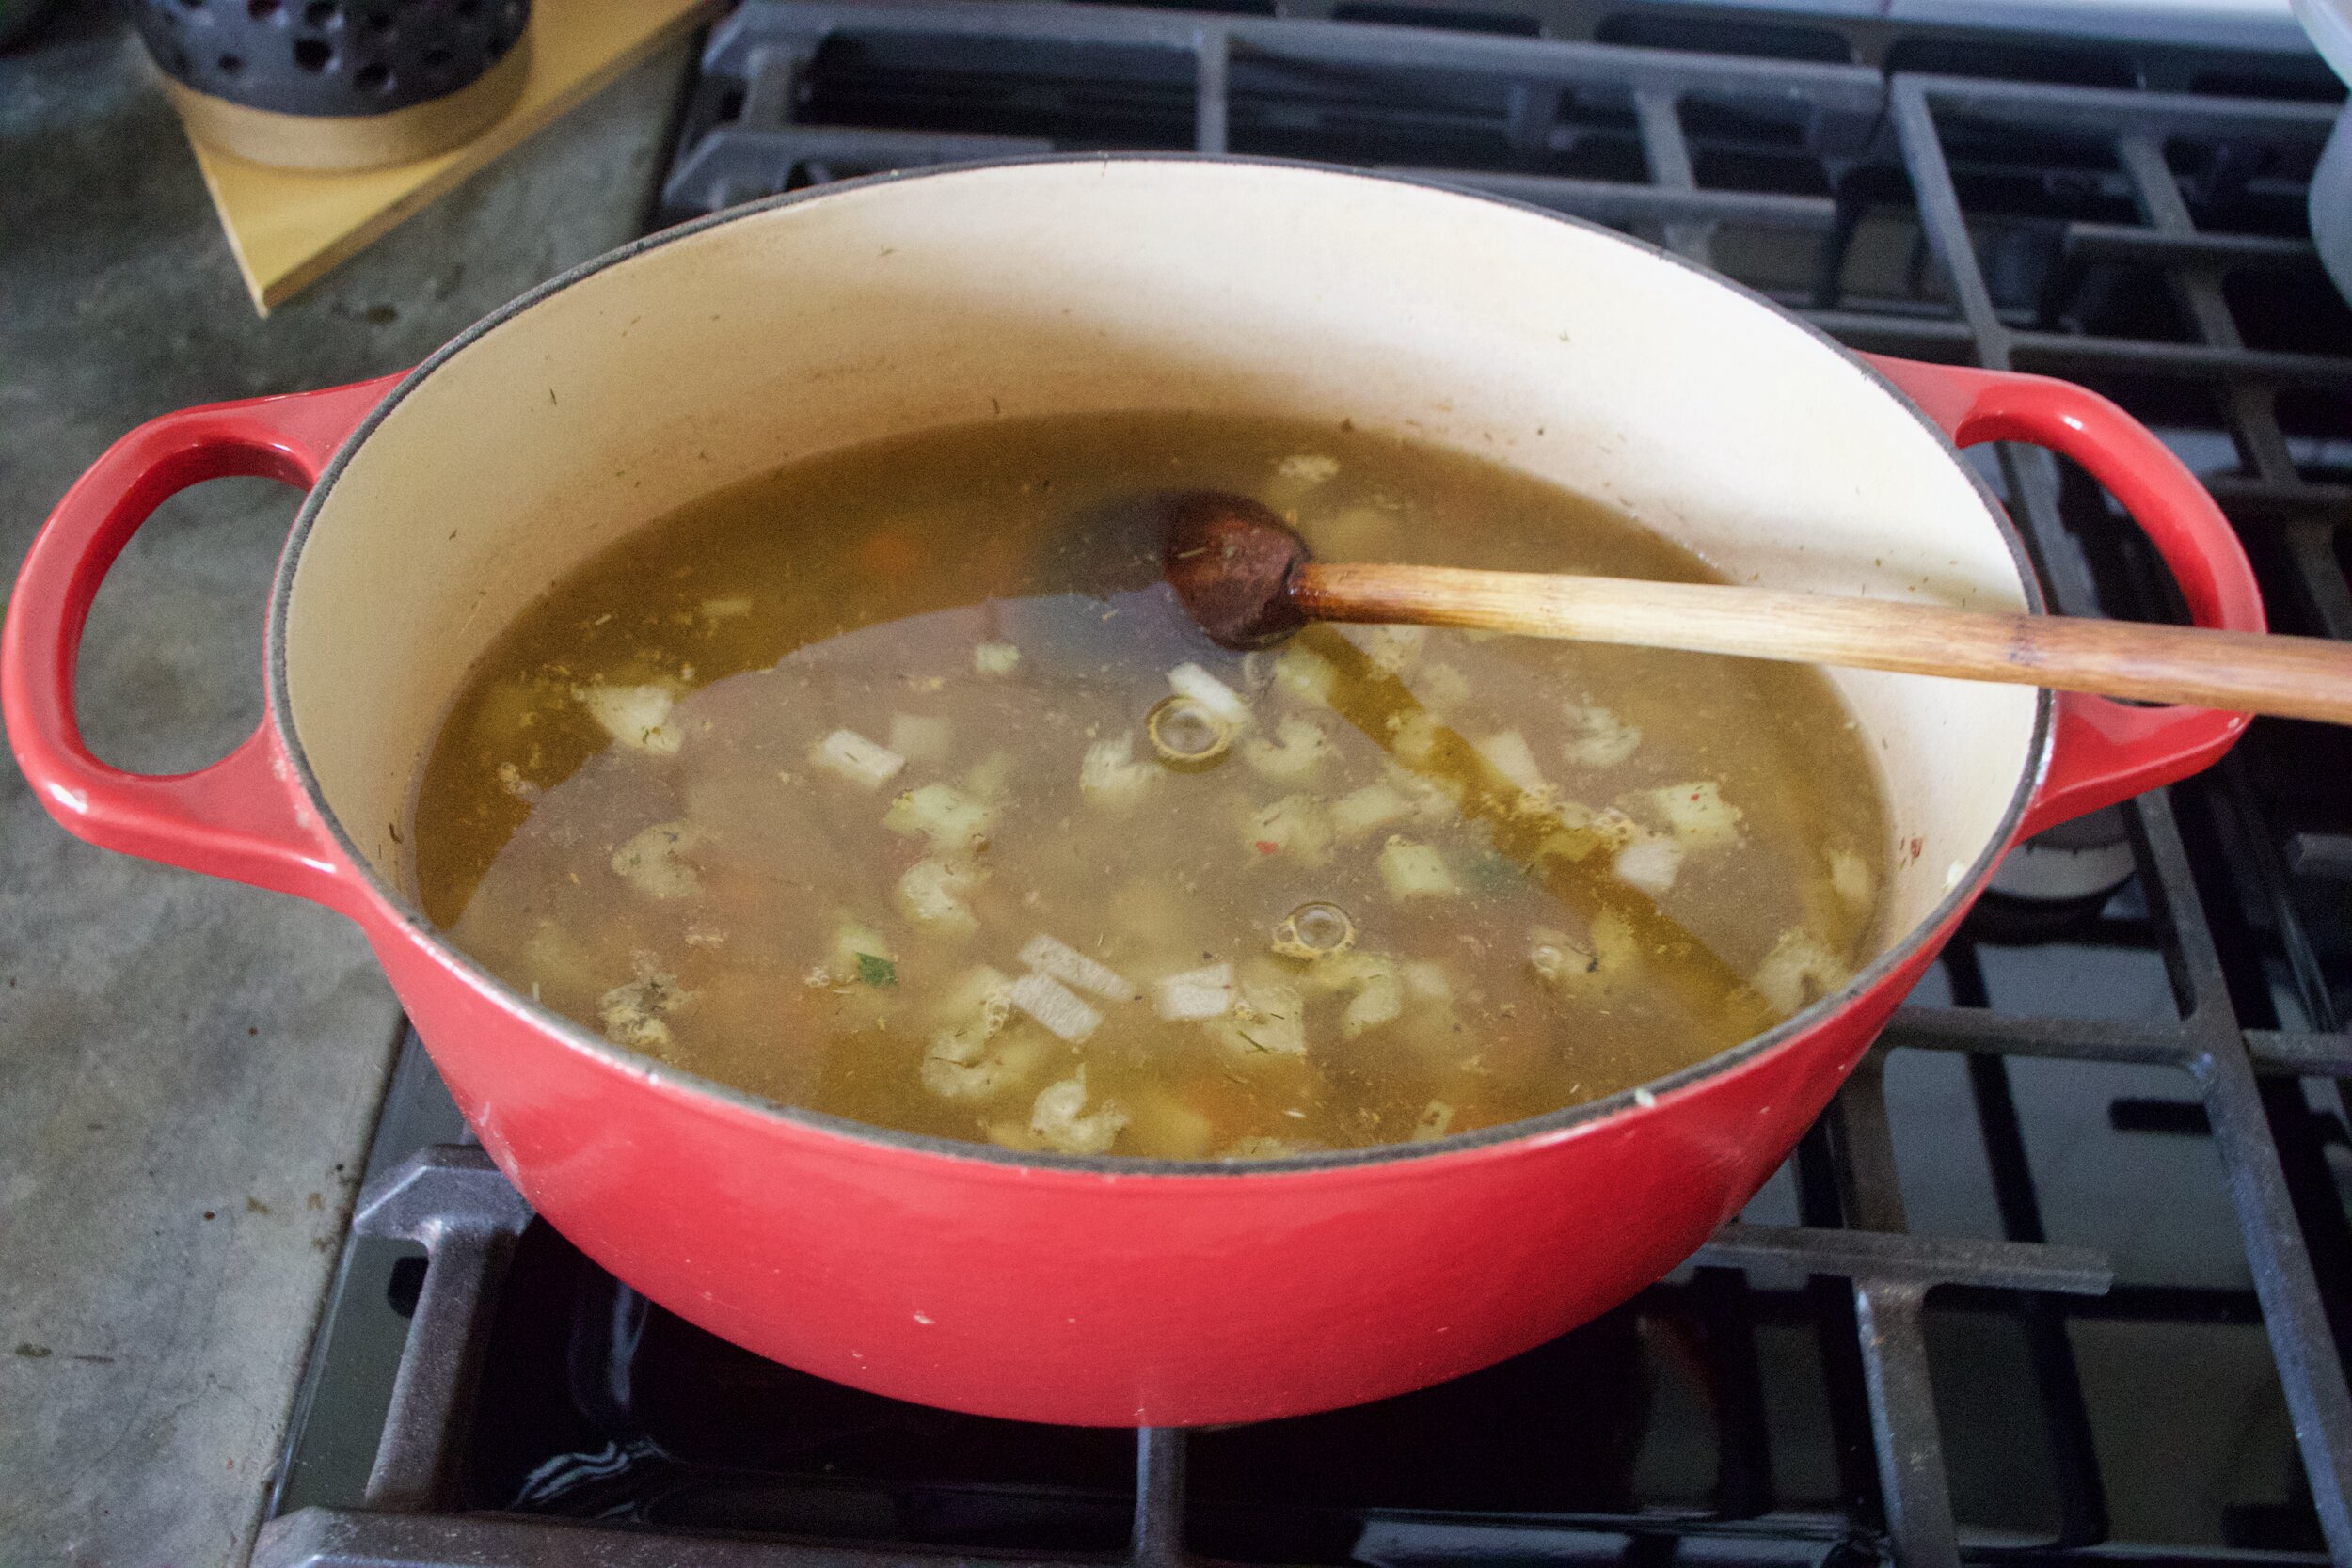
Add in beans and water. Bring pot to a boil then reduce heat to medium and let cook for about an hour. Just give it a stir once in a while.

After an hour check the beans. If they seem close to being done (almost squish in between fingers), then add in the tomatoes, the chard greens, and a few more cup of water. Keep on heat and start the dumpling batter.

IMG_2655 2.jpg
IMG_2658.jpg
IMG_2661.jpg

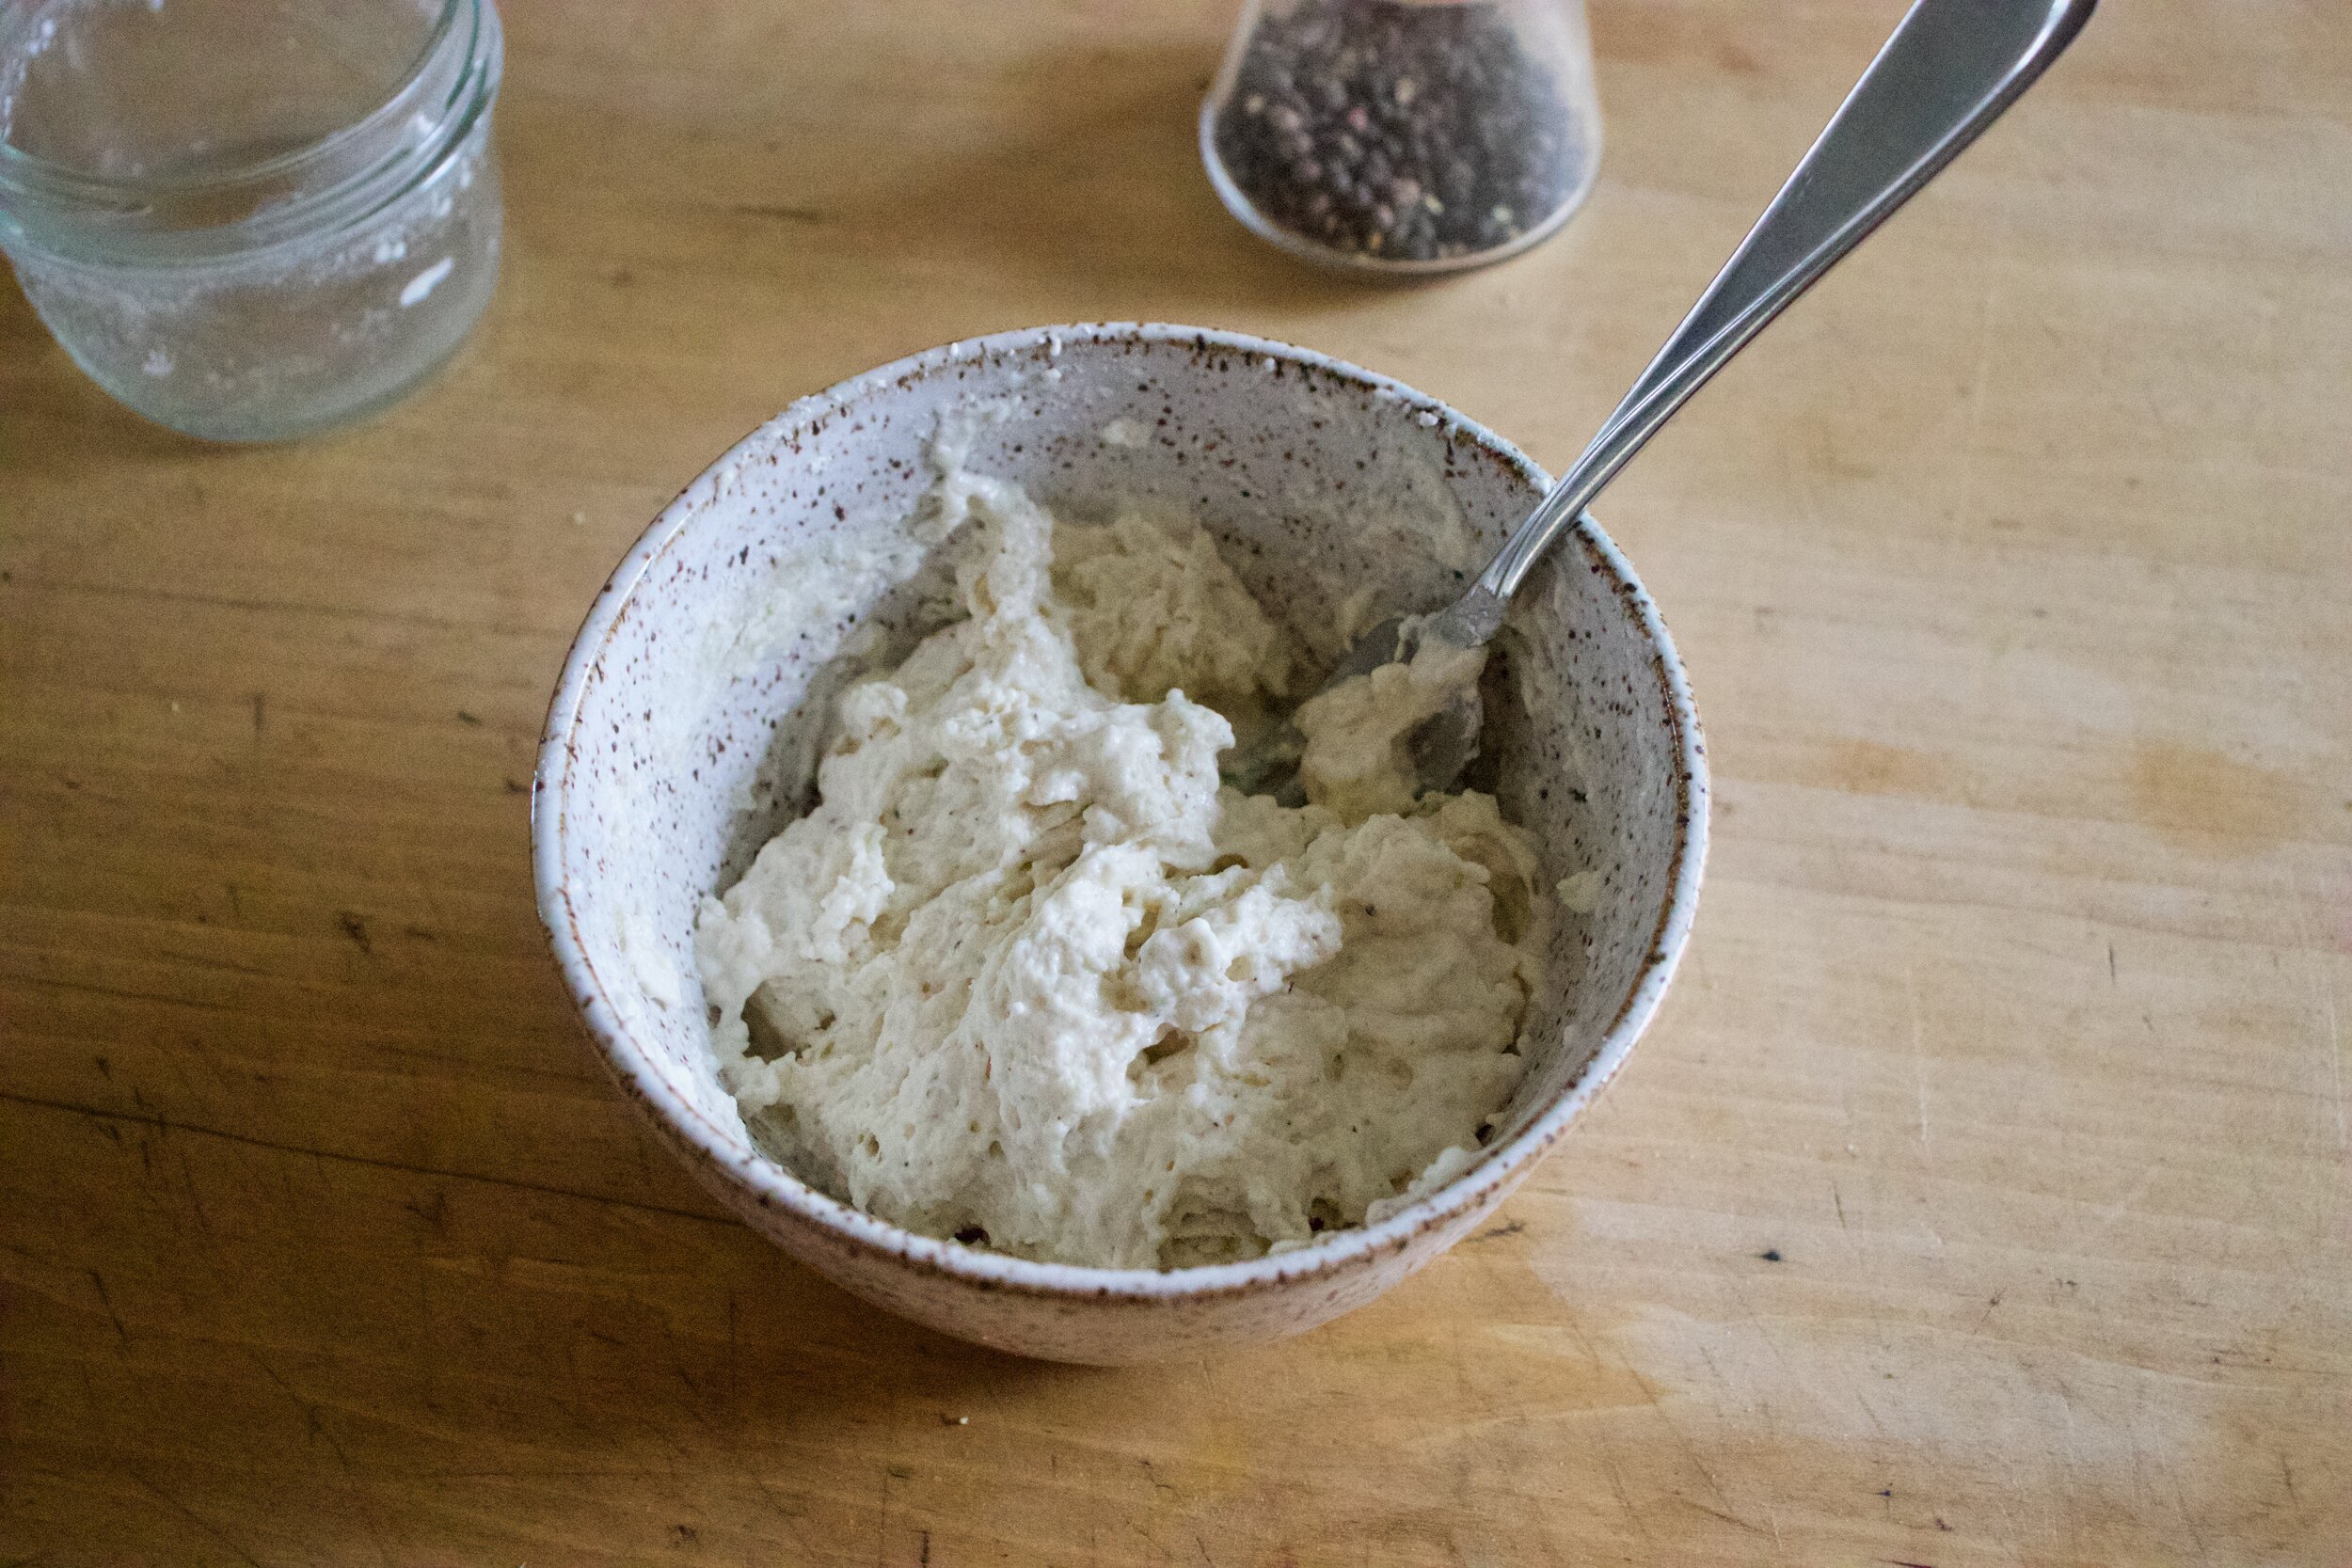
Dumpling batter. Mix together the dry ingredients then add in the wet. Mix until combined.

Soup. All nice and looking just about done. The vegges are soft and tender, the beans are cooked. Check and season for salt now then get ready to drop dumplings.

Drop the dumplings. Tablespoons of batter go right into the soup. Thencook, with a lid slightly covering pot, for about 15 minutes.

IMG_2690.jpg

Look at that. Soup with soft, fluffy, dumpling ready for consumption.

Now all you have to do it serve it up and eat it up.

Soup all day. Every day. Dumplings too!

-C


Vegetable Dumpling Soup

makes 4-6 servings

  • For the soup

  • 1/2 cup dried small white beans

  • 1 large onion

  • 2 carrots

  • 2 small red potatoes

  • 3 Swiss chard leaves and stalks

  • handful of cherry tomatoes (about a cup or so)

  • 1 teaspoon garlic powder

  • 1 teaspoon dill

  • 1 teaspoon thyme

  • 1 teaspoon ginger

  • 1 teaspoon marjoram

  • 1 teaspoon ground mustard

  • 1/2 teaspoon sage

  • 1/2 red pepper flakes

  • 12 cups water

  • salt and pepper to taste

  • For dumplings

  • 1 cup all purpose flour

  • 1 tablespoons oil

  • 1 teaspoon baking powder

  • 1/2 teaspoon salt

  • 1 teaspoon black pepper

  • 1/2 cup warm water or plant based milk

Couple quick notes. I use water but if you really want, use veggie stalk. I find stalk overpowers soup and makes it taste salty, even when it is low sodium. Plus water is there and free but again, use stalk if you want. Also, you can use just about any veggie that you like so if you want to replace chard with celery and spinach or throw some red peppers into the soup, go for it.

Start by small dicing the potatoes, the onion, the carrots, and the stalks of the chard. Dump it all into a large pot, along with all the spices and a good pinch of salt and pepper, and place on the stove on medium high heat with about 1/2 cup water and cook for a few minutes. Cut the cherry tomatoes in half and cut the chard leaves into small ribbons. Set aside.

Once the veggies and spices have had a few minutes on the stove, add in the dried beans and 10 cups of water. Bring the pot to a boil then reduce to a medium heat. Cook for about an hour, giving it a stir once in a while. After an hour, check beans for doneness but removing one or two and pinching between fingers. . They should be close to done by now. If they are still really heard, cook for another 20 minutes, if almost cooked through, toss in the tomatoes, the chard greens and the other 2 cups of water. Keep cooking.

In the meantime, make dumpling dough. Mix the dry together then add in the oil and milk. Mix until just combined. Set aside.

Once the soup is done (the veggies are all soft and tender, the beans are cooked through which should take a total of 1 1/2 hours), it’s time to dumpling. Turn the soup up to a medium high heat and carefully drop tablespoons of the dumpling batter right into the soup. The batter will float. Once all the dumplings are in, half cover the pot and let the dumpling cook for 15 minutes or until the dumplings are big, light. and fluffy.

Remove pot from heat and serve and eat right away. Big bowls, Big spoons. Pinch more of salt if needed. Lots of pepper.

In Vegetables, Vegan, soups/stews/chilis, pulses, Dairy Free, beans Tags Vegetable Dumpling Soup, Soup, vegetables soup, dumpling soup, beans, vegan, dinner, lunch, plant based, fall food, food, fall, winter, warm, hardy, comfort food, stew, pulses, dairy free
Comment
Share

Creamy Green Pea-Cauliflower-Broccoli Soup with a Sumac Tahini Swirl

May 18, 2019 Colleen Stem
IMG_8486 2.jpg
IMG_8538.jpg
IMG_8573.jpg

Let’s talk about how soup is the perfect food. It can be light and fresh, hearty and deep, chunky or smooth. You can eat it with a spoon, or somtime a fork if warranted, or just drink it from a mug. It’s usually a one pot meal, a small pot for one, a big pot for many. Make a pot of soup and eat some now and save some for later. It freezes amazingly well. Got a few extra sad carrots and wilted greens? Toss them into a pot with whatever you have on hand, maybe those veggies scraps and you got yourself a meal. Want something more filling, just add in some grains. Feeling sick, warm soup will make it all better. Feeling fresh and springy, well soup is there for you too. Seriously soup, you can do anything. If I could, I would marry you. ♥️

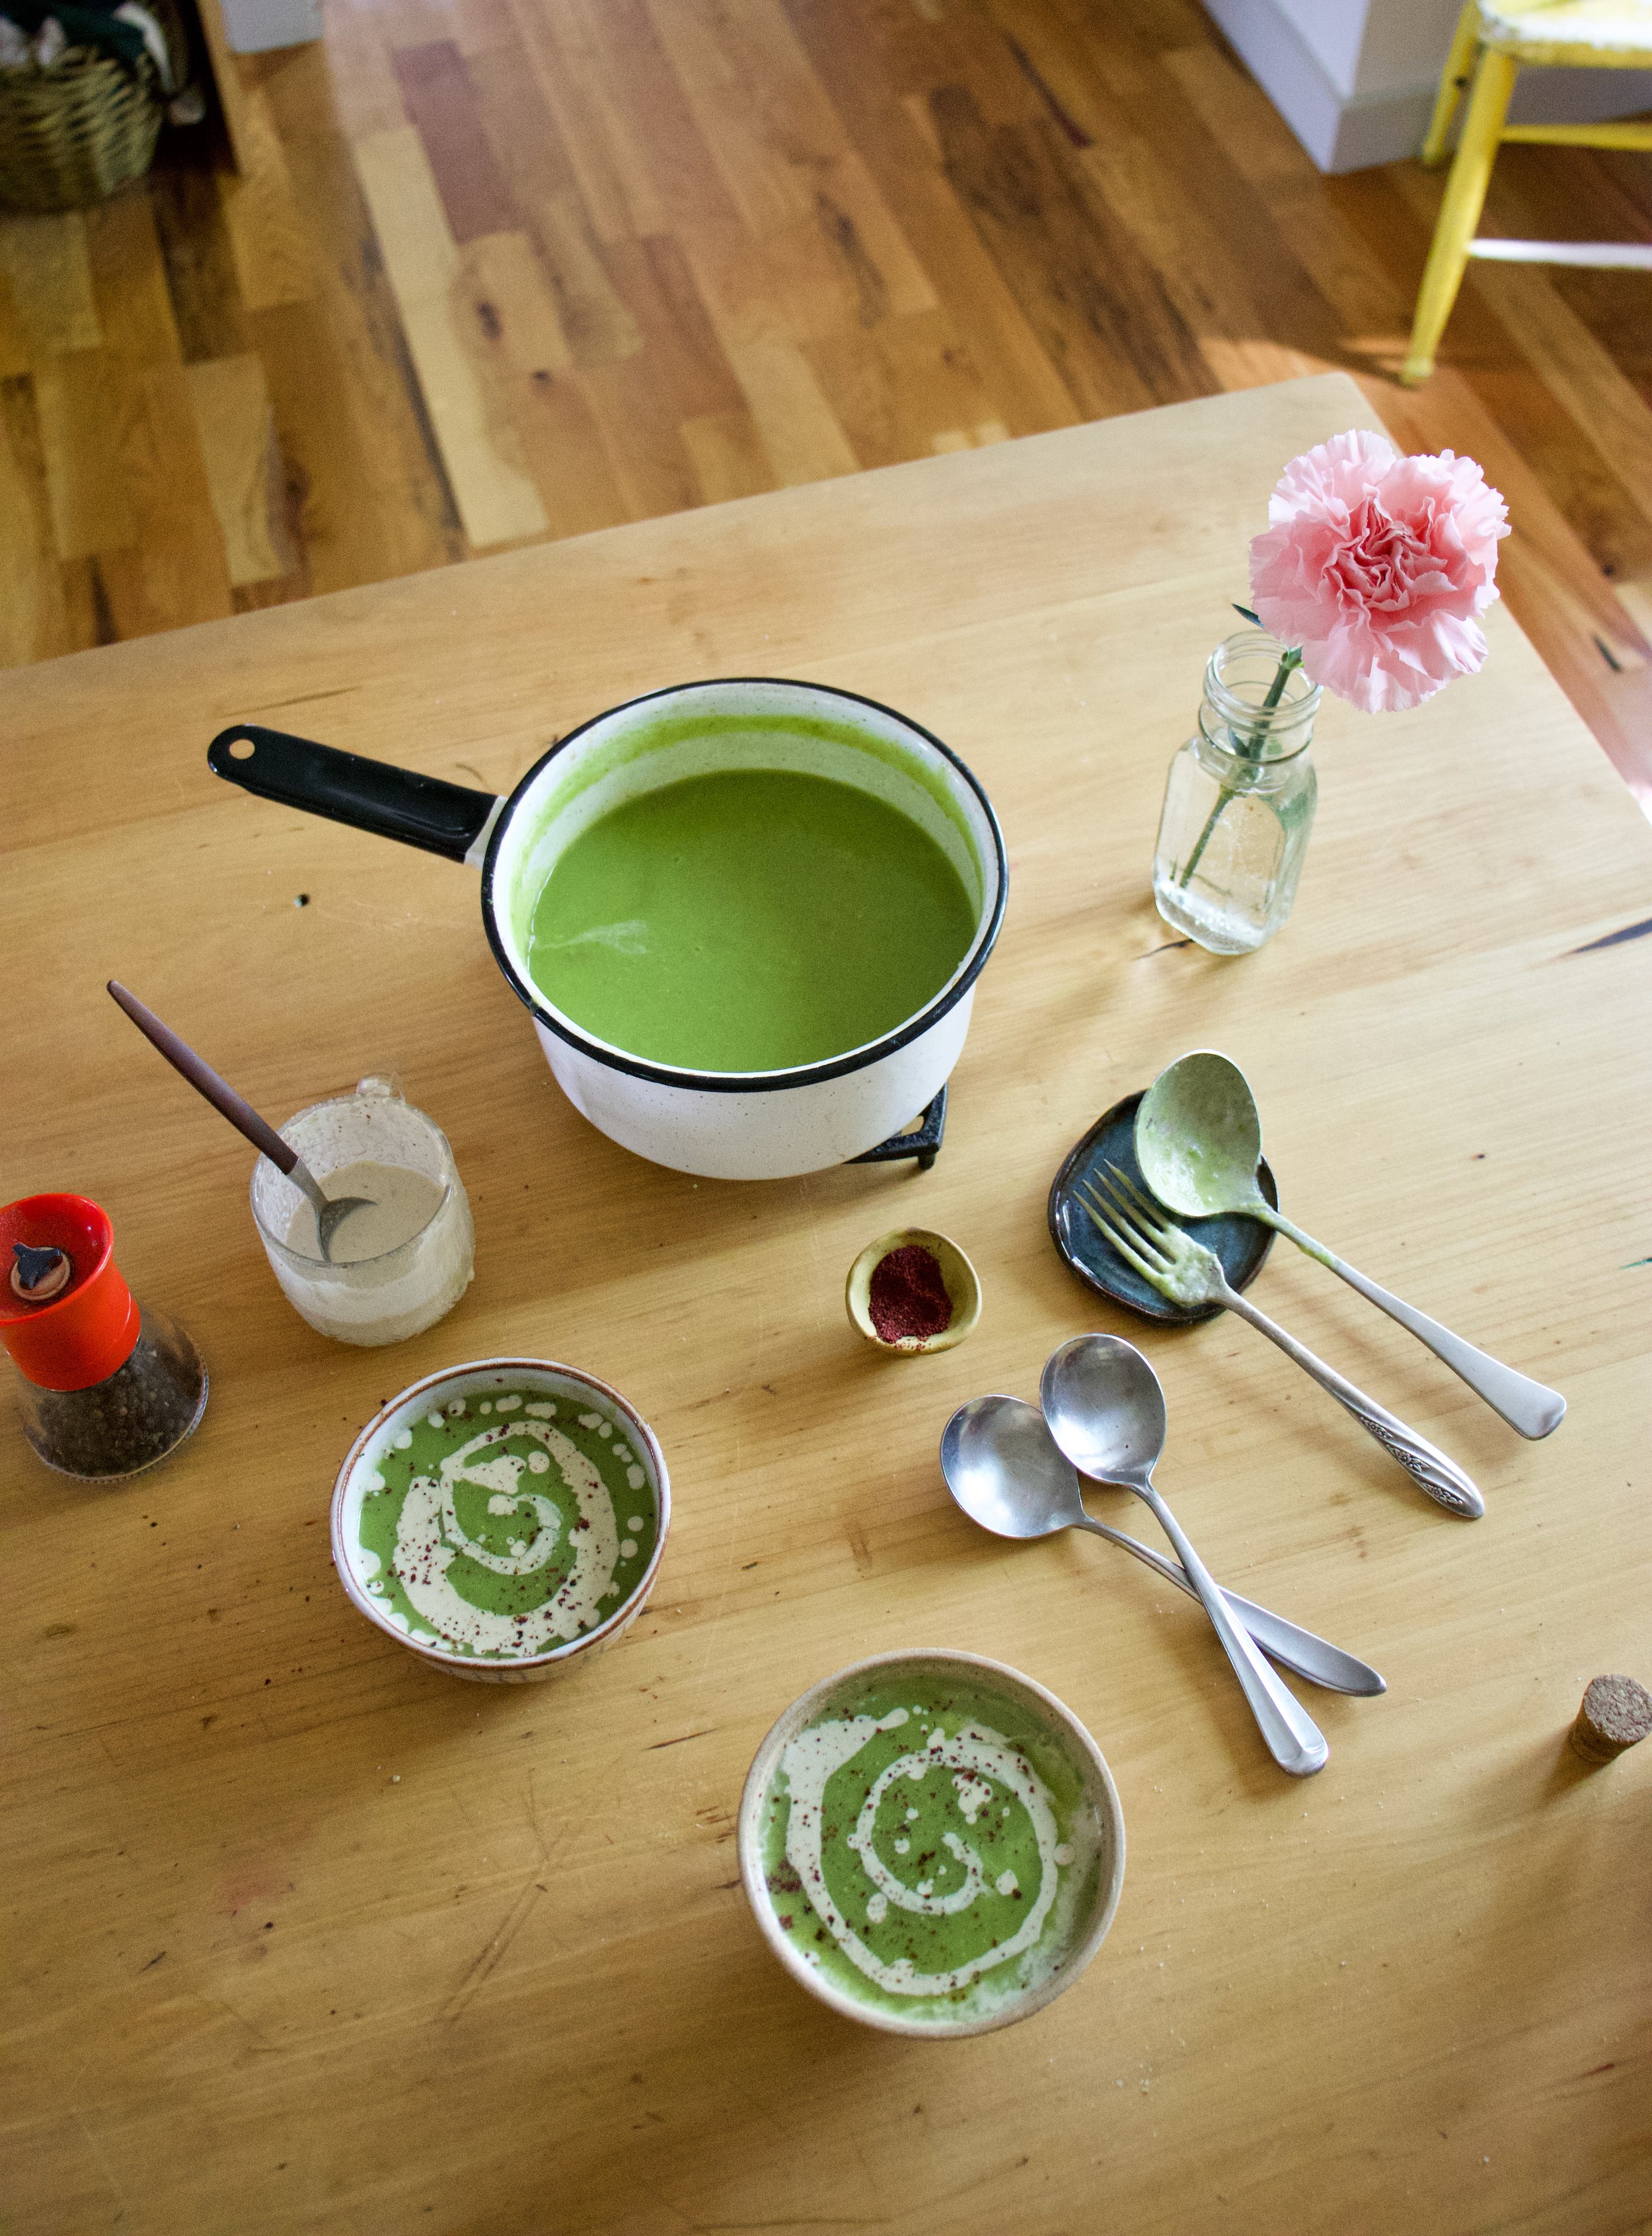
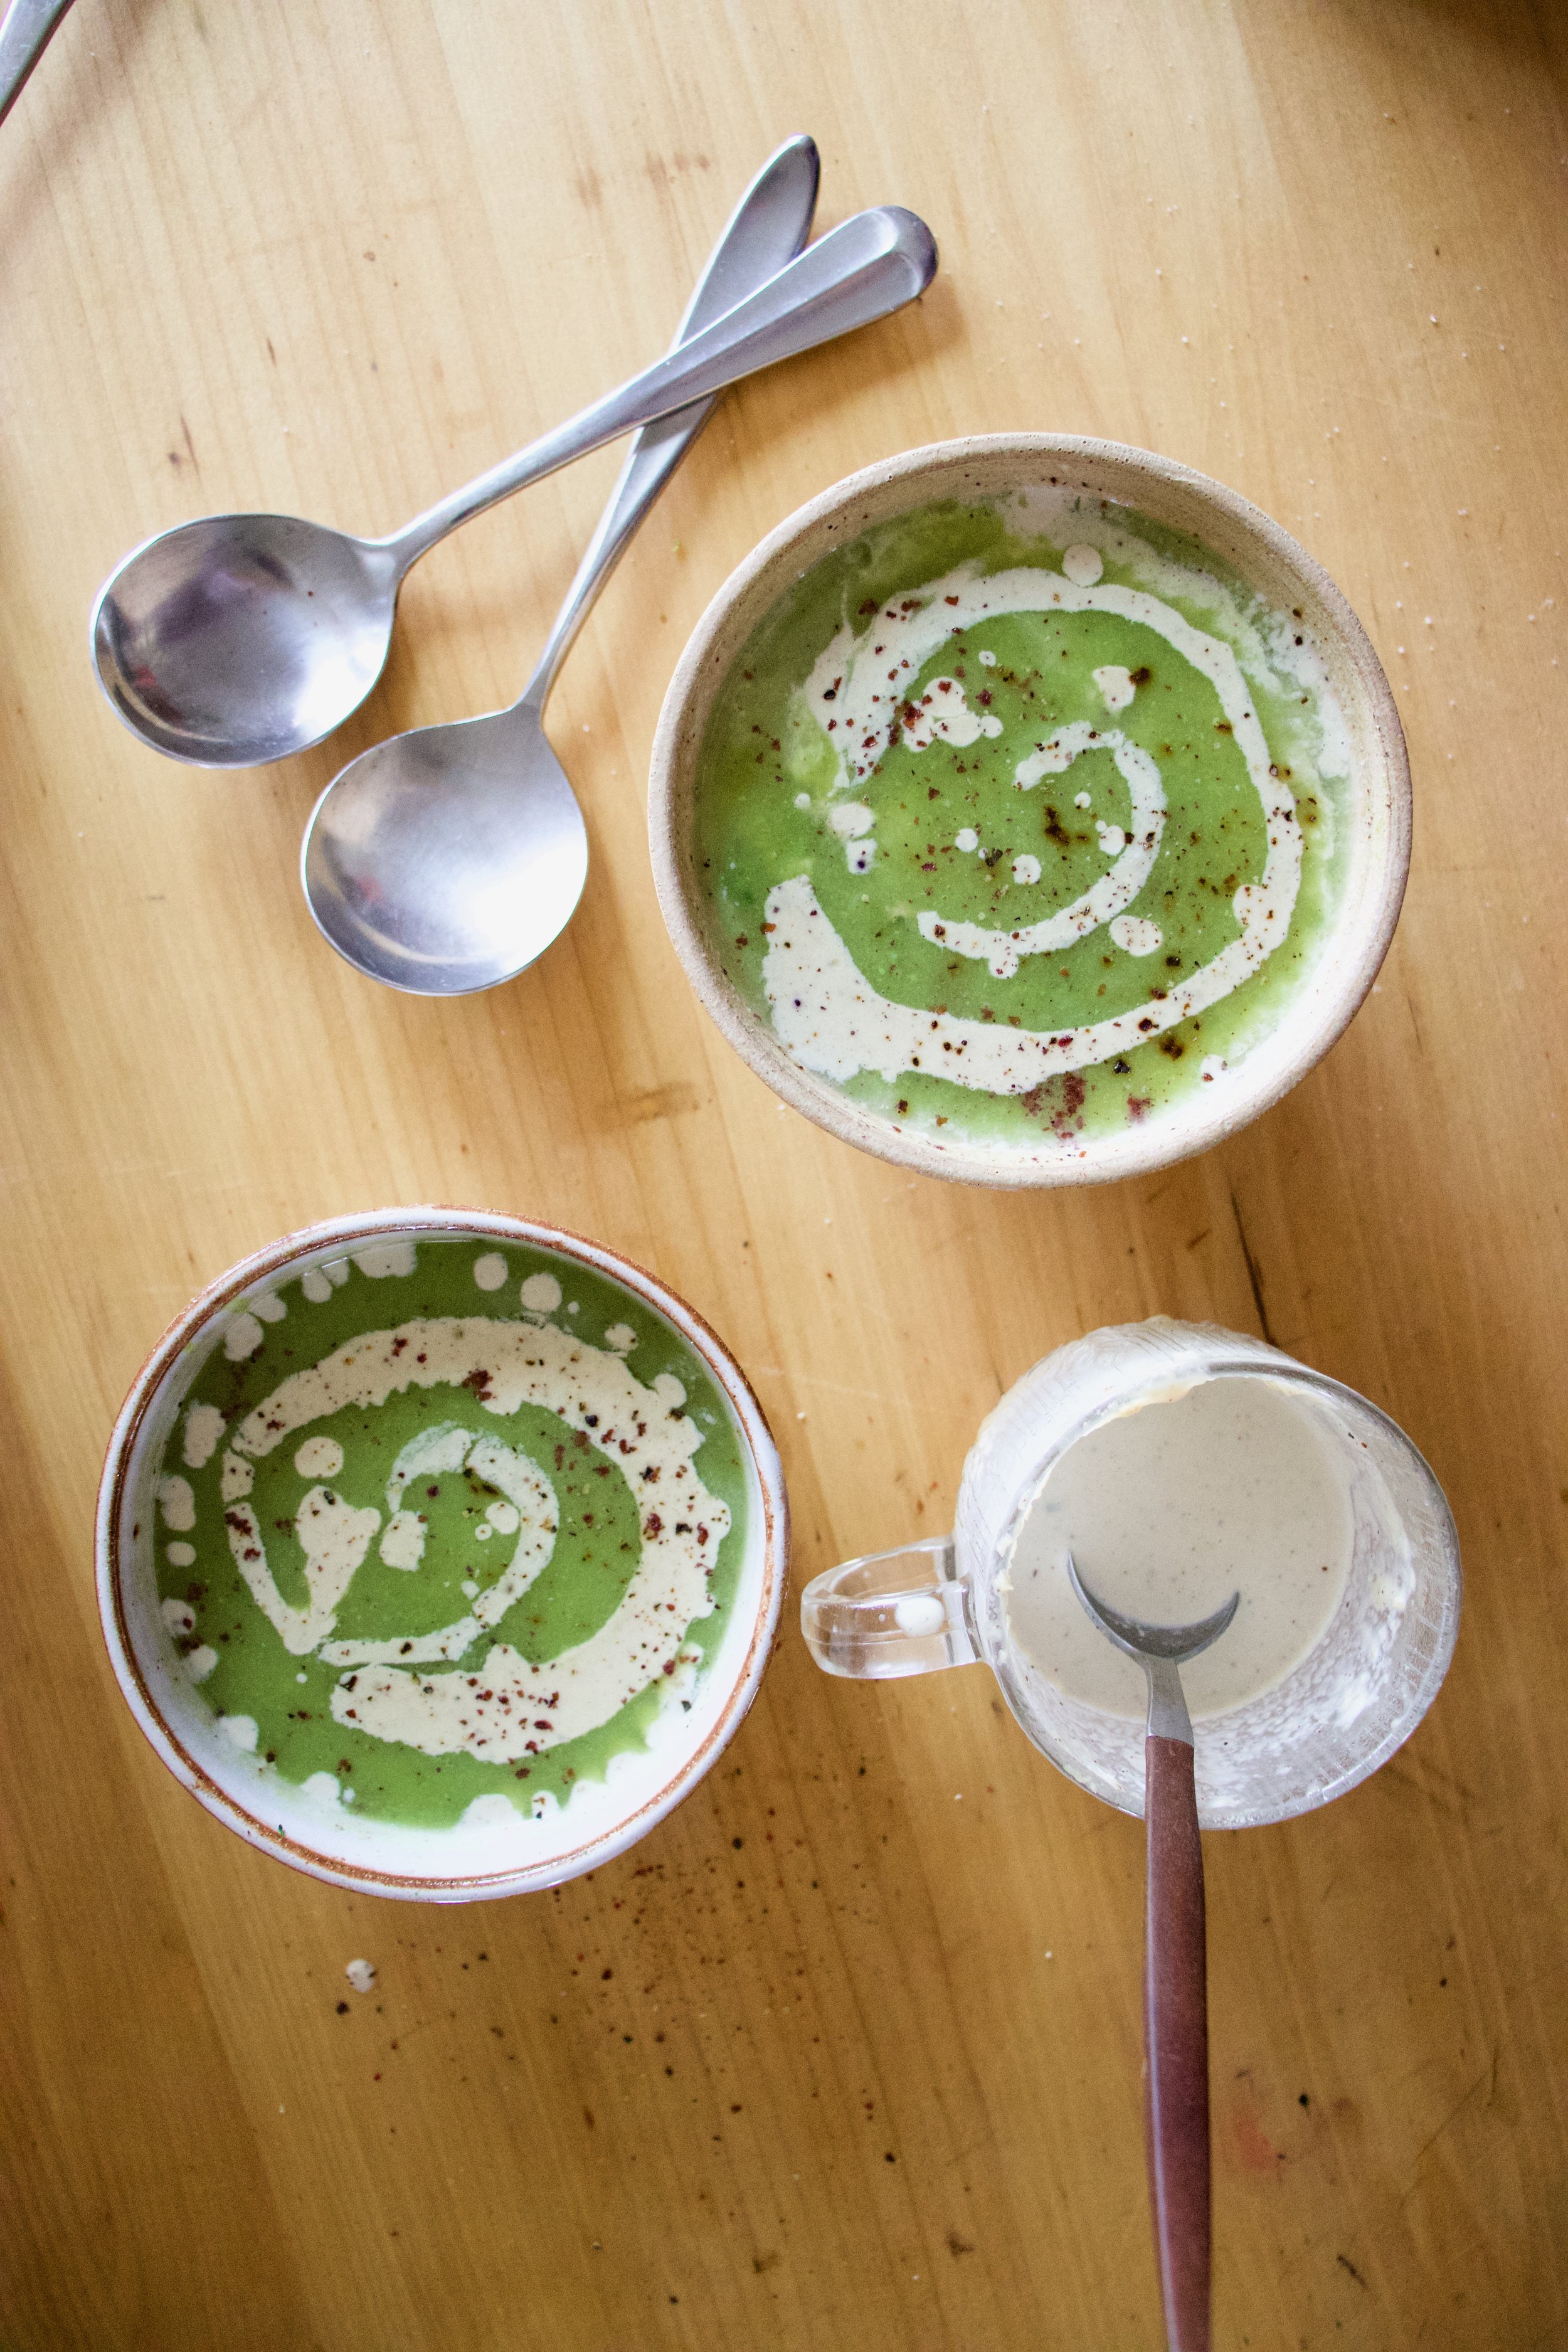
This soup is one of this velvety smooth, light but rich, delicious beyond delicious soups. A fresh spring time soup. Not to hearty or heavily spiced. Super rich and creamy and flavorful. Bright ass green which makes it amazing in itself, but then with a nice tangy sumac tahini swirl on top, well it is just about the most perfect soup. I made to share, which I did, (and everyone licked their bowls clean) but then hoarded the little bit left over and ate it cold for a late afternoon snack. That is another thing about soup, you can eat is cold and it is still amazing.

Tasty and delicious, and nutritious. This soup does it all.

To the soup!

The stuff. Peas, chopped broccoli, and chopped cauliflower which are all frozen and slightly thawed. You can totally use fresh here too, but I just so happen to have it frozen so you might as well save the fresh stuff for fresh eating. Also have a big yellow onion, a few cloves garlic, some tahini, a lemon, sumac, and salt and pepper. You need water which I did not picture here.

IMG_8363.jpg
IMG_8370.jpg

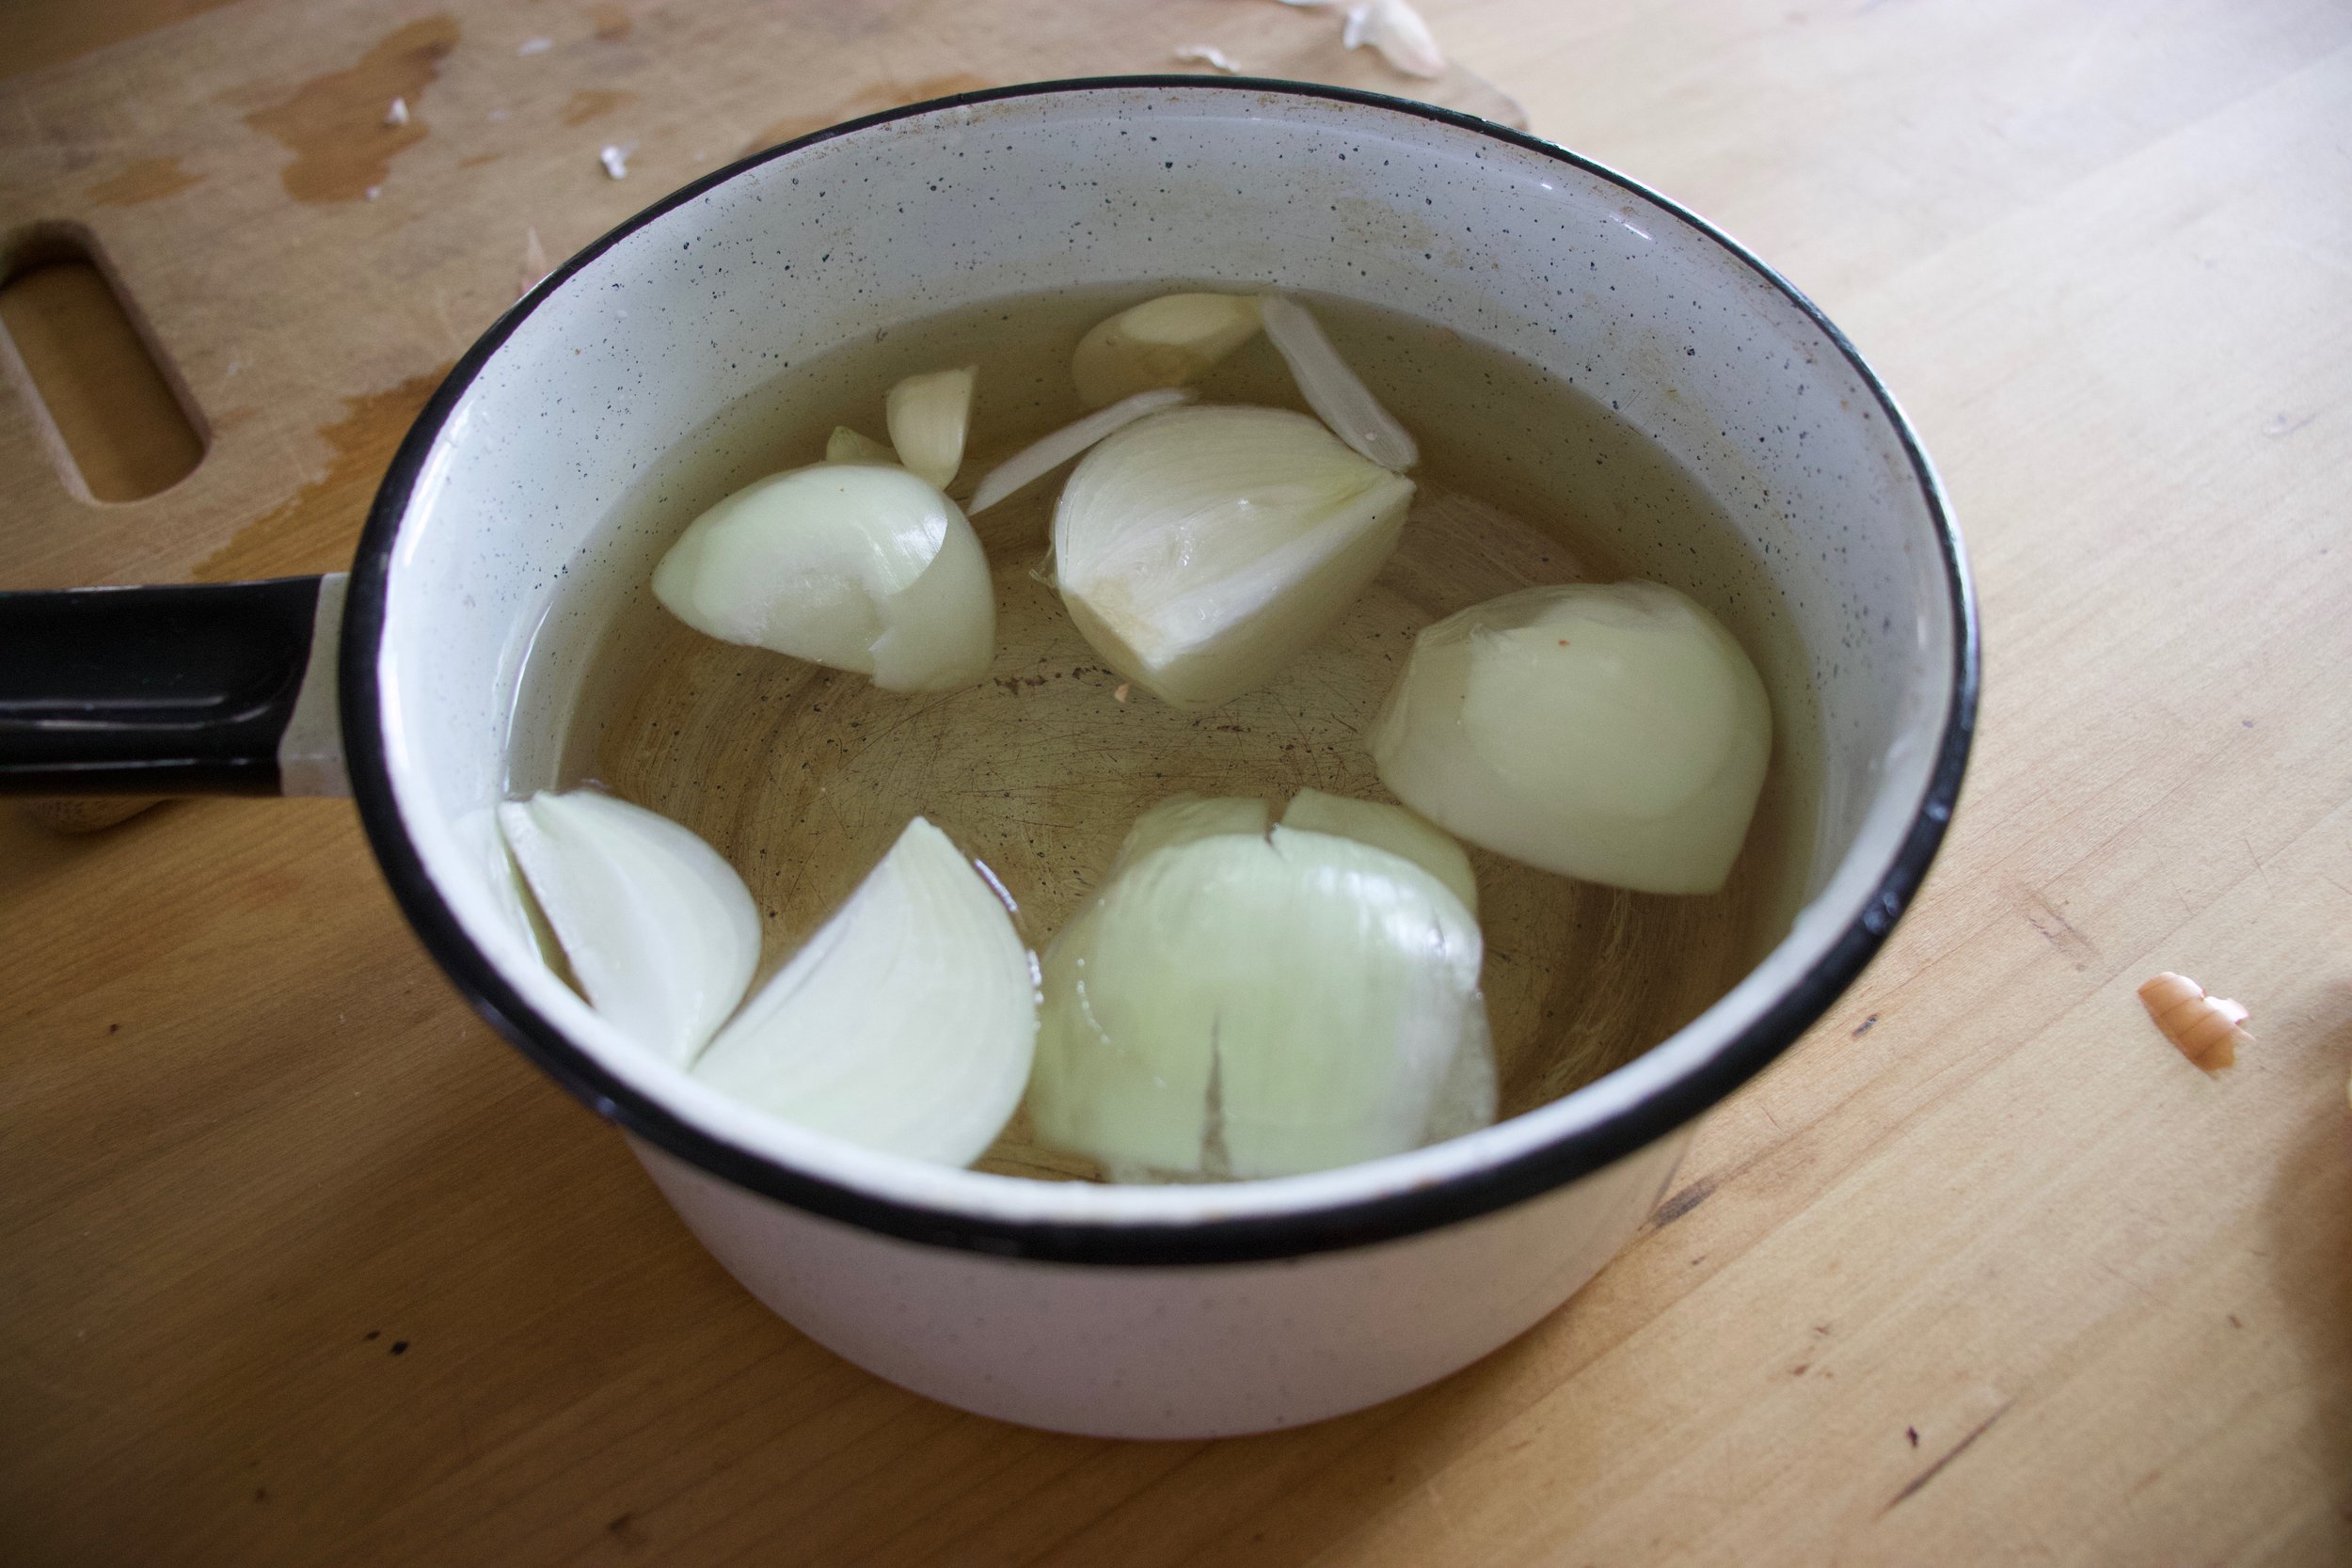
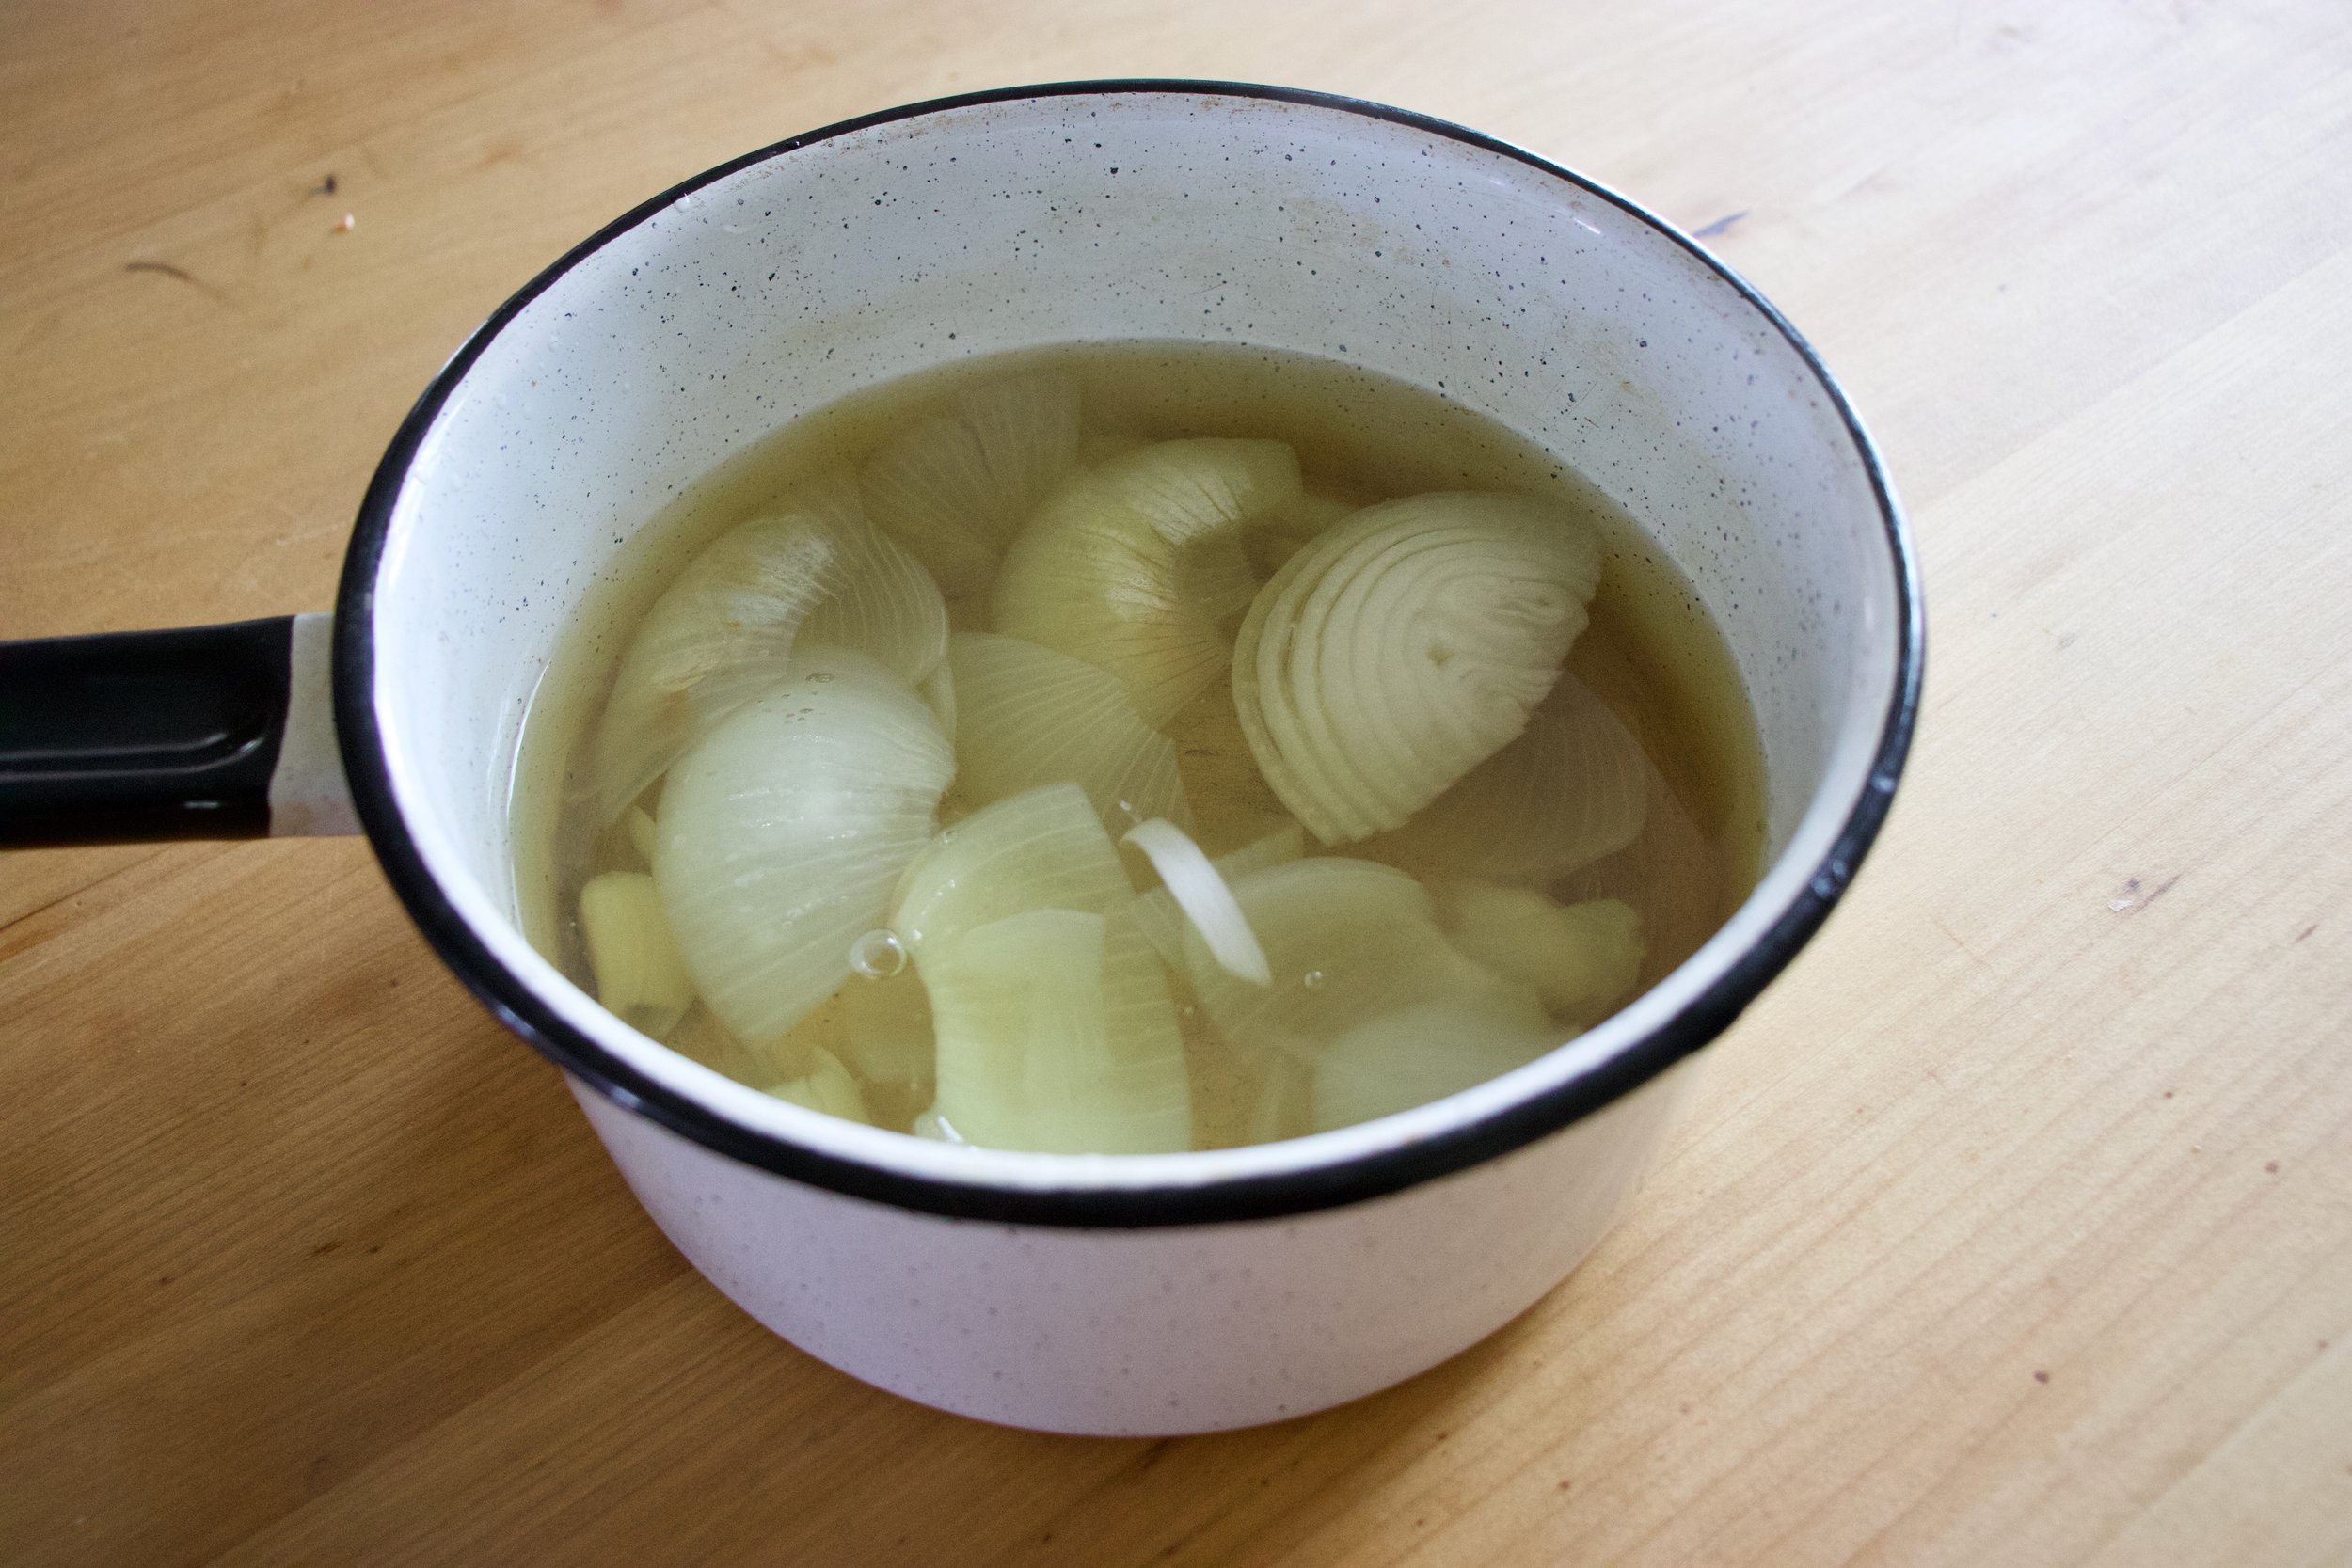
A pot, some water and a roughly chopped onion and the garlic start off this soup. Bring the pot to a boil, then turn to medium and let the onion and garlic cook until very tender. I have been making a lot of soups starting with this step lately. Boiling the onion and garlic until tender and fragrant really make for a super flavorful and clean soup base. Or soup in itself.

IMG_8386.jpg

Now add in the broccoli and cauliflower to the pot and cook until tender.

IMG_8402.jpg
IMG_8409.jpg

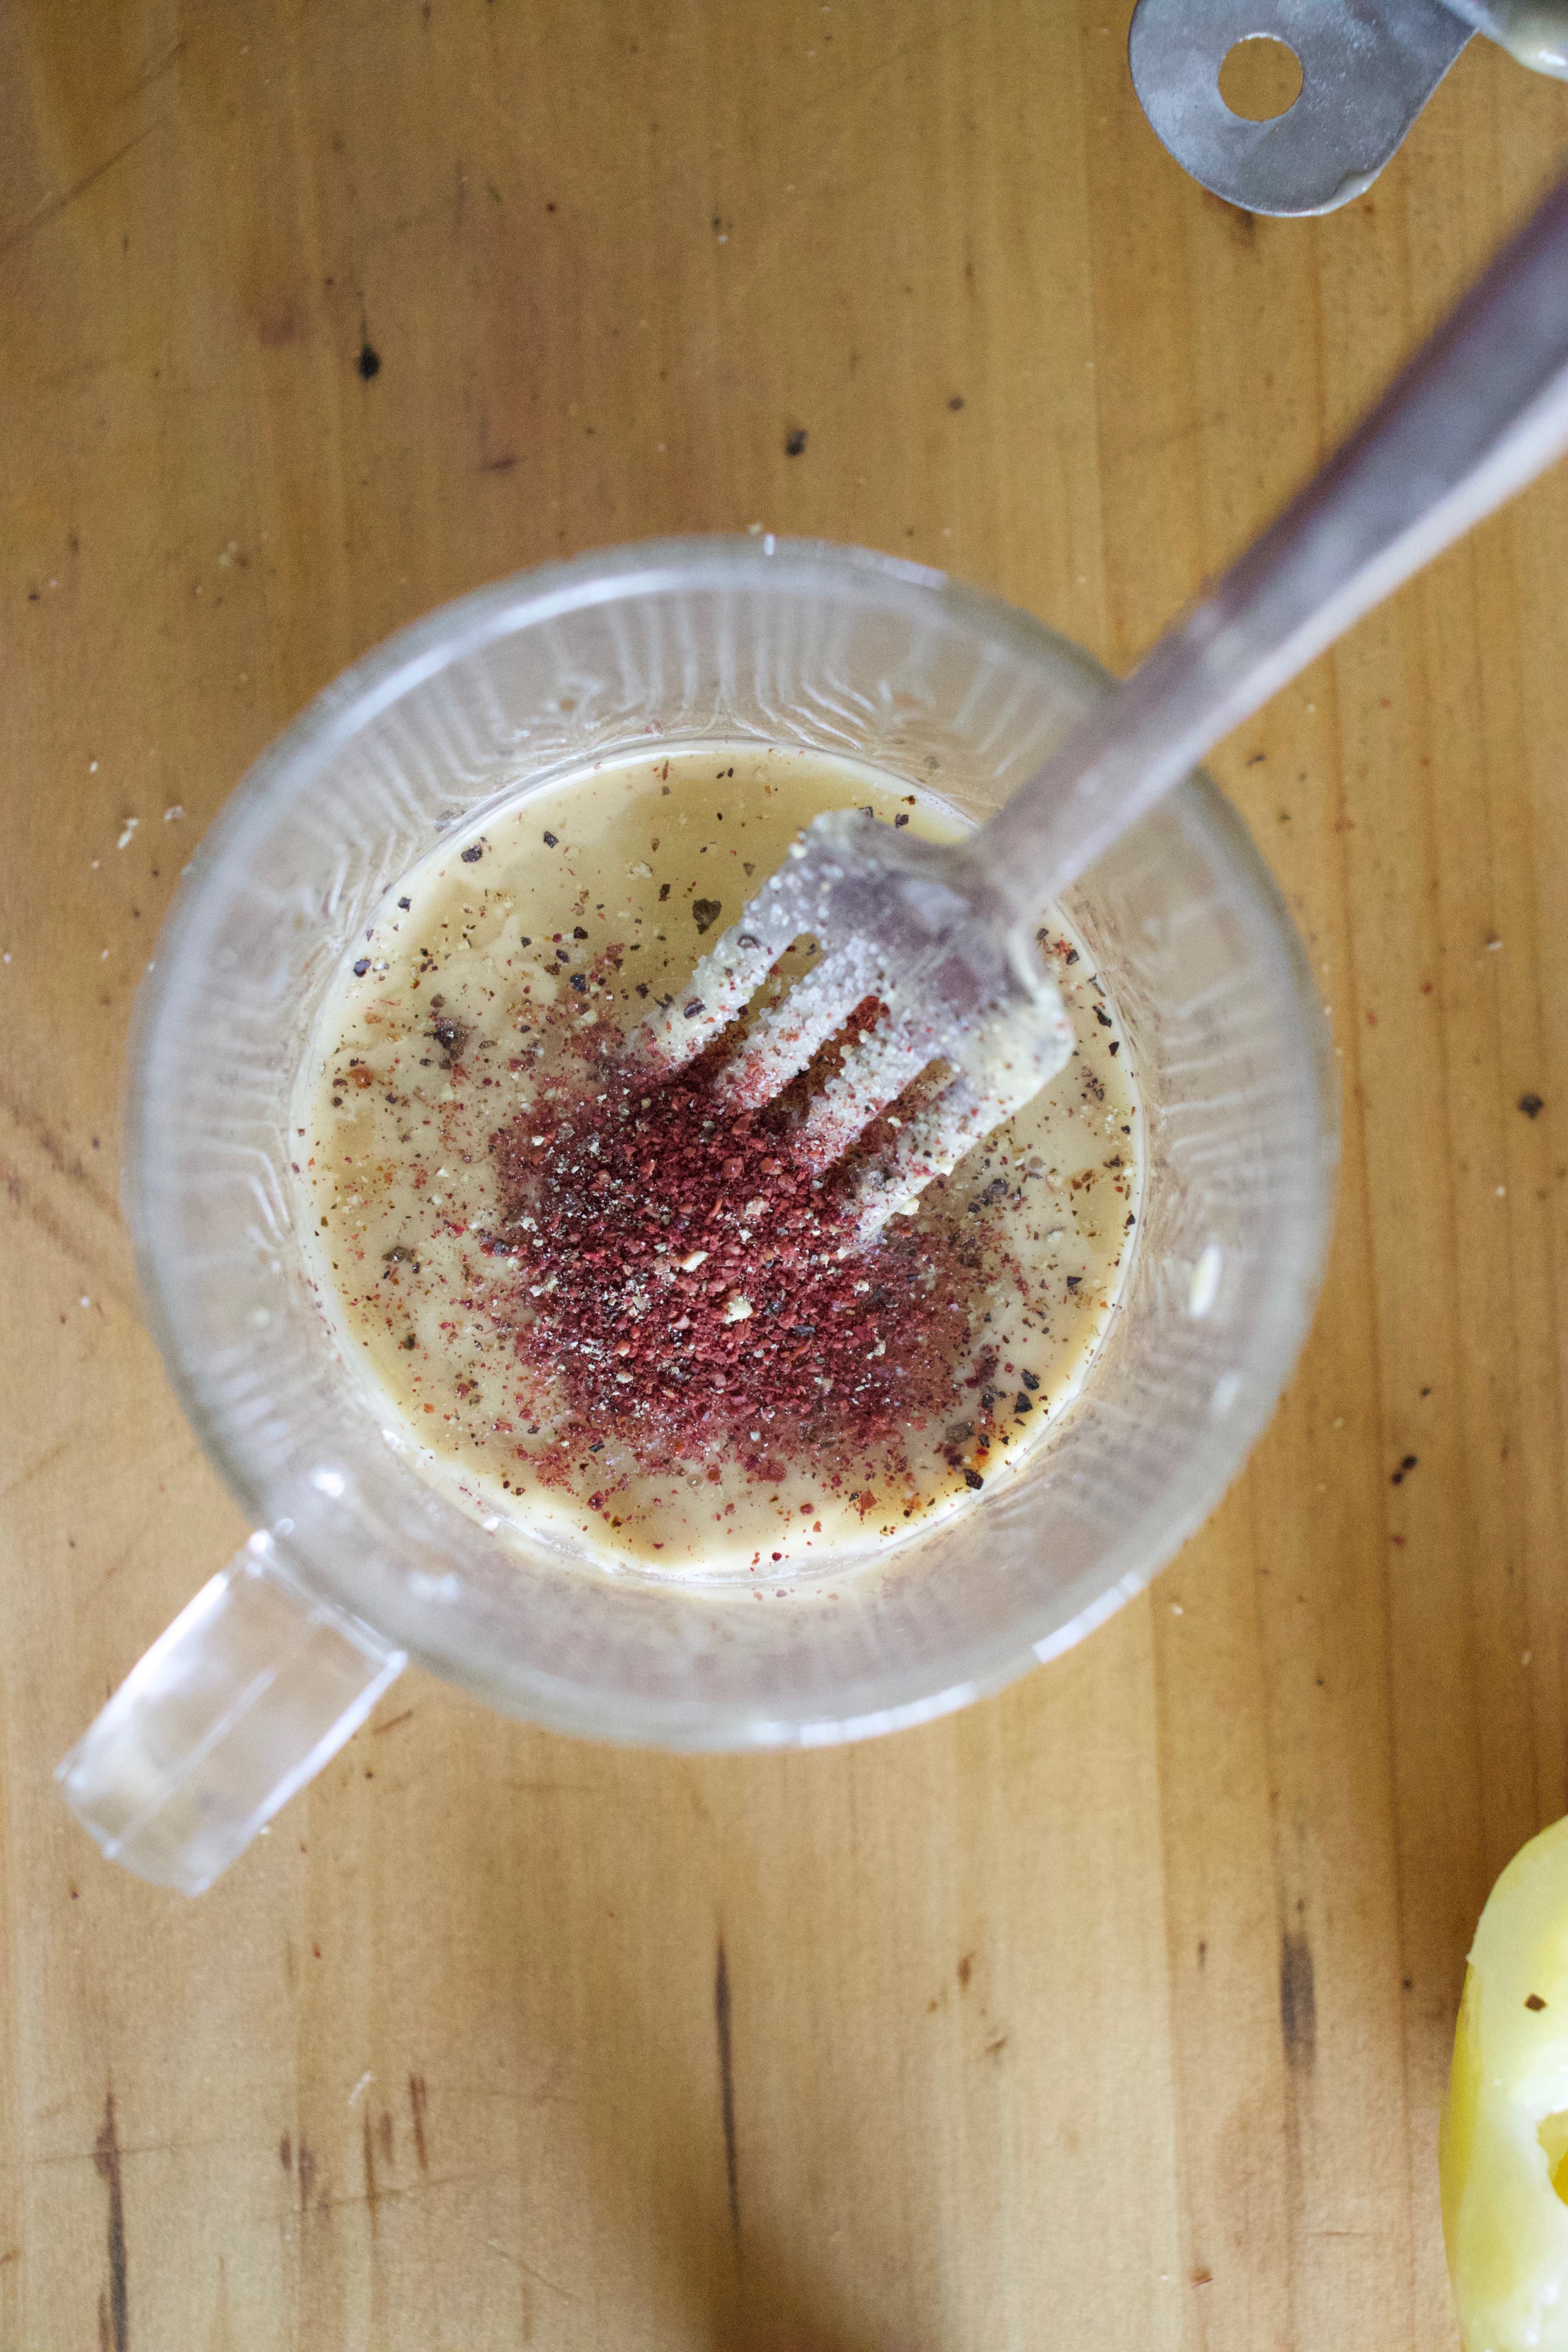
Mid soup cooking time is a good time to make the sumac tahini sauce for the swirl. Basics here, just mix the tahini, the sumac, a pinch of salt and pepper, the juice of the lemon and a tablespoon of warm water together until smooth.

IMG_8433.jpg

Last but not least, the peas. Add them in and they just need a few minutes to cook through.

IMG_8456 2.jpg

And then it all gets blended to become this green creamy goodness.

IMG_8557.jpg

Ladle into bowls, grab the sumac tahini sauce and swirl it on in. A tablespoon or so is good. And don’t forget a little more pepper and another pinch of sumac for good measure.

Just appreciate for a moment. That is one good looking bowl of soup. And it taste even better then it looks.

-C


Creamy Green Pea-Cauliflower-Broccoli Soup with a Sumac Tahini Swirl

Makes about 4 serving

  • 1 1/2 cups fresh or frozen peas

  • 1 1/2 cup chopped fresh or frozen cauliflower

  • 1 1/2 cup chopped fresh or frozen broccoli

  • 1 large onion

  • 3-4 cloves garlic

  • 4-5 cups water

  • Salt and pepper

  • 1 teaspoon sumac

  • 2 tablespoons tahini

  • 2-4 tablespoons warm water

Start by removing the papery skin from the onion and chop into a few big chunks. Remove the skin from garlic too. Place into pot with 4 cups water. Turn heat on high and bring to a boil then turn heat to medium and let onion are garlic cook until tender which should take about 15-20 minutes

Once the onion is cooked, add in the broccoli and cauliflower. Turn heat back to high and bring to a boil again then turn back down to medium heat. Keep cooking until tender (another 15 minutes or so) then add in the peas. Keep on heat until peas are cooked through then remove the pot from heat and either transfer to a blender or use a immusrian blender to blend the soup until smooth. Add a little more water if needed to get to the right consistency to blend right. Or if you want a thinner soup.

For the tahini sumac swirl just mix the tahini and sumac together along with the juice of the lemon, two tablespoon warm water and a pinch of salt. Mix together until smooth. If the mixture is to thick, add another tablespoon of water.

To serve. Ladle or pour soup into bowls and drizzle and swirl the tahini sumac on top. Sprinkle with pepper and a pinch more sumac and you are good to go.

In Vegetables, Vegan, Spring, soups/stews/chilis, soup, quick and easy, Dairy Free Tags Creamy Green Pea-Cauliflower-Broccoli Soup with a Sumac Tahini Swirl, Vegan, vegan soup, dairy free, spring, gluten free, plant based, sumac, tahini, fast and easy, green, healthy, fresh, peas, broccoli, cauliflower, dinner, lunch
Comment
Share

Sesame Noodles

March 30, 2019 Colleen Stem
IMG_7054.jpg
IMG_6911.jpg

It is getting oh so much nicer out yeah? Springing and such, well kind of. Still a wee bit chillier then it should be around here but still, it is spring and I am taking it.

And with the spring, I feel the itch, the itch to spend all of my free time outside. Out doing things that are not inside because I spent the last 7 long months inside way too much. I needed to be outside as much as possible and as it gets even nicer and warmer and garden temperature-able, I am basically going to be living outside.

Bring in sesame noodles. Super fast, super easy, super duper in every way. Make a big old batch and eat now, eat later, eat hot or eat cold. Everyone loves them, they love you, etc. etc… A perfect meal to have in rotation when you know that you are not going to have or want to spend much time cooking in the kitchen because you will be outside playing in the dirt and soaking up the sun. And think about all the picnics and BBQ’s to come. These suckers are fantastic to have at any outdoor eating event. They are even peanut free so you can safely bring them to potlucks and such and don’t have to worry about accidentally kill a peanut allergy person. And you can make them gluten free as well if you sub in your favorite gluten free pasta. These noodles, I am telling you. They are a winner in every way.

So with out further ado, the noodles!

IMG_6790.jpg

The stuff. Spaghetti noodles, tahini, a few cloves of garlic, some toasted sesame oil, soy sauce, red wine vinegar, honey (used whatever sweetener you like), red pepper flakes, tasted sesame seeds some cabbage, half a red onion and a carrot.

IMG_6854.jpg

Get pasta cooking. Boil water, drop noodles in, you know the drill. Cook as long as the the noodles need cooking, just make sure to not over cook them cause soggy noodles are nasty.

Chop, shred and julienne the cabage, onion and carrot. Nice and thin.

Mince the heck out of the garlic. Or use a garlic press if you want.

IMG_6843.jpg
IMG_6848.jpg

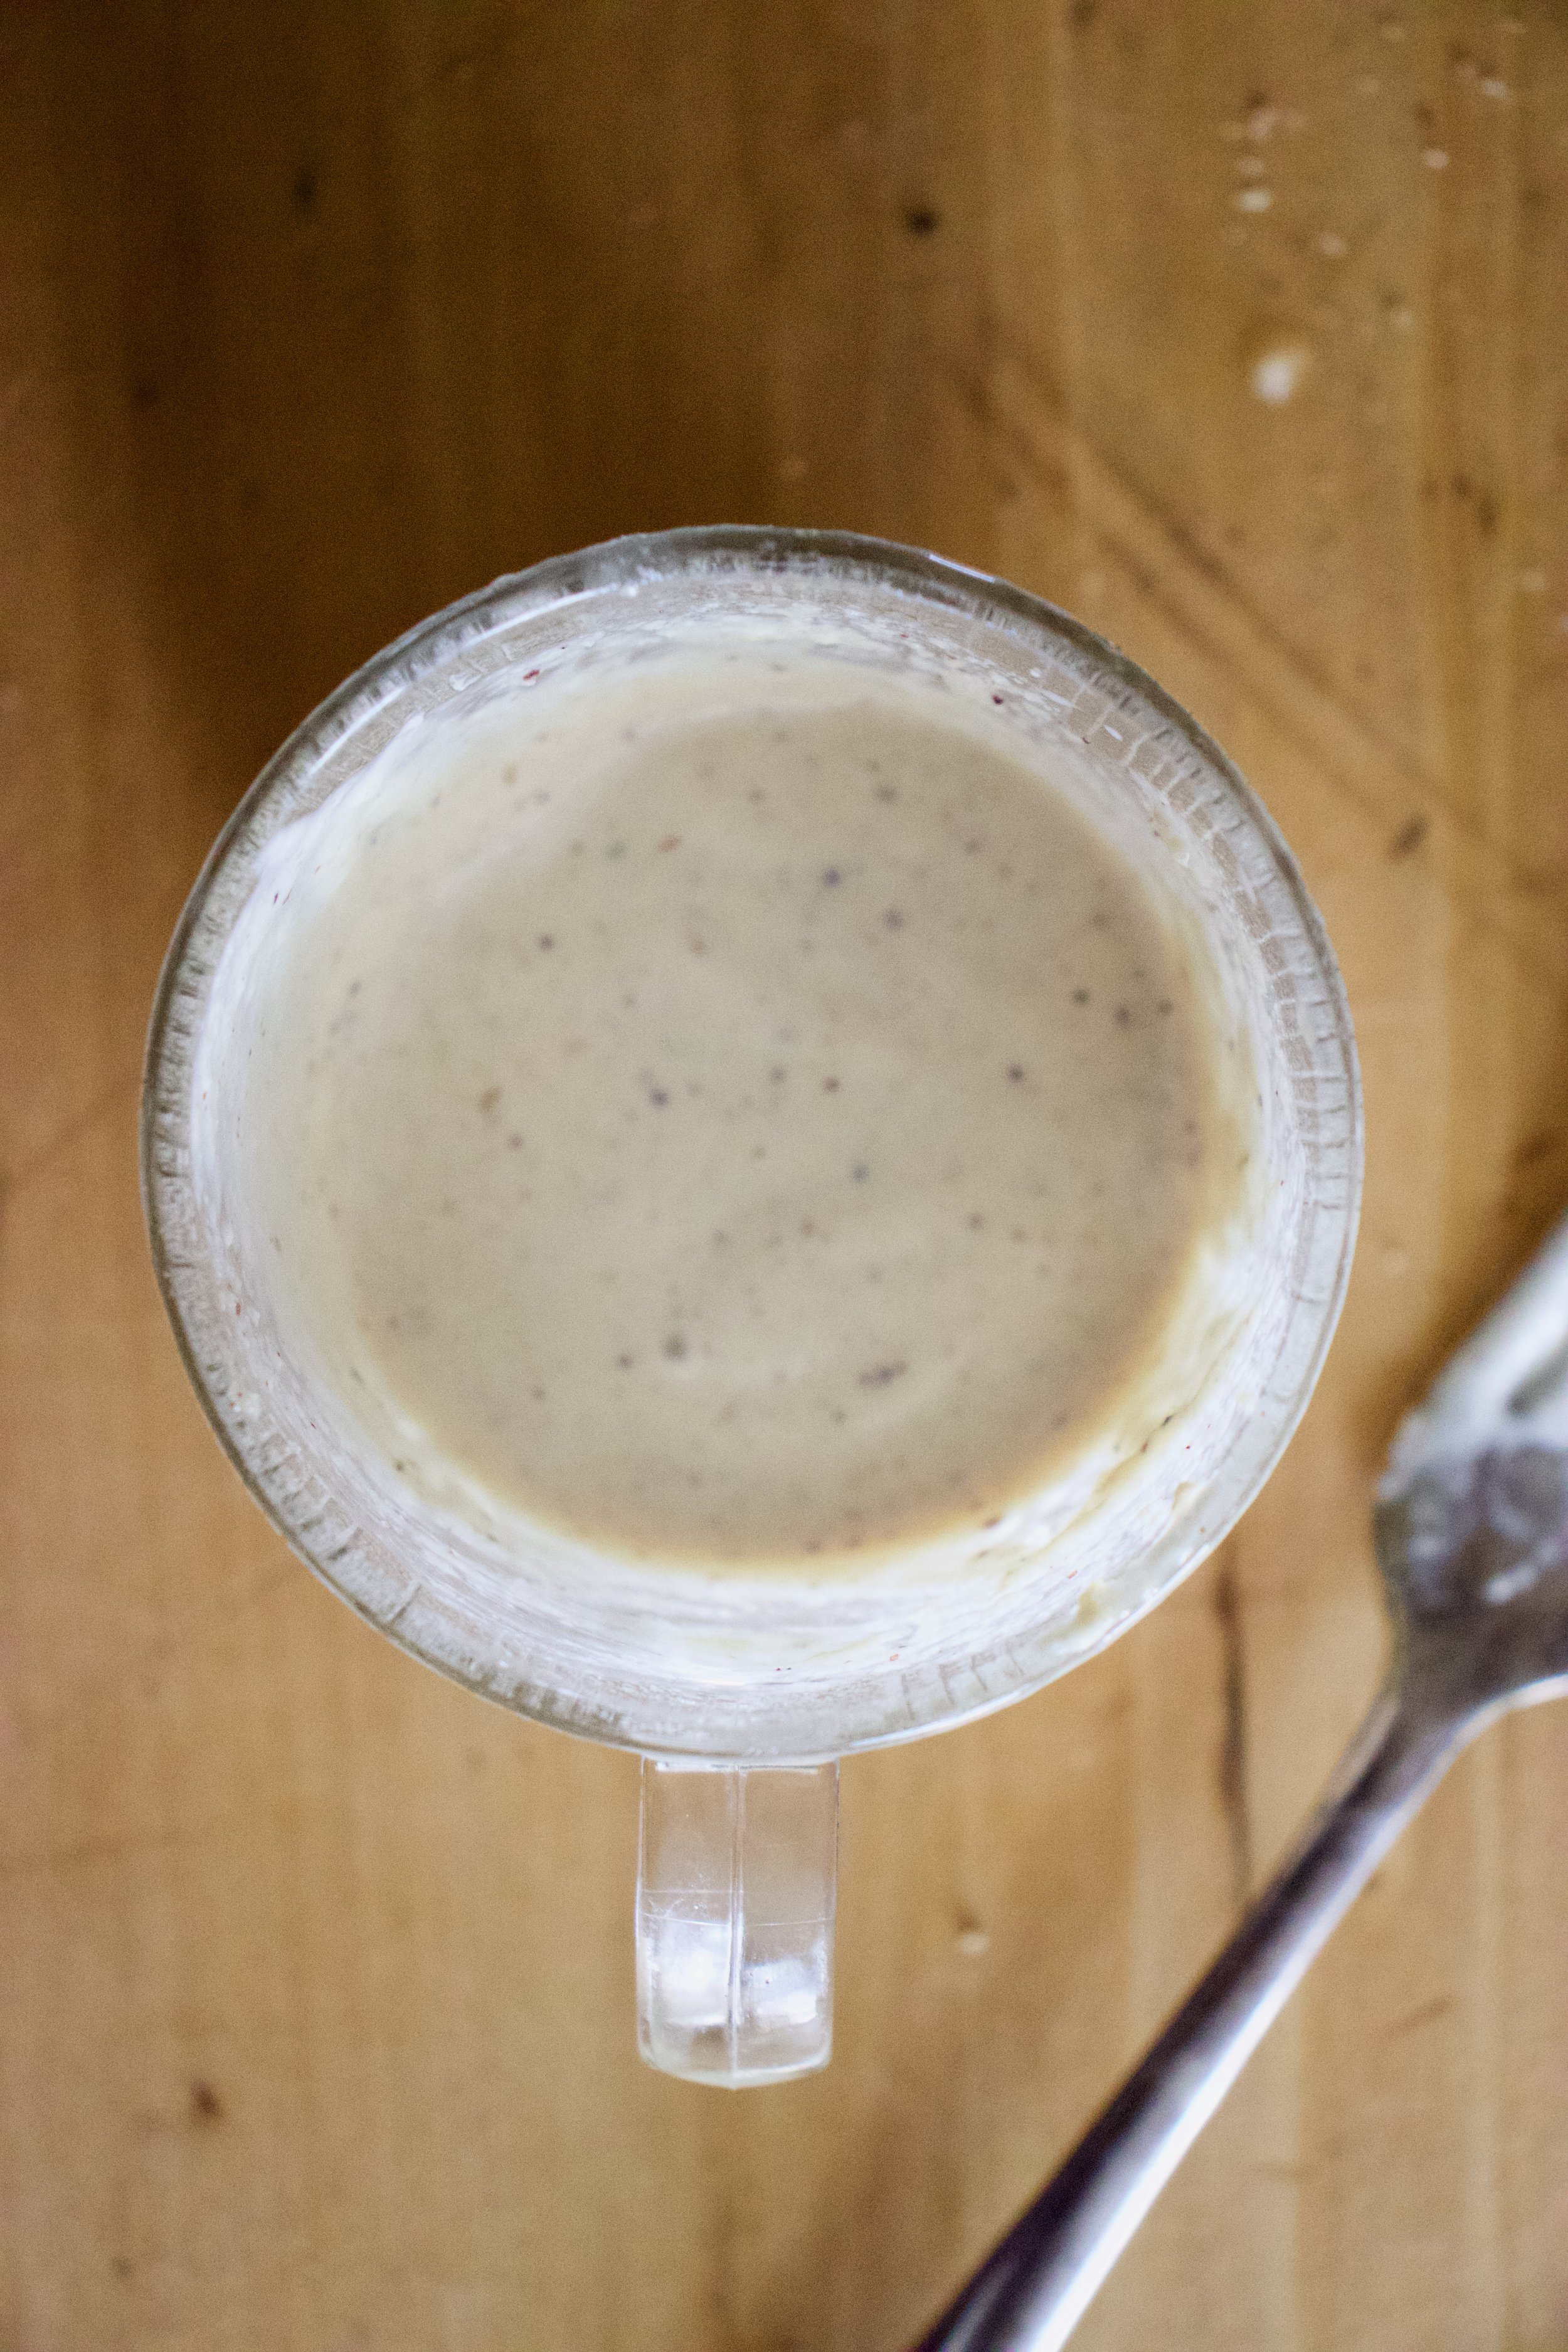
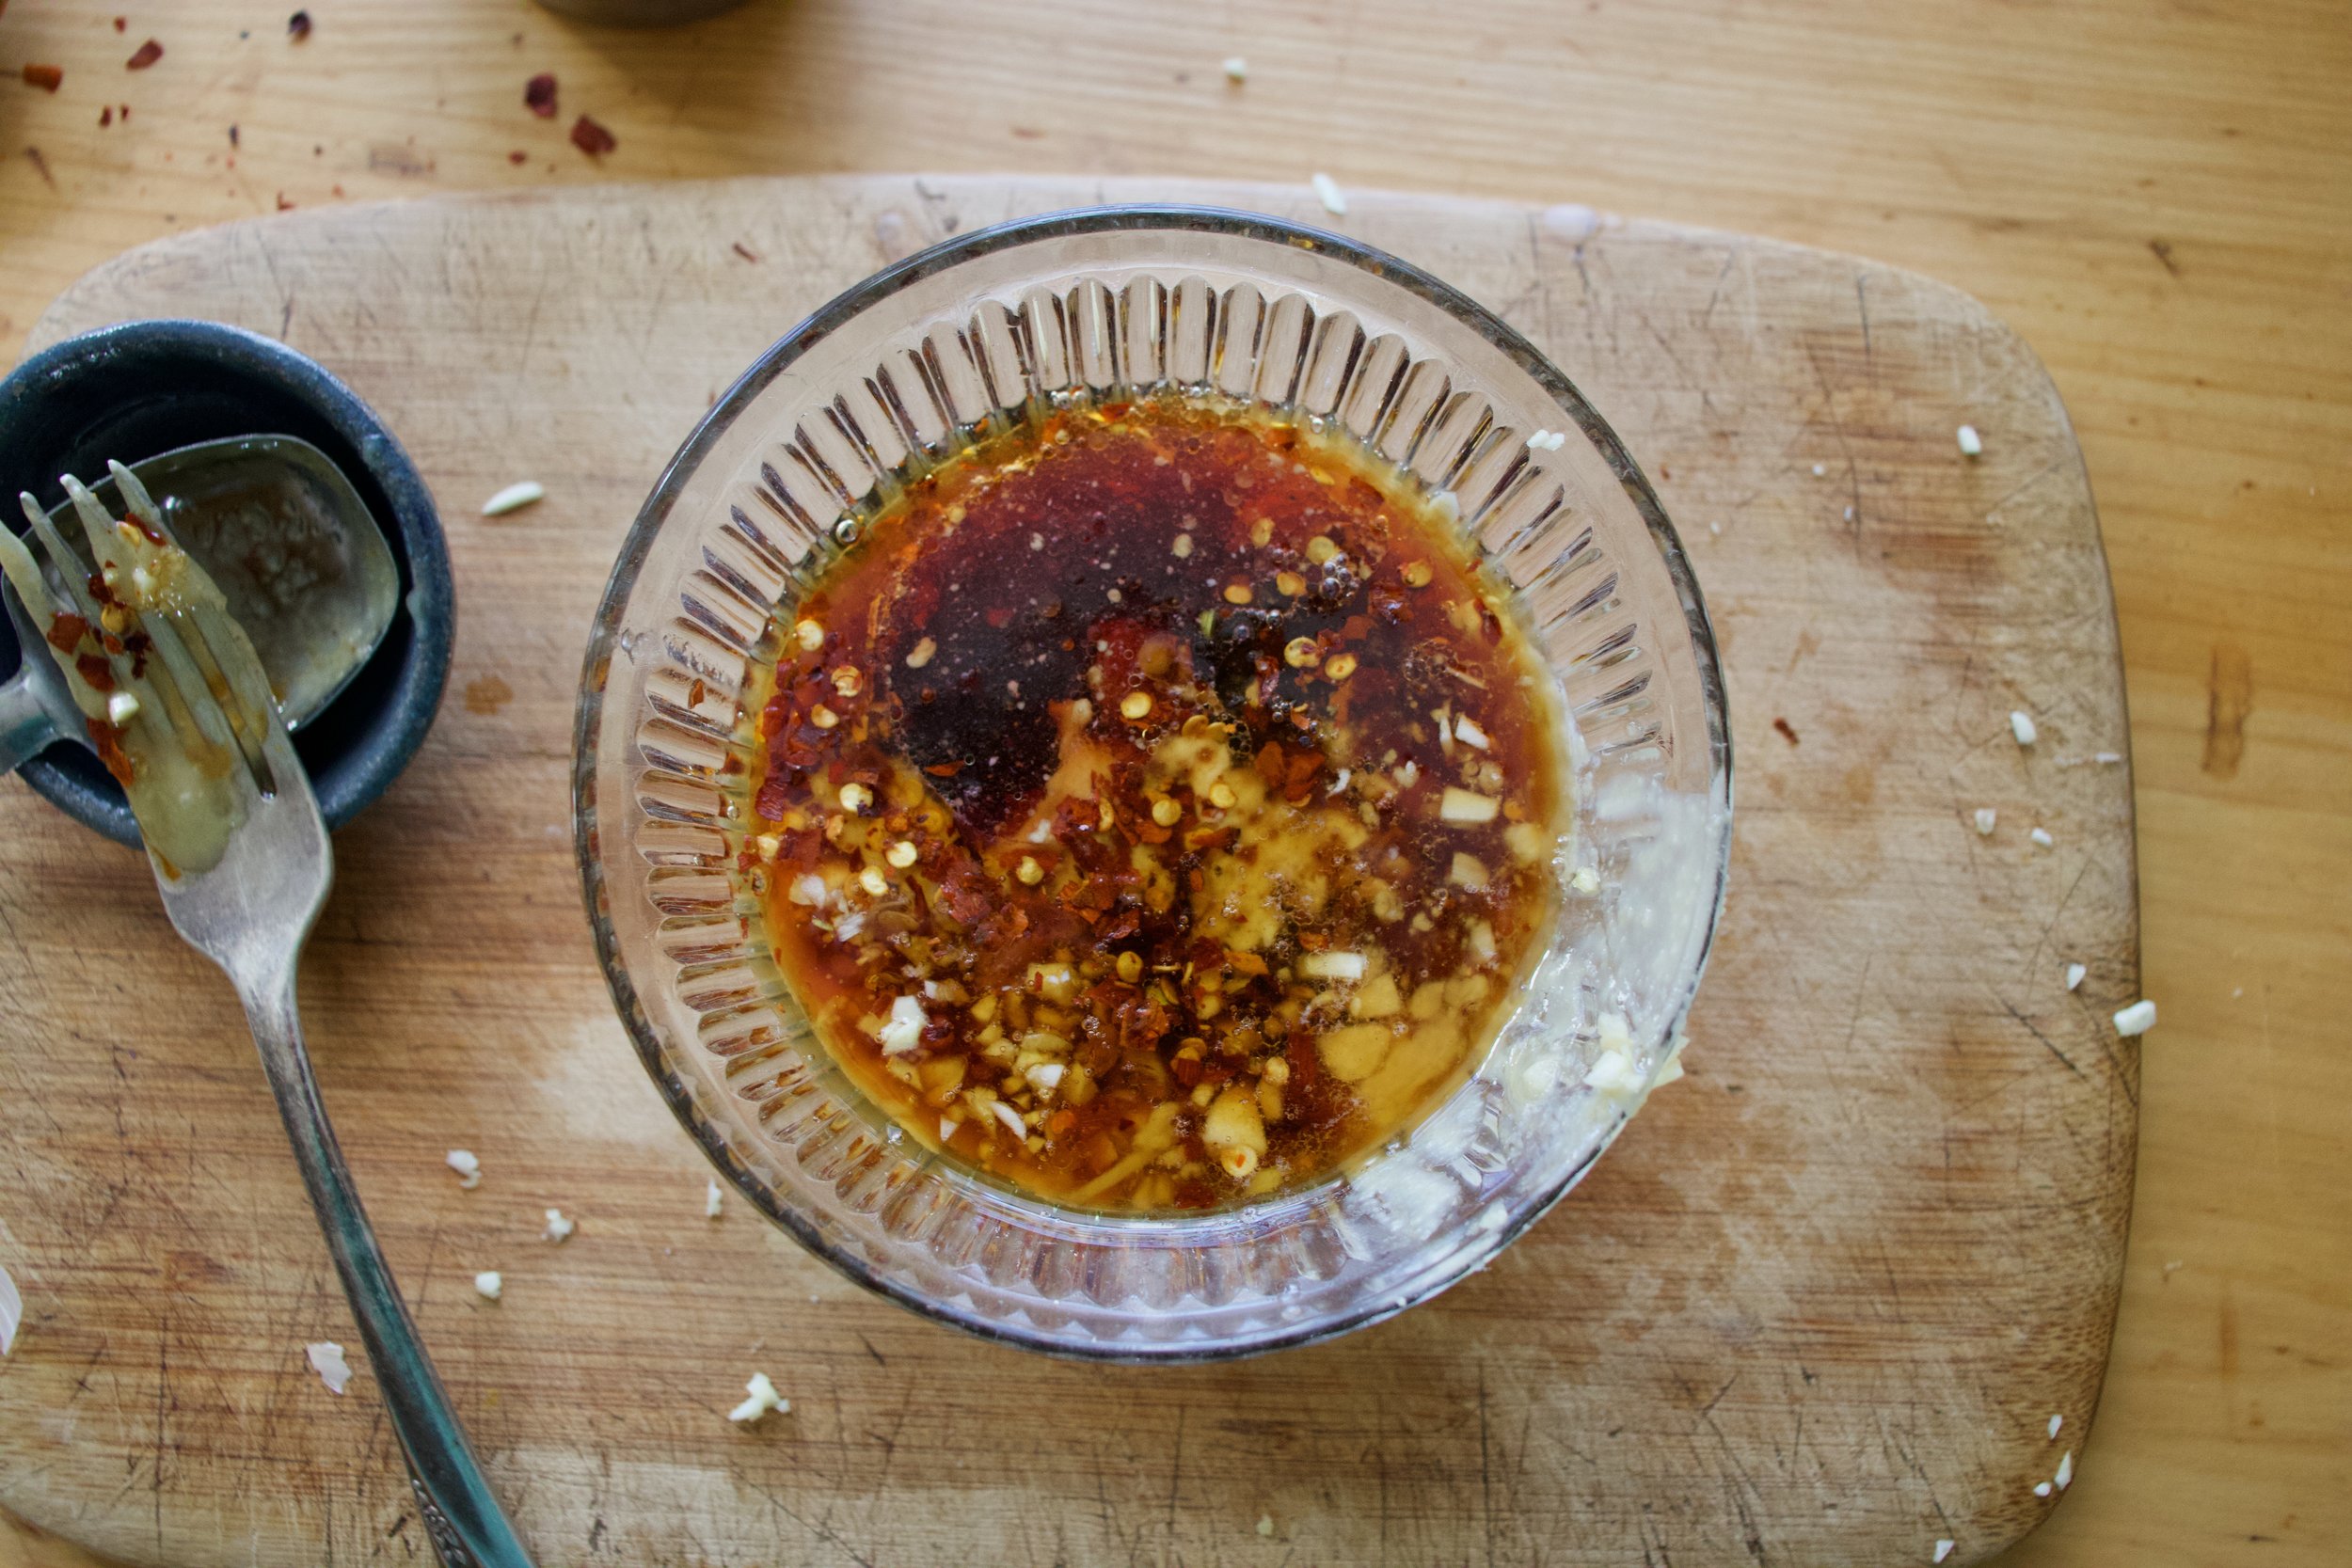
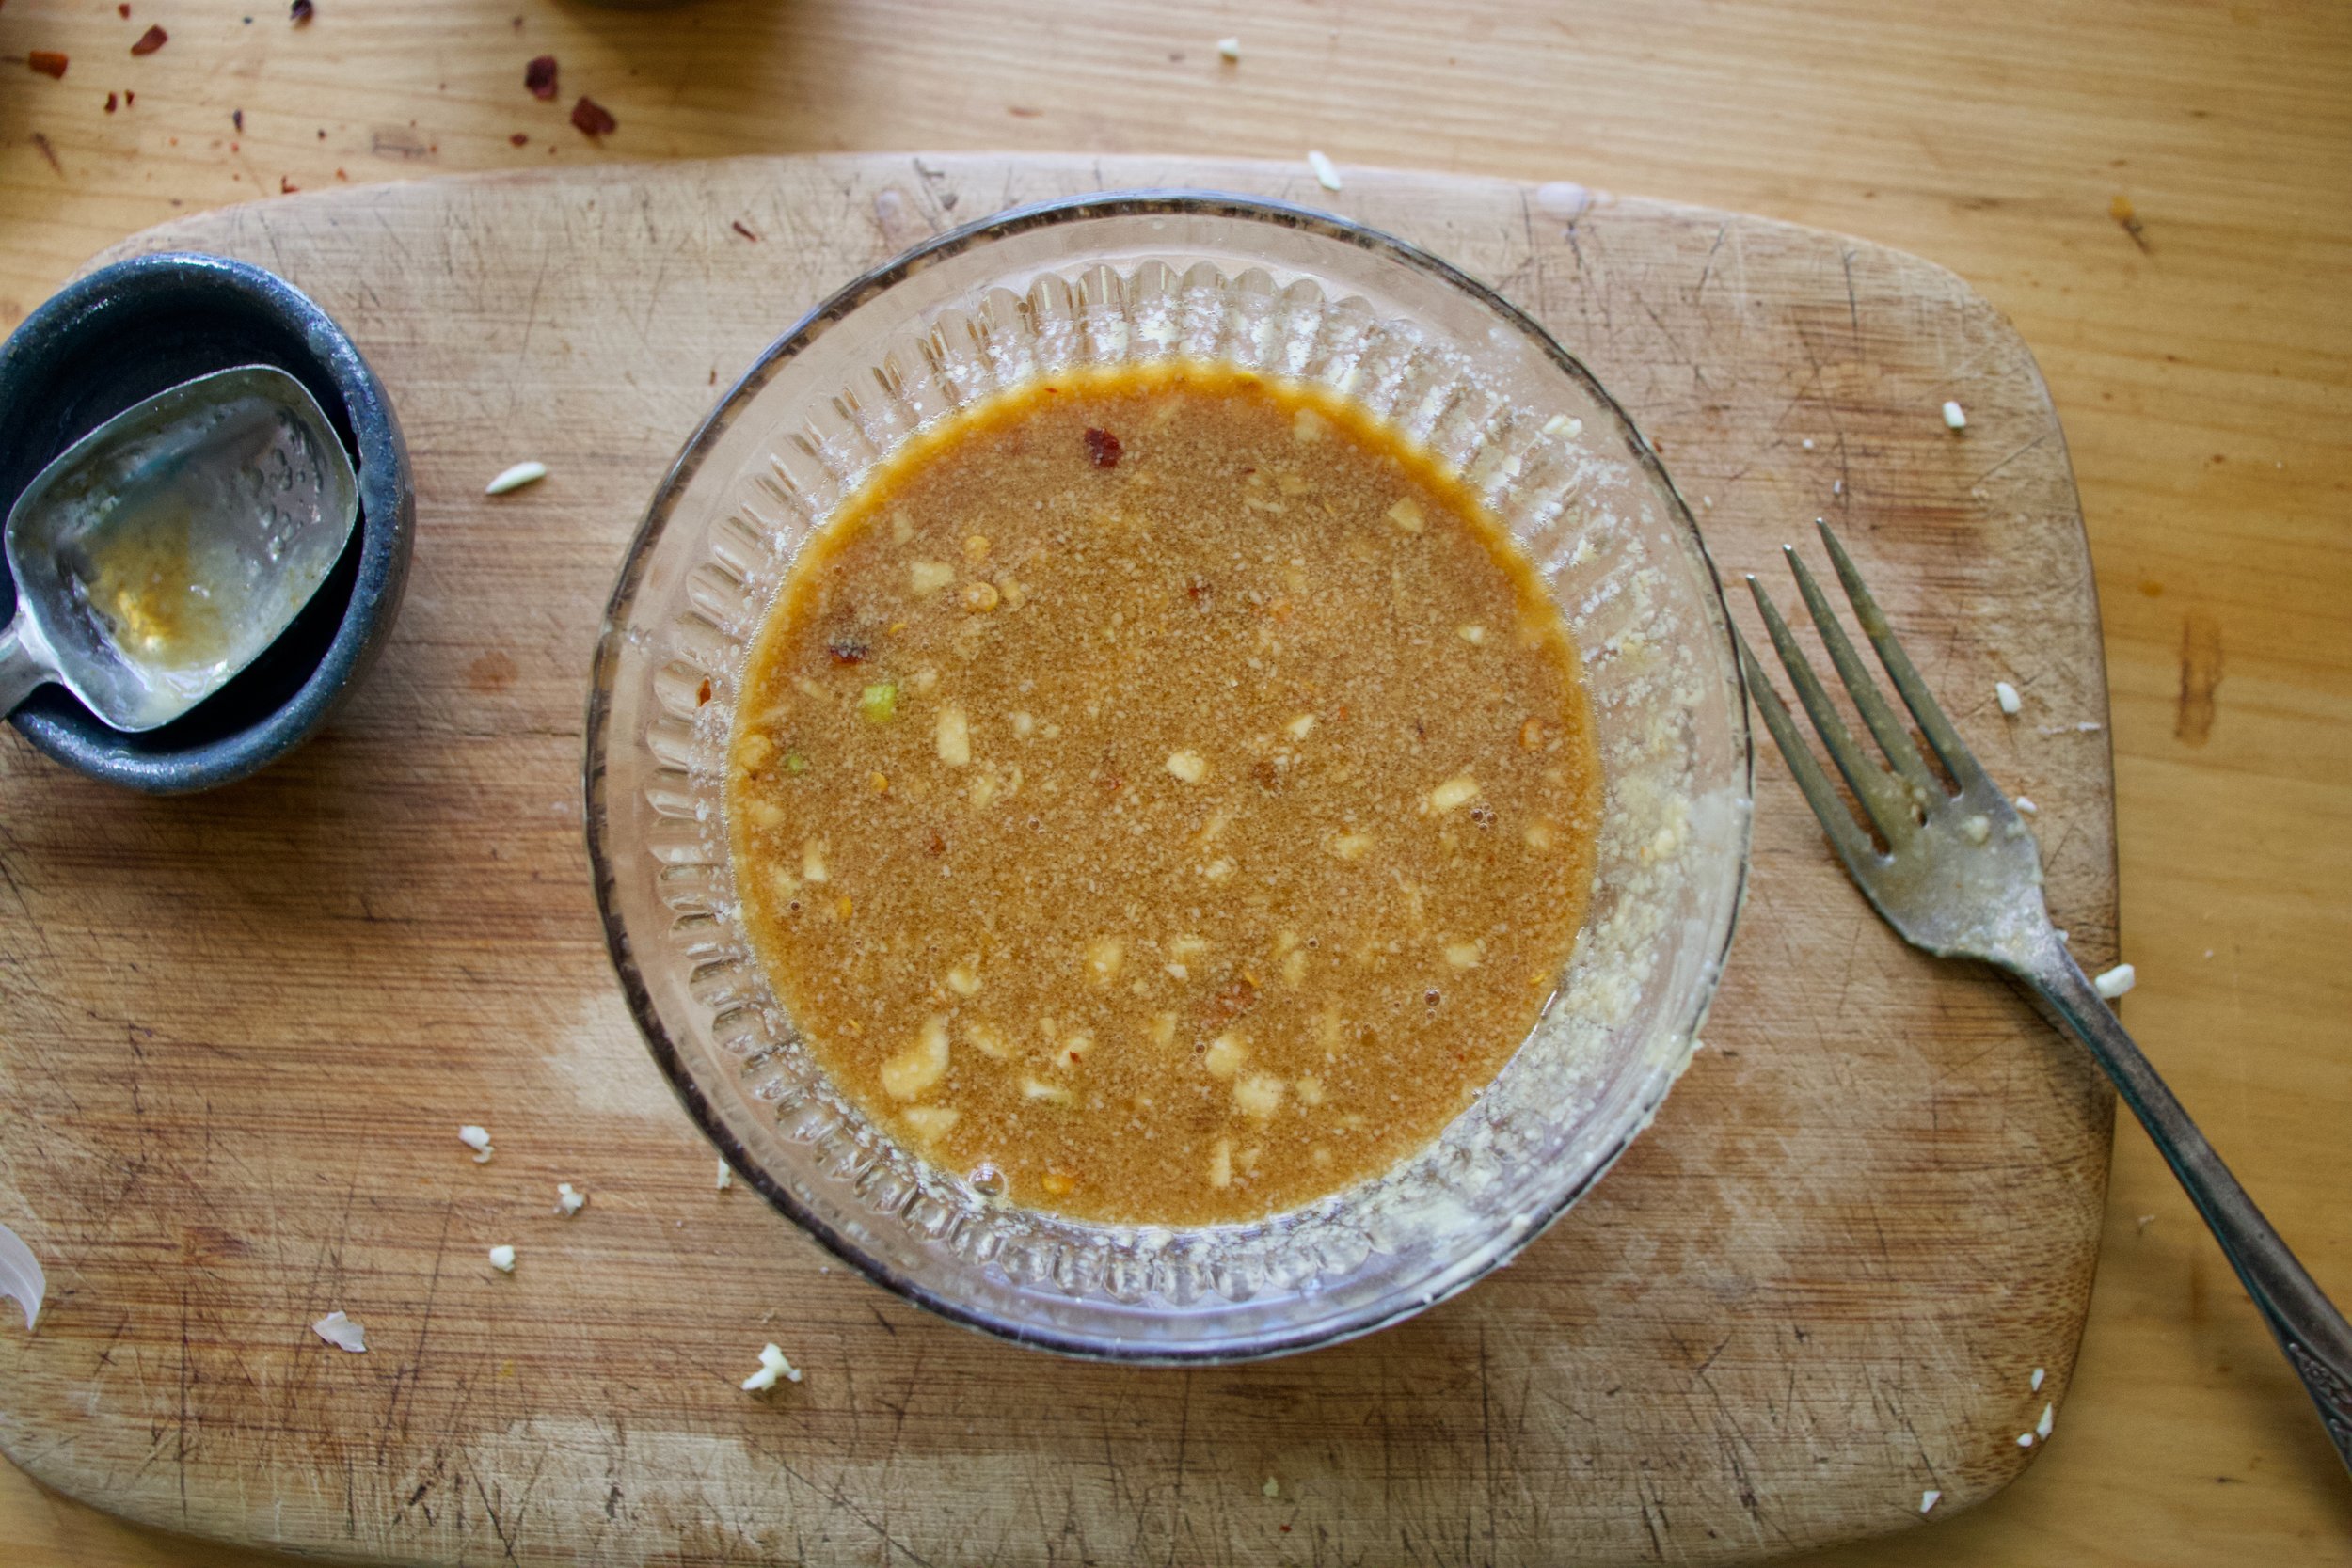
Now make the sauce. Add the minced garlic, along with the soy, sesame oil, vinegar, sweetener, and chili flakes to the bowl with the tahini. Mix, mix, mix until it is all incorporated and not lumpy. And that is that.

Noodles should be done by now so strain them out.

IMG_6864.jpg

Add the prepared veggies to a big bowl.

IMG_6876.jpg

Add in the cooked noodles

IMG_6899.jpg

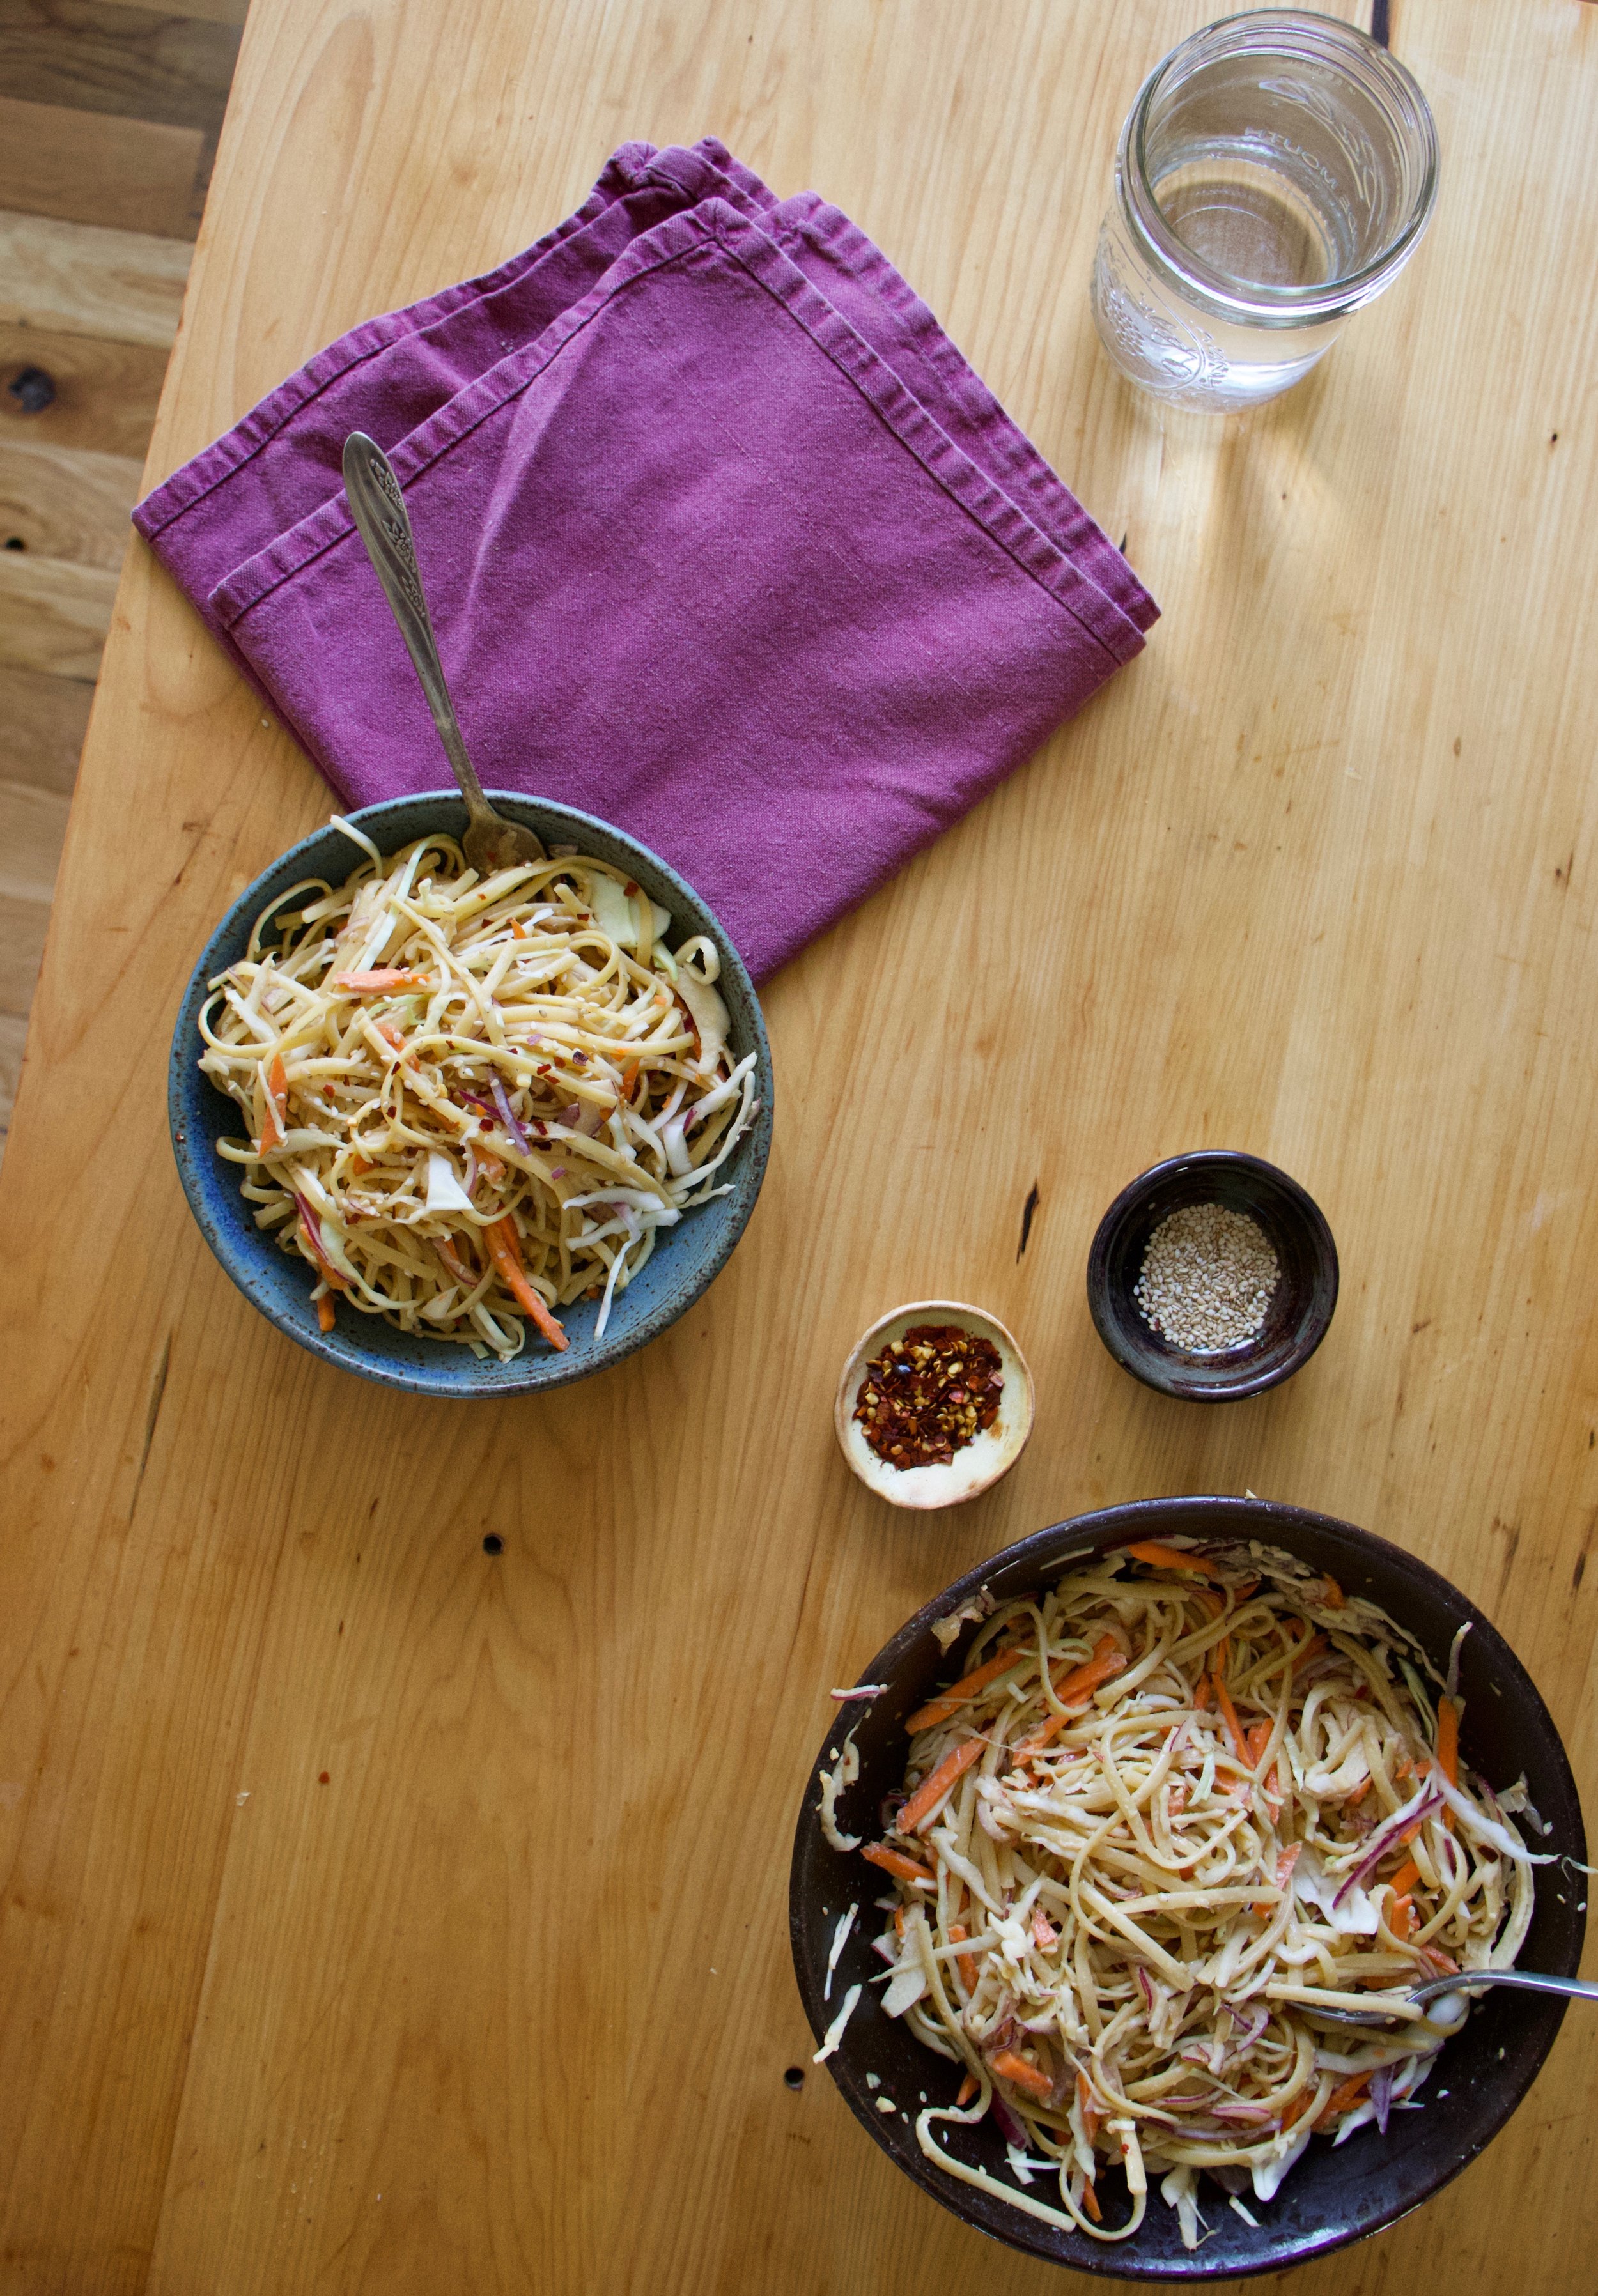
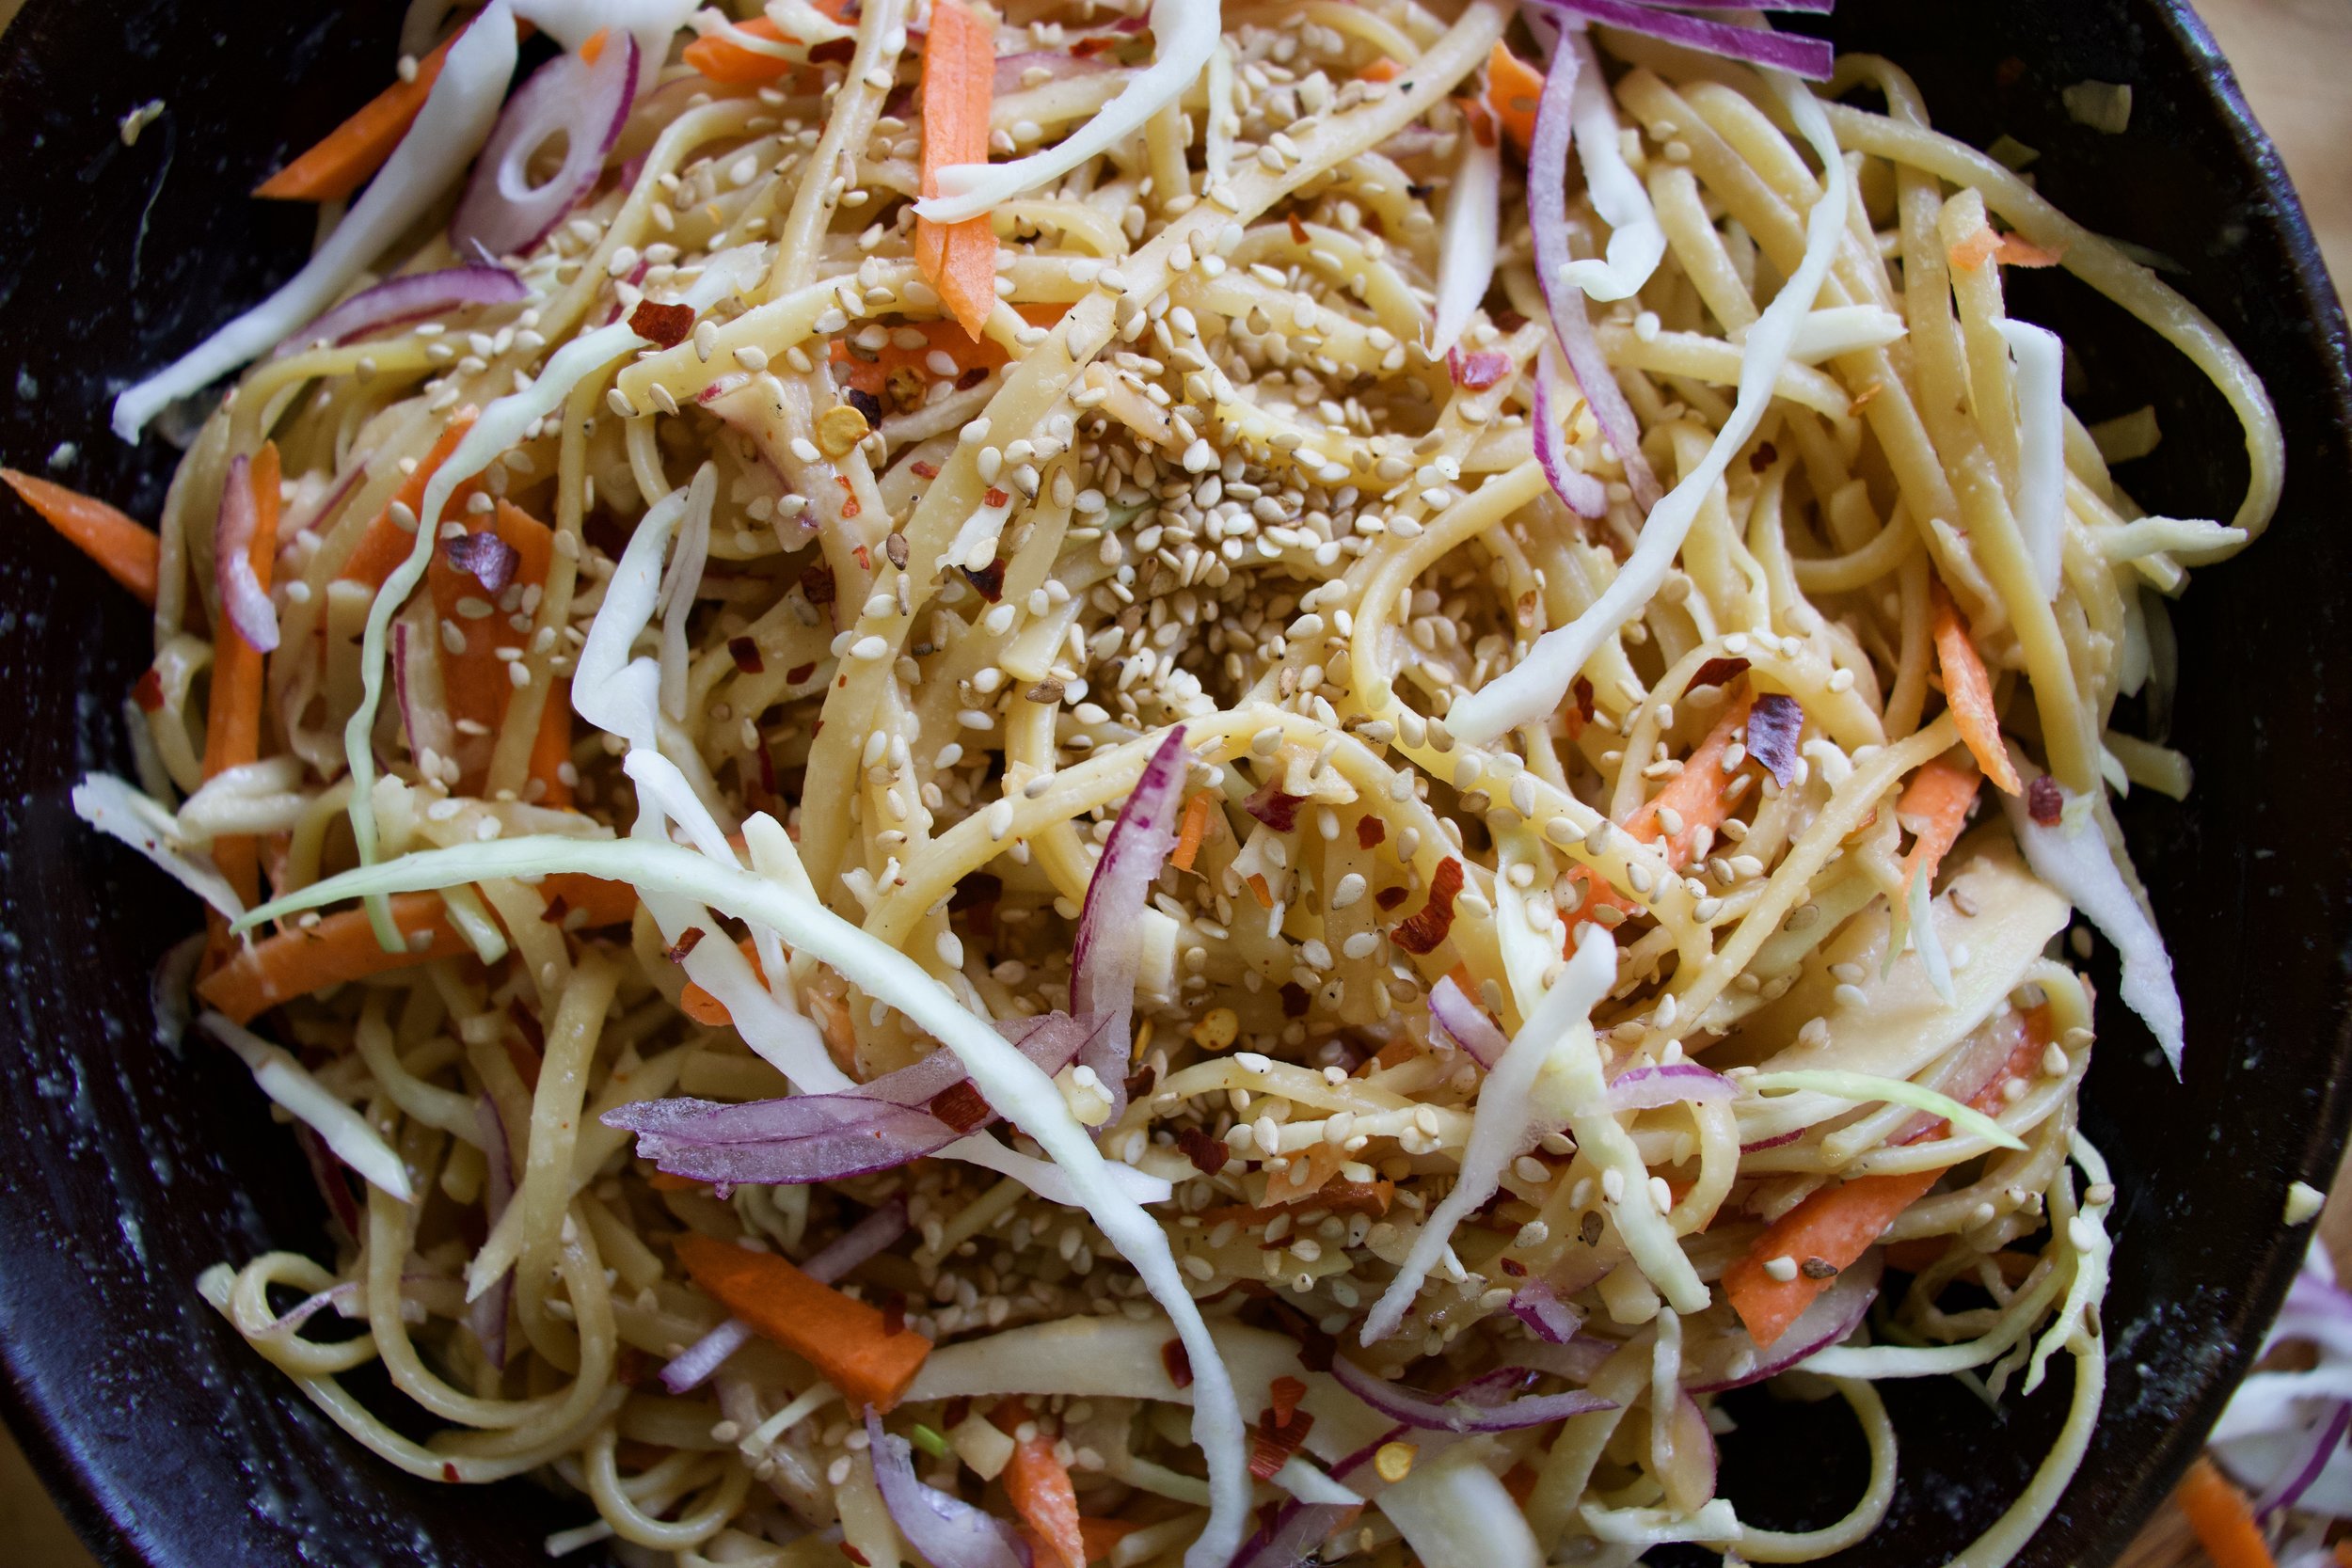
Cover with sauce and toss all around until all the noodles are coated and delicious. Sprinkle with sesame seeds and a pinch or so more of pepper flakes.

And then it is time. Eating time.

Happy spring!

-C


Sesame Noodles

serves 3-6

  • 3/4 lb (3/4 of a package) of your favorite spaghetti noodles (or linguine or similar noodle)

  • 2 tablespoons toasted sesame oil

  • 1/4 cup soy (low sodium if you have it and gluten free tamari if needed)

  • 3 tablespoons red wine vinegar

  • 3 tablespoons tahini

  • 2-4 teaspoons red chili flakes

  • 1-2 teaspoons sweetener of choice (maple, honey, or brown sugar)

  • 4-5 cloves garlic

  • 1-2 tablespoons toasted sesame seeds

  • about a 1/4 head of cabbage

  • a carrot

  • small red onion

Bring a pot of water to a boiling cook the noodles as directed on package. You want them al dente, cooked all the way, but barely. No soggy noodles. (unless you like them soggy)

In the mean time, shred the cabbage, julienne the carrot (or shred it) and slice the onion so very thinly. Place into a large bowl. Now mince garlic and place into a bowl along with the soy, sweetener, vinegar, tahini, sesame oil and a teaspoon or two (more for spicier) of chili flakes and whisk until completely incorporated. Taste and adjust if needed. Add more tahini for more body, more sweetener if needed or more hot pepper flakes for more spice.

Once noodles are cooked, drain and place into large bowl along with the shredded and julienned veggies. Pour in the sauce and toss it all around until all the noodles are covered. Sprinkle in the toasted sesame seeds and a small pinch more of the red pepper flakes.

Eat. Eat warm, room temp, or cold. They are delicious any way.

Any left overs just stick in fridge. Can be reheated or not. Also, you can make the sauce and the noodles a few day ahead of time of when you want to have the dish Just mix the sauce with the noodles when you are about to serve them… So simple!

In BBQ, dinner, Gluten Free, Pasta, quick and easy, sauce, side dish, Spring, Vegan, Vegetables Tags sesame noodles, gluten free, vegan, plant based, easy, cold noodles, dinner, lunch, picnic, potluck, nut free, spring, simple, side dish, dairy free
Comment
Share
Older Posts →
 

https://thelovelycrazy.squarespace.com/config#/|/about/

Me. Food Maker.Food eater. Woo HOO!

STEM+NODE  SMALL BATCH AND ONE OF A KIND POTTERY

stem+node ceramics


____________________

Subscribe

GET NEW POSTS IN YO EMAIL

You are AWESOME!!!


@thelovelycrazy 2014-2021

­
­
0 items
$0