• stem+node ceramics
  • HOME
  • Food Recipes
  • About
  • Contact
Menu

The Lovely Crazy

Street Address
City, State, Zip
Phone Number

Your Custom Text Here

The Lovely Crazy

  • stem+node ceramics
  • HOME
  • Food Recipes
  • About
  • Contact

Strawberry Oat Milk

June 26, 2021 Colleen Stem
IMG_6133.jpg
IMG_6141.jpg
IMG_6122.jpg

One of the most redeeming qualities of summer is the fresh, super sweet, strawberries that grow in the early part of the season. Bright red little gems that I go and hand pick from a strawberry field (early in the morning because who wants to be in a beating hot field in he middle or the day?), eating one berry for ever two I pick. Hands stained red. Belly full of berry happiness. It’s times like these that I am glad for summer.

And now that I have strawberries, I can make strawberry milk. Have you ever had it? This strawberry milk is nothing like the milk made from the nasty and crazy sweet fake pink syrup (strawberry syrup reminds me of my little brothers when they were little. They would drink cups and cup of the fake strawberry milk and I always thought that they were gross. But not just because of the milk…hehe). No this strawberry milk is oat milk with fresh strawberries and taste just like a berry explosion of goodness in your mouth. Its smooth and creamy and tastes like real strawberry, like it should.

A true summer treat. And it is so easy to make, almost as easy as squirting syrup into a cup.

Now to the strawberry oat milk!

IMG_6069.jpg

The struff. Strawberries, oats, and water.

IMG_6078.jpg

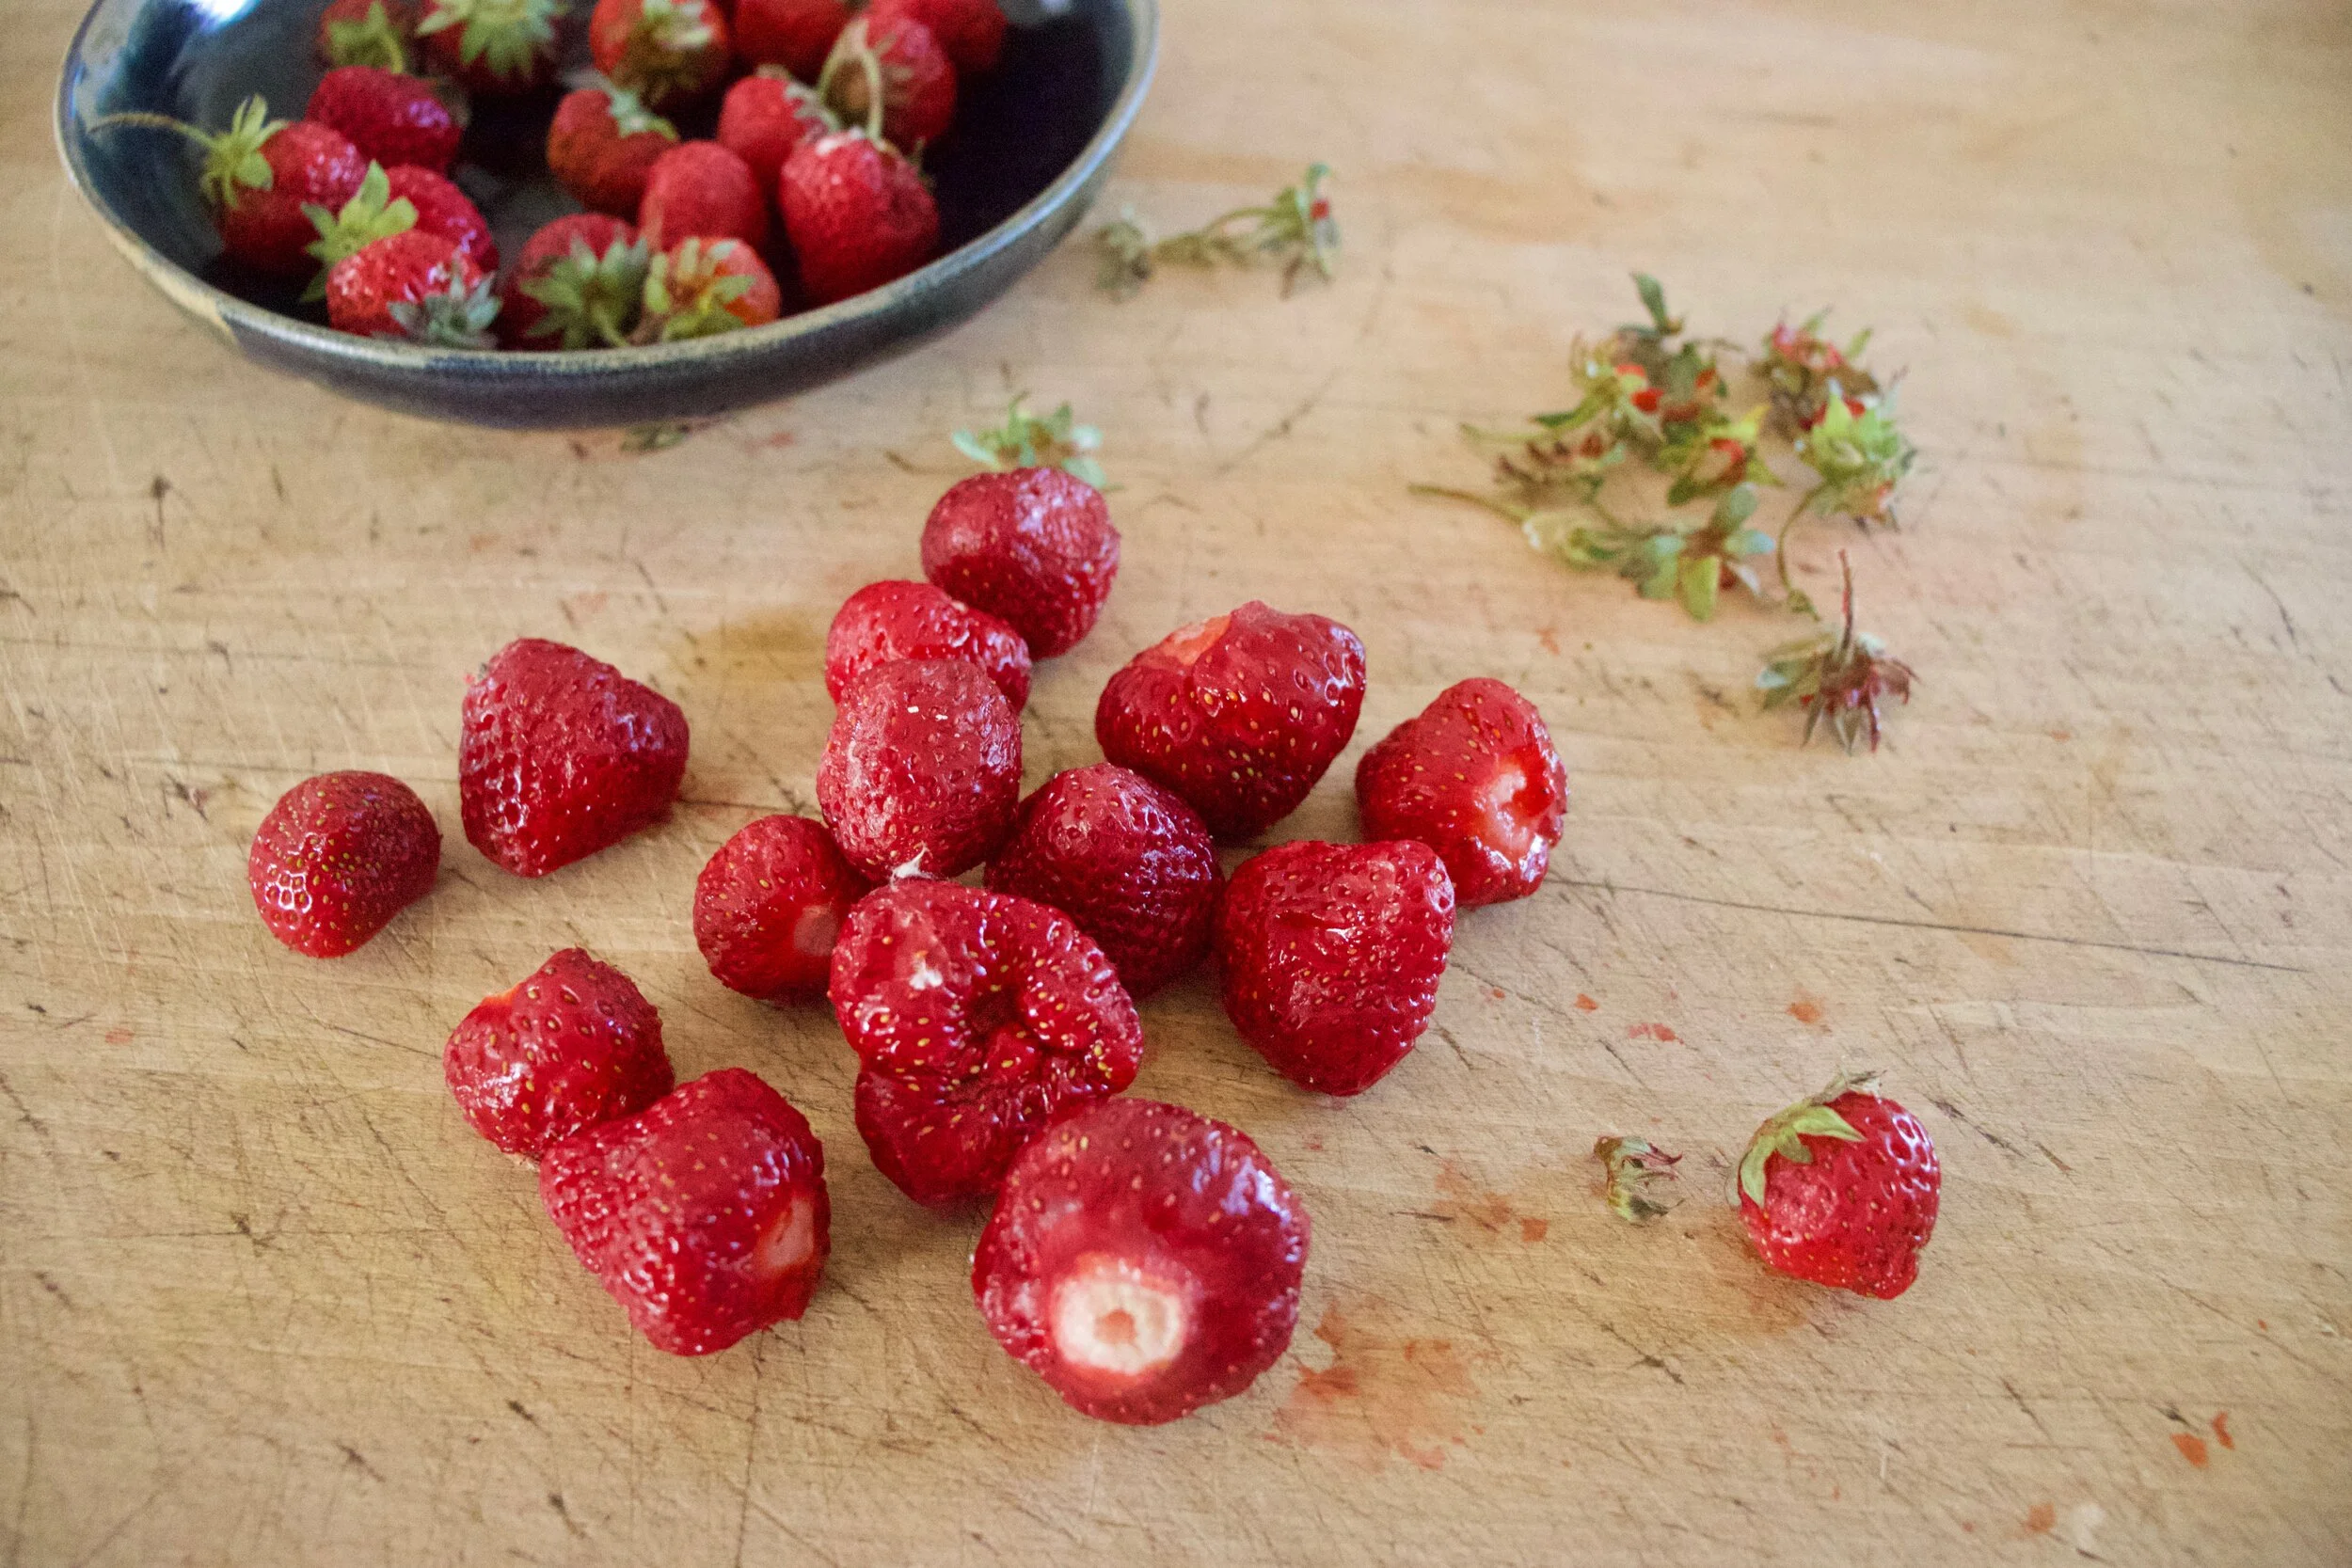
Only thing you really need to do is remove the greens from the berries.

IMG_6083.jpg
IMG_6094.jpg

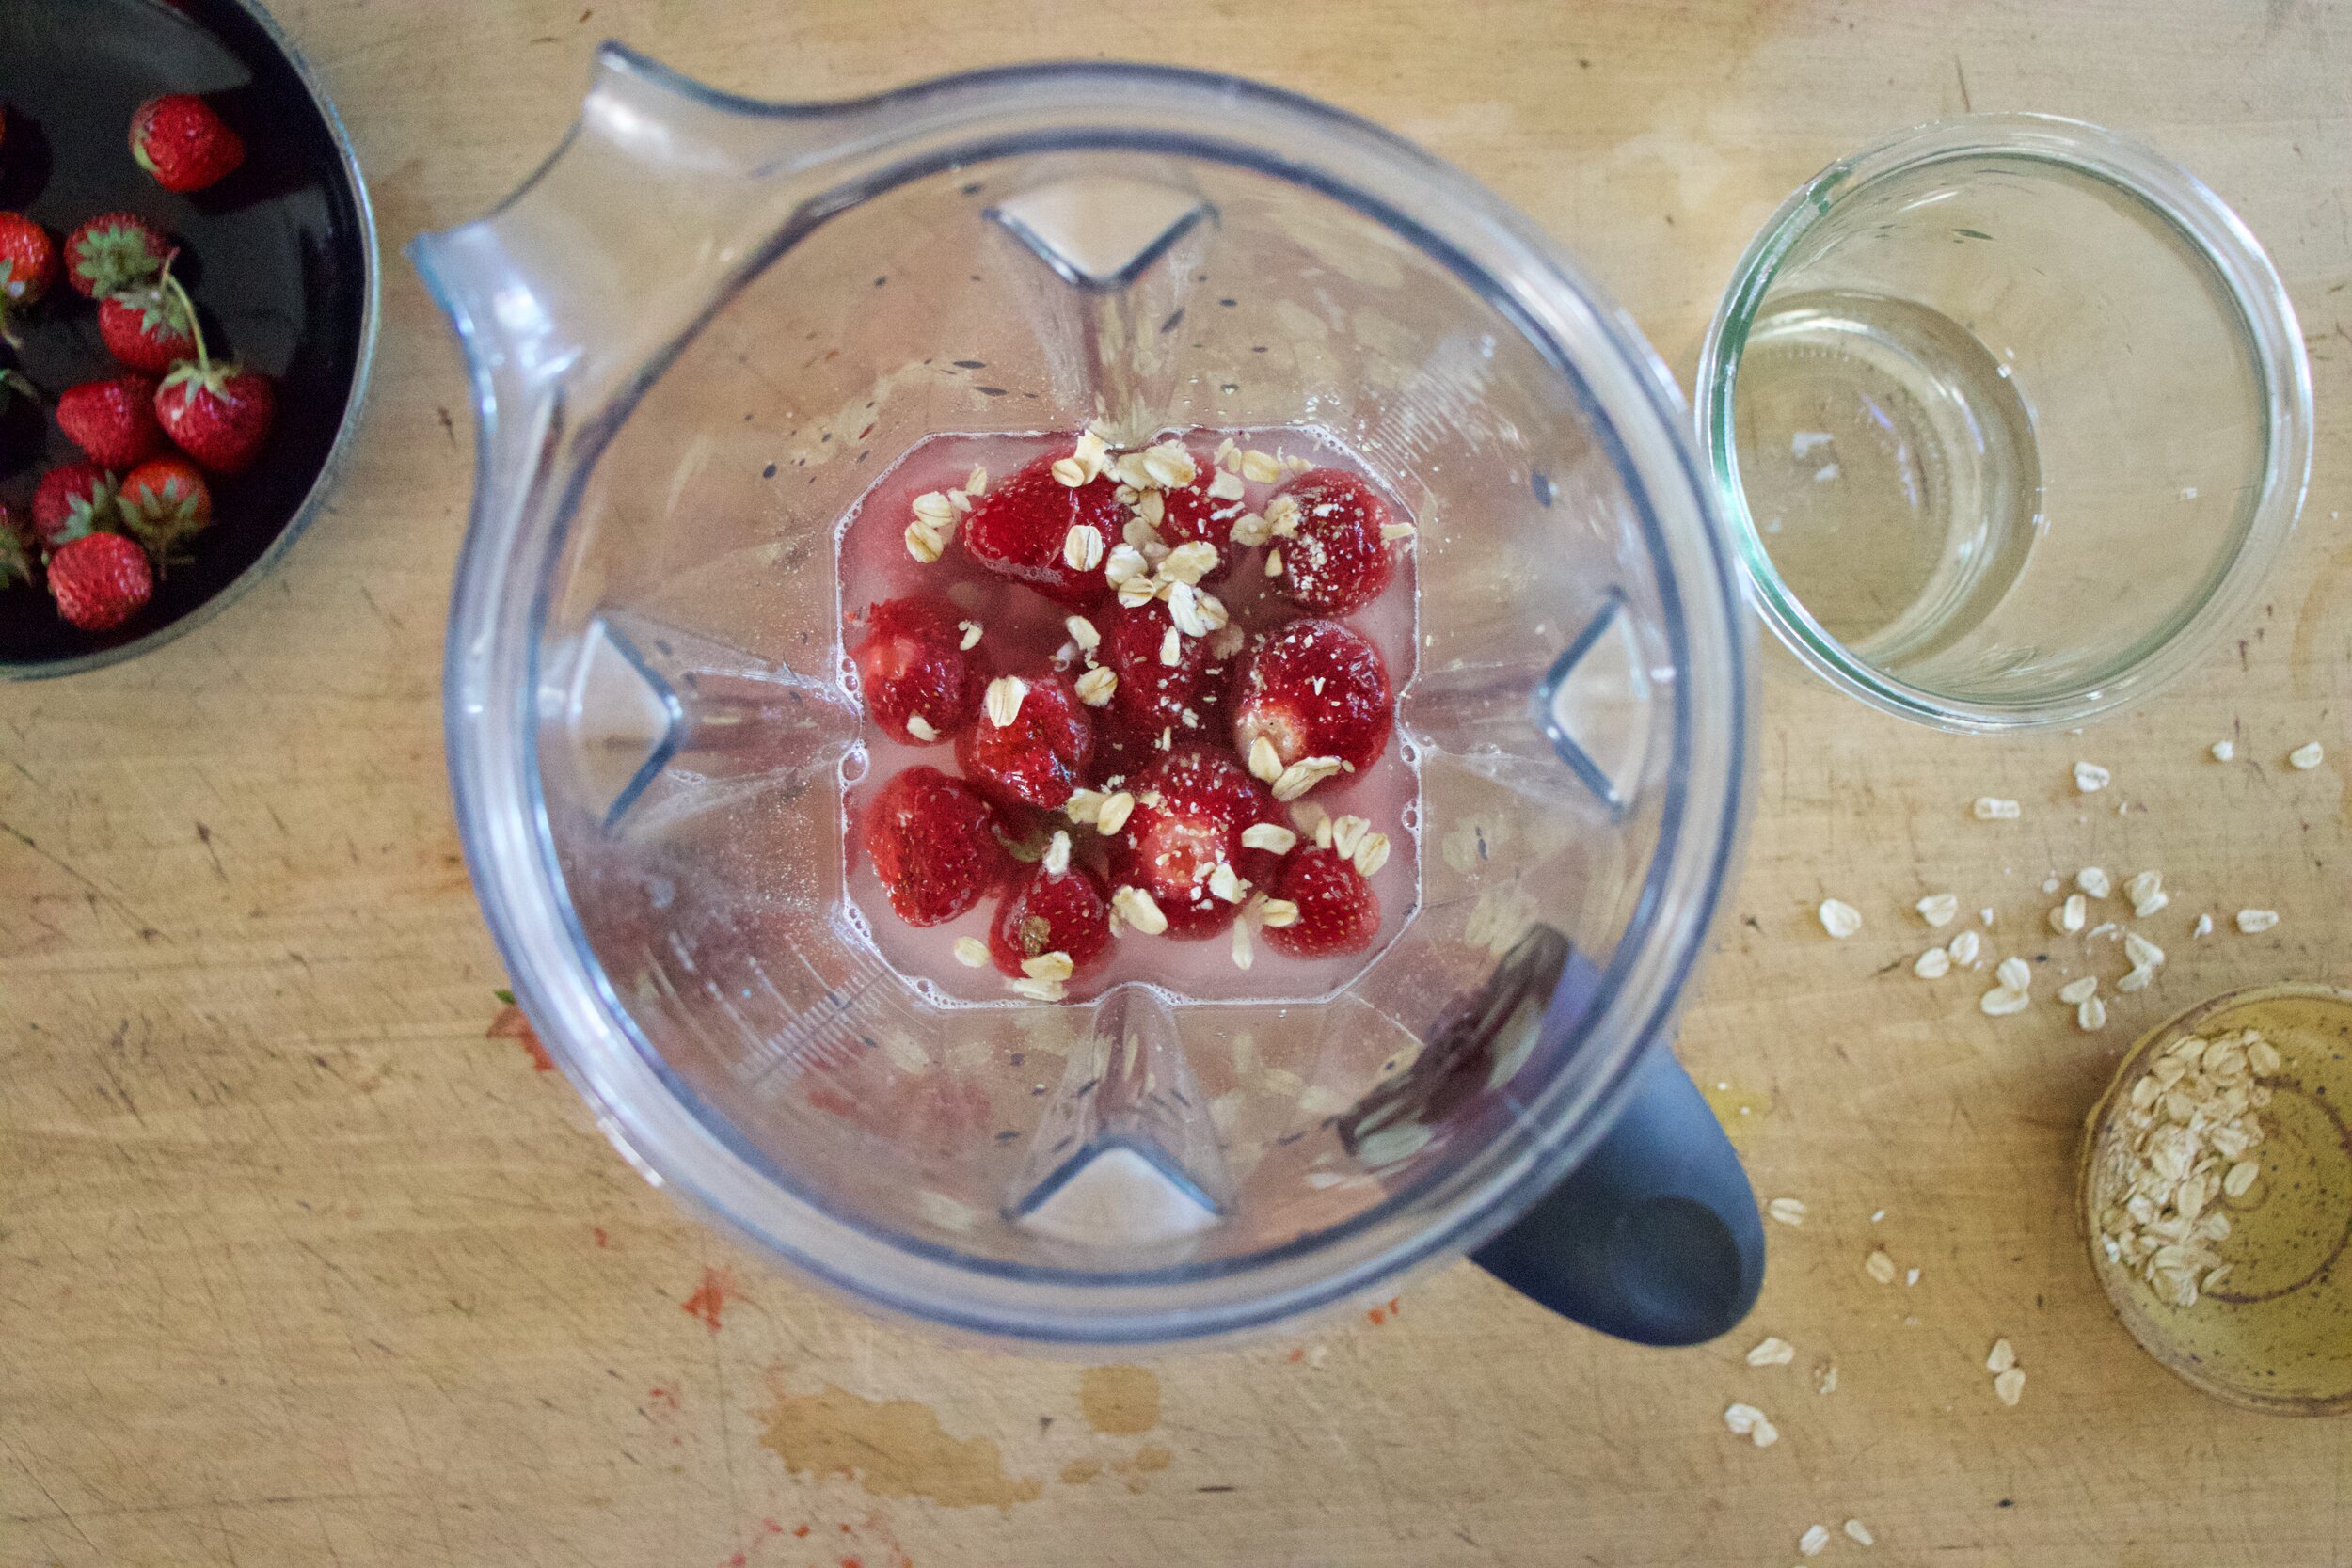
Then pop them into a blender with water and oats and blend until smooth and creamy. That is it. Now you have strawberry oat milk.

IMG_6130.jpg

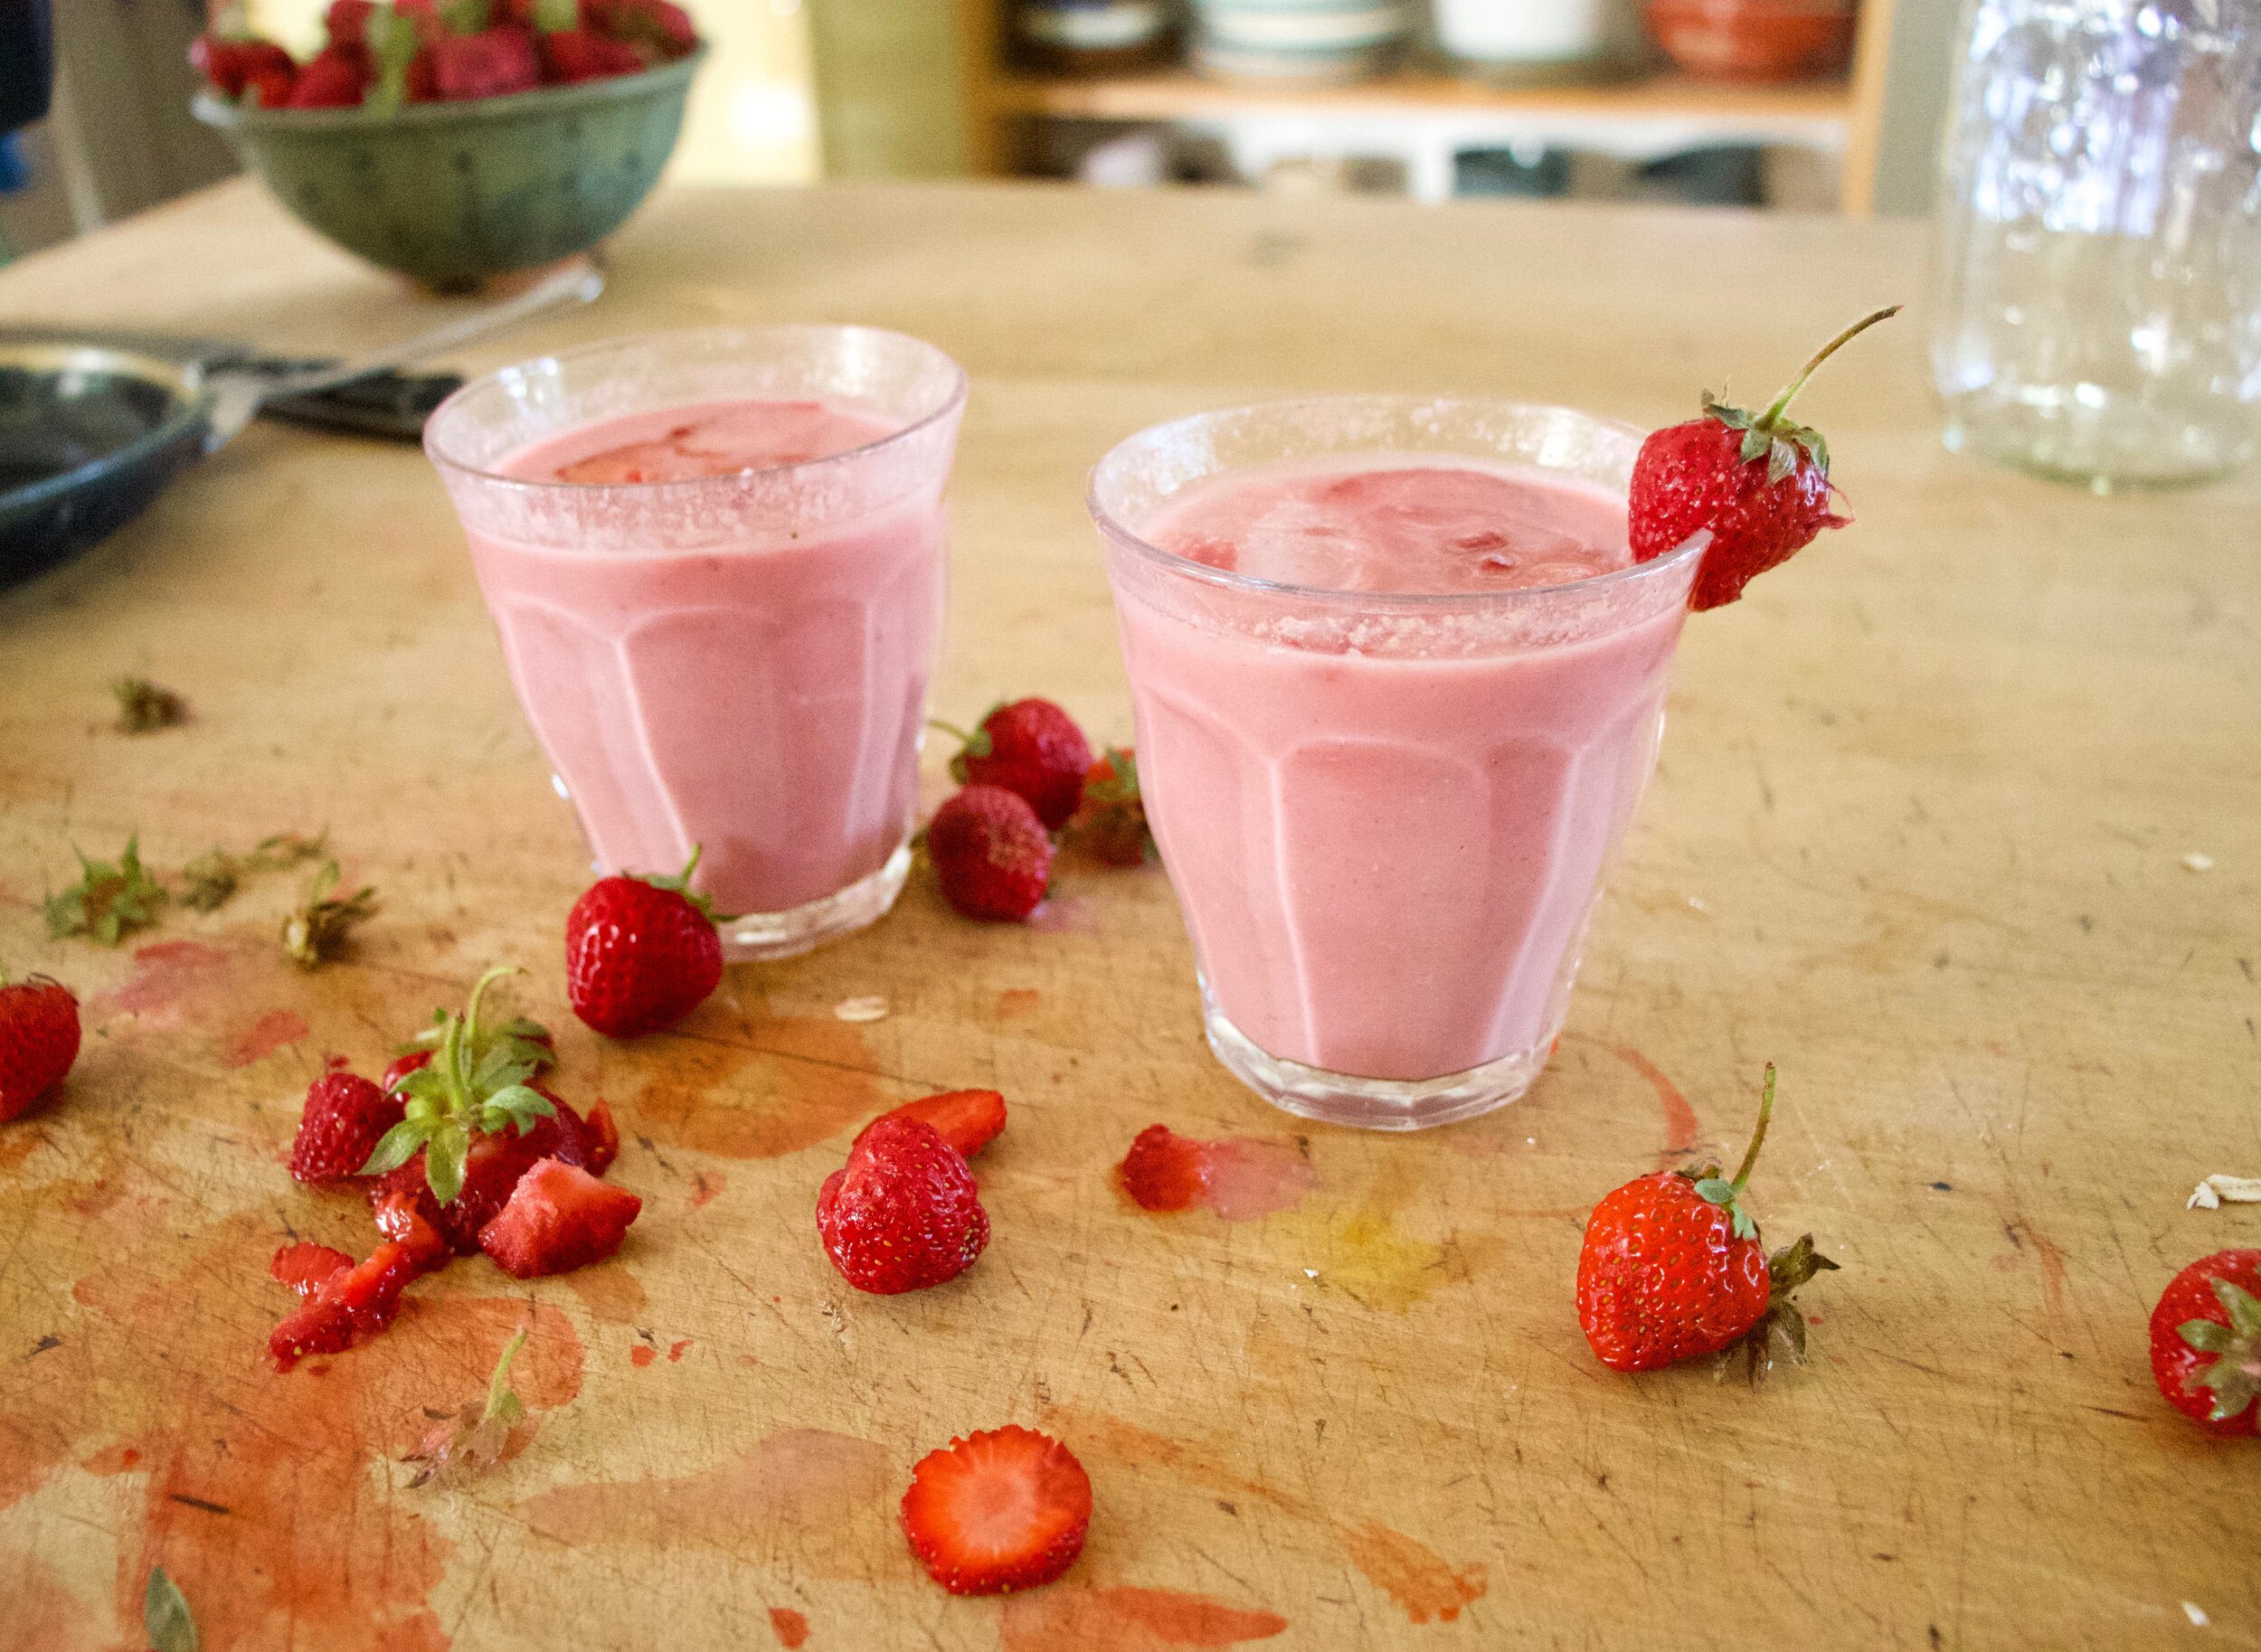
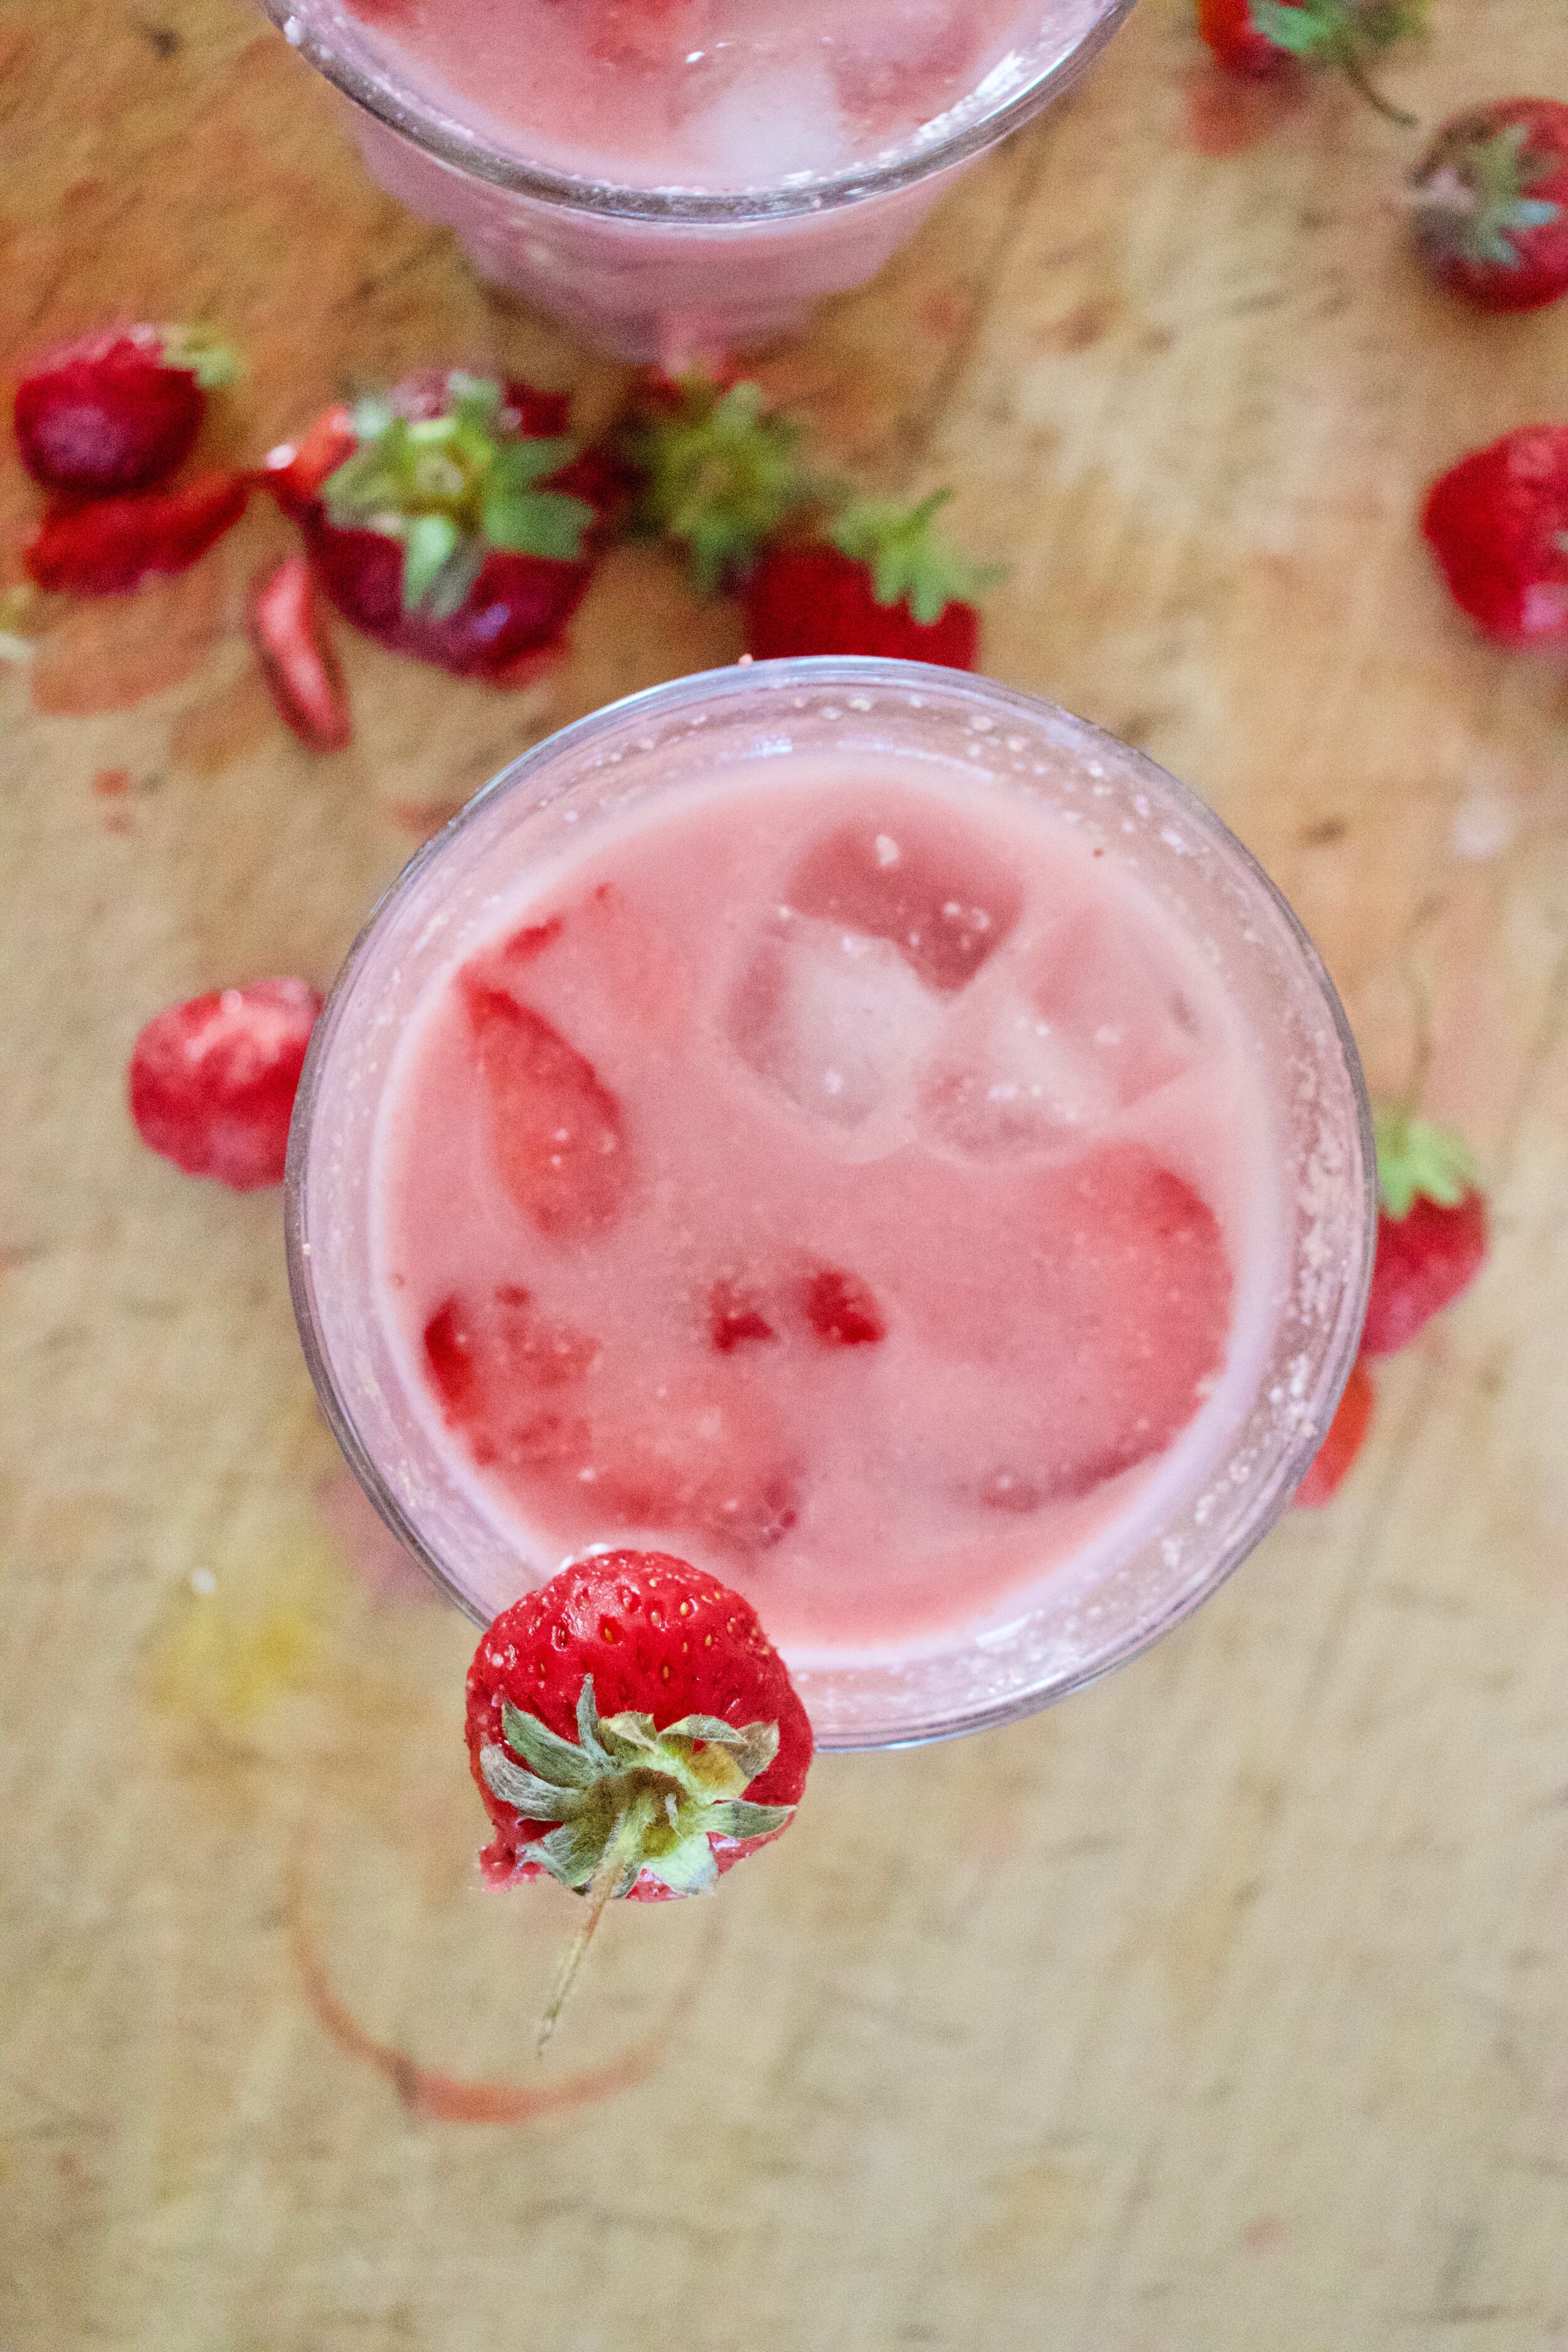
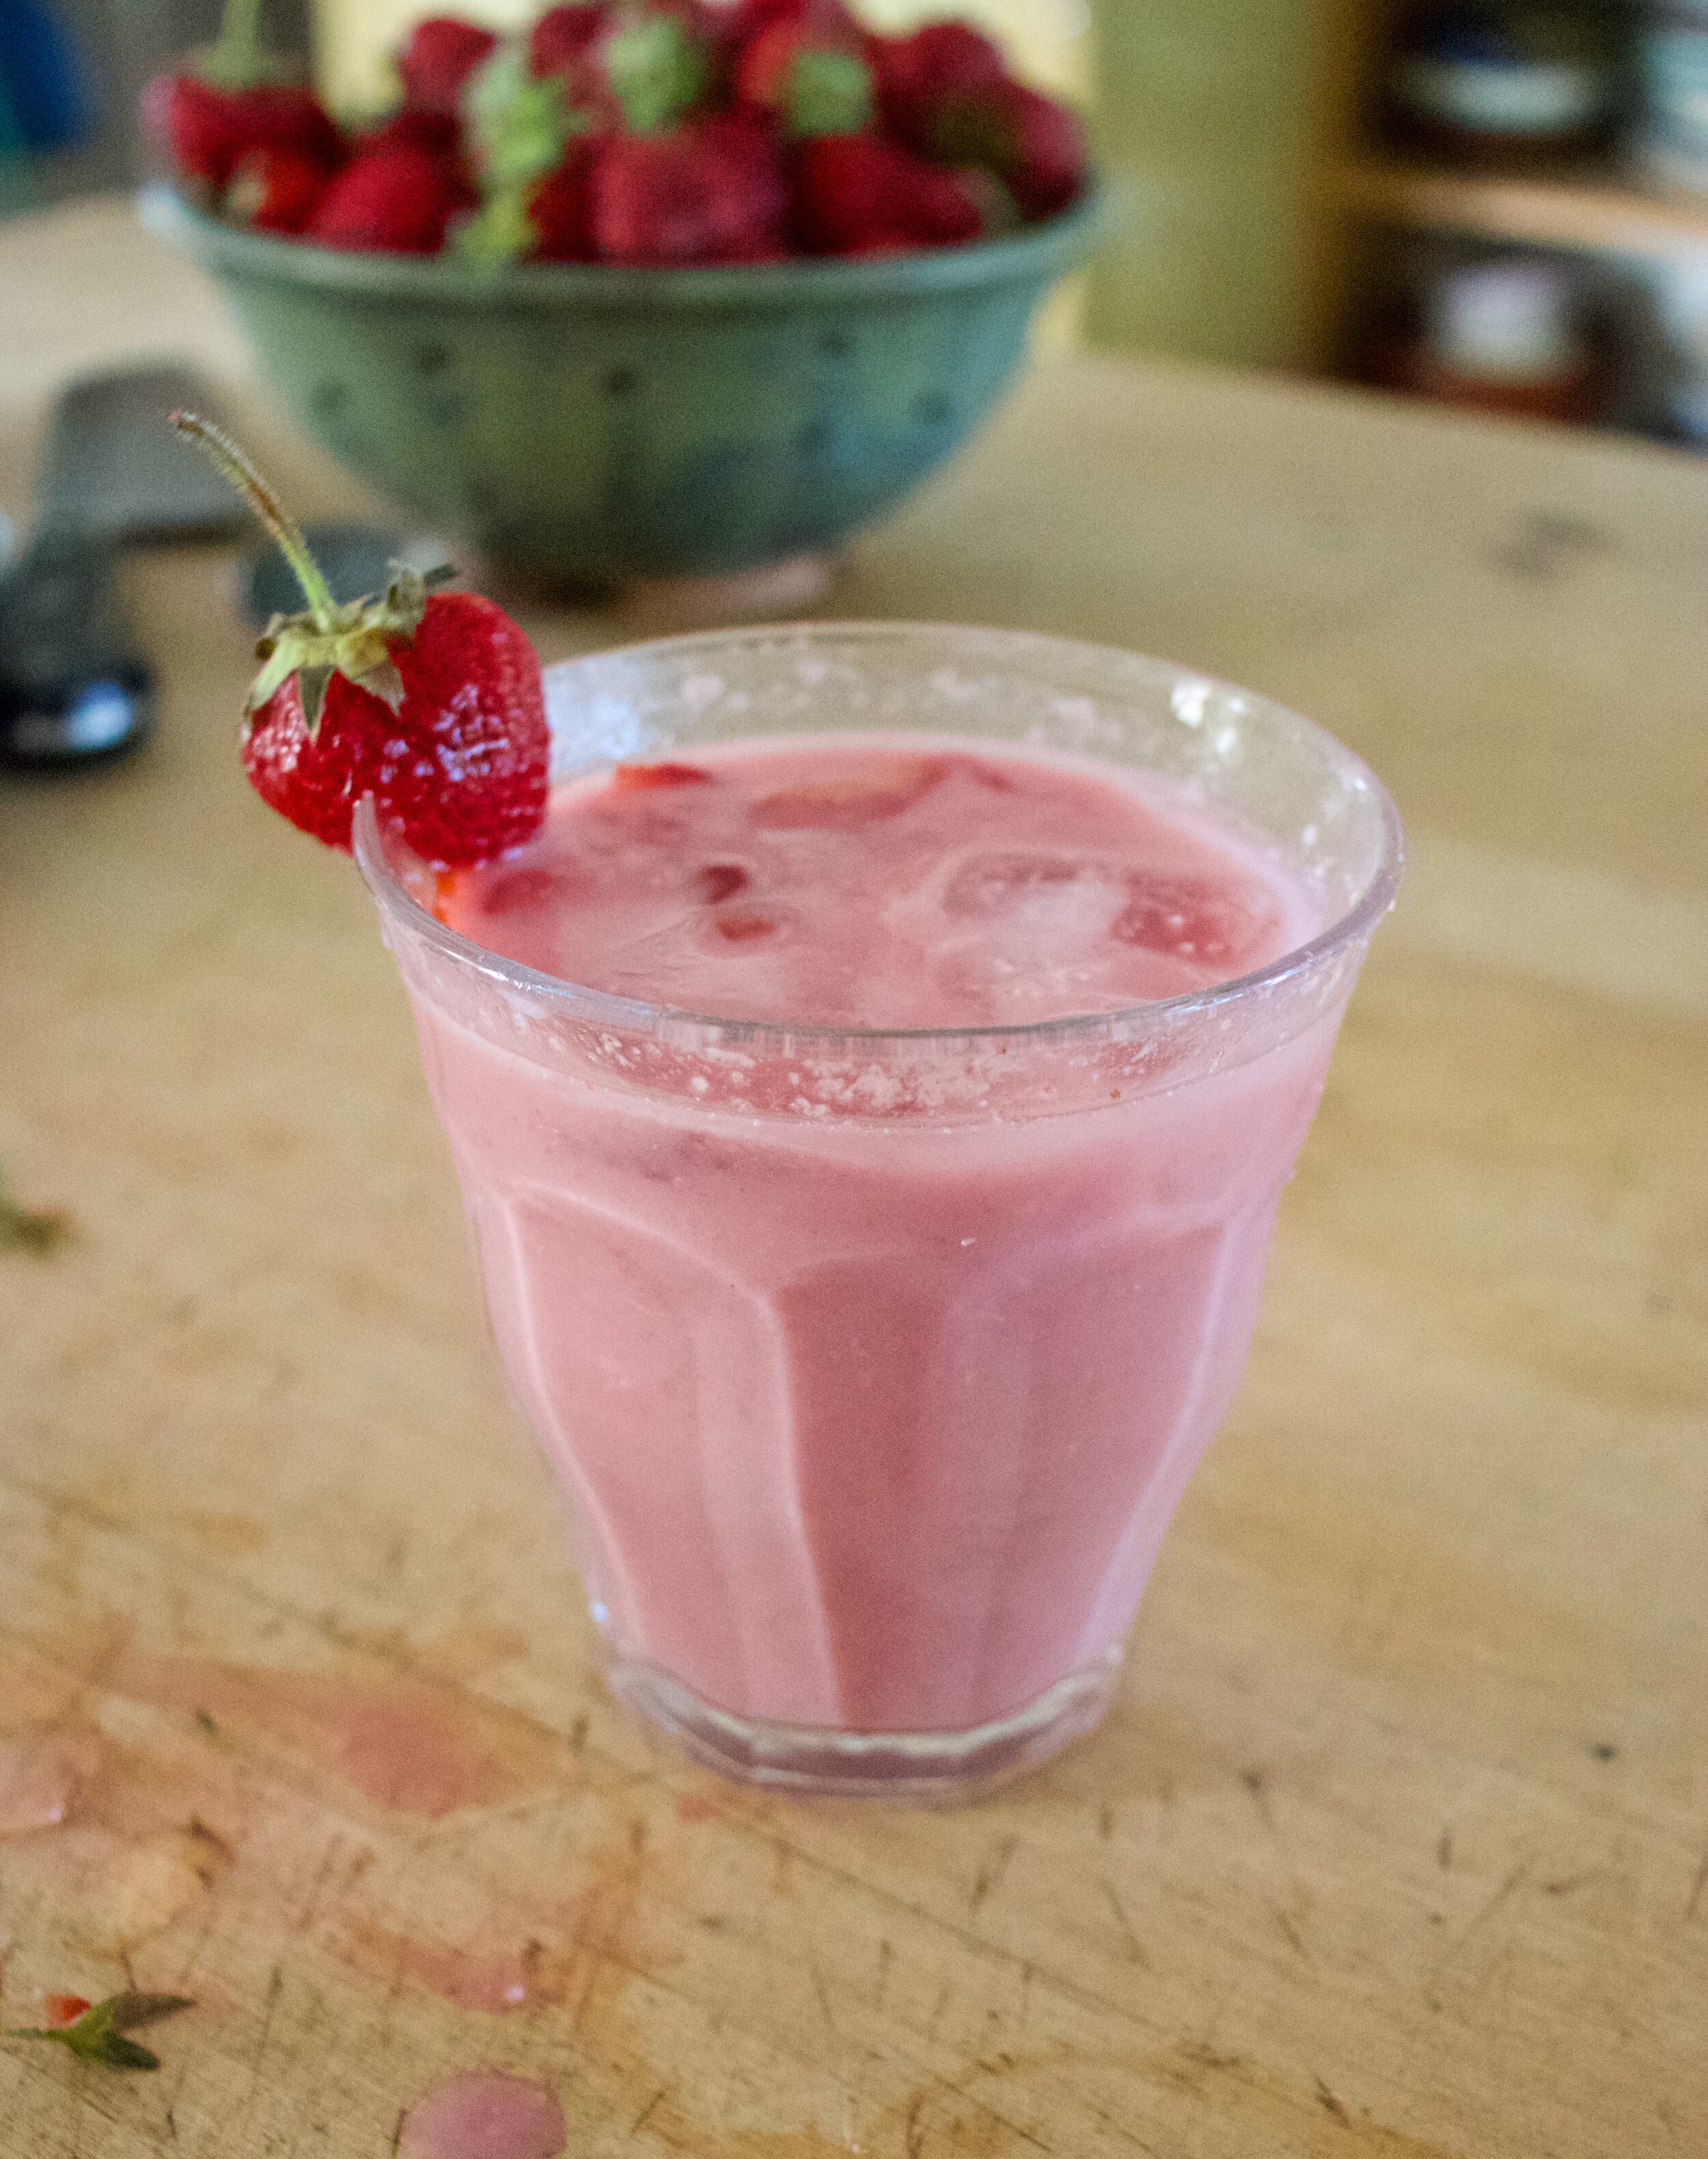
Pour into glasses, garnish with a few berries (or a bowl to snack from) and that is that.

Summer milk.

-C


Strawberry Oat Milk

  • 3/4 cup old fashion oats

  • 2 1/2 cups cold water

  • 1 cup fresh strawberries

  • 1 tablespoon sweetener or a couple dates (optional to add sweetness)

Note. For a thicker and creamer milk just add another 1/4 of oats.

Remove greens from strawberries and toss them into a blender with the oats and water and any sweetener (if using). Blend until smooth.

Optional. Pour through a strainer or nut milk bag to remove any grittiness. I do not do this.

Pour into glasses and enjoy.. I like to add an ice cube or a cut up frozen strawberry into the milk to make it really cold.

Milk can be stored in a jar in fridge for 2-3 days.

In drinks, fruit, Vegan Tags Strawberry Oat Milk, oat milk, homemade, fresh, summer, fruit, drink, vegan, gluten free, dairy free, easy, milk, oats, plant based, healthy
Comment

Zucchini Dill Empanadas

June 19, 2021 Colleen Stem
IMG_6054.jpg
IMG_5986.jpg
IMG_6004.jpg

YAY for the first zucchinis of the season! Zucchini is one of the main reasons I tolerate summer. Sure I complain a lot about being hot all time and the sun being just too freaking bright but the zucchini helps make it all worth dealing with.

Empanadas. Little hard pies. A perfect little vessel to stuff some zucchini into. Add some dill and it makes it all the better. I mean who wouldn't a zucchini and dill stuffed pastry on a warm summer afternoon (or whatever time you feel like eating). They are super easy to make, light and crispy, and are little pies of zucchini. What is not to like? Plus they require no utensils to eat them . Think about it, Make batch, throw them into a picnic basket and head to a nice little grassy patch under a tree. Doesn't that sound just so nice? That does sound nice. Why didn't I do that? Oh because I was busy being pissy because I made a perfect batch and while letting them cool off in the oven for a few minutes I accidentally turned on the broiler and burnt a few. But whatever, the mr actually really liked them burnt so no harm no foul, But next time I make them it will definitely be for a picnic.

Now to the zucchini dill empanadas!

IMG_5851.jpg

The stuff. Zucchinis, a carrot and a onion, some dill and ground ginger, salt and pepper, water, oil, flour, and baking powder.

IMG_5862.jpg

Start with making the filling. Chop the carrots into little cubes then grate up the onion and zucchinis.

IMG_5869.jpg

Gather the zucchini and onion into a tea towel (or cheese cloth) and squeeze out he excess liquid. ( I squeezed it into the dough mixture)

IMG_5892.jpg
IMG_5901.jpg

dump the zucchini and onion into a heated and lightly oiled skillet. Add in the carrots, the ginger and dill, and a good pinch of salt and pepper. mix around a cook until the zucchini has gone cooked down and the carrots are slightly tender. Remove from heat.

IMG_5905.jpg
IMG_5907.jpg

Now make the dough. Ad the wet the dry and mix around unit a shaggy dough form then knead it for about a minute and place in a clean bowl covered with a towel to rest for 15 or so minutes.

IMG_5910.jpg
IMG_5919.jpg

After the dough has rested, dump into counter, pat into a disk and cut into 12 equal pieces.

IMG_5924.jpg

Then roll each piece into a ball. Take a ball and on a lightly floured surface, roll out into a disk.

IMG_5930.jpg
IMG_5931.jpg
IMG_5939.jpg

Then add the filling, A couple heading tablespoons of cooled filling go Into the middle. Have a little bowl or water and dip a finger into the bowl and run wet finger around the edge od dough. Fold the filed disk in half and lightly press the dough together. Now you can either try to twist the edges or just crimp them with a fork. Take a knife and cut a little steam vent into he top the place onto a baking sheet. Repeat until all empanadas are made.

IMG_5942.jpg

Brush tops with a little oiled sprinkle with pepper. Pop into the oven to bake.

IMG_5964.jpg

Pro tip. Don’t accidentally turn on the broiler right before you pull them out (especially if they were perfect. But in all honesty the mr liked the burnt ones so whatever.) Once they are nice and golden brown, pop them out of the oven.

IMG_6023.jpg

Now toss them onto a plate and start feeding your face. No utensils required. Dipping sauce is up to you.

-C


Zucchini Dill Empanadas

makes 12

For dough

  • 2 1/4 cups all-purpose flour

  • 1/2 teaspoon salt

  • 1/2 teaspoon baking powder

  • 1/3 cup vegetable oil

  • 1/2 cup cold water

Filling

  • 2 small zucchinis (3 packed cups grated)

  • a small onion

  • a carrot

  • 2 tablespoons fresh or 1 tablespoon dried dill

  • 1/2 teaspoon ground ginger (optional)

  • salt and pepper

  • vegetable oil

Start with making the filling. Chop the carrot into small little cubes then shred the zucchini and onion on a box grater. Gather the zucchini and onion and place in a clean tea towel of cheese cloth and ring to excess liquid. Place the carrot and the zucchini and onions into a preheated and lightly oiled skillet. Add in the dill, ginger, and a pinch of salt and pepper. Cook down for 7-9 minutes or until zucchini has lost a lot of liquid and the carrot pieces are fork tender. Remove from heat and let cool.

Make dough. Place the dry ingredients into a bowl and mix around. Add in the water and oil and mix until it comes together into a shaggy dough. Dump out onto counter and knead for about a minutes them place dough back into the bowl ( wipe it out) and cover with a towel. Let dough rest for 15 or so minutes.

Preheat oven to 375.

Once dough has rested, plop onto counter, pat into a disk shape, then cut into 12 equal pieces and roll each piece into a ball. Lightly flour the counter and start to roll each ball out into a round disk about 4-5 inches wide. You can one at a time and fill it or roll them all out and fill all at the same time.

To fill, take about 2 heaping teaspoons of the cooled filling and place in the center of the rolled out disk. dip your finger into water and and run it around the edge of the dough then fold in half and lightly press the edge together. Then either twist the edge or crimp the edge with a fork. Take a knife and cut a small slit into the top then place on a baking sheet. Once all the empanadas are on the sheet, lightly brush the tops with oil and sprinkle with black pepper. Pop into the oven and bake for 20 -25 minutes or unit the empanadas are a nice golden brown.

Remove from oven. Eat while hot.

Place any left overs in a container in the fridge for 5-7 days. Reheat in oven or toaster oven.

In Savory, summer, Vegan, Vegetables, pie Tags Zucchini Dill Empanadas, vegan, plant based, empanada, dill, summer, zucchini, easy, home made dough, fresh, dairy free, vegetable, hand pie
2 Comments

Chili Lime Jicama Slaw

April 24, 2021 Colleen Stem
IMG_4889.jpg

I don’t know about you but springtime has got me wanting to eat all the things that are fresh and bright and not super heavy. Things like big salads are on the top of my list. Or slaws like this jicama slaw. It is A+ and perfect for springtime munching.

Jicama. Maybe you have heard of it, maybe not. It is a vegetable, a tuber to be precise. And it tastes like a crunchy, juicy, not sweet apple, but also kind of reminds me of kohlrabi. And it slightly nutty, with a hint of potato? Just know it is delicious. You might have even had it and not even been aware of it, in say a salad or maybe spring rolls. Anyway, if you haven’t had it, it is definitely worth trying like in this slaw which is basically just jicama with cabbage, carrot and onion tossed in a cumin chili lime situation. It is fresh and crunchy and spicy and filling and all the things that I want be eating right now.

What we have it a really dang tasty and a quick toss together situation. What more can we ask for?

To the jicama slaw!

IMG_4860.jpg

The stuff. A small jicama, a carrot, a hunk of red cabbage, chili powder, cumin, a lime, red wine vinegar,a little maple syrup, and salt and pepper.

IMG_4865.jpg

Cumin, chili, maple, and vinegar go into a big bowl and get mixed around. Pop the bowl into the microwave if you can and heat it up for like 30 seconds, just o take a bit of the rawness of of the spices.

IMG_4872.jpg

Now peel the jicama. Use a sharp knife and carefully peel away the brown skin from the white flesh. Do not leave any of the skin on cause it is not good to eat!

IMG_4877.jpg

Once the jicama is peeled, grab a mandolin and julienne it (or cut into thin matchsticks with a knife). Then julienne the carrot and shredded the cabbage and onion.

IMG_4879.jpg

Dump all the veggies into the bowl with the spices then add in the juice of the lime and a pinch of salt and pepper.Toss around until evenly combined and coated.

IMG_4897.jpg

There you have it. Chili lime jicama slaw. Now you eat it. As a side to any dish you wish or just as it is, a big bowl of goodness.

-C


Chili Lime Jicama Slaw

Serves 3-4 (as a side)

  • 1 medium Jicama (around 3 cups julienned)

  • 1 small carrot

  • 1 small onion

  • a small hunk of red cabbage

  • a lime

  • 3/4 teaspoon cumin

  • 3/4 teaspoon chili powder

  • 1 teaspoon maple syrup

  • 1 tablespoon red wine vinegar

  • salt and pepper

Place cumin, chili, maple, and vinegar into a large bowl. Mix around and pop into the microwave for 20-30 seconds just to heat it up a bit and remove some of the rawness of the spices.

Peel the jicama. Do it with a knife (so carefully) and remove all of the tough brown skin away from the white flesh. (Do not eat skin..It can make you sick). Now either with a mandolin of a knife, julienne the jicama along with the carrot. Use a thicker setting for the jicama and a thinner one for the carrot. Shred or thinly slice up the cabbage and onion as well. Toss all the veggies into the bowl with the spices. Squeeze in the juice of the lime, add a pinch or two of salt and some black pepper and toss around until everything is evenly combined and coated.

You can eat it right away but It taste better when it has had a chance to sit for a little while.

Serve cold along with anything. Or eat on it’s own. Store left overs in fridge for up to a week.

In quick and easy, Raw, salad, Vegan, Vegetables Tags Chili Lime Jicama Slaw, jicama, slaw, raw, salad, plant based, grain free, gluten free, dairy free, vegetable, fresh, spring, easy, chili lime
Comment

My Everyday Curry Spice Blend

February 27, 2021 Colleen Stem
IMG_4015.jpg

When I say this is my everyday curry spice blend, I don’t mean the one I use regularly, I mean I use it just about EVERYDAY. In soup mostly because I make soup for lunch everyday. And you know what? I still get excited to eat my curried soup everyday so I know I am doing something right.

I have been making a version of this curry spice over the years but have added more and more spices to the mix. Sometimes I might even add a few more but these are the ones that always make the cut and that I pretty much buy in large quantity bulk. (Especially cumin. I buy in a pound container just about every 2 months) The only missing spice that I usually put in here is fenugreek but for some reason the two places that sell bulk spices are not carrying it currently so I don’t have it.

Anyway, this is my blend. I Iove it and you probably will too because it is good! And yeah, it makes a good cup or so of spice but that is not a lot when you use it everyday and use like 2 tablespoons at a time.

I really really like my spices.

Now to the everyday curry spice!

IMG_4016.jpg

The stuff. Cumin, ginger, turmeric, oregano, peppercorns, fennel seeds, coriander seeds, brown mustard seeds, cayenne powder, paprika, and cinnamon.

IMG_4020.jpg
IMG_4026.jpg

Basically take any of the whole spices and blend them up into powder or as close to powder as you like. I actually like some whole seeds and such in my powders because a whole peppercorn or fennel seed once in a while is pretty tasty.

IMG_4030.jpg
IMG_4034.jpg

Dump the blended spiced with the rest of the already powdered spices and mix together .

IMG_4048.jpg

Dump into a airtight jar and use in soups and curries and vegetable dishes and casseroles.. Everyday.

-C


My Everyday Curry Spice Blend

makes about a cup of spice blend

  • 3 tablespoons cumin

  • 2 tablespoons ground ginger

  • 1 tablespoon ground turmeric

  • 2 teaspoon ground chili powder or red pepper flakes (you less for less heat)

  • 1 tablespoon oregano

  • 2 teaspoon fennels seeds

  • 2 teaspoons coriander seeds

  • 2 teaspoons black peppercorns

  • 2 teaspoons cinnamon

  • 2 teaspoons paprika

  • 2 teaspoons mustard seed pods

Place all the spices that are not already ground into a spice mill or mortar and grind until well, ground. Add to the rest of the spices and mix together well.

Transfer to a airtight jar. Use everyday on anything

Blend will last a good few months when stored properly.

In condiment, spice blend Tags Everyday Curry Spice, curry, spices, vegan, indian, fresh, homemade, recipe, easy, delicious, cumin, fennel, peppercorn, mustard seed, coriander, ginger, turmeric, cinnamon, oregano, paprika, chili
Comment

No knead Raisin Walnut Sourdough Bread

February 20, 2021 Colleen Stem
IMG_3972.jpg
IMG_3948.jpg
IMG_3896.jpg

I bake a lot of bread in my house . A LOT. Like at least 2-3 times a week and have been doing so for years now so I know a thing or two about bread. And when I bake bread, I almost always use starter unless I really really need dough fast. Then I will add yeast but honestly, I haven’t used yeast in bread in probably 3+ years. I have developed such a rhythm with bread that I just have dough in the fridge at all times.

One reason I have never shared a sourdough recipe before on the blog is that I think a lot of people feel intimidated by baking bread and especially making bread with just a starter. Another reason is that up until the past year, I don’t think having a starter was as common as it is now (but thanks to COVID it is more common then ever!). Anyway, now more people are on the home made bread band wagon (about stinkin time) and I am here for it.

A word of advice if you are new to the bread game…. Don’t take it to seriously! I remember back in my early days of bread baking I would freak out about if I was doing it right. About timing and wondering if it is exactly the right amount of rising or if the temperature of this or that was exactly, or if I handled the dough to rough. Now after all these years, I have gotten pretty intuitive with bread dough but also I don’t worry to much. It will be good. It will be bread and you will love ever single bite.

This bread is a basic no knead bread with a little added goodness of walnuts and raisins. Easy, simple, and freaking delicious. A great bread to make if you are just getting into the sourdough bread game. Or if you want really dank ass bread!

To the bread!

IMG_3783.jpg

The stuff. Ripe starter, flour, warm water, salt, raisins , walnuts, and a little cinnamon.

IMG_3791.jpg

Start by dumping a little of the warm water onto the raisins to plump them up a bit and to make sure they are not all stuck together.

IMG_3801.jpg
IMG_3806.jpg
IMG_3809.jpg
IMG_3816.jpg

Make the dough. Stain the water from the raisins into a big bowl and add the rest of the water, along with the starter and a little flour. Mix until incorporated. Add in the salt, cinnamon, and rest of flour and mix until all the dry is mixed into wet you have a shaggy wet dough. Add in the raisins and walnuts and mix until incorporated.

IMG_3820.jpg

All mixed and ready to rest. Scrap sides of bowl and cover. Place In a warm spot for a couple hours.

IMG_3850.jpg

After about 2 hours, the dough hasn’t done much rising but that is what is suppose to happen. Take a damp hand and fold dough over itself a few times then cover ( with plastic or a silicon bowl topper) and place dough into fridge. Leave it in there over night. (at least 10 hours or for up to a week)

IMG_3861.jpg

Dough the next day. It hasn't double, but that is fine.

IMG_3866.jpg
IMG_3868.jpg
IMG_3872.jpg

Dump dough out onto a flour piece of parchment. Fold each side over onto the top and them flip top side down. Gently shape into a nice ball.

IMG_3874.jpg

Place doughstill on parchment into a large dutch oven. Cover and let rest for 2ish hours.

Preheat oven!

IMG_3889 2.jpg

After the two hours and once the oven is nice and hot, remove lid and take a lame of serrated knife and slash the top of the loaf. One or two slashes or a few fancy placed ones. Just don’t press down to hard of cut it up to much. Now place lid back onto pot and place pot into hot oven. Bake for 30 minutes then carefully remove lid. Bake for another 20-25 minutes or until a deep golden brown.

IMG_3896.jpg

What a beauty! Now take the bread out of pot and yes, you MUST wait to cut into it. Let cool for at least an hour. I know you want bread now but it will not end well if you try to cut into this loaf hot.

IMG_3960.jpg

But once it is cooled and you slice into.. Worth every minutes of waiting.

-C


No knead Raisin Walnut Sourdough Bread

Makes one big road loaf but can also make 2 smaller round loafs

  • 4 cups all purpose flour plus more for shaping

  • 1 3/4 cup warm water

  • 1/2 cup ripe sourdough starter

  • 1 cup raisins

  • 1 cup chopped walnuts

  • 1 teaspoon salt

  • 1 heapingtaspoon cinnamon

Start by dumping some of the warm water into a bowl with the raisins. Let sit for a few minutes until the y plump up a bit. Stain the water from raisins into a big bowl only with the starter and the rest of the warm water. Add in a cup or so of flour and mix until incorporated. Next add in the rest of the flour, the salt, and the cinnamon. Mix until all the dry flour is now wet and you have a shaggy wet dough. Dump in the walnuts and raisins and mix in. Scrape down sides of bowl, cover, and place in a warm spot for an hour to two. After sitting for a while, the dough should have risen a bit but to doubled in size. Grab the edge of dough and fold it over itself , cover back up (use plastic of a silicon top), and stick it in fridge overnight (at least 10 hours but up to a week)

The next day when you are ready to bake it off, remove the dough from fridge, dump out onto a floured covered piece of parchment, and fold side over to the top. Then roll the folded side over. Keep on parchment and gently shape into a round. Place shaped dough (pick up by the parchment paper) into a large dutch oven. Put the cover on and let rest. (You can also place on a baking sheet if you don’t have a dutch oven and gently cover a plastic bag that is not touching he dough). After about and hour and a half start reheating the oven to 500 degrees.

After the oven has been preheated (give it a good 1/2 hour so oven temp is truly hot) remove lid (or bag) and sprinkle a little flour on top of dough. With a lame or a sharp serrated knife, score the stop of the bread. One or two slashed should be fine. Now place lid back onto pot and place pot into hot oven. Or if not using dutch oven, add a separate baking pan to the bottom of oven with a cup of water to create steam and just slide baking sheet into oven. i After a few minutes, turn heat down to 450. For dutch oven, bake for 1/2 hour then carefully remove lid from pot and continue to cook for another 20- 25 minutes or until the bread is a nice deep golden brown. If not using dutch oven, the bread will back a bit faster so check after 40 minutes for a nice deep golden brown loaf. (When in doubt of doneness check internal temperature . 200- 210 degrees)

Once baked through, remove pot from oven, pop bread out of pot and place on a cooling rack. Let cool for at least an hour before cutting into it.

Once cooled, slice and eat. Best eaten within 2-3 days and if you are not going to eat it that fast, just slice it up and stick in the freezer.

Tags bread, vegan, no knead, sourdough, starter, no yeast, walnut, raisin, king Arthur flour, fresh, easy, long fermentation
1 Comment
← Newer Posts Older Posts →
 

https://thelovelycrazy.squarespace.com/config#/|/about/

Me. Food Maker.Food eater. Woo HOO!

STEM+NODE  SMALL BATCH AND ONE OF A KIND POTTERY

stem+node ceramics


____________________

Subscribe

GET NEW POSTS IN YO EMAIL

You are AWESOME!!!


@thelovelycrazy 2014-2021