• stem+node ceramics
  • HOME
  • Food Recipes
  • About
  • Contact
Menu

The Lovely Crazy

Street Address
City, State, Zip
Phone Number

Your Custom Text Here

The Lovely Crazy

  • stem+node ceramics
  • HOME
  • Food Recipes
  • About
  • Contact

Roasted Roots Snack Plate

February 5, 2022 Colleen Stem

Did I make a roasted roots charcuterie of sorts? Yeah maybe I did, but I don’t know about calling it a charcuterie. I like to think of it more as a snack plate. And I say snack plate only because I placed everything on a plater which is, in fact, a very large plate. I could have showed you how I usually eat this, directly off a baking sheet, but that wouldn’t be as fun. And a snack plate looks a heck of a lot nicer when/if you want to share. Think of it. All your people around, snacking away in some dank ass roasted veggie. (No I did not share or even intend to share any. This was my lunch thank you very much.) Well not exactly something to day dream about but your people, if choosing to share, will really enjoy themselves while eating. Plus it works for any occasion where there are like people withl food allergies and easy to make all the people with all the different diets happy. Everyone can eat it. And it is really pretty. That counts as another plus.

This snack plate. Well it is basic. Just a bunch of the most delicious roots roasted up and served with dips. It is so simple and can be made with pretty much any veggies you like and then served with whatever dips you want. It is a choose your own adventure snack plate. You can even get fancy with it and serve it with nuts and olives and maybe some fruit or whatever but it is not necessary. And also I a want to make it clear, just because I called it a snack plate does not mean it needs to be a snack or that you have to share (see previous paragraph.) Eat is all to your face. I applaud you.

Now to the roasted roots!

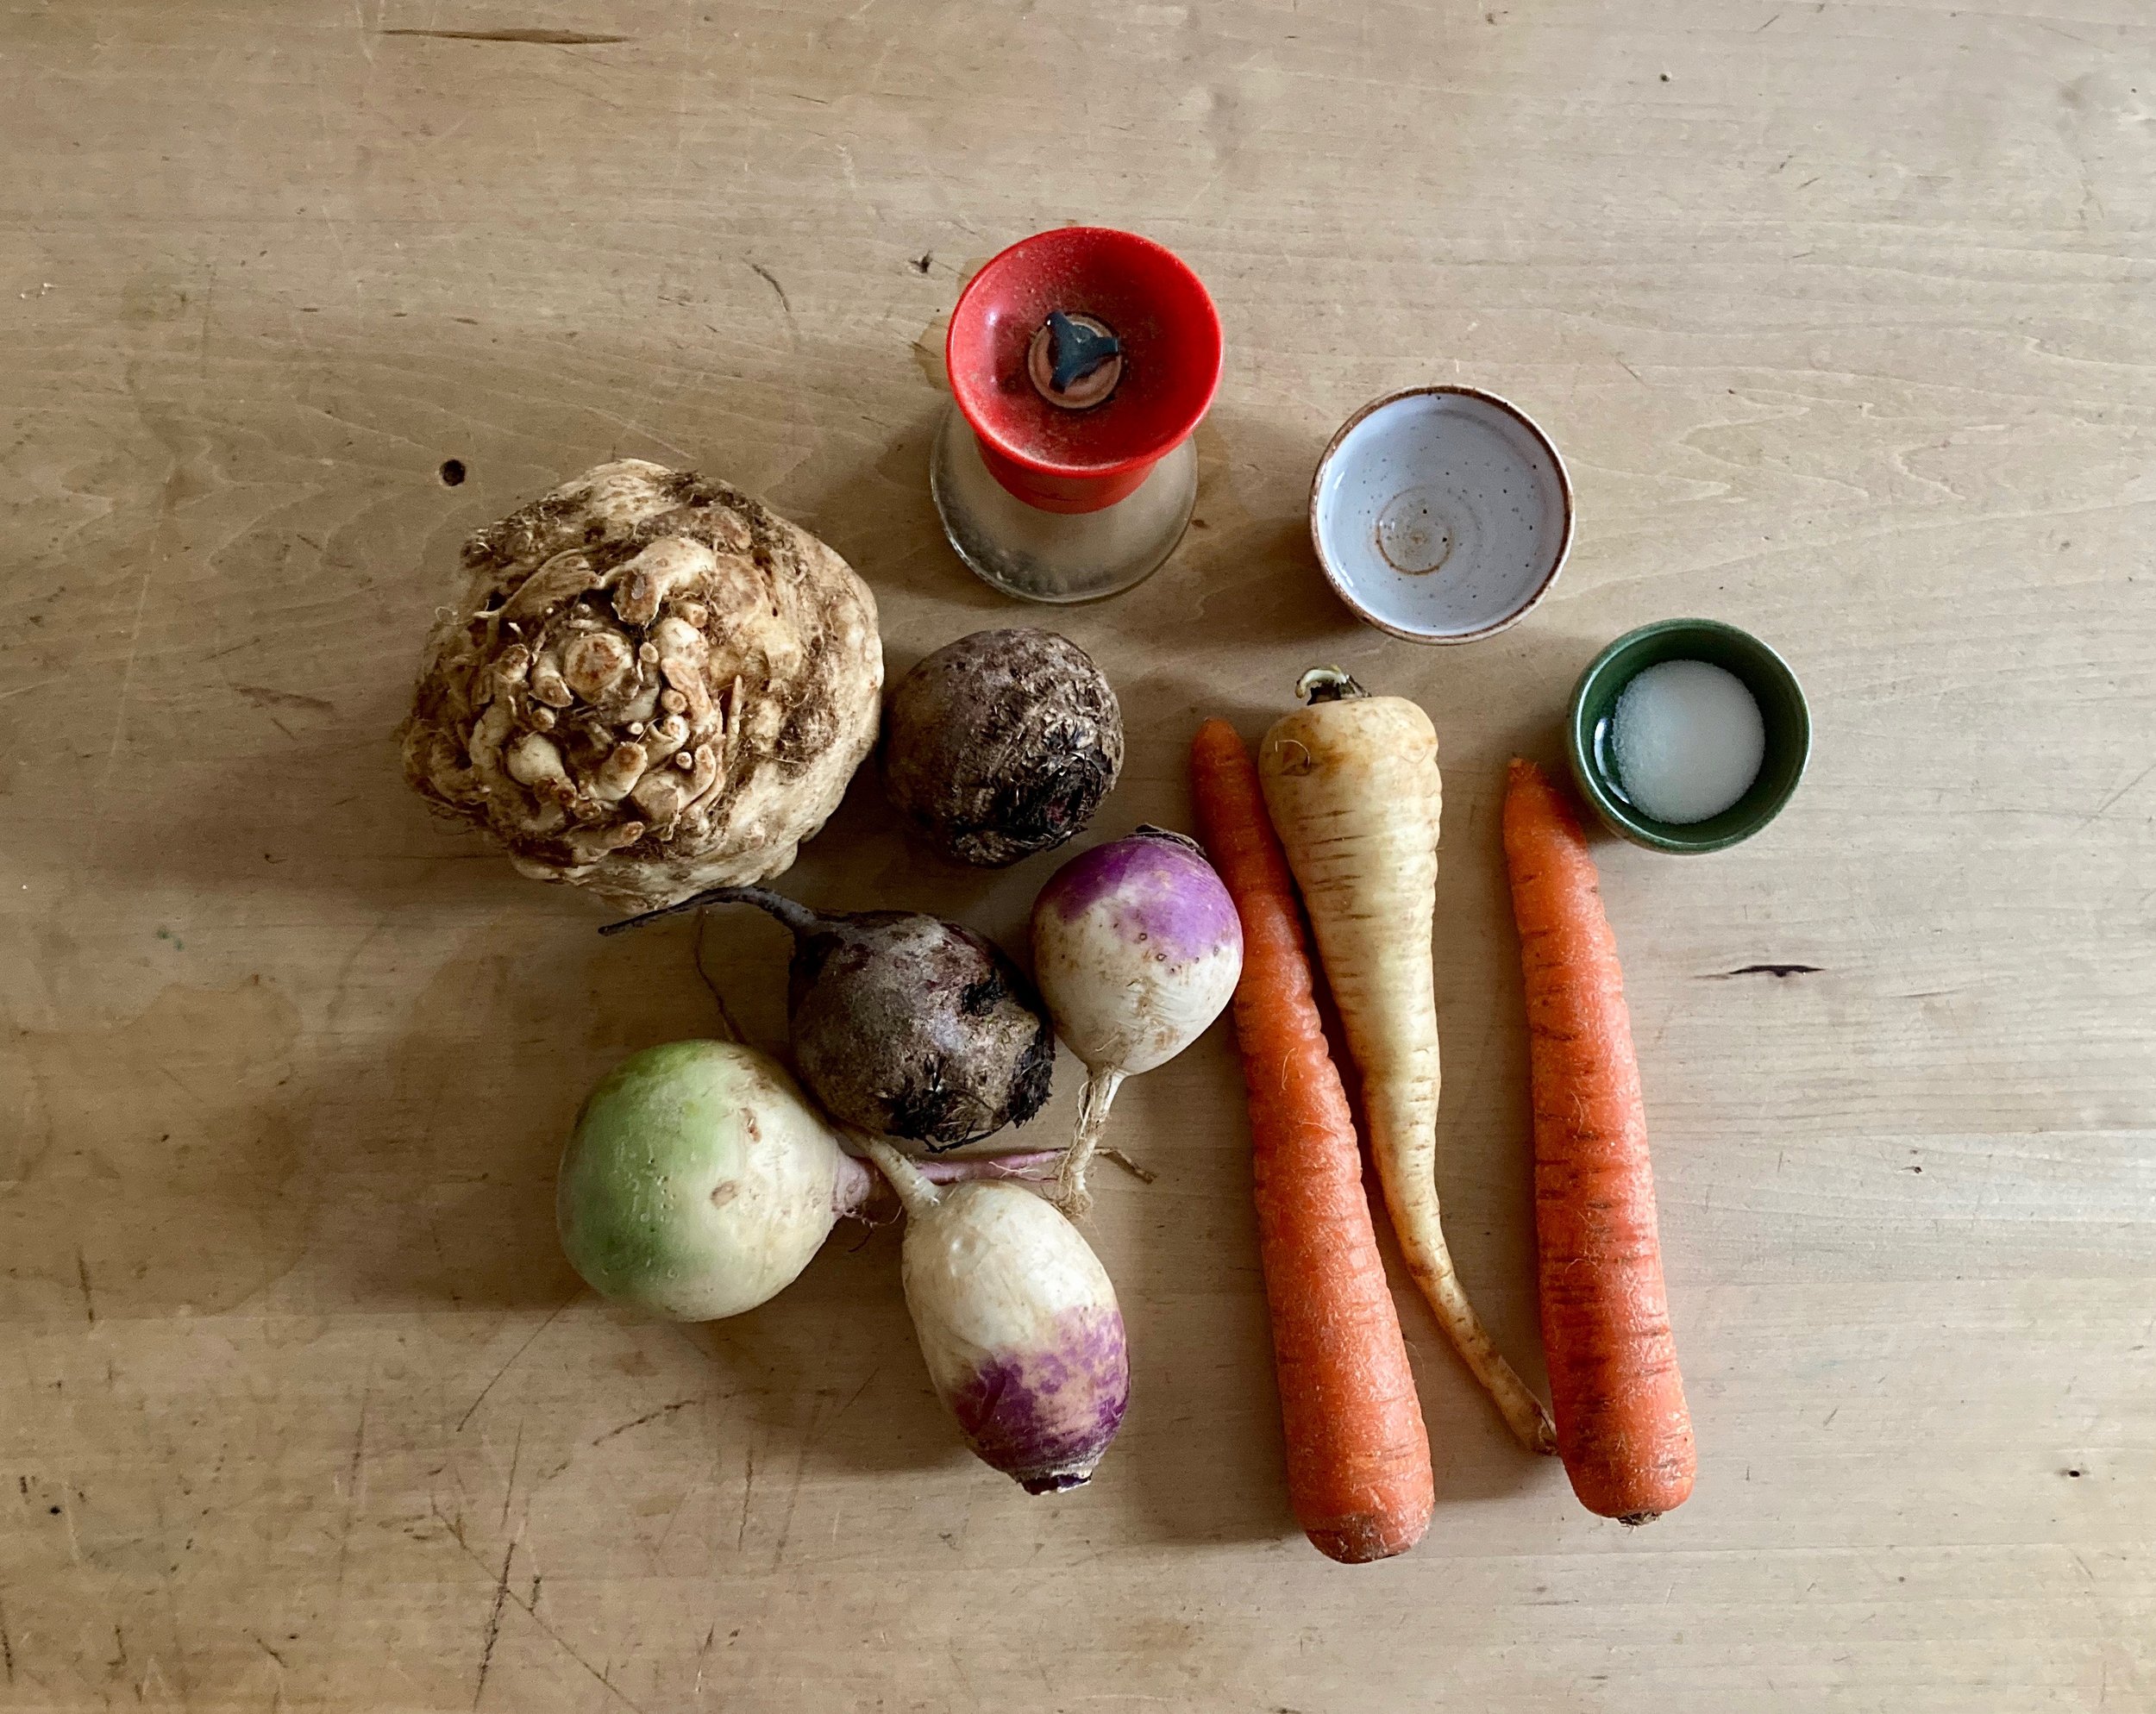
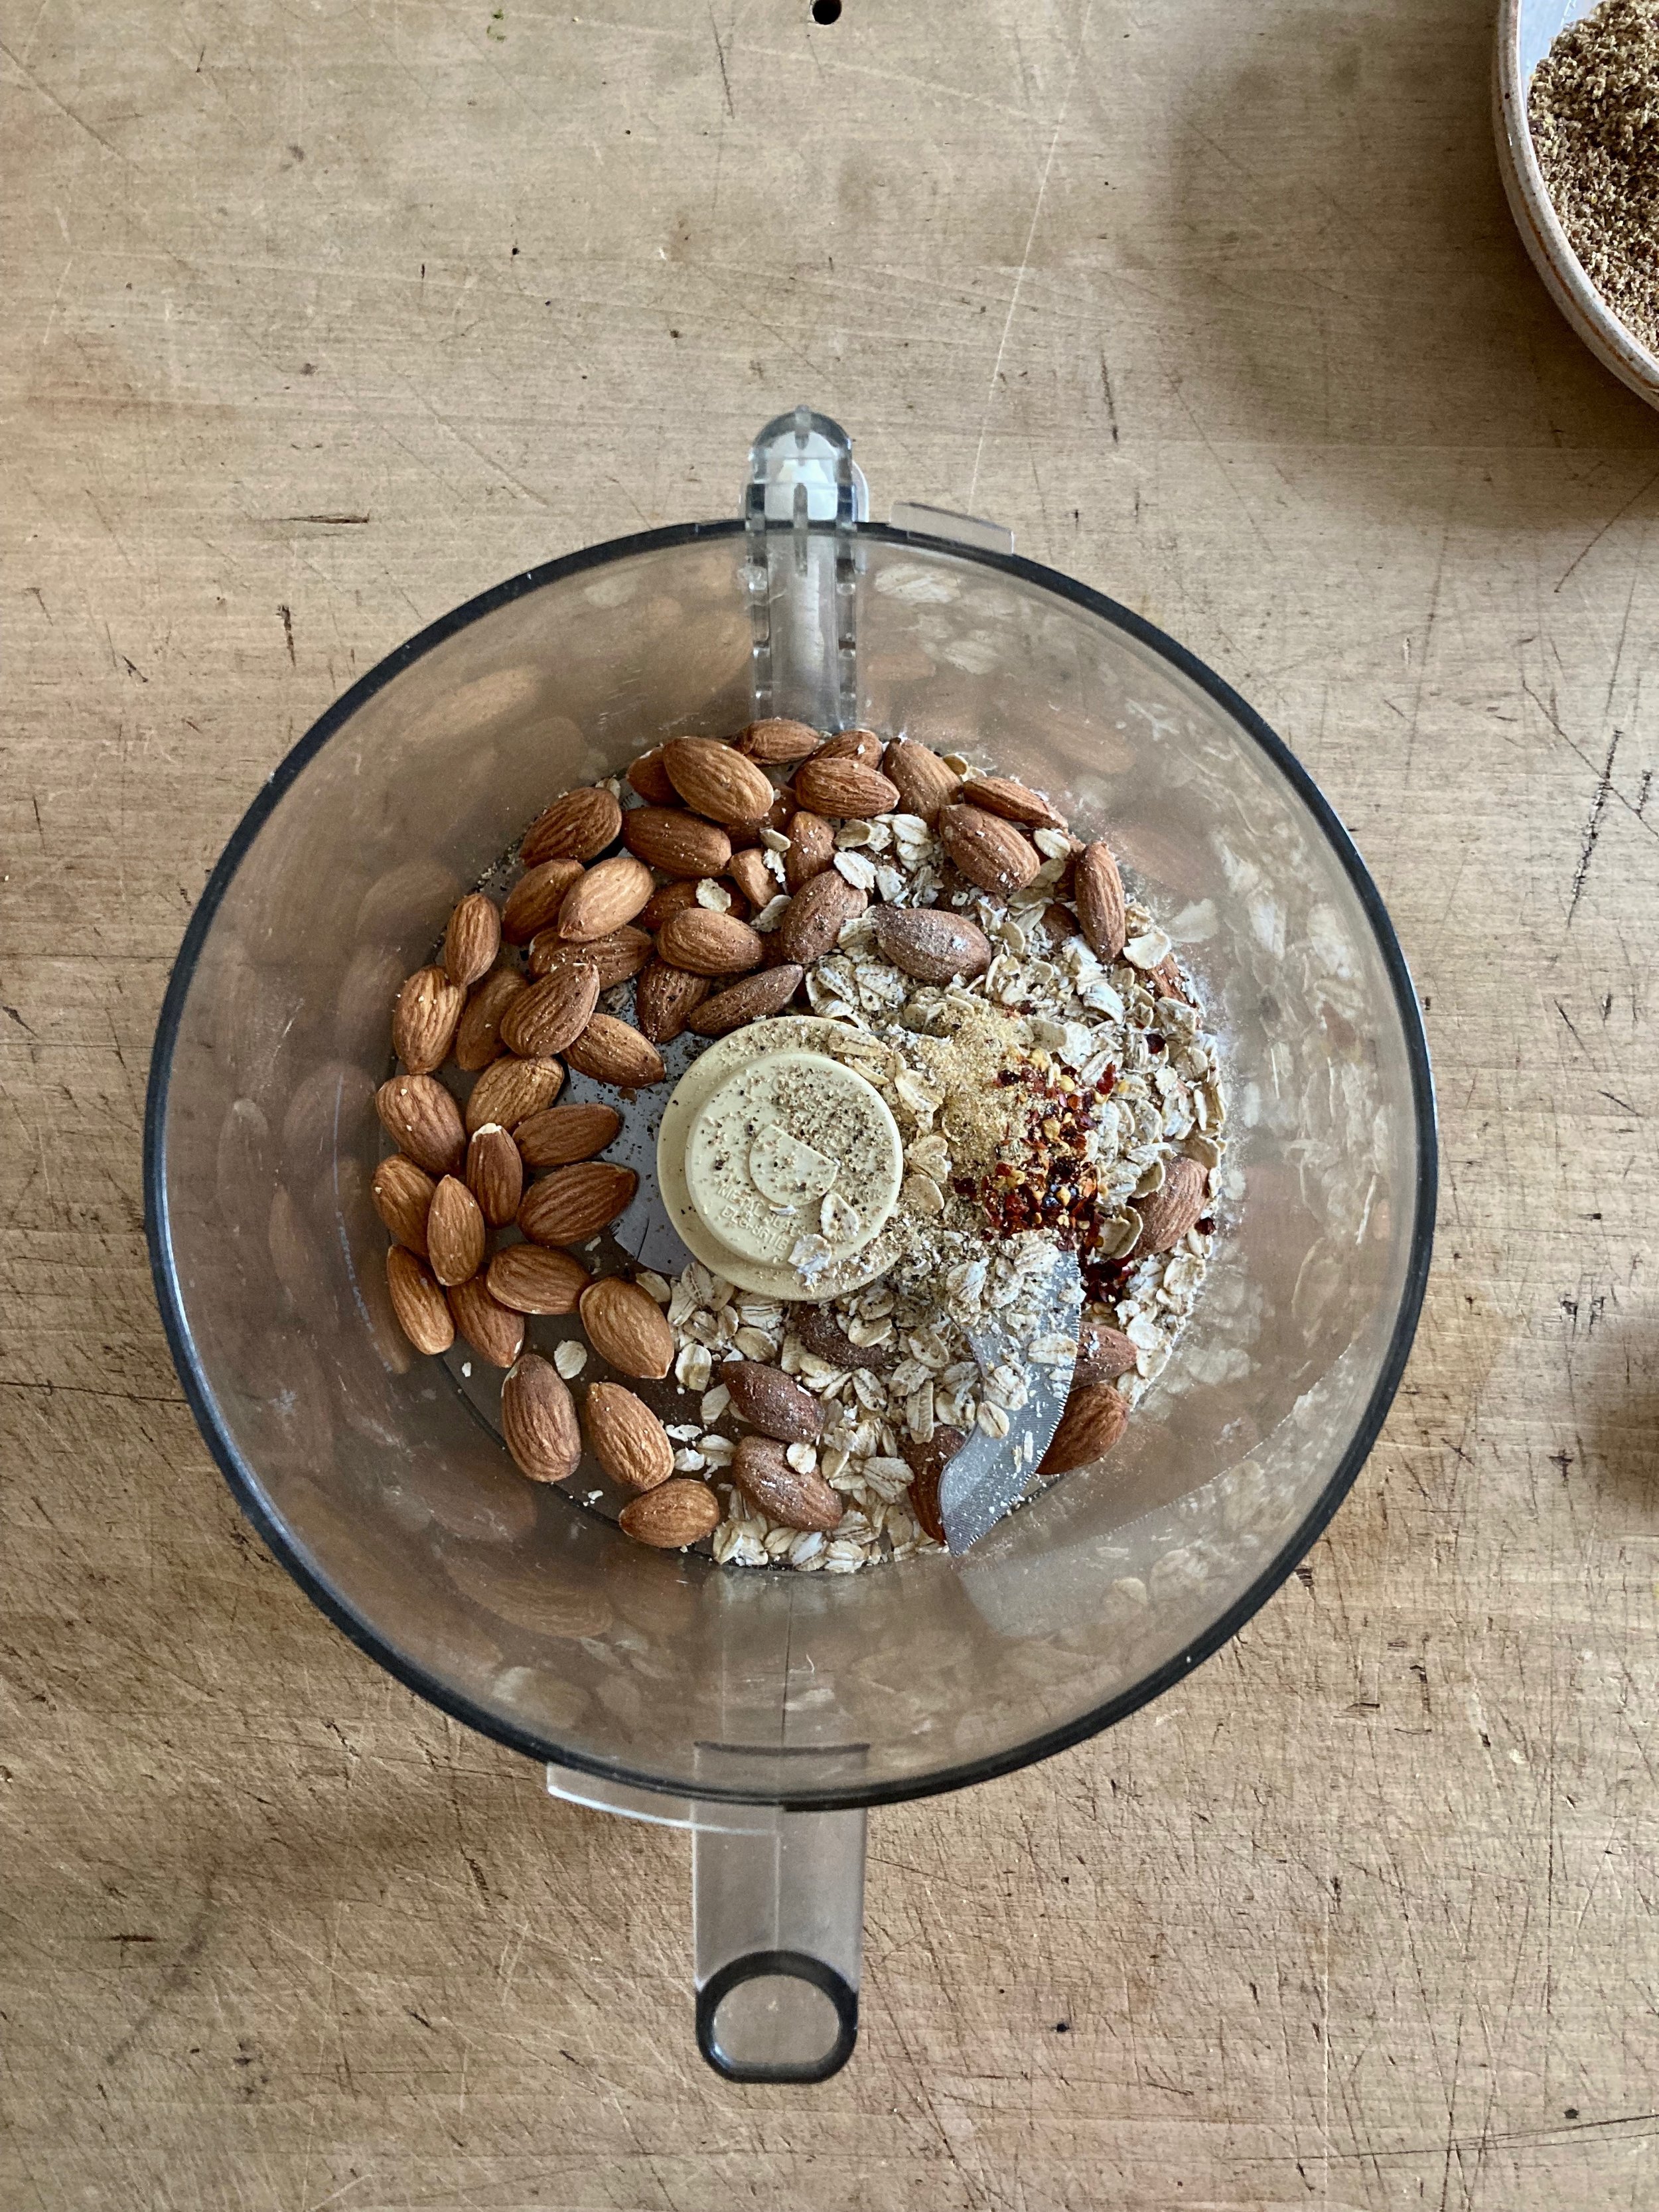
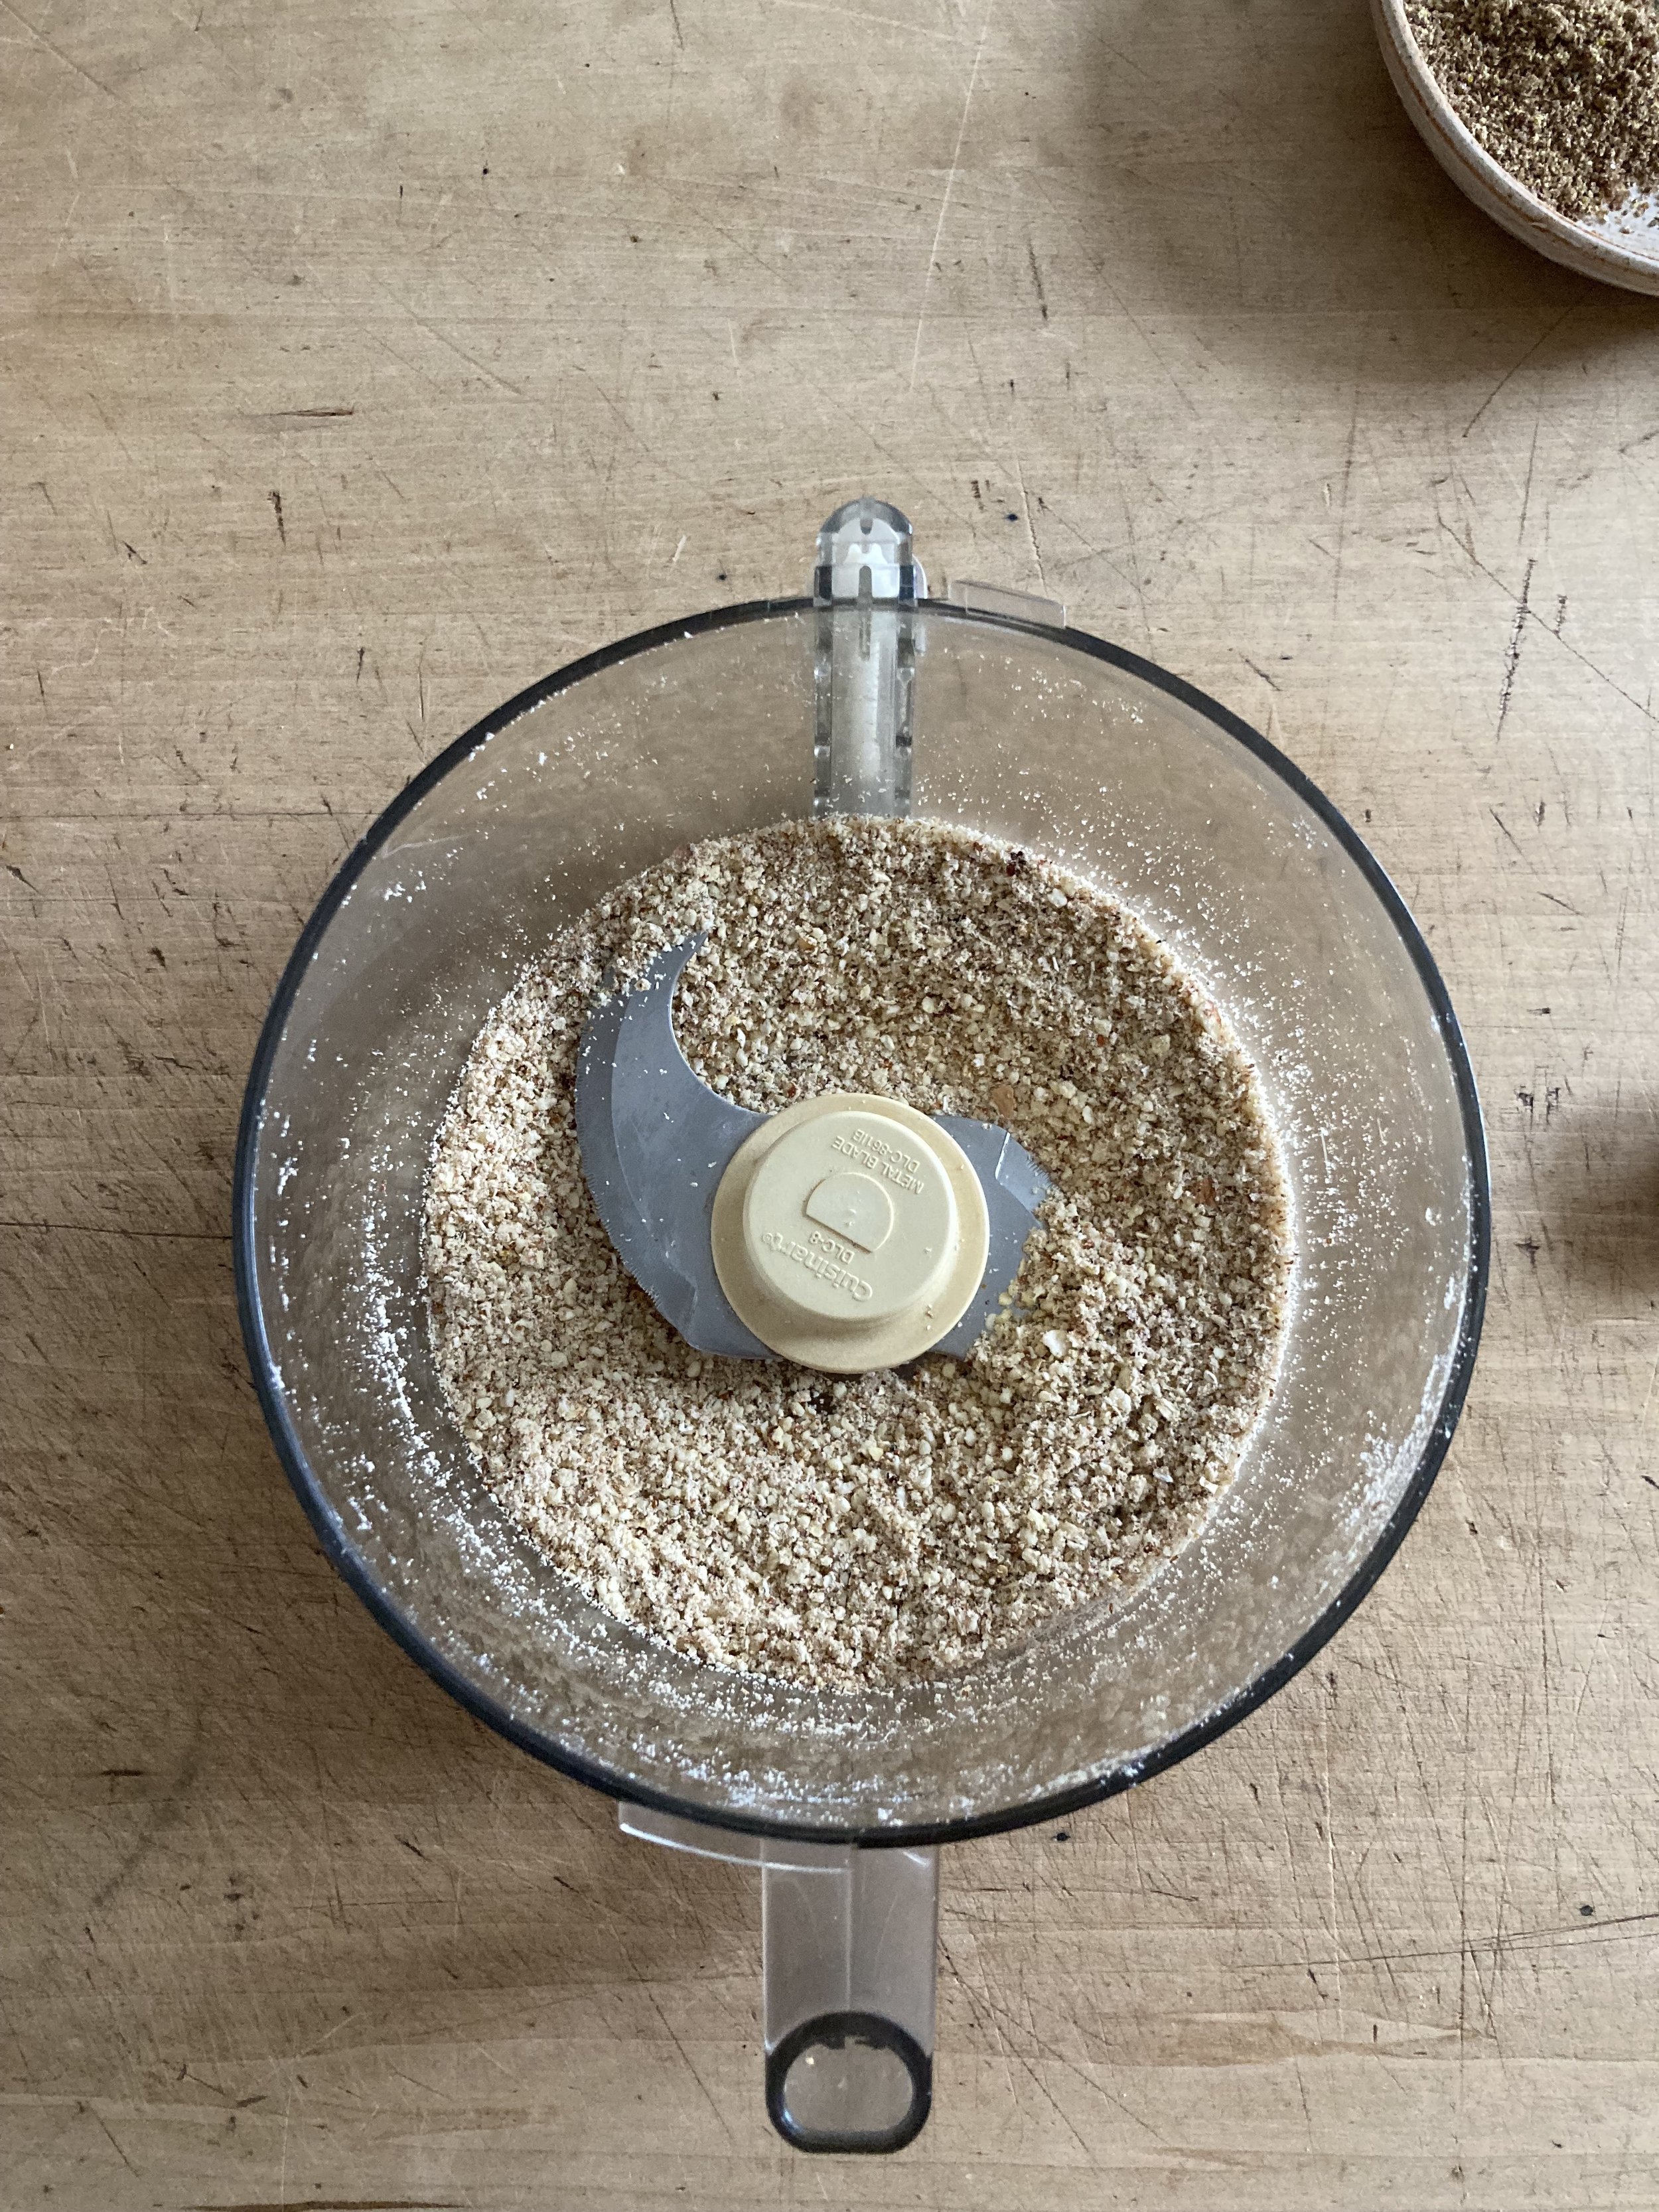
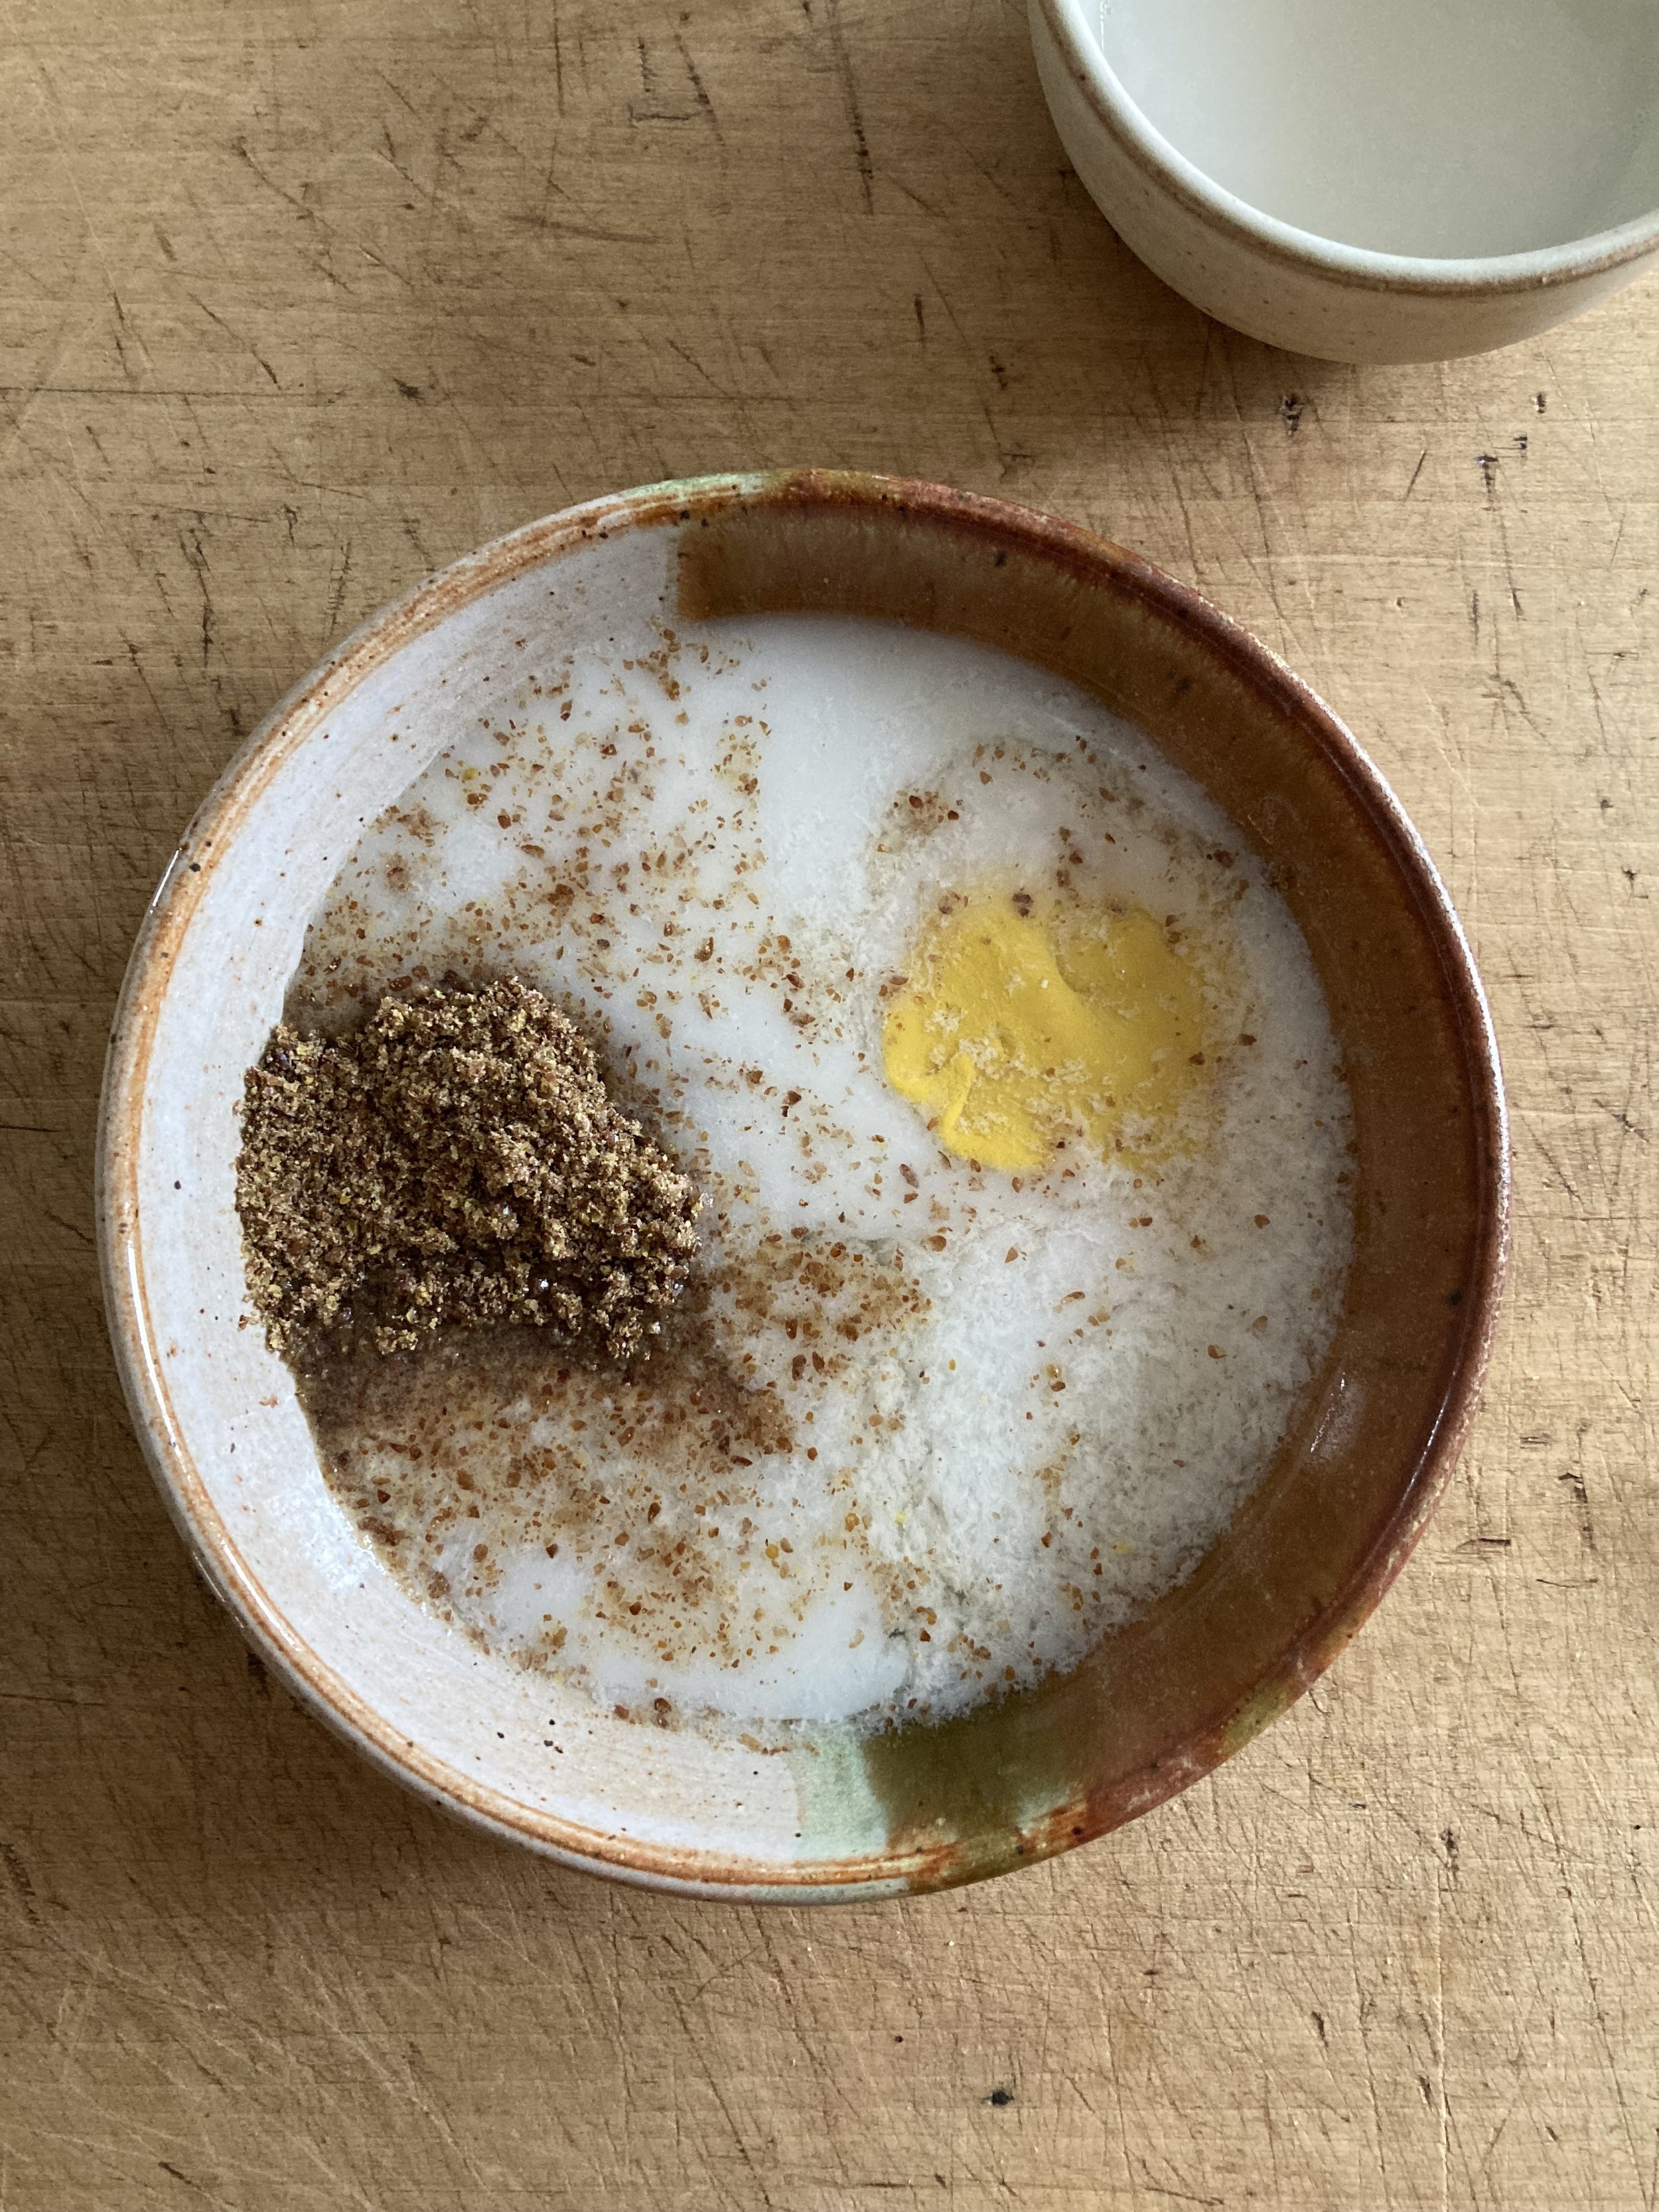
The stuff. A bulb of celeriac, a big watermelon radish, a couple carrots and ac couple of beets. A big parsnip, some beets, vinegar and water, and salt and pepper.

Wash all the roots then cut them up. IF you want to peel go for it, but I don’t because I prefer not to.

Anyway, cut them all into wedges, shtik and or rounds. A variety of shapes is nice, just make sure that they are all roughly the same thickness.

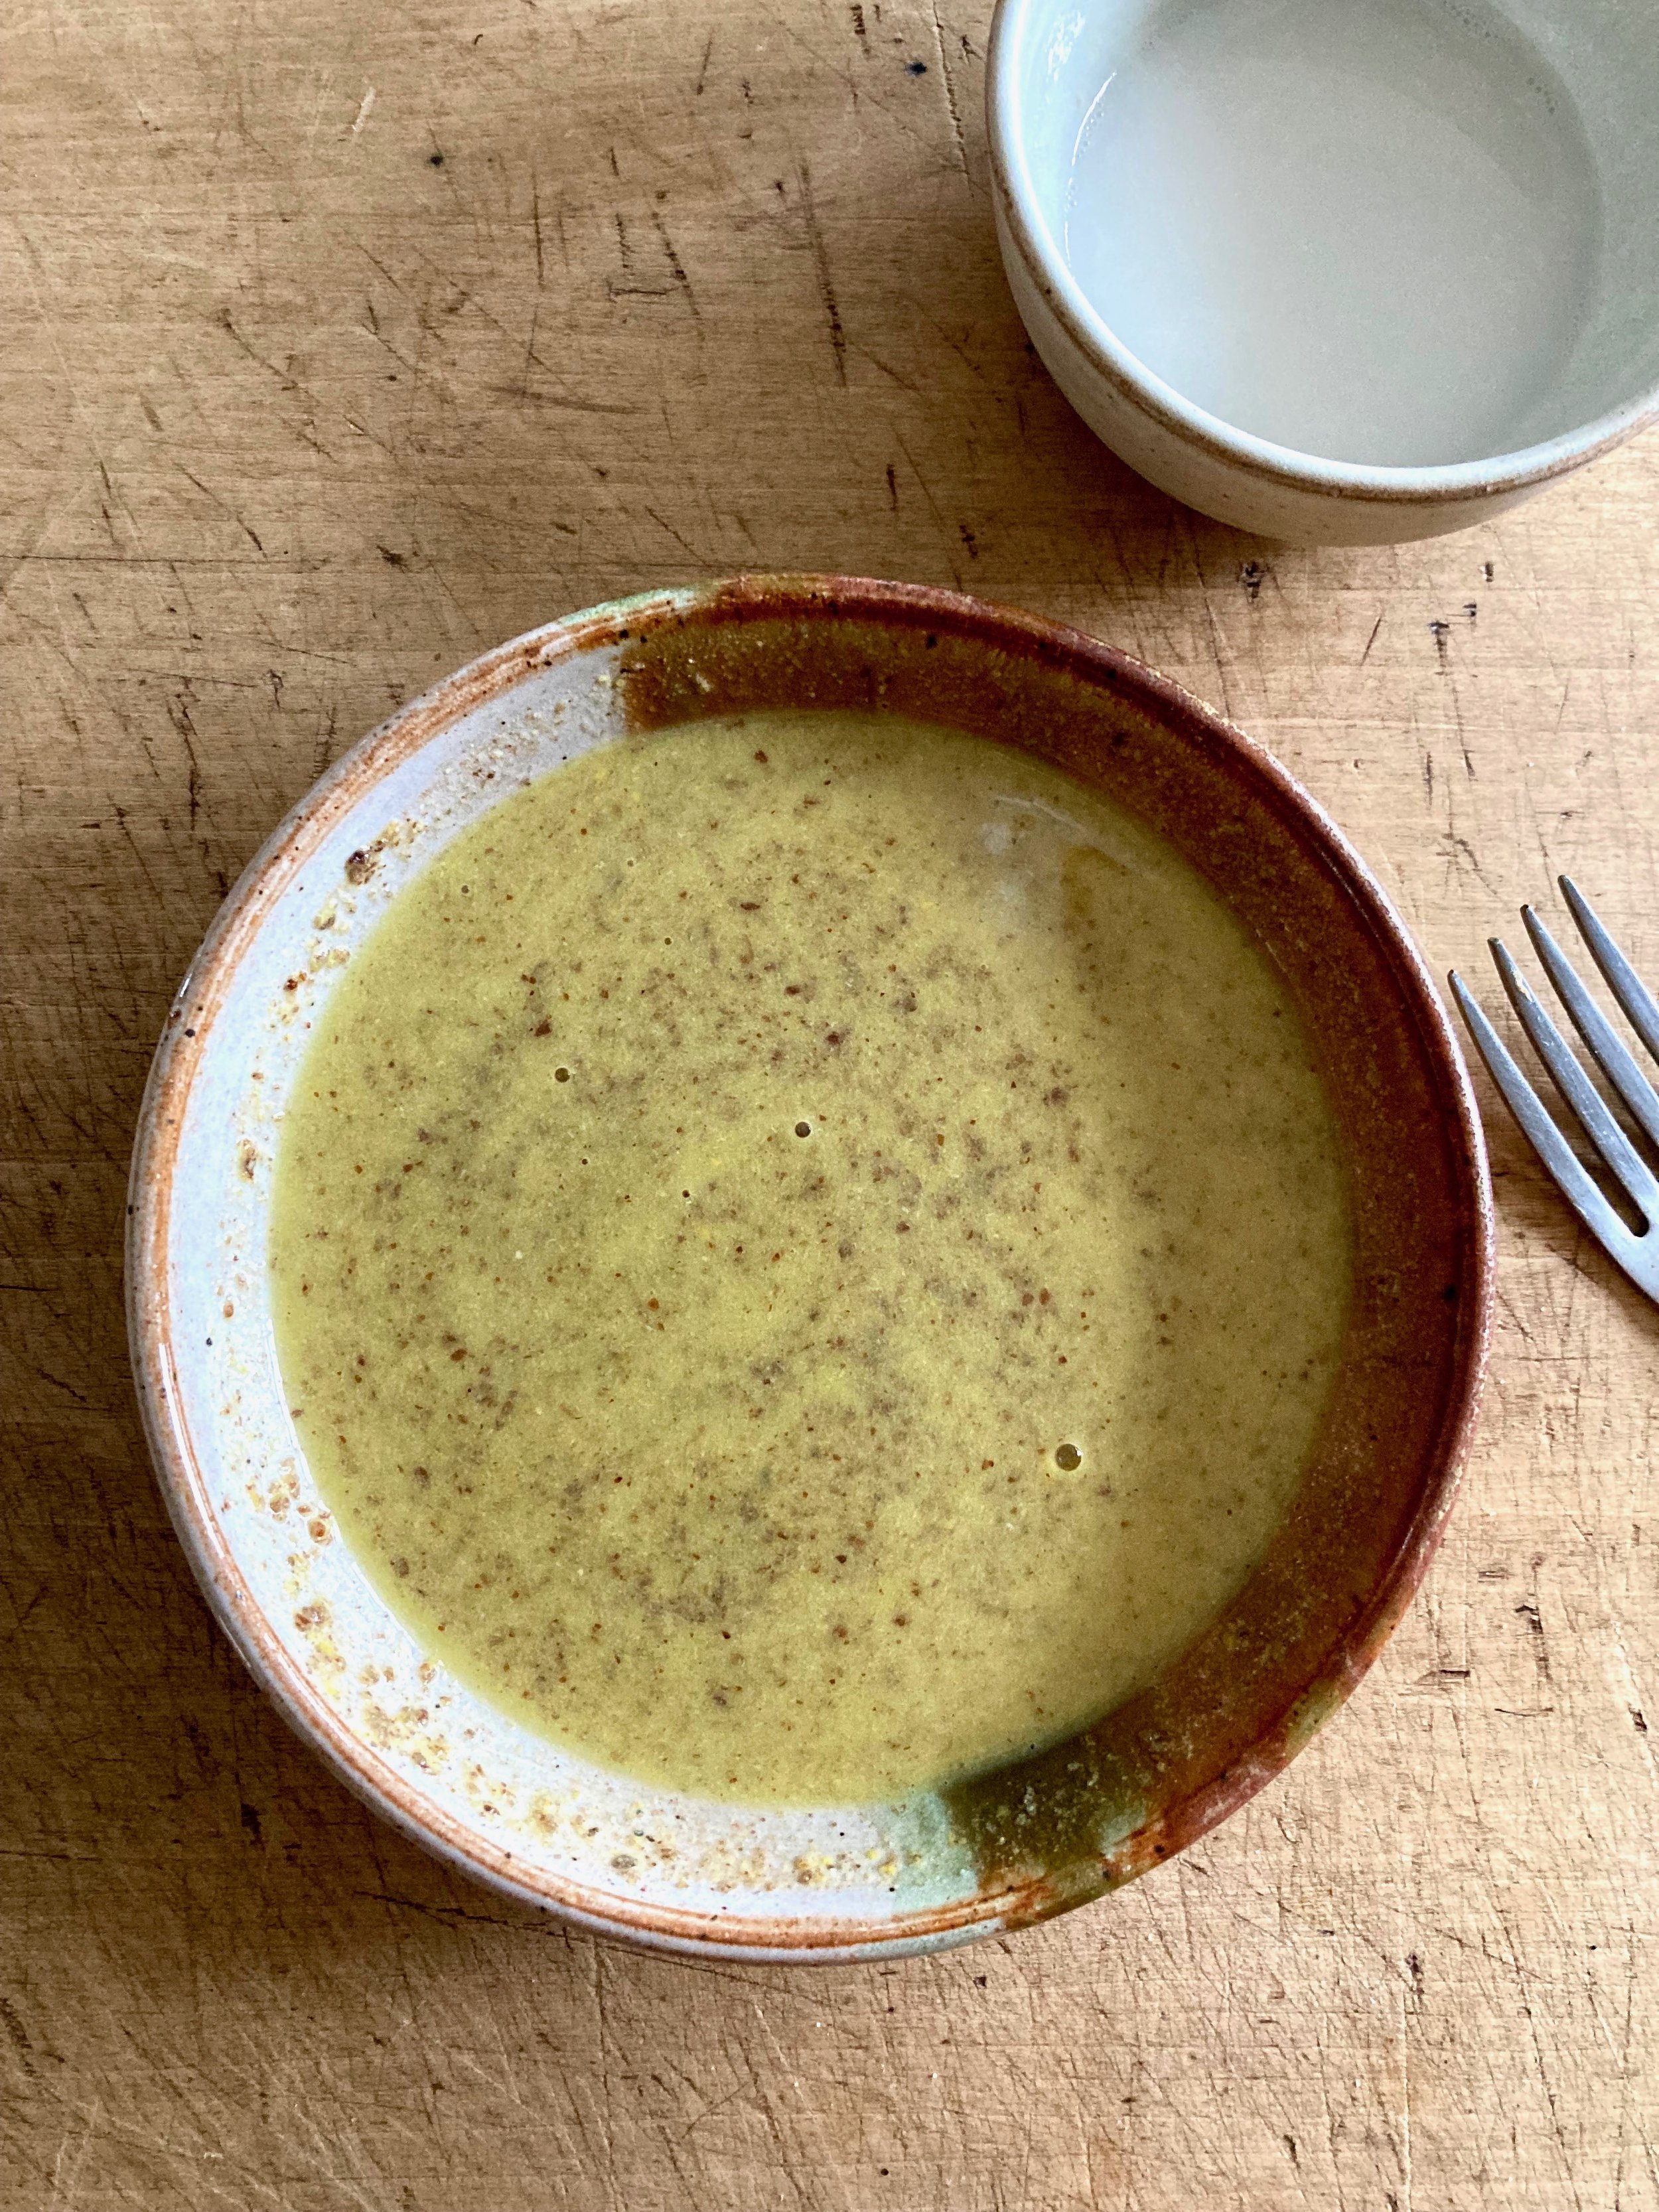
Arrange all the cut roots on a baking sheet, trying not to overlap much. Sprinkle with water and vinegar then toss on a good pinch of salt and pepper.

Place in hot oven and roast.

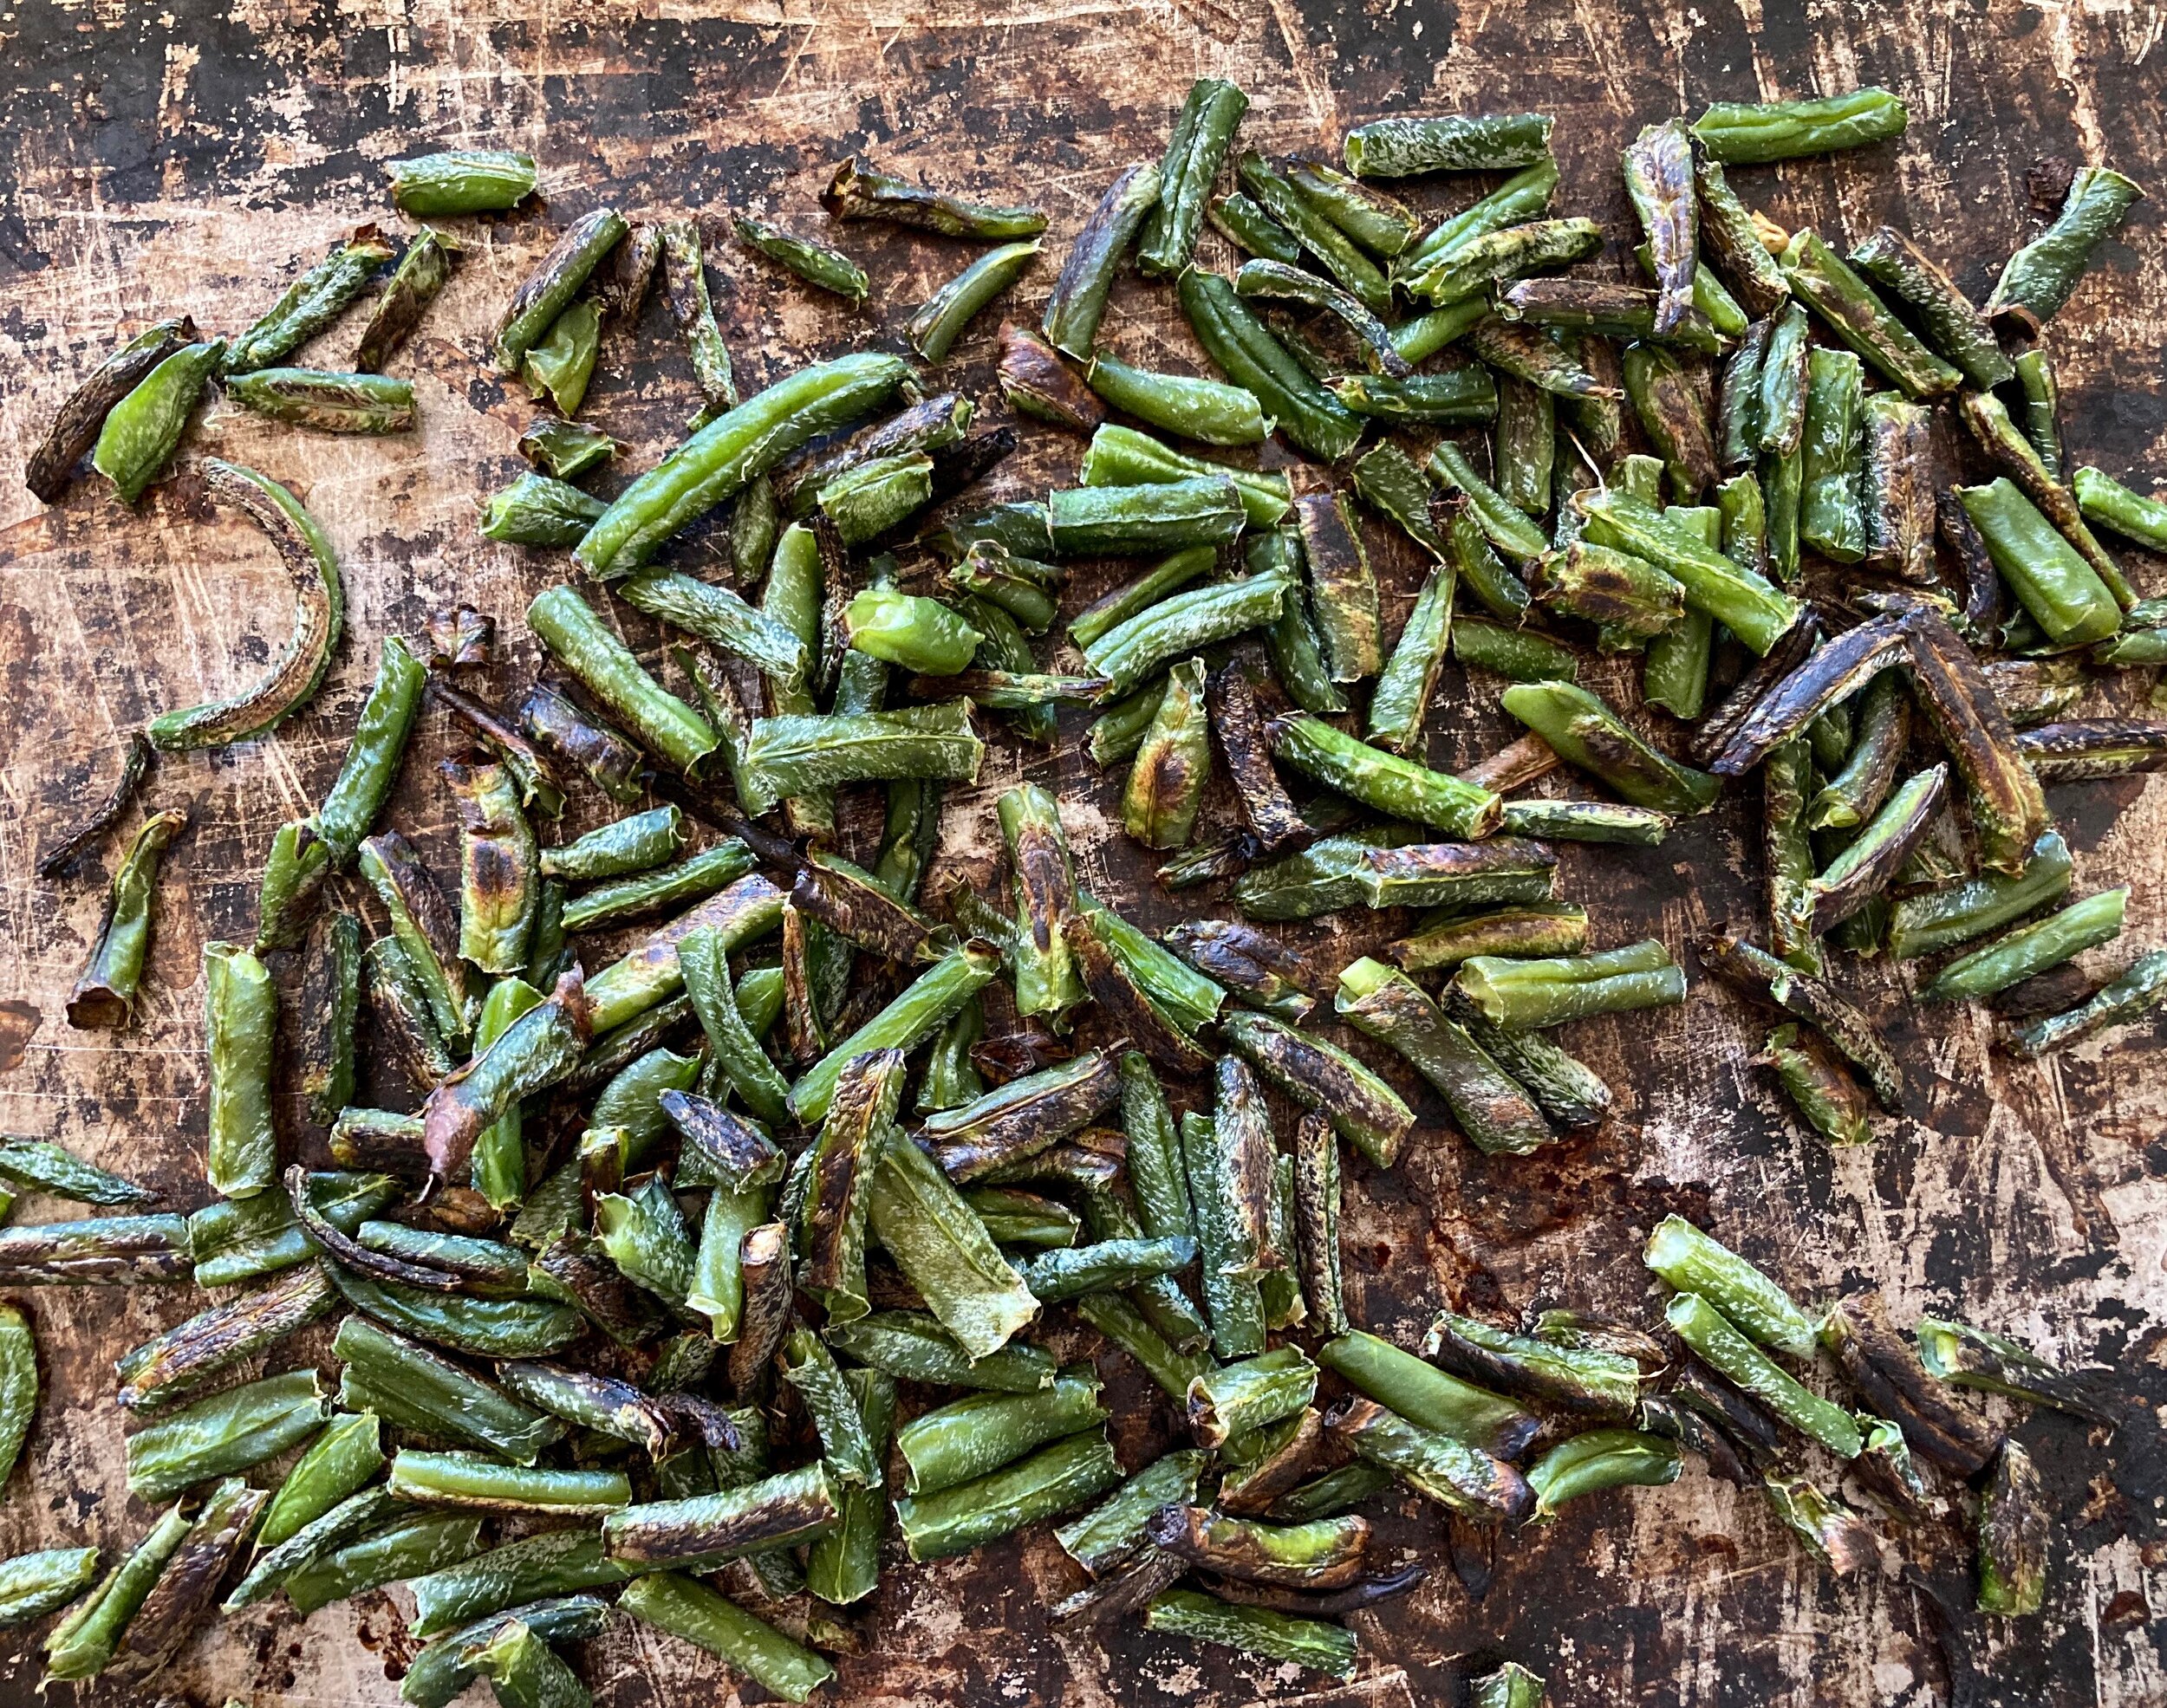
40 fish minutes later, all tender and ready.

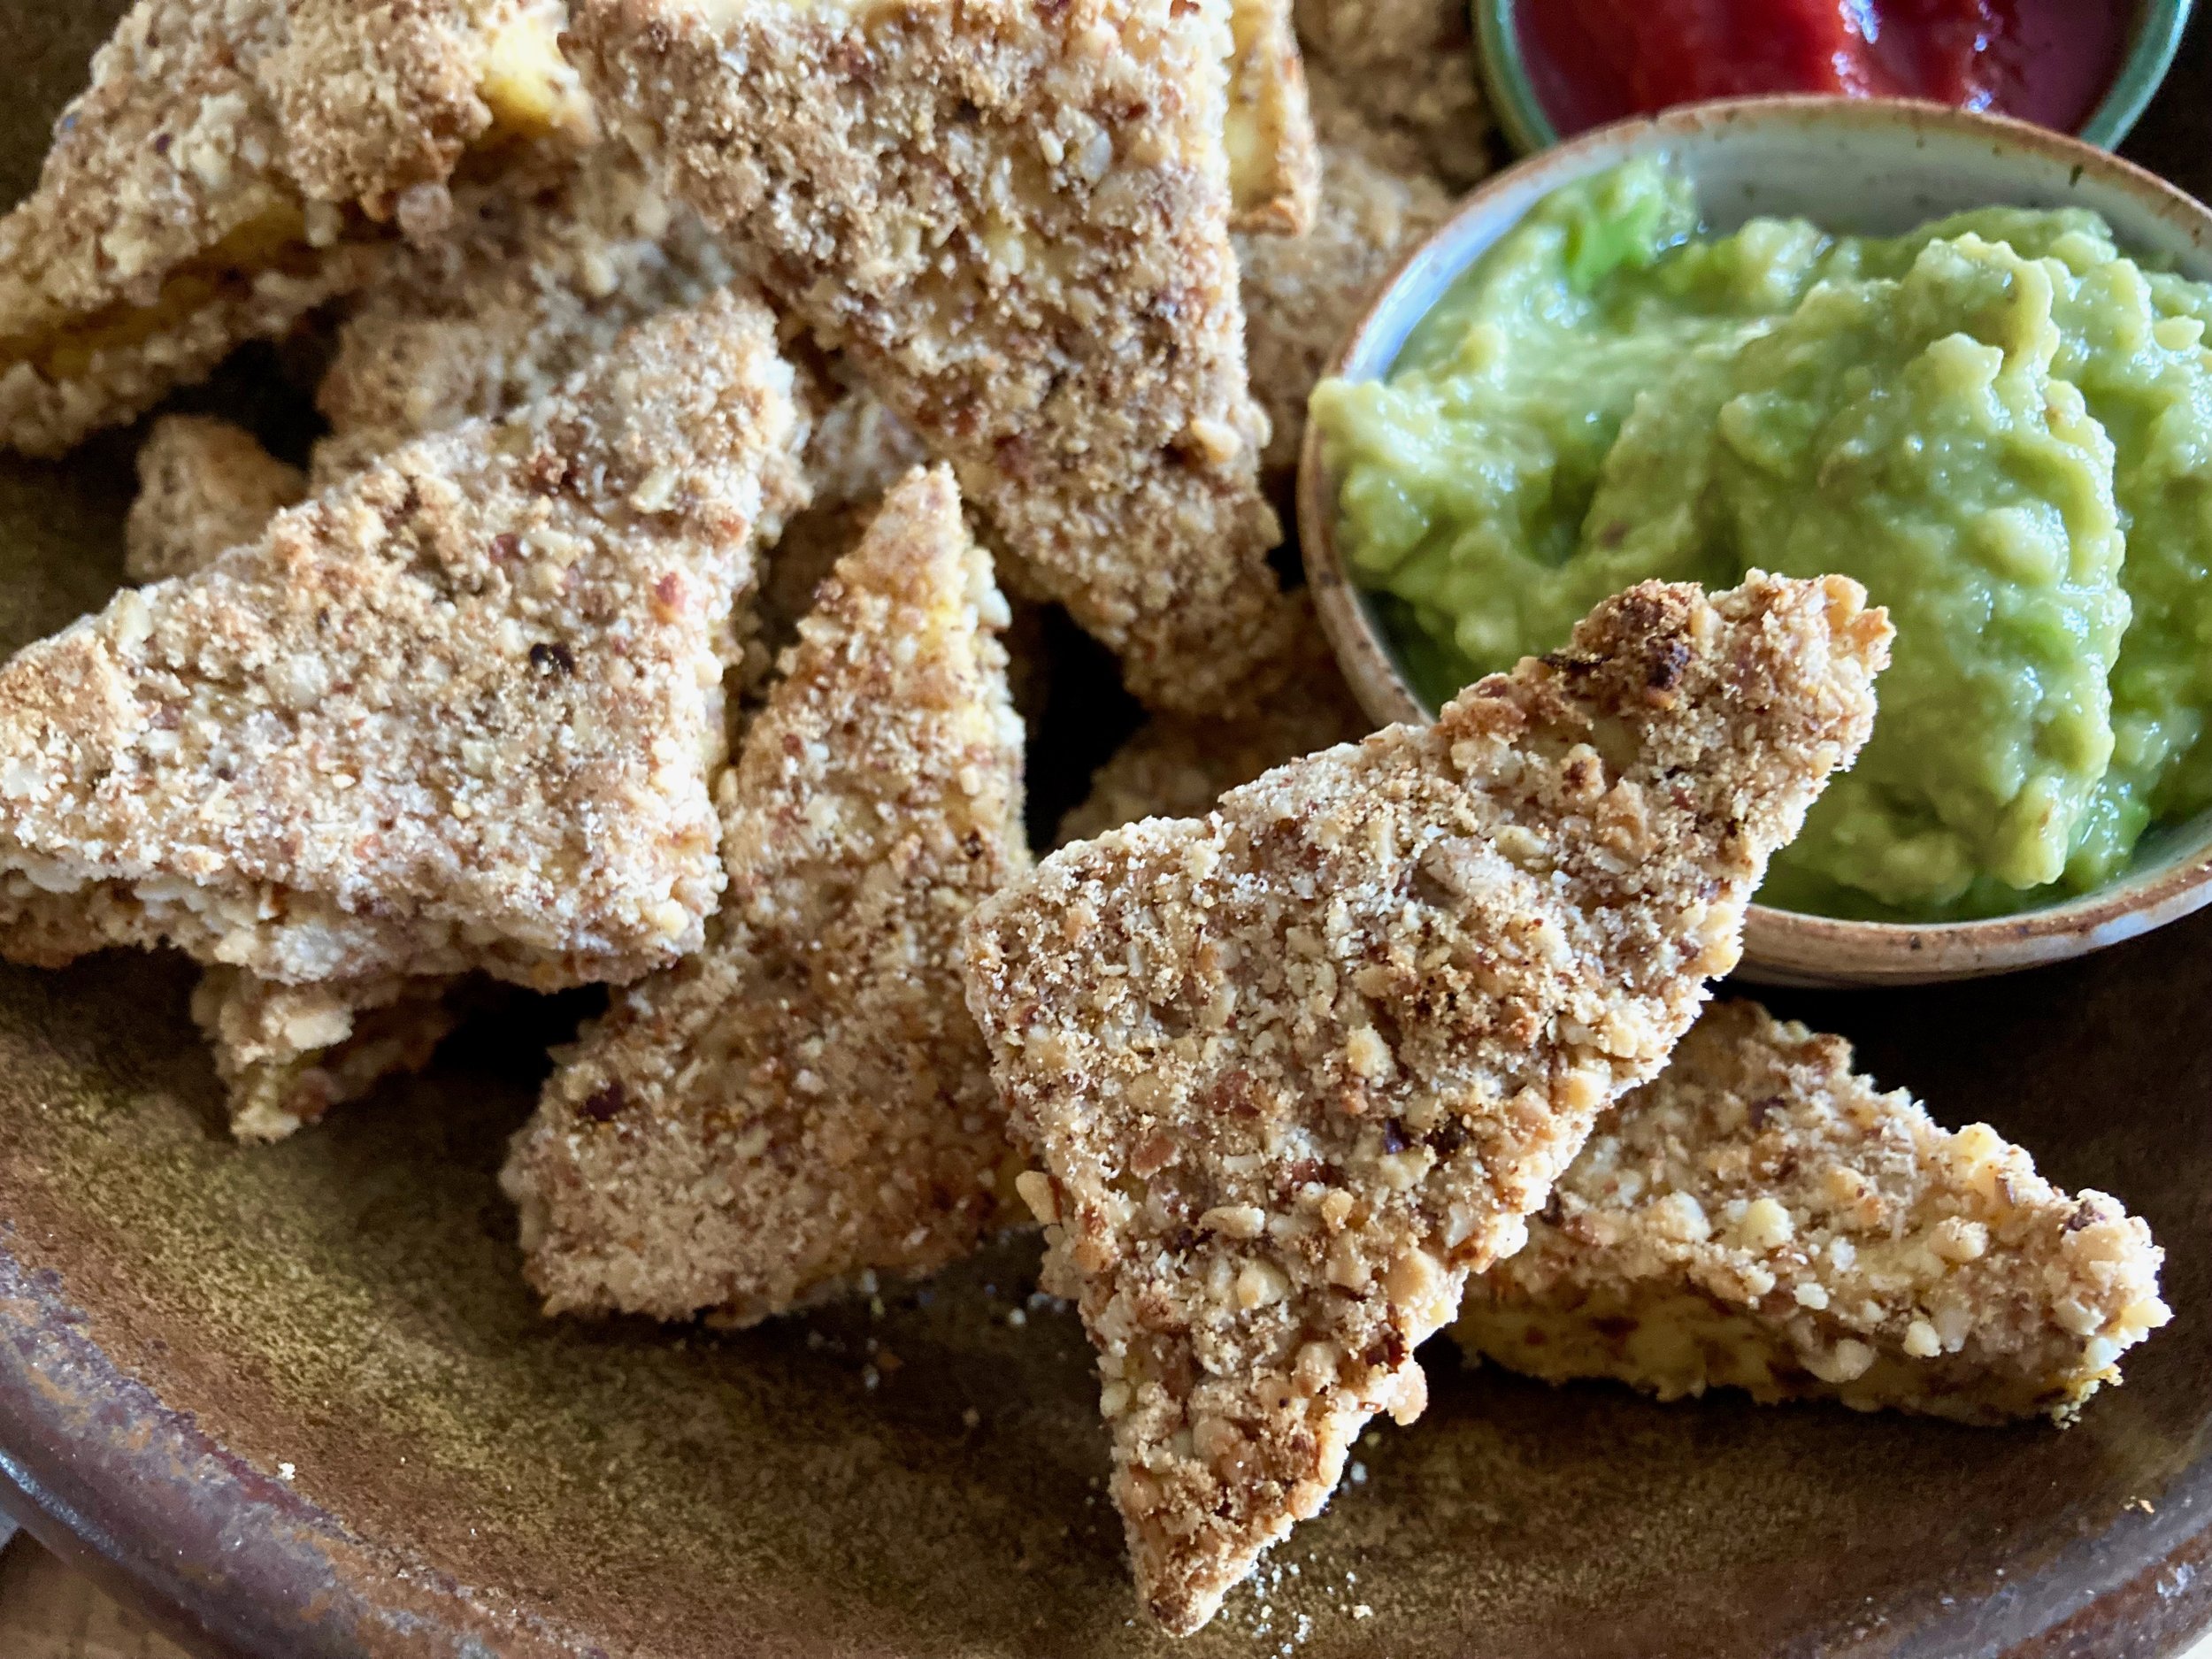
Place all your roasted roots on a large plate or plater, grab some dips of your choice (Mustard, hummus, and guacamole are excellent choices) and eat away. Or wait and serve whenever cause these snack situation is delicious eaten at any temperature.

-c


Roasted Roots Snack Plate

Note. The following is more of a suggestion then a recipe. Use as many roots as you like or stick with a just one or two.

  • a bulb of celeriac

  • 2 carrots

  • a large watermelon radish

  • 2 parsnips

  • 2 medium turnips

  • 2 medium beets

  • a couple teaspoons white vinegar and water

  • salt and pepper

  • Hummus, mustard, guacamole.. anything you like to dip veggies in. (optional)

Preheat oven to 425.

Prepare roots. Wash and cut them all into sticks, rounds, and or wedges, just make sure they are roughly the same thickness. Once all cut, place them on a baking sheet, trying not to overlap much, and sprinkle with a little water and a few teaspoons of vinegar (you can use a spray bottle or just flick the the water and vinegar with your fingers) Sprinkle with a good pinch of salt and black pepper.

Place in oven and bake for about 40 minutes or until all veggies are tender.

Remove from oven and let cool enough to handle them arrange on a large plate or plater along with at least one, if not many dips that you like.

Serve hot. Or warm. Room temperature is good or you can pre roasted refrigerate, then serve cold. Whatever temperature it’s fantastic!

In Vegan, Vegetables, snack Tags charcuterie, vegan, roasted roots, fresh, winter roots, dips, plant based, oil free, easy, snack plate, snack, lunch, dinner, gluten free, party, food, simpe
Comment

Almond Crusted Tofu

January 29, 2022 Colleen Stem
IMG_0184.jpg
IMG_0193.jpg

Are you a tofu person? I am very much a tofu person. I know that some people still think tofu is not so great or that it doesn’t taste like much or my favorite, that it doesn't taste like meat. And with that I say, well tofu isn’t meat so duh and yeah, it doesn't have a super powerful taste but it does taste good (especially really good fresh tofu) and tastes even better when you make it with tasty ingredients. But If you are a tofu person you already know that.

This tofu is good. I mean really really good. It is dredge and breaded in almonds and then baked until crispy., like a tofu nugget of sorts. I mixed mustard and vinegar into the dredge for some tang and added garlic and red pepper flakes to the almond coating to give it a bit more flavor but if you were feeling something different, say curry or Italian flavoring, well by all means, give it a go. I think the next time I make these (probably tonight) I am going to add a shit ton of cumin and chili powder and way more red pepper flakes. My stomach is rumbling already. And hopefully they will be to spicy for the mr so I don’t have to share. Its my craving. He can eat something else. Ha!

Now to the almond crusted tofu!

The stuff. A brick of firm tofu (which I have smooshed out a lot of liquid), whole almonds, and oats. Then there is flax meal, mustard, vinegar, almond milk, garlic powder, red pepper flakes, and salt and pepper.

Cutting up the tofu. Fist cut brick in half. Then turn each half on its side and cut into three equal pieces. flip back down each piece then can be cut into 4 triangles. And if you want to cut it up differently well then who am I to tell you otherwise.

IMG_0117.jpg
IMG_0123.jpg

Make the almond crust mixture. Almond and oats along with garlic powder, red pepper flakes, and sat and pepper go into the food processor and pulses utlil a crumbly. You don’t want it to fine but also not to chunky. Think bread crumb consistency.

IMG_0127.jpg
IMG_0130.jpg

Now make the dredge. Combine mustard, flax, vinegar, and plant milk in a wide shallow bowl until completely combined. Let it sit for a few minutes to really thicken.

Now you are all ready to go.

IMG_0153.jpg
IMG_0158.jpg

To coat the tofu just drag each piece through the wet mixture making sure it is evenly coated then drag with through the almond mixture.

Once all the pieces are crusted and on the baking sheet pop it into the hot oven and bake. 20ish minutes at first then flip eat piece and another 10ish minutes after that.

Baked and crispy.

Now you eat. Grab some dipping situations (I grabbed some guac and tomato sauce) and get at it.

So good.

-C


Almond Crusted Tofu

makes 24 pieces

  • 1 brick firm or extra firm tofu

  • 1/2 cup almonds

  • 1/4 cup old fashion oats

  • 1/2 teaspoon red pepper flakes

  • 1 teaspoon garlic powder

  • 1/2 cup warm plant milk

  • 1 tablespoon apple cider vinegar

  • 1 tablespoon mustard

  • 1 tasblepoon ground flaxseed

  • salt and pepper

Preheat oven to 450

Remove tofu from package and gently press out as much liquid as you can. Cut the tofu brick in half then flip each piece onto it’s side and cut each half into 3 equal pieces. Flip back down and then cut each third into 4 triangles. Or just cut the tofu into 24 each sizes pieces of your choice. Set aside on a dry towel.

Make the dredge. Combine flax seed, mustard, vinegar, warm plant milk and a inch of salt and pepper in a shallow bowl until completely combined.

To make the almond crust place the almonds, oats, garlic powder, red pepper flakes and a good pinch of salt and pepper into a food processor and pulse for about a minute or so until the texture is a small crumb the consistency of semi fine bread crumbs. Pour into a shallow bowl.

When all parts are ready to go, line up the dredge, the almond mixture, and get a baking sheet ready with either a baking mate or a little oil to keep the tofu from sticking. Take each piece of tofu and dip it though the dredge making sure to evenly coat it and then lift it out and let the excess drip off. The drop the tofu into the almond mixture and gently toss flip ti coat each side. Place coated onto baking sheet.

Once all the tofu is coated place it into the hot oven.Bake for 20 minutes then flip each piece and bake for another 8-12 minutes or unit crispy.

Once baked, remove from oven, place on a plate and eat. Want something to dip it in? I recommend guacamole. and or tomato sauce. Mustard and hummus are also fantastic!

In tofu, Nuts, dinner, snack, Vegan Tags Almond Crusted Tofu, tofu, vegan, dinner, protein, plant based, healthy, almonds, nuts, oats, gluten free, dairy free, nuggets, breaded, flax, easy, delicious, soy
Comment

Sweet and Spicy Trail Mix

July 31, 2021 Colleen Stem
IMG_6689.jpg
IMG_6675.jpg
IMG_6714.jpg

The other morning I made a big patch of trail mix. Basically for the mr for when we go camping, but that didn’t stop him from eating some, not camping, but watching tv. So you see trail mix is not just for the trail! HA

A big batch of snack for any snack related needs. This trail mix is a mixture of Chex and Cherrios, pretzels, walnuts and seeds, and dried cranberries all seasoned up with some maple and smokey and spicy chili. Sweet, savory, crispy, deliciousness. What else can you ask for when snacking on a trail mix? Nothing.

To the trail mix!

The stuff. A big ass bowl of cereal. I used Cherrios, and wheat and rice Chex. Also have pretzels. walnuts, sunflower seeds, dried cranberries, maple suyrup, chili powder, melted vegan butter, and salt.

Mix together the melted butter, maple, an chili powder.

IMG_6651.jpg

Drizzle the wet mixture all over the cereal and nuts (not the cranberries) and toss until evenly coated.

IMG_6658.jpg

Dump the mixture onto a lined baking sheet and spread it out evenly and sprinkle with salt. Pop into hot oven and bake for 3ish minutes, removing and toss after 15. After 30 minutes, keep in oven but turn oven off and crack door. Let mixture cool in oven for 15 more minutes.

IMG_6678.jpg

And once you pull it from the oven, toss in the cranberries .

That is it.

Now it is time for you to trail mix it up.

-C


Sweet and Spicy Trail Mix

makes about 10 cups ( a good amount to share or have on hand for a week)

  • 5 cups plain Chex cereal (wheat (if not gluten free) rice, and or corn)

  • 2 cups plain Cherrios

  • 2 cups pretzels (any shape will do and use gluten free if you need to)

  • 1 cup raw walnuts

  • 1/2 cup sunflower seeds

  • 1 cup dried cranberries

  • 1/3 cup real maple syrup

  • 1 tablespoon chili powder

  • 1/2 teaspoon cayenne powder (Optional. Adds a little more heat)

  • 2 tablespoon vegan butter melted

  • 1-2 teaspoons flakey sea salt

Preheat oven to 325.

In a large bowl, mix together all the cereals, the pretzels, the walnuts and sunflower seeds. In a smaller bowl mix together the melted butter, maple, and chili powder. Drizzle the wet mixture all over the cereal mixture and toss with a spatula until everything is evenly coated. Dump and evenly disputemixture onto a lined baking sheet. Sprinkle with salt.

Place mix into preheated oven and bake for 30 minutes, carefully removing from the oven at 15 minutes and mixing it around. At 30 minutes, keep in oven but turn heat off. Crack oven door and let mixture cool for another 15 minutes then remove and let cool completely. Once cooled, toss in the cranberries.

Eat however much you want and then store the rest on a airtight container. Should be good and crisp for a week.

In Gluten Free, seeds, snack Tags Sweet And Spicy Trail Mix, vegan, gluten free, savory, sweet, maple, chili, healthy, snack, party mix, Chex, cheerios, easy
Comment

Chocolate Covered Peanut Butter Date Balls

June 12, 2021 Colleen Stem
IMG_5841.jpg

This is me here trying to be nice and make a sweet little treat for the mr. And to prove to him (without him knowing) that he really does like dates because really, every one does they just might not know it.

Why do I care if he likes dates or not? Well I don’t think I really care but the past few weeks I have been making batches of trail mix with all sorts of goodies (dried fruits and nuts ) and have been chopping up dates and throwing them in as well. He’s been picking around the dates because he thinks they are gross. And that is just not true. He just doesn’t understand. So I made him understand. And understand he did when I made a batch and he ate them al within a day. Don’t like dates my ass.

These little chocolate covered peanut butter balls are freaking awesome. I would describe them as tasting like a soft, chewy, more nutty peanut butter cup and who doesn't want that? Plus they take little to no hands on time, require no oven, and all you need are just a a few ingredients. Win win win!

Are these little sweet peanut butter date balls made of love? Of course. Are they vindictive? Maybe a little but I don’t really care because they are awesome and everyone loves them. Even if they say they hate dates.

Now to the peanut butter date balls!

IMG_5696.jpg

The stuff. Pitted delget dates, oats, peanut butter, chocolate chips, a little coconut oil, and flaky salt.

IMG_5698.jpg

Soak the dates in hot water for a few minutes to make sure they are really soft.

IMG_5707.jpg
IMG_5724 2.jpg

Then you place dates, peanut butter, and oats into a food processor and blend unit la smooth stick dough forms.

IMG_5726.jpg

Scoop and roll dough into balls and place into freezer for 1/2 hour or so to firm up.

IMG_5738.jpg
IMG_5744 2.jpg

And melt the chocolate with the coconut oil until smooth.

IMG_5751.jpg

Once chocolate is melted, remove balls from freezer and start dipping them into chocolate. After a few are covered, sprinkle the tops with a few flakes of salt before he chocolate hardens.

IMG_5827.jpg

And that is it. Place balls in a airtight container and keep in freezer. Eat whenever. And you will eat them fast because, BECAUSE! dates are delicious.

-C


Chocolate Covered Peanut Butter Date Balls

makes 12-16 balls

  • 20 pitted delget dates ( You can use medjool but they are twice as expensive and sweeter., and bigger so only use 12 or so)

  • 1/2 cup old fashion oats

  • 1/3 cup peanut butter

  • 1/3 cup chocolate chips

  • 1 teaspoon coconut oil

  • flaky sea salt

Start by soaking dates in hot water for 5-10 minutes until they soften a bit. Drain water and place the dates, oats, and peanut butter into a food processor. Pulse then blend until a everything is all blended smooth and a sticky dough forms. You are going to have to stop a few times to scrap the sides down. Once dough forms, take a spoon or scooper and scoop out the dough into 12 equal sized balls. With take each ball and roll around to make smooth and place on a plate or a baking sheet. Once all balls are scooped and rolled, place in freezer for 1/2 hour to firm up.

Right before taking the balls out, add coconut oil to chocolate chips and melt either in microwave (15 second intervals until melted) or on stove. Grab frozen balls (they don’t get hard, just firm), and start dipping them into the chocolate. After doing 2-3 three, sprinkle the tops with a couple flakes of sea salt.

Once all balls are covered( eat one) place in the freezer in air tight container until you want to eat them.

They should be good for a least a month in the freezer but I wouldn't know for sure seeing as these were gone the day after I made them. Both times.

In Vegan, snack, Raw, quick and easy, fruit, Dairy Free, Gluten Free, cookies, candy Tags Chocolate Covered Peanut Butter Date Balls, dates, vegan, gluten free, simple, no bake, frezzer, freezer, balls, oats, plant based, snack, energy, raw
1 Comment

Crispy Green Beans

March 6, 2021 Colleen Stem
IMG_0704.jpg

I rely pretty heavily on frozen produce in the mid to late parts of winter. I do have my winter farm share but that is never enough so I pack my freezer as full as I can with stuff in the fall (mostly shredded zucchini and lots of tomatoes and eggplant). And then sometime between Christmas and New Years its pretty much gone. Once that happens I start in with store bought frozen veggies. I usually by frozen broccoli, peas, and green beans and right now me and the frozen green beans are having a moment.

I don’t know how it started but almost everyday I dump like half a bag of frozen green beans (sometimes a whole bag) onto a baking sheet without any oil or seasoning, and pop it into a hot oven for like 15 minutes. And that is it. I pull them put and they are crispy, crunchy, and probably one of the tastily way a green bean can be eaten (besides fresh). And the weird thing is, I have tried to mimic the crispness and crunchiness with fresh green beans but it never works out. There is something about roasting them frozen that gives them the perfect crispy texture. And no no to oil. They don’t need it, it only makes the beans soggy.

So it might seem kind of weird and it’s not a recipe, but I highly, HIGHLY, suggest that next time have a hankering for a tastely crunchy treat, try roasting some frozen green beans. And then let me know if you become addicted too.

Sometimes it’s the simplest things, you know?

IMG_0694 2.jpg

Frozen beans go straight from freezer onto baking sheet and into the oven.

IMG_0700.jpg

They then come out crispy. That's it.

IMG_0703.jpg

And yes, I usually just eat them off the baking sheet with my fingers because why bother dirtying a dish?


-C


Crispy Green Beans

  • Frozen green beans

Preheat oven to 400

Dump frozen green beans onto a non oiled baking sheet single layered and place into hot oven. Bake for 15-20 minutes or until crispy. Remove and eat.

In Vegan, snack, side dish Tags crispy green beans, frozen green beans, one ingredient, snack, vegan, vegetable, plant based, simple, delicious, grain free, gluten free, beans, winter, roasted, no oil
Comment
← Newer Posts Older Posts →
 

https://thelovelycrazy.squarespace.com/config#/|/about/

Me. Food Maker.Food eater. Woo HOO!

STEM+NODE  SMALL BATCH AND ONE OF A KIND POTTERY

stem+node ceramics


____________________

Subscribe

GET NEW POSTS IN YO EMAIL

You are AWESOME!!!


@thelovelycrazy 2014-2021