• stem+node ceramics
  • HOME
  • Food Recipes
  • About
  • Contact
Menu

The Lovely Crazy

Street Address
City, State, Zip
Phone Number

Your Custom Text Here

The Lovely Crazy

  • stem+node ceramics
  • HOME
  • Food Recipes
  • About
  • Contact

Heart Shaped Soft Pretzels

February 8, 2020 Colleen Stem
IMG_5507.jpg
IMG_5464.jpg

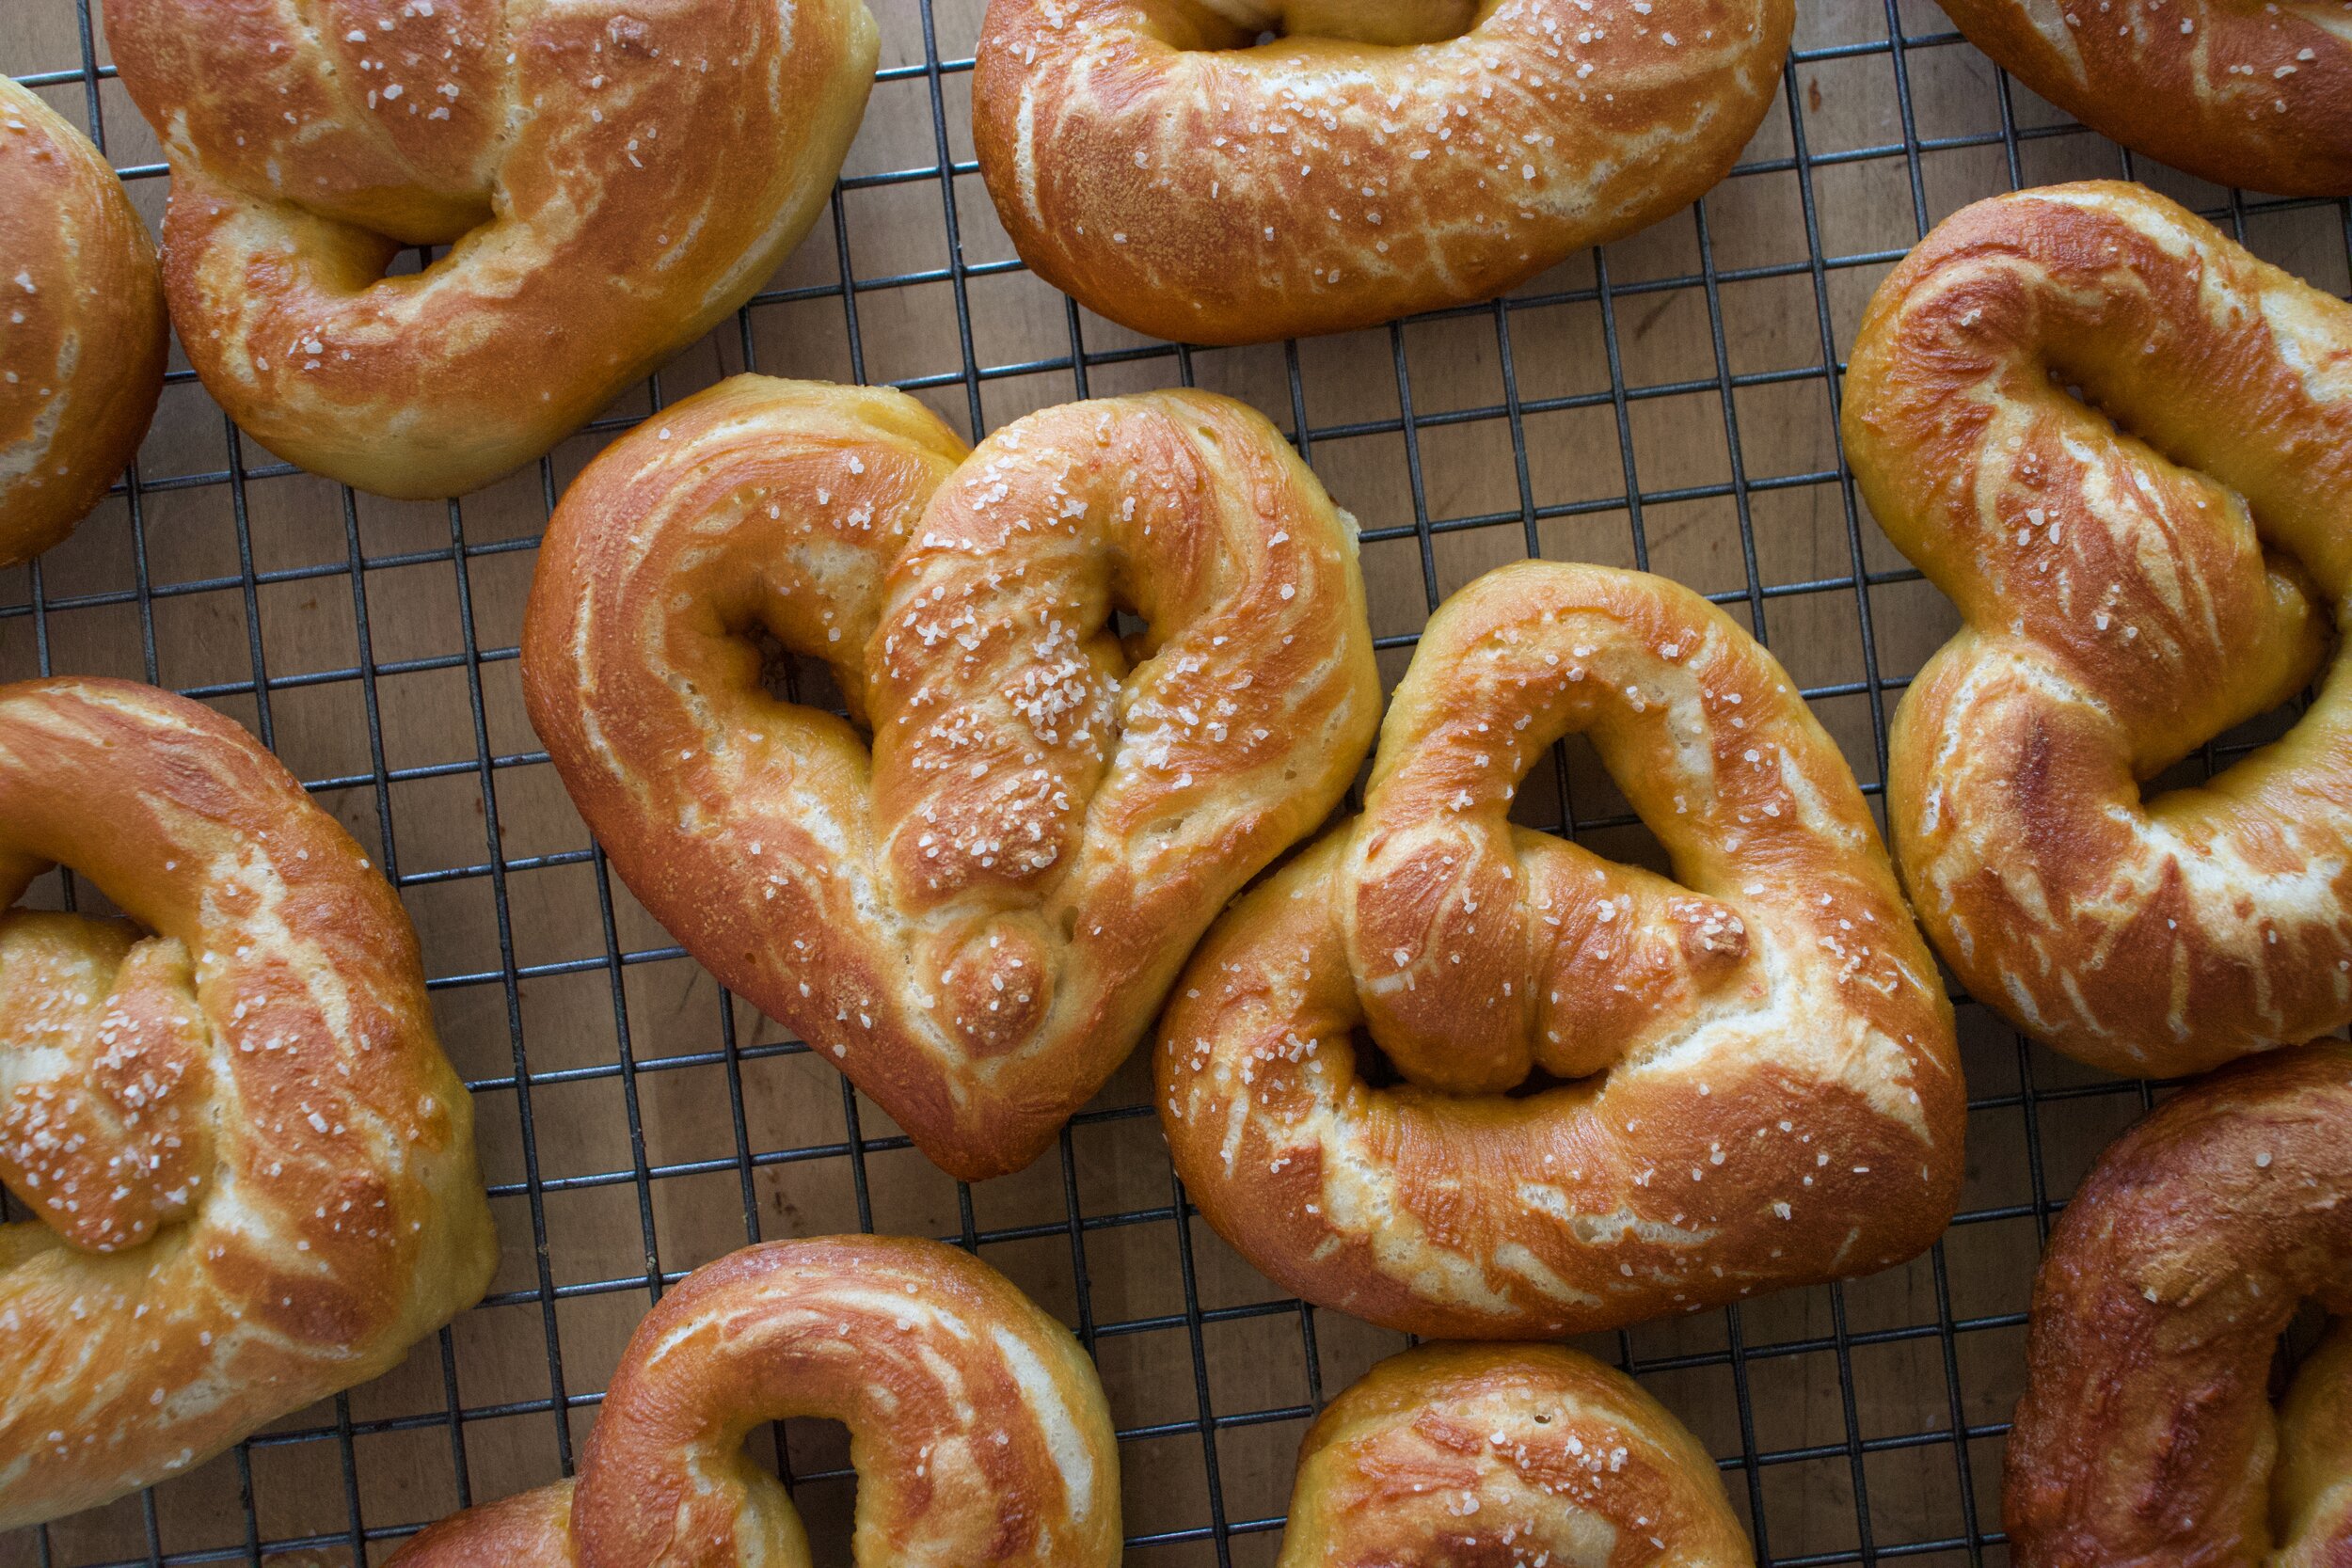
I am pretty sure making pretzels was one of the best ideas that I had all week. Making them into the shape of hearts, that WAS the best idea I had all week. Take note. Making anything into the shape of a heart is always the best idea.

So why pretzels? Well why not. I make so much bread in this house that I felt like making a little something different. I was thinking bagels, but I didn't really want to have dough in the fridge for a day and plus I wanted to do something then and there and have it be done. Like pretzels. From start to finish they takes less then 2 hours. And you get to twist the dough and boil it and it is just fun. Like I could totally see making pretzels with a few littles or maybe a friend or a “friend”. A pretzel making date. Now that is a good idea. Oh me, I am so full of all those good ideas. HAHA!

These pretzels are of the soft variety. And to make them pretzels, and not just bread, the kneaded dough gets shaped and then boiled in a baking soda bath (not lye…don’t have any lying around). Then they are sprinkled in course salt and baked til a deep golden brown. They come out soft and chewy just like a good soft pretzel should be. Then they need to be eaten right away, slightly warm, because that is how you are suppose to eat them.

And so the pretzels were made. The mr came home right after I pulled these puppies out of the oven and went for a walk to get some fresh air. When I got home I found him salivating over a plate, waiting for his cue to eat. The cue was given (once I put the camera away) and eat one he did. And then another. And another. Because really, what the hell, I made him heart shaped pretzels. He loved them so much that I just let him eat as many as he wanted. He was happy, I was happy, there where hearts. No complaints. Even when I told him he was having pretzels for all meals until they were gone. He just smiled he pretzel filled mouth at that.

To the pretzels!

The stuff. Flour, salt, course salt, brown sugar, yeast, water, and some baking soda.

IMG_5385.jpg
IMG_5388.jpg
IMG_5389.jpg

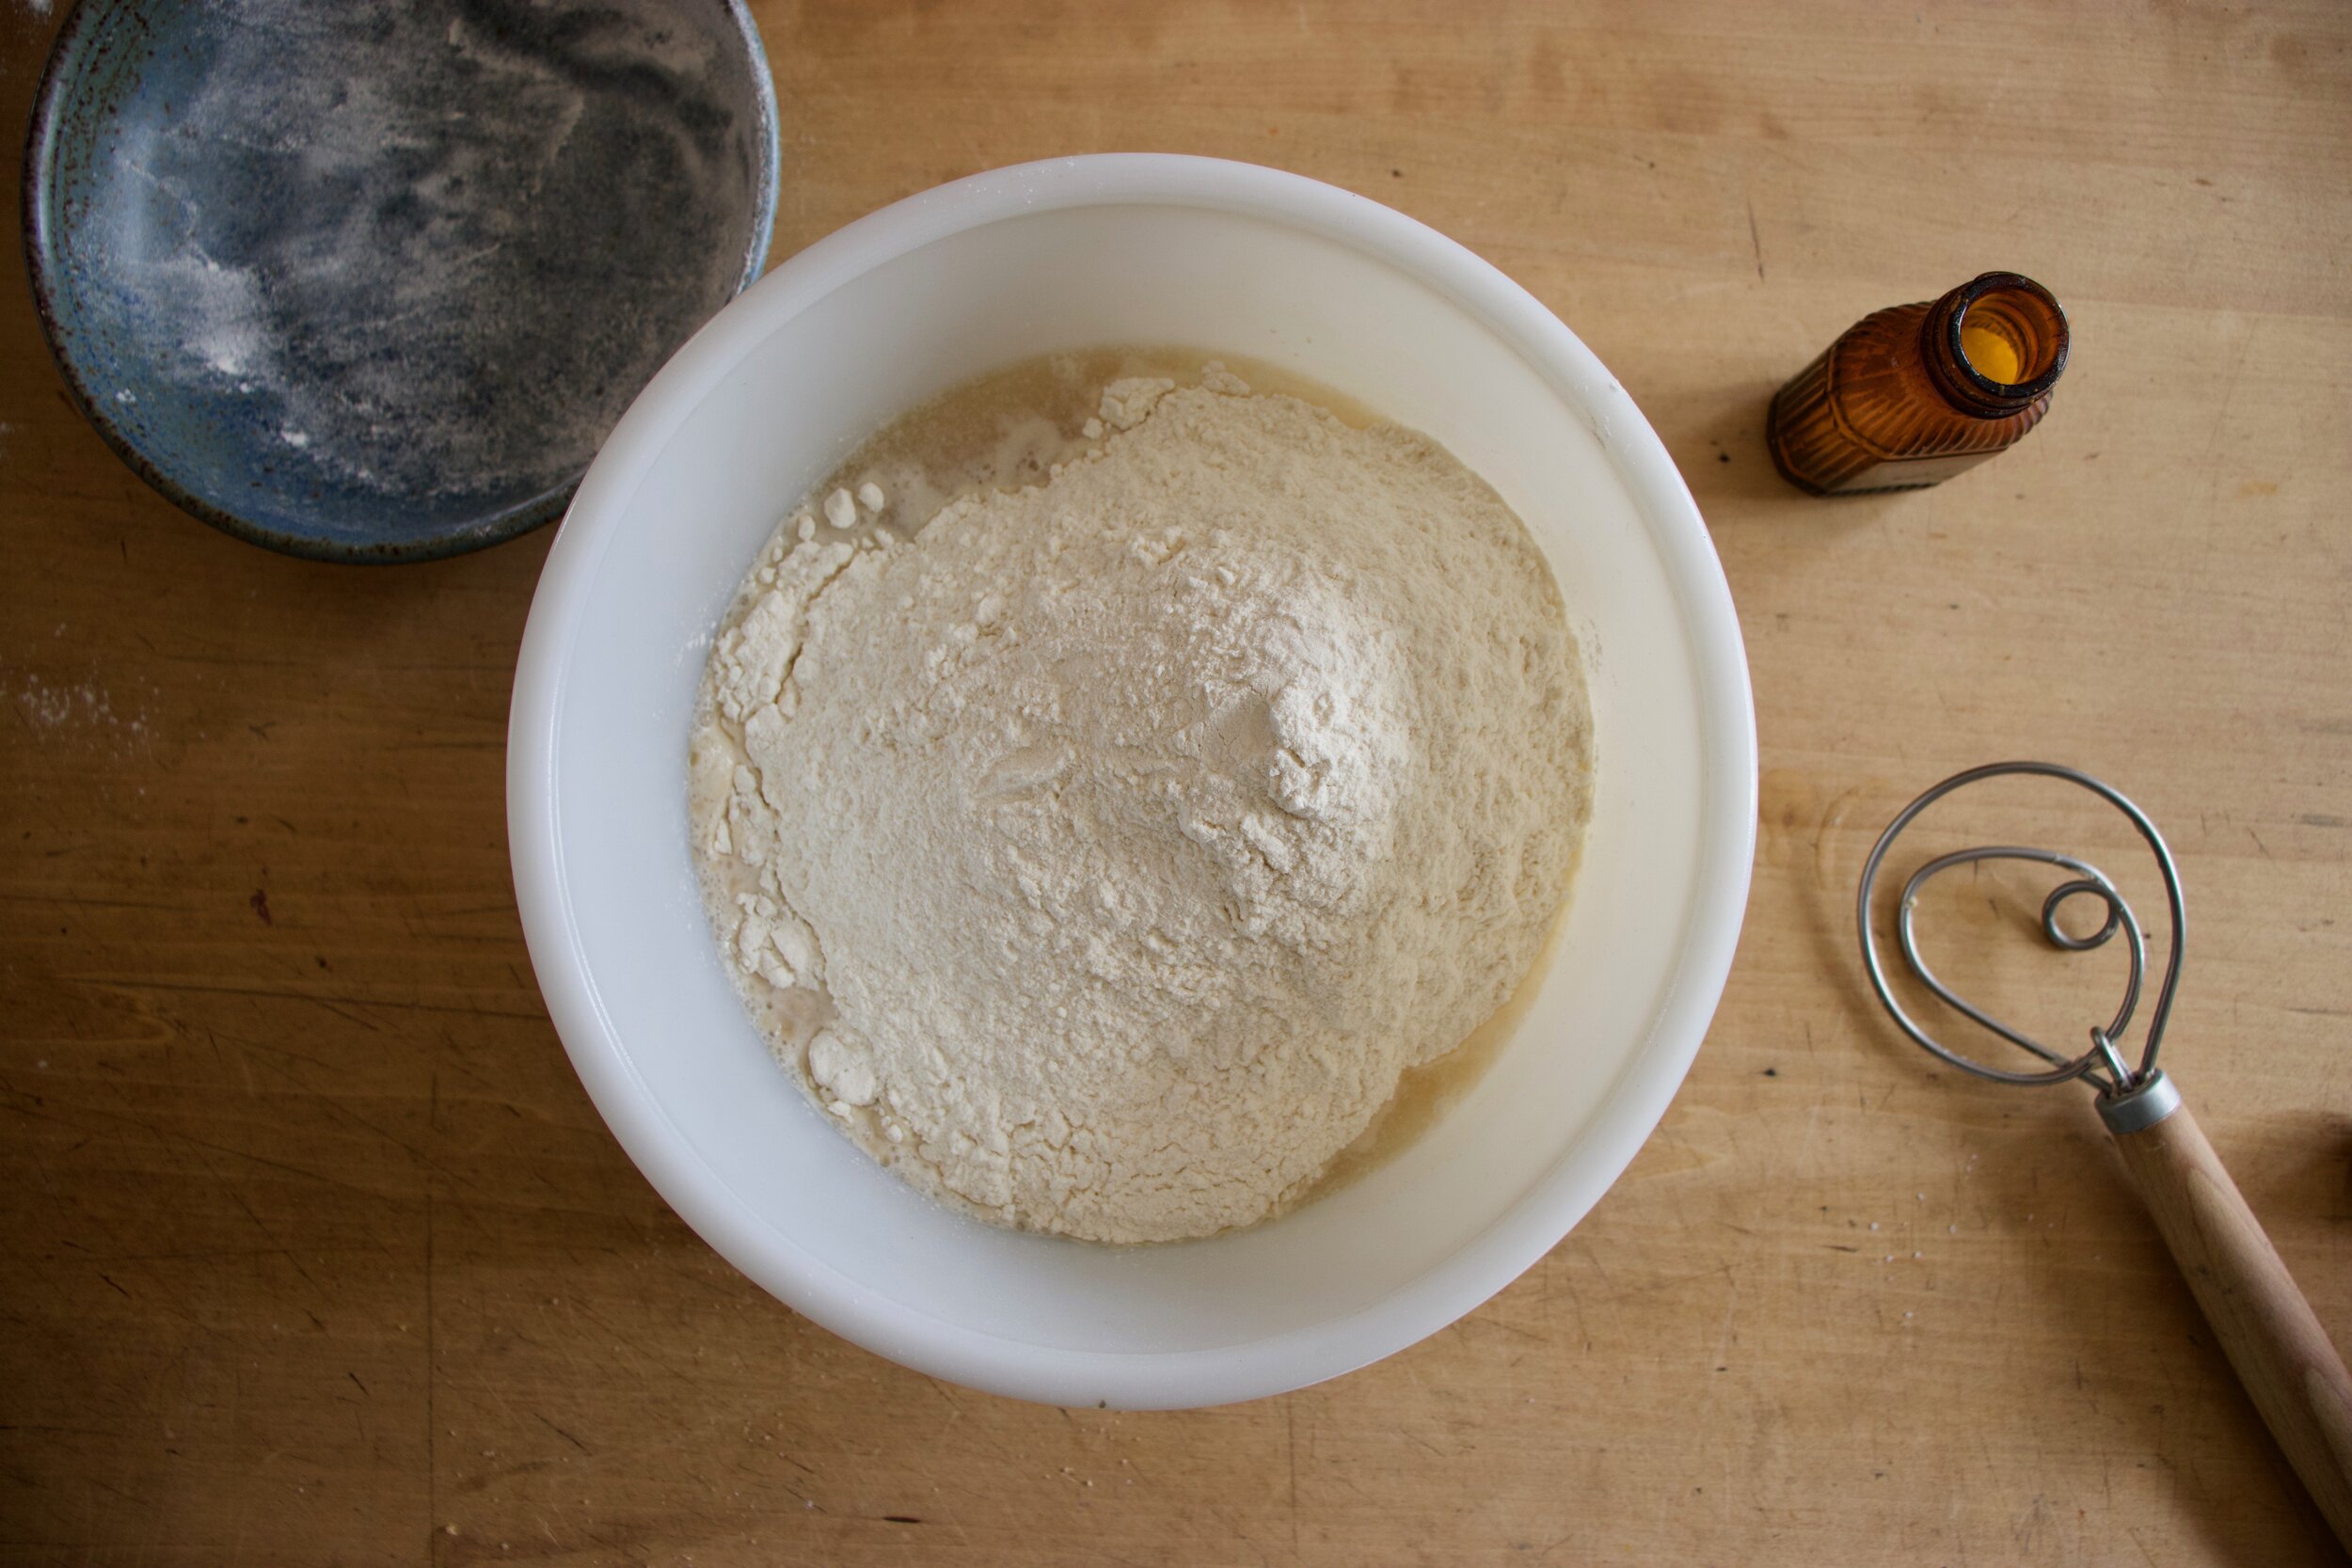
The yeast, brown sugar and warm water go into a big bowl to activate. Once it starts to bubble, dump in the flour and salt and mix until a shaggy dough forms.

IMG_5398.jpg

Dump dough onto a floured surface and knead for about 5 minutes.

IMG_5401.jpg

Kneaded all nice to soft and supple.

IMG_5409.jpg
IMG_5410.jpg

Place the kneaded dough into a clean bowl and cover. Let sit for about an hour or until it doubles in size.

IMG_5416.jpg

Once doubled, dump dough onto a lightly floured counter and cut into 12 equal pieces.

IMG_5419.jpg
IMG_5422.jpg
IMG_5423.jpg

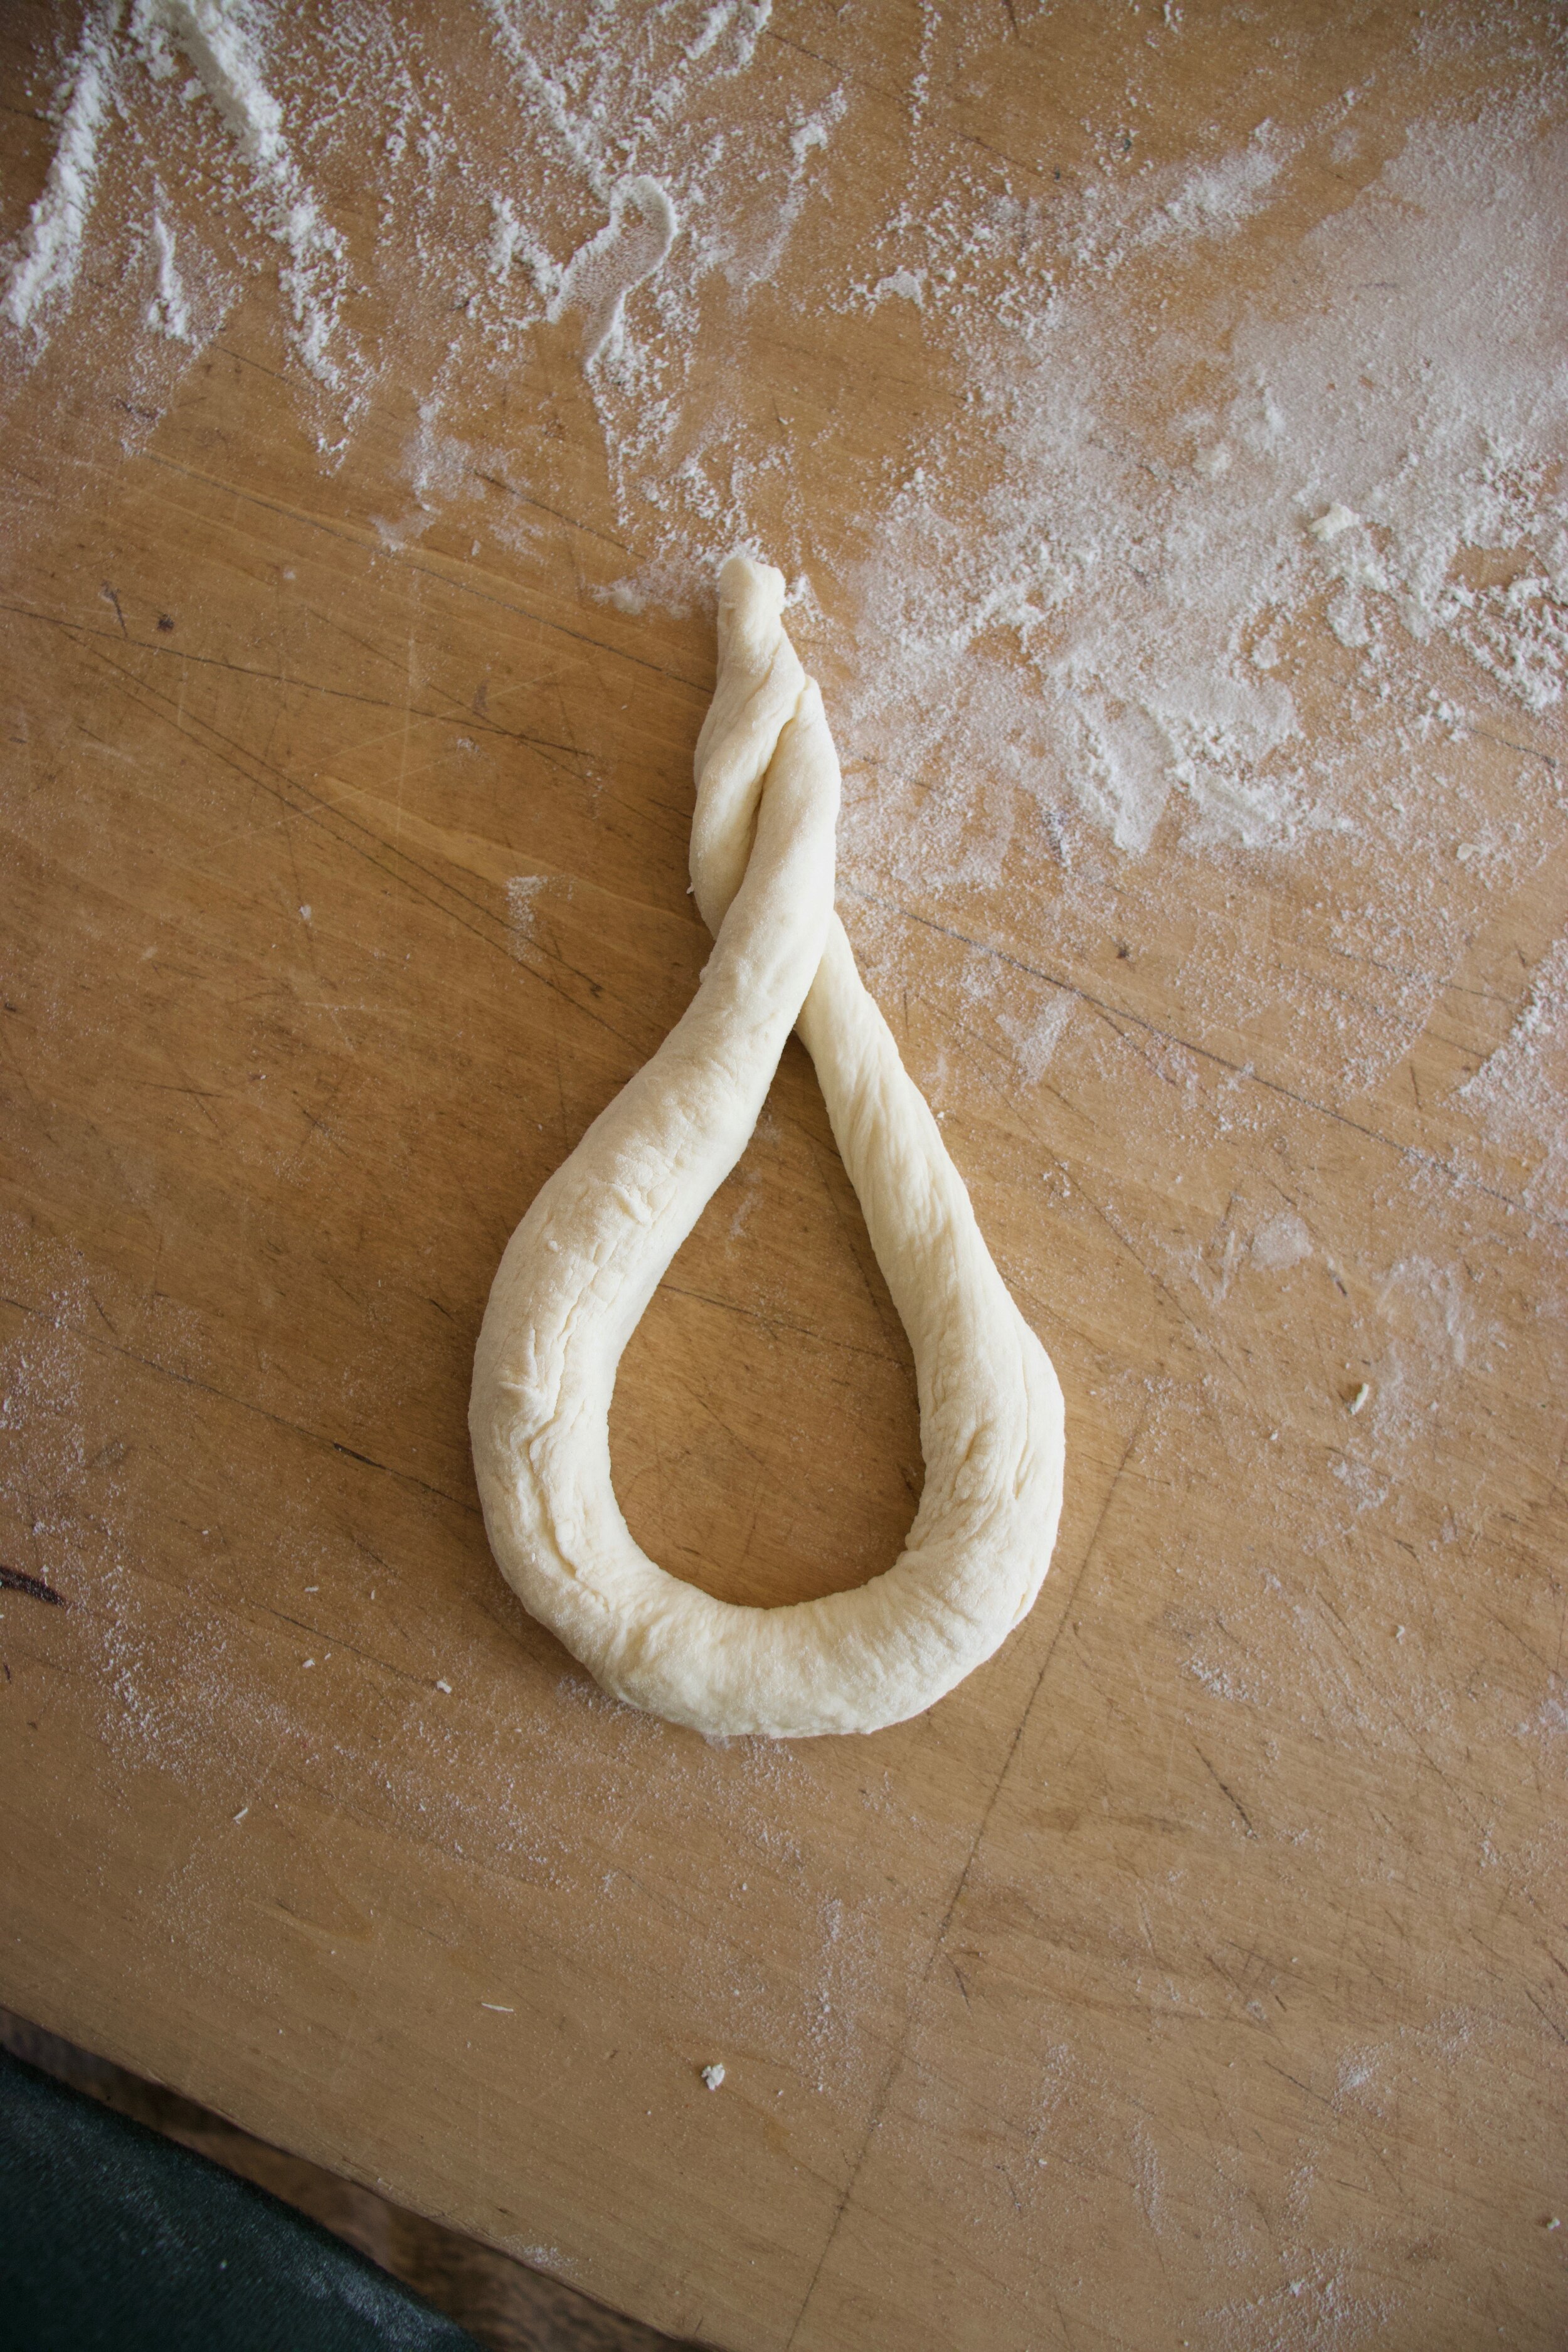
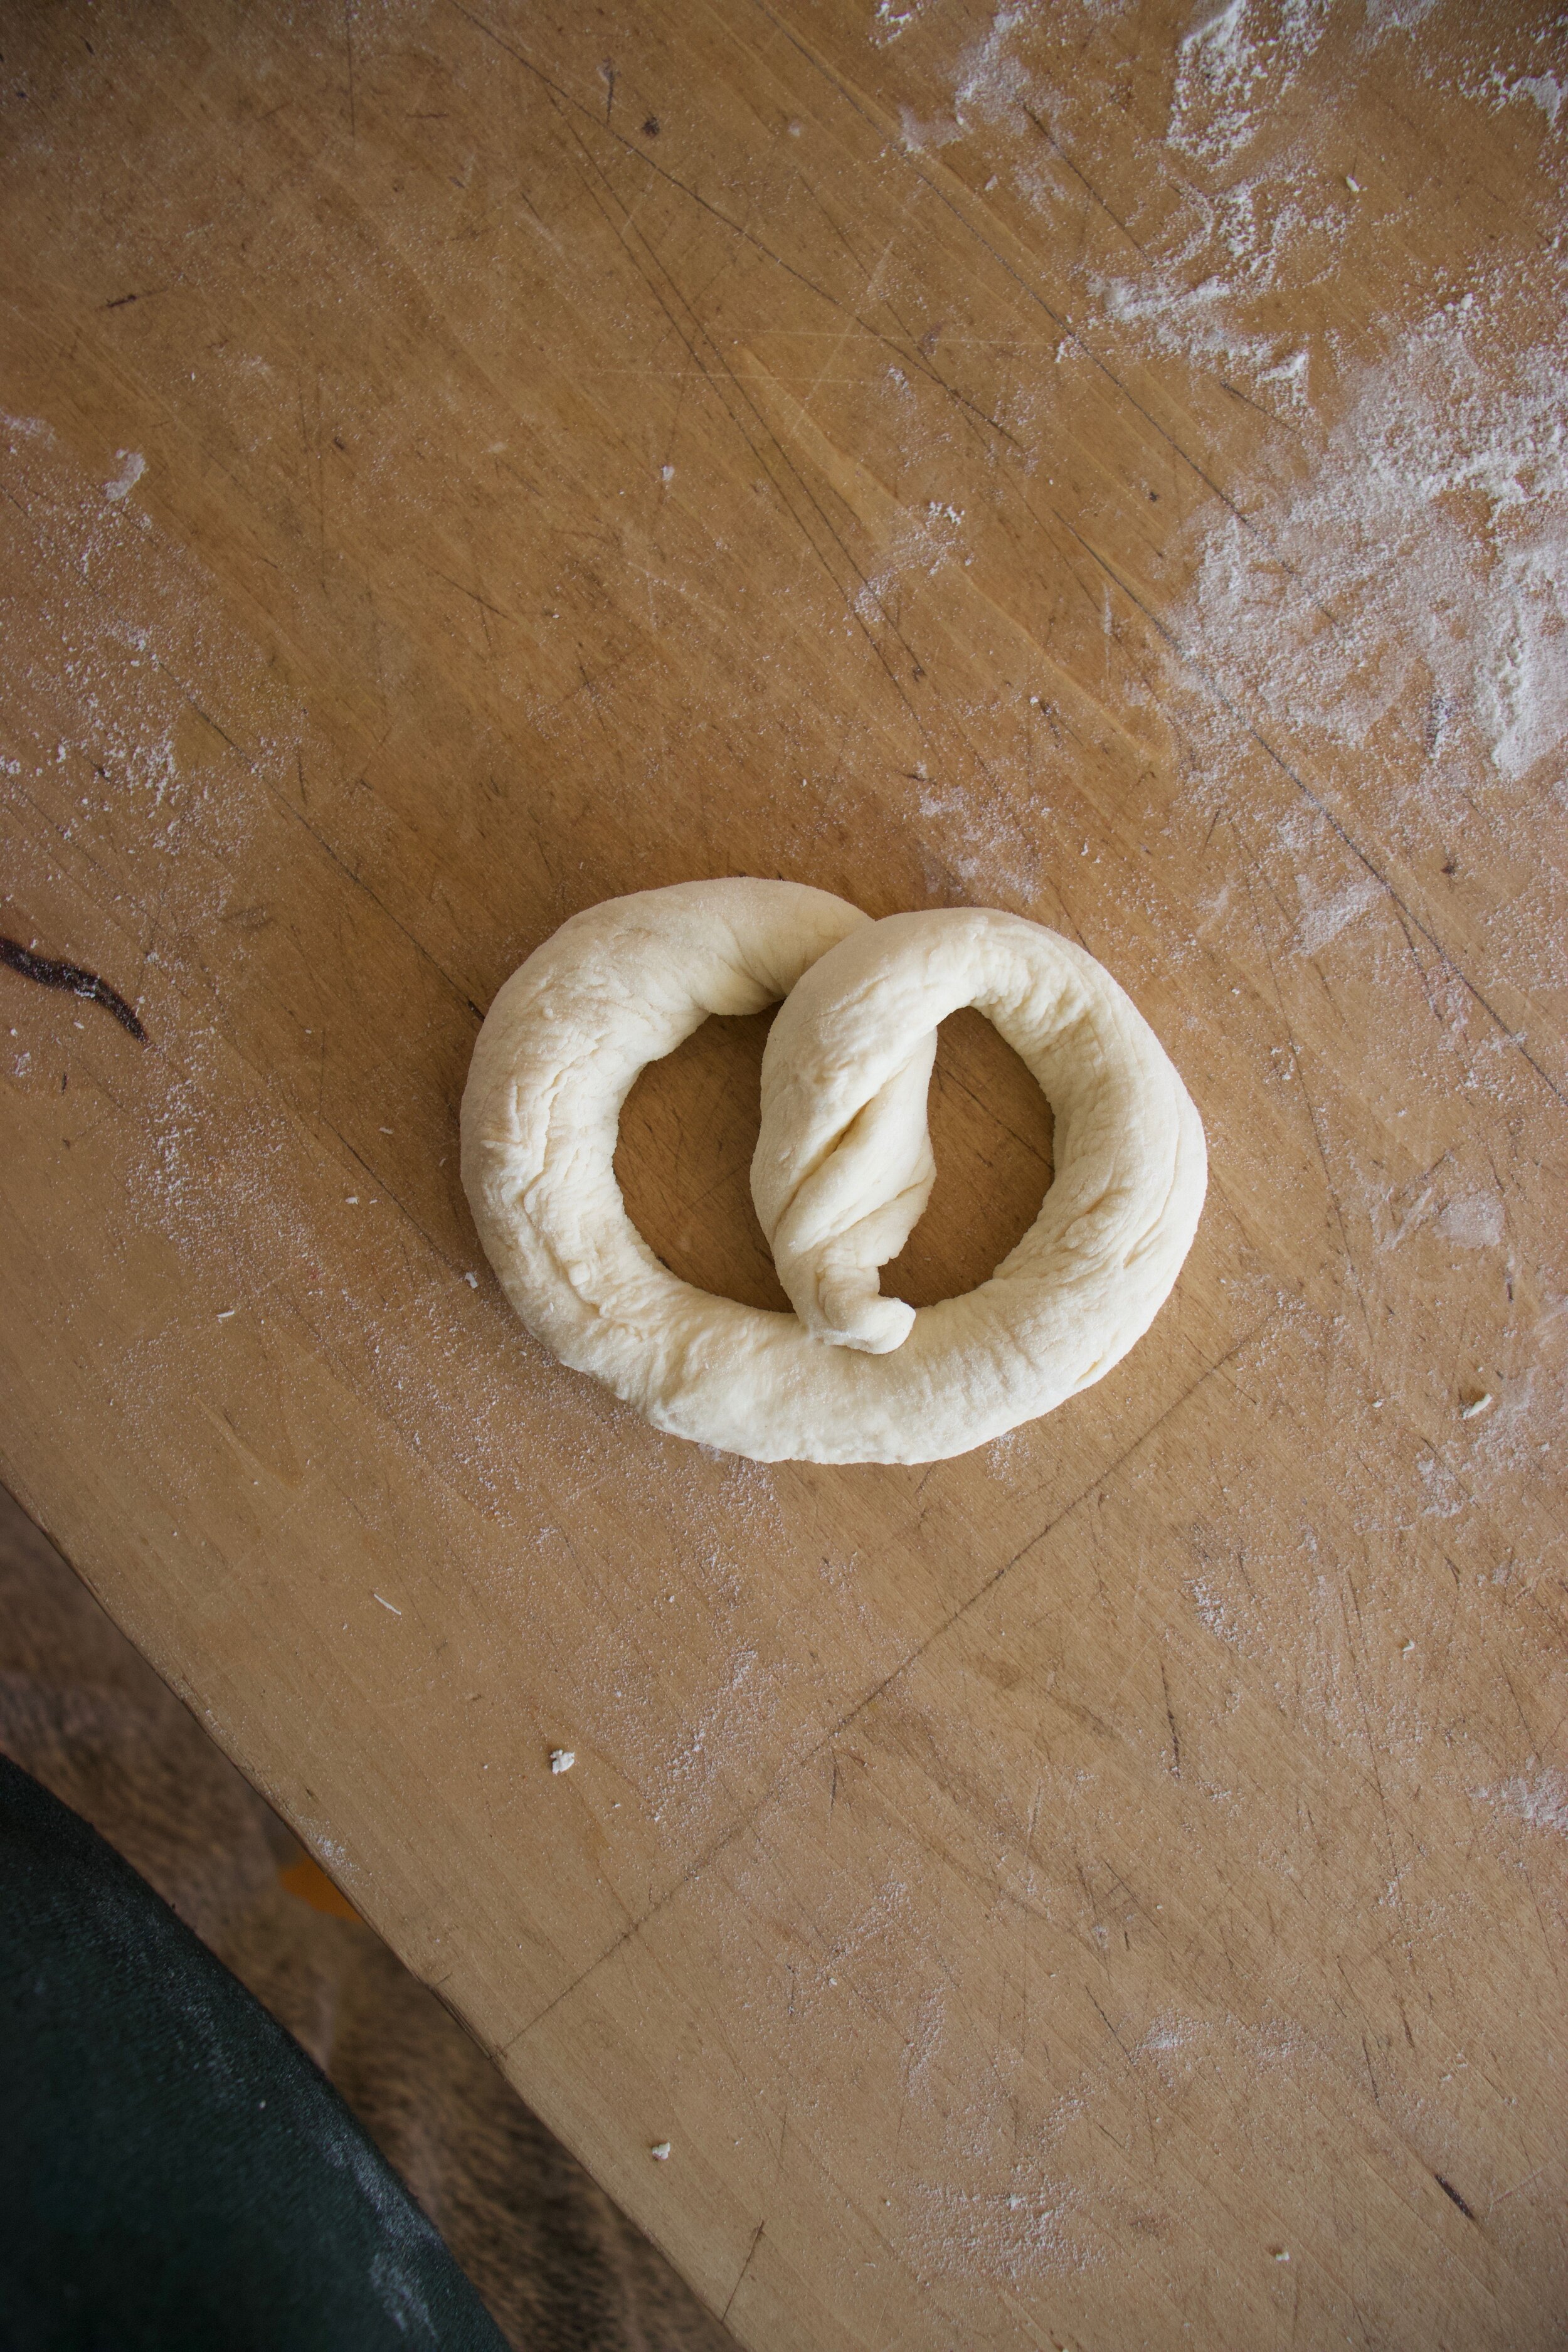
Now to shape. Roll each piece into a long rope, 16-20 inches long if you can. Fold the ends together and twist then fold twisted ends down back into itself.

IMG_5424.jpg

Pinch the end into a point and there you go. A heart! ♥️

IMG_5424.jpg

And then do it to all the dough.

IMG_5431.jpg

Water and baking soda bath boiling away.

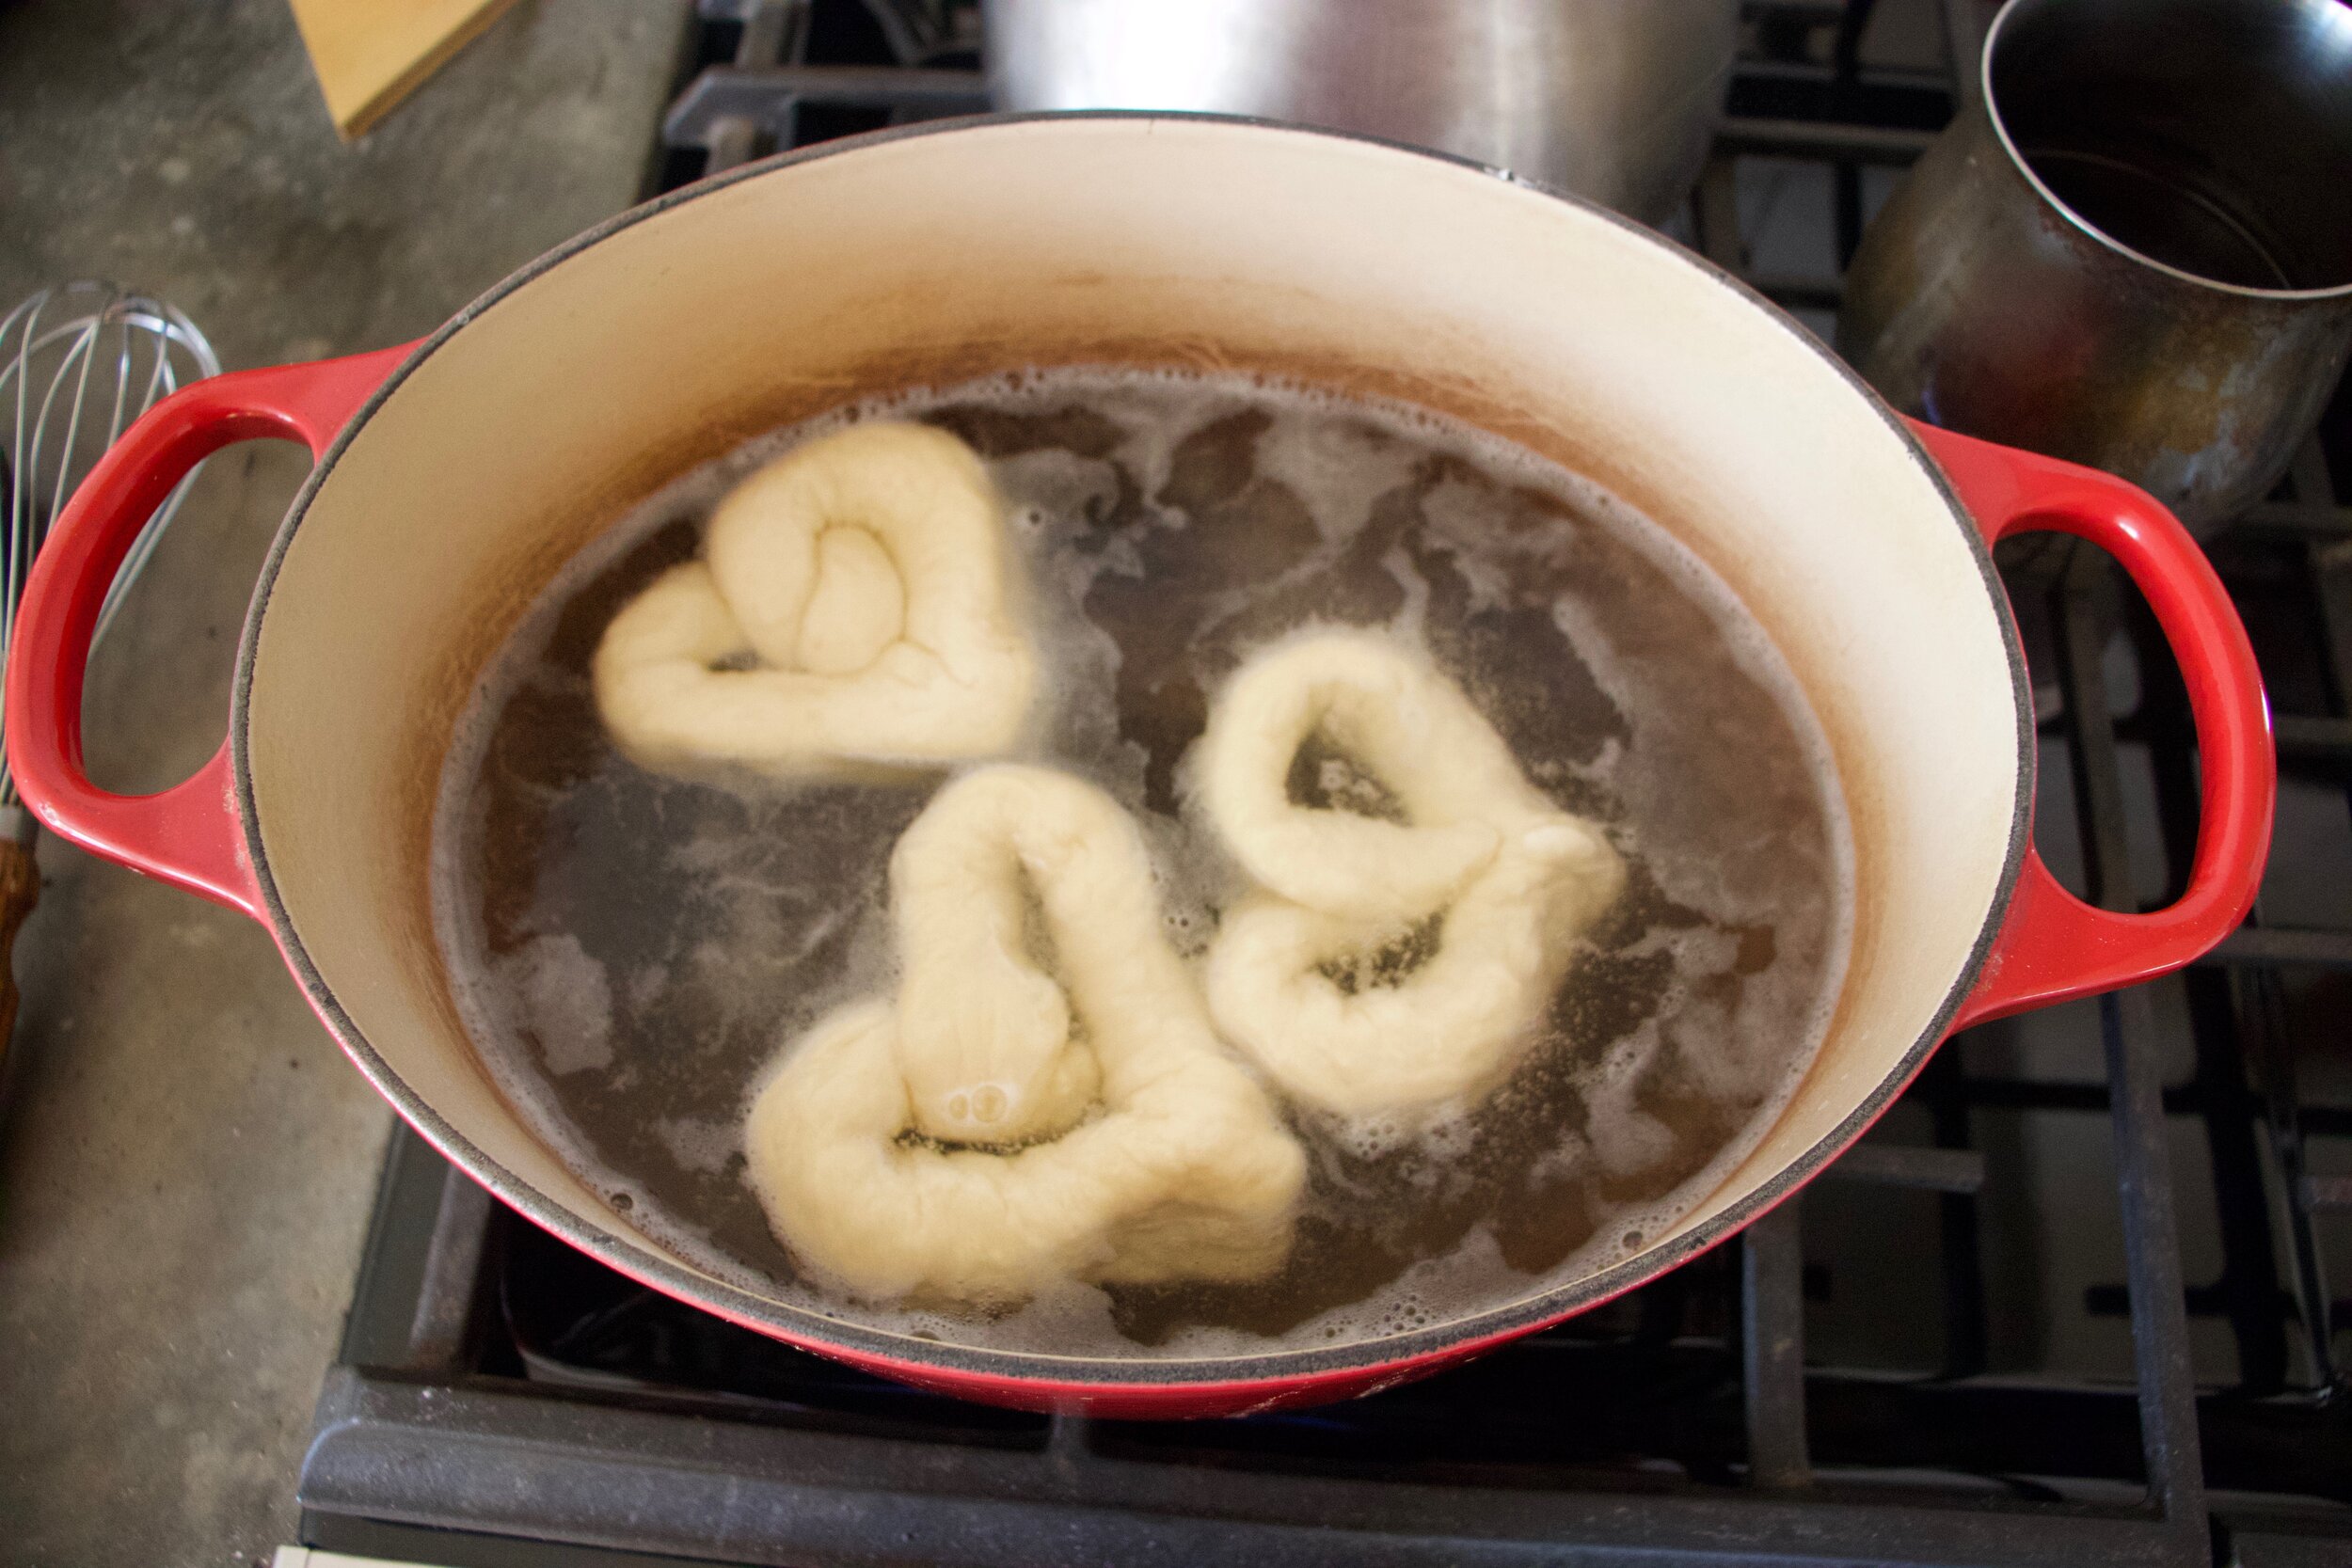
Grab the hearts and place a few at a time, gently, into the water for about 45 seconds then pull them out with a slotted spatula.

IMG_5440.jpg

Onto a baking sheet either lined with parchment or a splat mat.

And don’t forget to sprinkle them all with course kosher salt.

Into the oven they go.

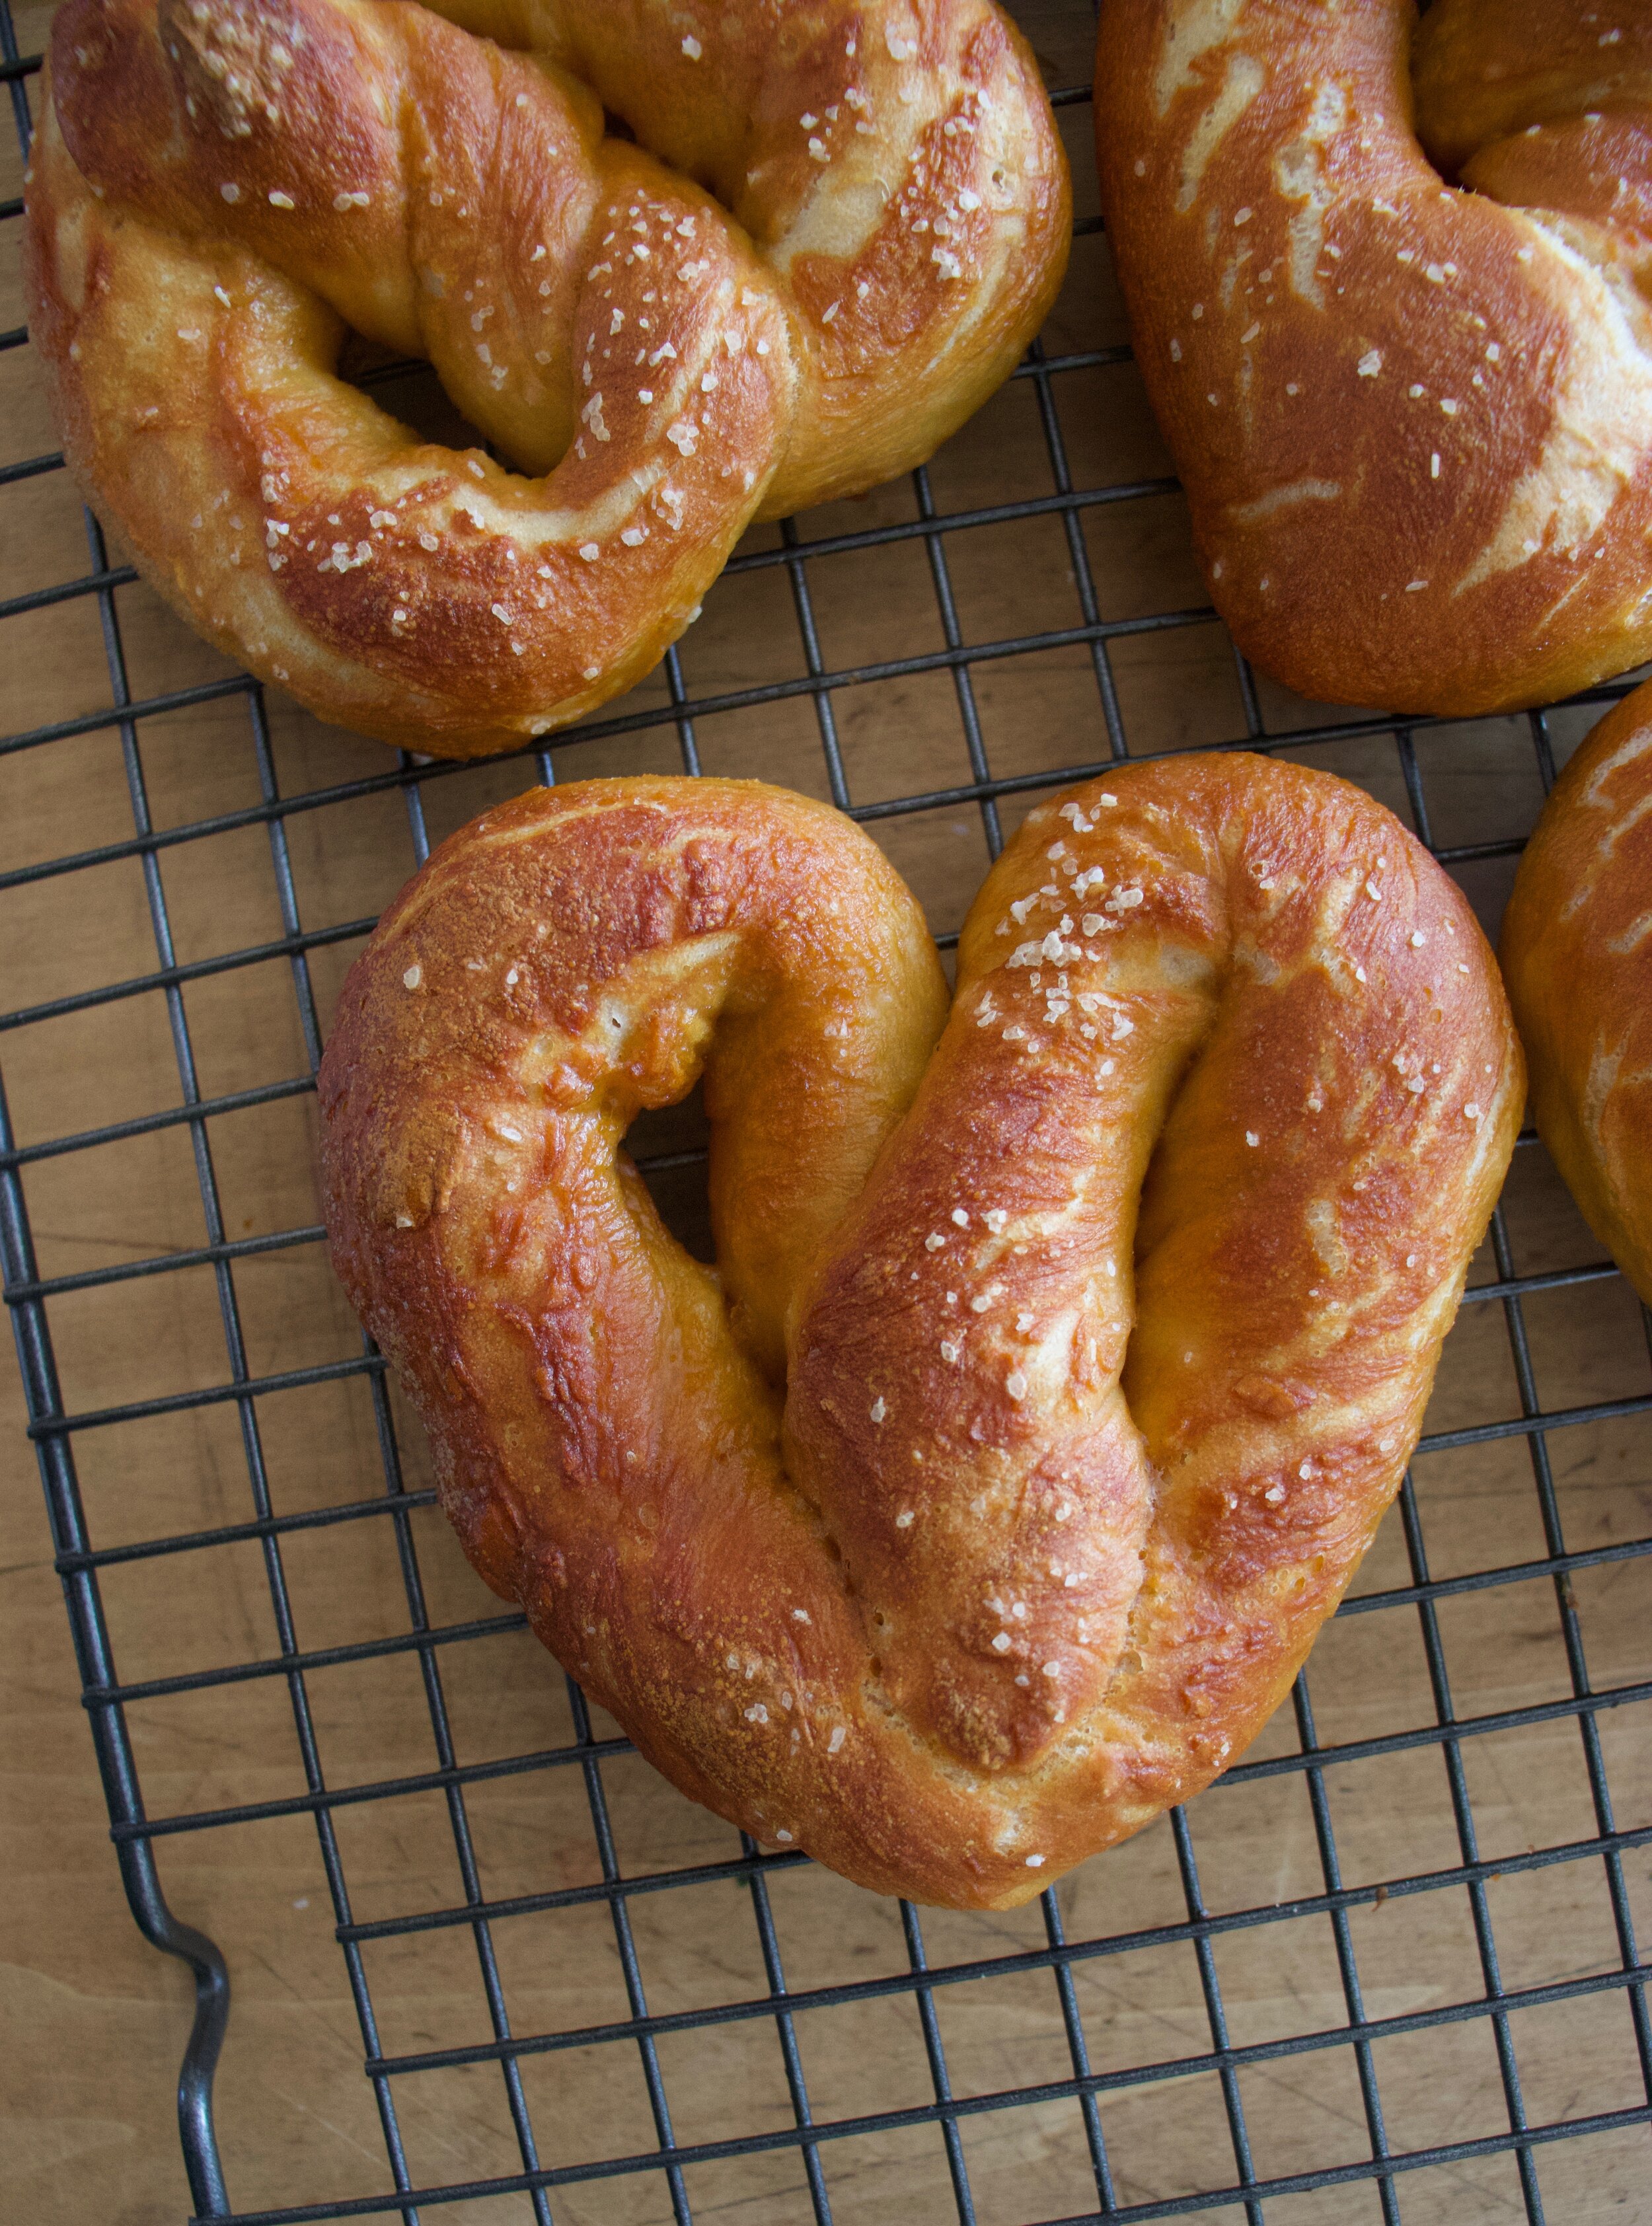
About 18-20 minutes later… PRETZELS

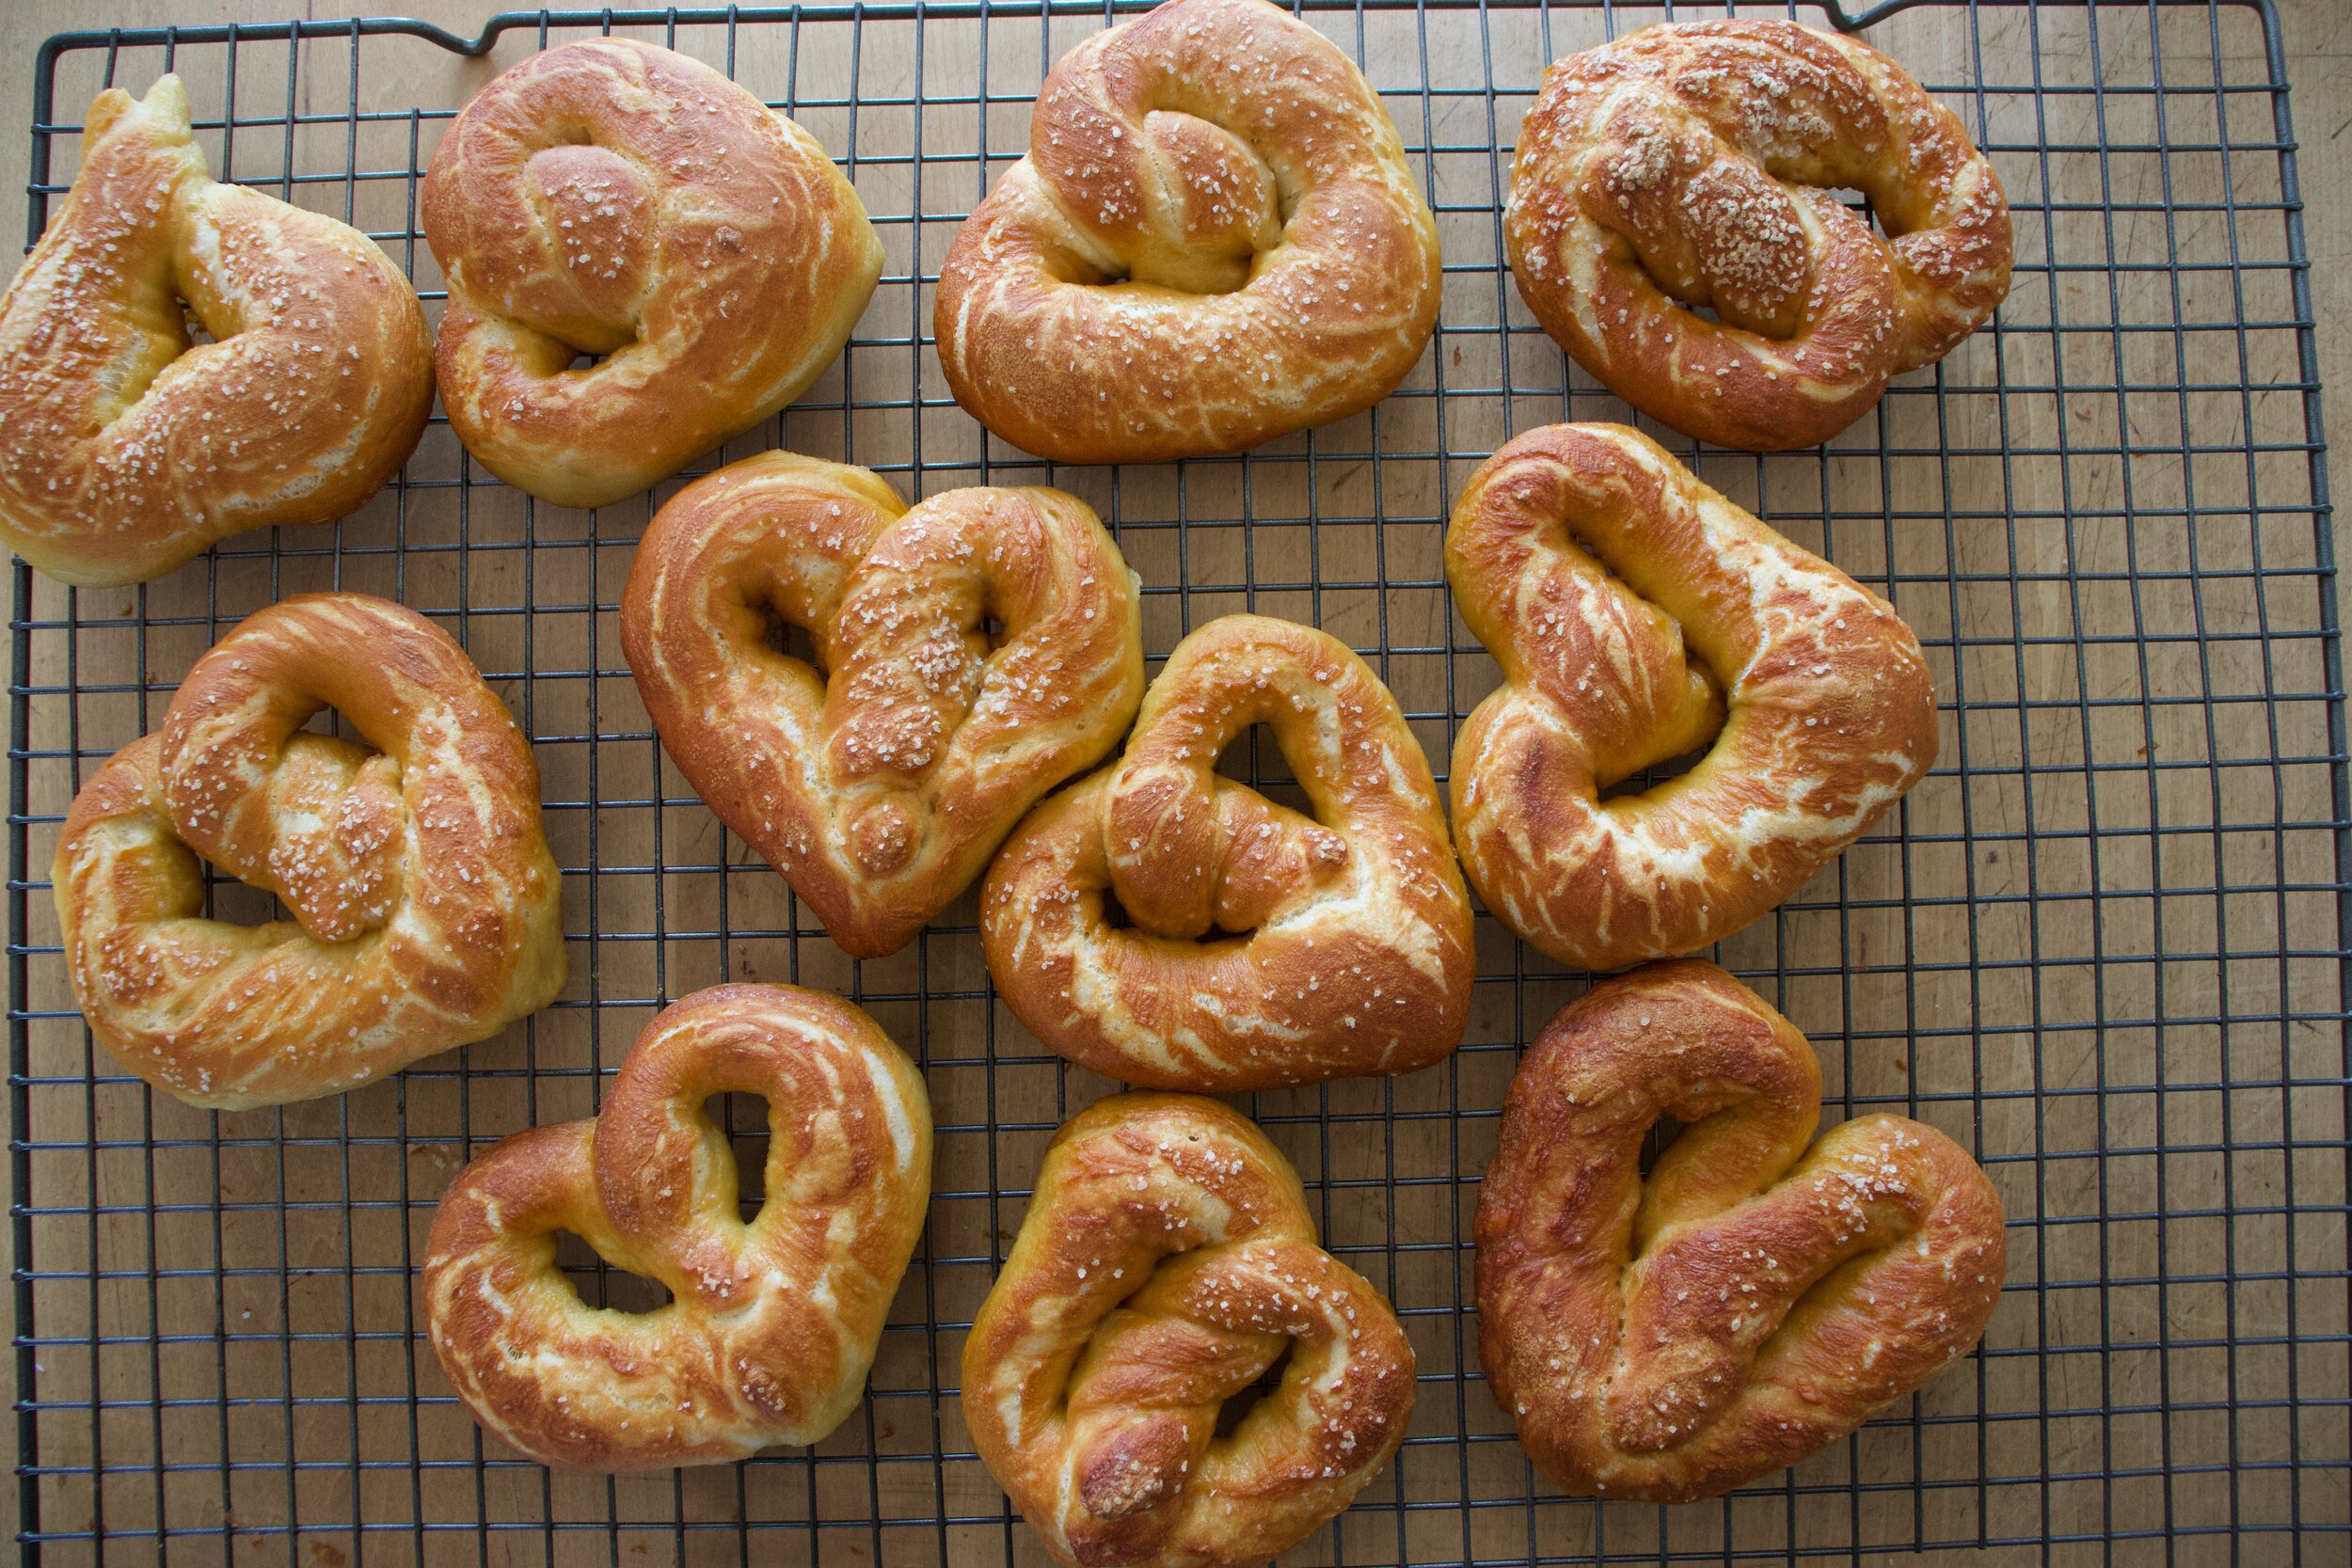
Get them onto a cooling rack to cool just enough.

IMG_5515.jpg

And then you just eat them because what else are you suppose to do.

And yes, grab the mustard because duh.


Heart ShapeD Soft Pretzels

makes 12 pretzels

For the dough

  • 3 1/2 - 4 cups all pupse flour

  • 2 teaspoons yeast

  • 1 heavy tablespoon brown sugar

  • 1 teaspoon salt

  • 1 1/2 cups warm water

  • 2 tablespoons course kosher salt (for topping)

For water bath

  • 7 cups water

  • 2 tablespoons baking soda

Start by placing yeast, brown sugar, and warm water into a big bowl and mix. Let sit for a few minutes to activate yeast. Once active, dump in the lesser amount of flour and salt. Mix until a shaggy dough forms. If the dough seems super wet, add in a little more flour. Dump dough onto a floured surface and knead until soft and elastic for about 5 minutes, adding in a little more flour as needed to keep it from getting too sticky. Once dough had been kneaded, place into a clean bowl, cover, and let sit in a warm place for about an hour or until the dough doubles in size.

Once dough has doubled, preheat oven to 450. Also get the water bath ready by placing the water into big pot and placing on heat.

Back to dough. Dump the dough onto a lighty floured surface and cut into 12 equal sized pieces. Then shape each piece by rolling the dough into a rope between 16 to 20 inches long then twisting the two ends together a few times. Fold the ends over to the middle of the dough and pinch the end into a heart. (check images above if that doesn’t make sense) Once all the dough has been shaped, its time to boil. When the water is at a rolling boil, dump in the baking soda and mix around. Place 2-3 pretzels gently into the water at a time and boil for about 45 seconds. Remove from water with a splatted spoon or spatula and place on a parchment or lightly oiled baking sheet. Repeat until all dough is boiled. Make sure when you place the pretzels onto the baking sheet you give them room so they are not touching. If you need to, use 2 baking sheets. And now before the placing them into the oven, sprinkle them with the course salt.

Now into the hot oven they go, for about 18-20 minutes or until they turn a deep golden brown.

Once baked, pull from oven, place on a wire rack to cool a bit, then eat them. Dipped in mustard or any other dipping situation you find appropriate.

Left overs, should there be any, should be stored individually either wrapped or in a bag at room temp for a few days. OR better yet, just freeze them. And when you want to eat one, just warm it up again in the oven.

In bread, snack, Vegan Tags Heart Shaped Soft Pretzels, pretzels, hearts, soft pretzels, vegan, valentines day, snack, king Arthur flour, love, easy, bread, yeasted bread, dairy free, plant based
Comment

Coconut Lime Shortbread Cookies

February 4, 2017 Colleen Stem
IMG_3678.jpg
IMG_3652.jpg

The mr was being awesome and spent the afternoon in the pantry adding a few finishing touches I requested ( more shelves and more supports) There really isn't enough room in there for the both of us and the air compressor, but I needed to be close by to tell him what to do (in a non annoying way) so I figured the best way I could help was to be in the kitchen and make cookies. That's helpful right? Answer is yes, cookies are always helpful. 

It's been a while since I made cookies and I am pretty sure that these were the first cookies that I have made in this kitchen which seems crazy and I should go on a cookie making binge. I finally moved all of my food and baking stuff over from the loft so now I can bake on a whim. Cookies, cakes, bread... whatever I want whenever I want.  It is so nice having my baking things all around me. I feels like home.

And I think from now on whenever we have a house project that I am not to interested in doing (like we need to empty and clean out he basement) I will just make cookies instead. I'll be like "Oh, I could help with that or....I can make you favorite cookies" (with a wink, wink and a kissy face)  We will see if that floats with the mr. I'll let you know.

The stuff. Coconut flour, regular flour, and a little bit of salt. Sugar, coconut oil, ground chia seeds with water and a lime.

Zest the limeand mix into the flour.  Add the juice to the chia seeds.

Mix together the chia seeds, sugar and melted coconut oil until evenly combined

Then dump dry into wet and mix until it turns into dough.

Take any liberties in shape you want here. I rolled some into balls and some I made into hearts. These cookies don't spread so pretty much any shape you make it's going to stay that way. Just make sure to smoosh the doughwith you hand or a fork to an even 1/2 inch so it bakes evenly.

Once the baking sheet is full, stick it in the preheated oven.

12-15 minutes laterthe kitchen smells all nice and the cookies are golden and ready. Stick them on a rack to cool.

Oh but wait, why not add some chocolate drizzle.  Easy easy. Justmelt some chocolate chips with a bit of coconut oil.

And drizzle it all like yeah

IMG_3649.jpg

Sweet coconut lime goodness. My pantry is all done and the mr got some love cookies. All in a days work.

bye!

-C


Coconut Lime Shortbread Cookies

makes about 12-15 cookies


  • 1/2 cup flour
  • 1/2 cup coconut flour
  • 1/2 cup sugar
  • 1/2 cup coconut oil (melted and cooled)
  • 1 lime (juice and zest)
  • 1/2 teaspoon salt
  • 2 tablespoons plus 4 tablespoons water
  • 1/4 cup chocolate chips and teaspoon coconut oil for drizzling (optional)

Preheat oven to 350

In a medium bowl, whisk the flours, the salt and the zest of the lime. After zesting lime, juice it and mix2 tablespoons of the juice into the chia seeds along with the water. In a separate larger bowl, mix together the sugar and coconut oil until combined then mix in the chia seeds. Dump the dry mixture into the wet and mix until combined and dough has formed.

Roll cookie dough into balls the size of walnuts. Place on cookie sheet and about 1/2 inch smoosh flat with either your hand or a fork. If you want, shape the dough into a shape (like a heart) just make sure to flatten it so it bakes evenly. The cookies don't spread so you can place then really close together on the cookie sheet. Place i oven and bake for about 13-15 minutes or until the bottoms of the cookies are a nice deep golden brown. Place cookies on a wire rack to cool. Now they don't need it, but I was told the chocolate drizzle was awesome...

Place chocolate chips and coconut oil in a microwave safe bowl and place in microwave at 30 second intervals until the chocolate and oil can be mixed together into a drizzable consistency. Now take that and drizzle all over tops of cookies.

Eat. Store uneaten cookies in airtight container


In cookies, Dairy Free, desserts, Sweets, Vegan Tags Coconut Lime Shortbread Cookies, vegan, dairy free, egg free, cookies, coconut, lime, dessert, hearts, valentines day, easy
Comment

Super Cute DIY Heart Pins

February 11, 2016 Colleen Stem
IMG_9084.jpg
IMG_9198.jpg

This past Christmas, my (kinda)mother- in-law gave me and the mr these really cool honey bee pins in our stockings. Nothing fancy, just a little pin, but I think it was one of the best gifts that I had gotten all year. The pin lives on my winter jacket.

And now I am into pins.

So a couple of the little's came over yesterday after school for crafts and dinner and I figured a bit of pin making would be a perfect little project for us to do. And being that it's the big V day coming up,  making these pins heart shaped was more then overly appropriate. (What's Valentines day without cute little hearts?) Well pin making we did, or I did, not so much for them. They made a few, but in the end, they were more excited to beat the crap out of the mr and to eat carrot shavings with peanut butter and nutella.. Totally ok with me because really, I was the one that wanted a little craft time and the mr did need to get his butt kicked.

Sure I made these pins pretty much for myself, but imagine the possibilities. Make a bunch to give out to your friends, family, neighbors, or even the mail man!? Or if you have yourself a little, how great would these pins be make and to give to all their little classmates. I know that if received one of these pins in my homemade shoe box mail box meant to collect all of my candy studded, drugstore bought valentines. I would have been elated and rocked that pin all year long on my super cool backpack.(grade schooler, they have all the fun) Right after I finished painting and gluing all my pins, Miley then decided that they were freaking awesome and wanted to make a bunch more.... Well little little, to late, time to go home. But I did give her a bunch to bring back with her. She will just have to bug her mom to make some more.

And sure, I mention valentines day when talking about these pins, but really, hearts are for everyday, and are still really great long after V day is over.

Handmade heart pins = love!

Stuff you need for some awesome pins.

  • Polymer clay (I used white but any color will do)
  • red and white paint (preferably enamel or a high gloss paint) and a paint brush
  • bar pin backs (I bought these at Michael 's craft store. 64 for like 3 bucks!)
  • industrial strength glue (E600 is great and is used and recommended by many a crafters)
  • rolling pin or wooden dowel
  • small heart shaped cutter
  • sharpie pen to write on pins (optional)
  • Glitter( also optional)

A couple notes. You could use red clay but I have found that when I buy the red dyed clay, its always harder to work with and plus, it stainsyour hands. Also, I like to seal the clay and enamel paint does the trick. If you don't want to paint it, just pain on a coat of clear sealer.

Start buy kneading a chunk of clay a little bit to get it to a workable state, then roll into a ball and roll out flat. I rolled mine out about 1/3 of an inch, but I also knew I wanted to squish it out a little flatter once I cut the shapes out.

Cut out your hearts, or if you want, free form them.  What I did was used my tiny heart cookie cutter to cut the initial shape, but then used my thumb and squished them all out a bit bigger.

Note here.. Hears are awesome and amazing, but other shapes....Go for it. You probably have a shit tone of those pin backs.

And just before you bake them, make sure that the pins you are using will fit behind the hearts. (if you notice any visible pin, just smoosh the heart out a little more).

Into the oven,, out of the oven. Read the package to make sure, but the stuff I used only needed to be baked for 15 minutes at 275

Once out of the oven, let completely cool and harden.

Once the hearts are cooled, go ahead and paint them. Use straight up one color, or mix and make a few different shades. (red, white and pink are nice together)

You can add some glitter to the wet paint to add a little bling....

Or add designs or what have you. Do whatever feels right.

Now stick a pin thingy on the back of each heart with a blob of glue. (If you use the E600, make sure to use it near a window or somewhere ventilated.. it really stinks for a few minutes)

Let the glue dry (this glue was completely dry within an hour, but follow glue package instructions)

And if you want, grab the sharpie, make sure the paint is really dry (at least an hour) and write a little something on the hearts.

And now the hard part.. which one goes to who and which one (or 4) do you keep for yourself. (you can always make more!)

Have fun!

-C

IMG_9192.jpg
In arts, crafts, decorations, DIY, holiday Tags DIY, Heart Pins, Super Cute, Home, homemade valentines, valentines day, simple, gift, pin, arts, crafts, polymar clay
Comment
 

https://thelovelycrazy.squarespace.com/config#/|/about/

Me. Food Maker.Food eater. Woo HOO!

STEM+NODE  SMALL BATCH AND ONE OF A KIND POTTERY

stem+node ceramics


____________________

Subscribe

GET NEW POSTS IN YO EMAIL

You are AWESOME!!!


@thelovelycrazy 2014-2021