• stem+node ceramics
  • HOME
  • Food Recipes
  • About
  • Contact
Menu

The Lovely Crazy

Street Address
City, State, Zip
Phone Number

Your Custom Text Here

The Lovely Crazy

  • stem+node ceramics
  • HOME
  • Food Recipes
  • About
  • Contact

Spring Cleaning the Refrigerator and Use it up Soup

April 14, 2018 Colleen Stem
IMG_5246.JPG
IMG_1392.jpg
IMG_1416 2.jpg

What are you doing this weekend? It is suppose to be cold and rainy (if not snowy) and crappy and just not a good weekend to be hanging outside, which makes it the perfect weekend to spend some time inside, SPRING CLEANING! Haha. Doesn't cleaning get you excited? No, well, sorry for you. Me, I like to clean, and I really like to tackle jobs that really really need to be tackled, like cleaning out the fridge. And a crappy weather spring weekend is probably the best time to do it. 

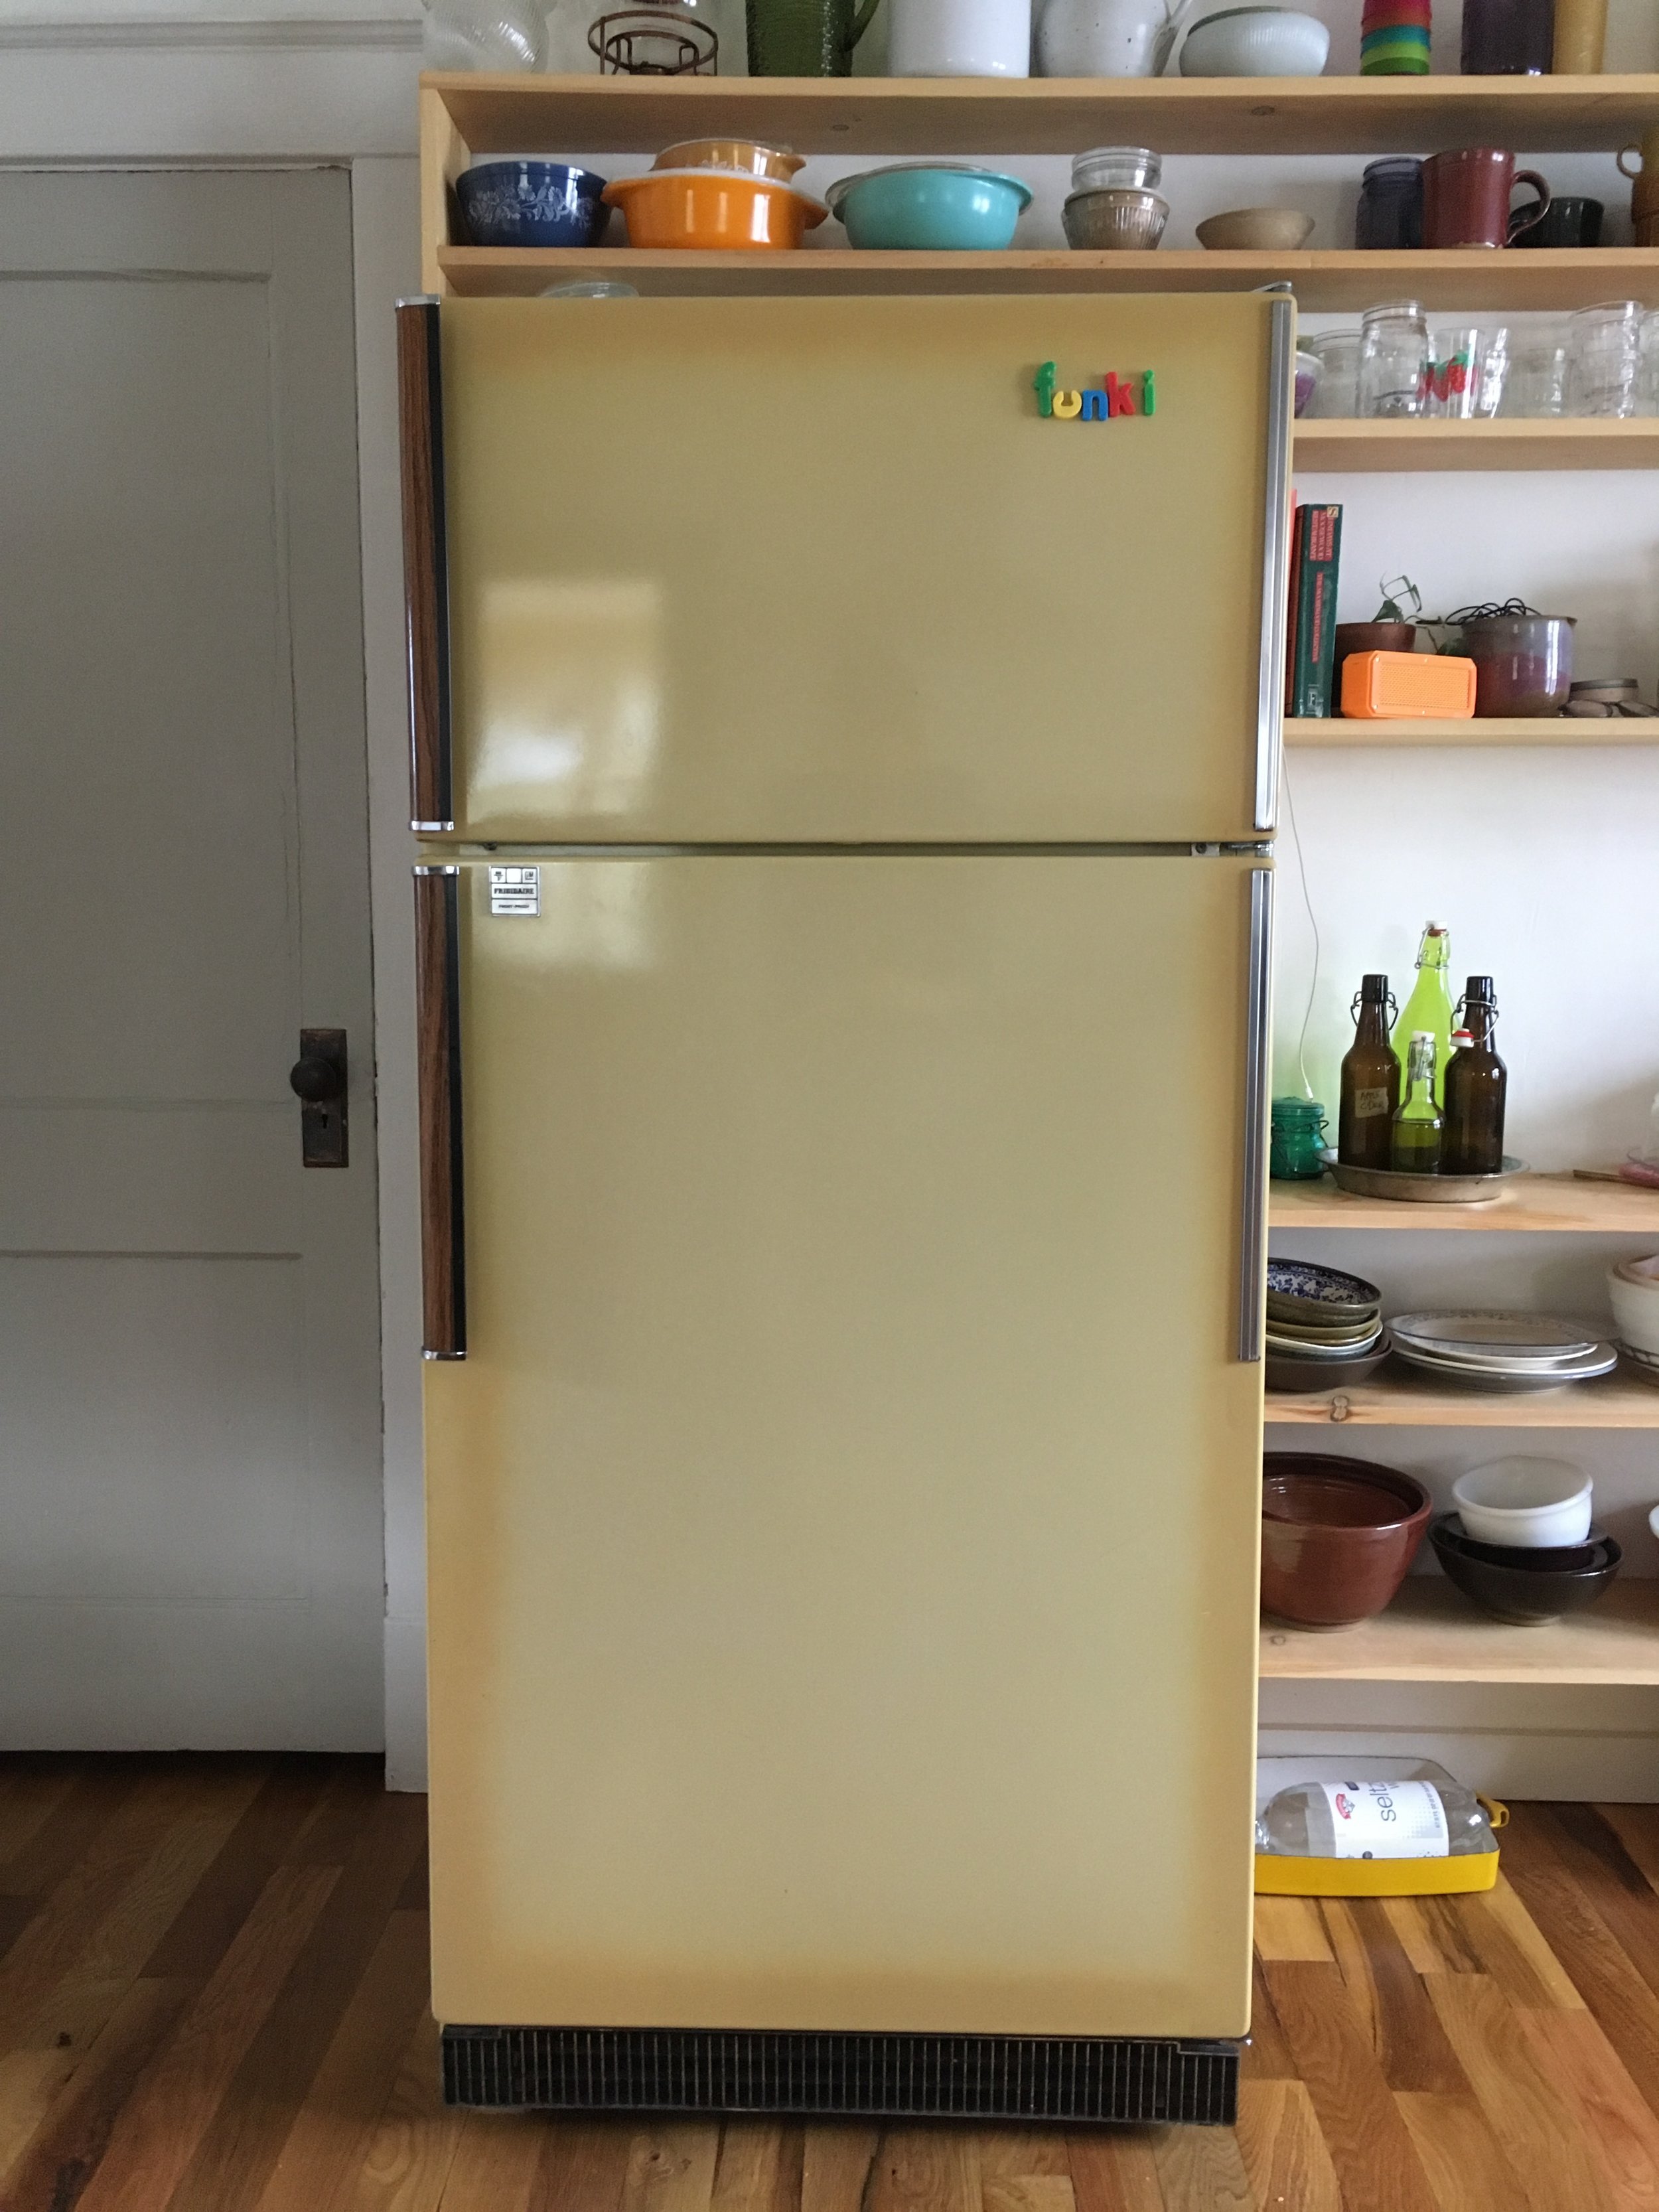
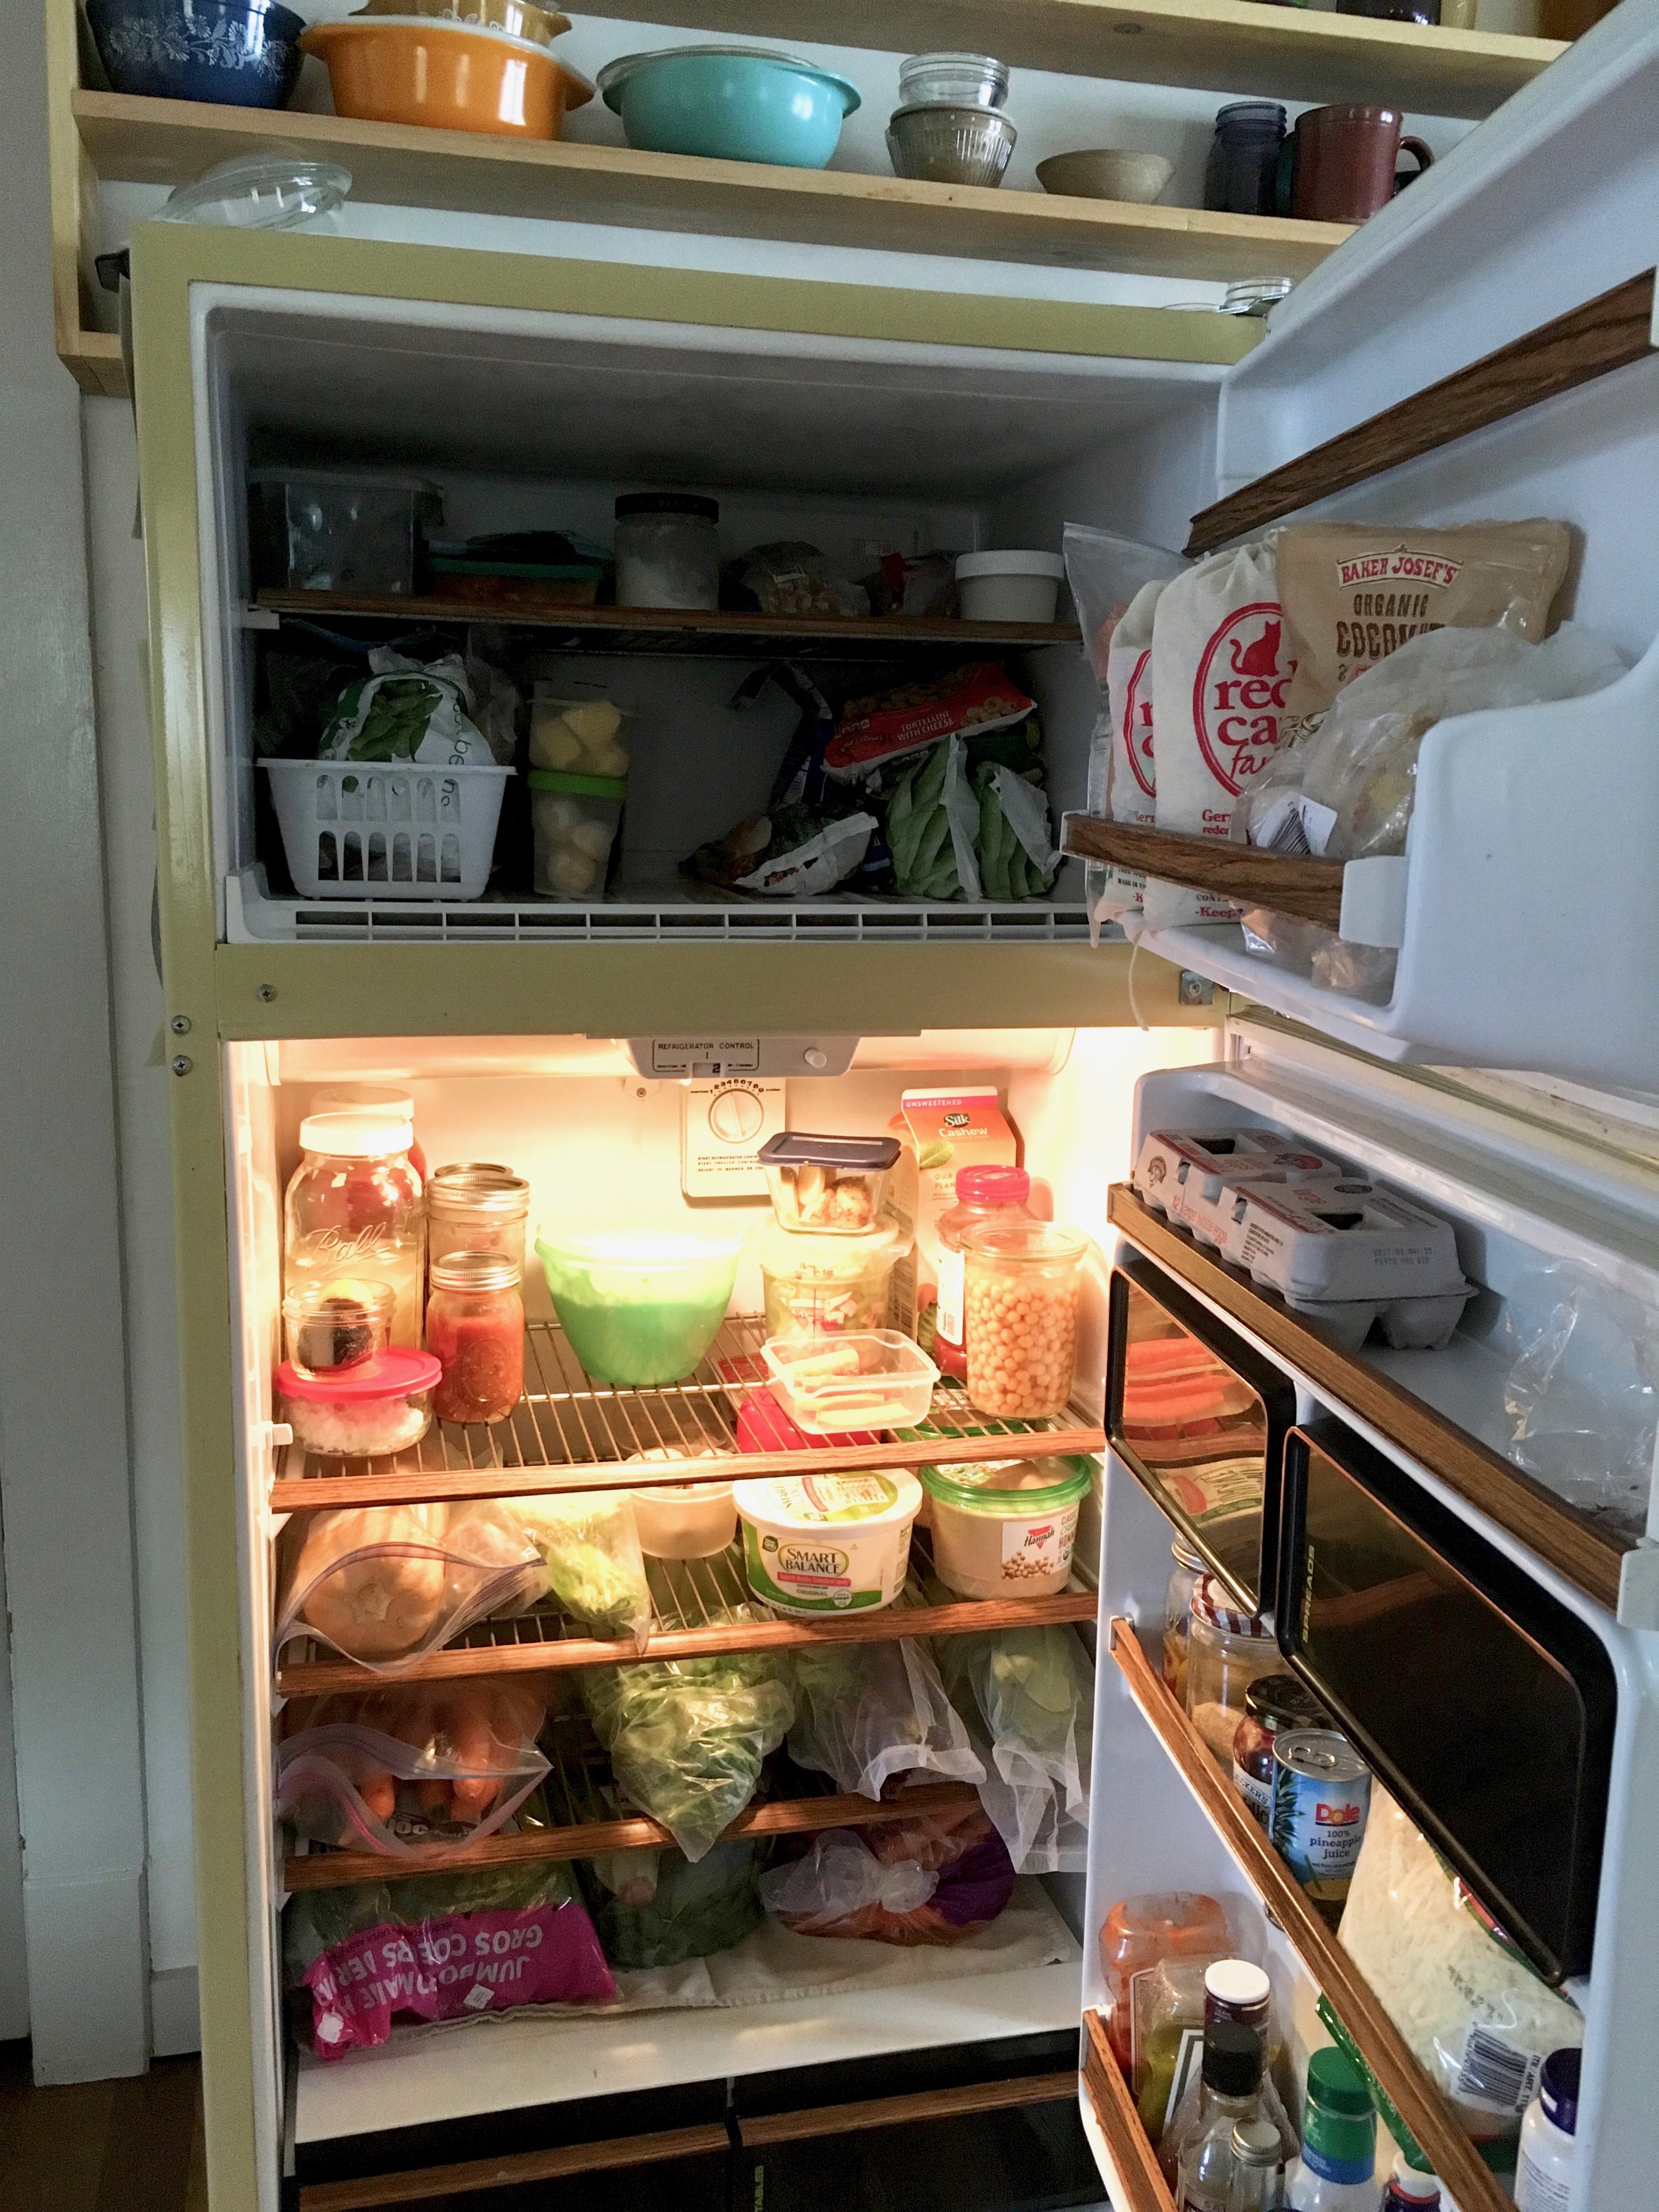
The refrigerator. My pride and joy of the kitchen. It's an old harvest gold Fridgaire from like 1970. This is the fridge I spent almost a year hunting down and finally finding on craigslist from a man who was cleaning out his dead mothers house. The fridge that I almost gave up on when I couldn't find it and almost bought a big stainless steal thing instead.mBut last minute, I found it, like it was  meant to be. And this fridge has a story all of it's own. It was a prize won by on of the ladies daughters from a cereal company contest. The family kept it for all these years and took such good care or it because of that. A well cared for and loved fridge. It is a good one with faux wood trim and metal shelving. It keeps my food cold and frozen  (sometimes frozen when it shouldn't be. The back top shelve  in the fridge has a few cold spots the might freeze whatever is there. My solution to that is to not stick things in the cold spots.) and is just as pretty as can be. Some people question it, don't understand why I didn't just buy a matching fridge to my stainless steal stove, but you know what, if you don't like it, well I really don't care. It makes me happy and I love it.

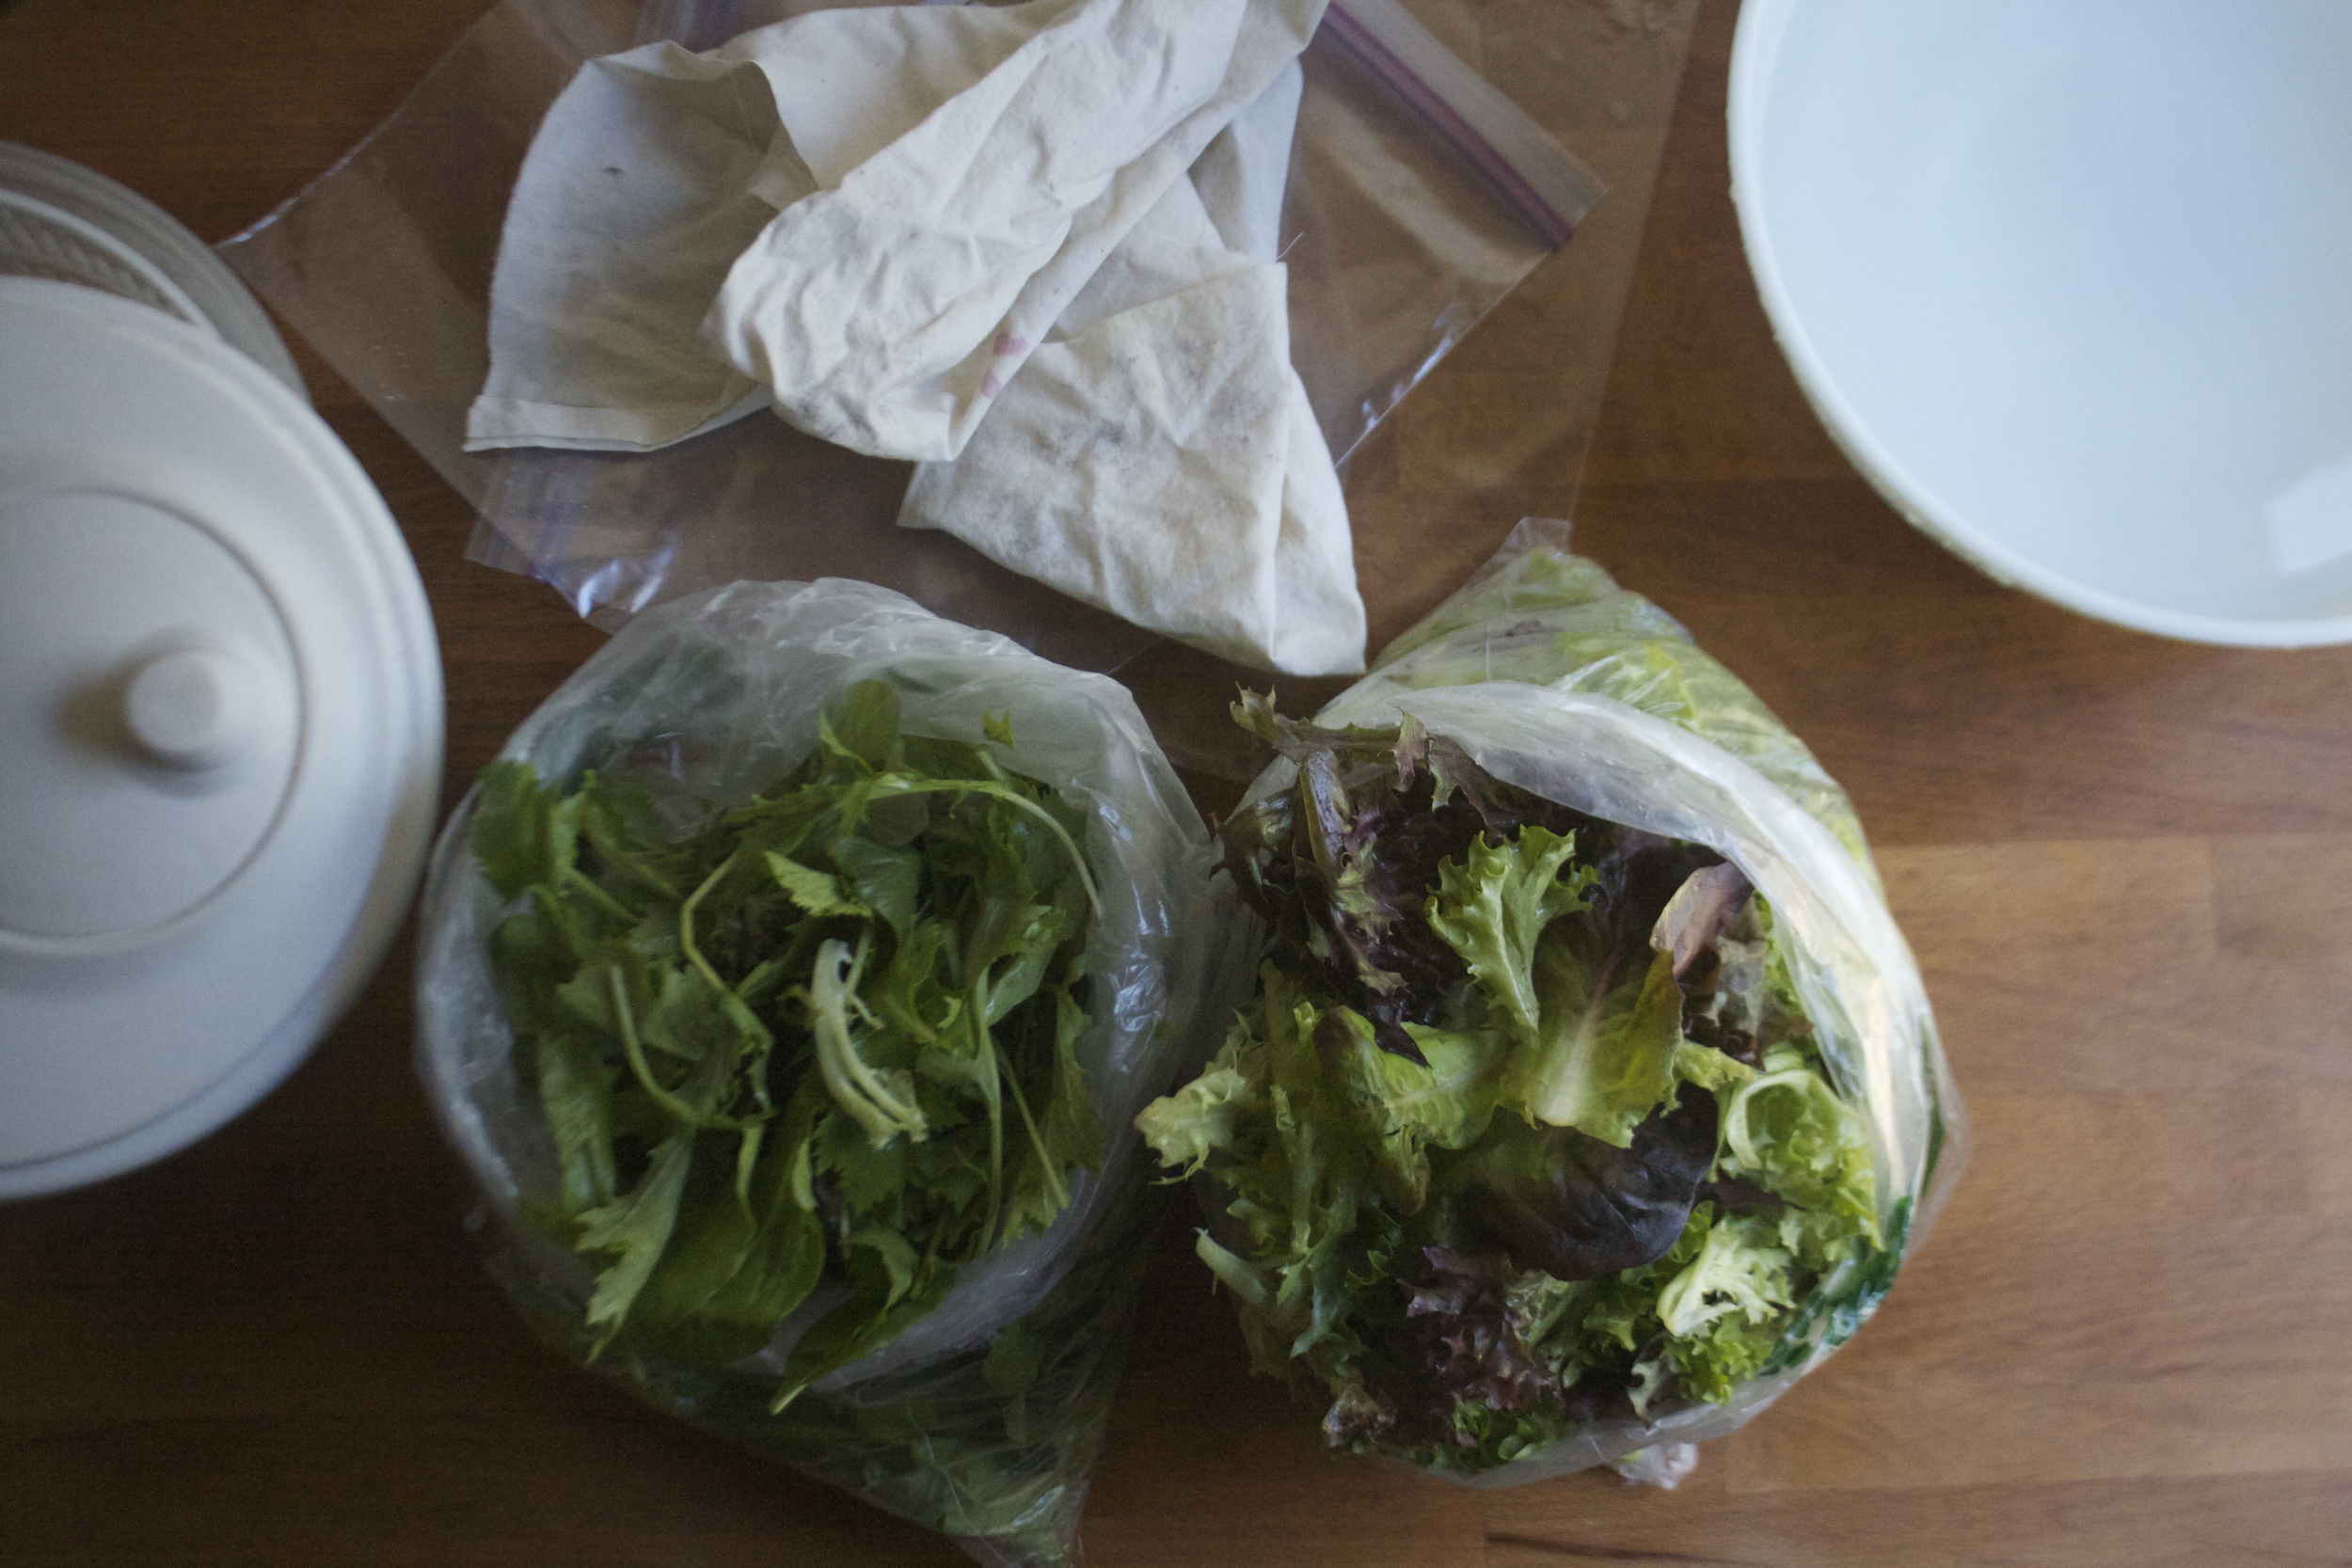
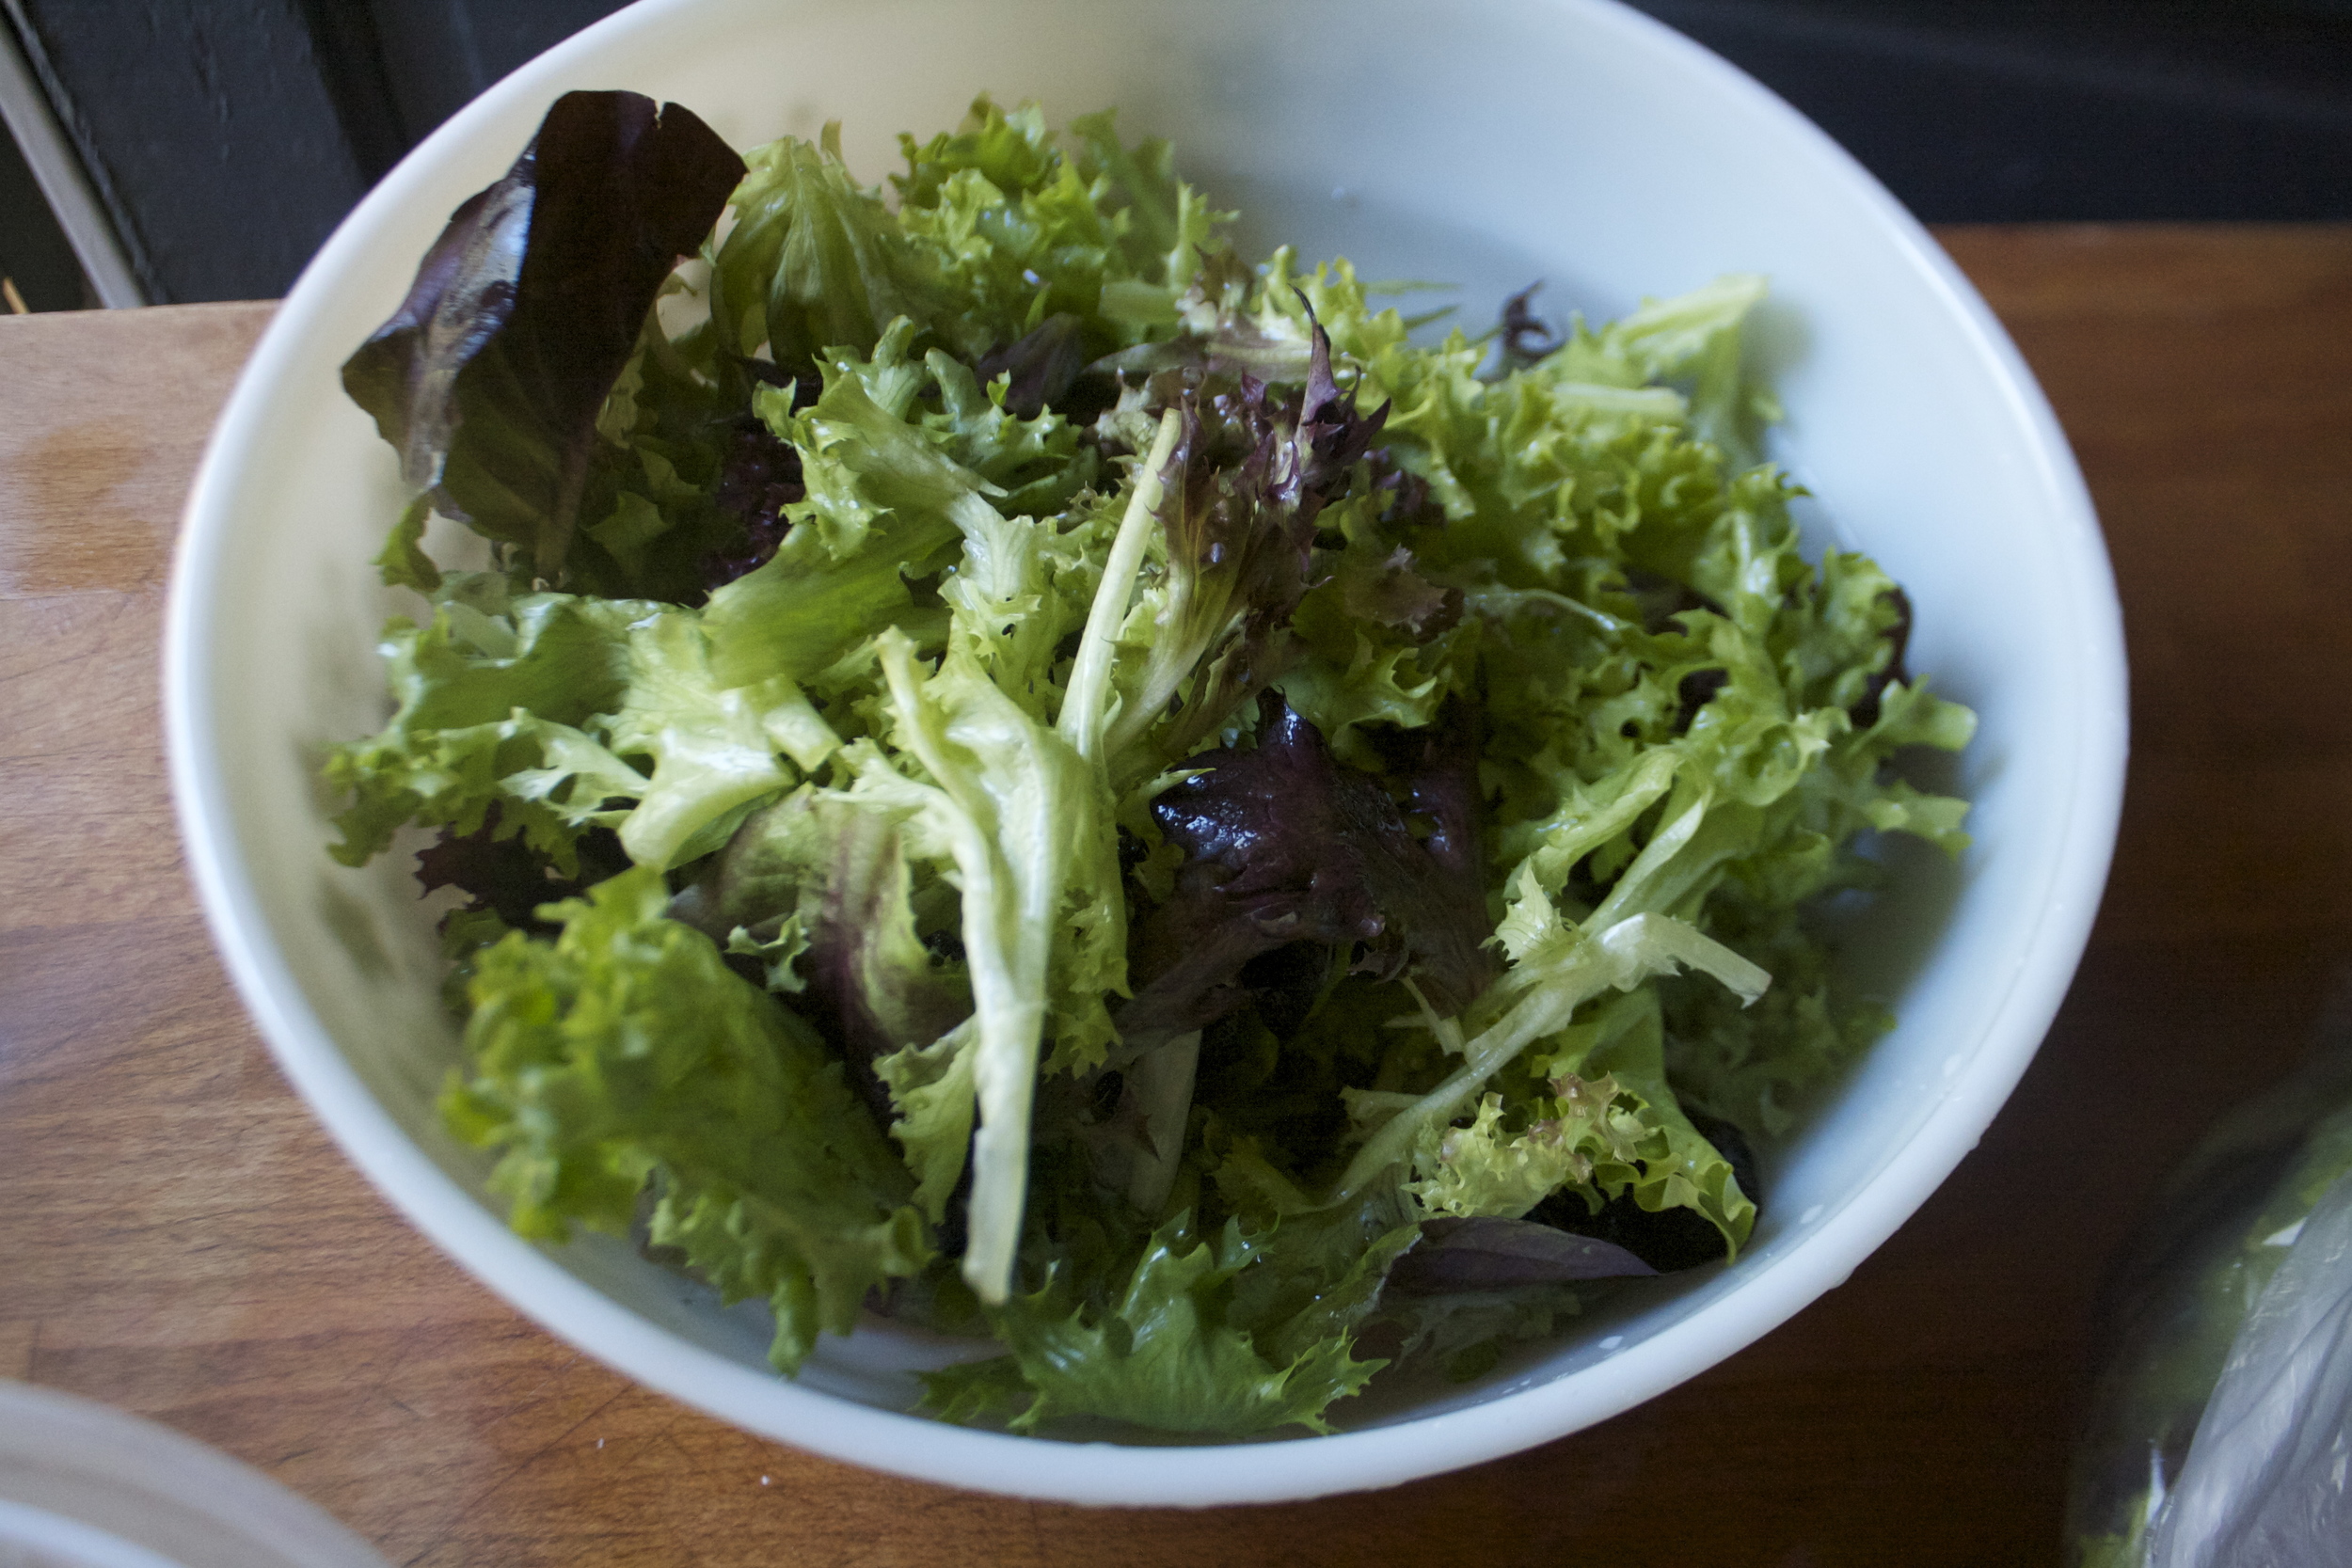
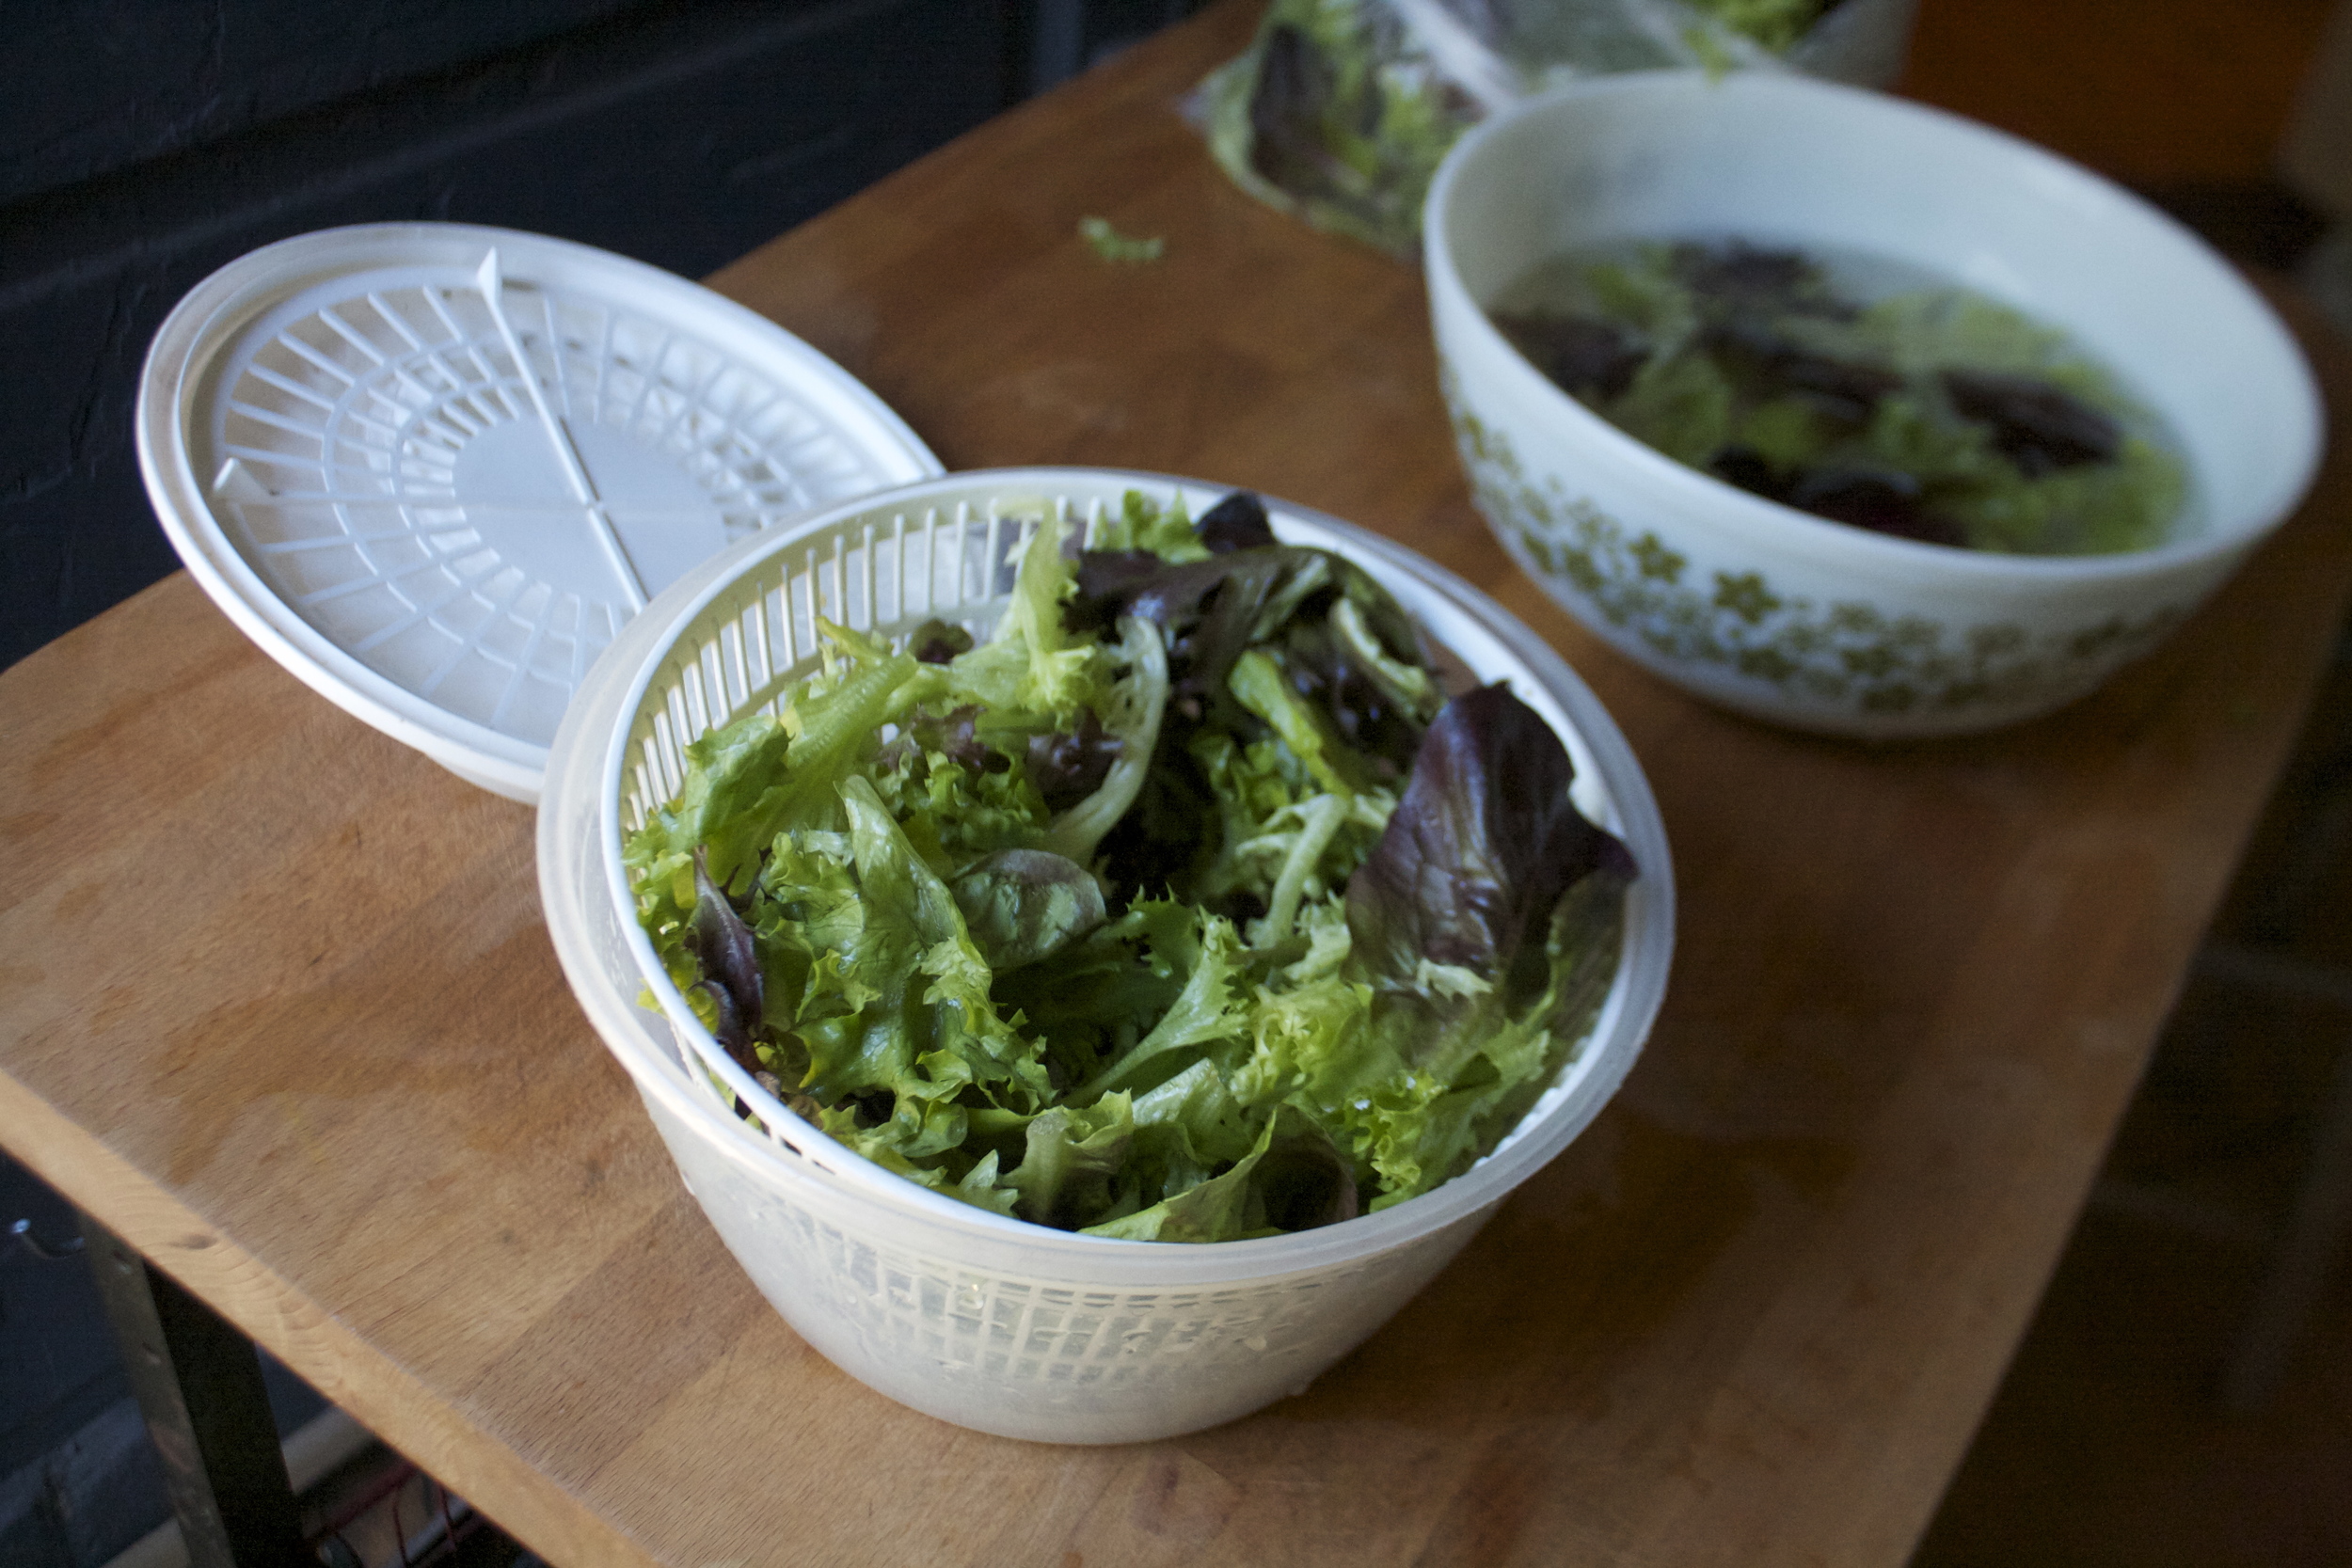
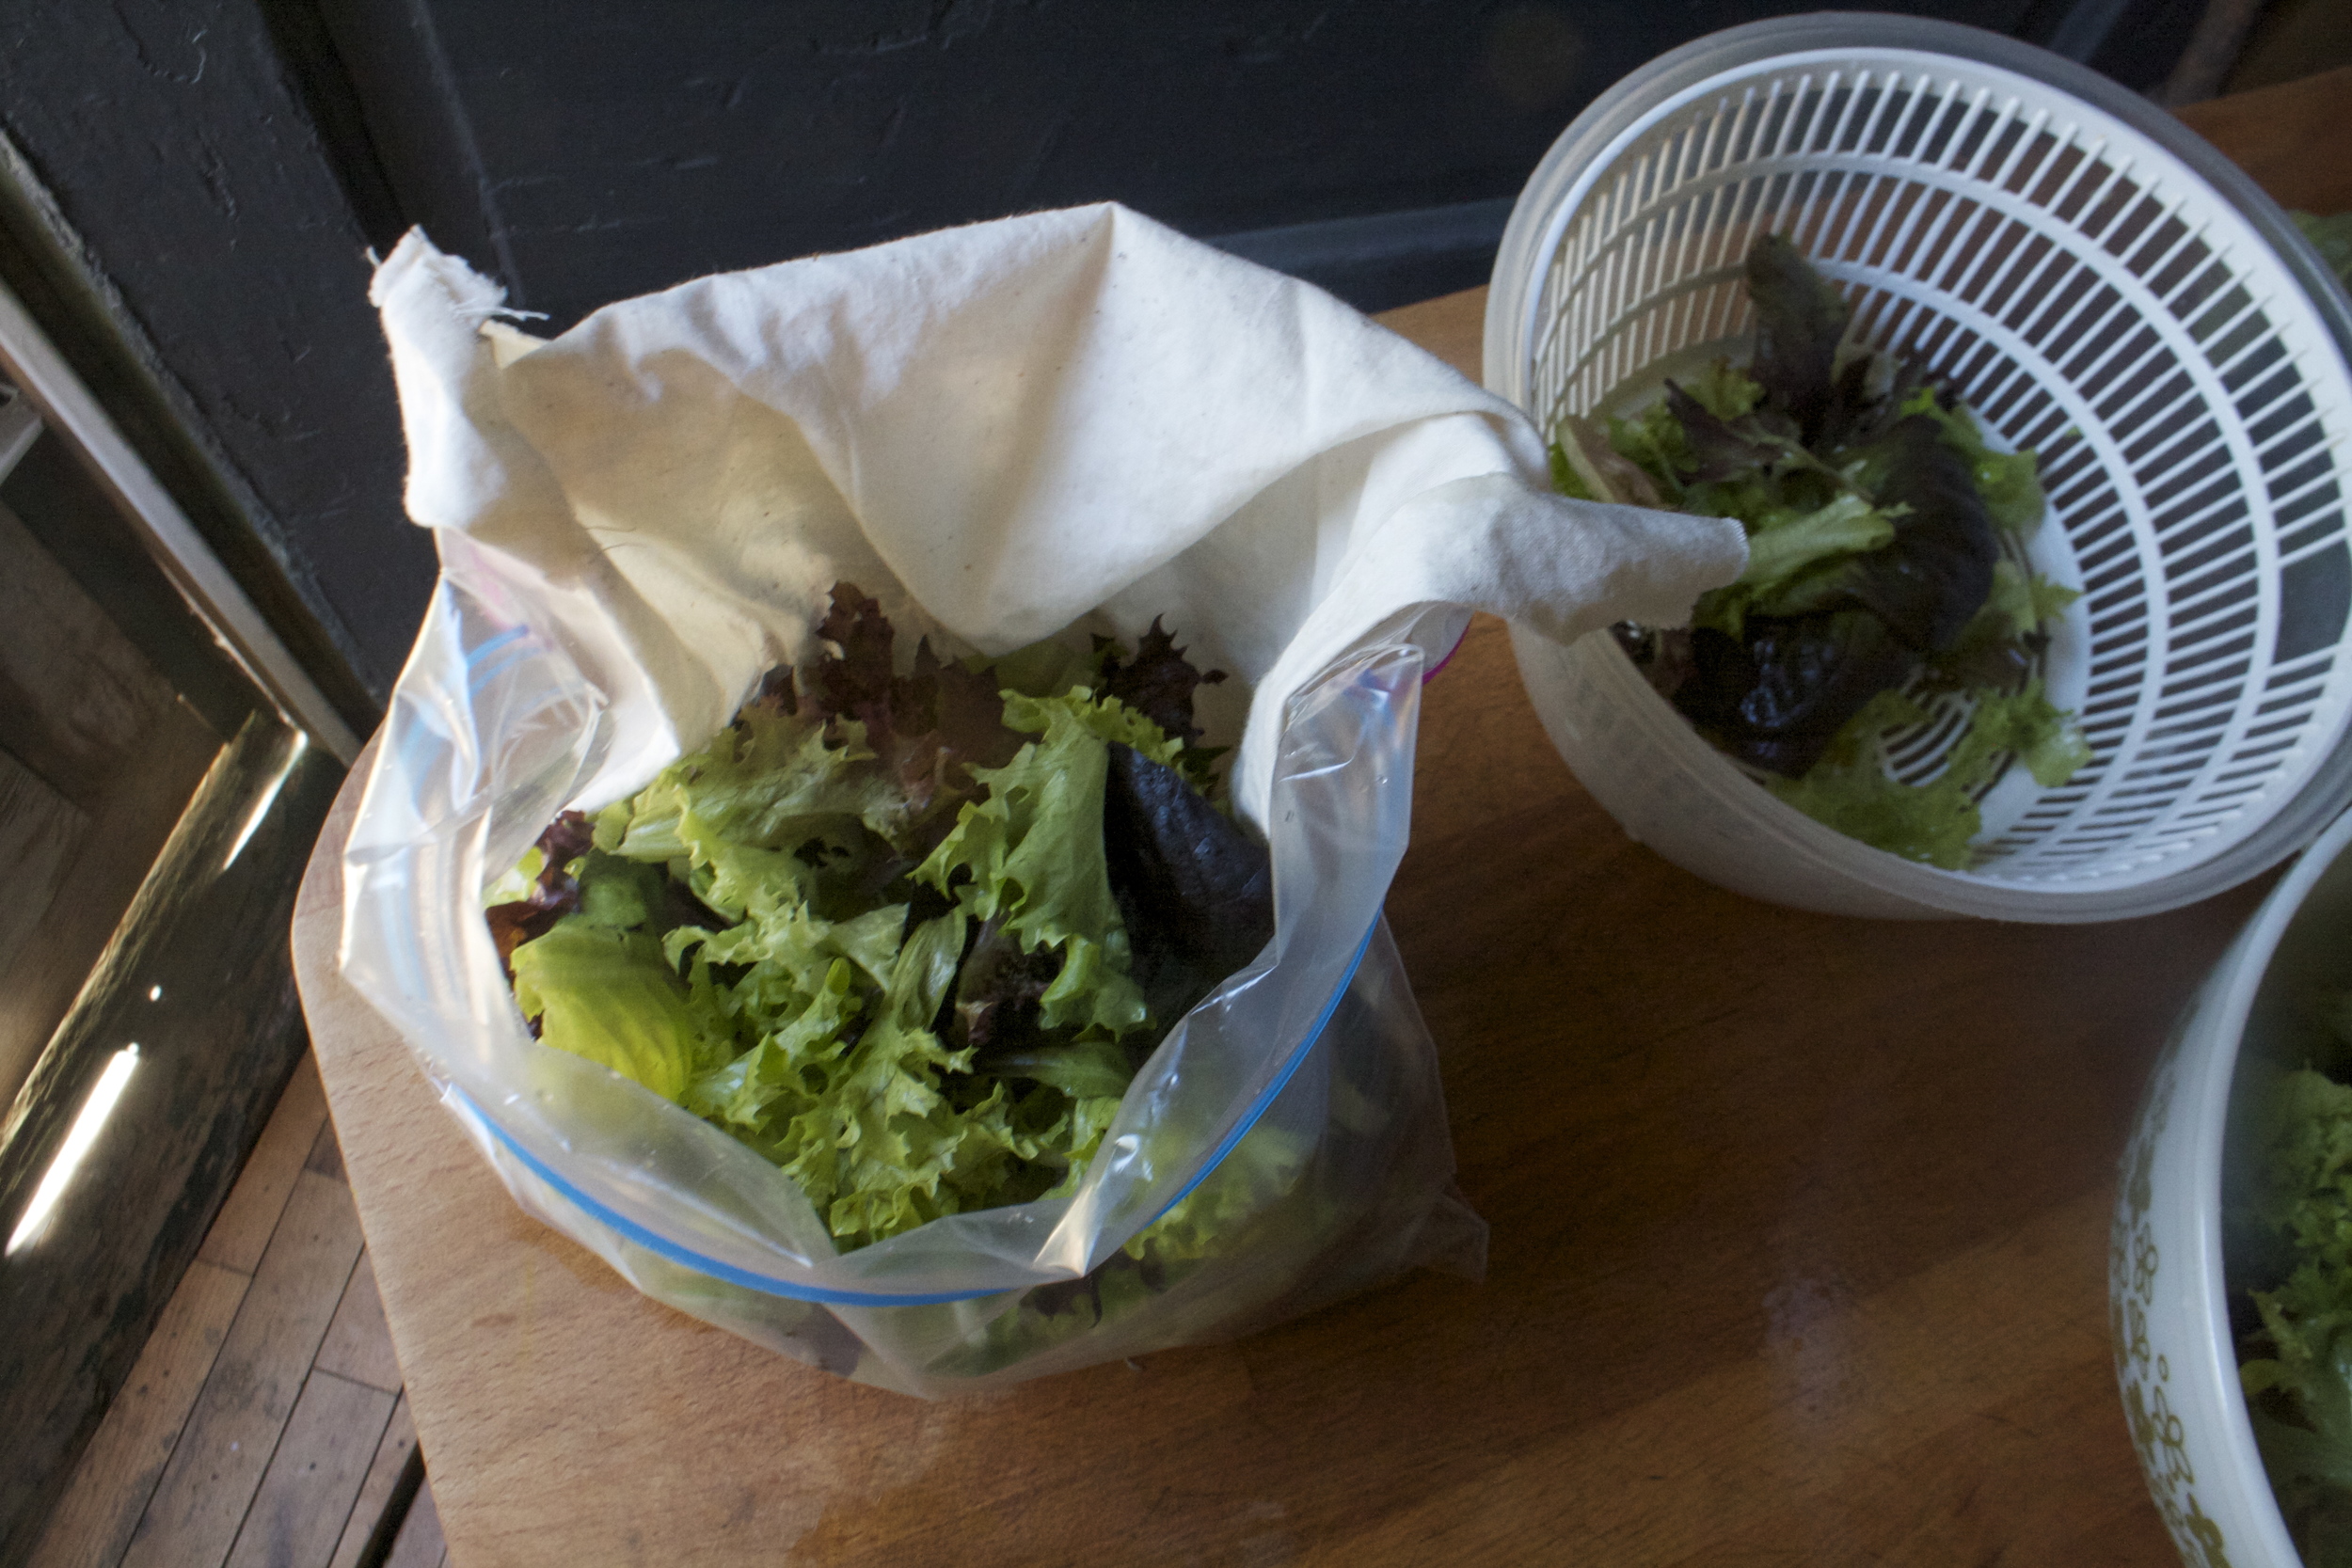
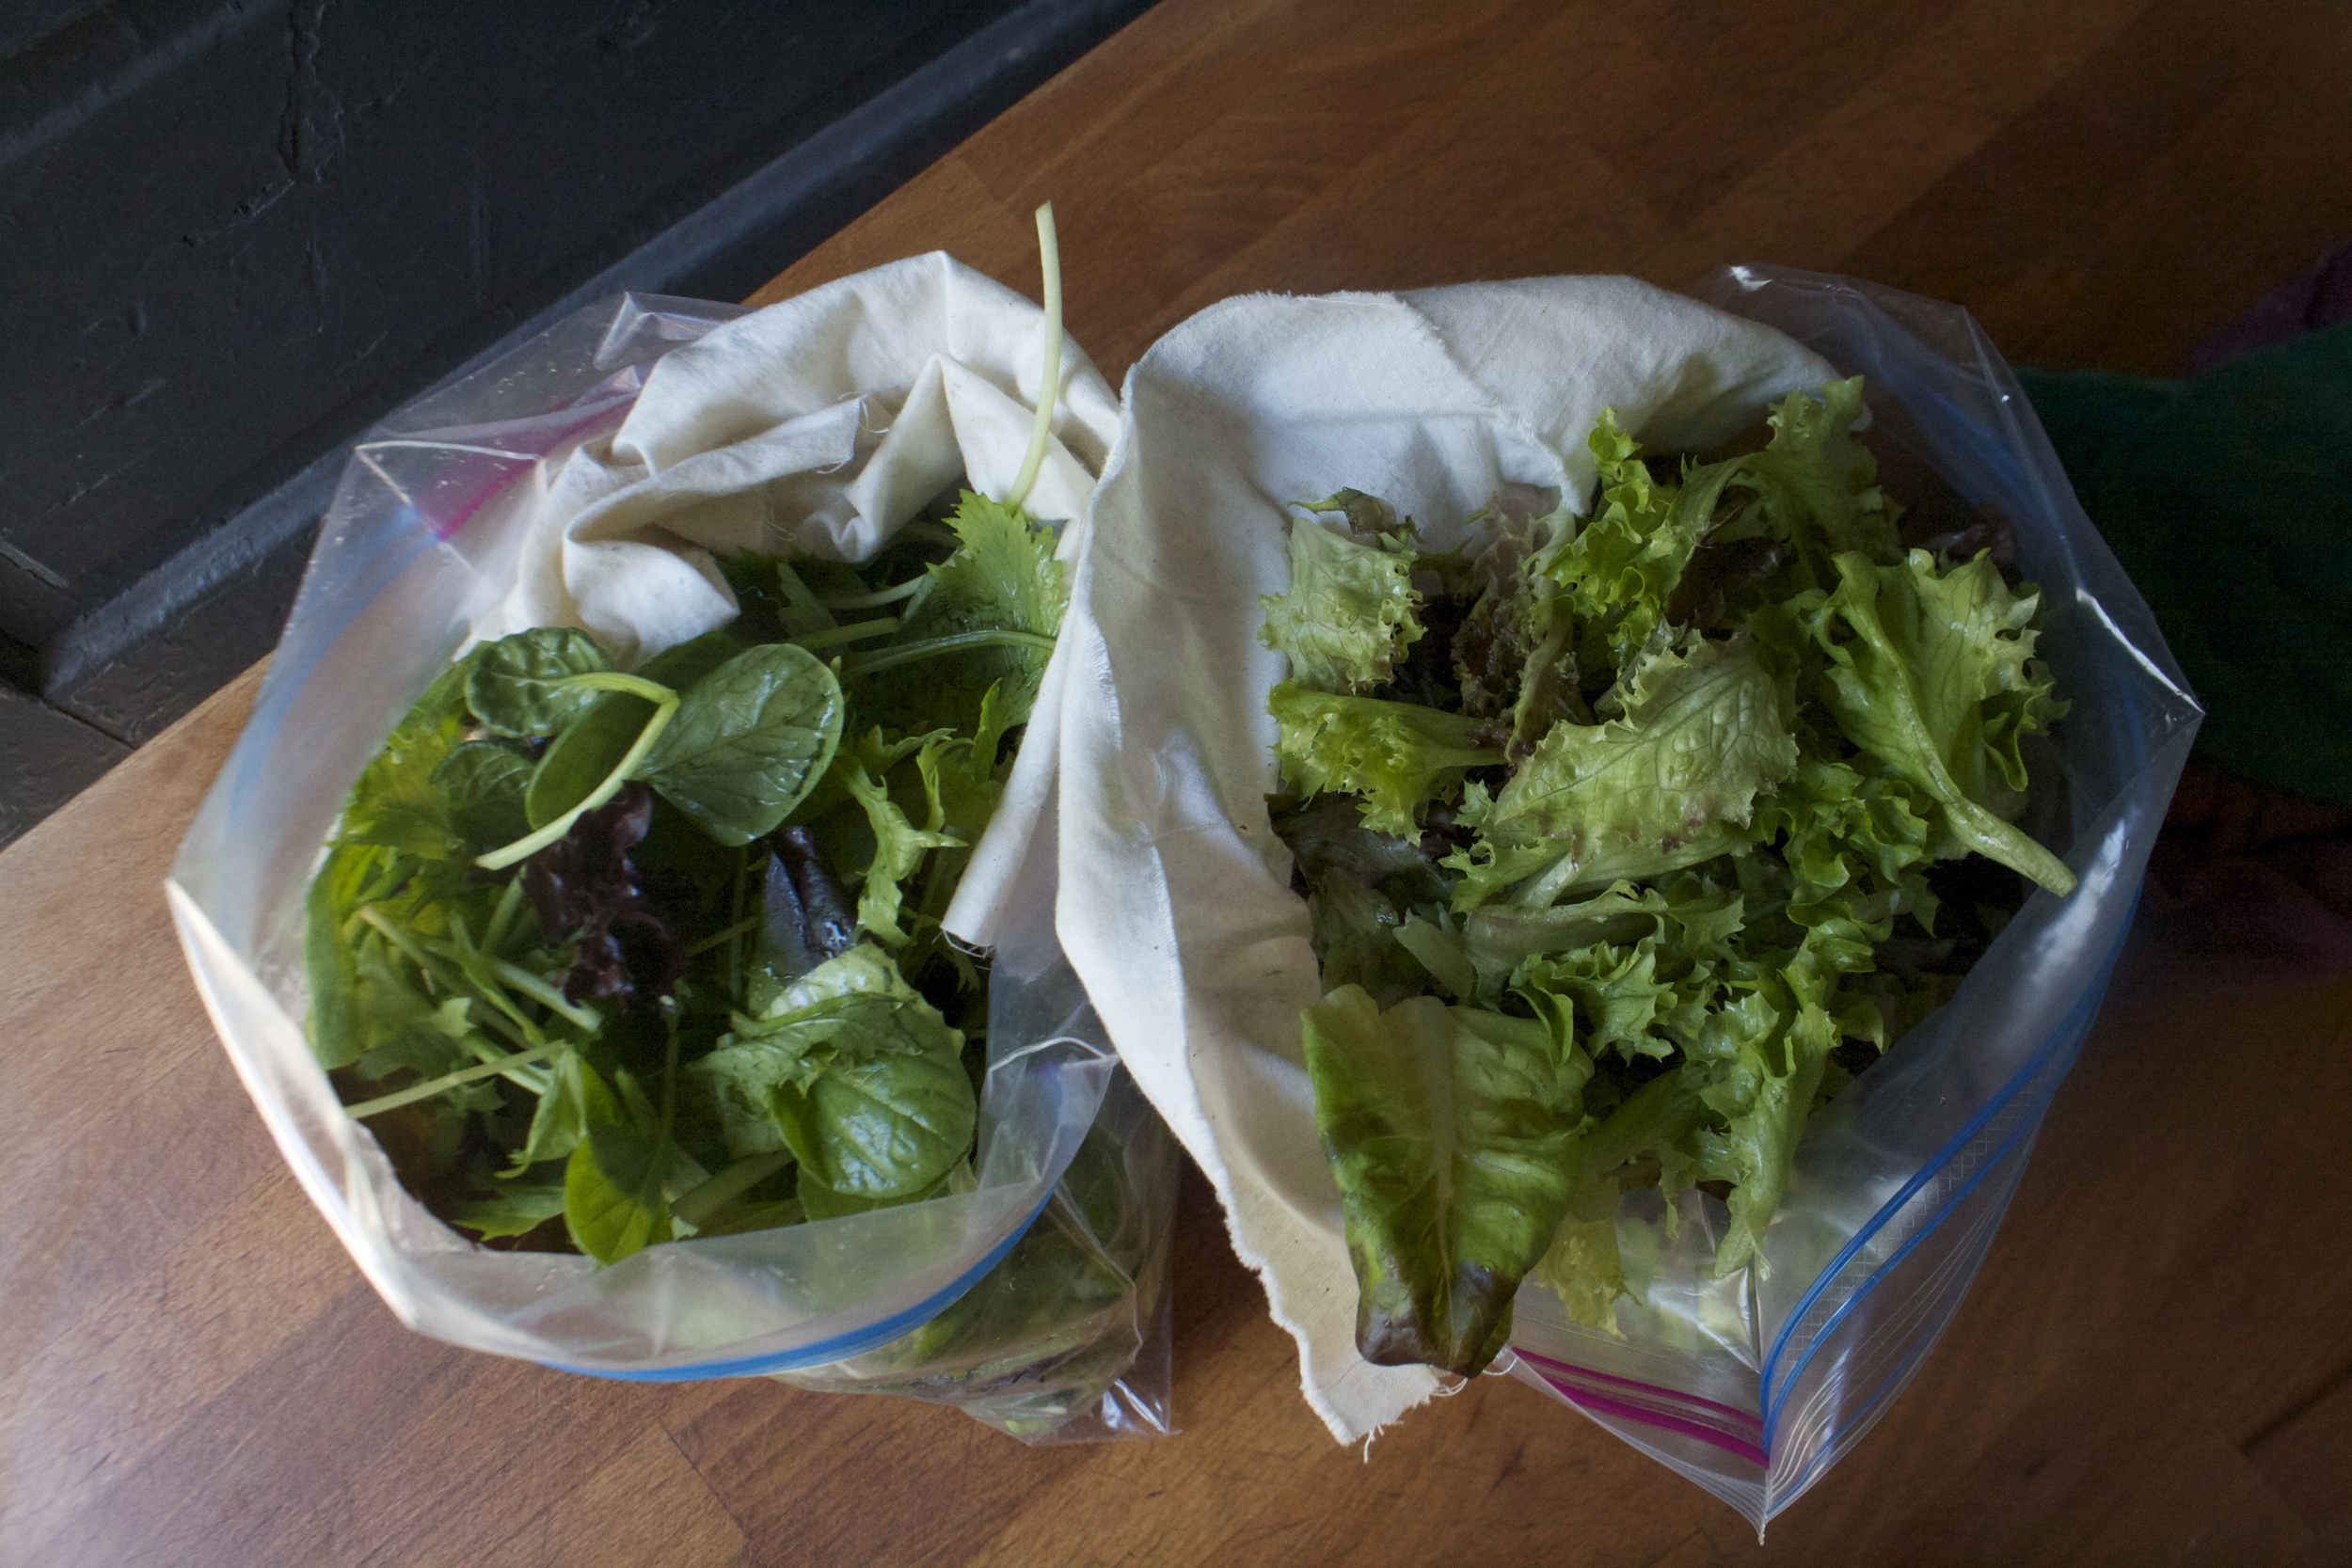
And to what goes on on the inside. To know me is to know what is inside of my refrigerator. It is always packed. There is and always will  be carrots, beets, lemon, cabbage, turmeric, greens, greens, and more greens in there. There will always be some hummus of some kind, mustard, bread dough, tofu, and lots and lots of any and every veggies you can think of. Plus a bunch of  jars and container, which I have a bad habit of not placing lids on all the time, full of lentils and beans, rice, and quinoa.  There is usually a  baked sweet potato or some squash and more likely the not, tomatoes and plant milk. In the freezer, well that's getting pretty empty now, but after harvest in the fall, it is packed to the brim with bags of frozen veggies. Now it has a few bags of veggies, frozen bananas and berries,flours, and nuts. But the fridge, The fridge is always full. And it an get a little messy....

And now I it's time to clean it out. 

I spot clean and straighten it out often. Usually before I pick up farm share I go through it and tidy up, make more space, and pull stuff out that needs to be eaten first. But that is just the surface cleaning. Stuff gets sticky, stuff gets stuck, and especially with veggies, stuff gets dirty.  Spot cleaning has a place but it's not cutting it anymore. It's spring and it's time for a full fledge deep clean. 

Now I know most people have their own methods for cleaning but here are a few tips and techniques that I have to tackle the beast.

-Prepare. You don't want to just go at it without a plan and supplies. Get out your cleaning supplies. Grab a recycling can and a compost bucket, and have a big lean surface ready to place stuff on. The vacuum or a broom should be handy too. 

-Cleaning solutions. It is a fridge so you don't want to be cleaning it with a bunch of chemicals. What I use is a vinegar solution. 50/50 white vinegar and water and a squirt of dish soup. It cleans, degreases, disinfects, and won't kill you. 

-An empty sink or bathtub to wash all the drawers and shelving off. 

-A few clean containers. Just have them on hand, with lids, to place stray things roaming around in there. 

-Clean from  top to bottom. This avoids crap falling into something you already cleaned.

-Labels. Any containers that are not clear might benefit from a label. And if you tend to leave things in the fridge for a long time, a label for the date of opening is also a good idea. 

-Inventory. Knowing what is in the fridge is very important, this prevents food waste.

-Too many condiments. I don't know how many times I have looked in peoples fridges and seen 5 different bottles of ketchup or Italian dressings open. Consolidate.  And if you don't like it or don't use it, get rid of it.

-Wipe it all down. Not just the fridge itself, but all the stuff going back into it. So many times I have stuck the soy sauce in the door and had it leaked all over. 

-Know your fridge and place accordingly. Most people don't have super old fridges, but even the new ones have some quirks. Know if there are cold spots or dead zones or places that things get stuck and place food accordingly. Also think about where you are placing food. It don't make sense to but the milk way in the back if you use it all the time.

-Under and behind. Don't forget to clean under the fridge and behind the fridge. It will be dusty, maybe a little gross, but it must be done.

-Music. A good playlist is always going to make you better are cleaning.

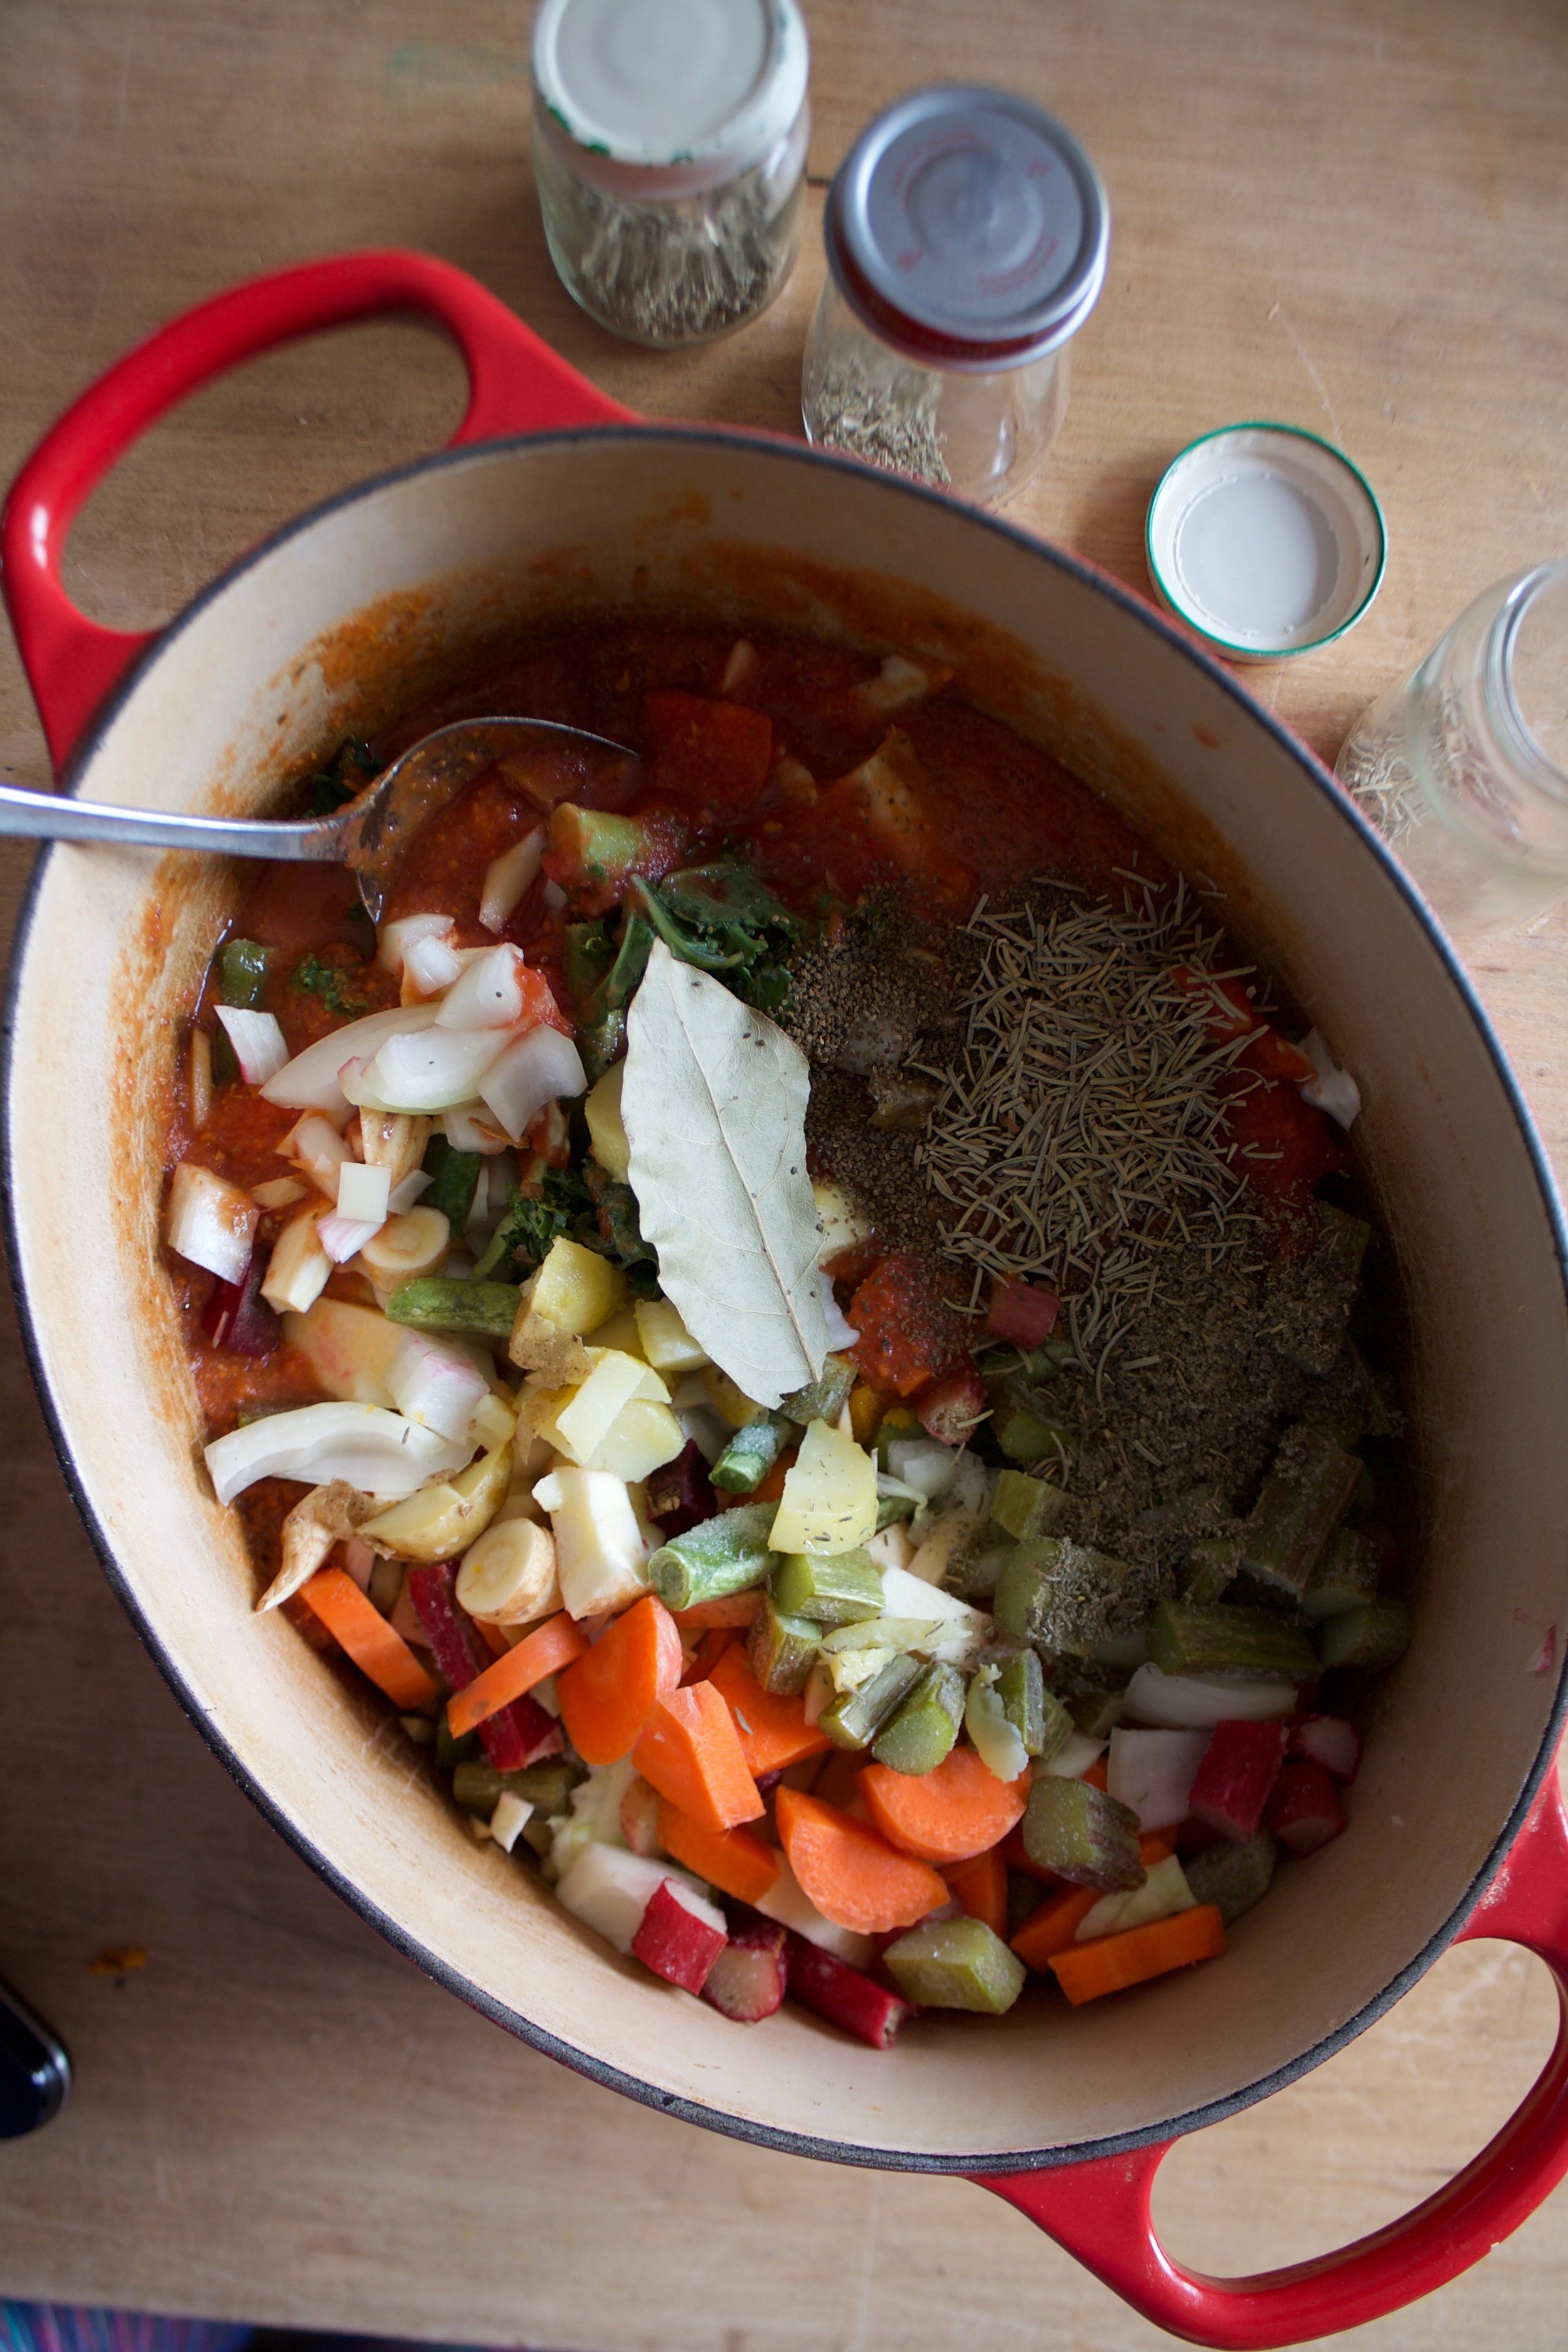
As for the Use it Up Soup, do just that. This is the perfect time to use up what you got. I know that I have way more veggies then the average person, but don't let that stop you. You could even pull stuff out and fill in missing ingredients form the store if you want. And be creative,  pickled hot peppers, all the frozen veggies, any wilted greens. Even almost empty bottles of mustard. If you think it sounds good in soup, use it up. Add some canned tomatoes and a handful of spice, you are gonna end up with something tasty.

. A clean fridge and soup, how can it get any better? 

The before. Veggies all over. Jars and containers stacked, with and without lids. A stray half of banana, and empty water bottle, and a half eaten salad in a bowl just having out.  The shelves are kind of gross. The veggie drawers are nasty, and I think almost everything is wet because I dumped over a container of tofu the other day and all the tofu water leaked all over...... This deep clean was a long time coming.

IMG_1396.jpg

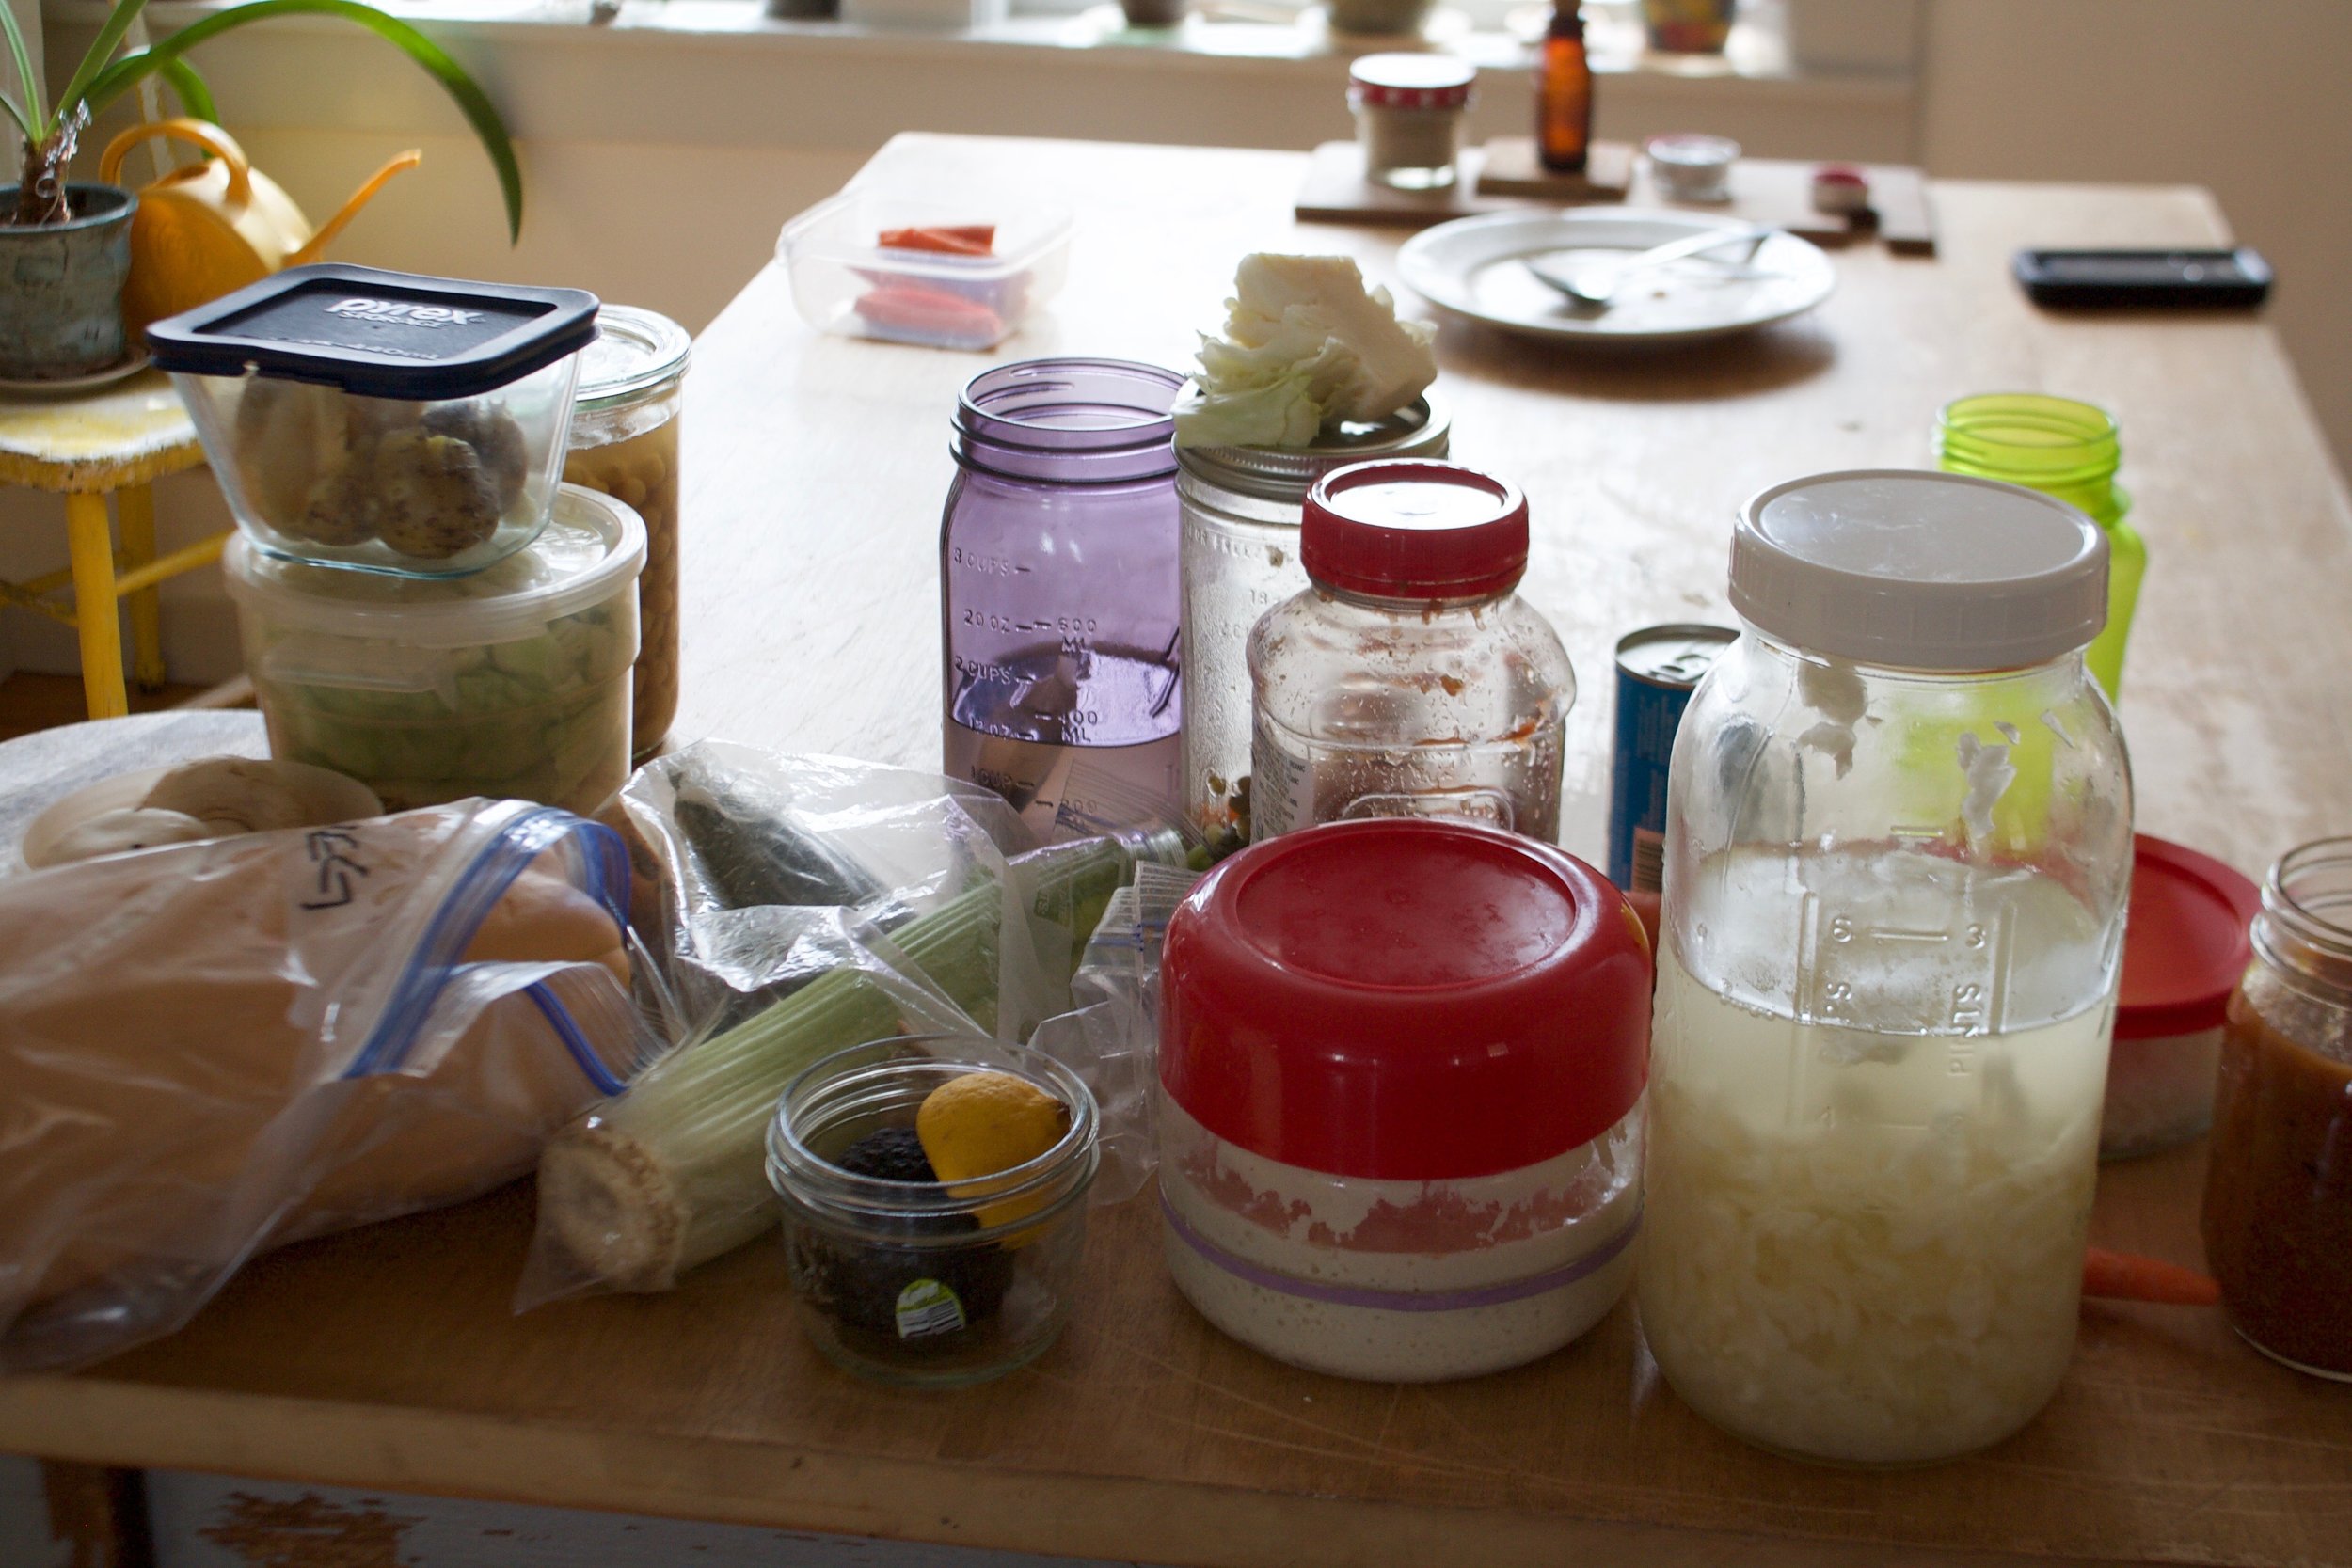
I always have so many bags and containers of veggies and beans in the fridge.

The stuff in the door too. This is actually a lot of crap. The last dinner party we had someone brought over salad dressings. The mr and I don't use salad dressing, but I guess it's not so bad to have them here. The littles like them and I know that they will be eaten.

IMG_1376.jpg

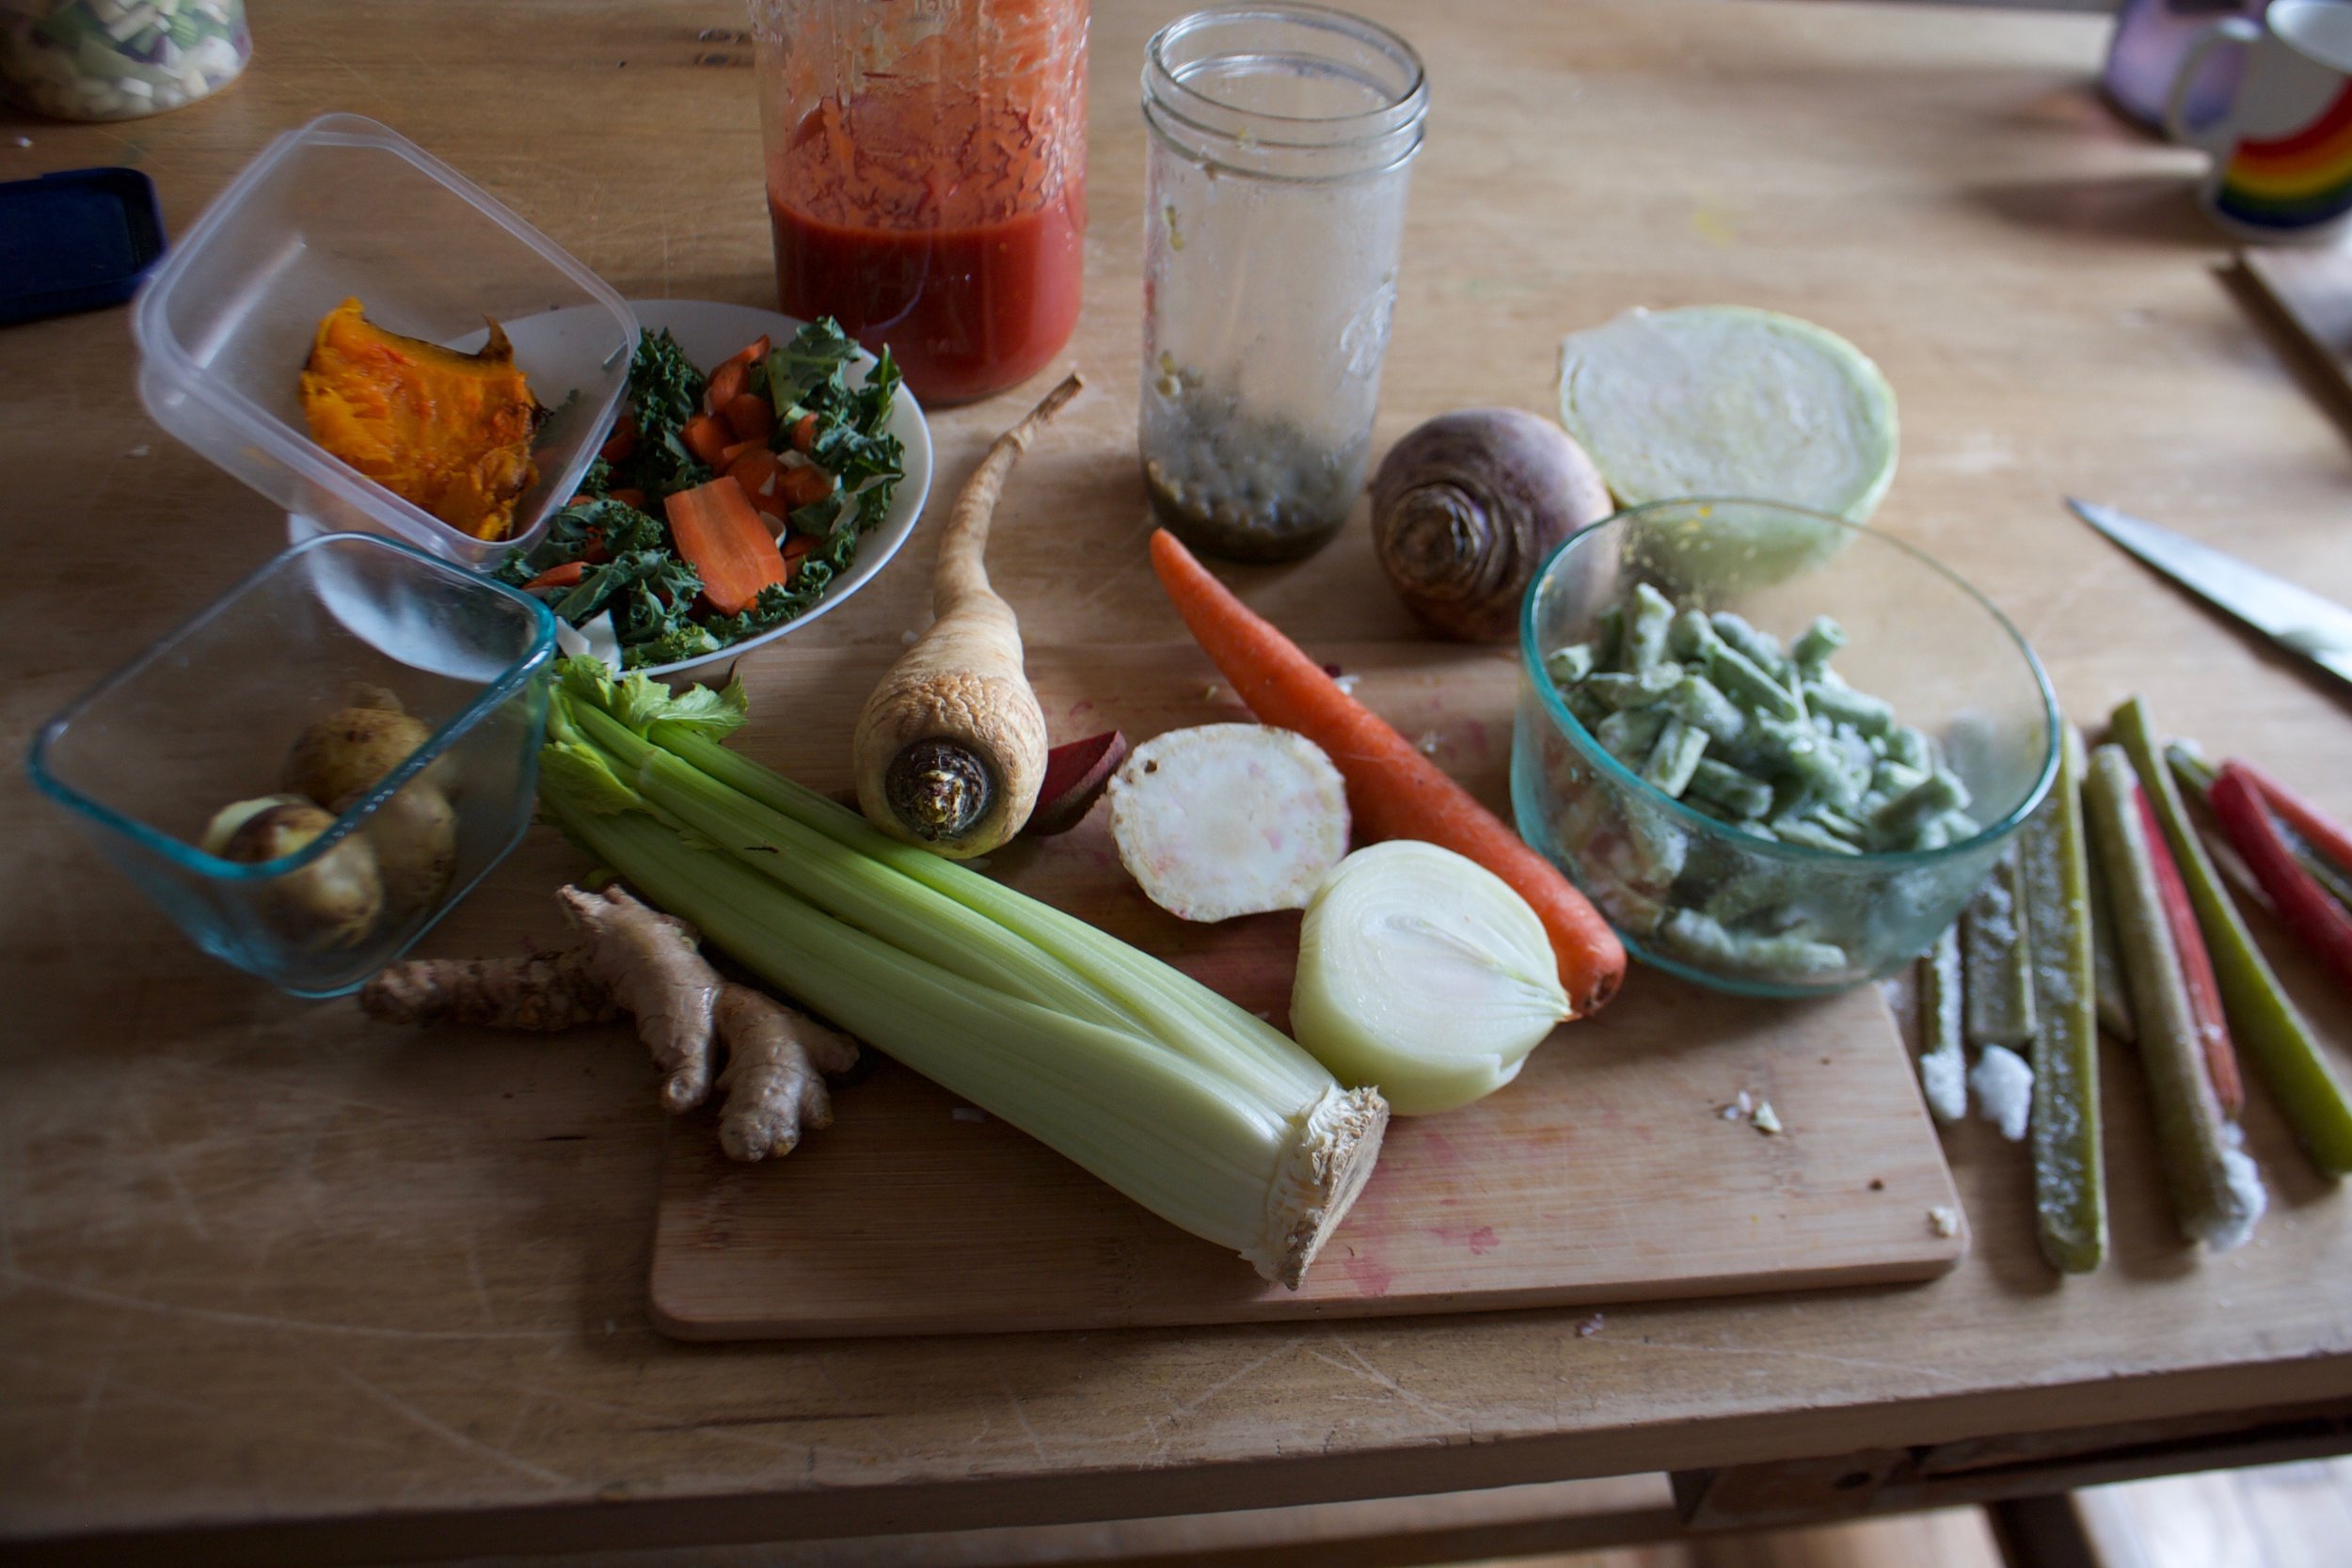
And the stuff that is going to be soup. I found a wrinkly parsnip, some celery, carrots, a few cooked potatoes, some cooked butternut squash and a half a kale and carrot salad. The jar of almost gone lentils, and jar of tomatoes. Some ginger and turmeric root which is always is the fridge. A rutabaga, some cabbage, an onion, and I also grabbed some frozen green beans and the rest of the frozen rhubarb ( resh rhubarb is on it's way) 

I chopped it all up, tossed it into a big pot. Added some spices and  water and stuck it on the stove to cook away while I got to the cleaning. 
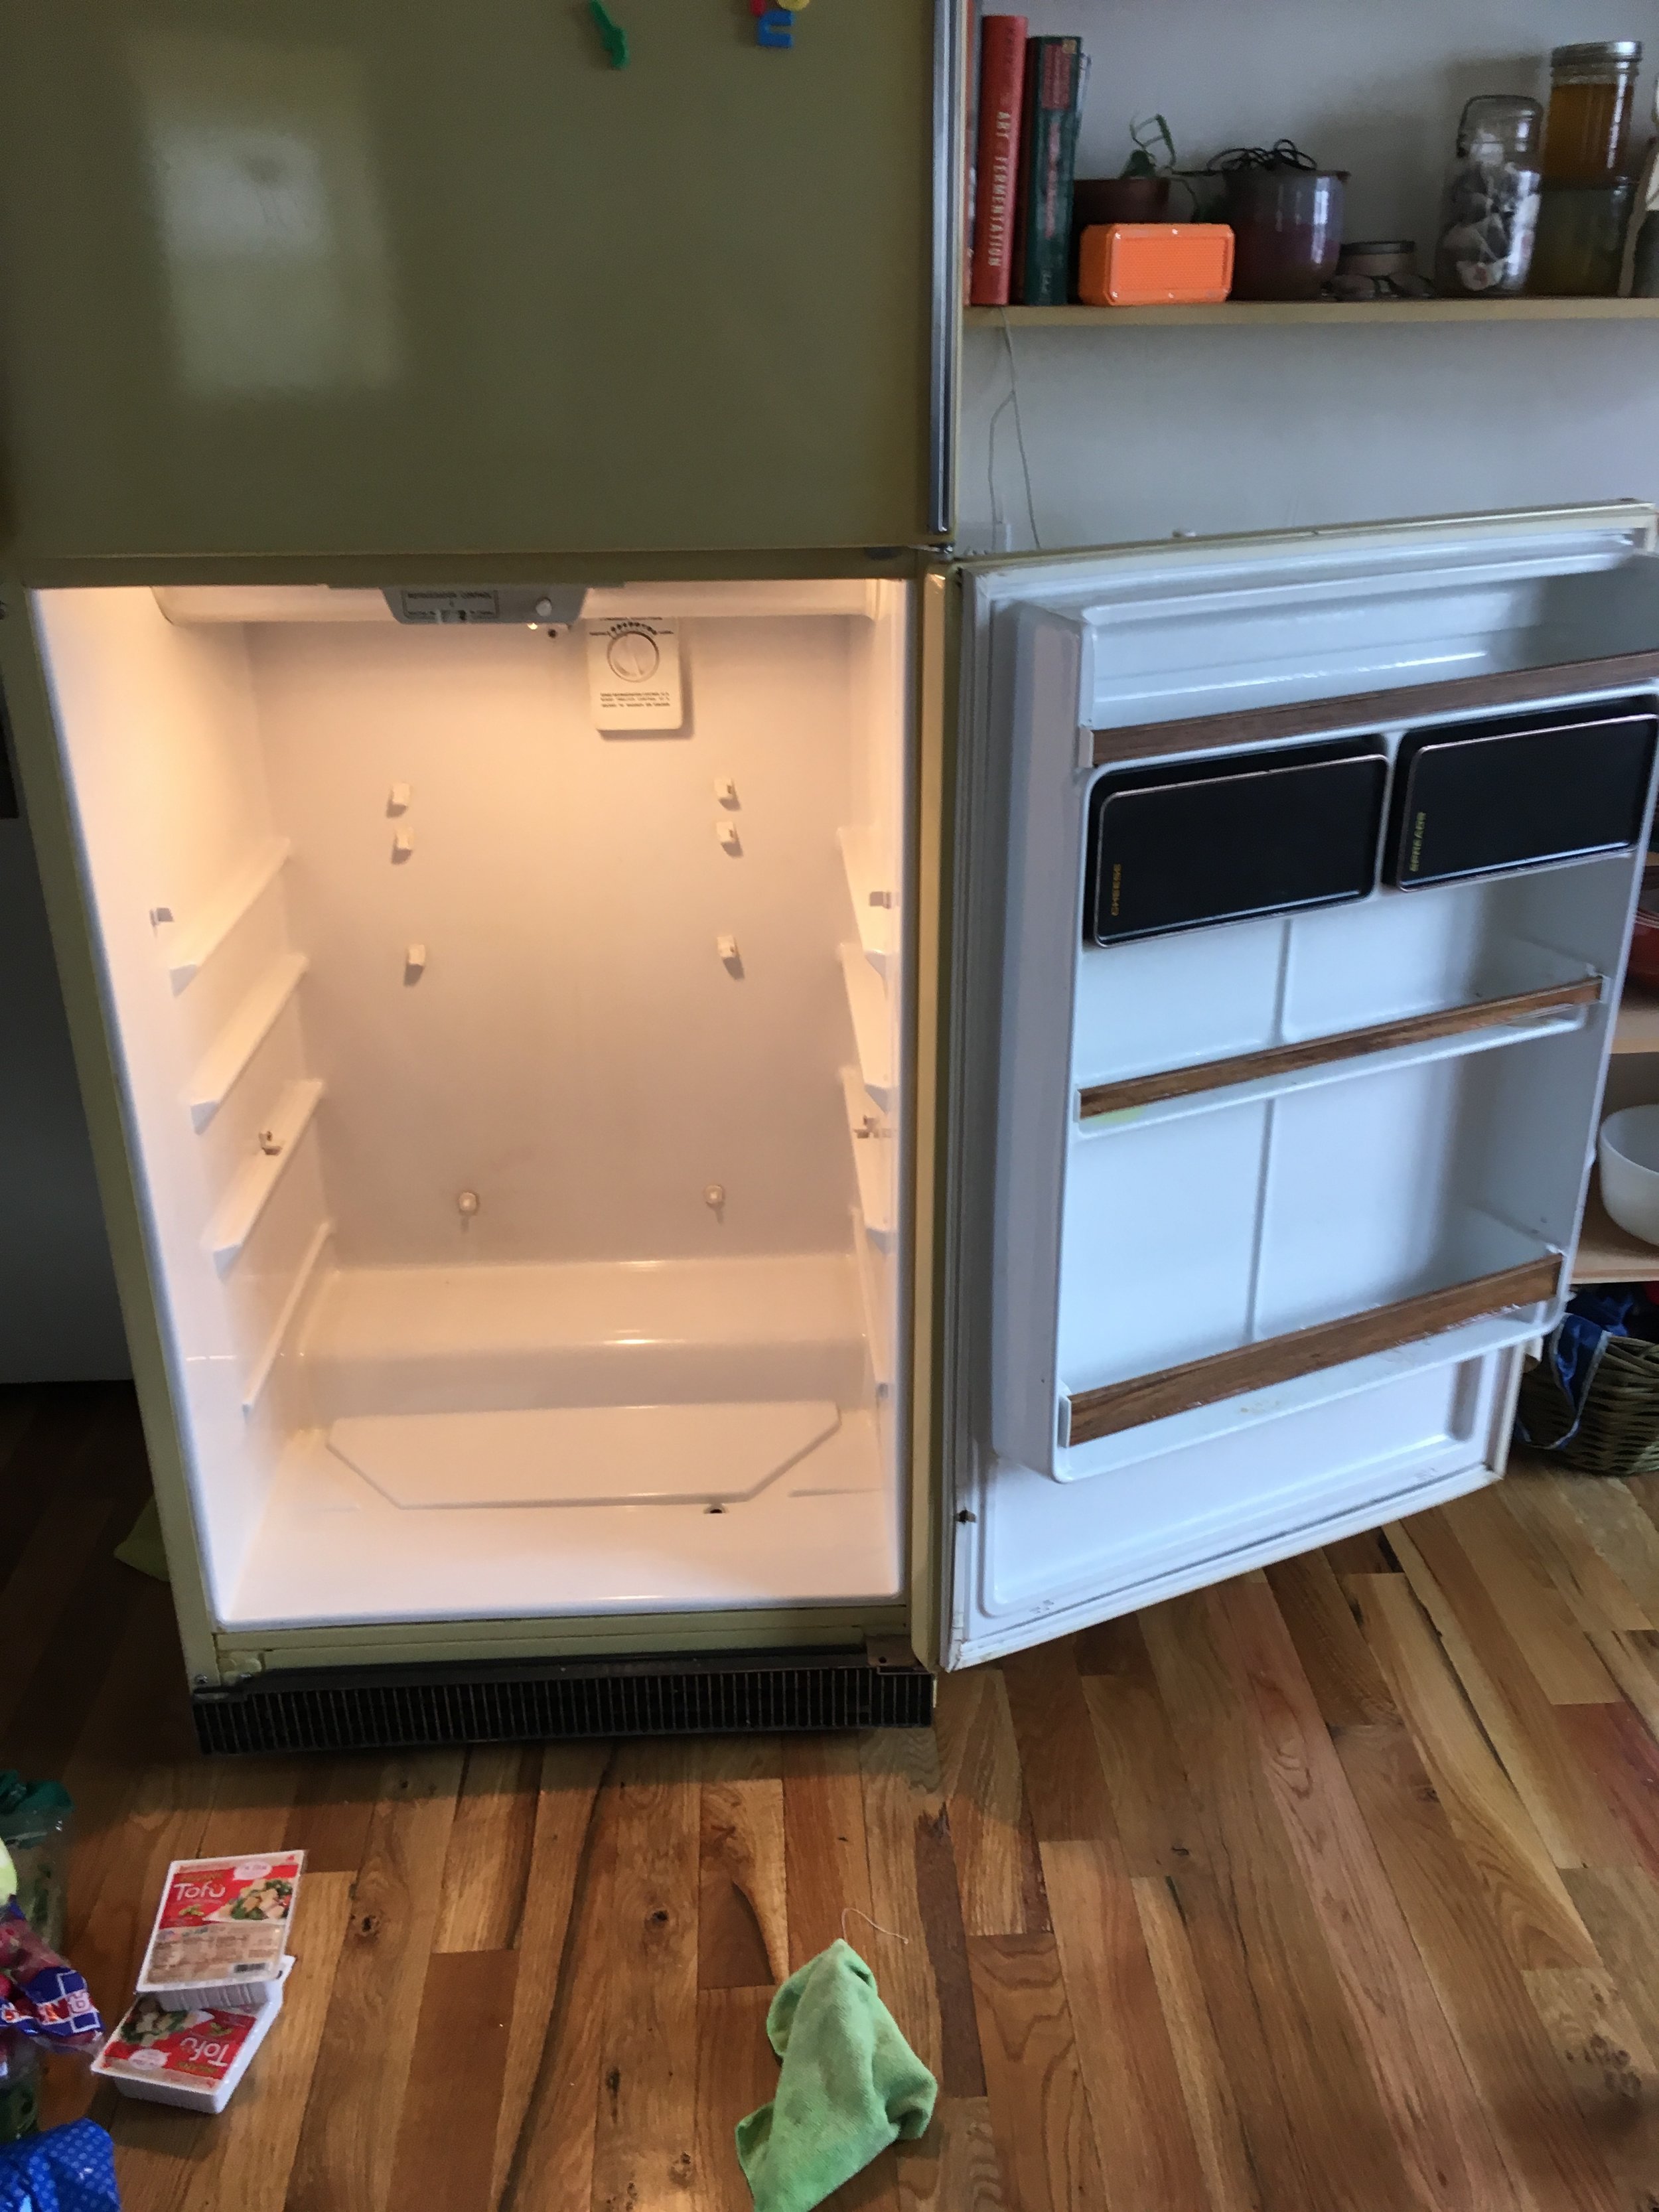
IMG_5225.JPG

Empty fridge. 

IMG_5234 2.JPG

After. Clean fridge wand clean food. All organized and pretty.

IMG_5212.JPG

The freezer before. It looks a little crazy but there really isn't that much in there. 

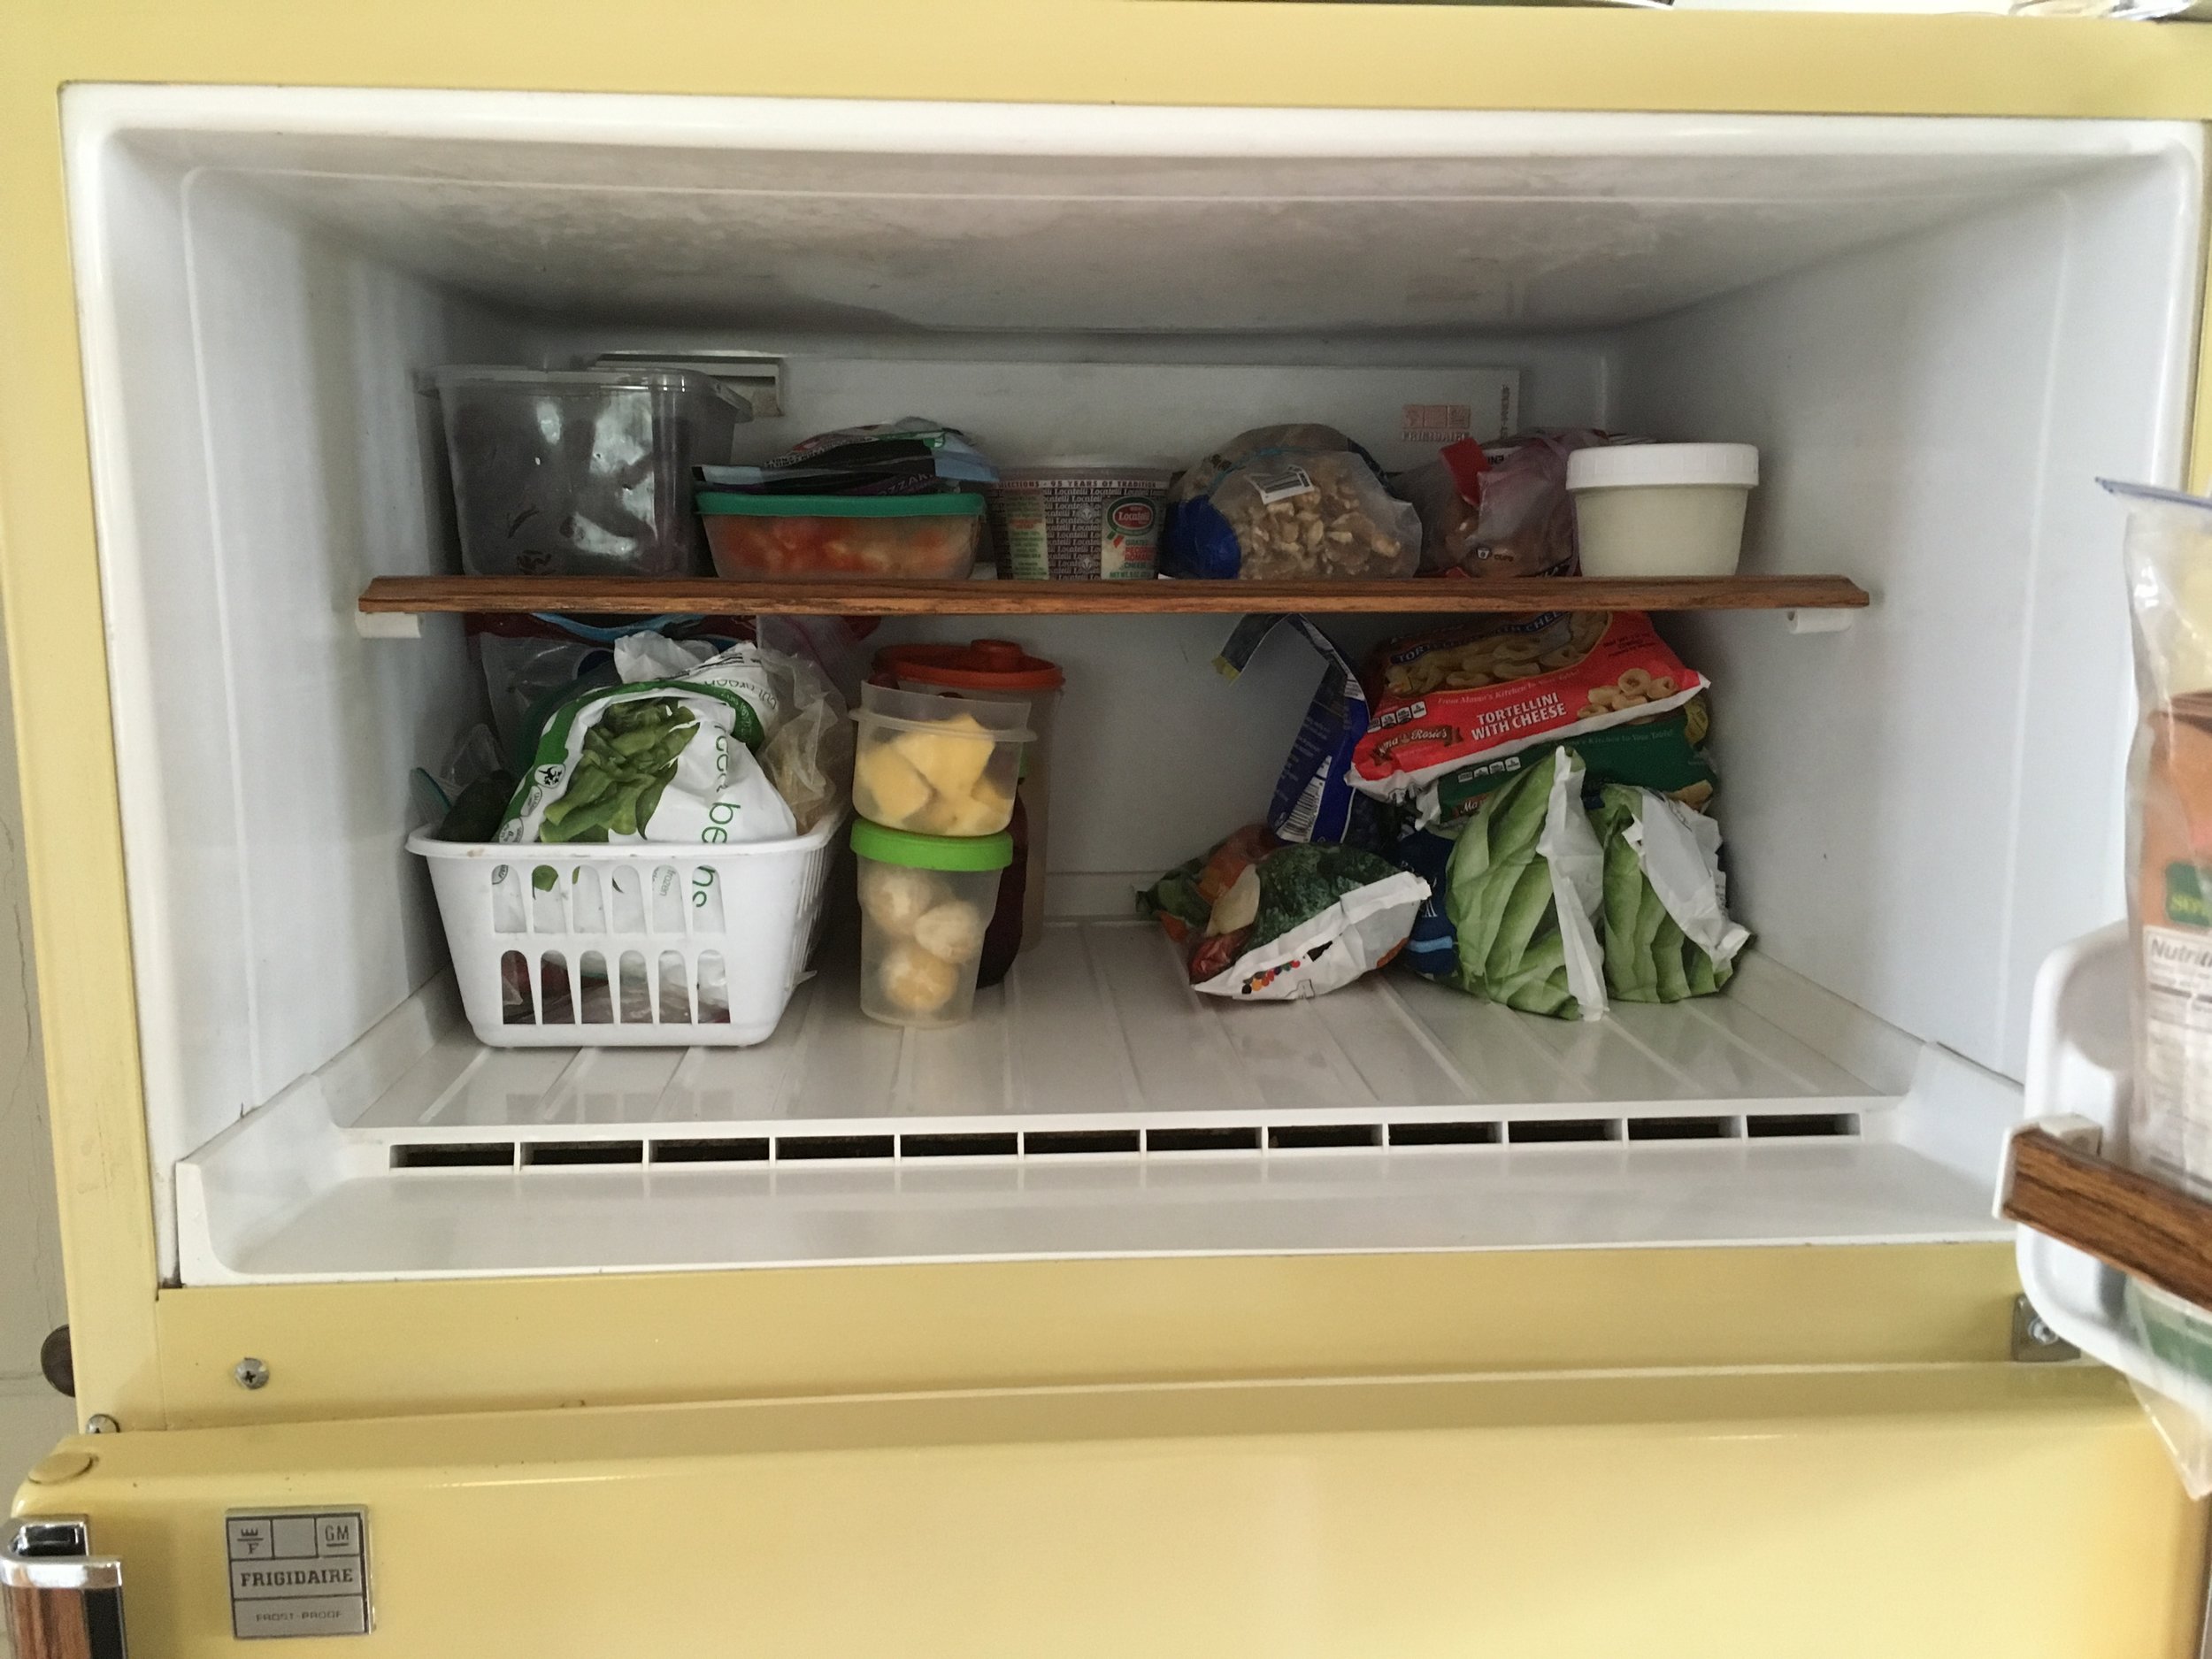
After. I pulled it all out, wiped it down, and put it all back, organized, and wth lids (again, my bad habit of no lids) 

IMG_1413.jpg

And all the while I was cleaning, the soup was cooking.

Clean refrigerator. Makes this lady happy here. 

And the reward for all of your cleaning. A big bowl of soup.

-C

In dinner, home, how to, kitchen tips, one pot meal, soup, Spring Tags Spring Cleaning The Refrigerator And Use It Up Soup, Spring cleaning, food waste, vintage refrigerator, fridge, cleaning, tips, Spring, soup
Comment

Orange Slice Ornaments

December 20, 2016 Colleen Stem
IMG_2670.jpg
IMG_2509.jpg
IMG_2768.jpg

Do you realize that Christmas is just a handful and a half of days away? I knew it, but like didn't really register it. And now I am like, fa la la la fuck! We have been so busy and distracted that I haven't really focused to much on the holiday, but at least we decorate the tree. And if I am remembering correctly, there were a few years, long ago, that the mr and I wouldn't even start celebrating or get our tree until a few days before Christmas so if I am judging us on my past selves, well we are golden. And now we let the celebrating begin!

One of our Christmas traditions is to string popcorn while watching elf for the tree. This is a big deal night because I won't let myself watch it until that night, but after that, I can watch it as many times that I want. (once a day) We got our tree like two weeks ago, and finally late last week we did the popcorn, watched some elf, and a few days after that we decorated, kinda.  It was much lacking in ornaments. We had the lights, the popcorn garland, the paper chain (we made it a few years back), and the carved wooden carrots, but the bulbs we usually stick on it, I just wasn't feeling. The tree was looking pretty good but was still lacking something. That's when I went to my fruit bowl and grabbed an orange, a clementine and the dehydrator out of the basement over at the loft and went to work. I turned on the Christmas music (A very special Christmas, the red cover) sliced the citrus, stuck it in the dehydrator, and then, well, then I waited a good few hours. During those hours, the music was going, the house smelled up like citrus and lovely, and I felt that slight holiday tingle.

I think these orange slices are going to be a new holiday tree decorating tradition. I will probably tweak it next year ans spend the 6 hours waiting for the fruit to dry baking cookies and not pouring concrete, but maybe not.

And if you are thinking its too late to make any more holiday stuff, well you are wrong. And honestly, I might just make a sting of these slices to hang up all year long.

To make the orange slice ornaments..

All you need is..

  • oranges or whatever citrus you want to use
  • a sharp knife
  • needle and thread or ornament hangers
  • a dehydrator or a baking sheet.

The dirty work. Slice the orange about a 1/4 inch thick. Try to make all the slices the same thickness.

I am using my dehydrator so the slices go single layer onto a rack. If you are using the oven, line a baking sheet with parchment and single layer the slices. Pop those suckers into the oven at the lowest possible setting you got. Either way you do it, the slices are going to take anywhere between 5-8 hours to completely dehydrate. It all depends on how juicy your oranges are. Just keep an eye on them after the first few hours. You want them to dehydrate, not burn into crisp.

They are done when they look like so, all dried and crispy and delicate. They should feel dry to the touch.

 Once the slices have cooled off a bit, they are ready to be handled and hung. I used thread to hang my orange slices, but feel free to use whatever you want.(I was going to use ornament hangers but didn't have any and I was not about to go buy some)

IMG_2735.jpg
IMG_2741.jpg

Slices of orange so pretty. They look so good with the wooden carrots, the popcorn garland, and the glittery acorns on the tree.

I definitely will be making more.

Enjoy!

-C


In crafts, DIY, fruit, holiday, home, how to, winter, Winooski Tags Orange Slice Ornaments, Christmas, tree, ornmanet, diy, food, citrus, dehydrator
Comment

How to Clean and Store your Leafy Greens

June 11, 2016 Colleen Stem

Farm share started this week (Hooray!!!) and always the first few pick ups of the season are loaded with a good amount of the freshest, most fantastic greens that there ever was. And I couldn't be happier! (well maybe if I could just take home creates of the stuff)

While I was down at the farm filling and weighing my bags, I overhead a couple talking about how last year they never ate their greens fast enough and how they always went bad by the next week. What! Fresh greens bad in one week.. no way. A bag of greens can last weeks, just as long as you take the time to store them properly. It made me sad to think about the wasted greens and so now I am determined d to make sure that everyone knows the proper way to clean and store greens so no greens go to waste.

What you need

  • Your dirty greens
  • resealable gallon sized bags or large plastic containers (Bags are great for space saving if you have a tiny fridge like me and can be used over ans over again)
  • a big bowl or wash bin
  • A piece of clean muslin or other cotton fabric about the size of a paper towel per bag. (can use paper towels, but why not invest in reusable)
  • salad spinner
  • clean cold water

I know that some people might not have a salad spinner, but here is the thing. You need one!I am sure that there are people out there that have hacked a way to dry greens without one (like my aunt who is a farmer. She uses an old and very clean washing machine. so smart) but really, you should have one.

To clean. First off, the sooner you get them home and cleaned the better. Having damp greens in a bag is not ideal and will lead to yuk. If I bring greens home and don't have time to clean and spin them right away, I at least stick a piece of muslin into the bag until I can get to them.

My method for cleaning. Fill a big ass bowl up with cold water and, in small batches,  gently dunk and agitate the greens.  There are two reason I do it like this. One is that I find running greens under running water doesn't really get them as clean and sometime can even bruise fragile greens and two, I hate water waste and running water over greens wastes a lot(once I am done with the dirty water, I water my plants with it) If you find the water has gotten really dirty fast (which it will do sometimes) dump water and refresh with clean.

Once the greens have had a good bath, to the spinner they go.  When adding greens, make sure to not over stuff the spinner and also spin once, dump water out from the bottom, then spin again. Maybe even three times to get the greens dry.

Line a bag (or container) with muslin cloth and fill it with your clean dried greens. The cloth is important for storing, it keeps the moister away from the greens so they don't get slimmy and gross. And don't over pack your greens either. If you have a lot, just grab another bag.

so fresh and so clean clean

And that's it. Close up those bags and now you can store you greens in the fridge and they will last for a week or more, although honestly, with greens looking this good, how could you resist not eating them all right away (the nearly 2 lbs I brought home lasted about 2 days)

Enjoy your greens!

-C

In Vegetables, salad, how to, kitchen tips Tags cleaning greens, greens, keeping greens fresh, How to Clean and Store your Leafy Greens, reusable, farm, csa
Comment
 

https://thelovelycrazy.squarespace.com/config#/|/about/

Me. Food Maker.Food eater. Woo HOO!

STEM+NODE  SMALL BATCH AND ONE OF A KIND POTTERY

stem+node ceramics


____________________

Subscribe

GET NEW POSTS IN YO EMAIL

You are AWESOME!!!


@thelovelycrazy 2014-2021