• stem+node ceramics
  • HOME
  • Food Recipes
  • About
  • Contact
Menu

The Lovely Crazy

Street Address
City, State, Zip
Phone Number

Your Custom Text Here

The Lovely Crazy

  • stem+node ceramics
  • HOME
  • Food Recipes
  • About
  • Contact

Chili Lime Chickpea Flour Crackers

July 27, 2019 Colleen Stem
IMG_0580.jpg
IMG_0602.jpg

We have officially kicked off our summer camping adventures. And with camping comes all the greatness of all the things, including camping food.

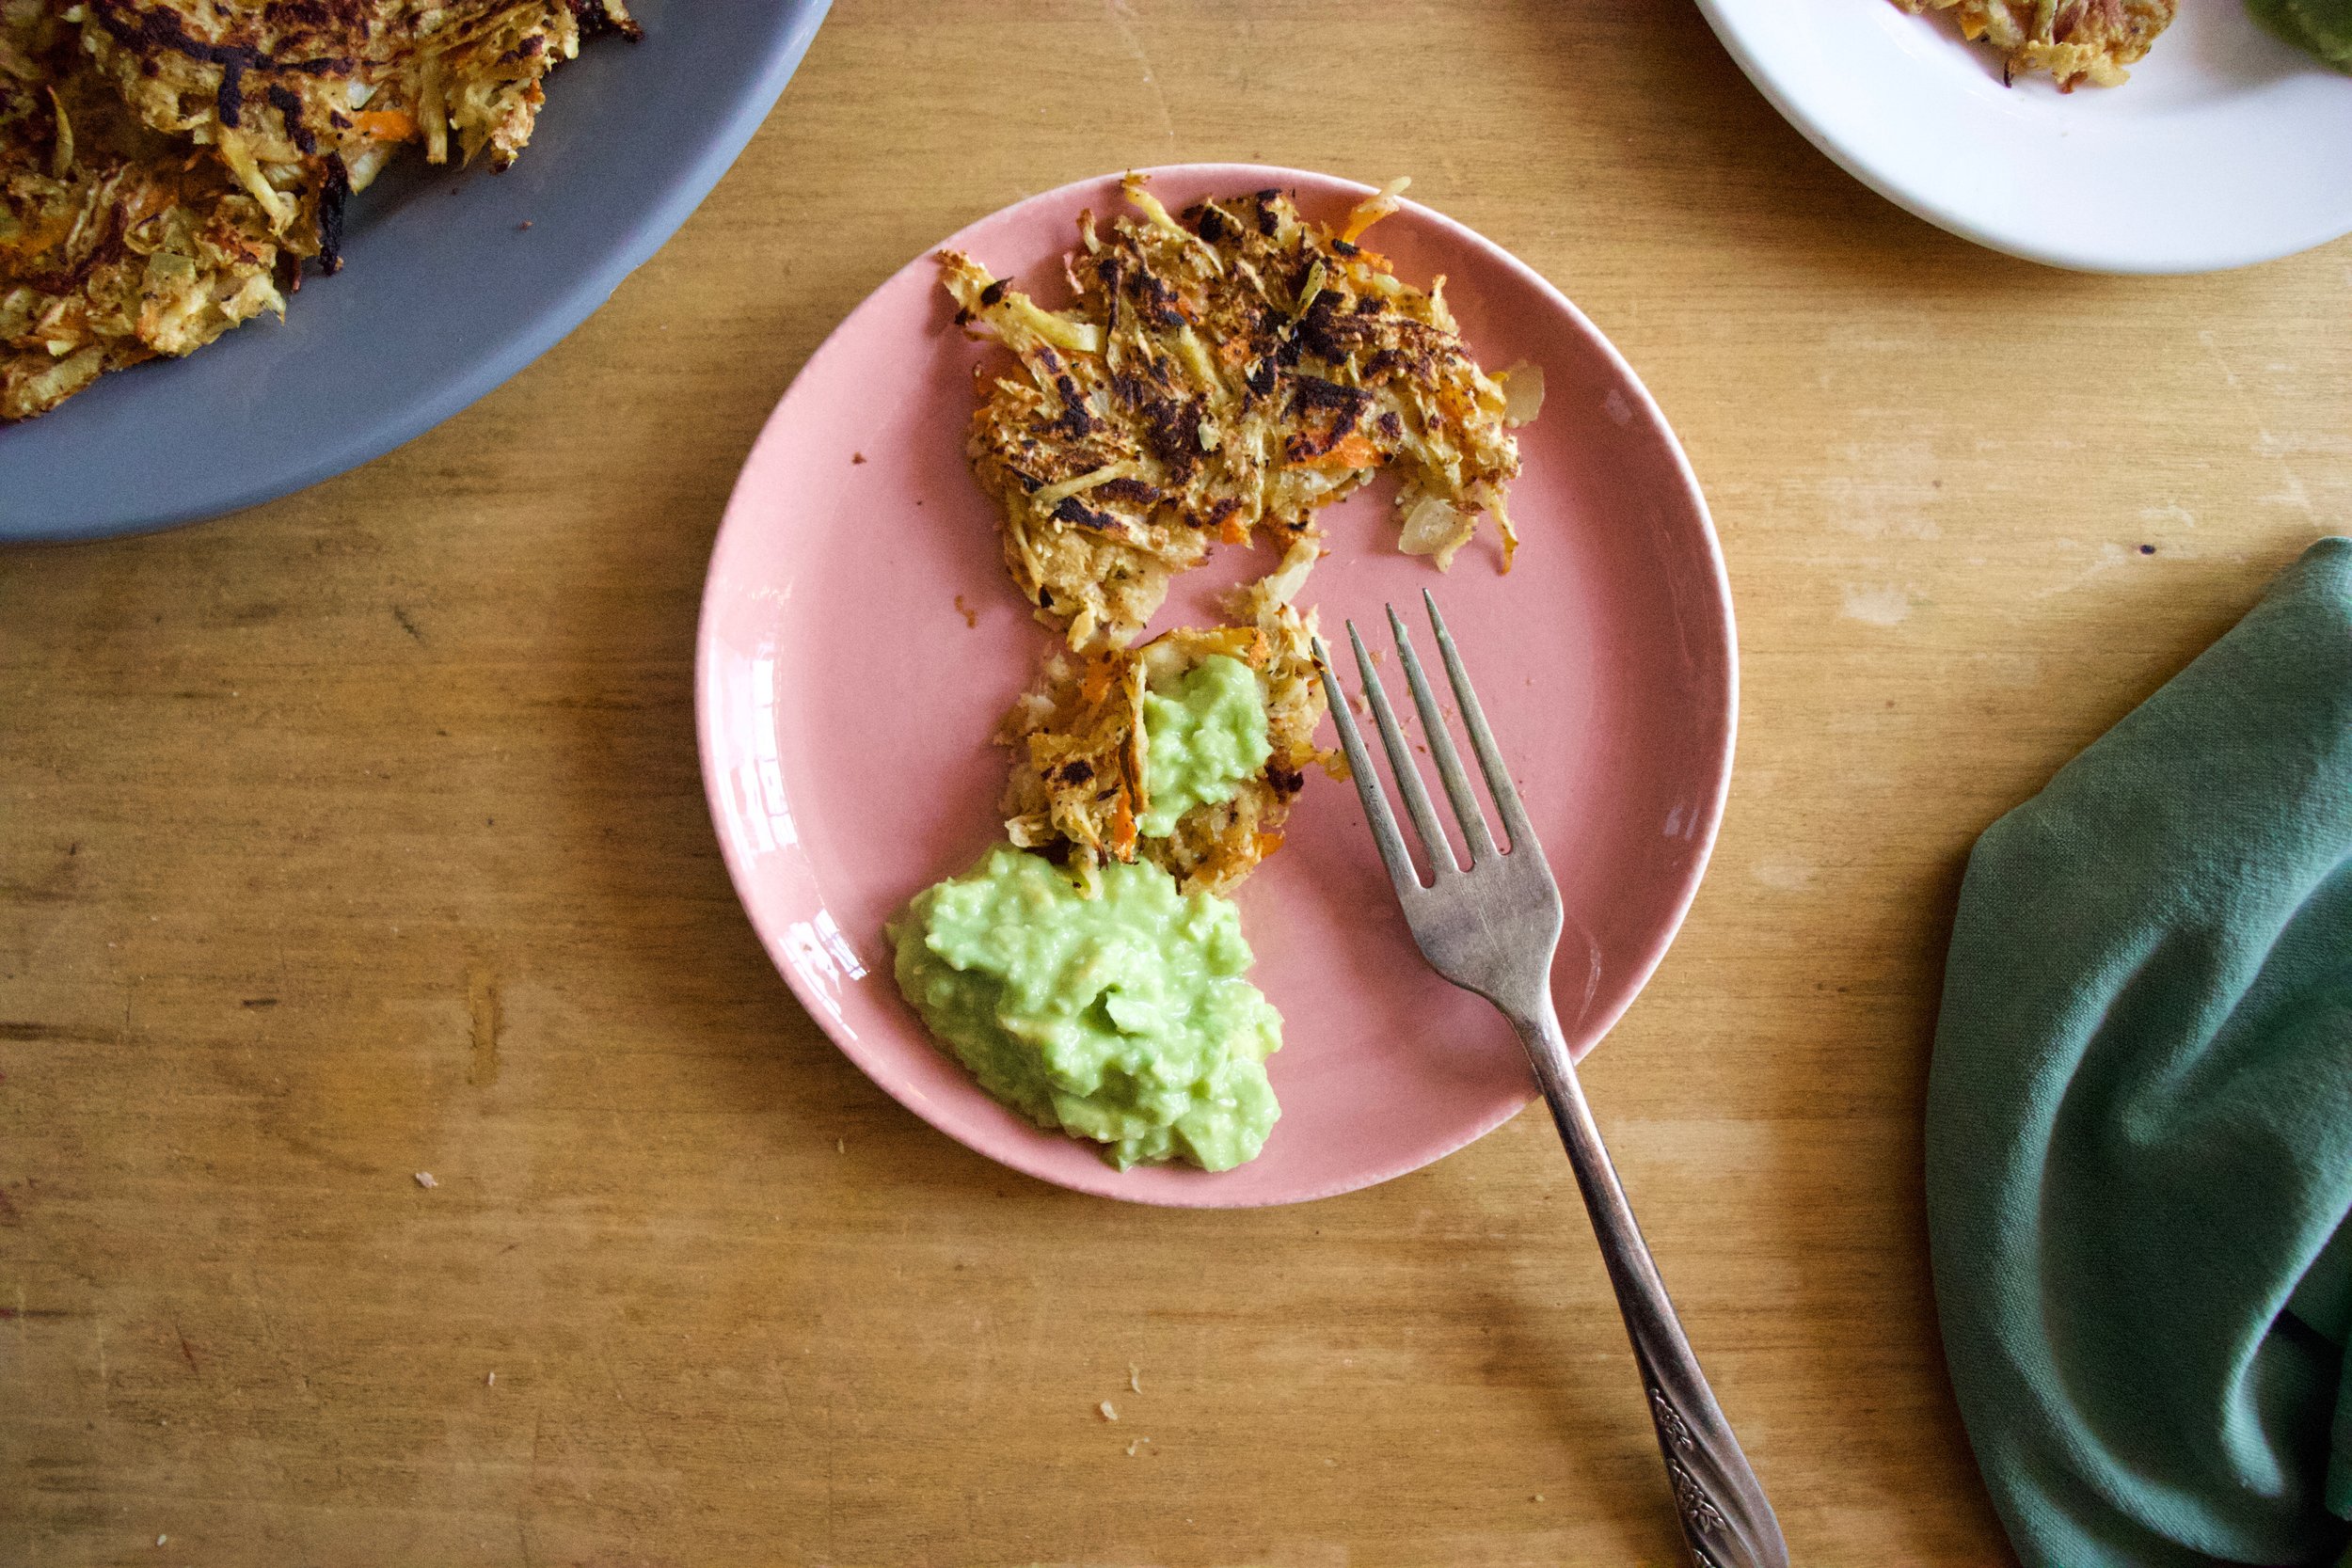
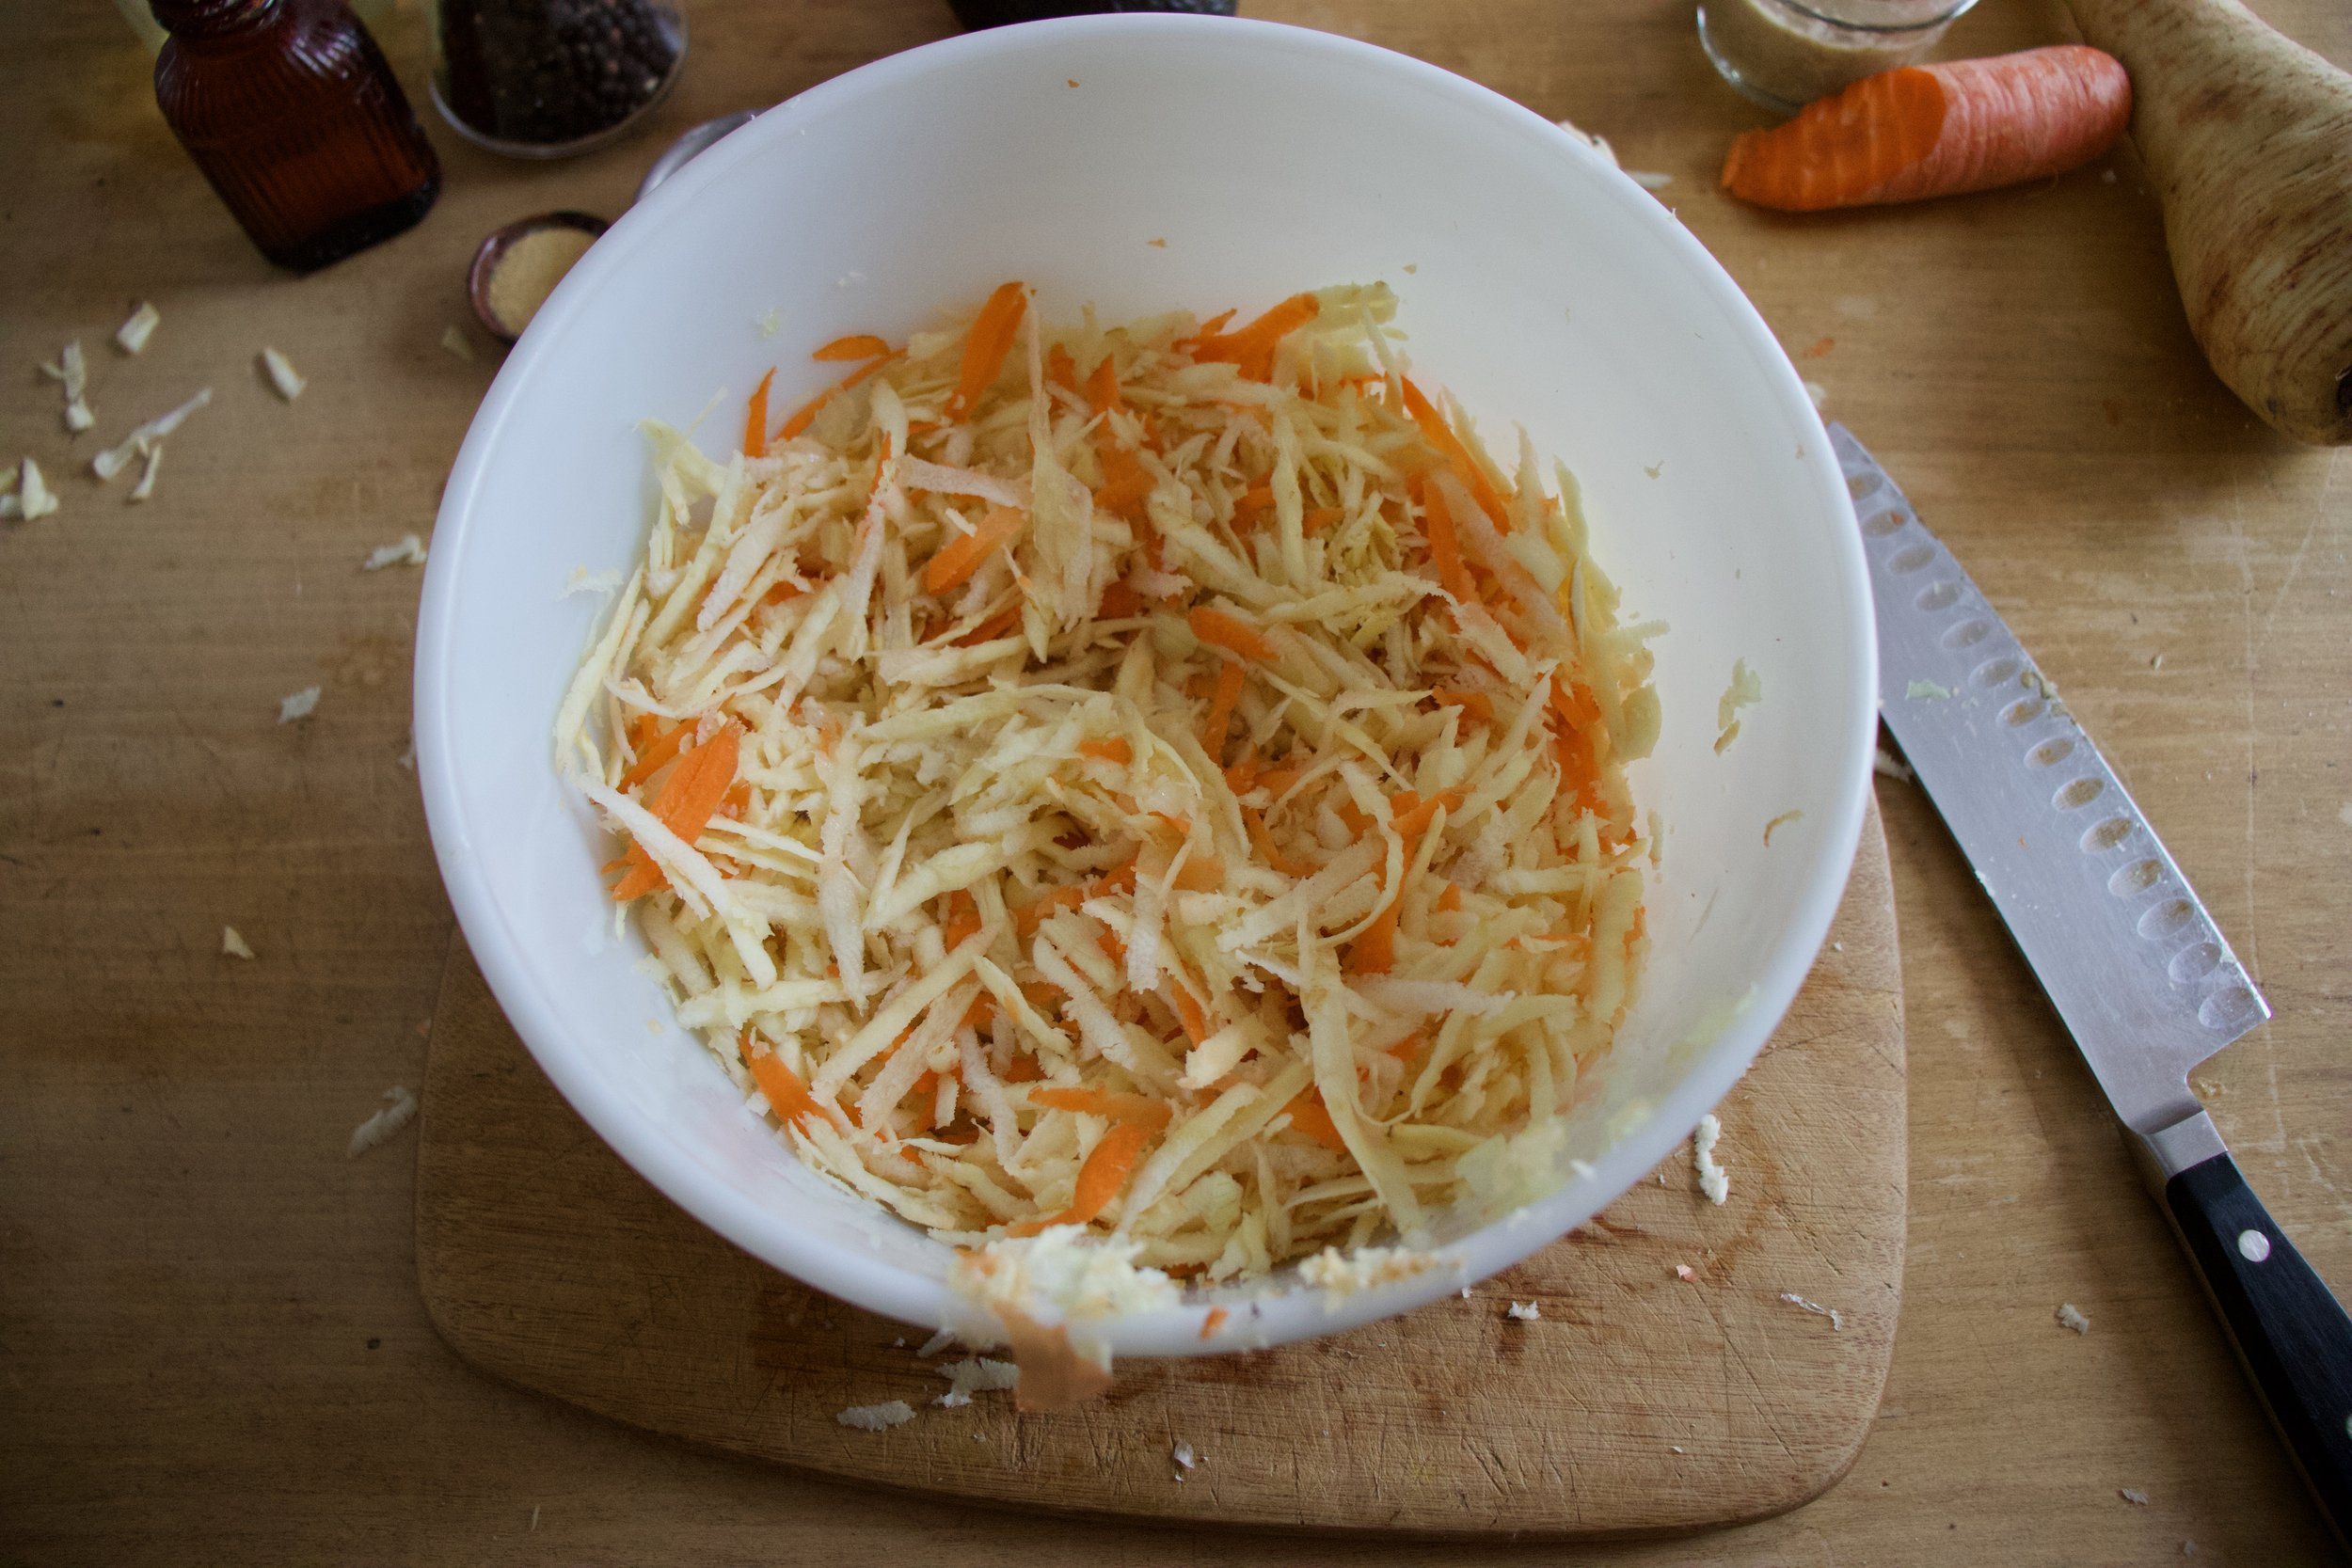
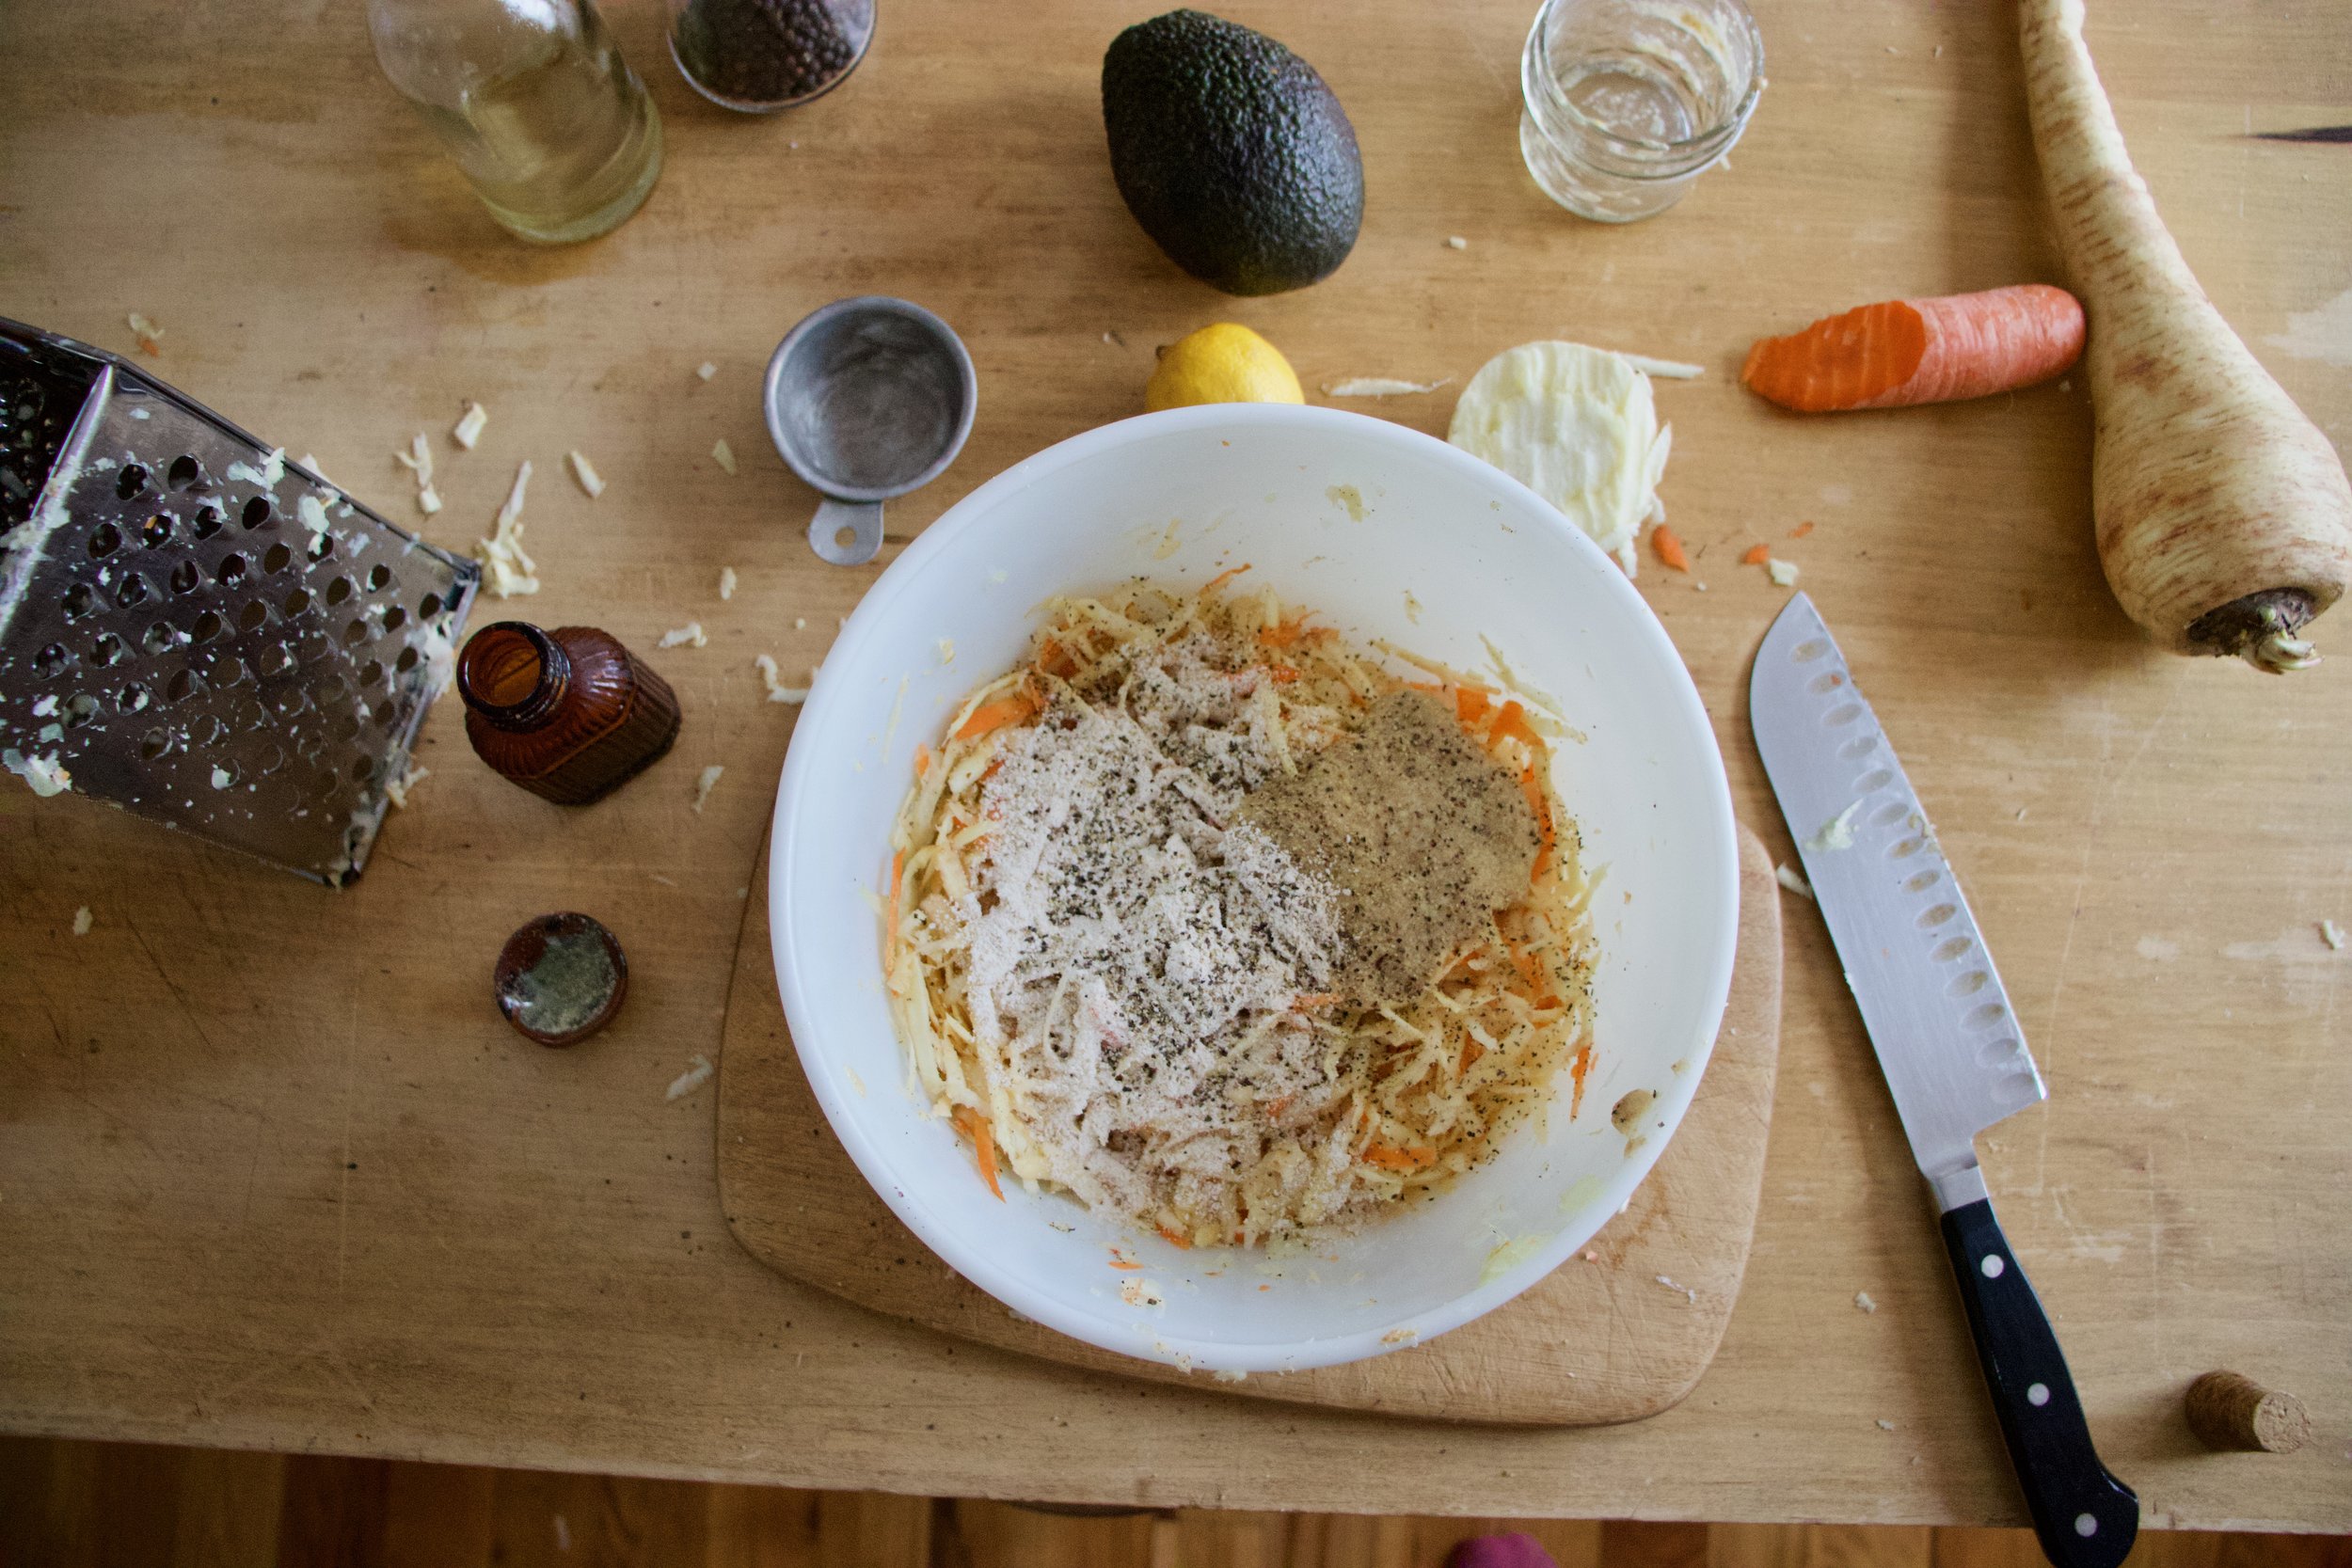
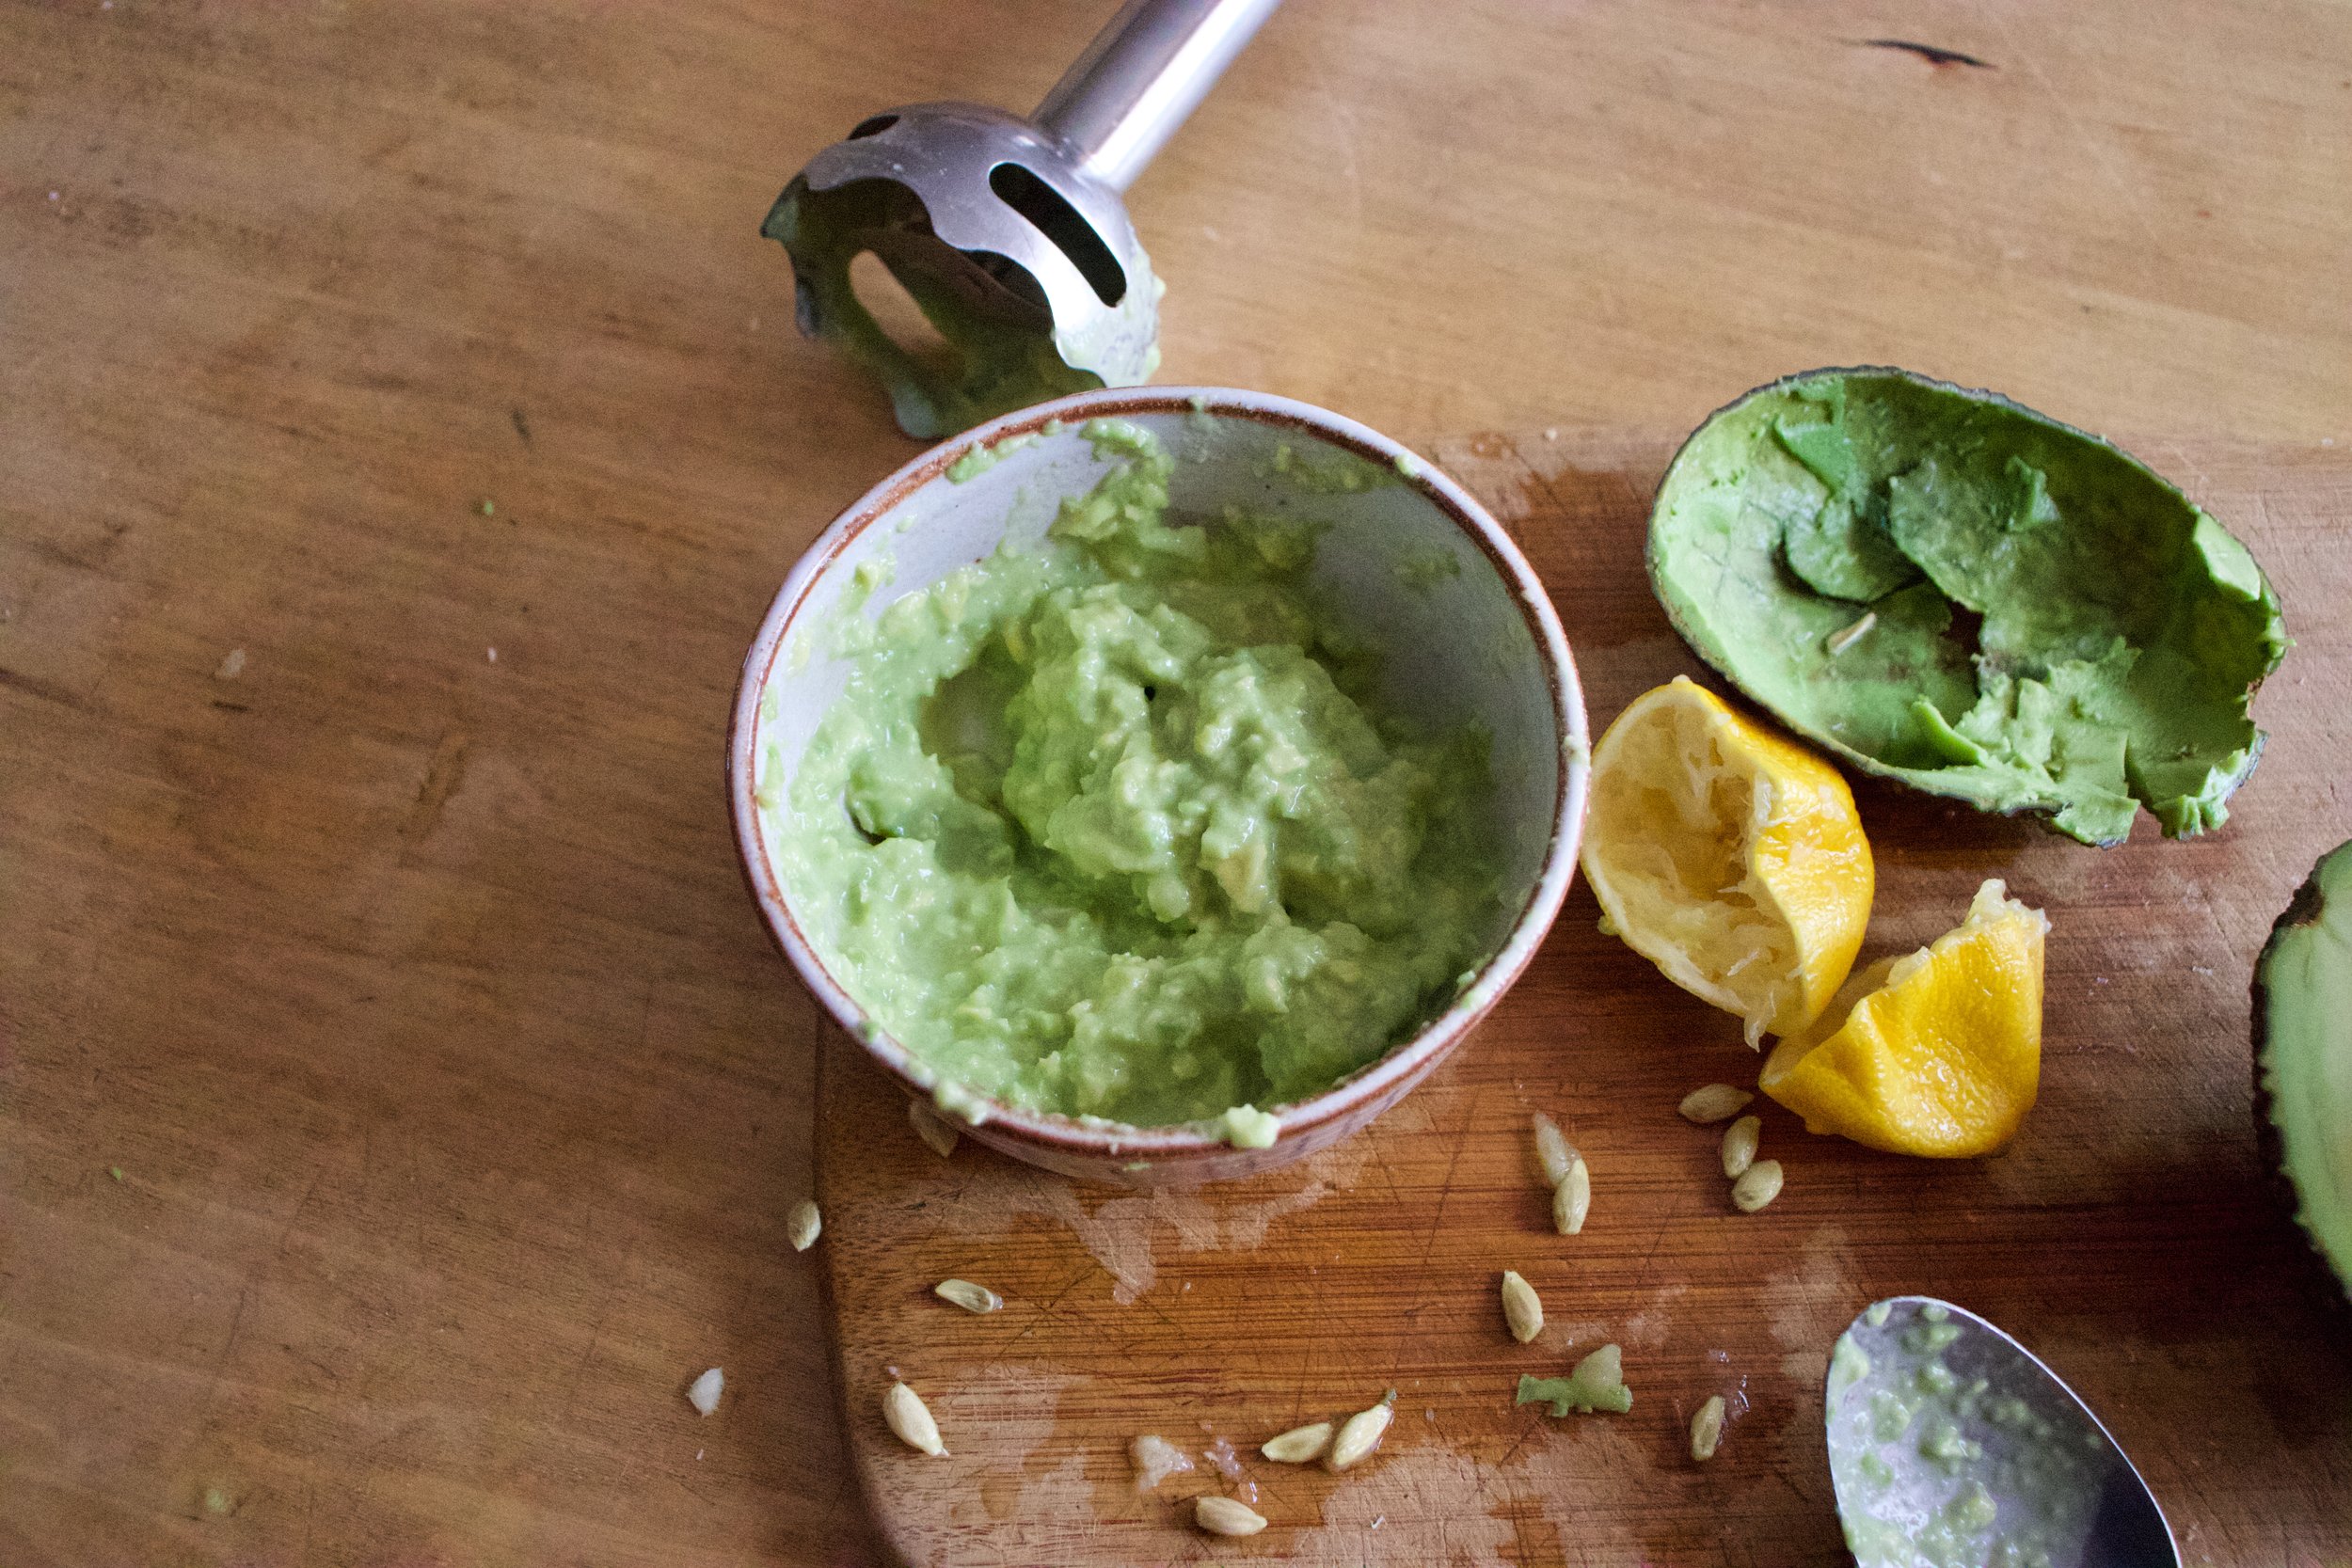
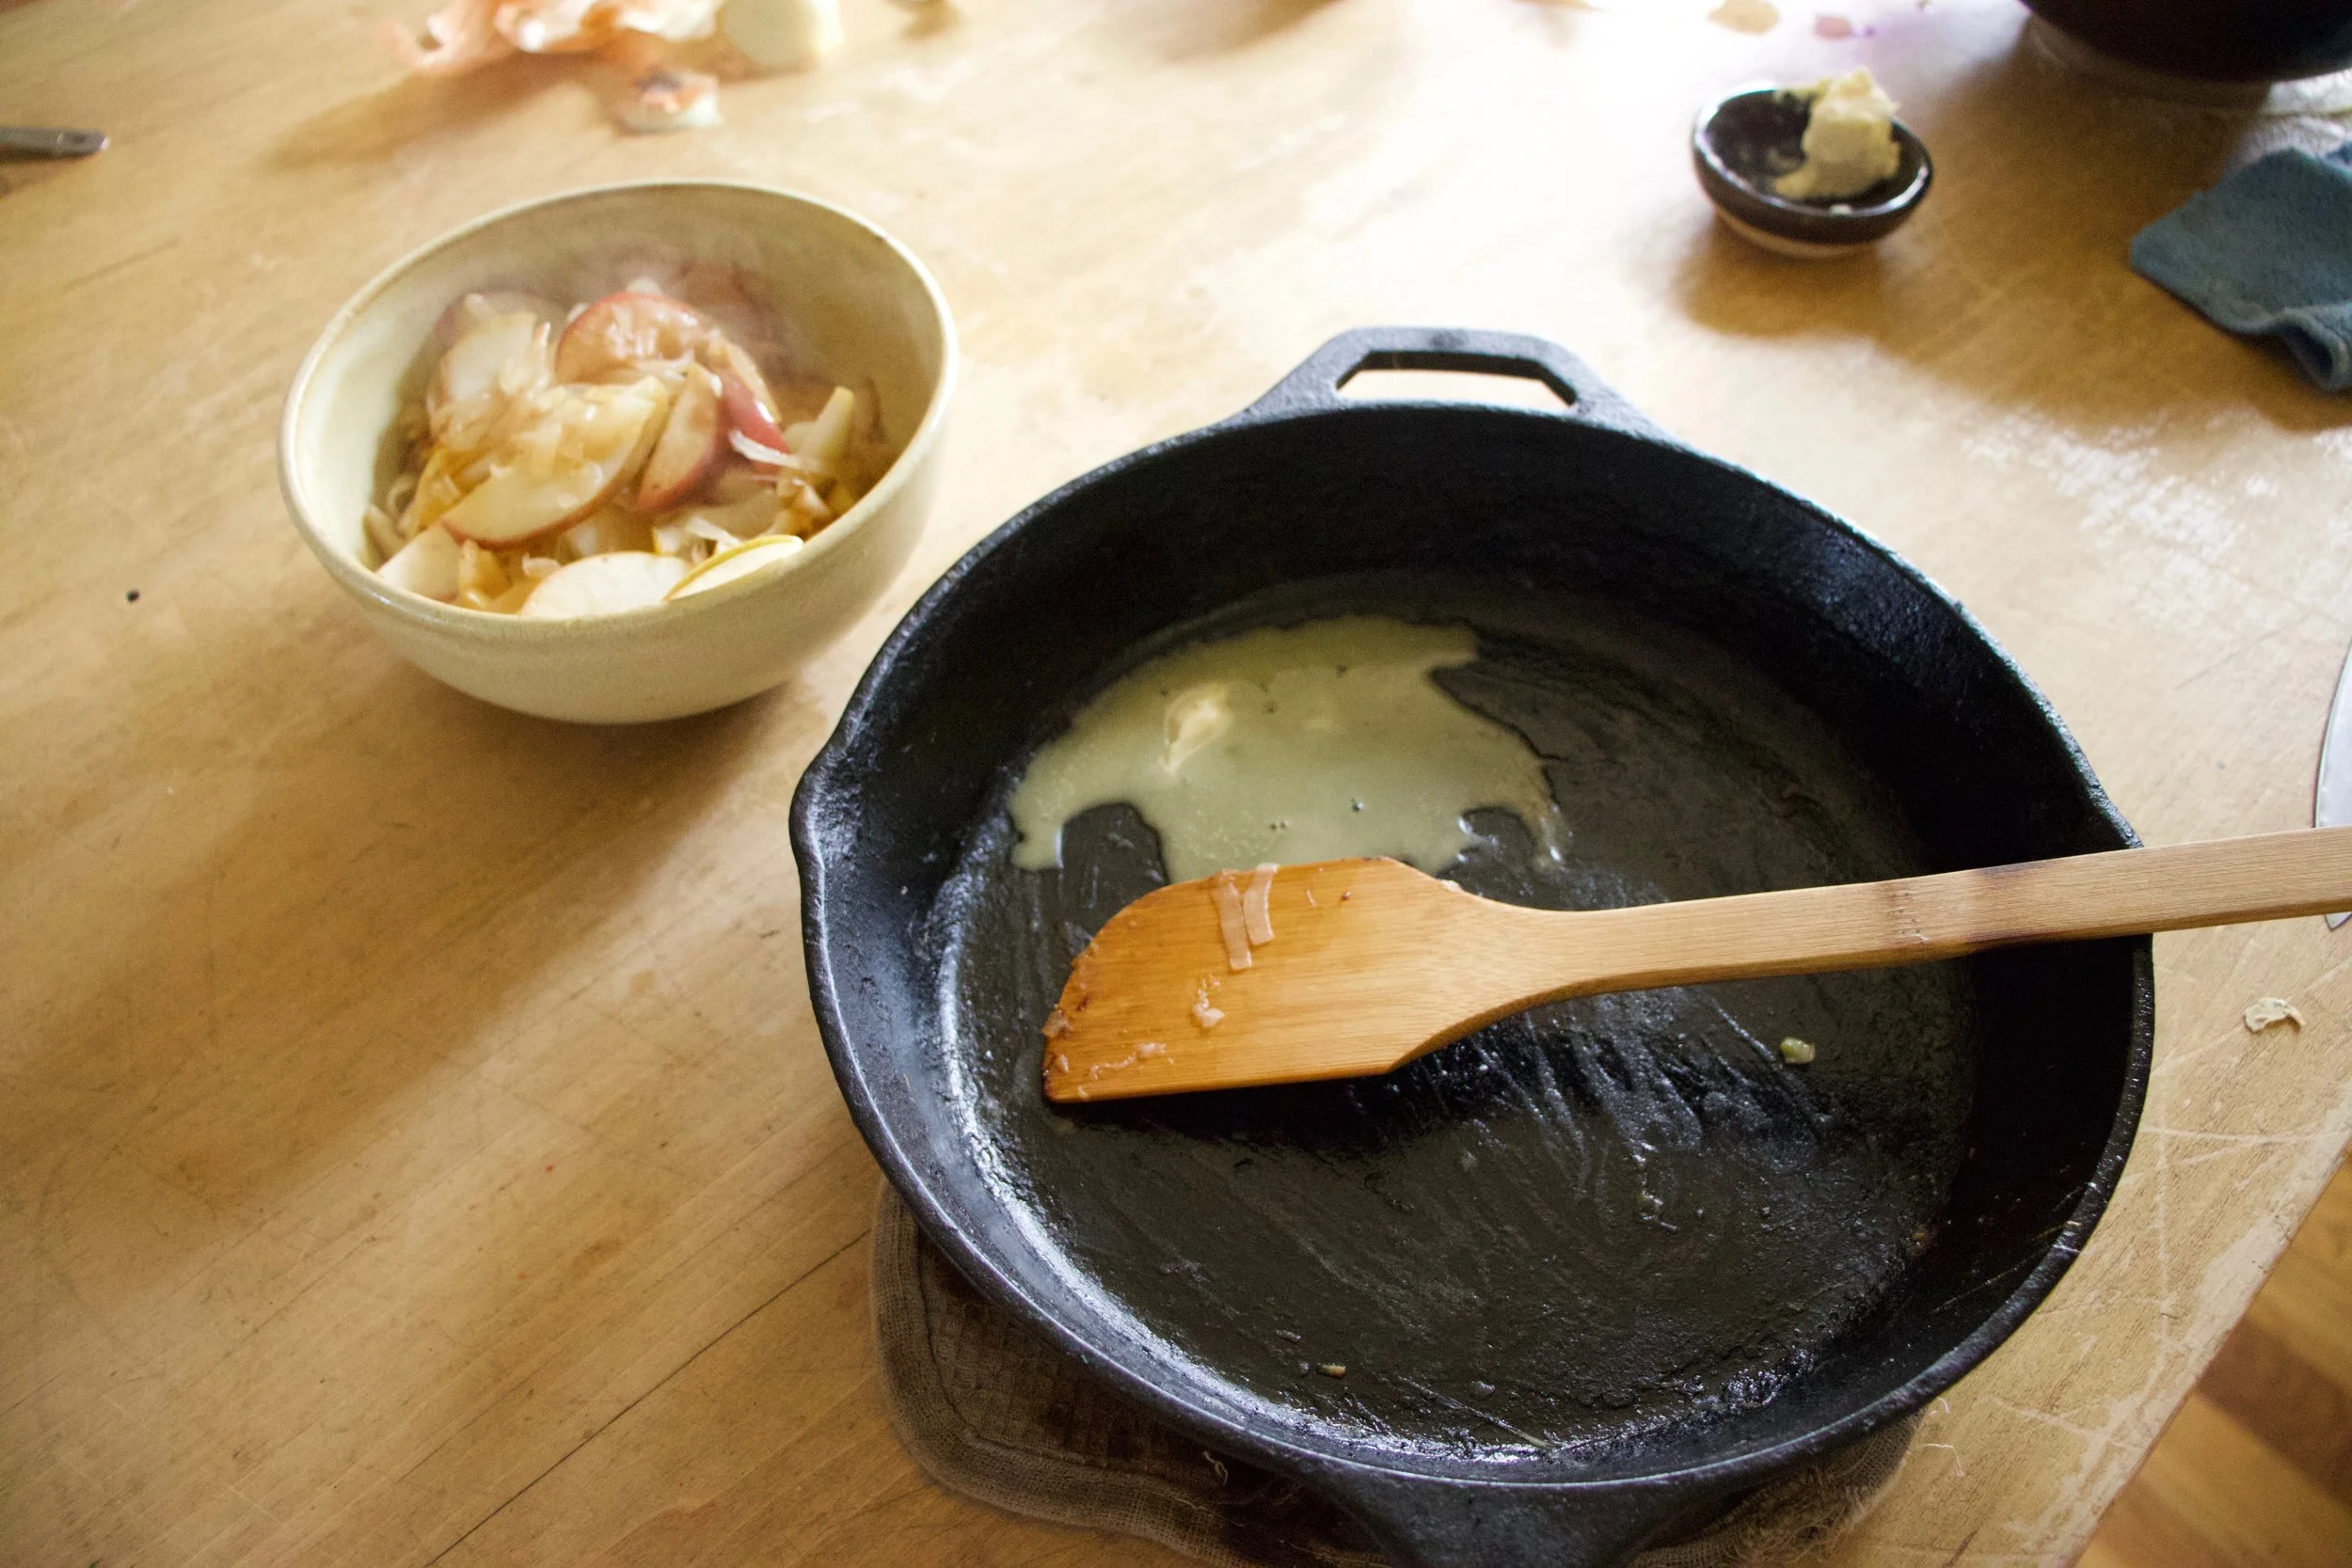
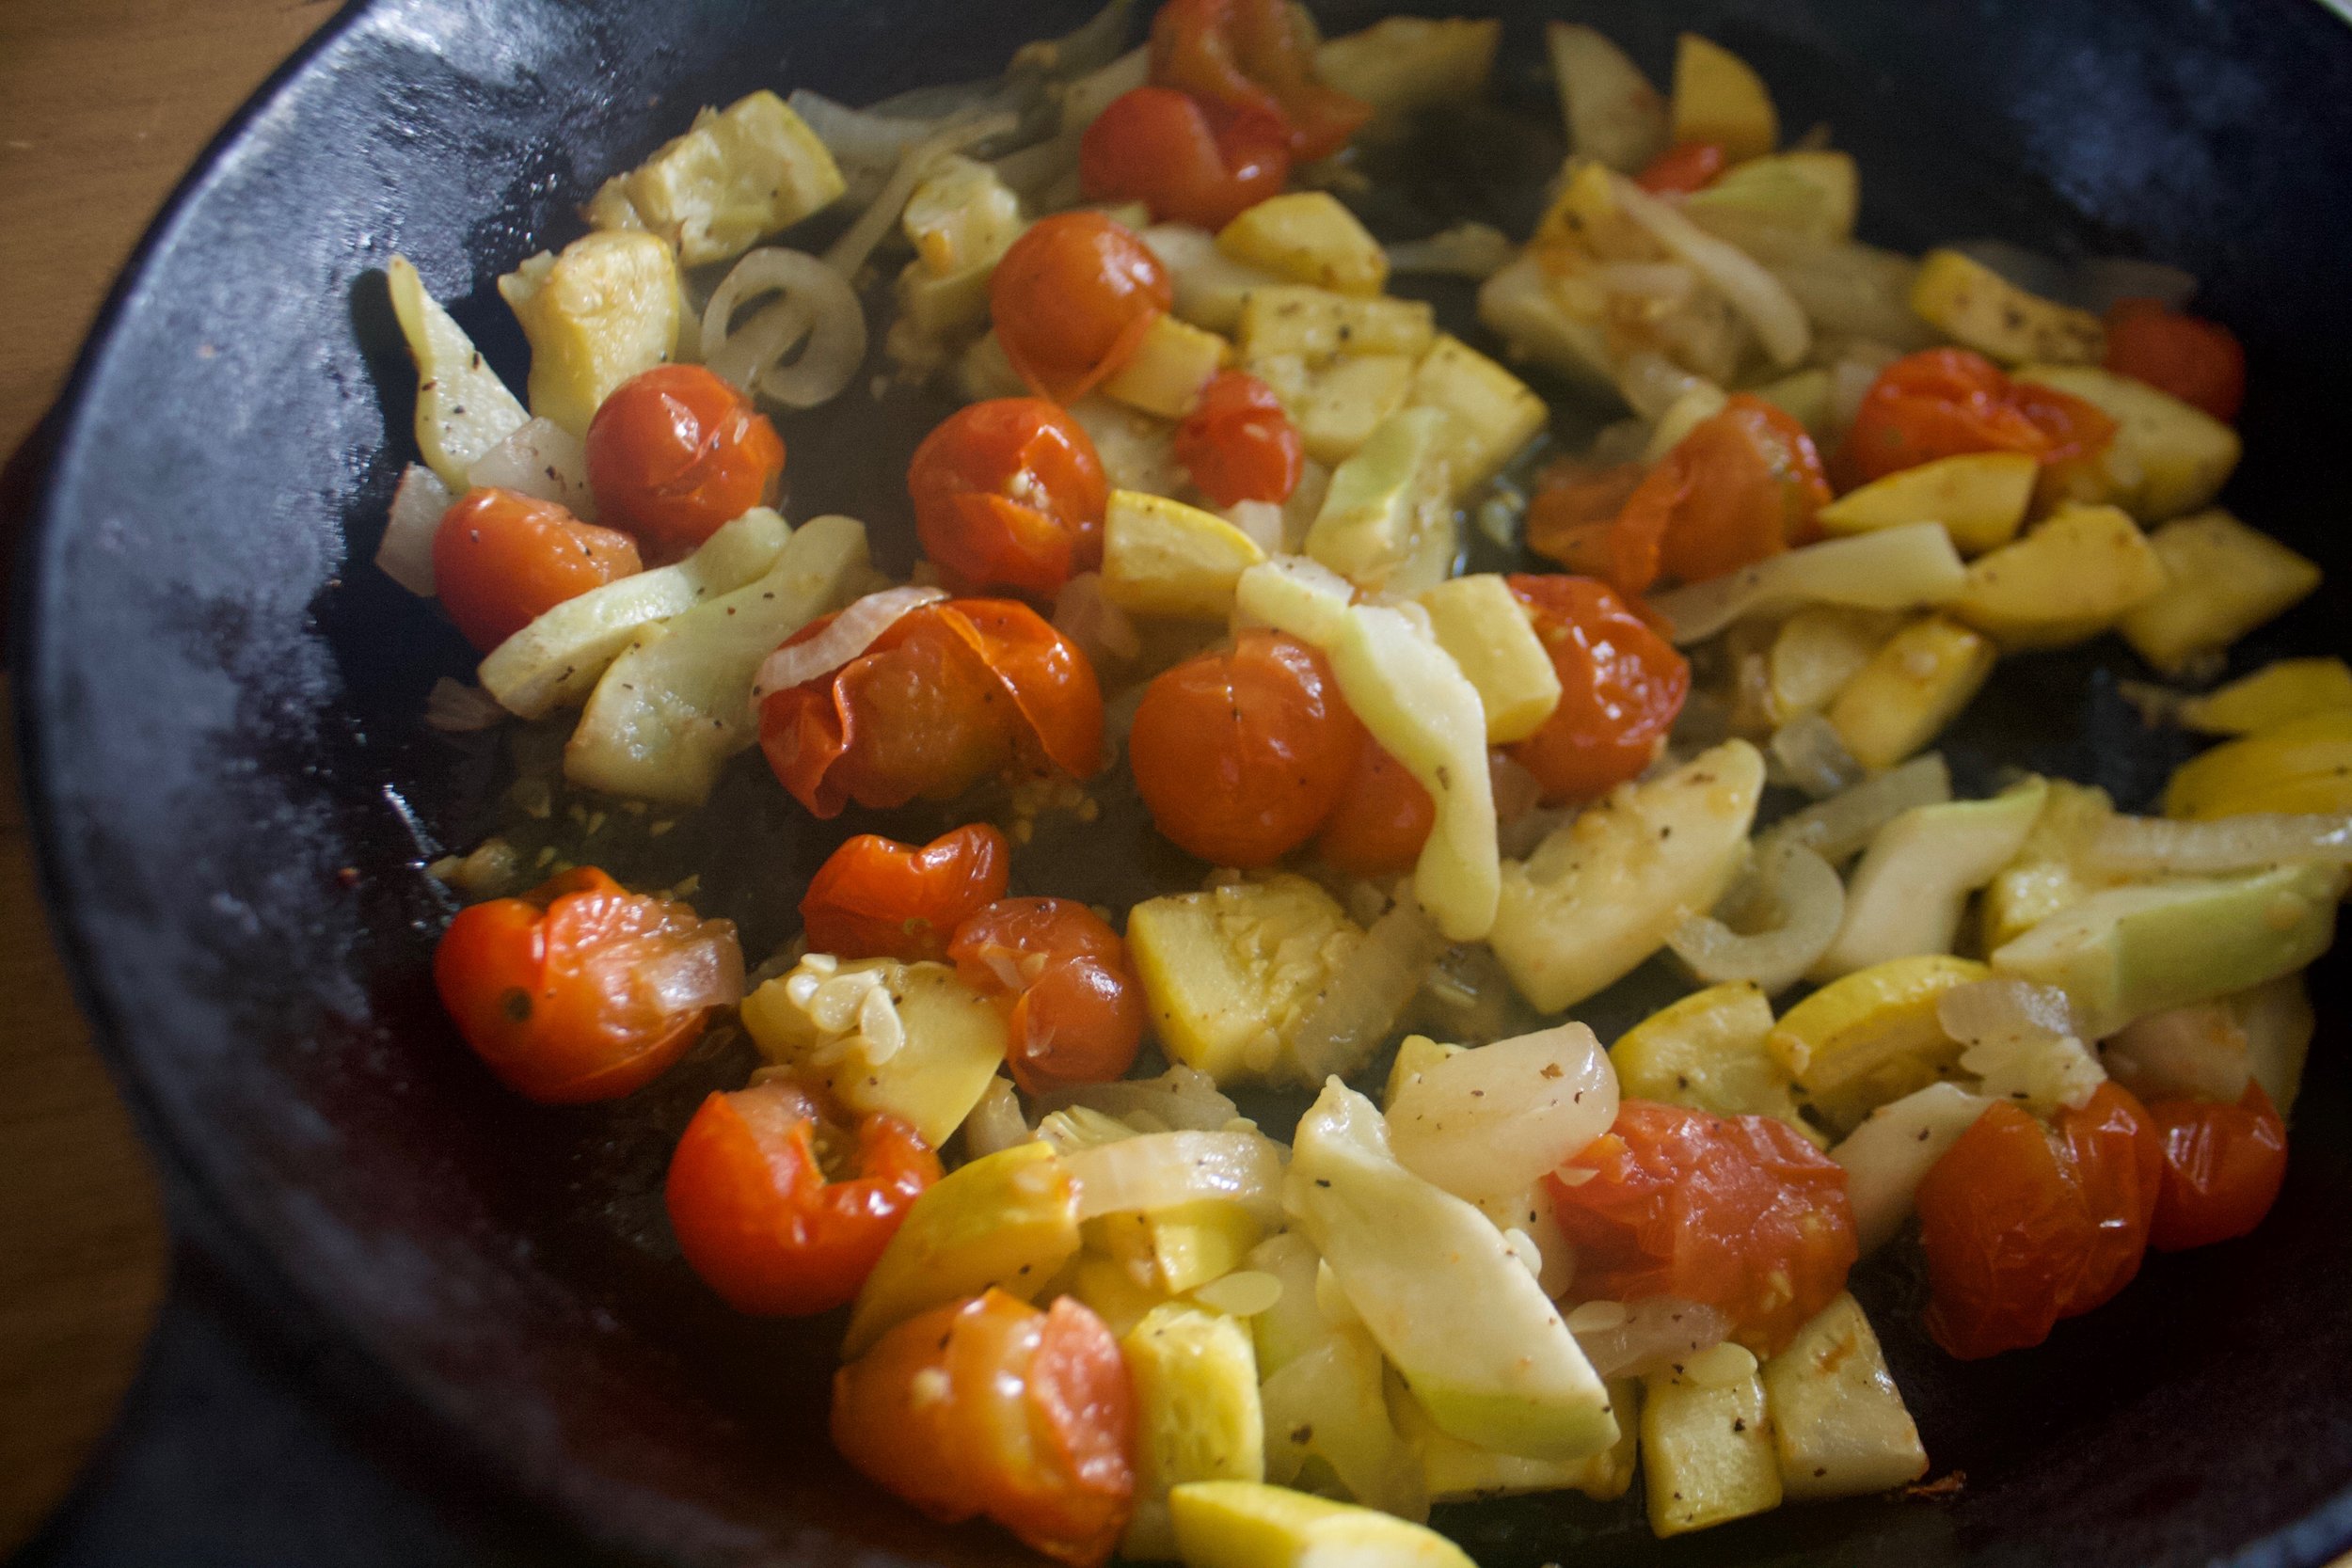
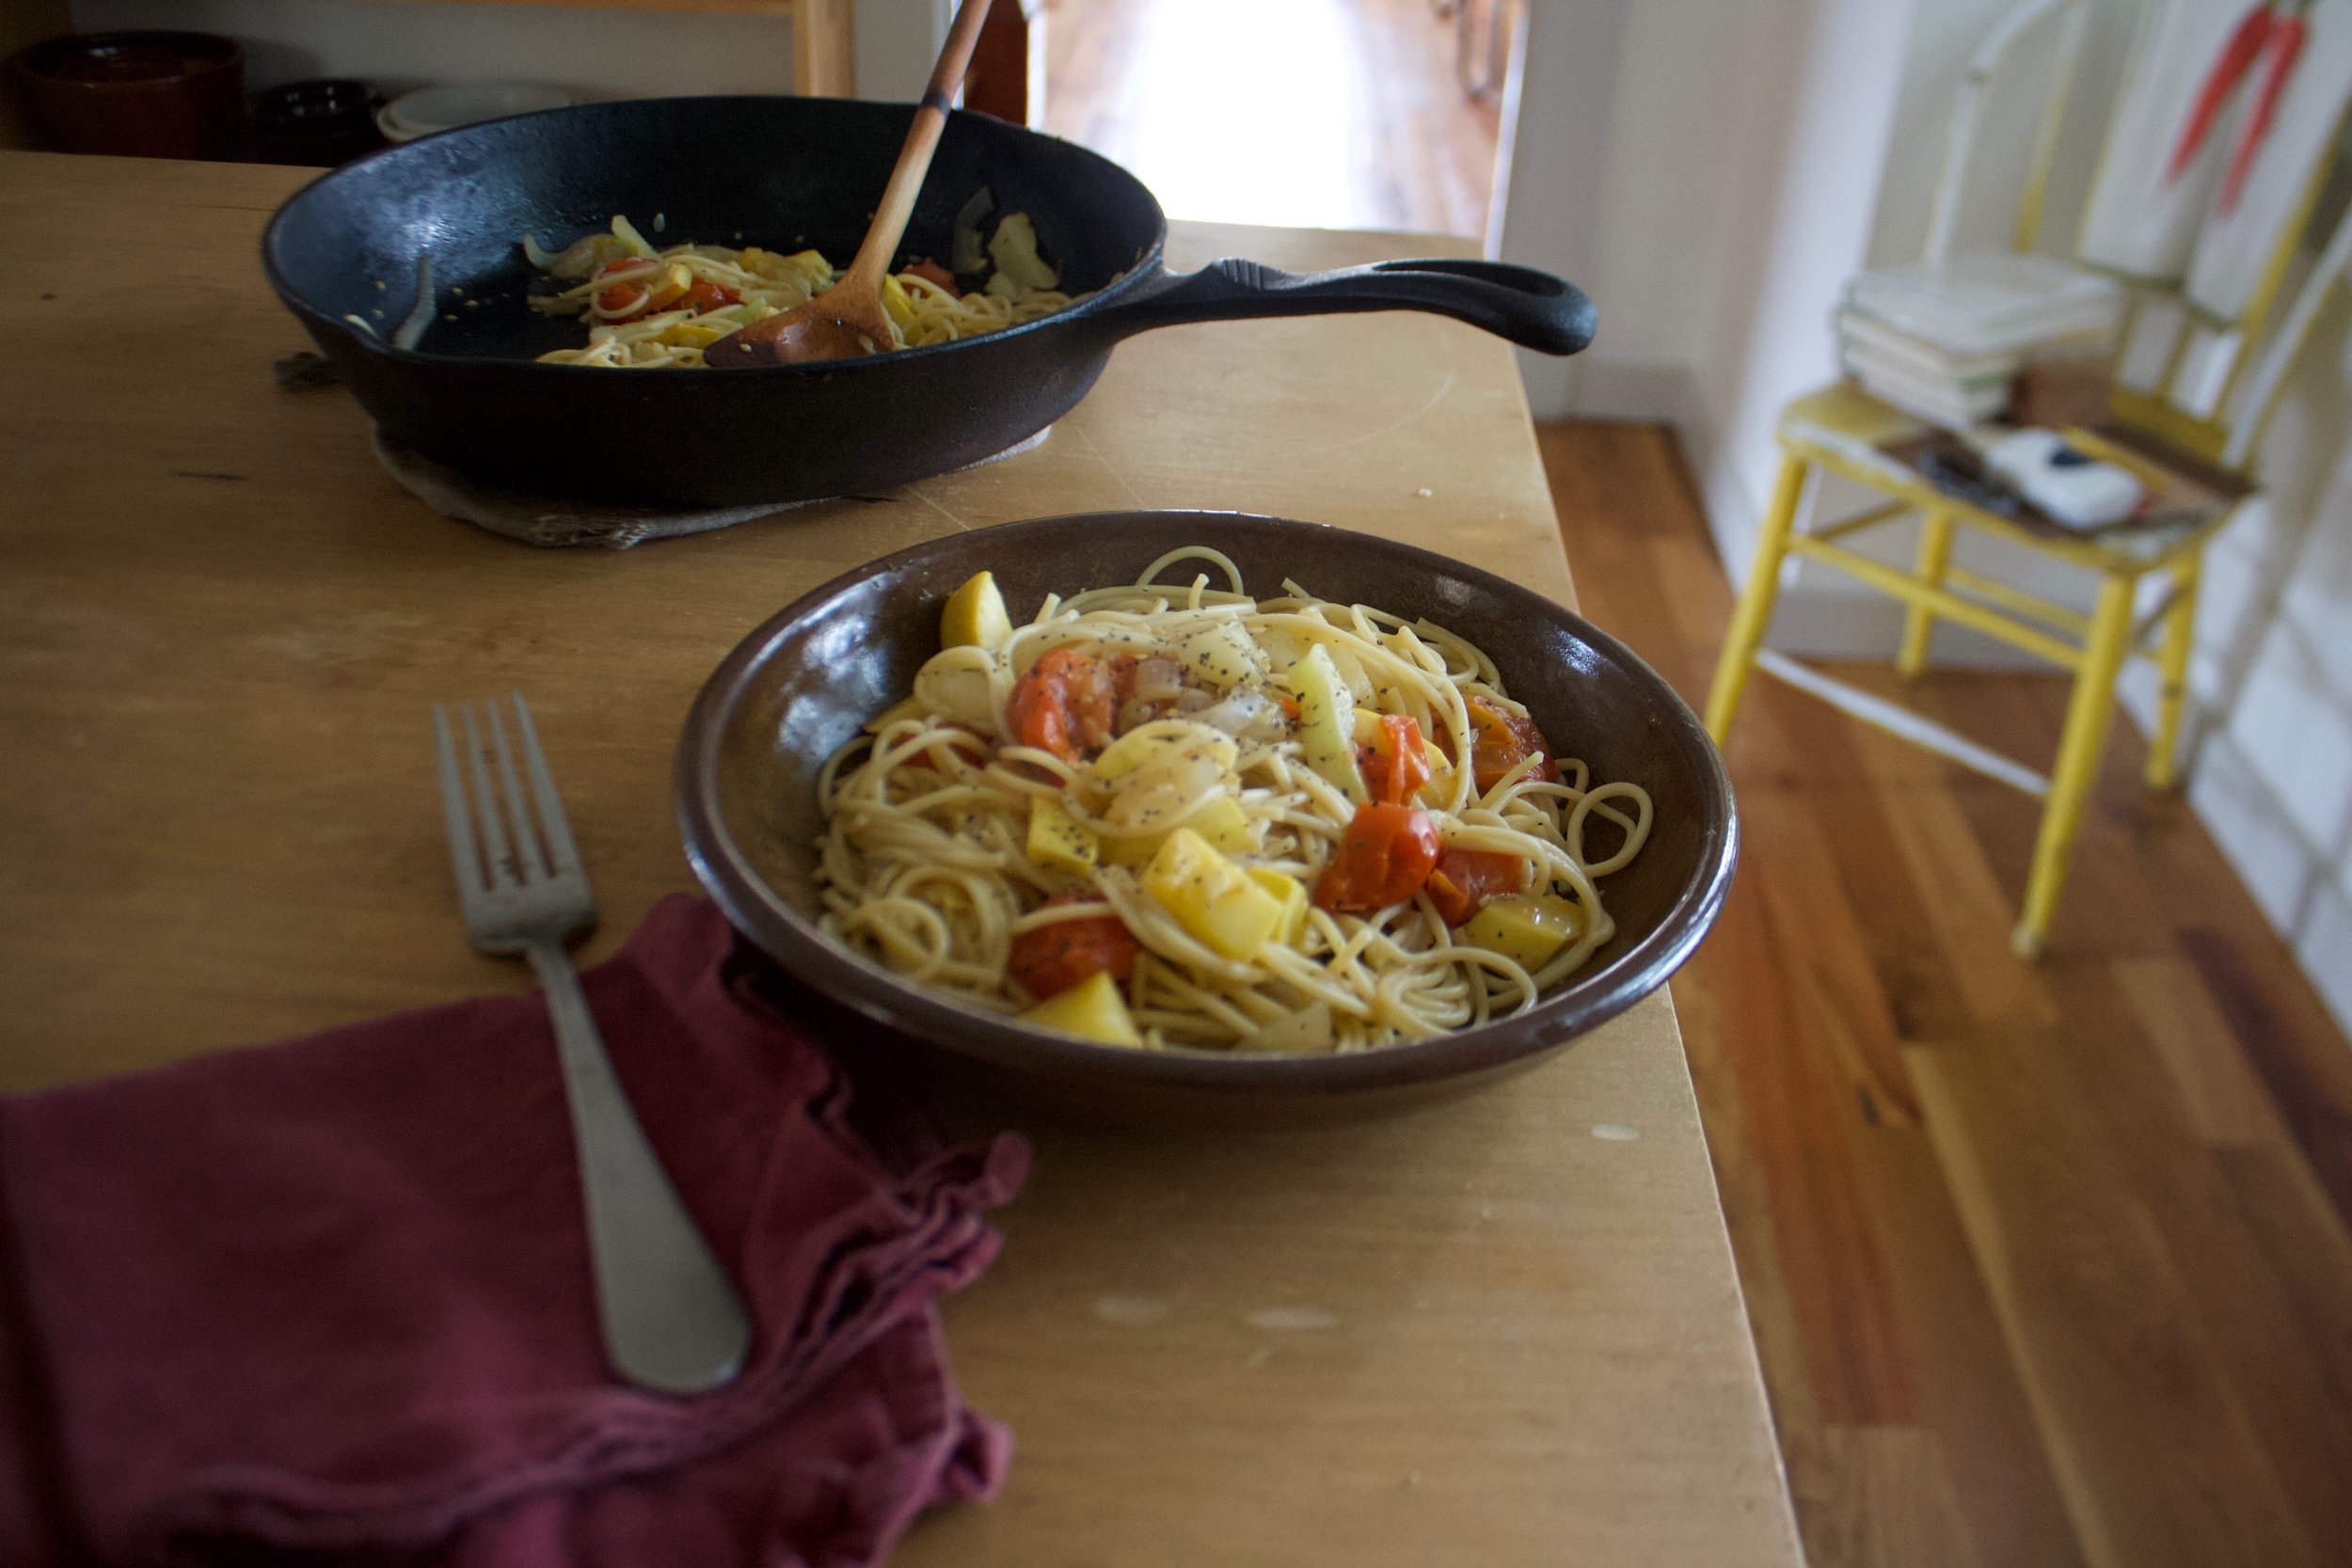
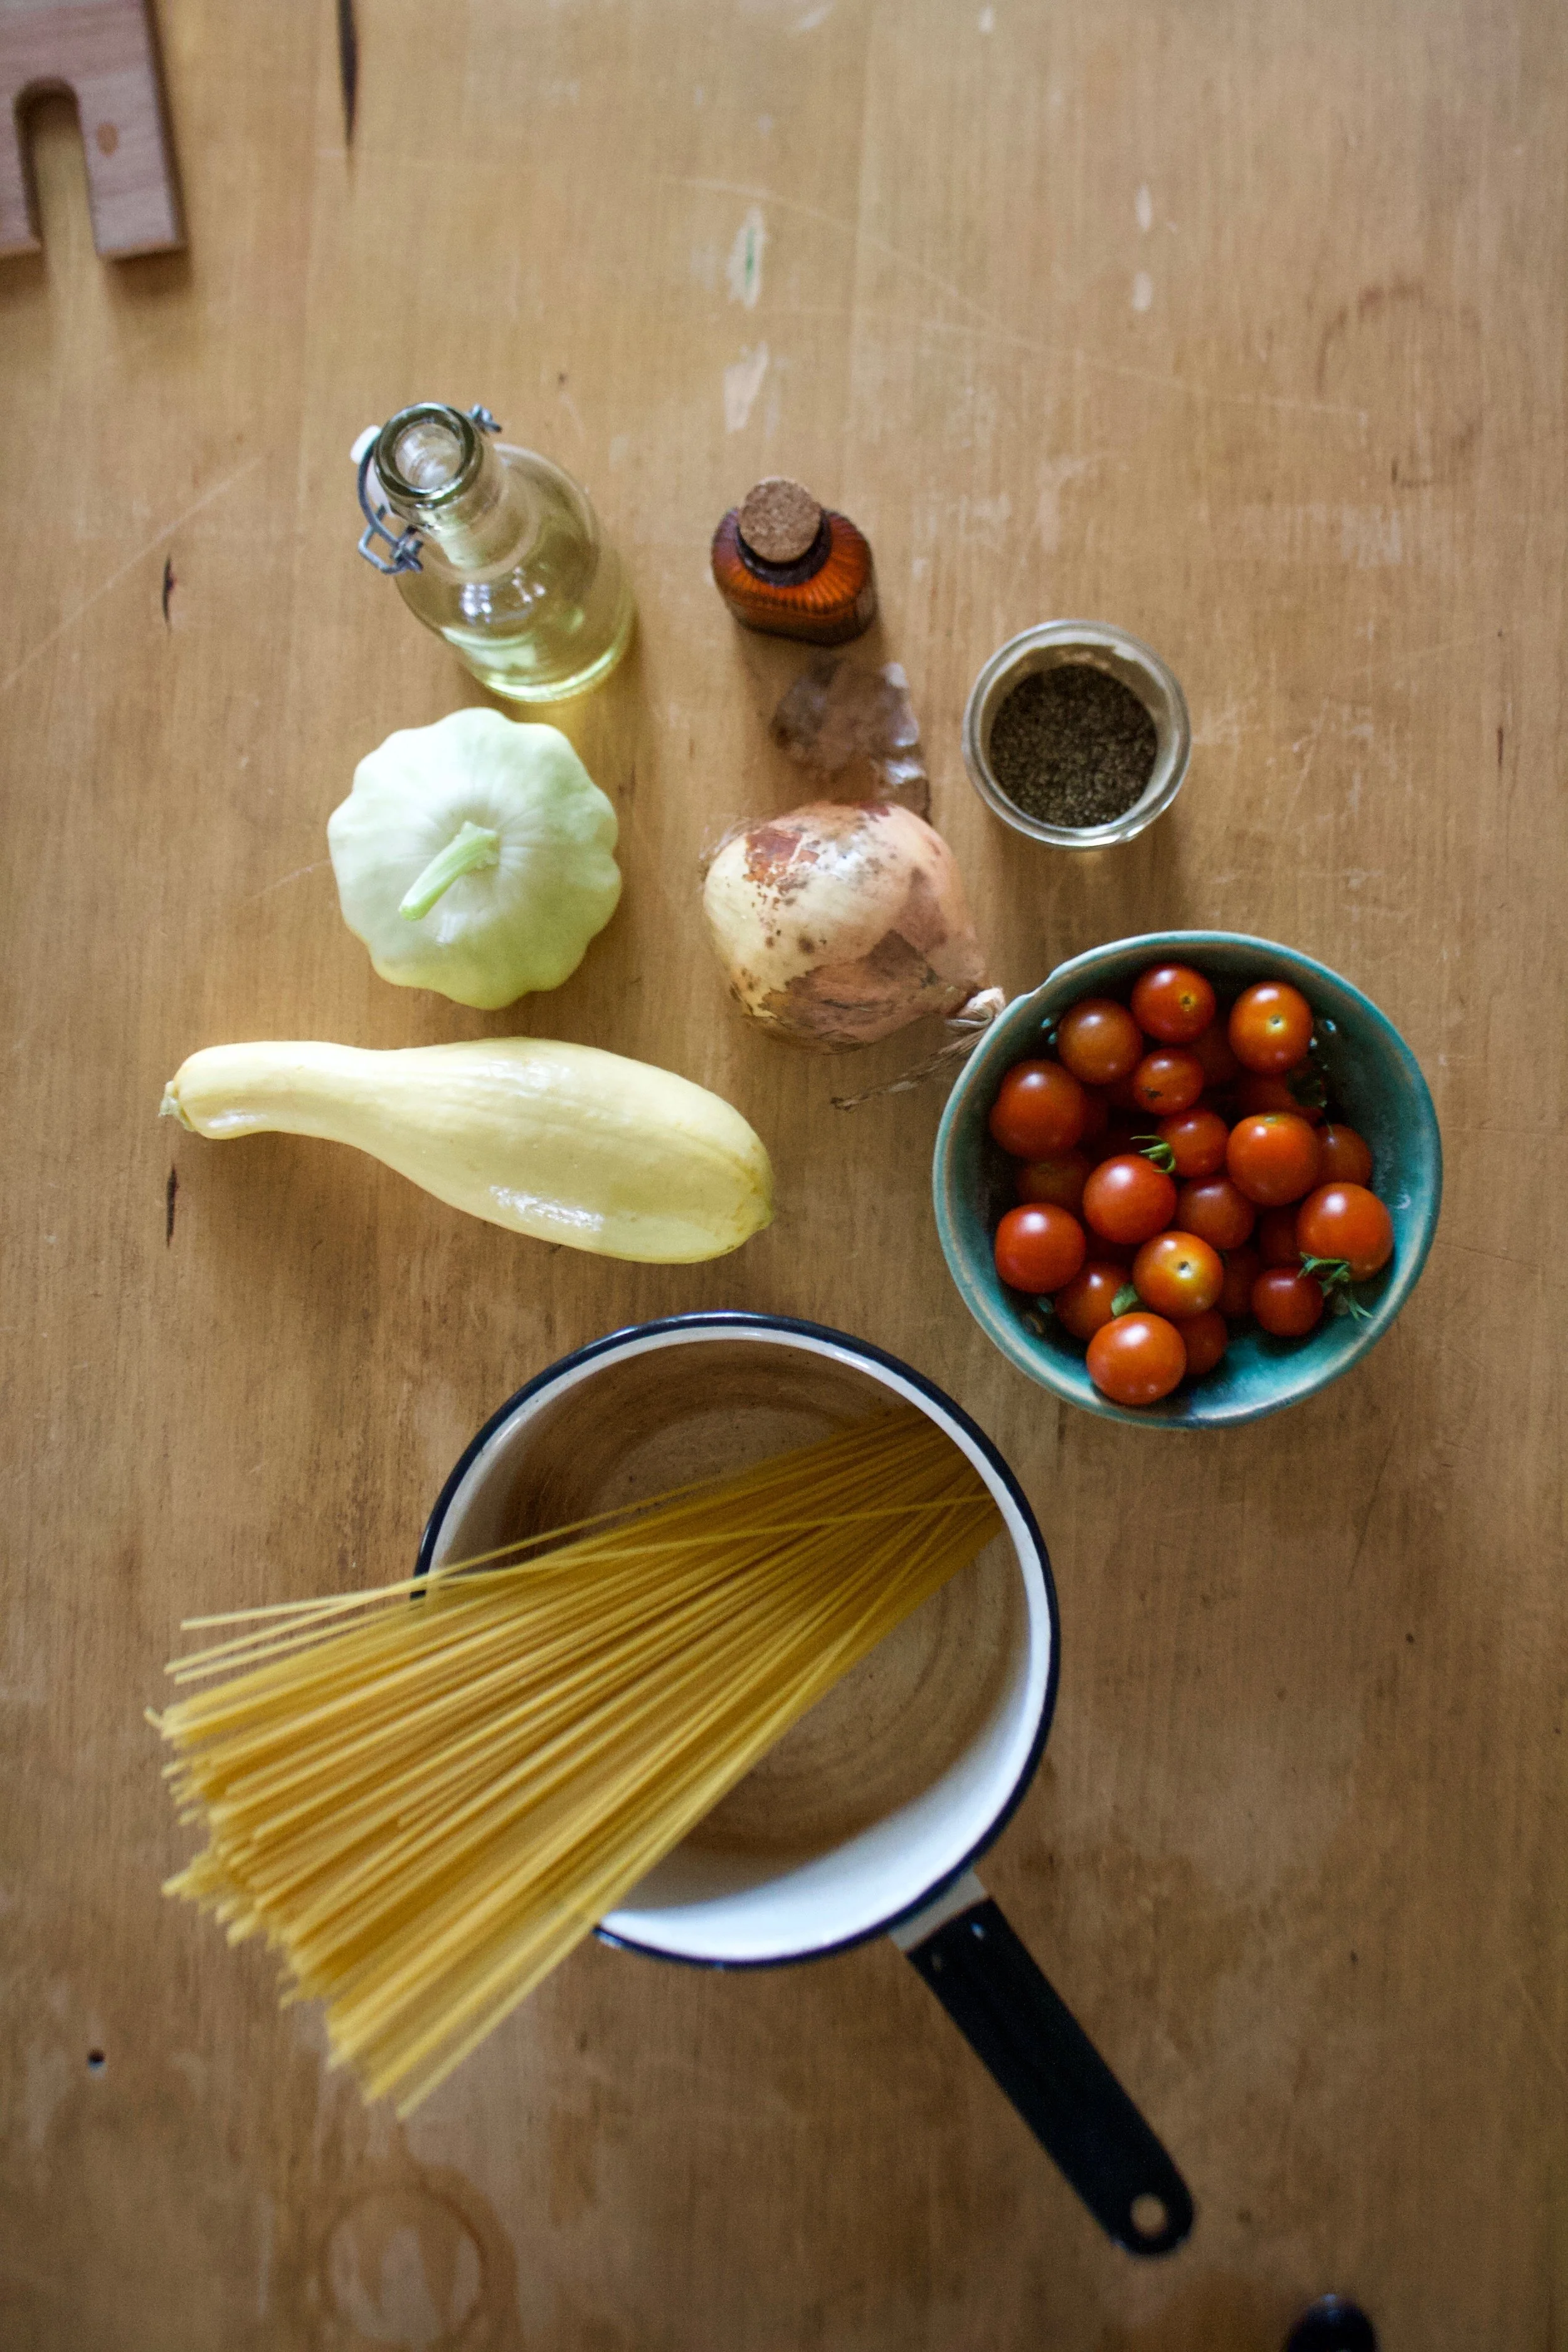
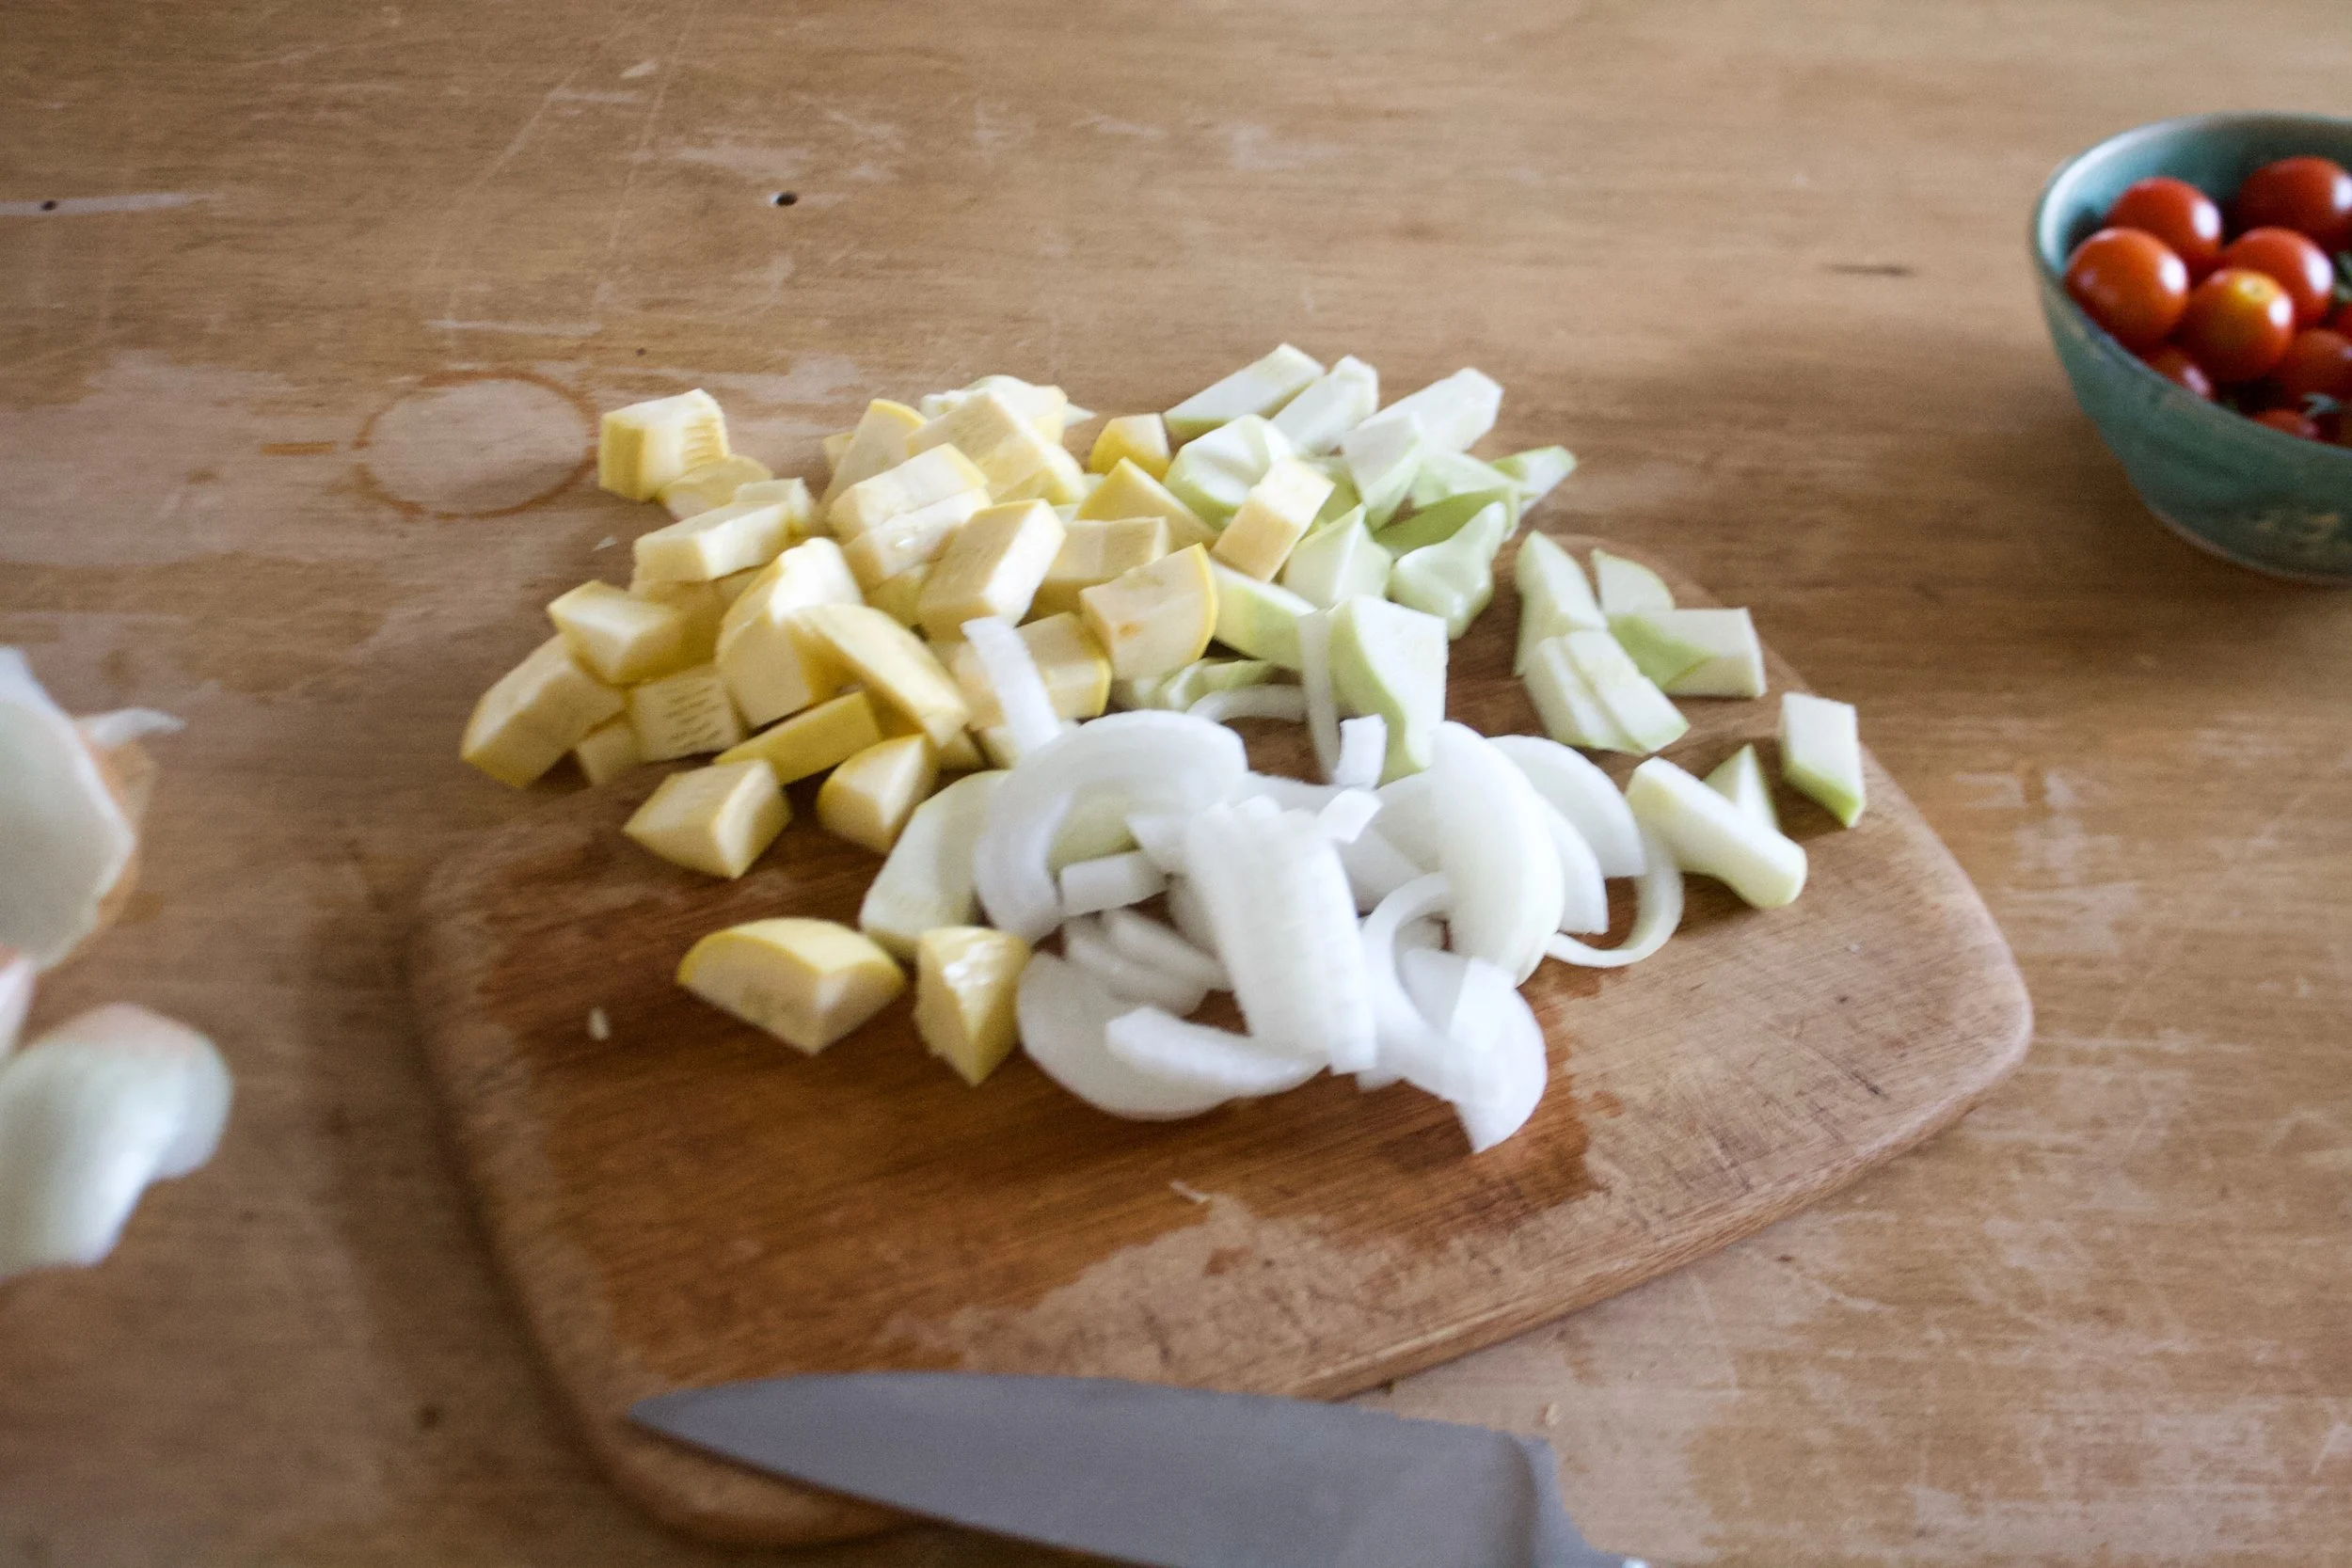
Recently a friend asked me what it is that we do for camp food. So I told her. Camp food is basically aways the same and consists of a big pot of spiced warm lentils or split peas (both cook really fast and have lots of protein), a shredded summer squash in the summer, or pumpkin in the colder months, maybe fresh tomatoes or a bunch of kale to chop and mix in, and a side of cut up carrots, cucumbers, green beens or whatever else I have.. Then I'll bring a hunk of bread for the mr to eat and me, usually a small head of cabbage to squirt mustard on and crunch into. (Always have the mustard on hand.) And I bring apples to snack on too, but that usually it. (Sometime I’ll back a desert for the mr. If I am feeling nice.)

She was a little taken aback. Said when she (and basically everyone in the world, which I disagreed with) goes camping it is bags of chips, cookies, meat, and everything and anything that she (they) wanted. Basically that camp food was junk food and that she though we were weirdos. But cool weirdos so you know.

So our camp food… not like many others. But honestly it is everything that I want to eat and I love it so whatever whatever. As for the mr, he is happy with the food and when he is not, he brings along something else, but that rarely happens because my lentils be so good. HA!

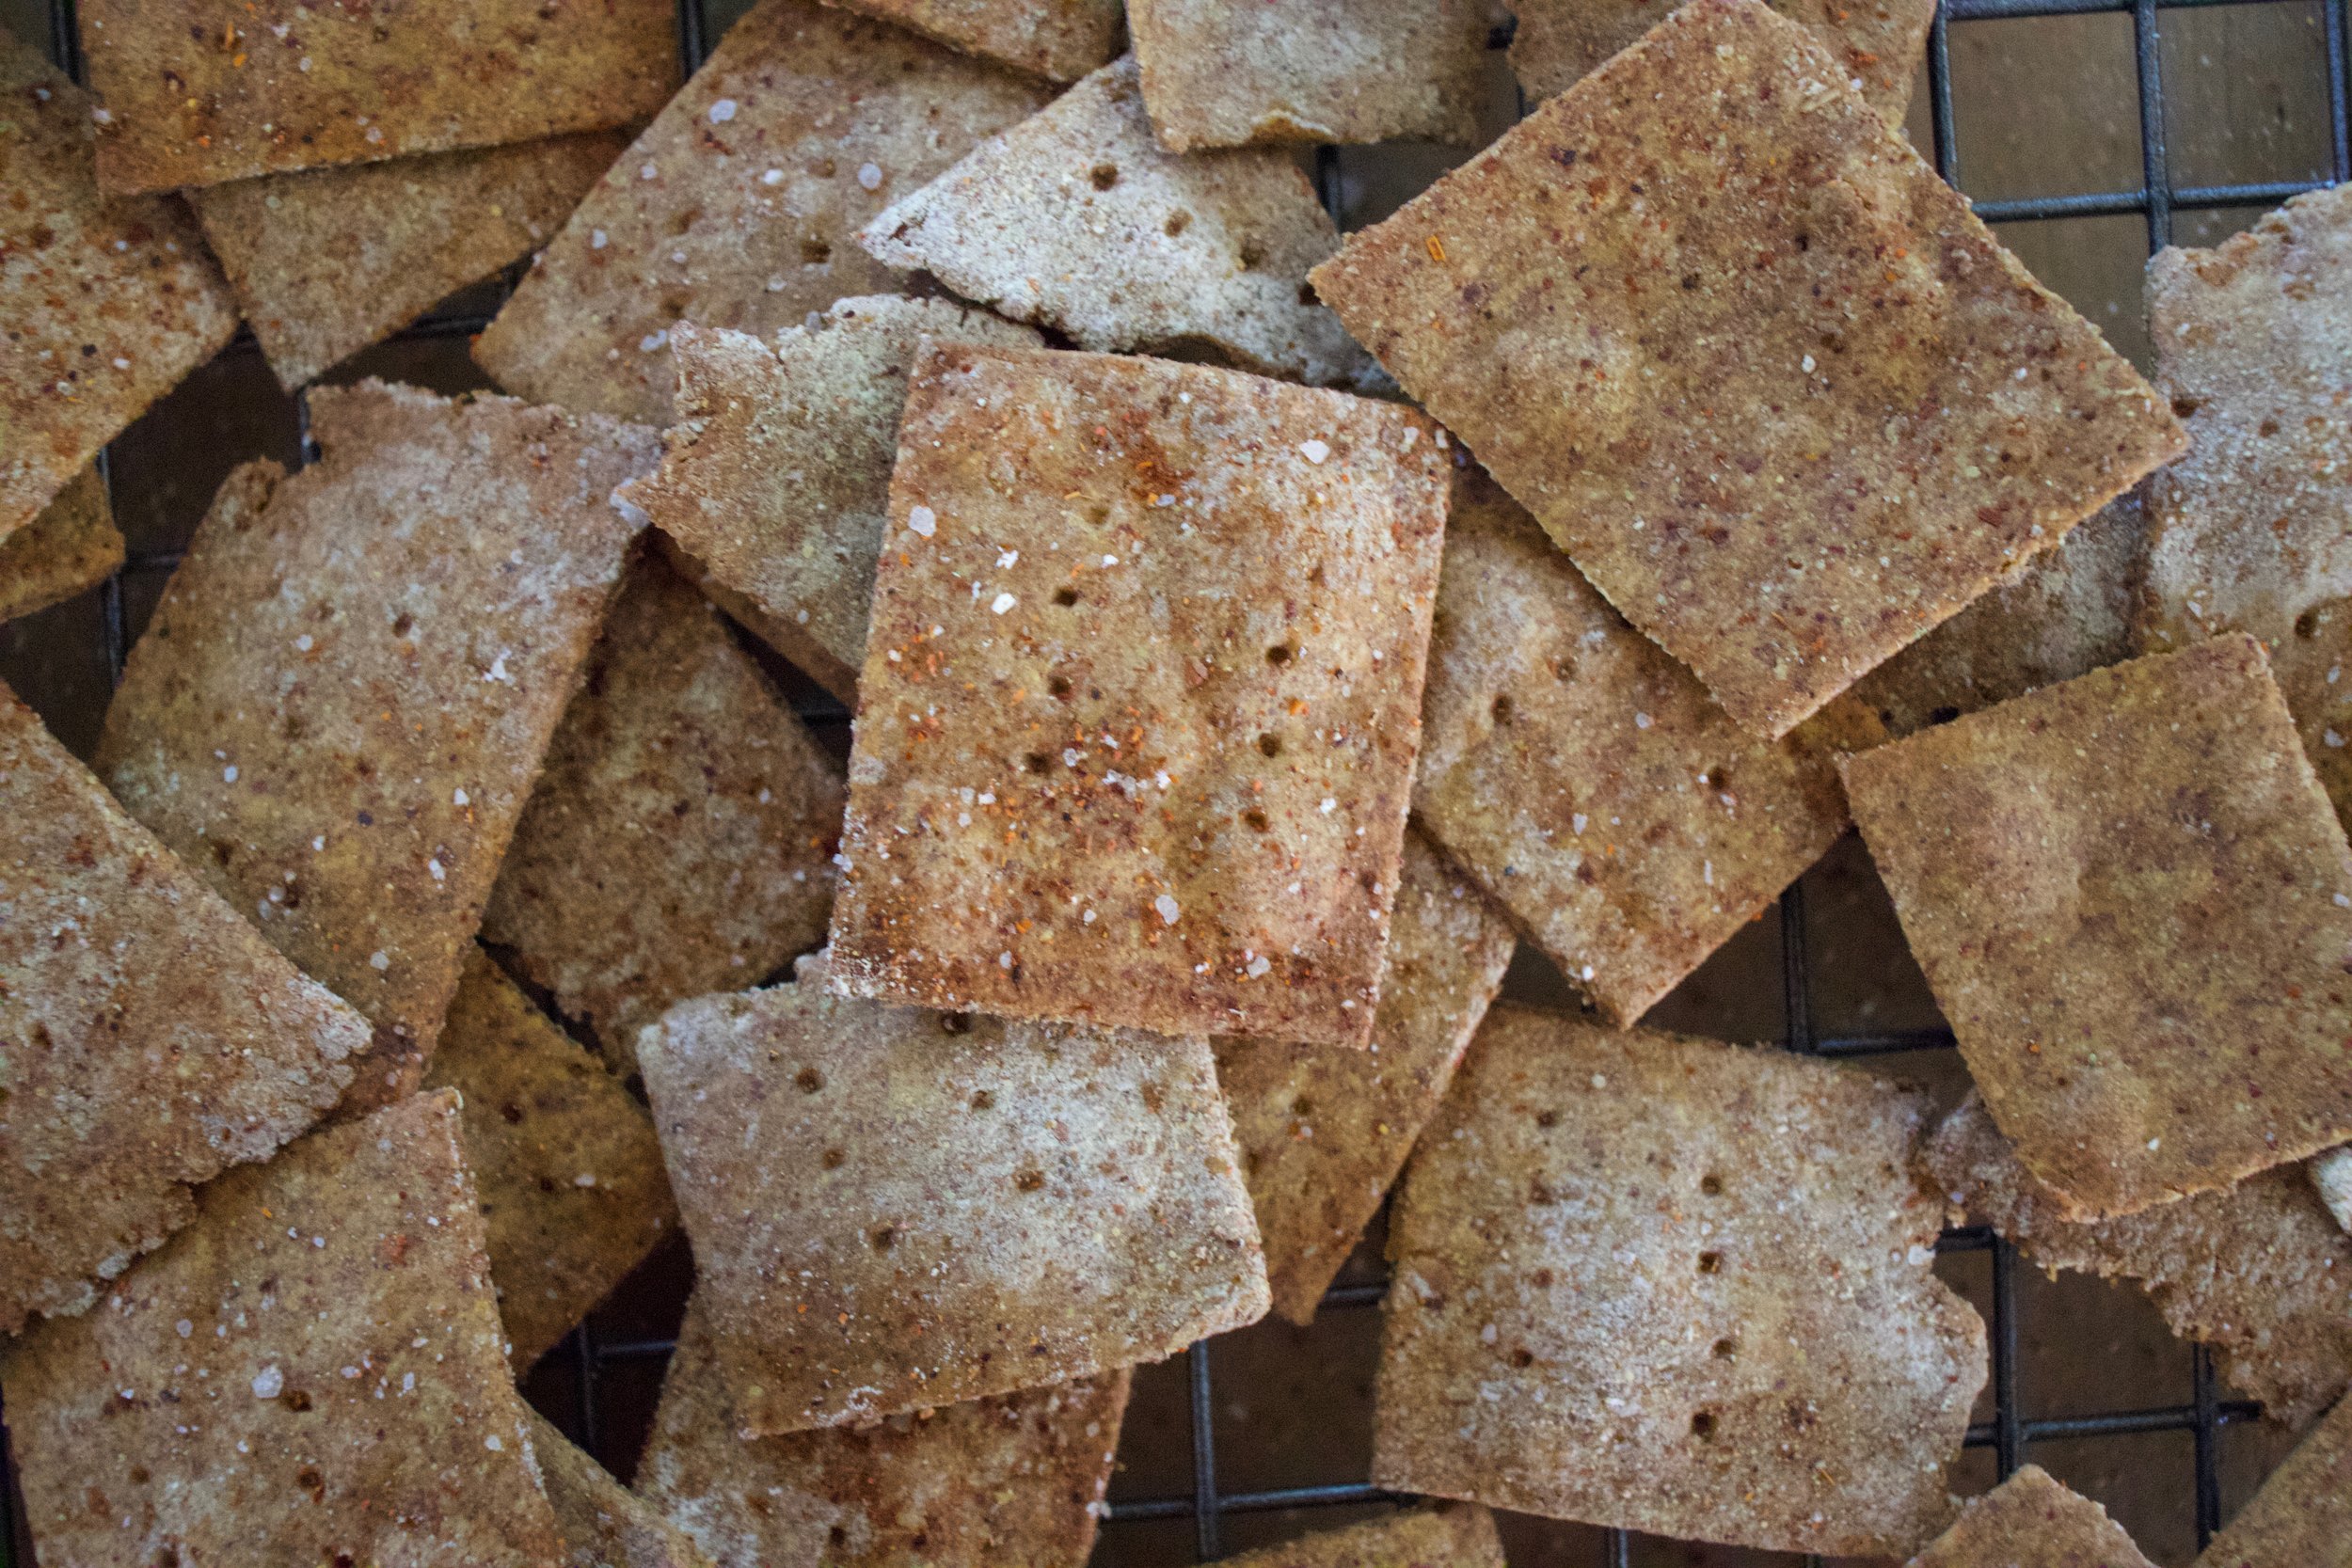
But she got me thinking that I should have a few more snack options beside cut up carrots and apples. So that is why I made crackers. These chickpea chili lime, freaking amazing crackers. Because crackers are a very appropriate snack food, and these crackers in particular are even greater because they are made with the goodness of chickpea flour which is packed full of protein and is well received after a day of hiking or other fun outdoor camping activities. And how can you go wrong with chili lime? Well i’ll tell you, you really can’t

So the plan was to make a batch, eat a few, save the rest for this camping weekend. But guess what? I have to make another batch. They didn’t make it. We ate them all. (not sorry) At least I know we will be liking our new camping snack addition well and right.

So if you like crackers, camping or elsewhere, you should really gives these a go. They will not disappoint.

Now to the crackers!

IMG_0509.jpg

The stuff. Chickpea flour, chili powder, a lime, a little baking powder, olive oil, salt and pepper, and water.

IMG_0517.jpg
IMG_0523.jpg

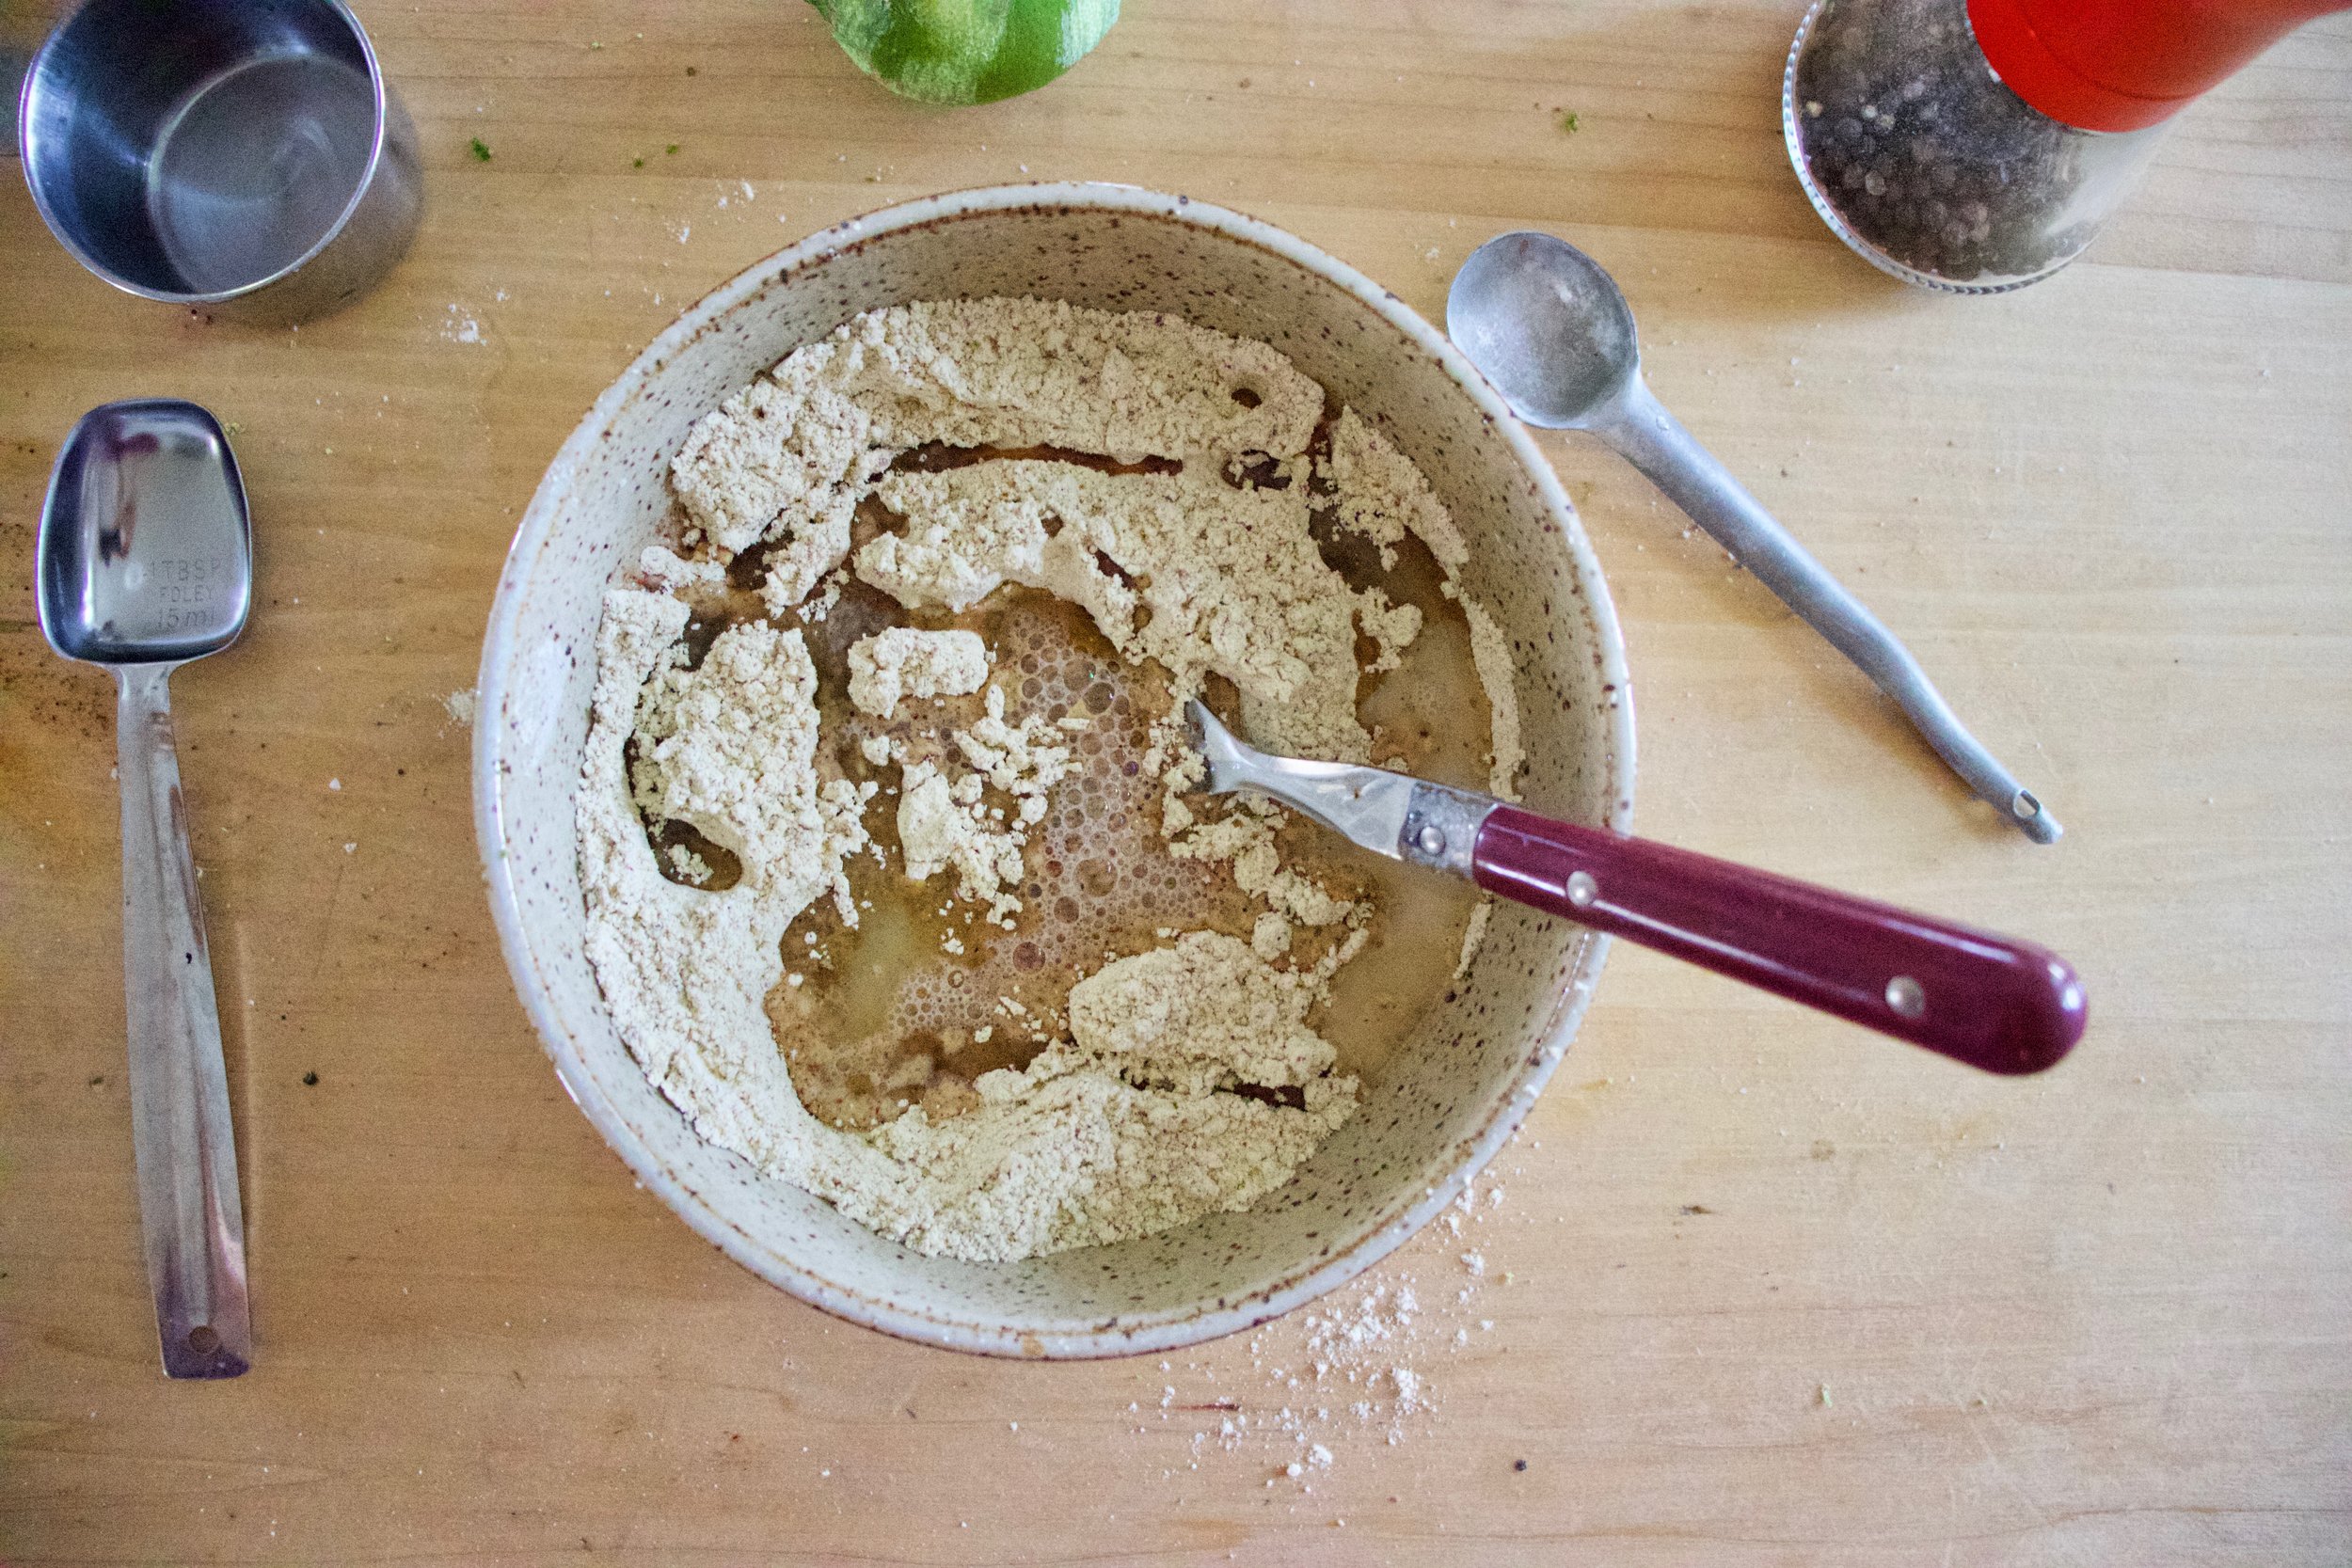
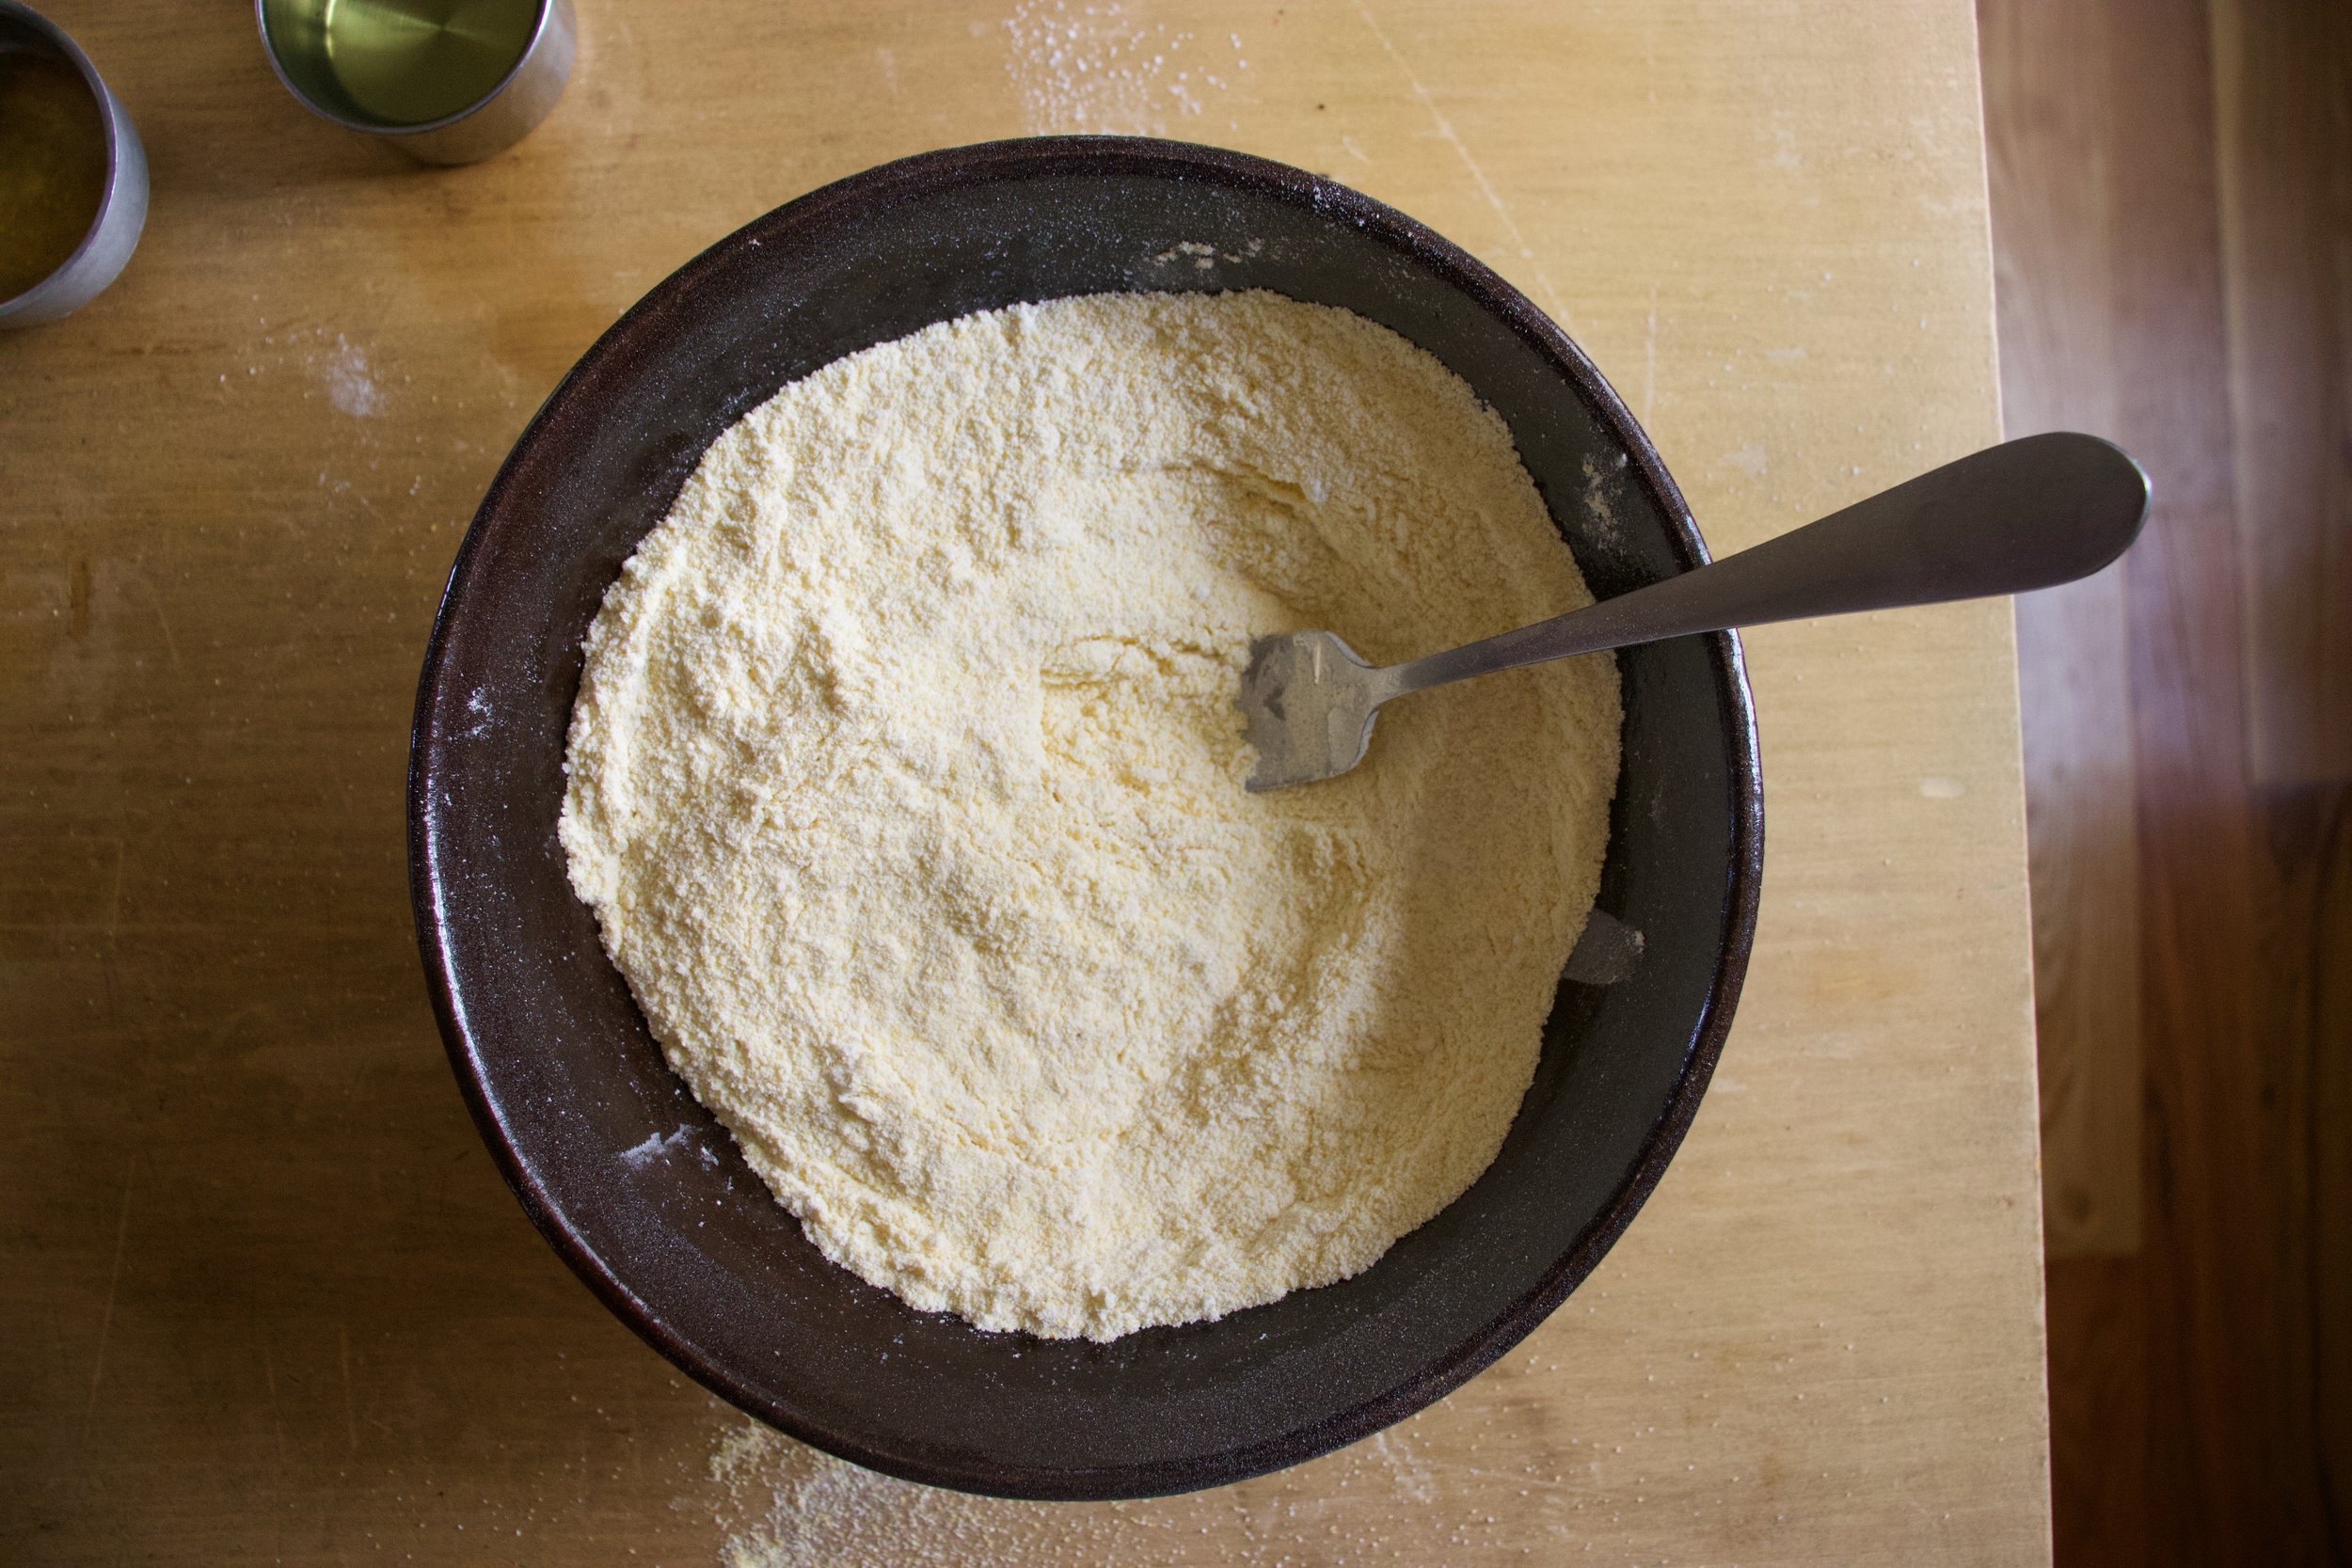
Combine the flour, zest of the lime, half the chili powder and half the salt, and the baking powder and some pepper in a bowl. Mix until completely combined then add in the oil, water and the juice of the lime.

Mix until dough forms. It might feel a little sticky, if that is the case, just mix other tablespoon of chickpea flour.

Knead dough on a well chickpea floured surface for a good minute until the dough is a even consistency then let it sit for a few minutes to rest. Once rested, cut dough into 2-3 pieces because working smaller is easier.

IMG_0551.jpg
IMG_0555.jpg

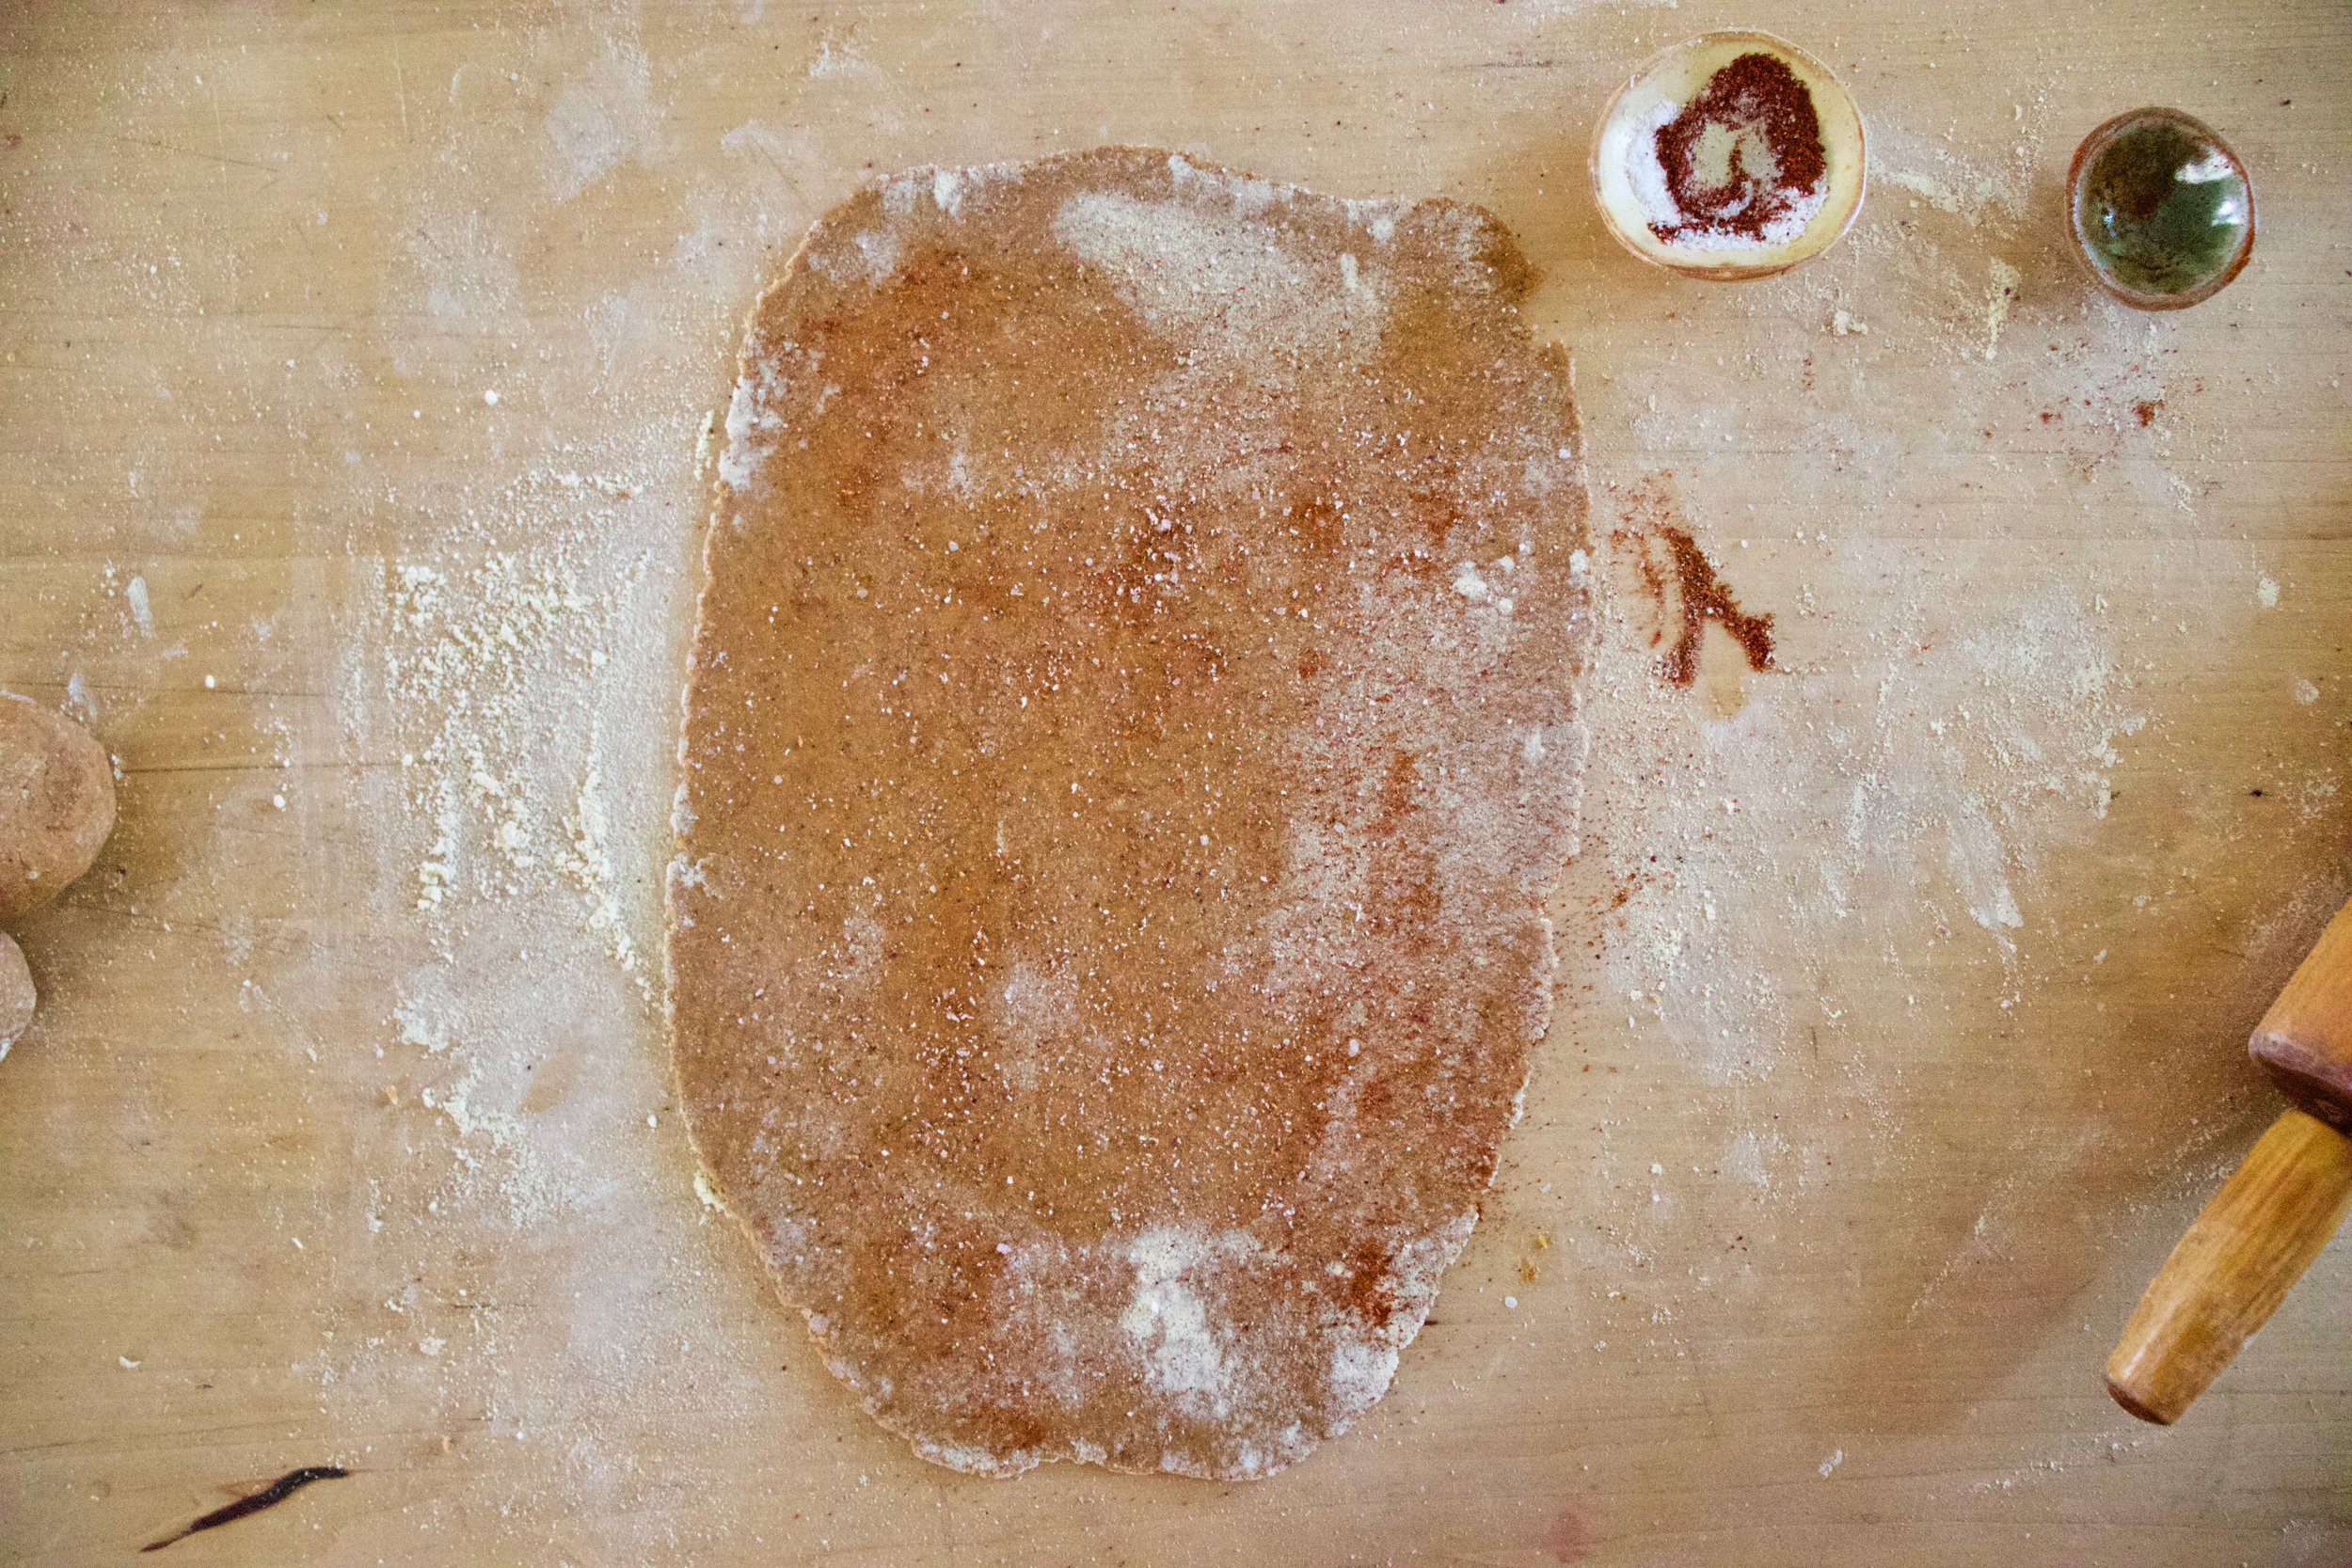
Roll out your first piece of dough about 1/8 inch thick. (Again, make sure to really flour your work surface and rolling pin.) Mix salt and chili powder together and sprinkle on top. Cut out your crackers (squares are nice but triangles would be nice too) then poke each cracker with a fork.

IMG_0558.jpg

Up close and personal.

IMG_0564.jpg
IMG_0565.jpg

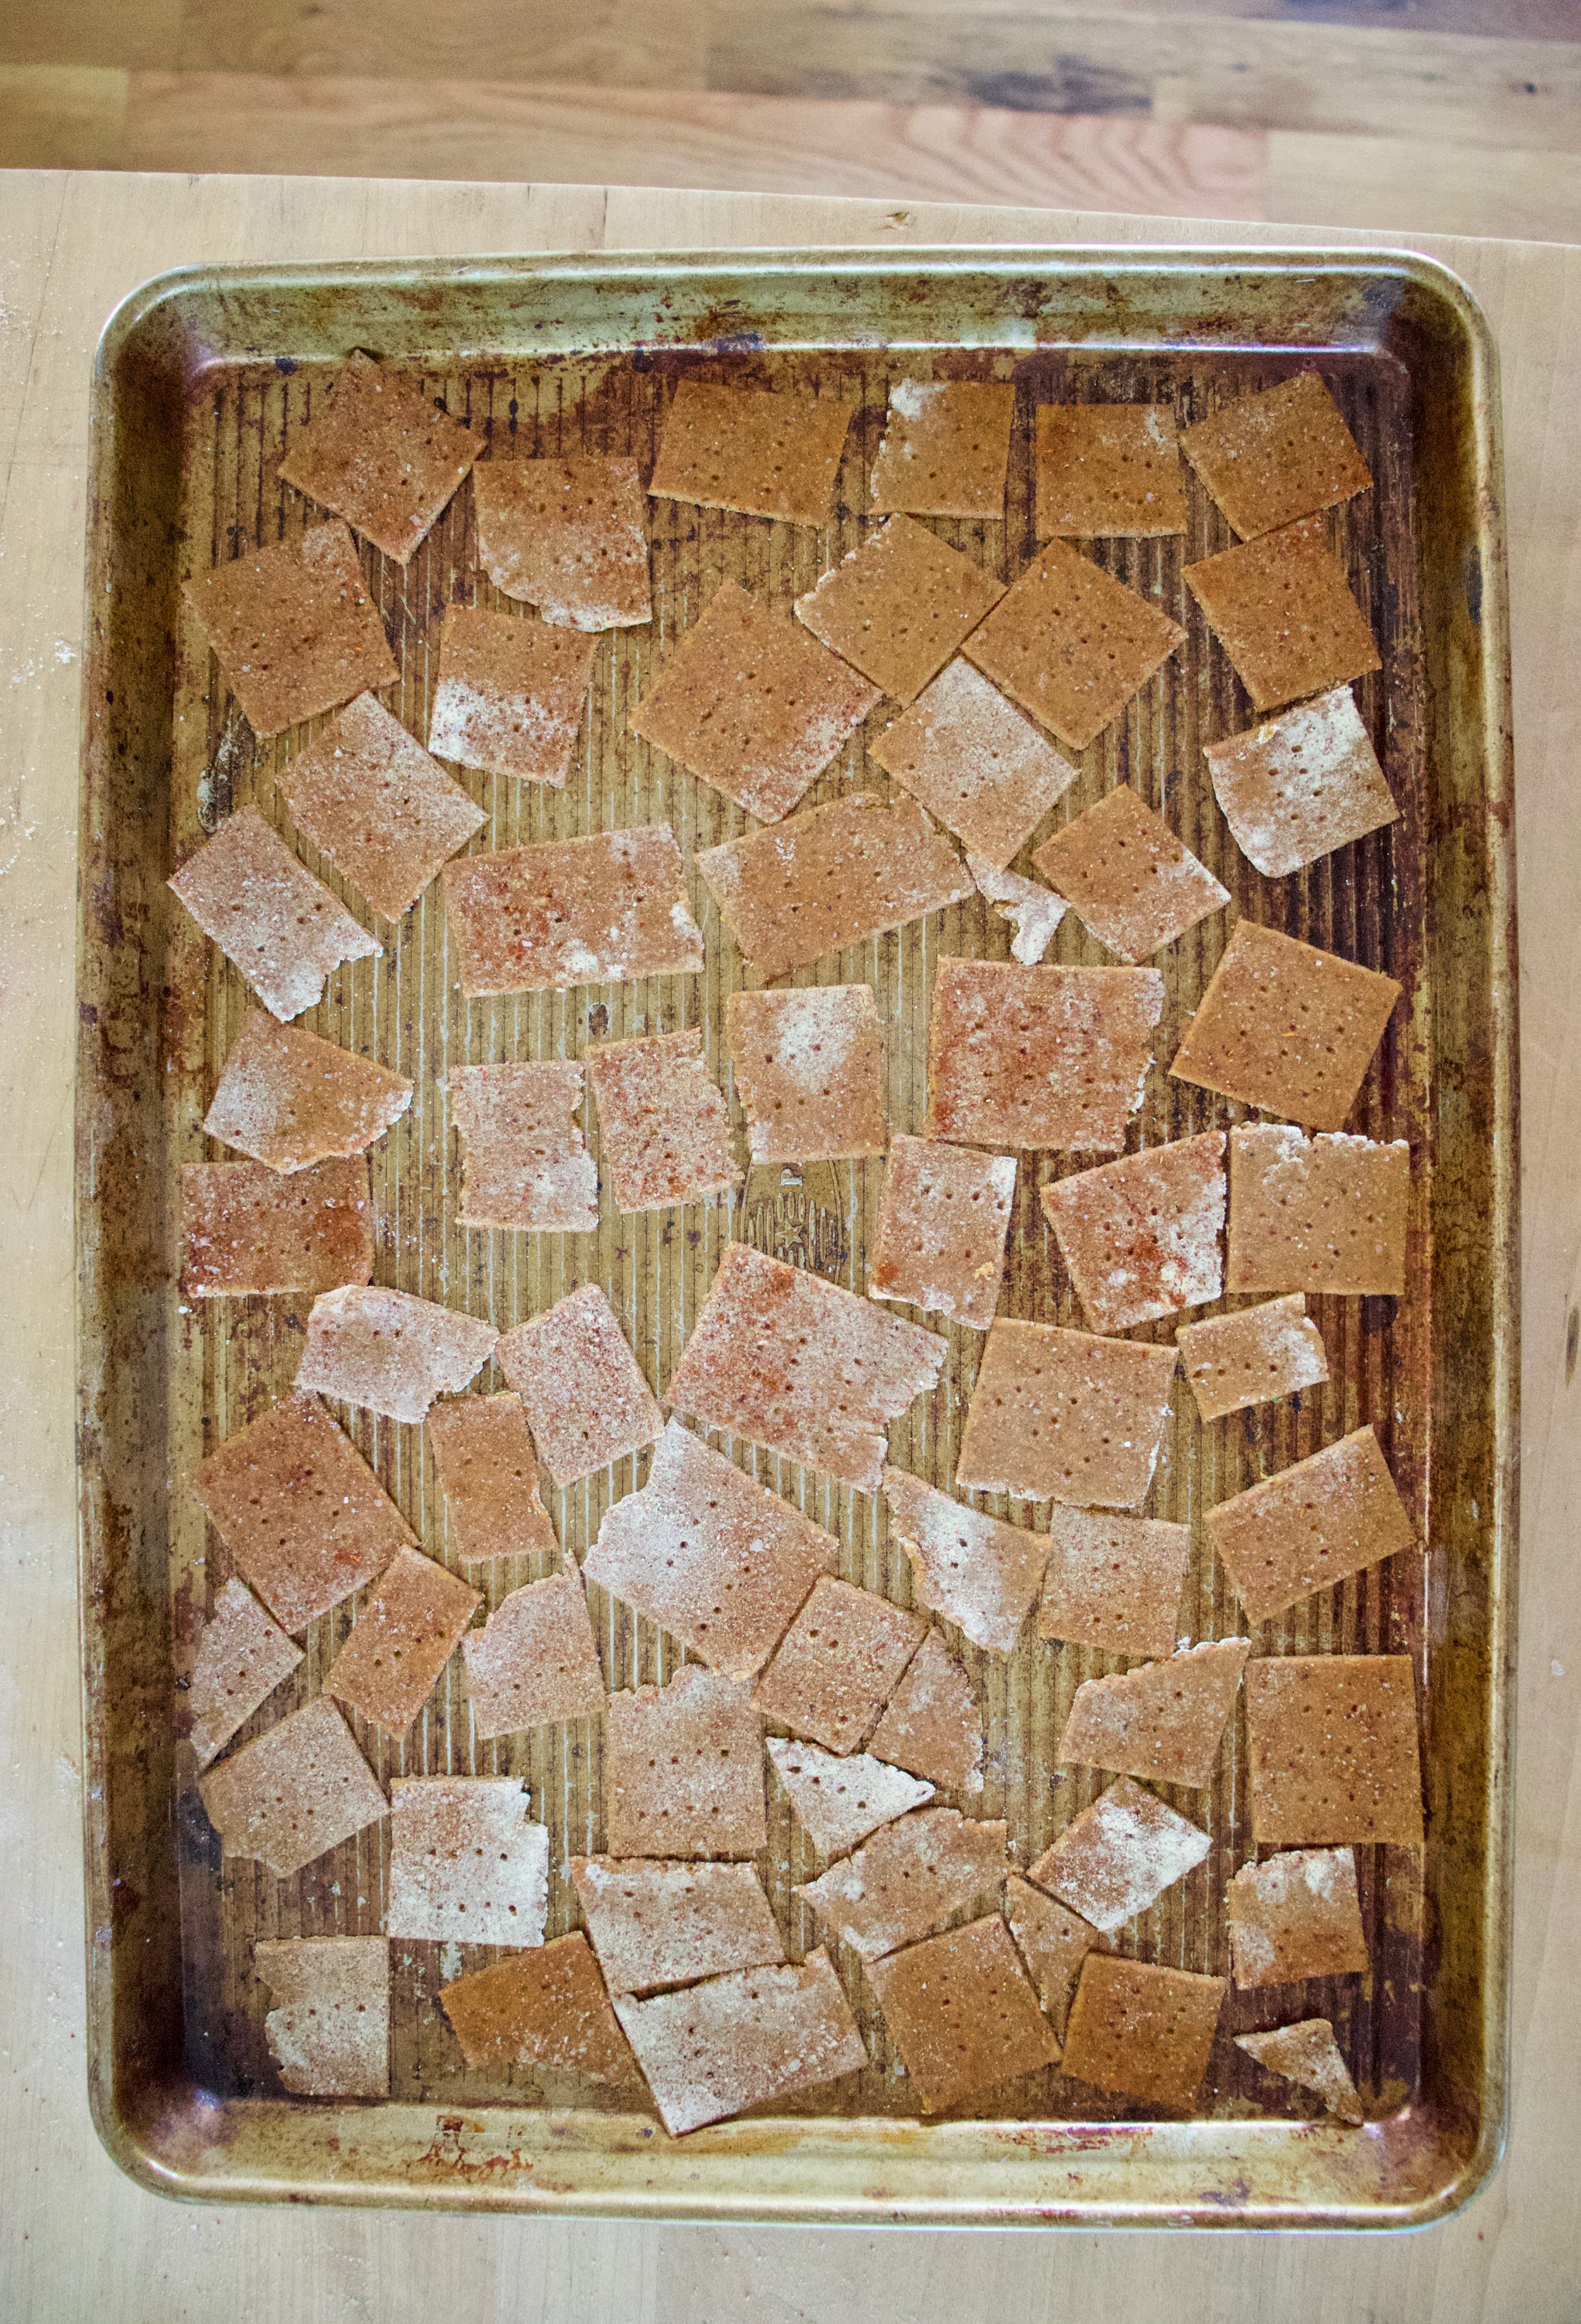
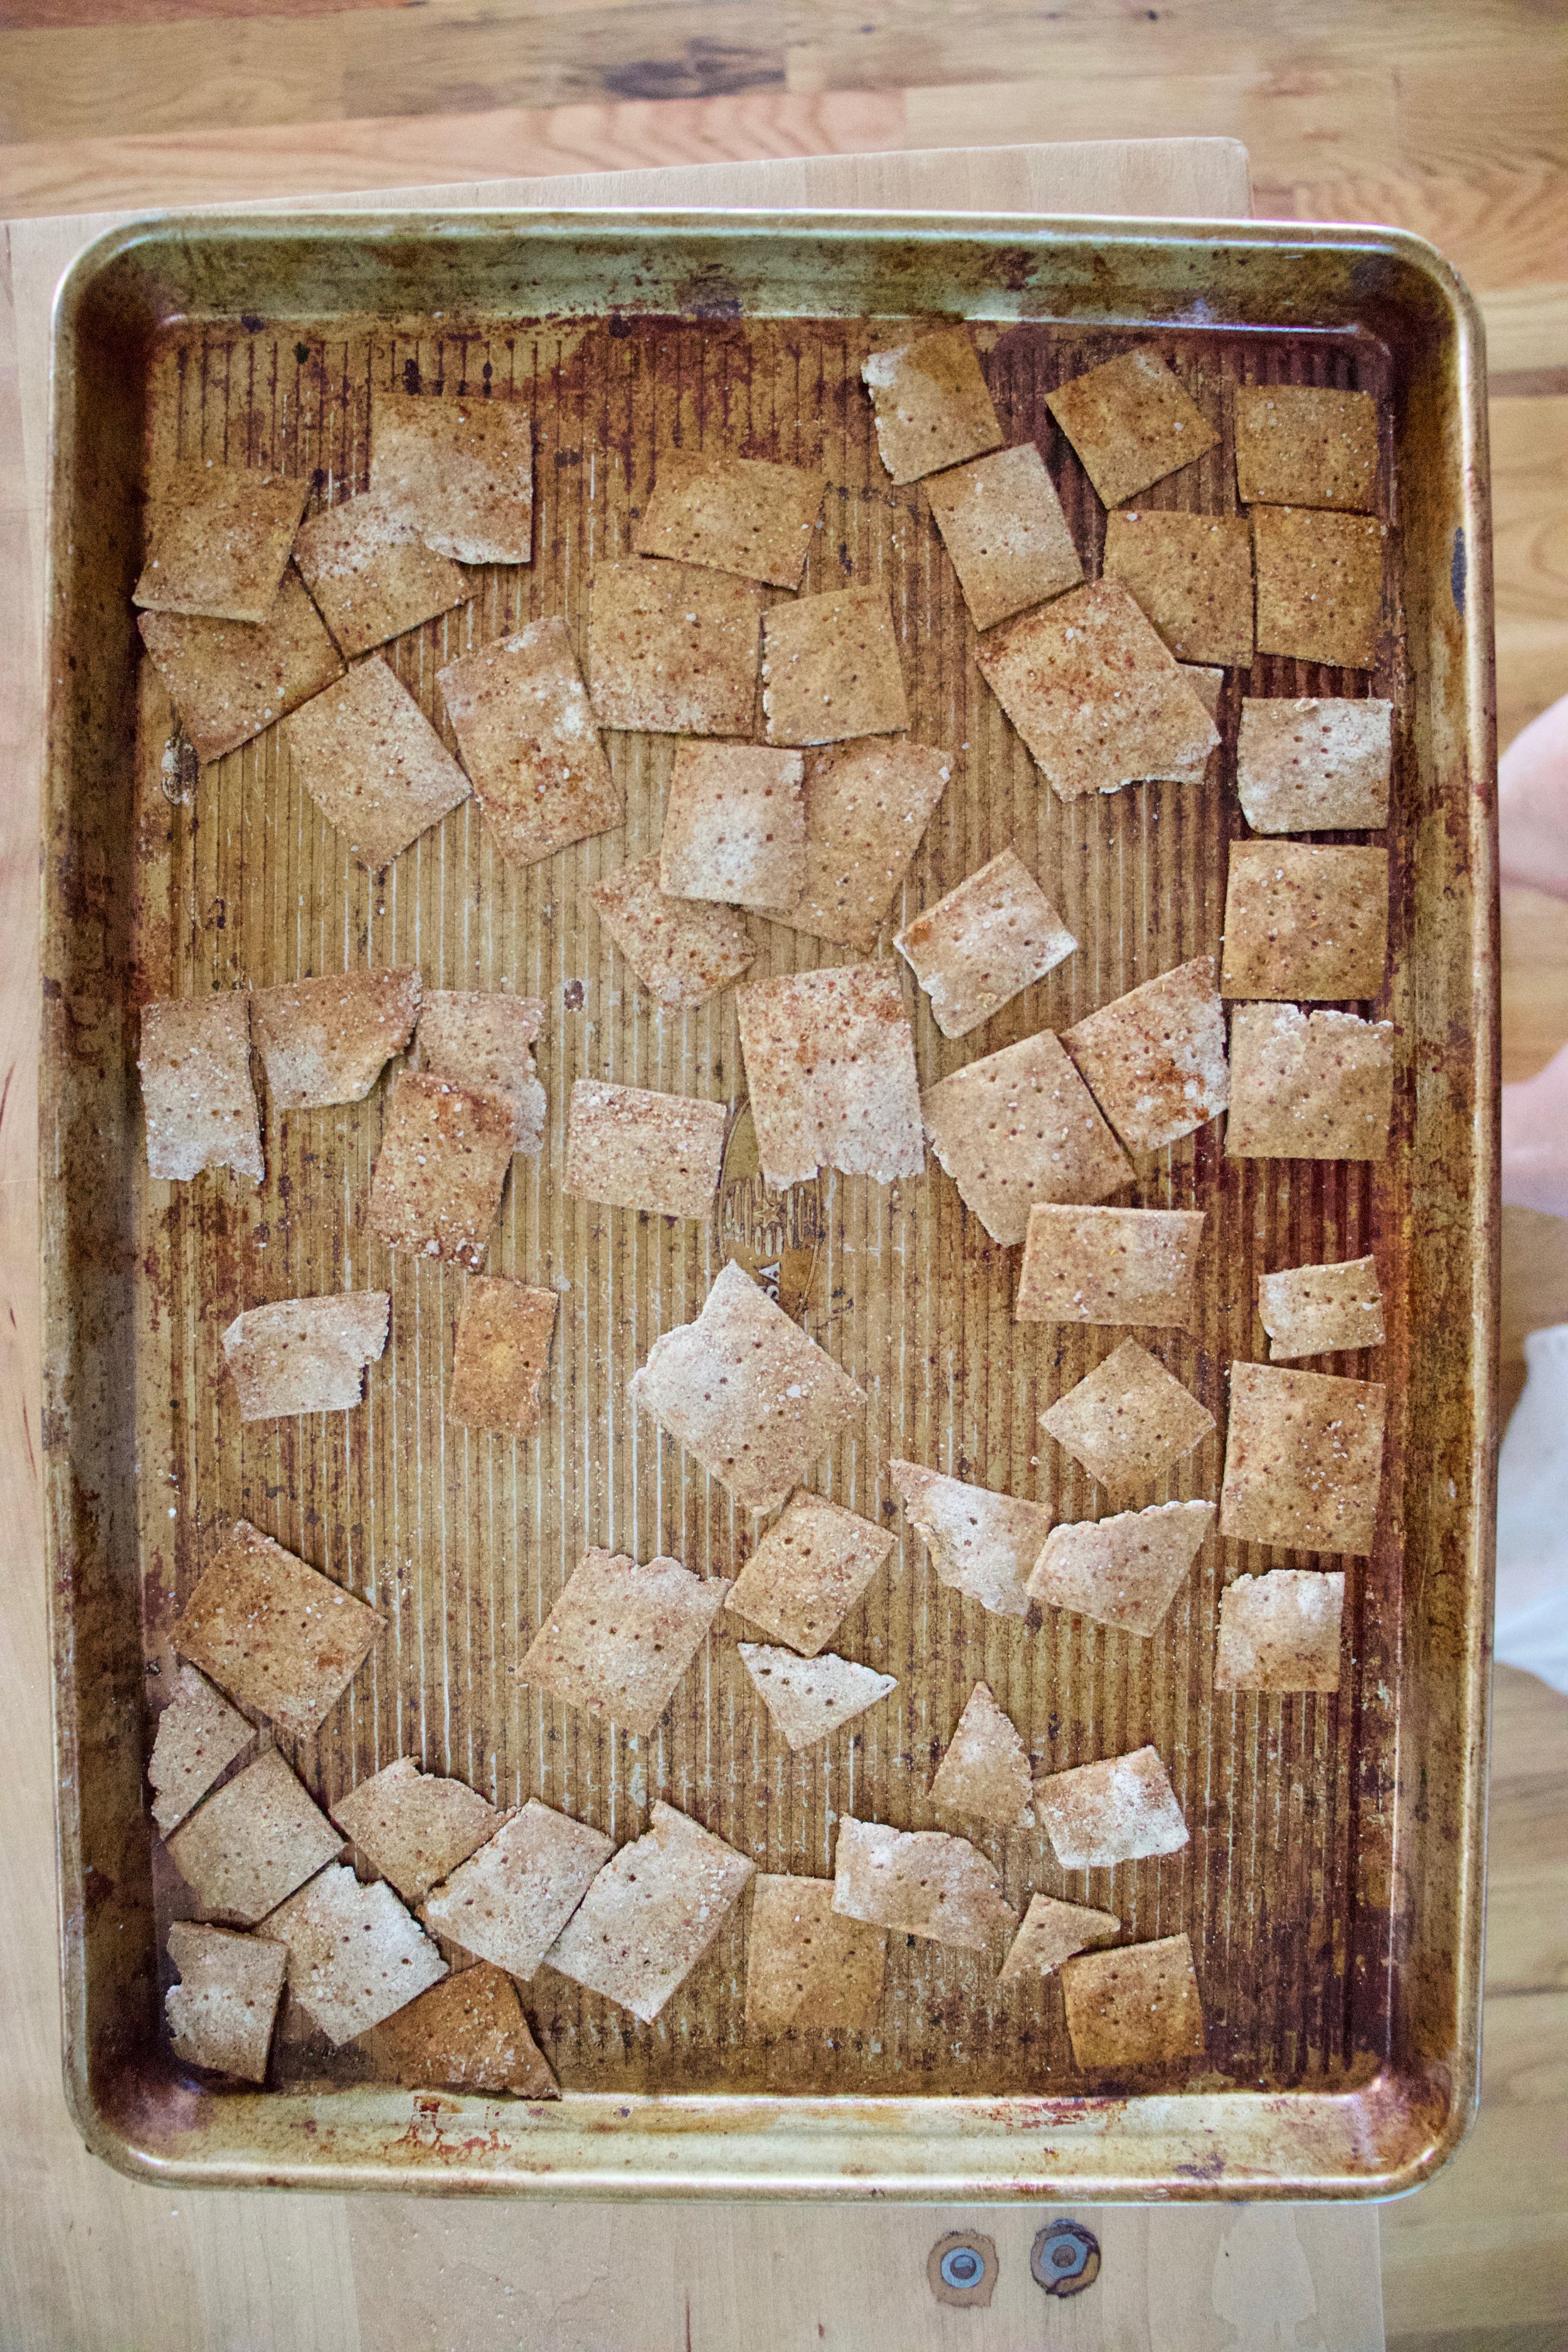
Crackers on a baking sheet before baking and after baking looking all crackery and delicious. And yeah, they shrink a bit.

And lastly, cool the crackers on a cooling rack. They will crisp up a even more. Then it’s all you.

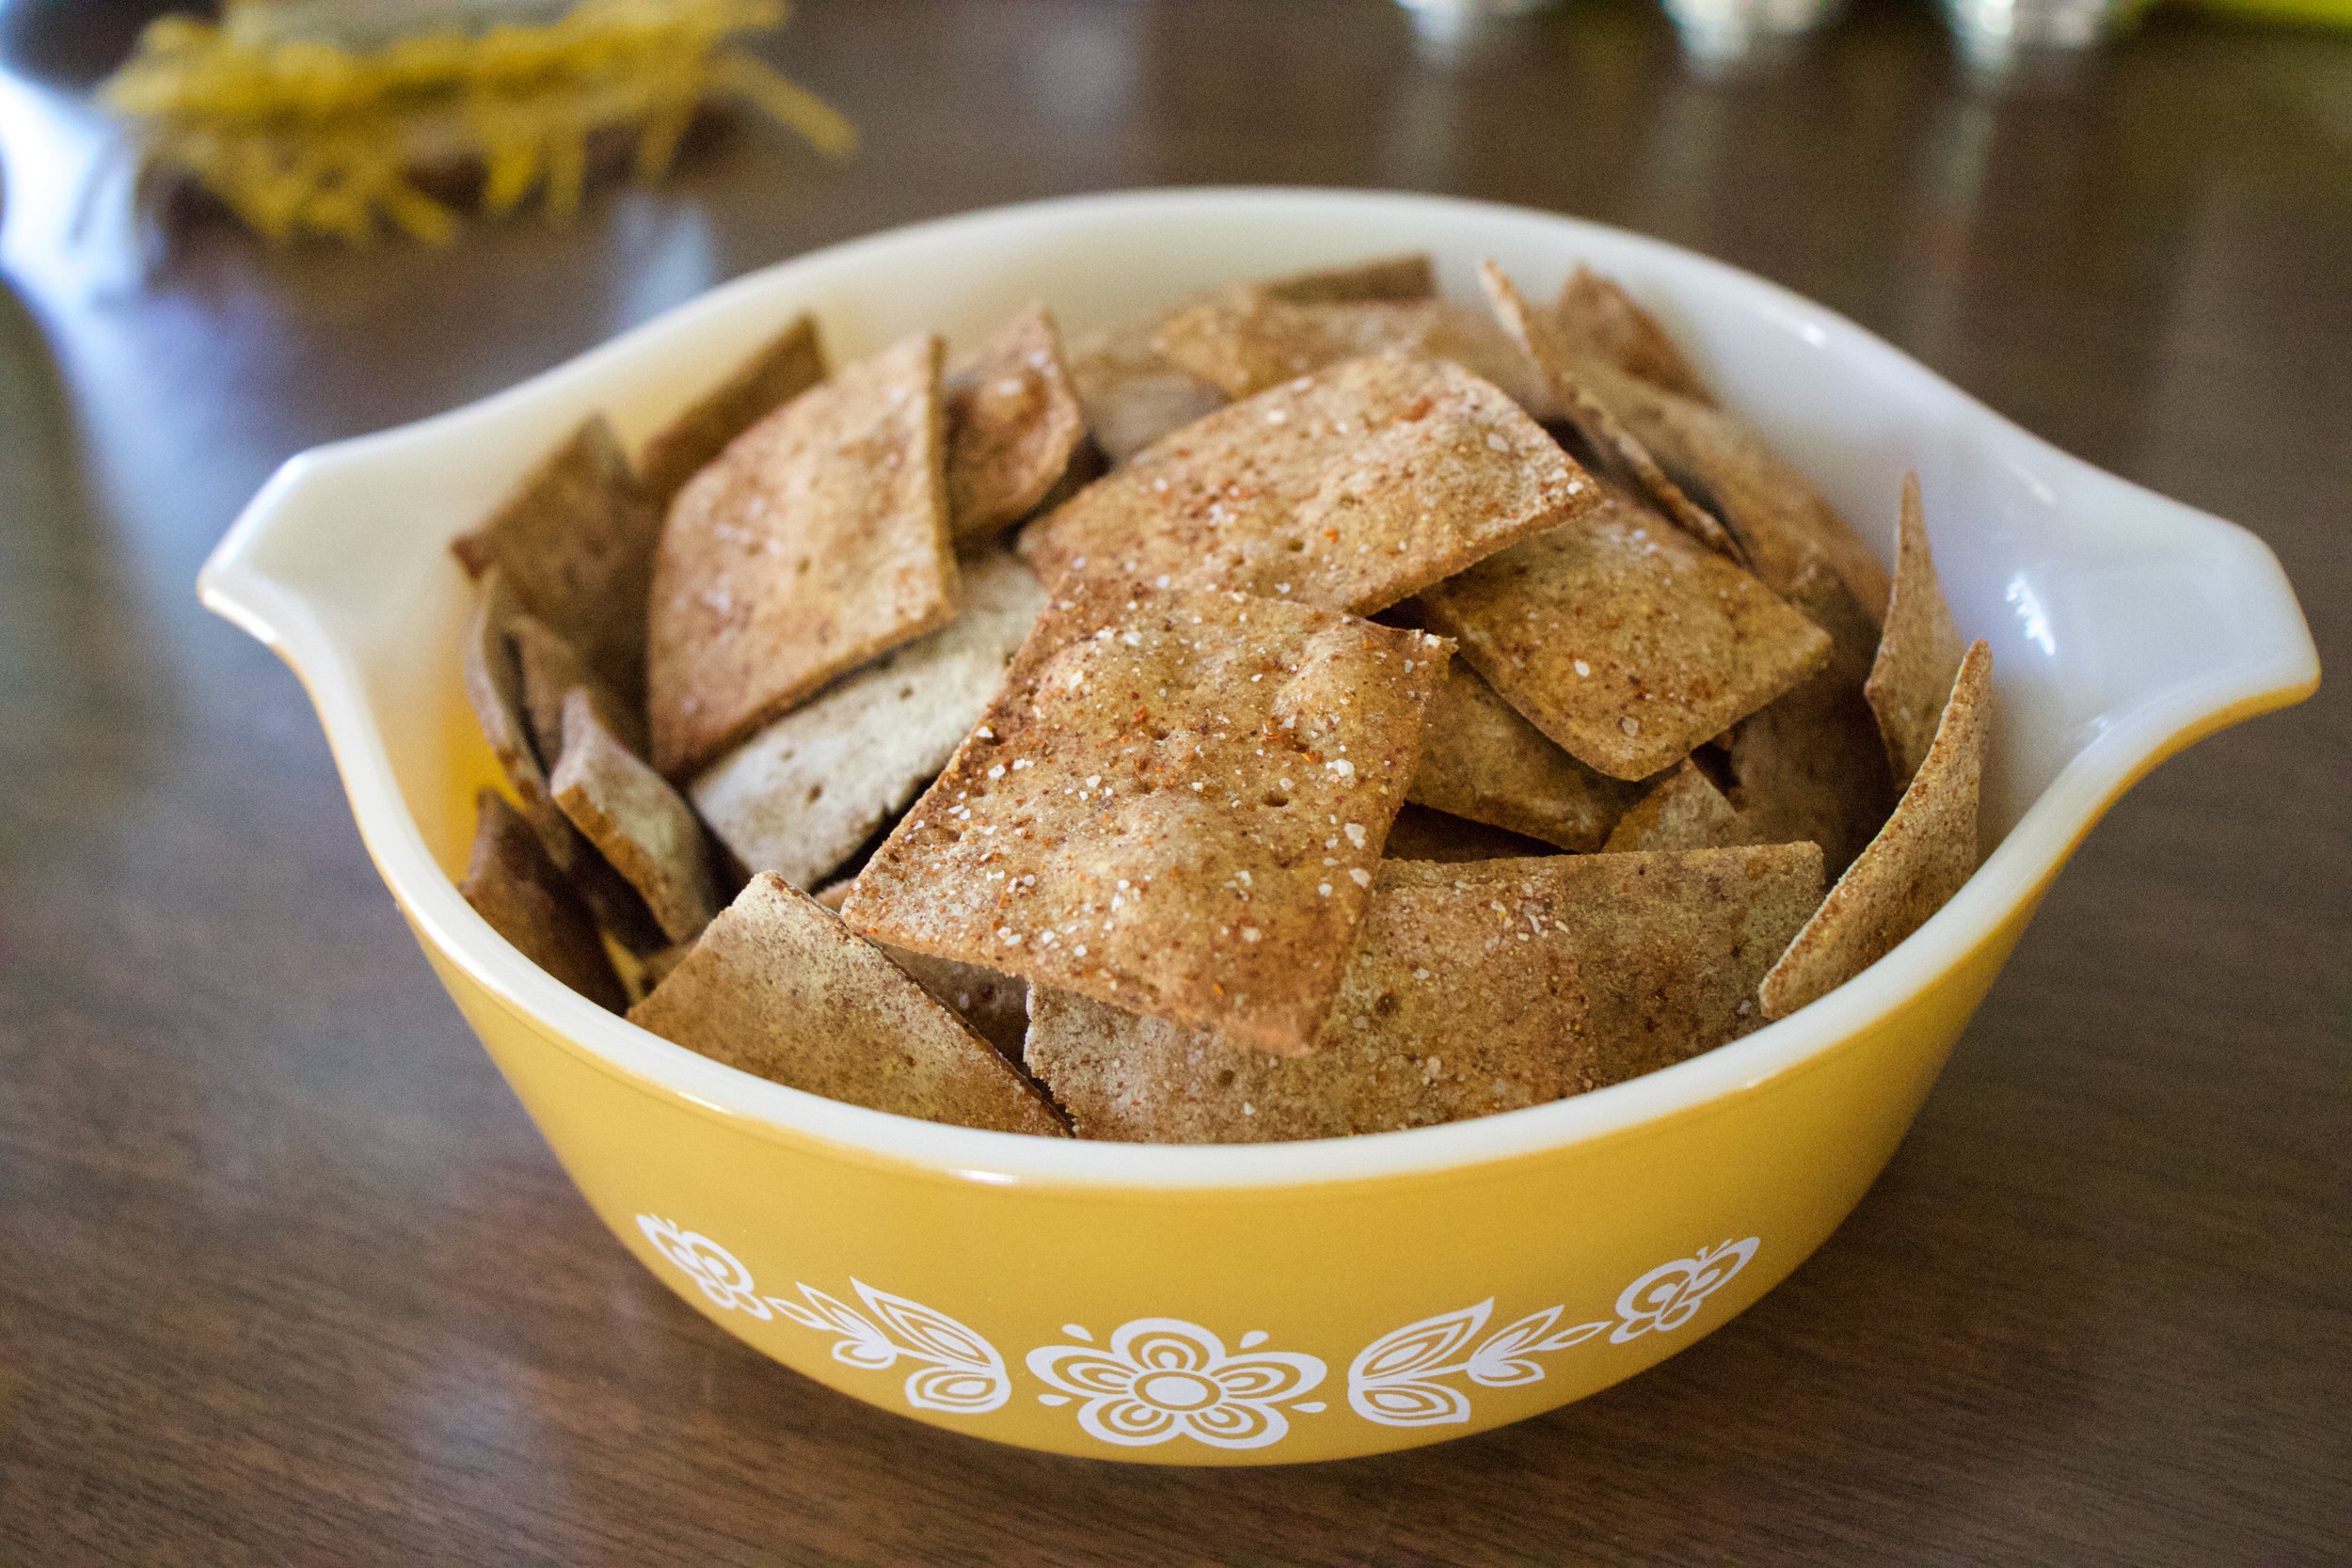
Ready to eat whenever you make the move. You can pack them away for later or place these delicious crackers in a very pretty bowl and eat them away. Or both.

A cracker win!

-C


Chili Lime Chickpea Flour Crackers

make 75 crackers

  • 1 1/2 cups chick pea flour plus about 1/3 more for dusting and rolling

  • 1/2 teaspoon baking powder

  • 1 tablespoon olive oil

  • 1/3 cup room temp water

  • 1 teaspoon chili powder split in half

  • 1 lime

  • 1 teaspoon salt split in half

  • 1/2 teaspoon fresh crackers pepper

Preheat oven to 350.

In a bowl combine the chick pea flour, baking soda, pepper, 1/2 teaspoon chili powder, and half a 1/2 teaspoon salt. Mix until evenly incorporated. Add in oil, the juice of the lime, and and water and mix until a dough forms. Dump dough onto counter and knead until completely uniform in texture. Add more flour if the dough is really sticky. Set dough aside for a few minutes to rest.

To make the crackers, really dust the counter with chickpea flour. Cut the dough into 2-3 pieces and roll1 piece out at a time to about an1/8 inch thin. Again, really flour the surface and rolling pin or else the dough will stick Once rolled, combine the remaining chili powder and salt and sprinkle the top with it. And then cut the crackers. Take a knife of bench scrapper or pizza cattier and cut the dough into inch long strips vertically, then diagonally. Poke each cracker with a fork then gently place them onto a baking sheet. Repeat with remaining dough.

Bake crackers for 15-20 minutes or until a nice deep golden brown. Remove from oven and let cool on a wire rack.

And then eat.

Store uneaten crackers in an airtight container for about a week.

In Vegan, snack, pulses, grain free, Gluten Free, Dairy Free, crackers and chips, beans Tags Chili Lime Chickpea Flour Crackers, gluten free, grain free, vegan, camp, cracker, snack, chili lime, pulses, protein, beans, dairy free, quick and easy, chick pea flour, gram flour, besem flour
Comment

Peach Almond Shortbread Bars

June 22, 2019 Colleen Stem
IMG_9654.jpg
IMG_9697 3.jpg

Peaches are here. YAY!!! Peaches are for sure one of those fleeting fruits, one that once in season, you need to eat as many fresh as you can because once they are out of season, they are not good. Not good at all. And me being me, I see peaches, I buy a shit load, and now I have a fridge drawer full. Not complaining in the slightest, but peaches cannot sit around all summer waiting to be eaten. So if you are going to buy a shit load, know what you are going to do with them all.

My peaches, well they haven’t had to wait long. I have been eating at least a peach a day and… I made these bars with a few. Sharing my peaches, thats what I do. HA.

These almond peach shortbread bars. Fantastic A+ on all fronts. Easy to make, not a whole heck of a lot of ingredients, make the house smell amazing, and really kick off the peach, summer vibe thing that goes on around here.

'“Millions of peaches, peaches for me. Millions of Peaches, peaches for free” 🎶 (Peaches by The Presidents of the United States of America. If you have’t head the song, look it up. I don’t think I can even look at a peach without hearing the song in my head.)

Now to the peach almond shortbread bars!

IMG_9477.jpg

The stuff. Peaches, almonds, vegan butter, brown sugar, flour, cinnamon, salt, and baking powder.

IMG_9481.jpg
IMG_9483.jpg
IMG_9493.jpg
IMG_9503.jpg

Easy peasy. Almonds go in to food processor first. Blend and pulse for a minute or two until they turn into a medium fine almond meal. (Don’t over blend or you will end up with almond butter.) When almonds are ground, add in the flour, baking powder, salt, cinnamon, and sugar. Pulse until combined. Then add in the butter in chunks and pulse until dough just starts to come together.

Almond shortbread dough.

Half the dough goes into a 9x9 baking pan. Smooshed evenly all over the bottom poke it with a fork. Then it just needs to go into the oven to bake. 15-18 minutes or so, just until it starts to brown a bit.

Peaches need to be cut so cut them up. !/2 inch thick slices, after the pits be removed of course.

IMG_9539 2.jpg
IMG_9552.jpg

Blinded baked bottom. Looks good yeah? Let it cool for a few minutes and then it gets peaches. Three rows, all over lapping and nestled together.

IMG_9557.jpg

The top gets the remaining half of dough and is now it’s ready for the oven. Another 40-ish minutes or so to really seal the deal.

Taken from the oven when golden brown, cooled, cut up, and placed on a pretty plate because pretty is nice.

I am pretty sure you figured out what to do next…. EAT IT!

-C


Peach Almond Shortbread Bars

makes a 9x9 pan which can be cut Into the sizes of your choice

  • 1 cup vegan butter

  • 1 cup packed brown sugar

  • 2 cup cup all purpose flour

  • 1 cups raw almonds

  • 1 teaspoon baking powder

  • 1 teaspoon salt

  • 3 large firm peaches

  • 1 heaping teaspoon cinnamon

Preheat oven 350

Place almonds into a food processor and pulse and blend until a fine meal has formed. It should take only a minute or two and stop half way and scrape the edges and sides do the almonds don’t start to form a paste. Add in the flour, salt, baking powder, cinnamon,and sugar and pulse until combined. Add in the vegan butter in a few chunks and pulse until the mixture turns into a crumbly dough. Stop pulsing and dump mixture into big bowl.

Take half of the mixture and place into a 9x9 baking pan. Evenly distribute and press the dough into the bottom. Take a fork and poke the dough all over then place the pan in the oven. Bake for 15-17 minutes or until the dough just starts to lighly brown. Remove from oven.

While the bottom crust is cooling off for a few minutes, slice peaches into 1/2 inch slices. Obviously make sure to remove pit.

Now take your half baked crust and layer peaches evenly on top. It is easies to start at the top, make three rows across and then layer the peaches down (like in the picture above). Once peaches are layered, grab the remaining half of dough and evenly distribute on top. Place back into oven and bake for another 40-45 minutes or until the crumble on top is a nice deep golden brown.

Remove from oven, let coo completely (or as completely as you can) cut into pieces, and then you eat it.

Left over pieces should be placed in an airtight container in the fridge for up to 5 days. They freeze well individually wrapped too.

blind back for about 15 minutes of until the crust is starting to brown around the edges

bake for another 30 minutes

In Vegan, summer, Nuts, fruit, desserts, Dairy Free, brownies and bars Tags Peach Almond Shortbread Bars, Vegan, plant based, dairy free, pie bars, shortbread, almonds, peaches, dessert, crumble bars, sweets, bake, quick and easy
2 Comments

Parsnip Fritters

February 2, 2019 Colleen Stem
IMG_5053.jpg
IMG_5061.jpg
IMG_4970.jpg

Fritters are no joke. You can just about turn anything into a fritter and almost all of the time it will taste pretty good. Parsnips are no exception. Tasting the way parsnips do, straight up without any extra spices, these fritters will hit the spot if you are on the lookout for a fritter for your fritter seeking self.

And what if you are not sure you like parsnips or fritters for that matter. Stop right here. You probably do and just don’t know it yet. I guess the only way you will really know is to make a batch. Then you can tell me all about how you love parsnips and will now be making fritters for every meal every day for the next week.

To the frittering.

IMG_4902.jpg

The stuff. Parsnips (I only needed one because mine are humongous) a carrot, an onion,. some garlic powder. a little oat flour, a flax egg, and some olive oil. Also if you want to serve with avocado mash (which tastes great together), well grab one and a lemon too.

Start being shredding the parsnip, carrot, and half the onion into a big bow. Chop up the other half of onion into small bits. I do this because grating onion only turns the onion into a juice and I like the little bits if onion in my fritter.

Shredded and mixed. And pretty too.

IMG_4926.jpg

Add in the garlic powder, a little salt and pepper, the flax egg, and the oat flour.

Mixed and ready for the cooking.

IMG_4950.jpg

A medium hot frying pan with a little olive oil is what you need. Make medium sized flattish patties and cook until nice and golden brown.

IMG_4959.jpg

Flip and cook the other side just the same.

IMG_4966.jpg

Fritters are done and could be eaten now too, but I like to stick them on a baking sheet and into the oven for 10 minutes or so to really crisp them up.

If you want to serve with avocado, just mash half of one up with a pinch of salt and juice of lemon.

IMG_5027.jpg

And that is that. Out of the oven, onto a plate, and into the mouth.

Enjoy

-C


Parsnip Fritters

makes about 9 fritters

  • 1-3 parsnips, depending on size (about 2 1/2 cups shredded)

  • 1 carrot

  • a medium sized onion

  • 1/3 cup oat flour

  • 1 flax egg (3 tablespoons warm water and 1 tablespoon ground flax seed)

  • 1 teaspoon graduated or powdered garlic

  • salt and pepper

  • oil (any kind you like)

  • An avocado and a lemon (optional)

Preheat oven to 400

Shred the parsnips, carrot and half the onion into a large bowl. Mince the second half of onion and mix into the shredded. Add a pinch of salt and pepper, the flax egg, and the oat flour and mix until evenly incorporated. Grab a flying pan, add a little olive oil, and place on medium high heat. Once pan is hot, scoop about 1/4 cup of the mixture into pan, trying o keep it compacted. Let it cook for a few minutes then with a spatulaf gently tamp it down. Flip and let the other side cook until golden brown. Once they are cooked, they can be eaten, but I like to place them into the oven for about 10 minutes to cook and crisp up a little more.

Once done, serve anyway you like, but mashed up avocado with lemon is fantastic. Tahini would also rock.

Eat and if you by chance have any left over (but you wont) they can be placed in fridge and reheated later (or eaten cold)

In Vegetables, Vegan, quick and easy, grain free, Gluten Free Tags Parsnips, Parsnip Fritters, Fritters, Pancakes, latkes, vegan, egg free, gluten free, plant based, flax egg, dinner, quick and easy, root vegetables, grain free, dairy free
Comment

Caramelized Onion and Apple Cornbread

November 10, 2018 Colleen Stem
IMG_2269.jpg
IMG_2279.jpg

You know when you eat something that you haven’t had or haven’t had in a long time and it’s all you want to eat?

I am having a moment with apples and onions. Roasted and raw, it’s on my mind every time I am making food. Weird? I don’t know, but it’s sweet and savory and all fall like and comforting. It’s a good moment.

So now I am passing on my moment in the form of cornbread. Why cornbread? Well I think cornbread is a fine fine vessel for things that could be perceived sweet of savory. This cornbread is in fact not sweet, but not not sweet. It is a little both and suits the the apple and onion moment quite well.

People ate it, at first somewhat suspect that it was not going to be good, but after a bite or two they too appreciated the apple onion combination. And the cornbread. Even got a lady that doesn't even like cornbread to like this so that is something right?

Embrace the moments.. To the cornbread!

The stuff. A couple apples, an onion, cornmeal, flour, salt, and baking soda. Also soy milk, oil, apple cider vinegar, maple syrup, pepper, Sansa little earth balance.

IMG_2181.jpg
IMG_2187.jpg

Start by thinly slicing the onions. Toss them into a oven safe skillet with about a tablespoon of earth balance and place on a medium heat.

IMG_2190.jpg

Once the onions are cooking, thinly slice the apples too.

IMG_2197.jpg

Toss the apples in with the onions and stir around wait a few minutes and stir around some more until the stuff all looks like…

IMG_2218.jpg

This. The apples ans onions are super tender sans soft and amazing and do not eat them all, but maybe have bite or two.

Scoop the mixture out of the skillet ans melt another tablespoon of earth balance into the skillet, trying to evenly coat the bottom.

Now to the cornbread. Mix together all of the dry ingredients.

Then add in all the wet and gently mix until completely incorporated.

Pour the batter into the greased skillet

IMG_2234.jpg

Top with the apple union mixture then pop into the oven for about 40-45 minutes to bake.

IMG_2243 2.jpg

Golden crisp and amazing smelling. Check for donees with a tester stuck in the middle and when its done, its done.

Now the hard part. Let it cool. You can go right at it, but it will crumble and fall apart. This bread really needs a little time to chill.

Then it’s time. Eat what you need. Careful, it might be all of it.

-C


Caramelized Onion and Apple Cornbread

makes a 10 inch round skillet of bread

  • 1 1/2 cups cornmeal

  • 1 cup all purpose flour

  • 1 1/2 teaspoon baking soda

  • 1 teaspoon salt

  • 1 2/3 cups soy or other plant based milk

  • 2 tablespoon apple cider vinegar

  • 1/3 cup maple syrup

  • 1/3 cup neutral oil like canola

  • 1 large onion

  • 2 apples (macon or mac)

  • 2 tablespoon earth balance or vegan butter

  • Pepper

Note. This bread is baked in a cast iron skillet. If you don’t have one, you can use a 10 inch cake pan or a 9x9 square pan.

Preheat oven to 400

Start by cutting the onion in half length wise then slice the halves into very thing pieces. Grab a 8-10 inch oven safe skillet and place on medium heat with about a tablespoon of butter. Add in the onions, stir around, and let cook. Grab the apples, remove the cores and slice into thin pieces. Add the apples to the onions and stir. Keep cooking and stirring until the apples and onions are very tender and starting to brown. Place the mixture into a bowl then coat the bottom and sides of the skillet again with another tablespoon of butter. Set skillet aside for a minute.

For the cornbread, mix together the flour, cornmeal, salt, and baking soda in large bowl. Add in the soy milk, maple, oil, and vinegar and gently mix until completely incorporated and there are no big lumps. Pour batter into the greased skillet. Evenly top with the apple onion mixture, sprinkle with a little pepper, then pop the skillet into the preheated oven. Bake for about 40-45 minutes or until it’s a nice dark golden brown and a taster stuck in the middle comes out clean. Once cooked, remove from oven and let cool for at least a half hour. The cornbread needs the time to cool or else it will cut really crumbly.

Once cooled, eat. Left overs can be stored in airtight box at room temperature for a day, but any longer it should go into the fridge.


In bread, Dairy Free, side dish, Vegan, Vegetables Tags Caramelized Onion and Apple Cornbread, cornbread, vegan, plant based, thanksgiving, bread, apples and onions, sweet and savory, quick and easy, dairy free, king Arthur flour, cornmeal
Comment

Spaghetti with Roasted Summer Squash, Onions, and Tomatoes

August 25, 2018 Colleen Stem
IMG_1809.jpg
IMG_1769.jpg
IMG_1807.jpg

Dinner for when you have maybe too many (although I never think I have too many... just sometime I end up with a lot at once and that it can get a little chaotic)  squash and tomatoes, which may be bound to happen this time of year.

Nothing fancy, and is quick and easy, filling, and full of all those summertime things that need to be eaten before they are gone and we are back to eating beets and potatoes for months at a time. 

Savor all of the good stuff the summer is giving us. 

IMG_1734.jpg

The stuff. A couple of squashed ( I used a crookneck and a patty pan), cherry tomatoes, an onion, some spaghetti, salt and pepper, and olive oil. 

IMG_1749.jpg

Preheat the oven and chop up your squash and onion. Not tiny pieces, but not really bug chinches either.

IMG_1754.jpg

Toss all that chopped stuff into a skillet along with the cherry tomatoes. Drizzle it all with olive oil, sprinkle with salt and pepper, then stick it into the hot oven. 

While the stuff is roasting, cook up the pasta, but cook it a little al dente, it will cook a bit more once mixed with the veggies.

Roasted and ready for noodles.

Add the cooked spaghetti to the skillet, along along with about 1/2 of cup of the pasta water (it helps bind the flavors all together). Toss it all around and  then let it chill in the hot skillet for a minute or two then taste it. So good right? And if you need to, season with more salt and pepper, and drizzle with more oil if needed. 

IMG_1807.jpg

That is all you need to do, besides you know, sticking it into a bowl, getting all the good big chunks, and eating it.

-C


Spaghetti With Roasted Summer Squash, Onions,  And Tomatoes

  • 2 small summer squash (I used a crook neck and a patty pan... but whatever kind you have on hand works)
  • 1 mild onion (vidalia or walla walls)
  • 1 pint cherry  tomatoes
  • 2-3  tablespoons olive oil
  • salt and pepper 
  • 1/2 pound spaghetti and water to boil it in

Preheat the oven to 425.

Chop up squashes into inch-ish sized chunks then chop the onion into medium sized slices and toss into a large oven safe skillet. Add in the tomatoes and drizzle the whole lot with olive oil and sprinkle with salt and pepper and toss around to make sure everything is evenly coasted. Place in oven and roast for 30-40 minutes or until the squash and tomatoes are nice and soft and ready to eat. 

While the stuff is roasting, boil the pasta per the instructions on the box, but cook it a little al dente (still with a bite to it). Drain the pasta when done, reserving a cup full of the starchy pasta water.

When the pasta is done and the veggies are roasted, dump the pasta into the skillet along with 1/2 a cup of the starchy pasta water. Mix around and let sit for a minute or two. Sprinkle with more salt and pepper and drizzle a tiny more olive oil on top (optional). 

Serve and eat. 

Basil goes extremely well with this dish, if you just so happen to have some.

In Vegetables, Vegan, summer, quick and easy, entree, dinner, Pasta Tags Spaghetti With Roasted Summer Squash, Onions, And Tomatoes, Summer squash, quick and easy, pasta, spaghetti, dinner, vegan, plant based, summer food
Comment
← Newer Posts Older Posts →
 

https://thelovelycrazy.squarespace.com/config#/|/about/

Me. Food Maker.Food eater. Woo HOO!

STEM+NODE  SMALL BATCH AND ONE OF A KIND POTTERY

stem+node ceramics


____________________

Subscribe

GET NEW POSTS IN YO EMAIL

You are AWESOME!!!


@thelovelycrazy 2014-2021