• stem+node ceramics
  • HOME
  • Food Recipes
  • About
  • Contact
Menu

The Lovely Crazy

Street Address
City, State, Zip
Phone Number

Your Custom Text Here

The Lovely Crazy

  • stem+node ceramics
  • HOME
  • Food Recipes
  • About
  • Contact

Pretzel And Potato Chip Chocolate Chunk Cookies

January 19, 2019 Colleen Stem
IMG_4677.jpg
IMG_4661.jpg
IMG_4704 2.jpg

What with all the holiday and family get togethers we have had over here at my house the past few week, we have had quite a few bags of chips and pretzels left over. Always almost empty… Always dumped into the compost because I mean, I am not so keen on seeing bags of little bits of chips and pretzels in the pantry that I know will never get eaten. Plus it is not like I am saving carrots or grapes or anything I would eat, it’s junk food. But still. I hate the food waste. That is why I made these cookies. To not waste food. And because we had people coming over to the house for dinner and I cannot not have something for dessert. That would be just wrong. And lastly because I am pretty sure that chips and pretzel pieces only make a plain chocolate chunk cookie into an amazing sweet and salty cookie that will just blow your mind.

And I was right. I made the cookies, I feed them to the mr, the sister, friends and all the littles and they just couldn’t get enough.

Current thought. I am sitting here typing and have come to the conclusion that I should start a bakery that makes cookies out of people almost empty bags of chips, like a Cheeto dust cookie, or a peanut butter Funyun cookie or chocolate chocolate chip Dorito cookie.

Yes. this is a good idea. Oh man, I am a genius.

But back to theeese cookies. Start with these. I’ll let you know when I open the storefront to Garbage Cookies (that is what I'll call the place) You can stand in line for the peanut butter Funyun cookies. I have a feeling about that flavor. Until then…

To the cookies!

IMG_4430.jpg

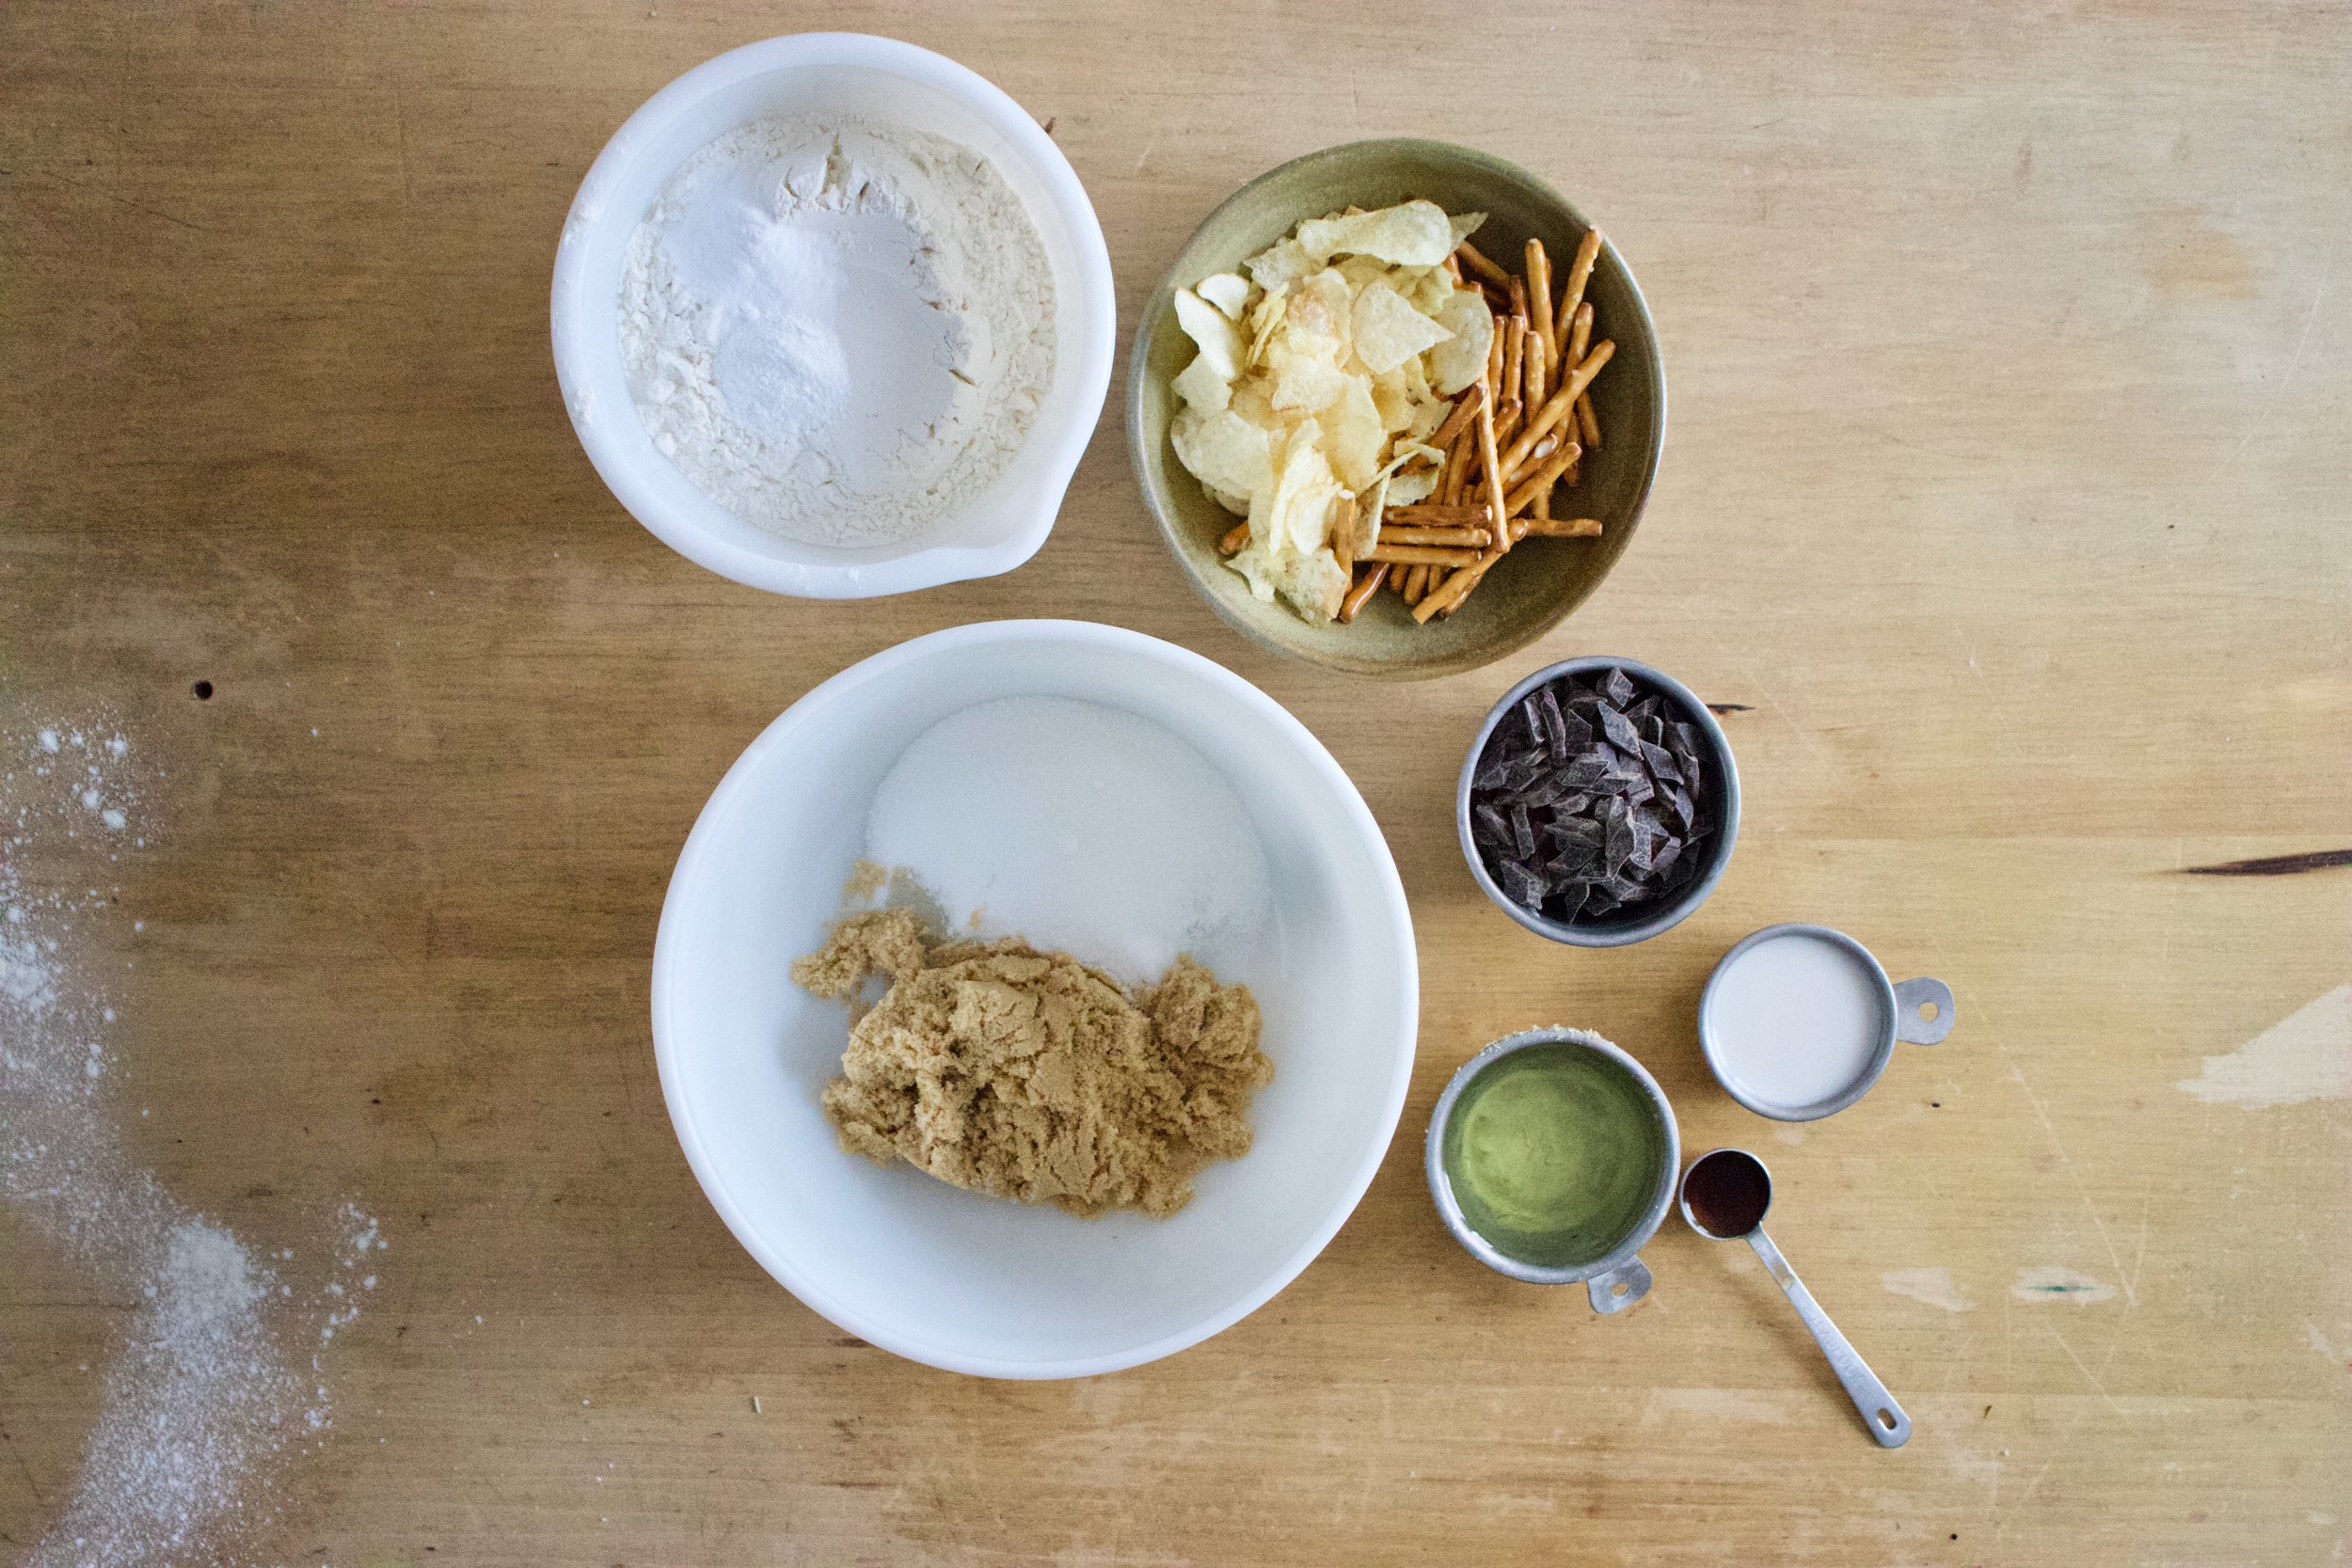
The stuff. The small bowl has flour, baking powder and baking soda. The big bowl has brown and white sugar. Then you need oil, almond milk, vanilla, chocolate chunks, some pretzels and some plain salted potatoes chips.

IMG_4442 2.jpg
IMG_4459 2.jpg

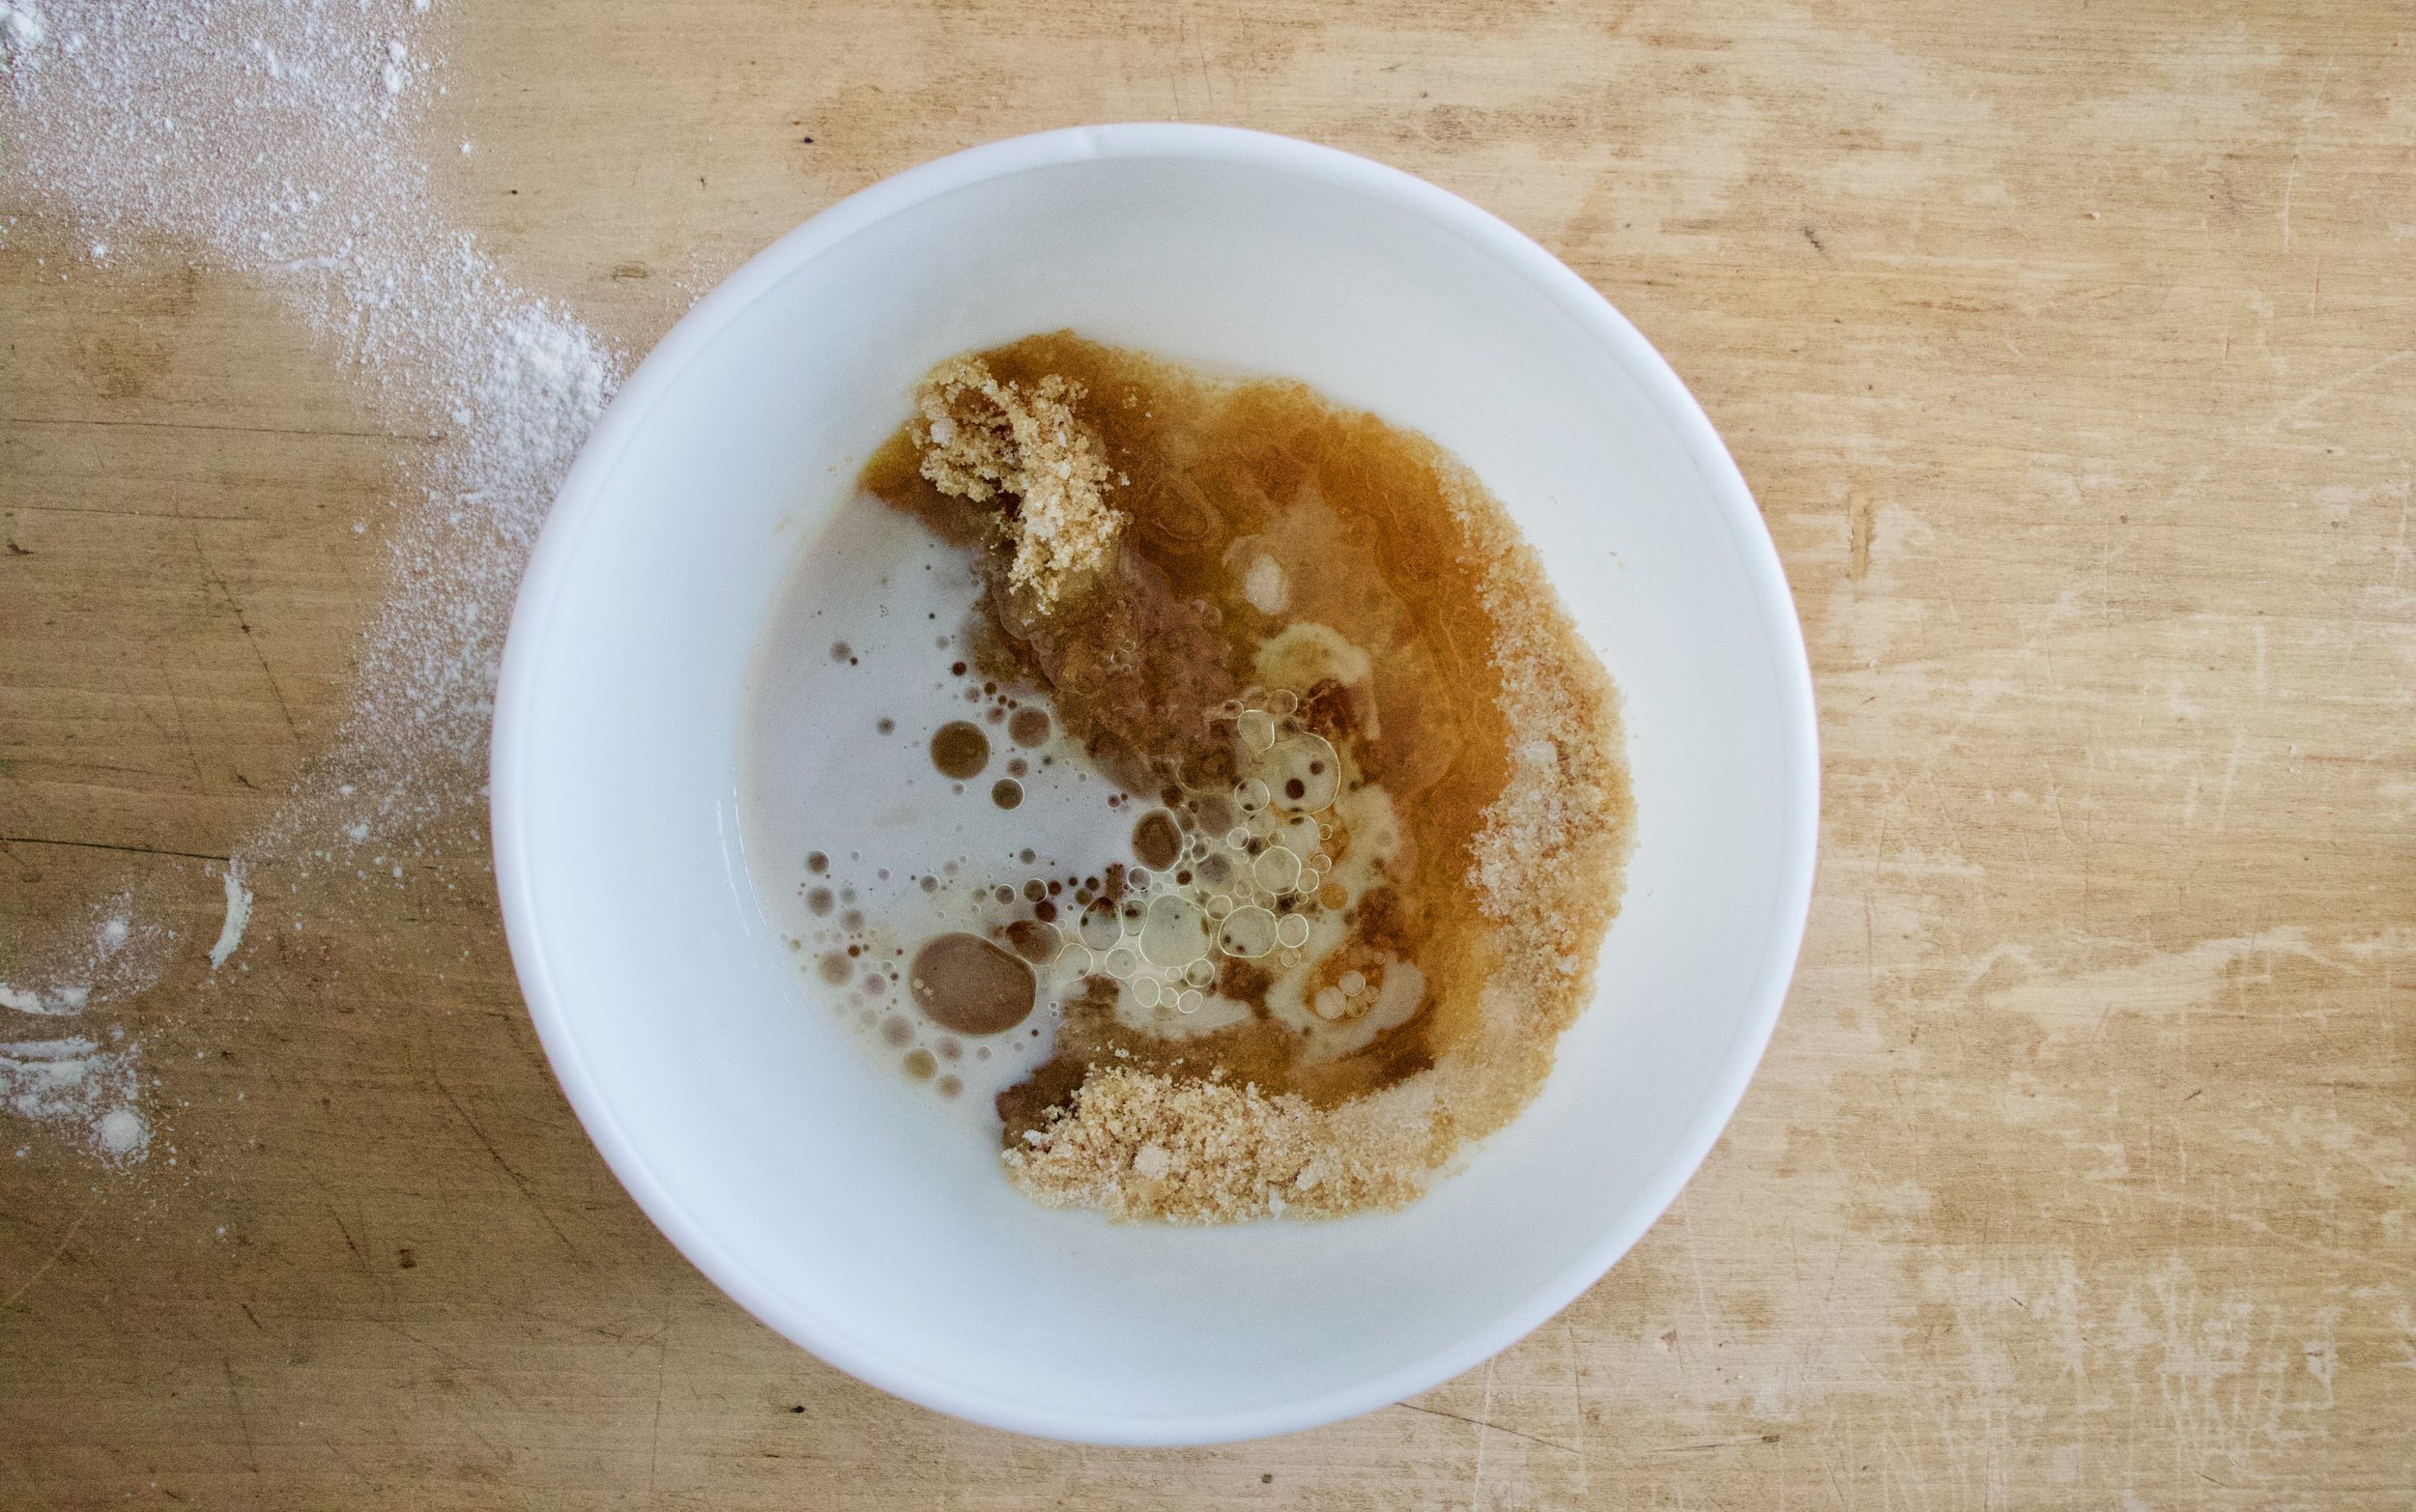
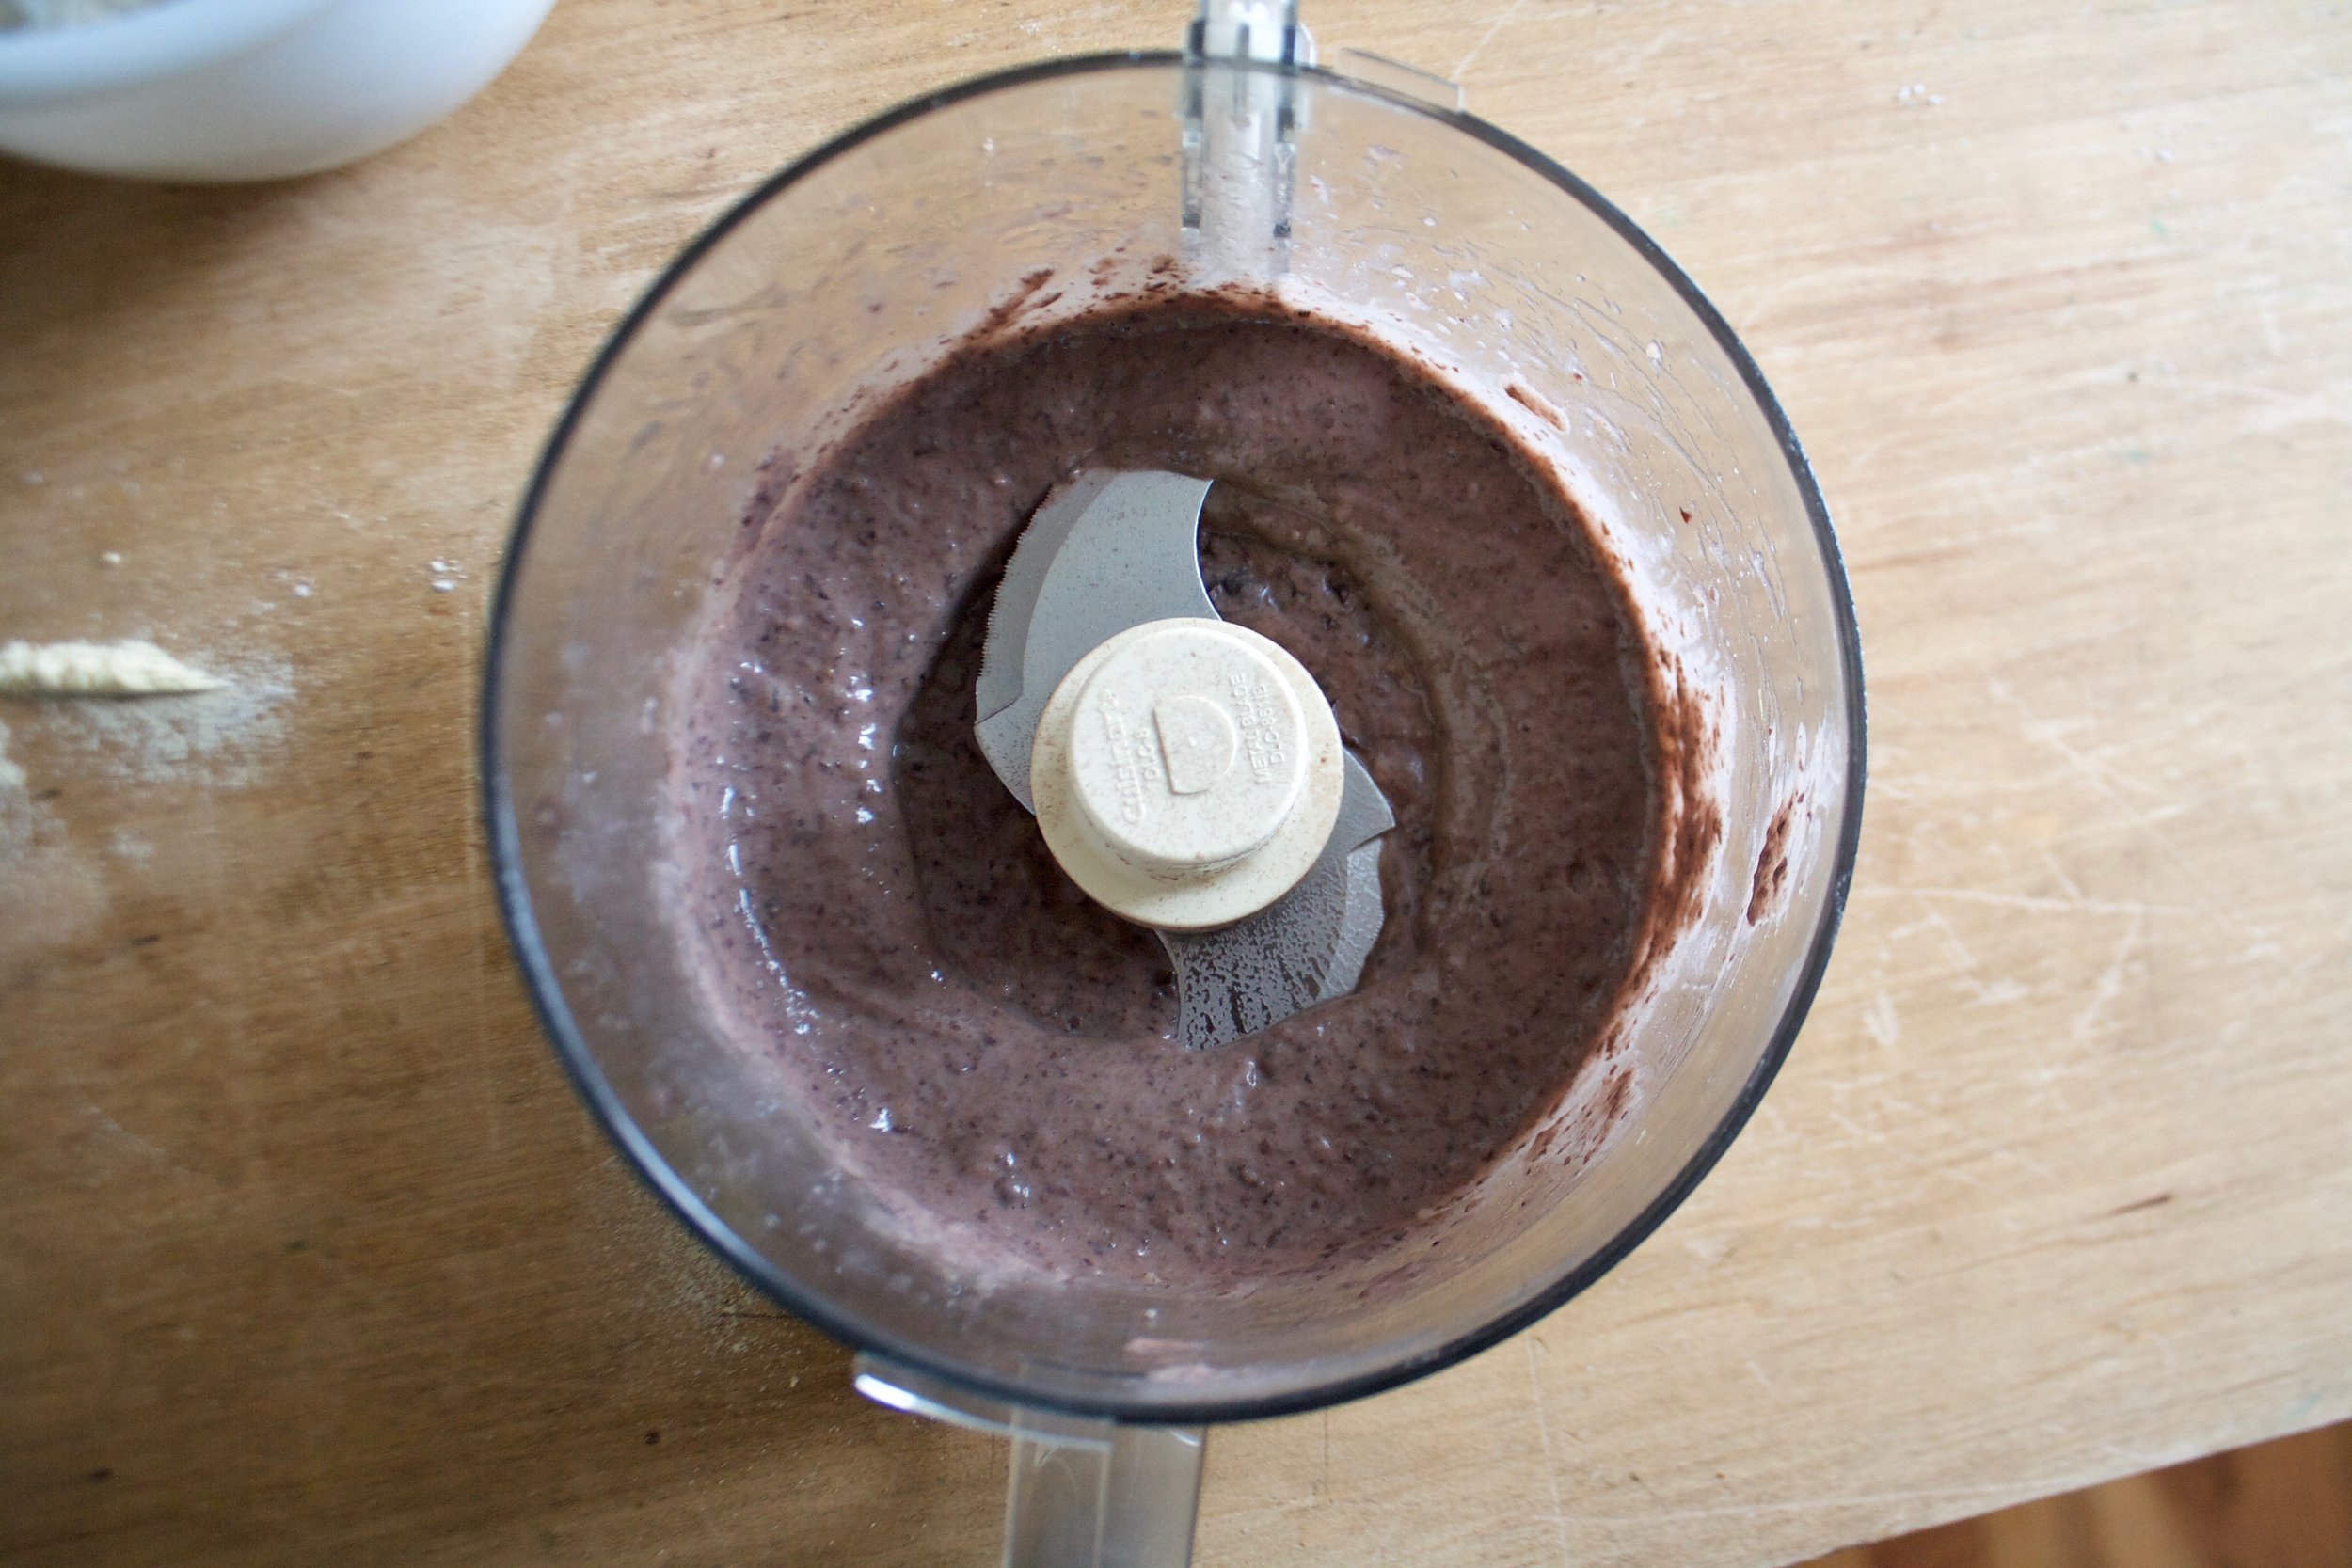
Start with the wet. Mix the oil, the milk, and the vanilla into the sugars until completely smooth

IMG_4465.jpg

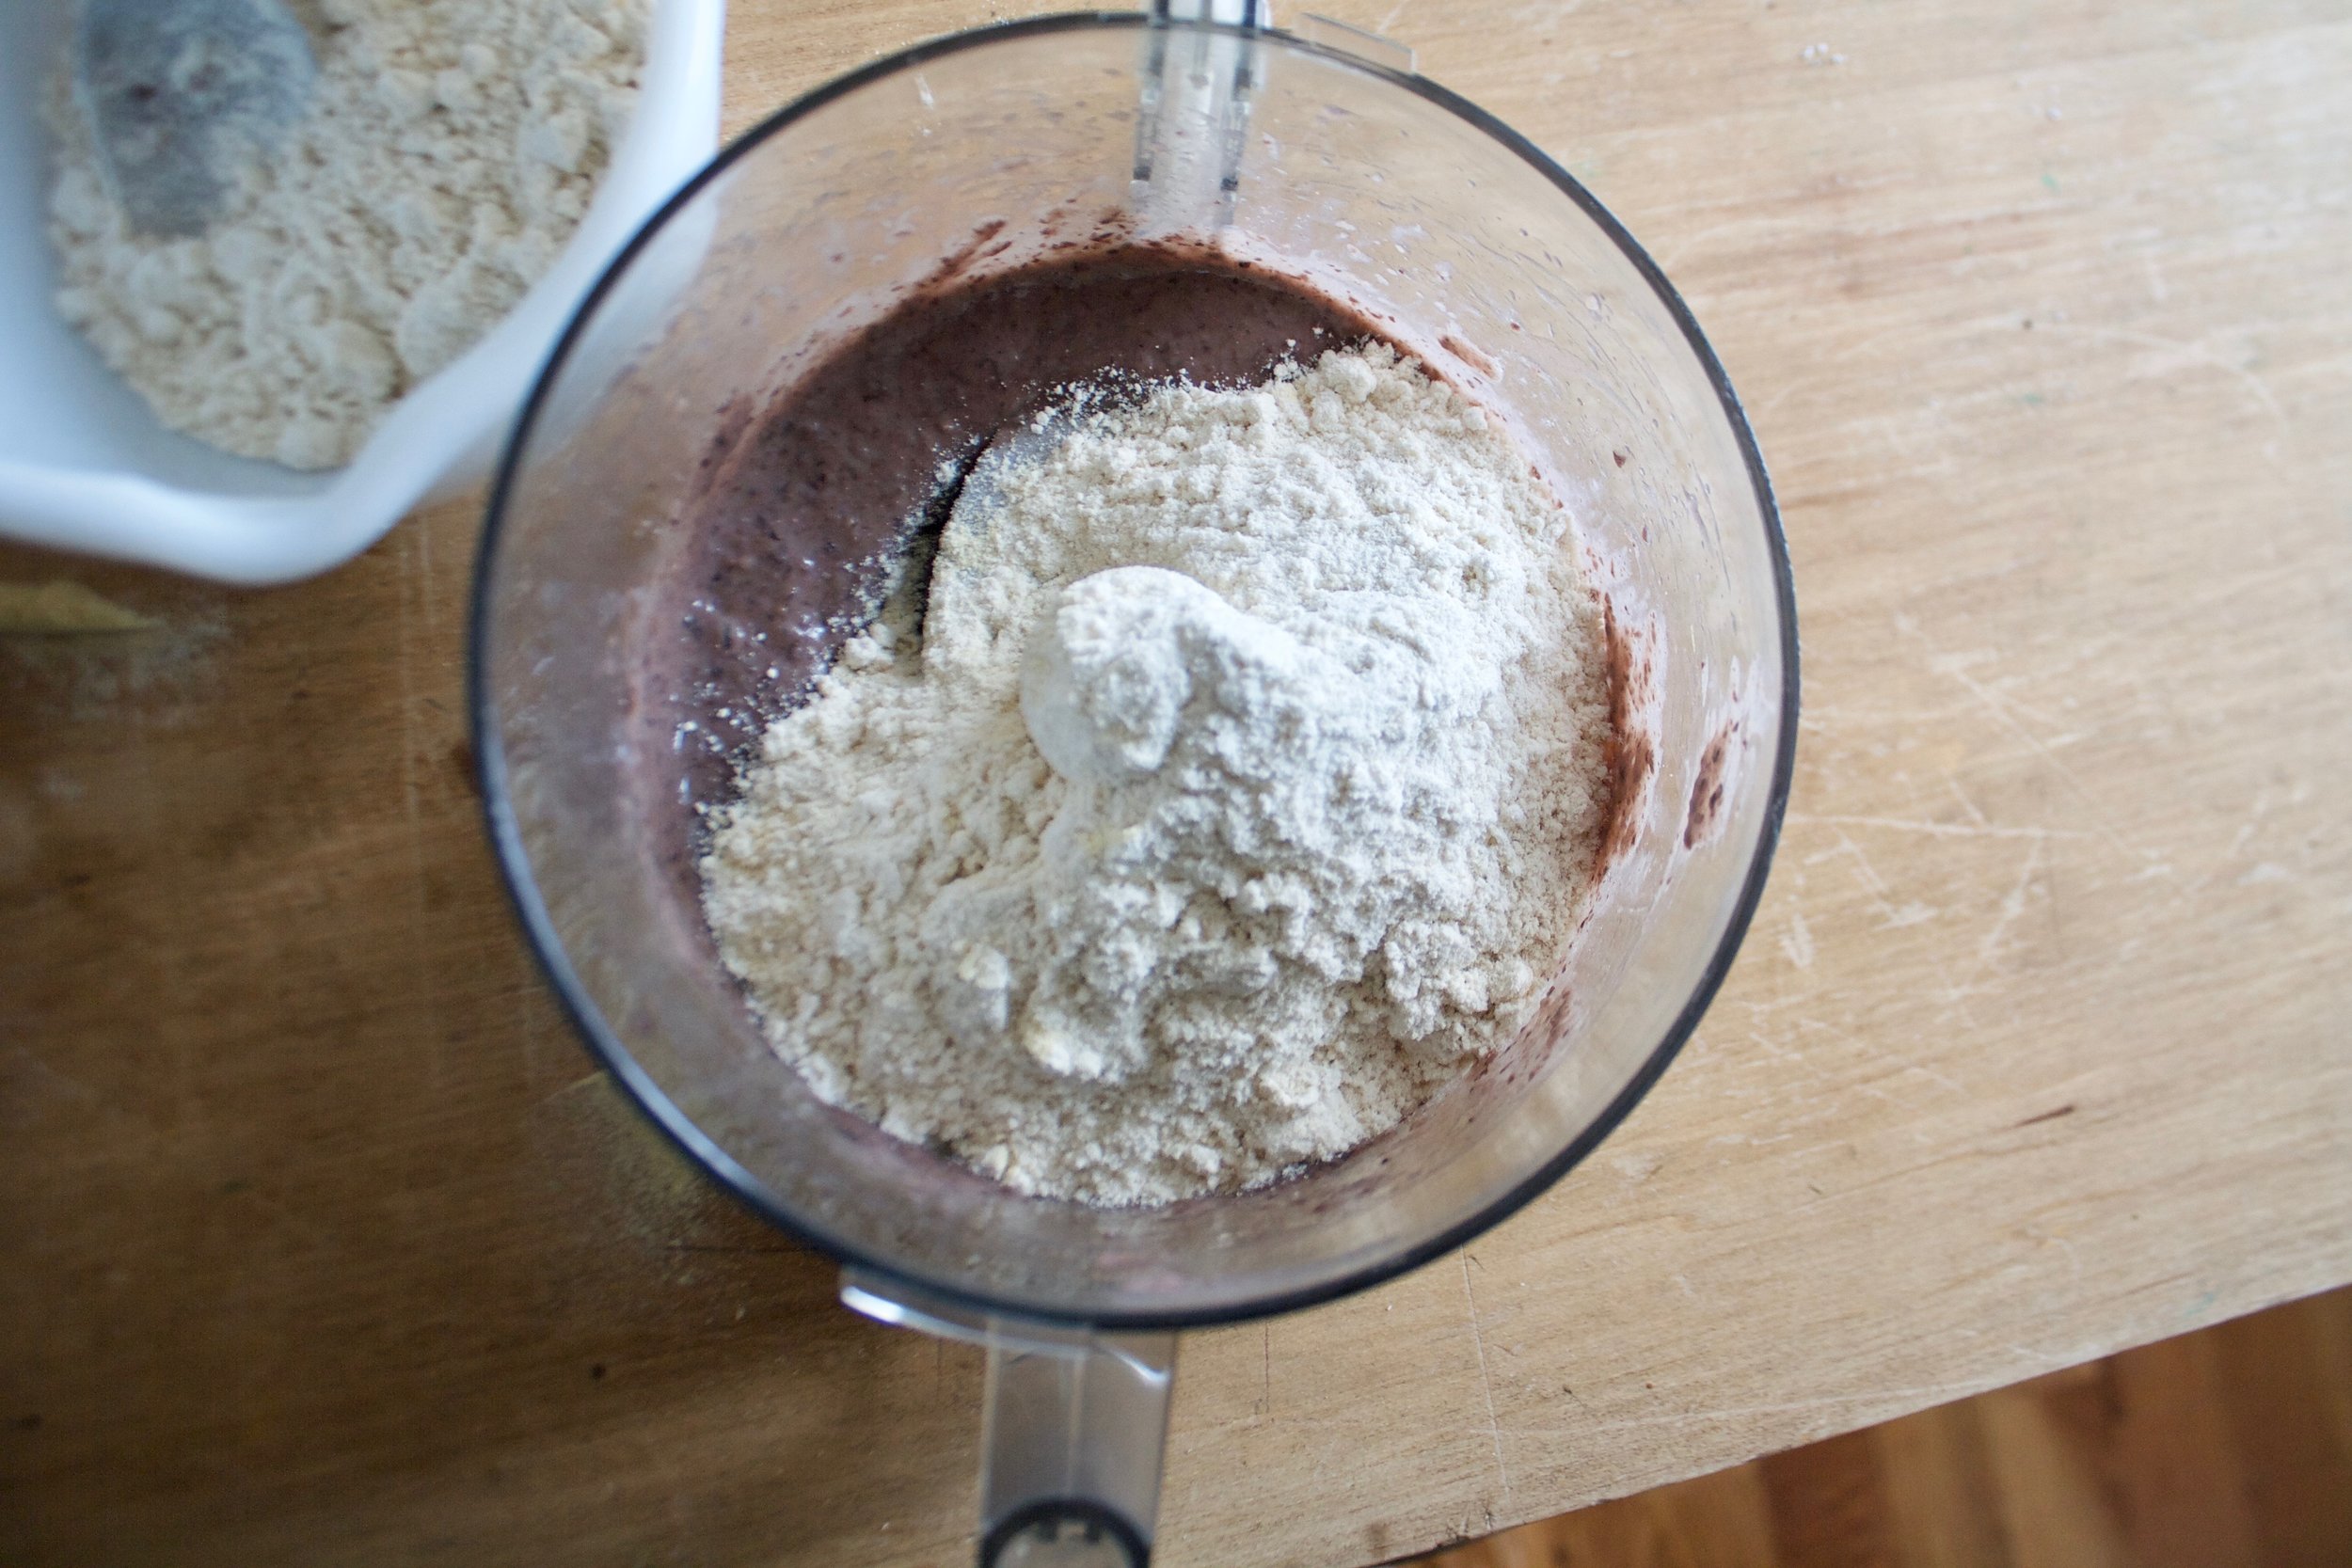
Whisk together the dry stuff.
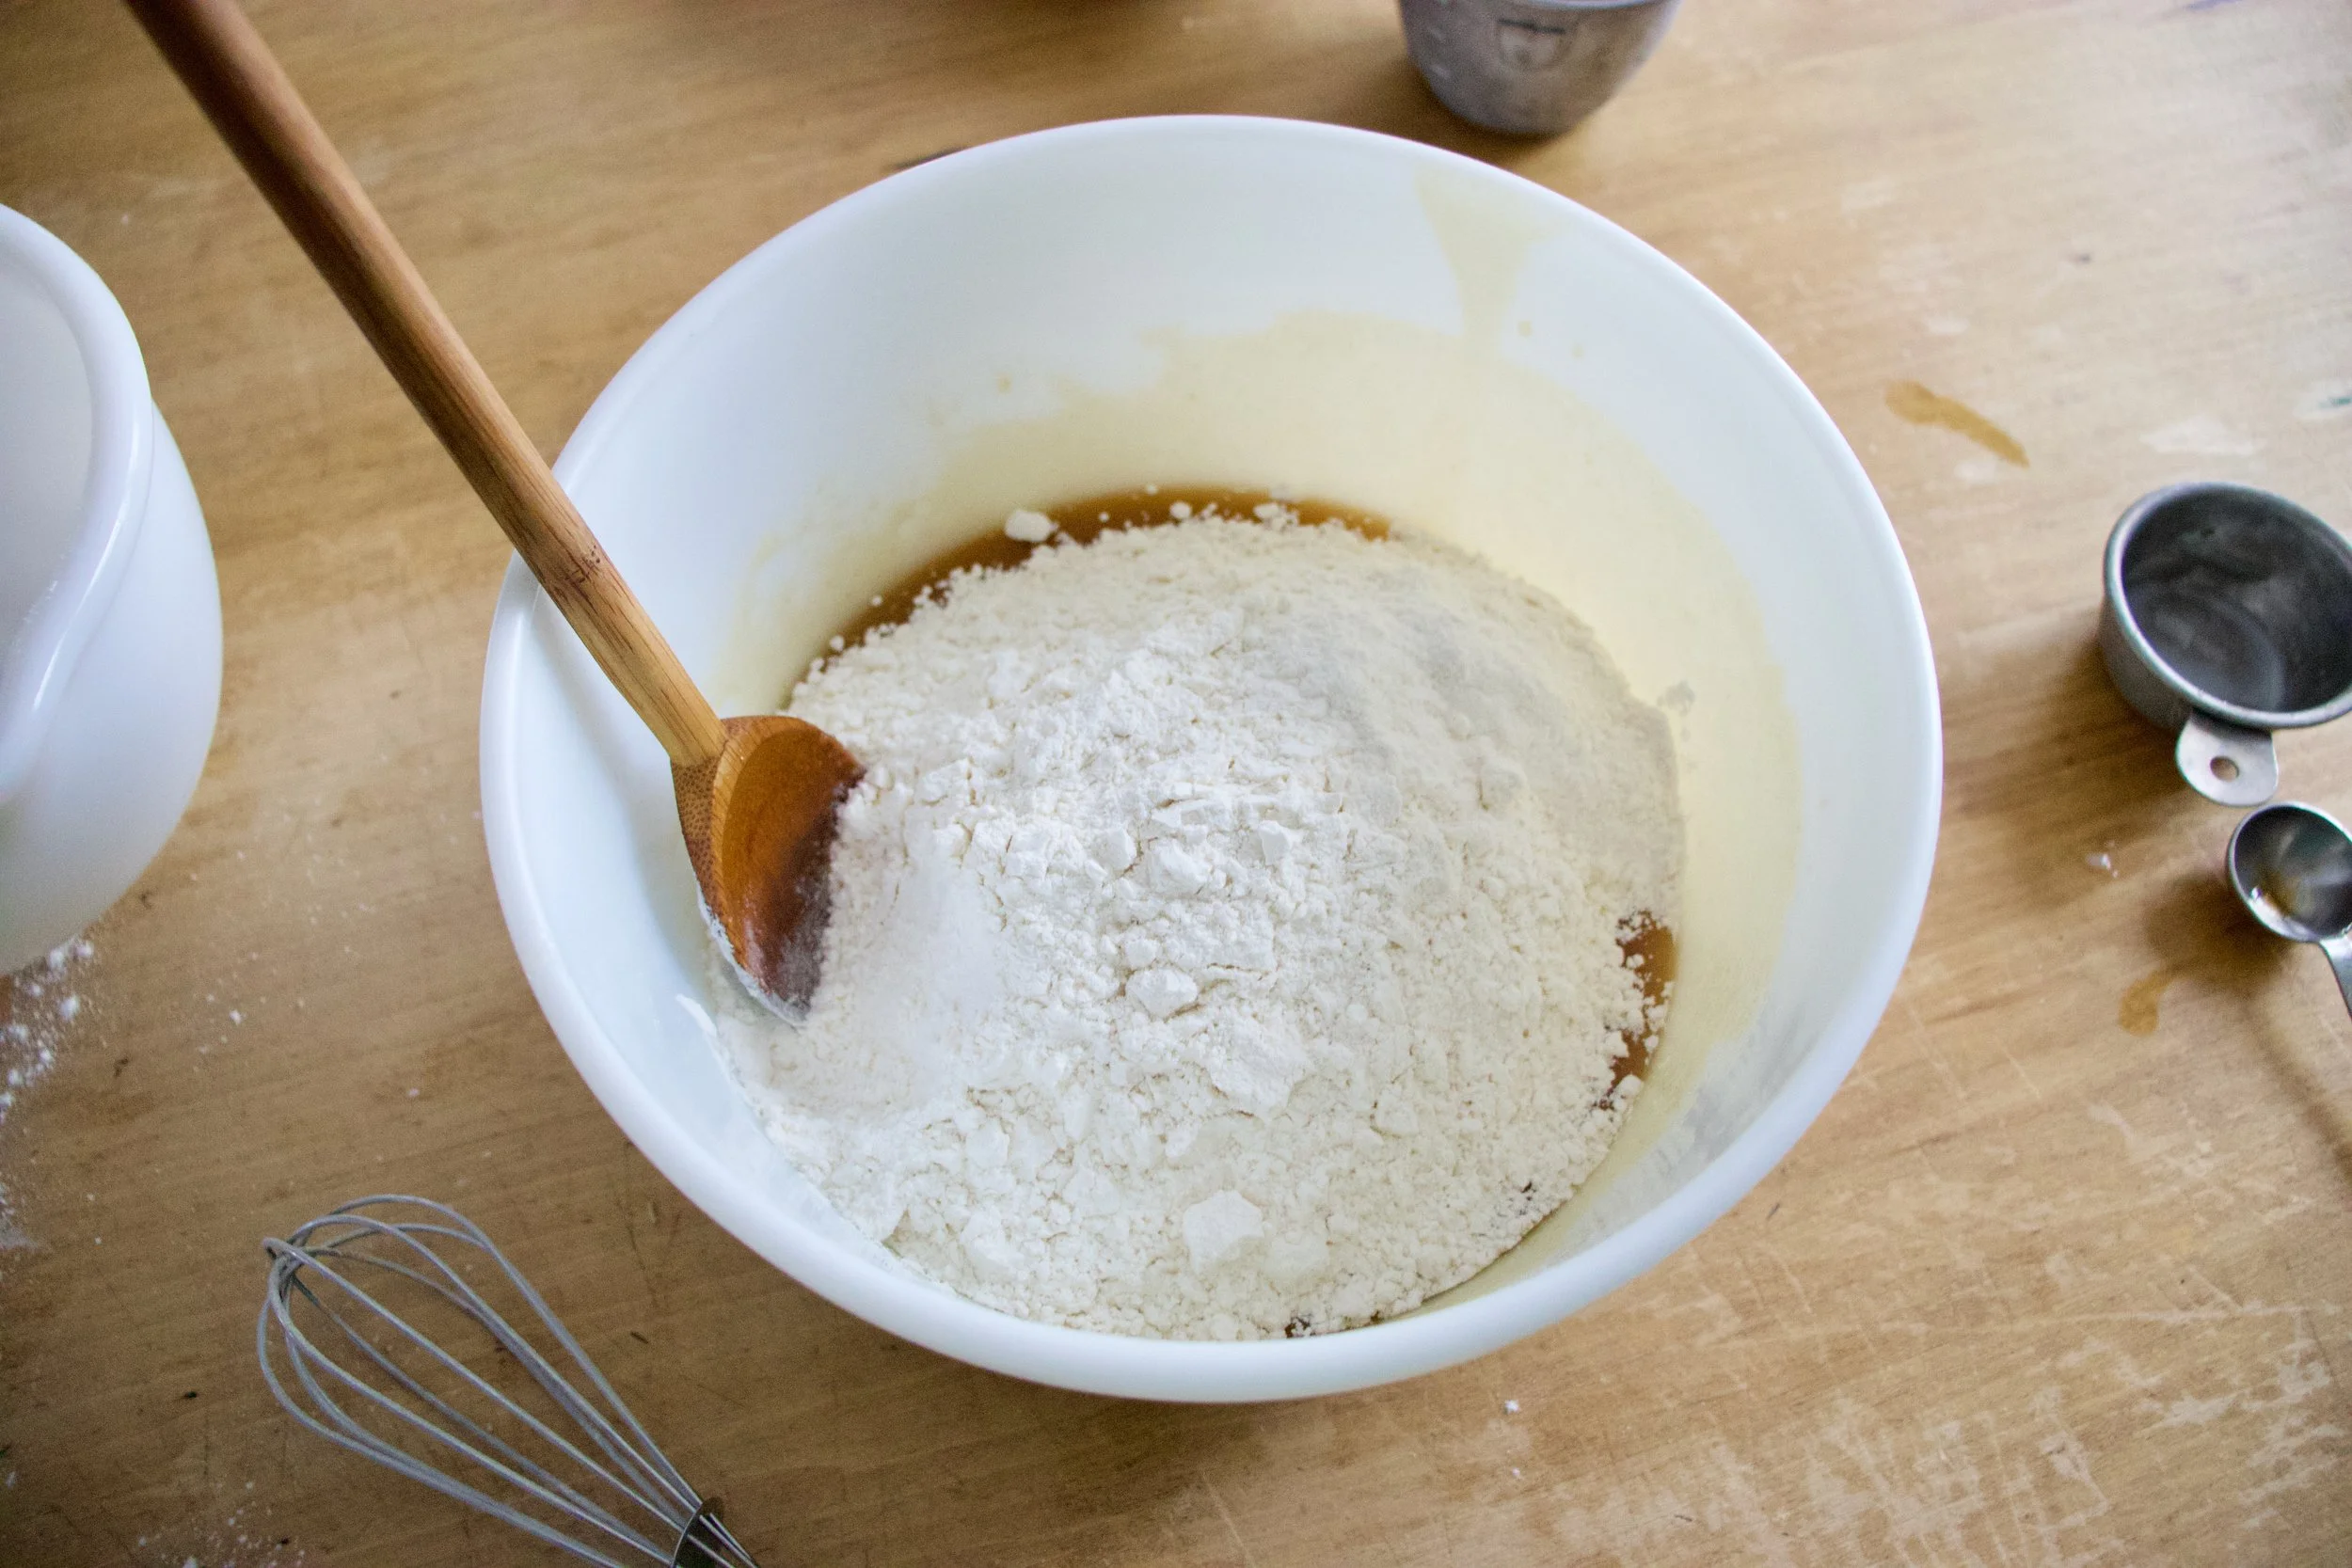
IMG_4467.jpg

Dump dry into wet.

IMG_4471.jpg

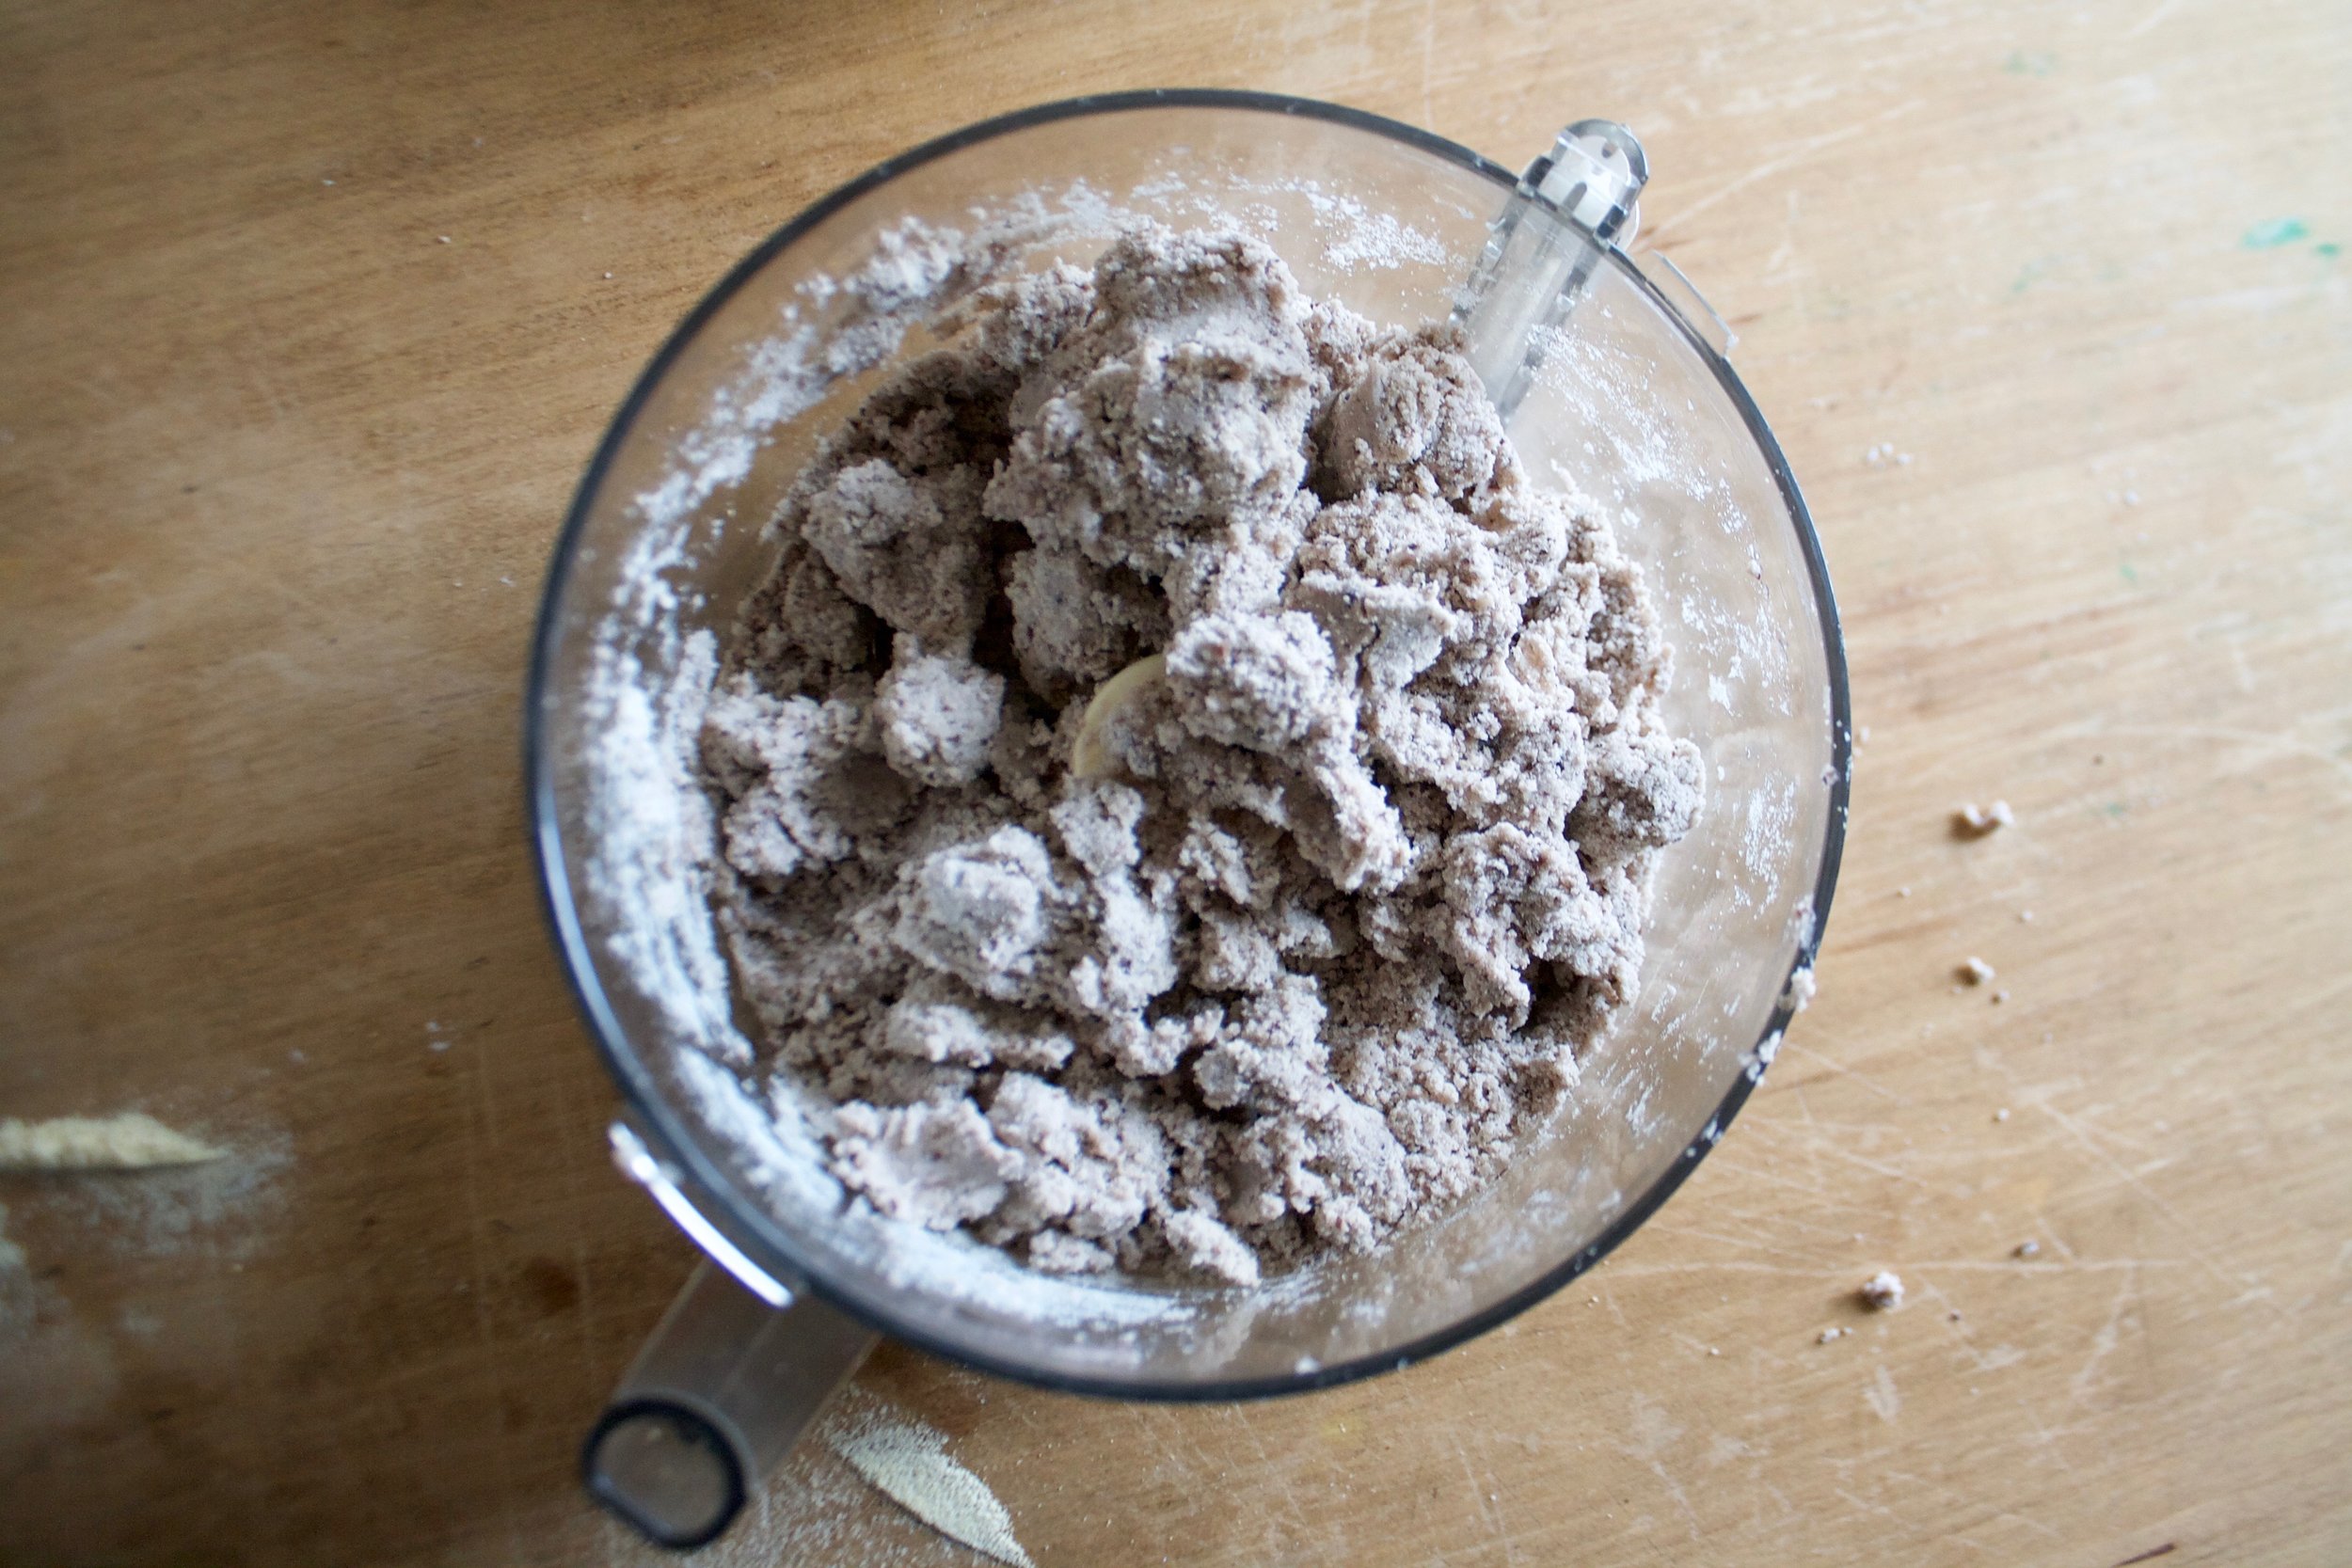
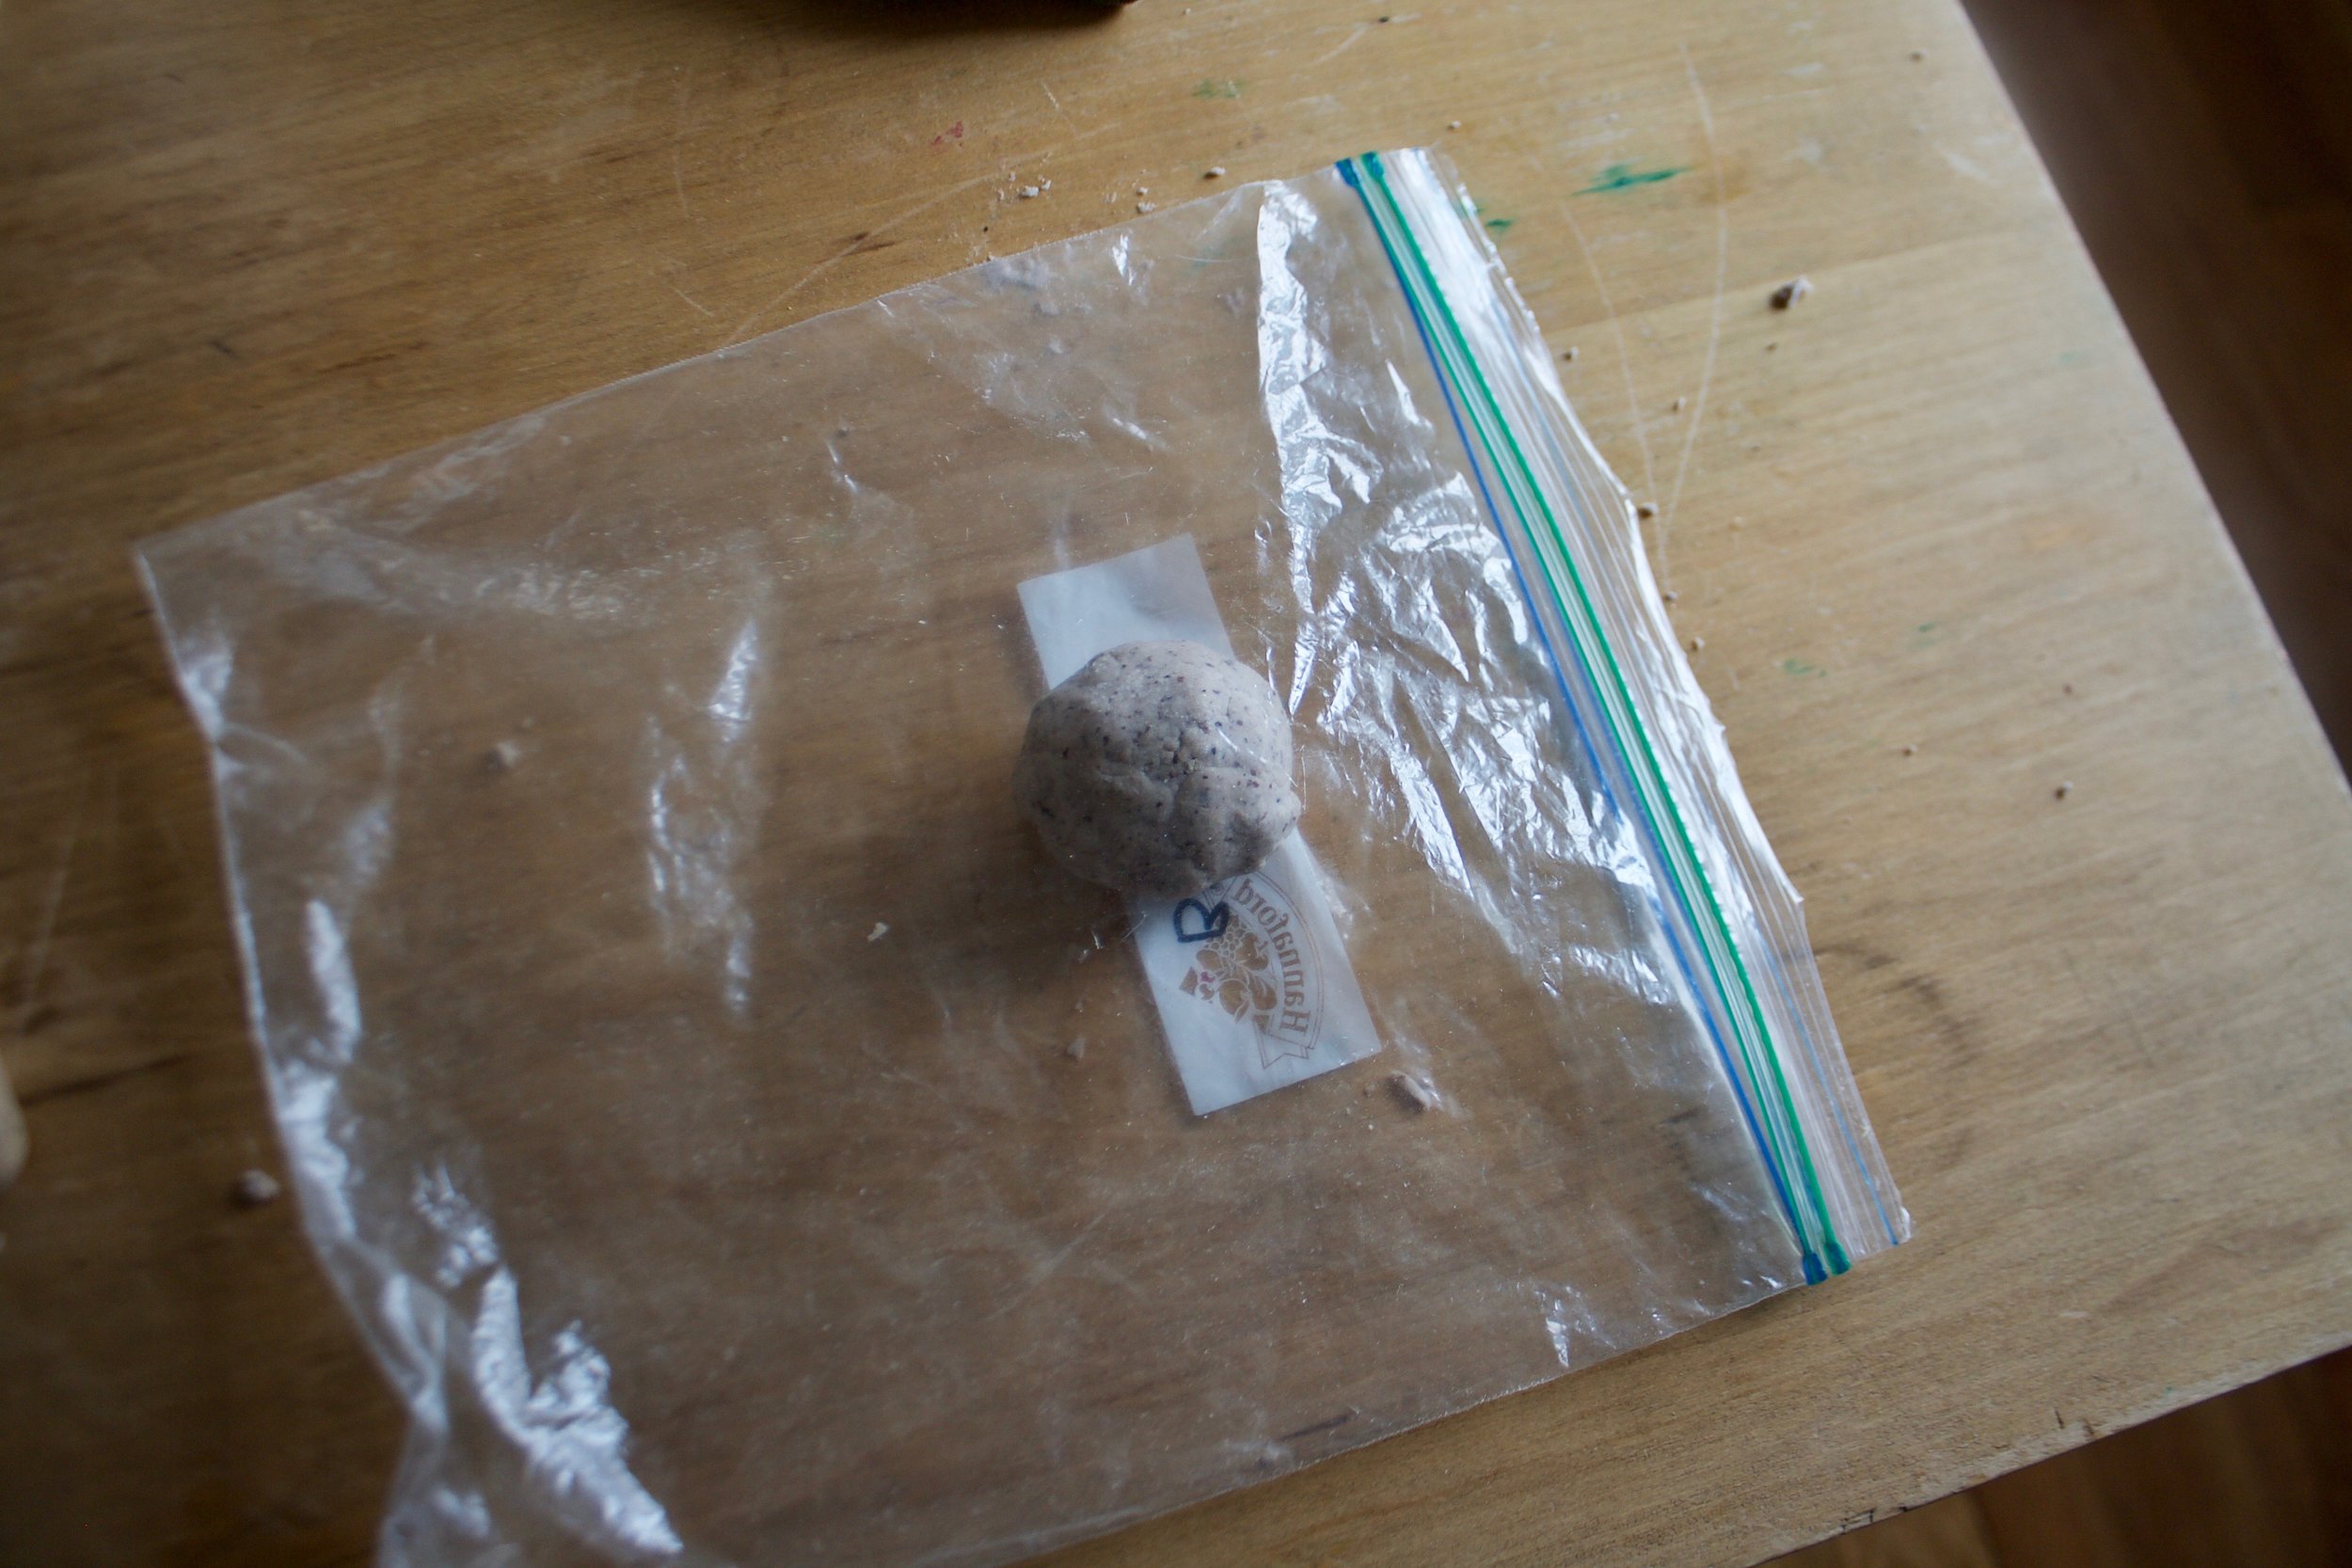
And mix until its a cookie dough. Now here is the thing, you need to stick the dough in the fridge for a couple hours and if you mix in the chips and pretzels now, well I think that might make them extrealemy soggy, so hold off. For now, cover dough and refrigerate for 2-4 hours.

IMG_4490.jpg
IMG_4495.jpg

When the time comes for baking, grab the mix ins and with whatever method you chose, crush the chips and pretzels into small bits. (avoid turning into a dust, you want bits)

IMG_4502.jpg

All salty and crumbly and ready to go

IMG_4519 2.jpg

Grab the dough from fridge and dump in the stuff that needs to go in (crushed chips and pretzels and chocolate chunks).

Mix until incorporated.

IMG_4544.jpg

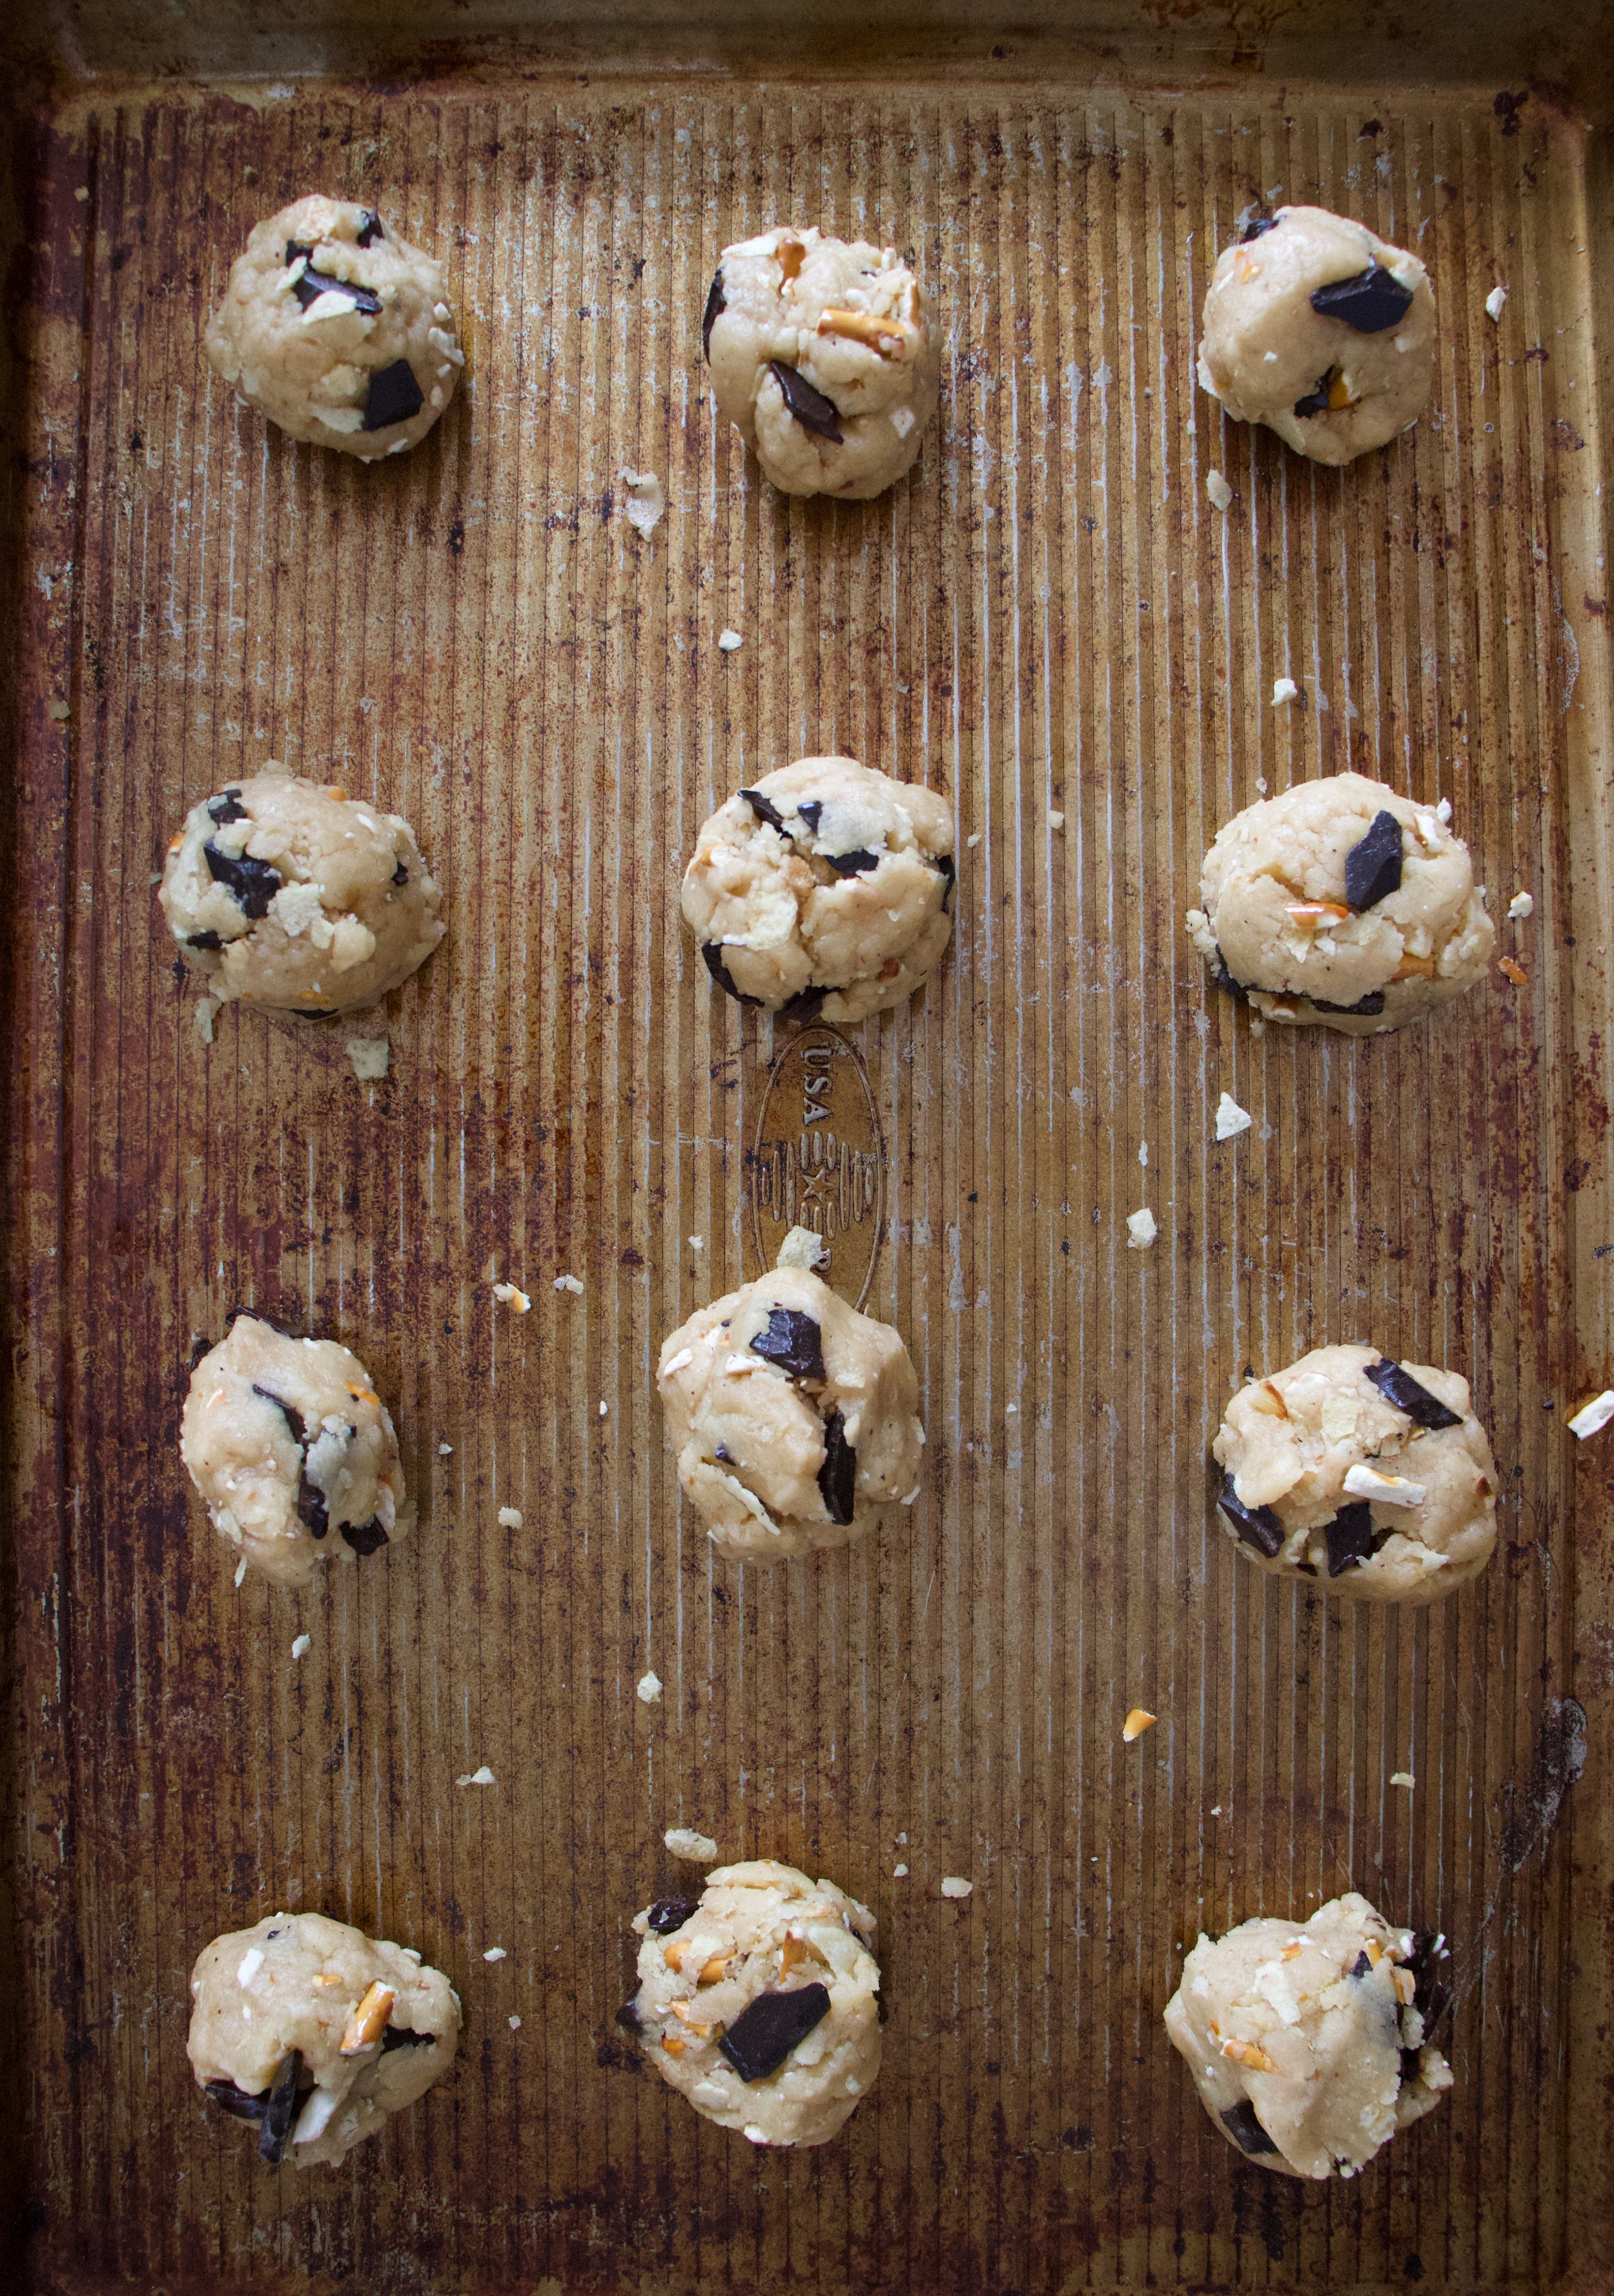
Scoop dough into balls and place on a baking sheet.

IMG_4550.jpg
IMG_4559.jpg

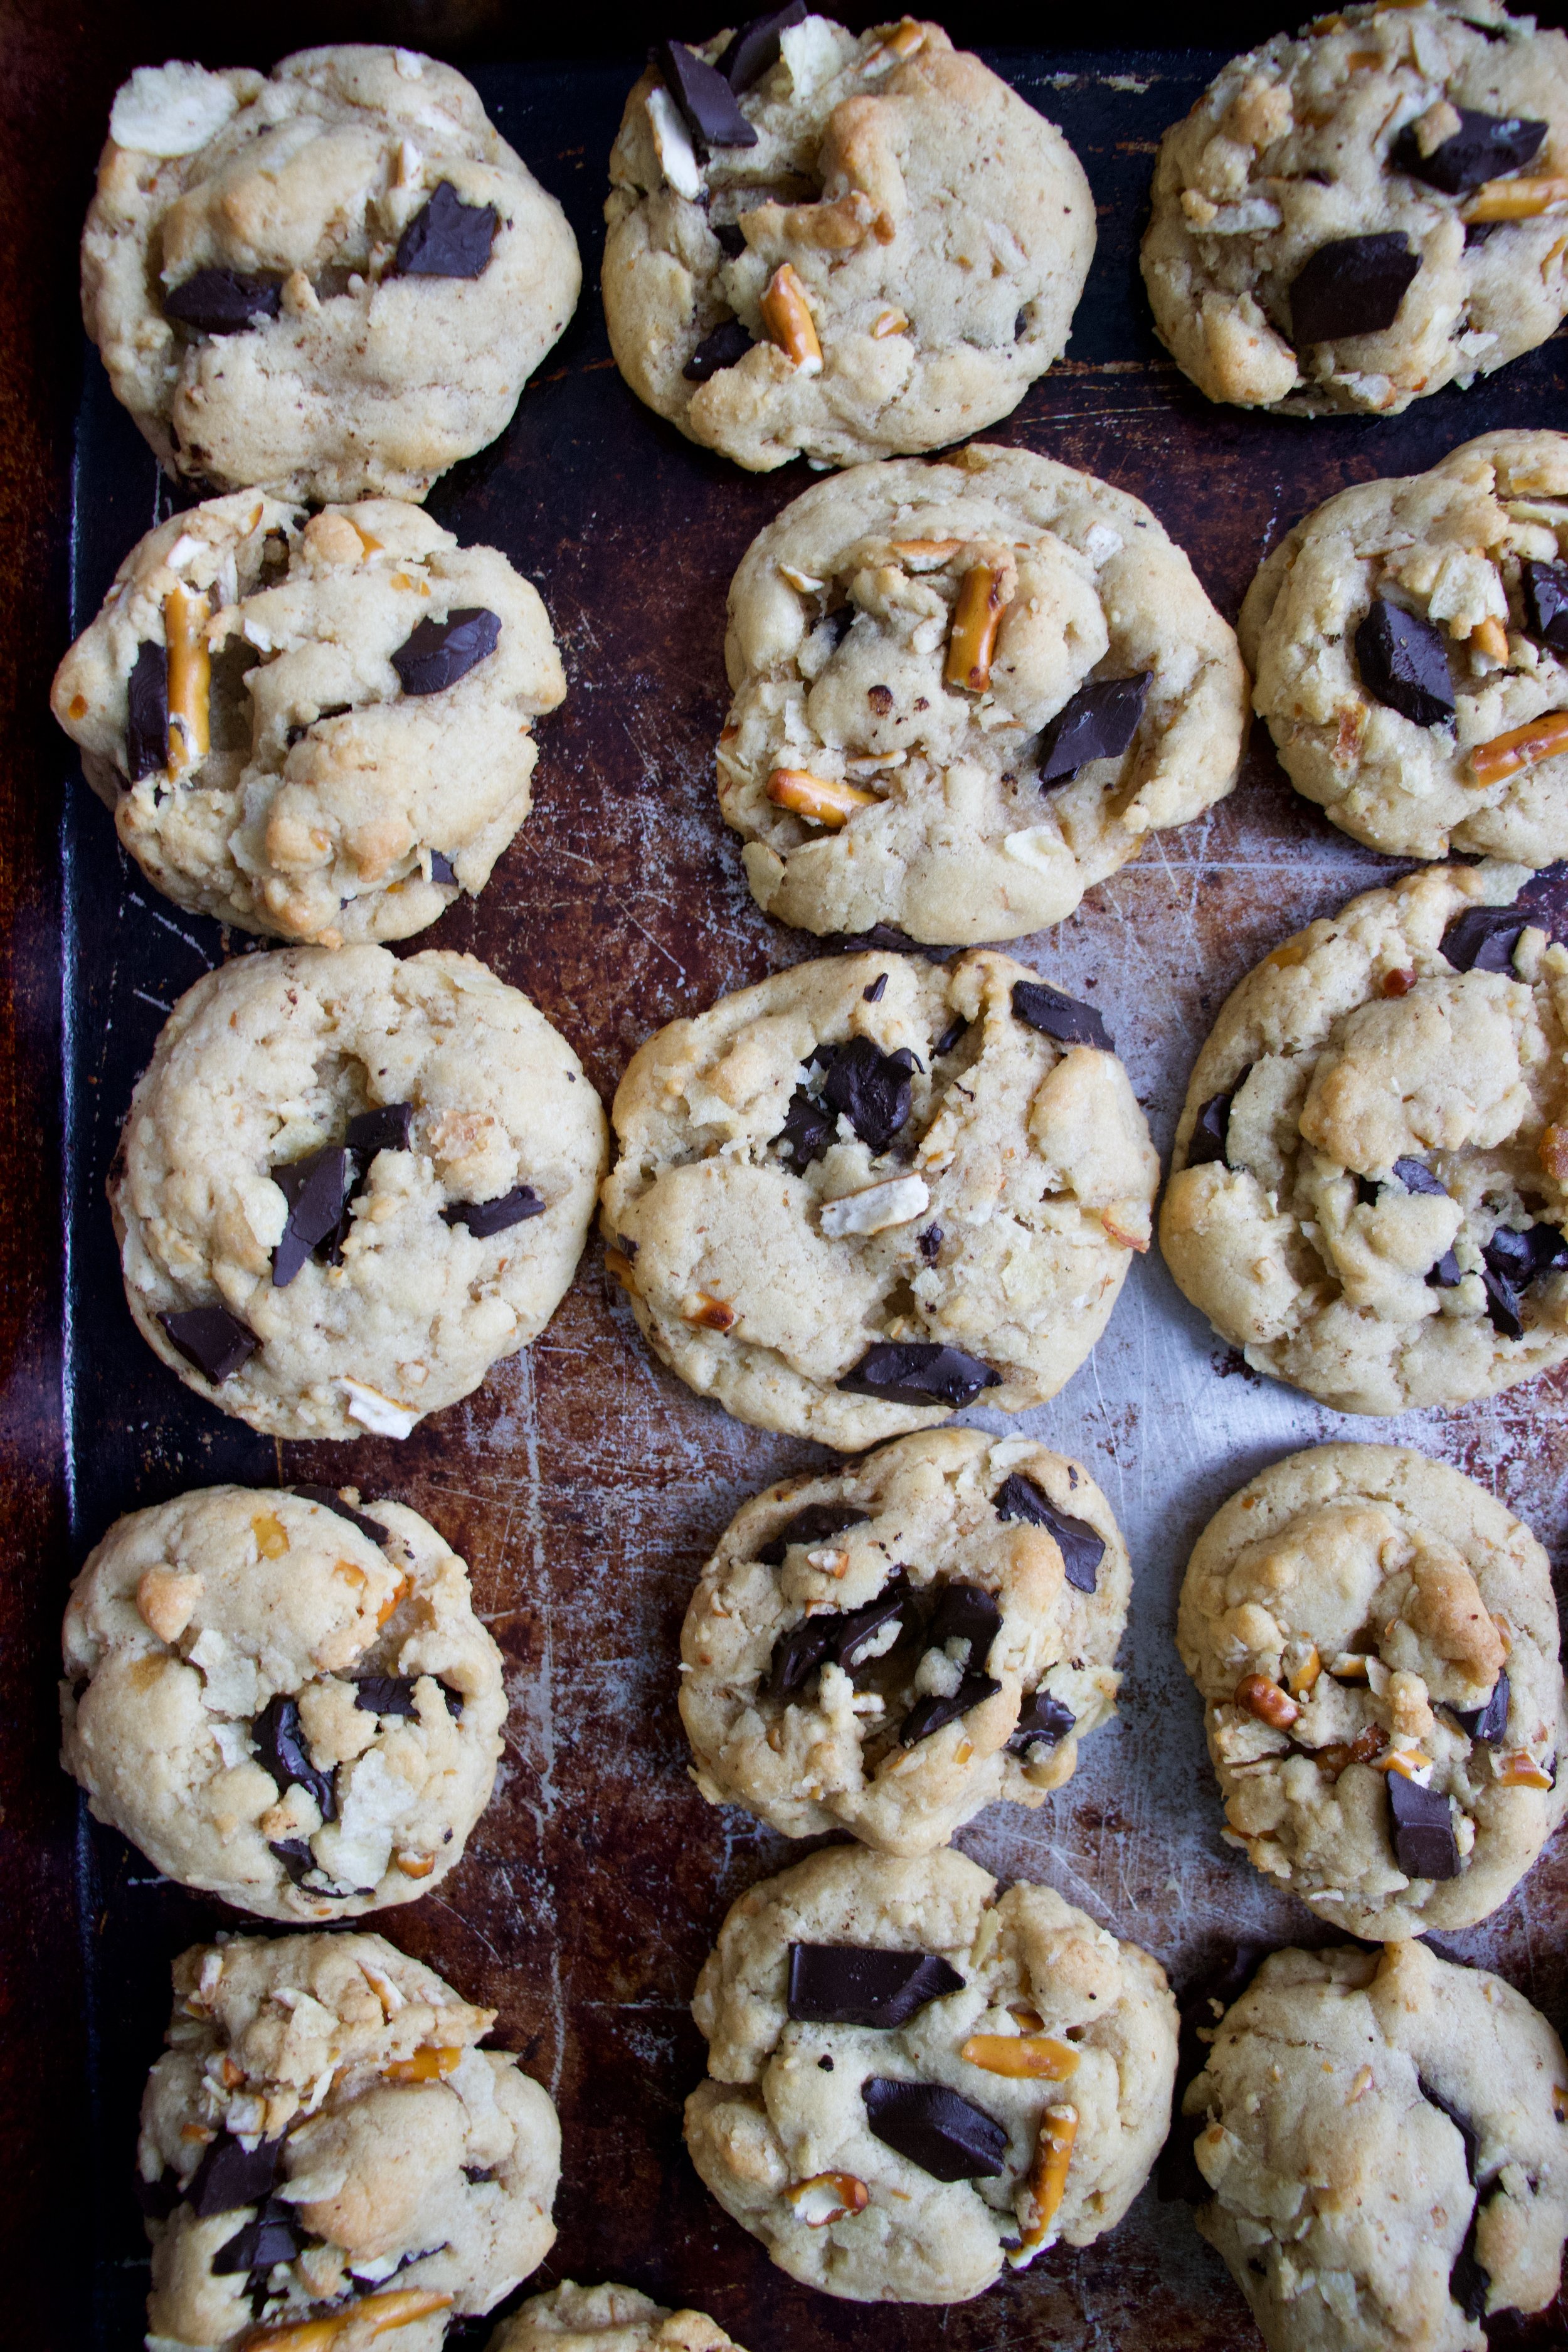
Into the oven and out they come all golden brown and smelling like yes and mmmmmm.

Get those cookies on a wire rack to cool and to free up the baking sheet to keep baking.

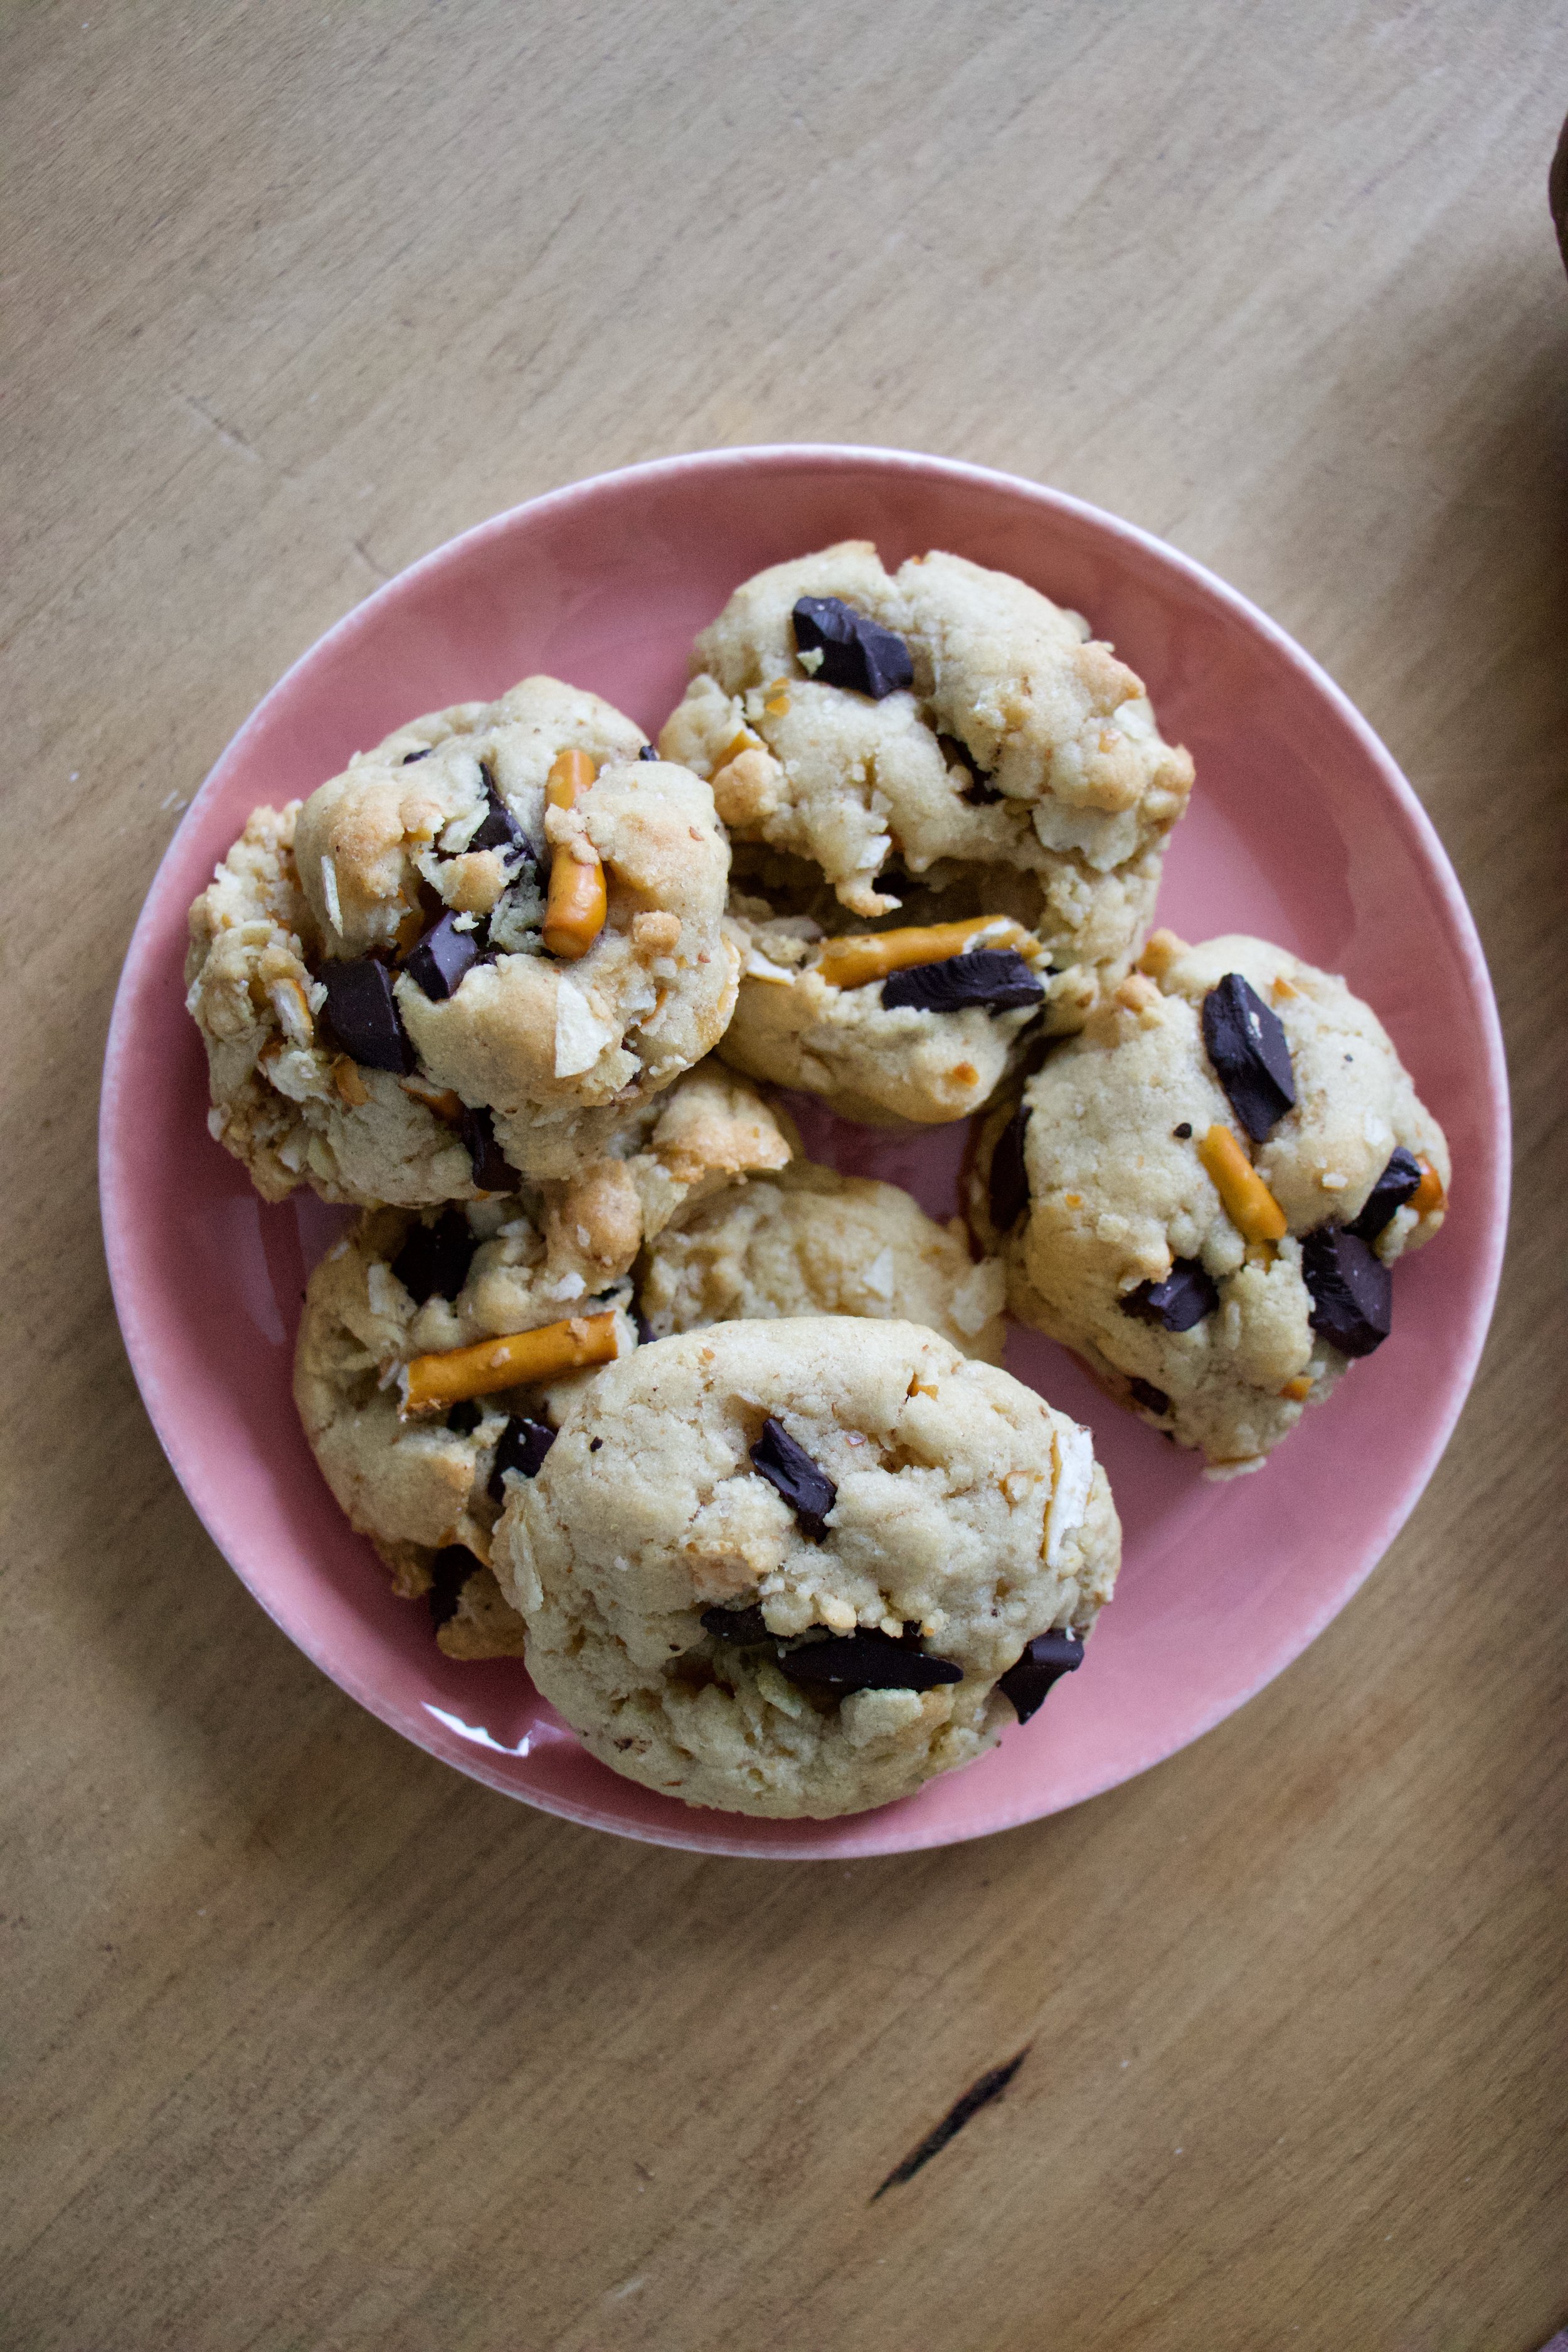
Look at this proud cookie. Chips, pretzels, and chocolate chunks all on display.

Now is when you get yourself a plate, pile it up high, and eat.

Remember, sharing is caring so maybe share a cookie or two. (but like you don’t HAVE to)

Stay happy this weekend.

-C


Pretzel And Potato Chip Chocolate Chunk Cookies

makes about 2 dozen cookies

  • 2 cup all purpose flour

  • 1 teaspoon baking soda

  • 1/2 teaspoon baking powder

  • 1/2 cup packed brown sugar

  • 1/2 cup white sugar

  • 1/2 cup canola oil

  • 1 teaspoon vanilla

  • 6 tablespoons plant milk

  • 1/2 cup crushed potato chip

  • 1/2 cup crushed pretzels pieces

  • 3/4 cup chocolate chunks or chips

In a large bowl, mix together the sugars, oil, milk, and vanilla until completely combined. In a separate bowl, whisk together the flour, baking powder and soda. Dump the dry into the wet and mix until the dough comes together. Gather the dough together in the bowl and cover with plastic and stick in the fridge to rest for at least 2 hour and up to a day.

When ready to bake, preheat oven to 350

Right before you take the dough from fridge, get your chocolate chunks, pretzels, and chips out. If the chips and pretzels are not already in little bits, place them in a bag (just use the chip bag if you have it) and smash with a heavy object until you turn the chips and pretzels into bits. Be carful that you don’t turn it all into a dust, look for small bits. Pull dough from fridge and mix the stuff in. Scoop out balls of dough and place on baking sheets. Bake cookies in oven for 11-12 minutes or until lightly browed. Remove from oven and immediately transfer cookies to a wire rack to cool.

And now you eat.

Store uneaten cookie in a airtight container for up to a week or freeze them but I doubt you will have too. The cookies went fast.

In cookies, crackers and chips, Dairy Free, desserts, Potato, Vegan Tags Pretzel And Potato Chip Chocolate Chunk Cookies, vegan cookies, vegan desserts, cookies, oil cookies, chip cookies, chips, pretzels, pretzel cookies, King Arthur flour, chocolate, sweet and salty, snack, home made, fresh baked, food, plant based, dairy free, egg free
Comment

Pineapple Cucumber Spinach Popsicles

June 23, 2018 Colleen Stem
IMG_8910.jpg
IMG_8786.jpg

First official week of summer plus #popsicleweek means we all have to make popsicles. It is not a option, it's a must. The question is what kind of popsicles to make.

Well here you go, I got one for you right here. Pineapple, cucumber, spinach popsicles. I highly, highly recommend them because they are amazing and you and everyone will love them. No joke. I had two littles tell me that they are the best popsicles they have ever eaten. Then Koko damn near ate my hand off when I was trying to slow the baby down while he was eating his so he didn't get brain freeze. After he finished off his popsicle, he turned around and went after his brothers popsicle. It was crazy. Screaming, green faced, baby charging after a popsicle. It was like an animal planet episode. 

 And so there you have it, all the littles we into them, the mr was into his, and me, I might eaten one or two and maybe I was licking all of them in between taking pictures. Ha. And big plus, unlike a lot of popsicles, there is no extra shit in these, like no added sugar. And there is veggies in them. They are basically an all around, eat for breakfast, lunch, dinner, snack, or dessert popsicle.  How can you even go wrong with that. 

You can't.

Now it's popsicle time!

IMG_8691.jpg

The stuff. Fresh pineapple, fresh spinach, a cucumber, and a lime. That's it, nothing else. 

Pineapple and juice from lime into the blender. Blend until smooth.

Add in the cucumber, blend until smooth 

Last but not least, add in spinach, blend until smooth.

Bright green goodness. And that's pretty much it. And really, you could just stick it all into blender at once, I just blended the ingredients one by one for the sake of the pictures.

IMG_8749.jpg

Pour that goodness into popsicles mold and either stick th sticks in now if they don't sink or wait about an half hour after they have been in the freezer, just don't forget the sticks (I almost did).

Mid freeze stick sticking.

Once they are frozen and when it's feeding time,  you pop them out of the mold and feed the people. Watch your fingers. 

Happy summer, Happy #popsicleweek

-C


Pineapple Cucumber Spinach Popsicles

Make 8 3.5 onze popsicles 

  • 2 1/2 cups fresh pineapple*
  • 1 Lebanese  cucumber (or half of an English cucumber)
  • 3 large handfuls of spinach 
  • Juice of a lime

*Note. You can use frozen pineapple, just thaw it out so it starts to release some of it's juices. That way you don't need to add water to the blender to blend everything up. 

Place all ingredients into a blender and blend until smooth. Pour puree into popsicle molds and stick into freezer. After about 1/2 hour, remove from freezer and stick the popsicle sticks into the molds. Place popsicles back into freezer until completely frozen (about 4-6 hours) 

Enjoy anytime.

In Dairy Free, frozen, fruit, Popsicles, Raw, summer, Vegan, Vegetables Tags Pineapple Cucumber Spinach Popsicles, #popsicleweek, Summer, popsicles, frozen, summer desserts, green smoothie popsicles, healthy popsicles, vegan, gluten free, fresh, fruit popsicles, vegetable popsicles, snack
Comment

Black Bean Tortilla Chips

May 5, 2018 Colleen Stem
IMG_1812 2.jpg
IMG_1840.jpg

The mr has a soft spot for tortilla chips. He doesn't get chips often, but when he does it is usually the super fried, super salty, in a plastic bag, tortilla chips. And I am ok with that because it is not often and the dude deserves chips when he wants them. But I hate how crappy they are for him, especially all the salt. So much salt that I can smell it in my mouth (yes, I said that right). So, as with everything else we eat in the house, I now make chips from scratch. (Slowly I have eliminated just about everything that is pre packaged and started making it myself. I think it's pretty much just the dried pasta and the mr's yogurt and cheese that I haven't gotten to.Yet.) This way he can eat his chips and I don't have to sit there tasting the smell and thinking about the crap that he is eating.  I know I say this a lot, but lets just take a minute here and acknowledge how I really am the best girlfriend ever. 

Ok, now about these chips. I have made plan tortilla chips a few times before and figured it was time for a twist.  In come black beans. Why, because I was pretty sure beans were going to be awesome, and lo and behold, I was completely right. Adding the beans take little to no more effort then making the chips without, and bonus here, more fiber and protein and good stuff going into a chip. Then they are lightly oil, lightly salted, and eaten without any guilt because I made them and they are the best. Seriously, the mr thinks they are amazing and doesn't miss those pre package ones a bit.  And sure, they might take a little time and minimal effort, but really they are super easy and the time and effort to make them is probably no more then going into a store, waiting in line to pay, and driving home to eat your chips. You can have these chip made in that amount of time. So you might as well just make them.

To the chips. 

The stuff. Masa harnia, black beans, water, salt, and a little oil. There should be a lemon or lime here too, but I forgot to stick it into the picture. Oops. 

IMG_1707.jpg
IMG_1710.jpg
IMG_1713.jpg
IMG_1716.jpg

Pretty easy.  Add the beans to a food processor and blend untill completely smooth. Add in the masa and pulse then gradually add in water until a dough forms. Stop and feel the dough. If it feels like play dough and comes together into ball easily, then you are good. If it is to wet, add a little more masa, to dry, more water.

IMG_1719.jpg

Dump the dough onto the counter and form into a ball. Place the doguh into a bowl and cover with a damp closer for 15-30 minutes to let the dough rest.

After the rest, divide the dough into 12 pieces and roll into balls. Place the balls onto a damp cloth and cover while you are making the tortillas so they don't dry out. 

IMG_1735.jpg
IMG_1739.jpg
IMG_1741.jpg

To flatten those balls into tortillas.  After doing this a bunch of times, I have a system that works the best for me.  I use a large ziplock bag (the plastic is a little thicker and easier to deal with, plus I don't use plastic wrap), a cutting board, and a rolling pin. Place a dough ball into the center of the bag then take the cutting board and press directly on top, placing all your weight onto it. It gets flat, but not flat enough so take the rolling pin and flatten some more. Then press the rolled out dough with the cutting board one last time. Carefuly remove from bag and place direrely onto a hot dry skillet. 

Cook each side 3-4 minutes or until it starts to get a few light brown spots. Once cooked, place on a plate or baking sheet. If I were just making tortillas, I would place then in between a kitchen towel to keep them warm, but because they are destined for chips and don't care. 

IMG_1758.jpg

Black bean corn tortillas. Hey, you could stop here and make a taco or something if you need to. Feel free to use a tortilla or two before using the rest to make the into chips. 

IMG_1769.jpg

So chips. Grab baking sheets, oil, salt, a knife, and the tortillas. Take a few of the tortillas and oil them. (The easiest way I found to do this is to rub oil on with my hands then rub the oil onto the tortillas. ) Oil 3 at a time, stacked them on top of each other and cut into 8 triangles, 

Get as many of the triangles onto a baking sheet as you can, without overlapping.  Once all nice and tight, sprinkle the tops with salt and pop them into preheated oven. 

Pull the chips out of the oven when they are crispy and done (about 10 minutes) then squeeze a little lemon juice all over the chips. Toss around and pop the pan back into the oven for another minute or two just so the juice doesn't  leave the chips soggy.

Dump cooked chips  onto a wire rack to cool. Eat as you work, you deserve it.

IMG_1837.jpg

Pile chips into a bowl, and serve with some salsa or guacamole or whatever you eat you chips with.  They are your chips. 

-C


Black Bean Tortilla Chips 

Makes 98 chips, or like a good sized bag worth

  • 2 cups masa harina 
  • 1 cup cooked black beans in bean juice
  • 1- 1 1/4  cups warm water
  • couple teaspoons neutral oil (I used grape seed oil)
  • 2-3 teaspoons salt
  • A lemon or lime

Beans go into a food processor and blended until completely smooth. Add in the masa and blend, slowly adding 3/4 cups water until a dough starts to forms.  Stop and check dough. It should feel like play dough and come together easilty onto a ball. If it feel wet, add in a couple of tablespoons more of the masa. If it is still too dry and crumbly, add in more water until it's to the right consistnacey. Dump dough onto counter and form in a ball. Place dough in a bowl and cover with a damp towel and let sit for abut 15-30 minutes.

Preheat a skillet on medium high heat on stove.

Once dough has rested, divide into 12 pieces and roll into balls. Place balls onto a damp towel and cover when not working with them. Grab a large ziplock bag, a cutting board, and a rolling pin. Take a dough ball and place in the center of the bag. Press down with the cutting board, placing all your weight on top. It got flat, but not flat enough. Continue to flatten out with the rolling pin until it is about  1/8 inch thick. Press again one last time with the cutting board. Gently remove from bag and place directly onto the hot skillet. Cook each side for 3-4 minutes or until it  starts to get a few light brown spot. Place cooked tortilla on a baking sheet or in between a kitchen towel. Repeat until all 12 dough balls are cooked into tortillas.

Preheat oven to 375

Working in 3's. dump a little oil onto your hand then lightly rub it all over the tortillas. Stack them on top of each other then cut into 8 wedged. Place wedges onto a baking sheet, get as many as you can onto sheet without any overlapping, then sprinkle with salt. to taste. If you have them, use multiple baking sheets.  Place in oven for about 10-12 minutes or until the chips are crispy. Remove and sprinkle lemon juice all over the chips. Toss around and place back into oven for a minute or two just until lth lemon juice evaporates. Remove and dump chips onto a wire rack to cool.

Eat chips. Any left over can be placed into a airtight container or bag and will last about 3-4 days. 

In 5 ingerdients or less, beans, Dairy Free, Vegan, snack, Savory, pulses, Gluten Free, crackers and chips Tags Black Bean Tortilla Chips, Masa harina, chips form scratch, cinco de mayo, cron chips, Vegan, Gluten free, plant based, beans, black beans, black bean chips, corn chips, snack, chips, dairy free, gluten free
1 Comment

Roasted Cranberry Parsnips

December 23, 2017 Colleen Stem

I am spicing up my snack time these day, going an extra step and actually preparing a little something rather then just eating a pound of carrots. Yes yes, a pound of carrots is a great snack, but there are so many other fantastic veggies awaiting my belly and I can only accommodate  so much at once. So today the carrots had to wait, it's time for the parsnips. 

After I made this and was eating it with all smiles and glee, I had the mr take a taste to see what he thought. What I learned is that If you do not like parsnips then you will not like this dish. But if you are awesome and do like parsnips, well then you will like this. But I guess if you like parsnips but don't like cranberries then you might actually not like this either.

So what I guess I am saying is if you like parsnips and cranberries, you will freaking love this. And this, these cranberry roasted parsnips, are great as a snack or as  a fantastic accompaniment to any meal that you will be serving anytime soon. It's quick and easy and delivers in all sorts of good ways, if you like cranberries and parsnips. 

IMG_8969.jpg

The stuff. Parsnip. fresh (or frozen) cranberries, a little maple syrup, olive oil, and salt and pepper. 

IMG_8971 2.jpg

Keeping it simple and just chopping the parsnip up into mouth sized pieces. If you are a peeler, go ahead and peel those parsnips first. Me, never a peeler. 

A little trick I have learned when roasting veggies is to roast them in a really hot cast iron pan. What I usually do is preheat the oven and while I am doing that I preheat the pan on the stove top. It gets hot fast and the veggies roast better when tossed into a hot pan. You can also preheat whatever dish you are using in the oven while it preheating. Whatever works for you. 

So parsnips Into a cast iron pan (or any oven safe dish) tossed with just a touch of olive oil and salt and pepper. 

IMG_8983.jpg
IMG_8984.jpg

Parsnips cook pretty fast so after about 15 minutes check for doneness. Once they are for tender and browning, toss the cranberries into the pan and keeping roasting.

Once the cranberries are all roasted and bursted and nice, remove the pan from the oven and immediately drizzle with a touch of maple (just a touch or else it will be too sweet) 

IMG_9005 2.jpg

There you go. Simple, fast, and oh so delicious. 

Have an awesome weekend! 🥋🤾🏻‍♀️🎄☃️ (interrupt those any way you see fit)

-C


Roasted Cranberry Parsnips

serves about 4 as a side dish  or makes for 2 good snack bowls

  • 3-4 large  parsnips (but really as many as you want)
  • 1 cup fresh or frozen cranberries
  • 1 teaspoon to 1 tablespoon maple syrup (the more the sweeter it will be)
  • olive oil
  • salt and pepper

Preheat oven to 425

Grab whatever pan or oven safe dish you are using and  preheat either place it in the oven while its preheating of if you can place it on the stove, get it really hot on a high flame.

Grab your parsnips and chop into about an inch sized pieces (or a good size that will fit into you mouth. Feel free to peel the parsnips first if you want to. Once the oven and pan are preheated, drizzle the parsnips with a tiny bit of olive oil and toss with salt and pepper. Place onto really hot pan and stick into oven.  Roast for about 15-20 minutes or until the parsnips are golden brown and fork tender. Remove form oven and toss in the cranberries. Place back into oven for about another 10 minutes or until the cranberries start to burst and get soft. Remove again and drizzle with a teaspoon of maple syrup (or more if you like it sweeter) 

Serve right away. 

In 5 ingerdients or less, quick and easy, salad, side dish, snack, Vegan, Vegetables Tags Roasted Cranberry Parsnips, side dish, snack, vegan, gluten free, grain free, plant based, healthy, vegetables, parsnips, roasted veggies, simple, easy, 5 ingredients
Comment

Cinnamon Sugar Pumpkin Seeds

October 28, 2017 Colleen Stem
IMG_7615.jpg
IMG_7651.jpg
IMG_7647.jpg

It's the weekend before Halloween which is the perfect time for pumpkin carving. We got our pumpkins last week and I have been so excited but have been waiting to carve.  Carving time to a pumpkin is crustal. To early and the pumpkin starts to rot and the squirrels will probably eat it but wait too long and you don't get to enjoy it long enough. 3-5 days before halloween, that's the perfect time carve a pumpkin. (I am right, right?)

And what do you get when you carve a pumpkin? A free freaking snack my friends. Pumpkin seeds. 

Side story here. About ten years ago I set my mons brand new stove on fire roasting pumpkin seeds. Long story short, I wanted really crunchy seeds and though if I broiled them that they would be just perfect. Well not so much. I stuck them in, walked away for a few minutes and the whole kitchen filled up with smoke. Opened the oven to a big old fire going on. Luckily once the flaming pan of seeds was removed, the fire in the oven was no longer but the stove did not make it through unharmed. The knobs and a little bit of the front of the stove melted a bit (Oops) and worst part, I charred the shit out of the seeds.  So the leason here is do not stick oil covered seeds under the boiler and walk away and not expect them to catch fire.

Anyway. So we carved our pumpkins (well I started carving mine and ended up helping Judah an So carve theirs) and got a shit ton of pumpkin seeds. I pre scooped mine out and baked (not broiled) them up to a nice crunchy snack. These are coved in cinnamon sugar to entice the little who might or might not really like them, but all the adults that where here gobbled them right up. 

The stuff. First you need to get the seeds.  You could buy them, but this is way more fun. 

IMG_7561.jpg
IMG_7563.jpg

Seeds full of goo, just stick them in water. The seeds float so you can scoop them out into a strainer.

Once most of the goo is gone, rinse the seeds and place them on a clean dry towel and spread them out. Try to dry them off a bit.

IMG_7591.jpg

The seeds are going to still be a little damp so dump them on a baking sheet and place them into the oven. Turn oven on to 350 

IMG_7592.jpg

While the seeds are spending a little time drying off get the other stuff. Coconut oil, cinnamon, sugar,and salt.

IMG_7600.jpg
IMG_7604.jpg

Once the oven is preheated, remove the seeds. They should be dry by now. Dump warm seeds into a bowl with coconut oil and mix around until they are fully coated.  Now dump the salt cinnamon sugar mixture in and mix until coated.

Place back onto the bakings sheet and evenly spread them out.

Back into the oven to get crispy.

And a half hour-ish later, the house smells all nice and cinnamony good and you got yourself a sweet spicy little crunchy fun snack.

IMG_7632.jpg

Look at that fancy. 

IMG_7686.jpg

Now it's your turn. 


Cinnamon Sugar Pumpkin Seeds

Makes about 2 cups which came fro one big jack-o-lantern pumpkin

  • 2-ish cups of pumpkin seeds 
  • 2 tablespoons coconut oil
  • 2 hearty tablespoons sugar
  • 2 tablespoons cinnamon
  • 1/2 teaspoon salt

Grab yourself a pumpkin, cup the top open ,and scoop out all the seeds. Save for jack-o-lantern.Place seeds in sink or large bowl and scoop the seeds off the top that float up. You might need to squeeze the guts to loosen the seeds. Place seeds into a strainer and once you got what you can get, give them a quick rinse. Dump the seeds onto a clean dry towel and pat them dry as well as you can. Place the seeds evenly  onto a dry baking sheet and stick them into the oven. Turn oven on to 350 and leave them in there until the oven is preheated.

once oven is preheated, remove seeds and place into a a bowl. Add the coconut oil and mix around until completely melted and the seed save all coated. in a small bowl mix together the cinnamon, sugar, and salt. Dump the mixture onto the oiled seeds and mix until coated. Dump seeds back onto baking sheet and back into the oven. Bake for about 25 minutes, remove and mix around, and back into the oven for another 5-10. Check for crunchiness by either tasting of snapping one or two in half. Once the seeds are crunchy, remove from oven and let cool on baking sheet. 

Dump seeds into a bowl ad snack away. Store left over seeds in an air tight jar. 

In 5 ingerdients or less, snack, Vegan, seeds Tags Halloween, Pumpkin seeds, Pumpkin, cinnamon sugar pumpkin seeds, seeds, protein, vegan, gluten free, snack, plant based, zero waste, fall snacks, healthy snacks
Comment
← Newer Posts Older Posts →
 

https://thelovelycrazy.squarespace.com/config#/|/about/

Me. Food Maker.Food eater. Woo HOO!

STEM+NODE  SMALL BATCH AND ONE OF A KIND POTTERY

stem+node ceramics


____________________

Subscribe

GET NEW POSTS IN YO EMAIL

You are AWESOME!!!


@thelovelycrazy 2014-2021