• stem+node ceramics
  • HOME
  • Food Recipes
  • About
  • Contact
Menu

The Lovely Crazy

Street Address
City, State, Zip
Phone Number

Your Custom Text Here

The Lovely Crazy

  • stem+node ceramics
  • HOME
  • Food Recipes
  • About
  • Contact

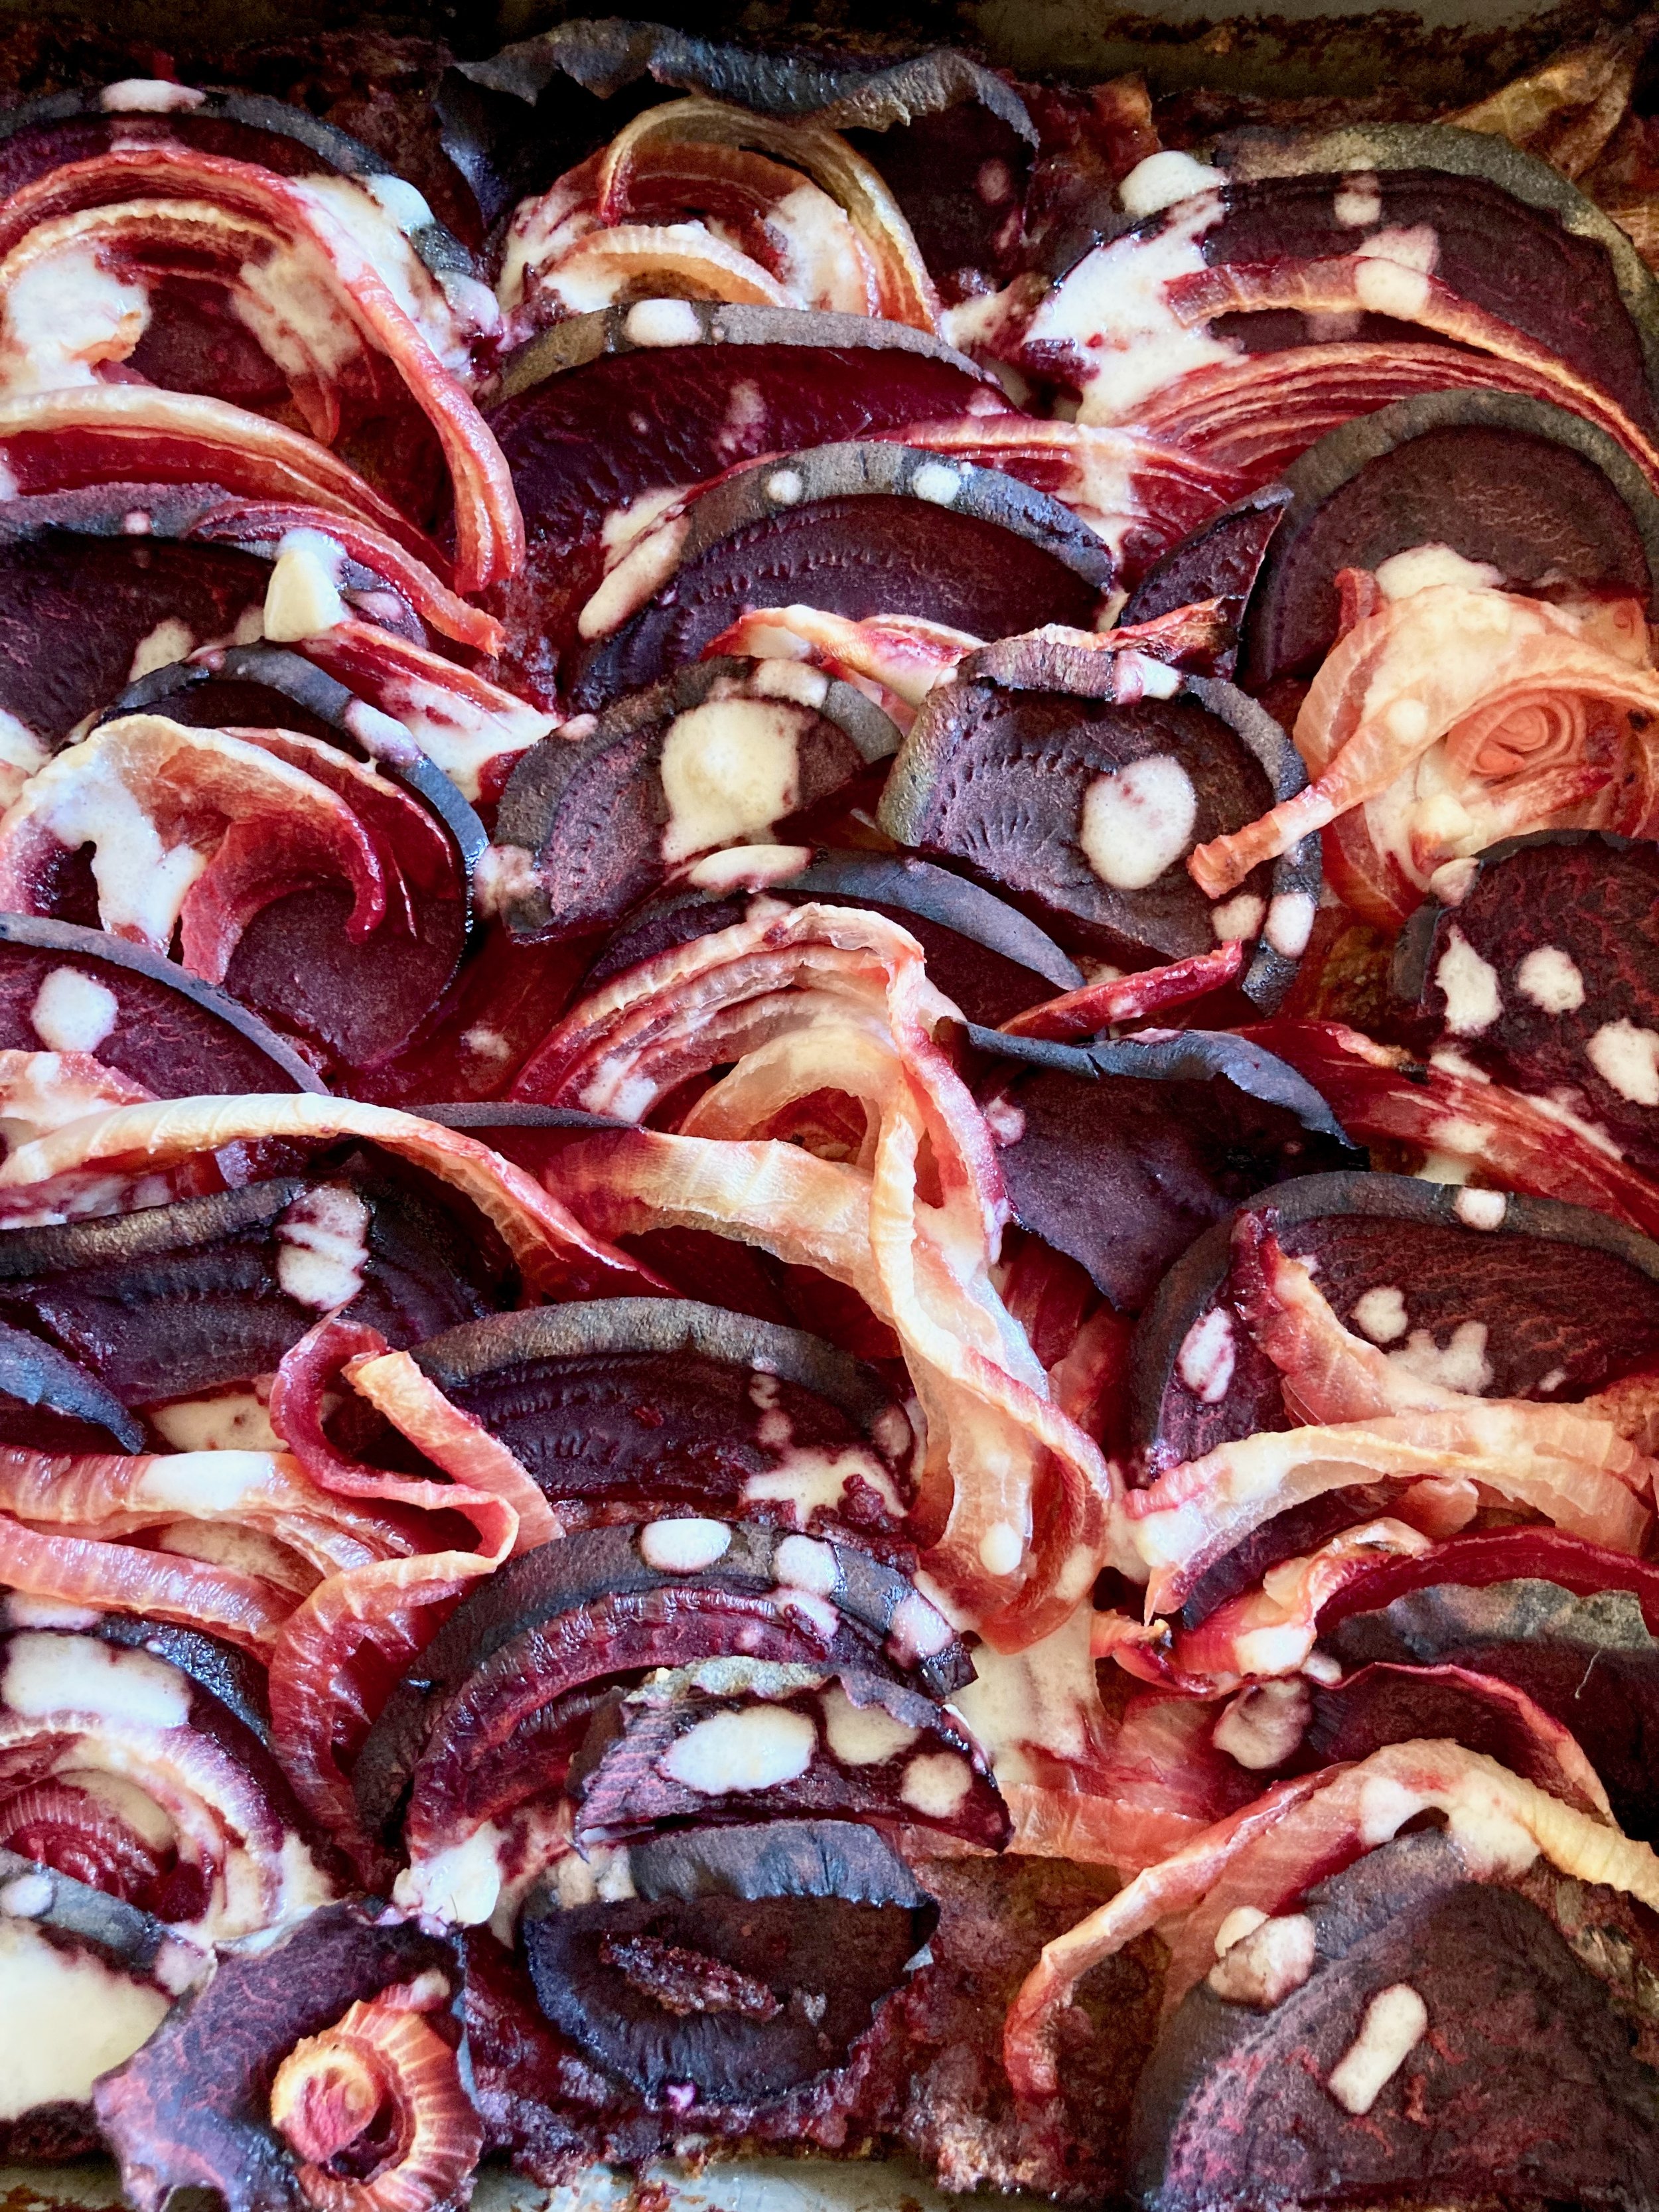
Socca Beet and Onion Casserole

November 12, 2022 Colleen Stem
IMG_6207.jpg
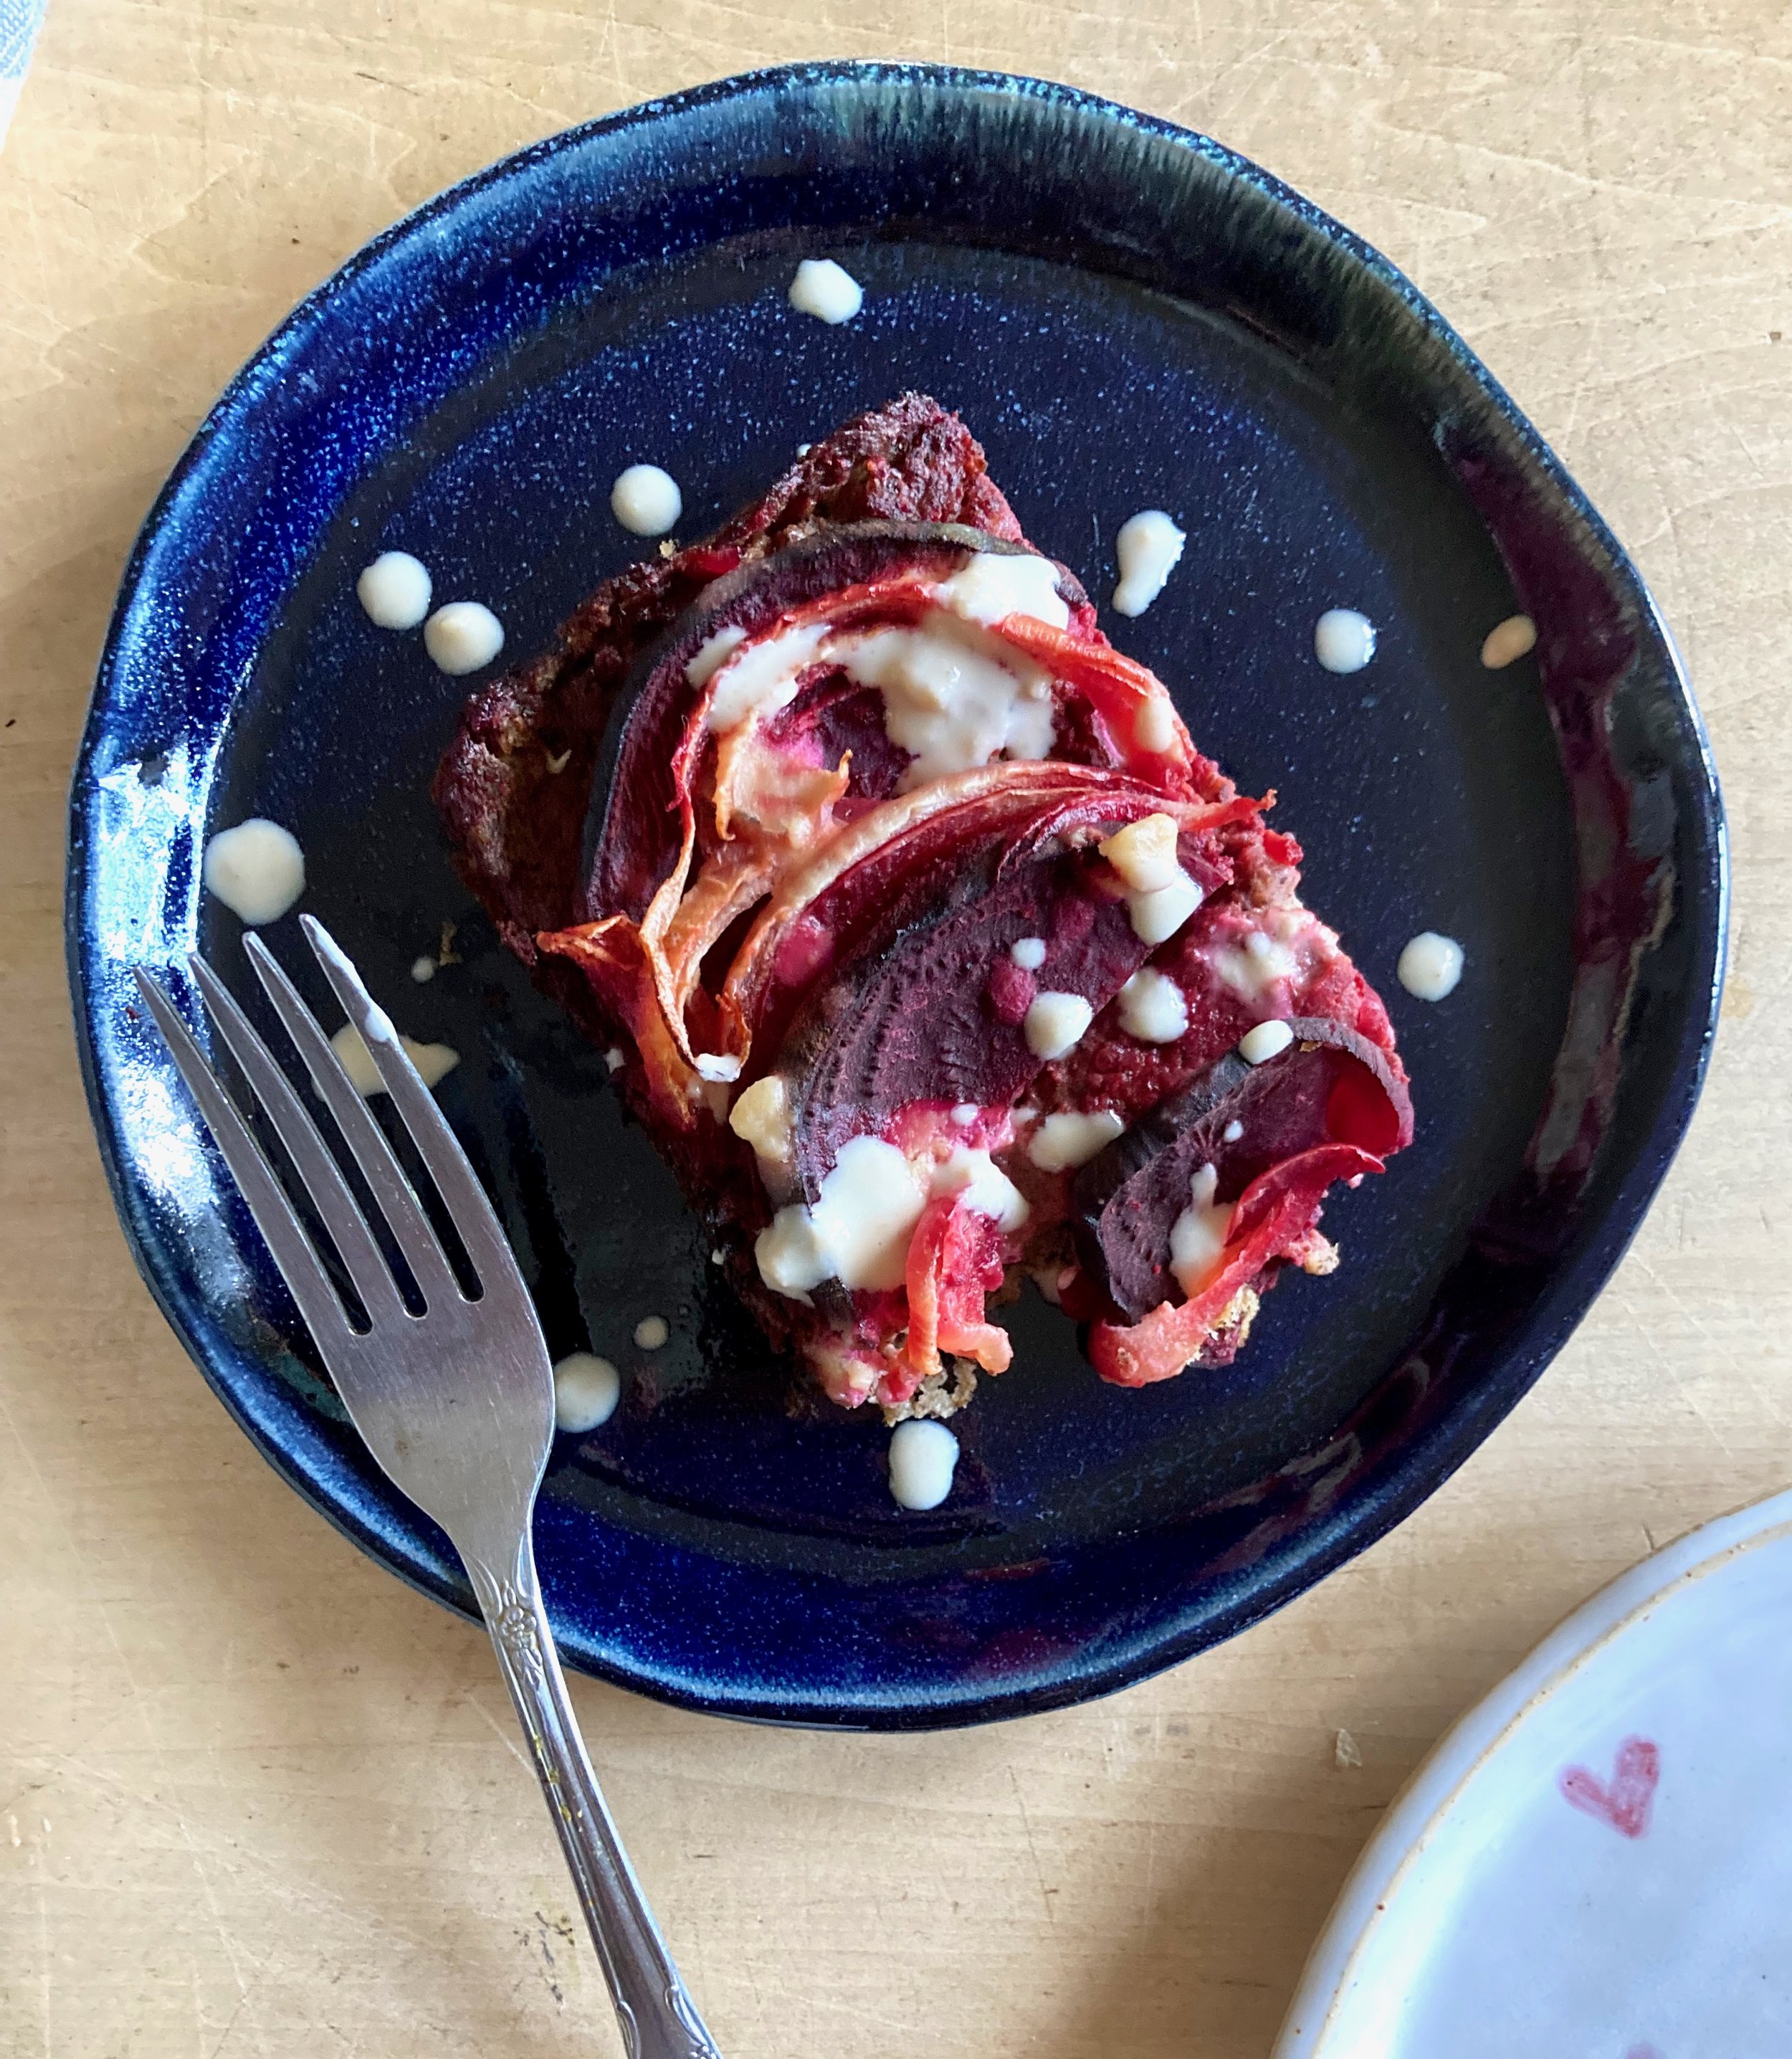
IMG_6213.jpg

Whoa has It been a while since I have posted a recipe. Not that I haven’t wanted to or that I haven’t been making food, I just have been busy A.F. And truthfully I am as busy as ever but I happen to have my phone next to me when I was making this little casserole dish thing that I have made a few times now and I think it well worth a share.

What is it you ask? It is a creamy but dense chickpea base covered in tender roasted beets and onions with a lemon tahini drizzle. It is simple to make, super delicious, and can be tweaked in a million different ways to your liking.

Is it a fantastic dish to serve at say a Thanksgiving? Well yes, yes it is. You can serve it as a side or even make it bigger and have it as a sort of main dish. It’s a good protein that is naturally gluten and grain free, vegan, and blah blah blah. What really matters here though is that it is damn tasty and also bonus, it is so siimple to make and can even be prepared a day in advance so no stress. We will take all the wins here.

-C


Socca Beet and Onion Casserole

makes a 8x8 casserole

  • 1 cup chickpea flour

  • 2 cups boiling water

  • 1 teaspoon salt plus more to taste

  • ground black pepper

  • 2 teaspoons cumin (feel free to omit or use a different spice.Thyme or rosemary are equally delicious )

  • 2 medium beets

  • 1 large onion

  • a lemon

  • 1-2 tablespoons tahini

  • teaspoon or so olive oil.

Note. This dish is excellent made and eaten right away but also gets even better (in my opinion) cooled and reheated. Also you can change up the veggie situation and use whatever ones you like.

Place chickpea flour in a bowl and slowly whisk in boil water with a fork so that there are no lumps. Mix in cumin and a teaspoon of salt and a pepper. Scoop batter into a lightly oiled 8X8 casserole dish (you can use a round cake tin or a cast iron skillet as well) and set aside to rest for a few.

Preheat oven to 400.

Grab beets and onion and slice in about 1/8 thick slices. Layer slices on top of chickpea mixture, making it look pretty if you feel like it. Once the veggies are layered, lightly drizzle the top with a teaspoon olive oil and sprinkle with a good pinch of salt and pepper.

When the oven is preheated, covered the baking dish and place in oven,. Bake covered for 1/2 hour then remove covering and bake for another 20-30 minutes or until the beets are nice and tender and a tester poked into the center of the dish comes out clean. Remove from oven,

Once it’s out of the oven grab a little bowl and add the juice of the lemon to the tahini and mix. Season with salt to you liking.

Now serve. Drizzle the top with the tahini mixture and cut yourself a big old piece. Yes drizzle extra tahini on top. Sure squeeze on more lemon. You do you.

Store leftovers in fridge. Reheat in hot oven for 10 minutes..It gets crispy!

In Vegetables, Vegan, side dish, Savory, quick and easy, pulses, holiday, grain free, Gluten Free, entree, dinner, Dairy Free, casserole Tags vegan, gluten free, grain free, casserole, dinner, protein, pulses, beans, thanksgiving, holiday, main dish, food, easy, beets, onion, tahini
1 Comment
Share

Zucchini Dill Empanadas

June 19, 2021 Colleen Stem
IMG_6054.jpg
IMG_5986.jpg
IMG_6004.jpg

YAY for the first zucchinis of the season! Zucchini is one of the main reasons I tolerate summer. Sure I complain a lot about being hot all time and the sun being just too freaking bright but the zucchini helps make it all worth dealing with.

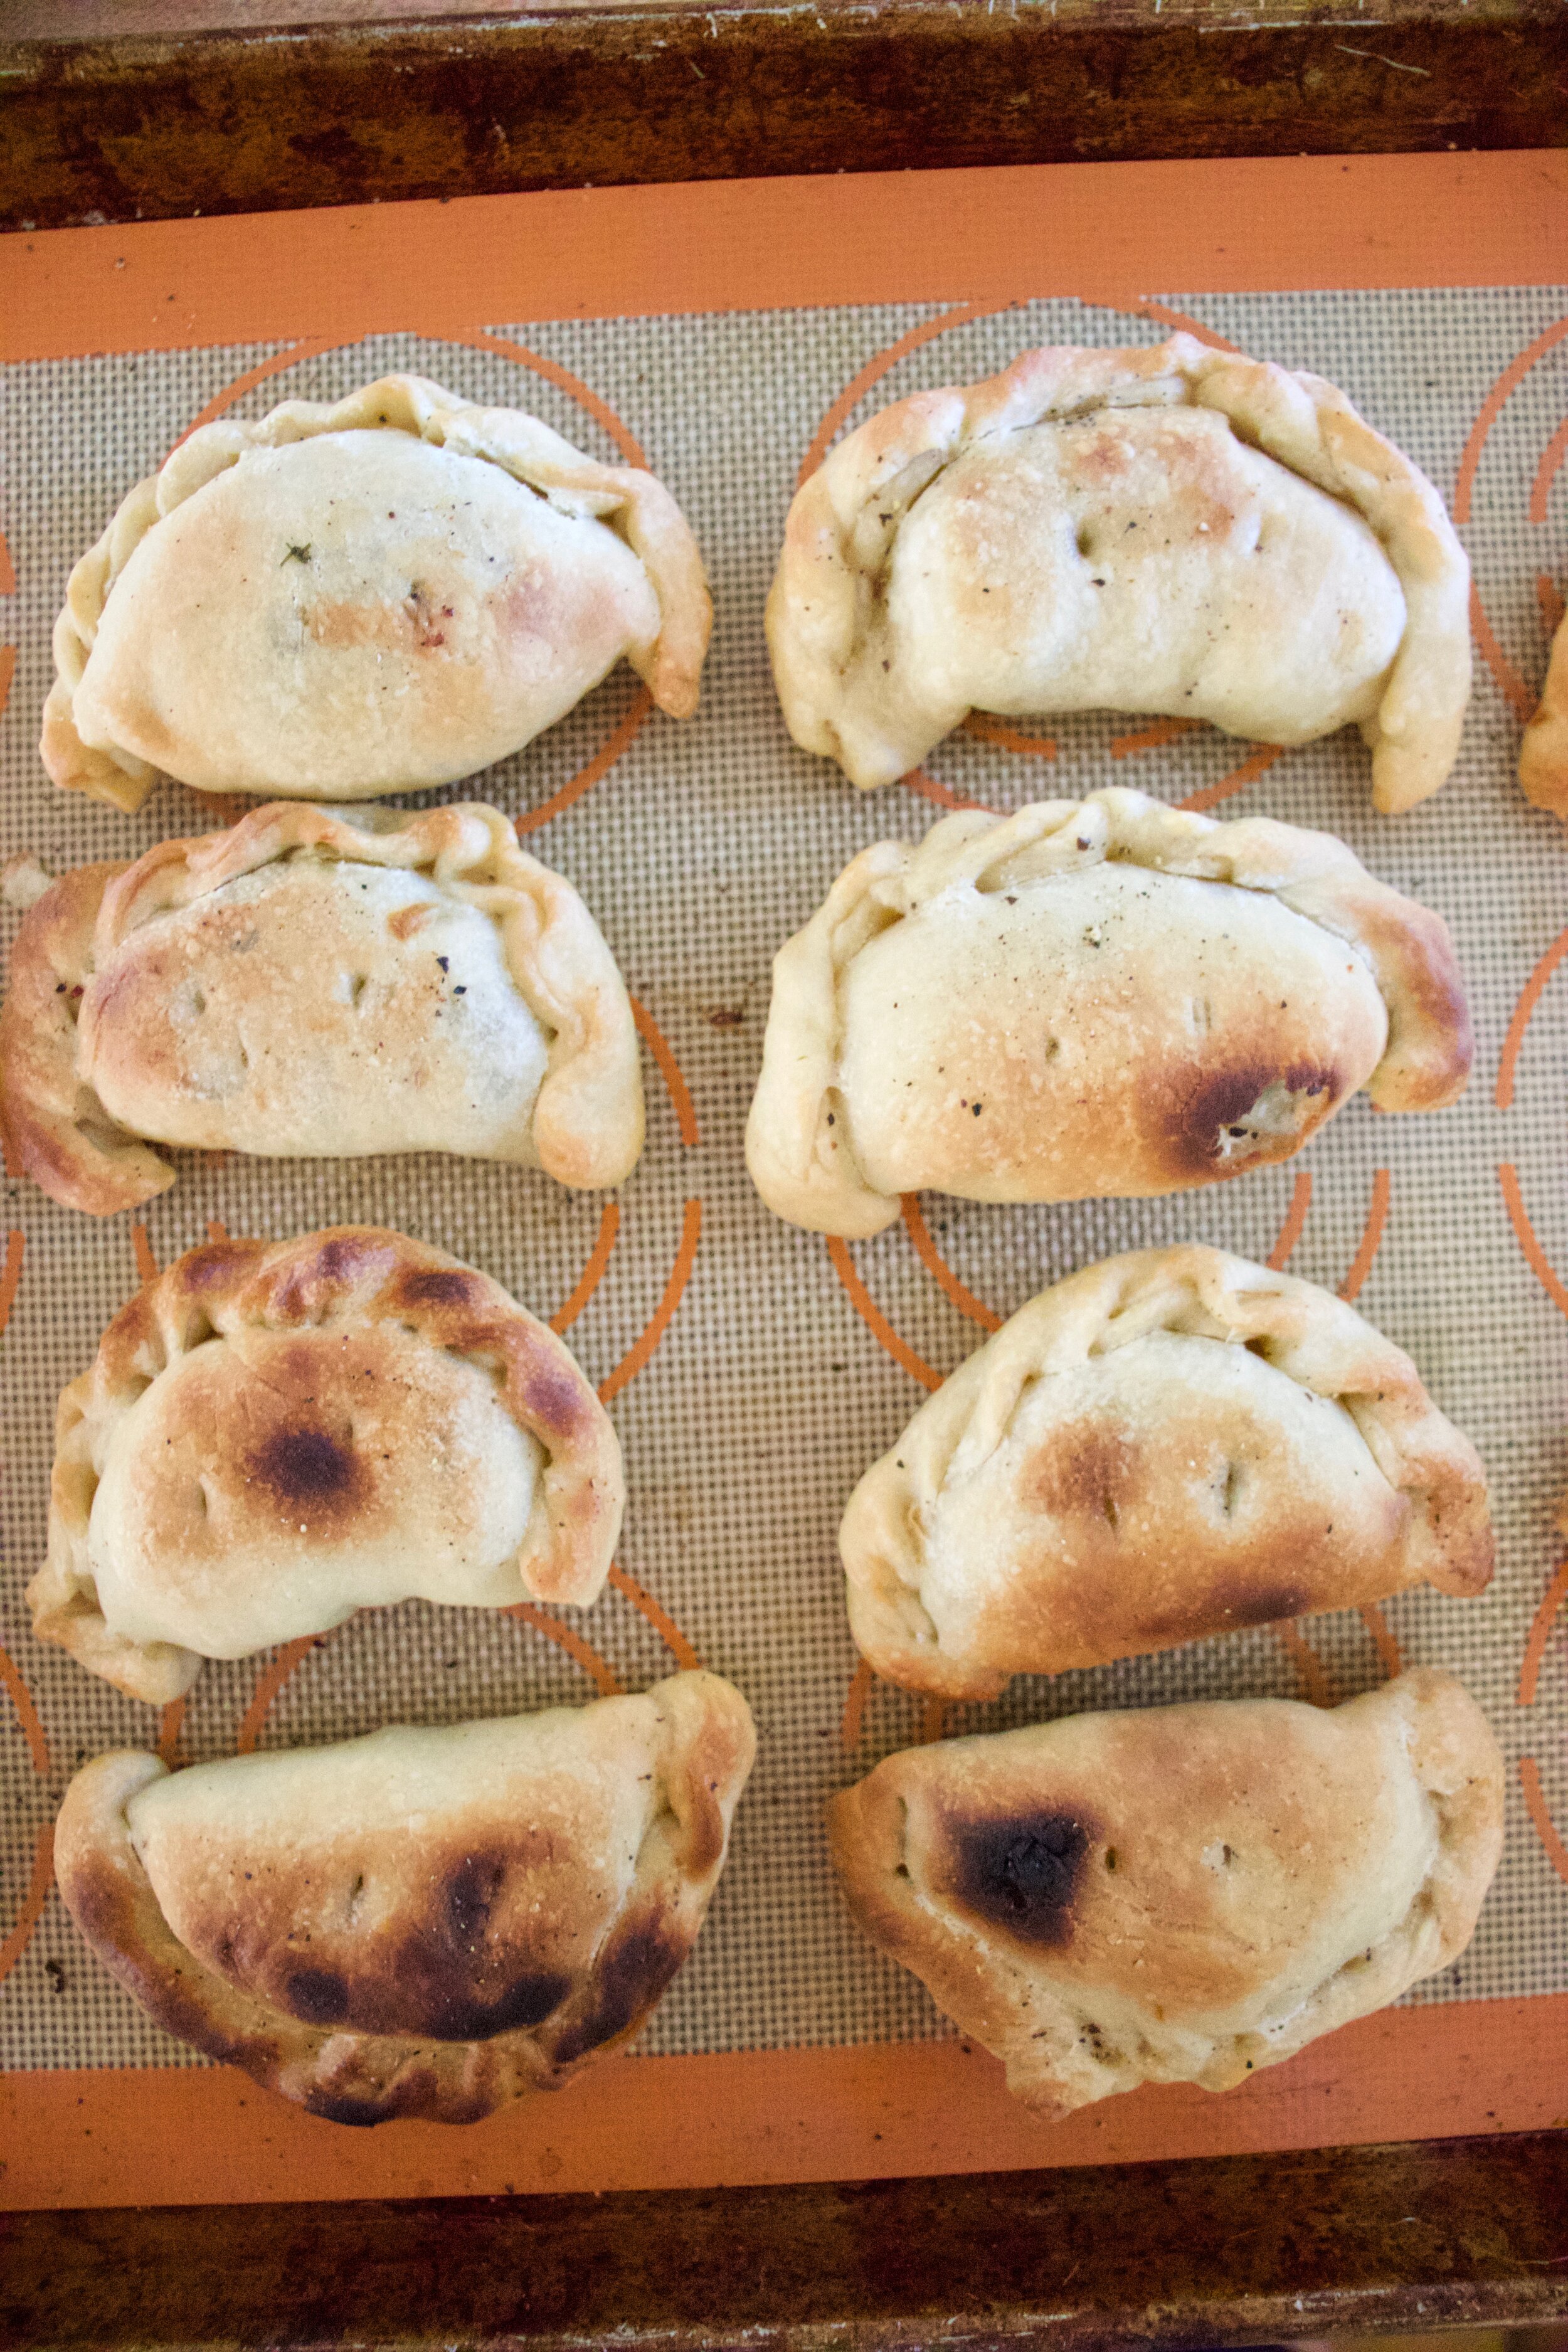
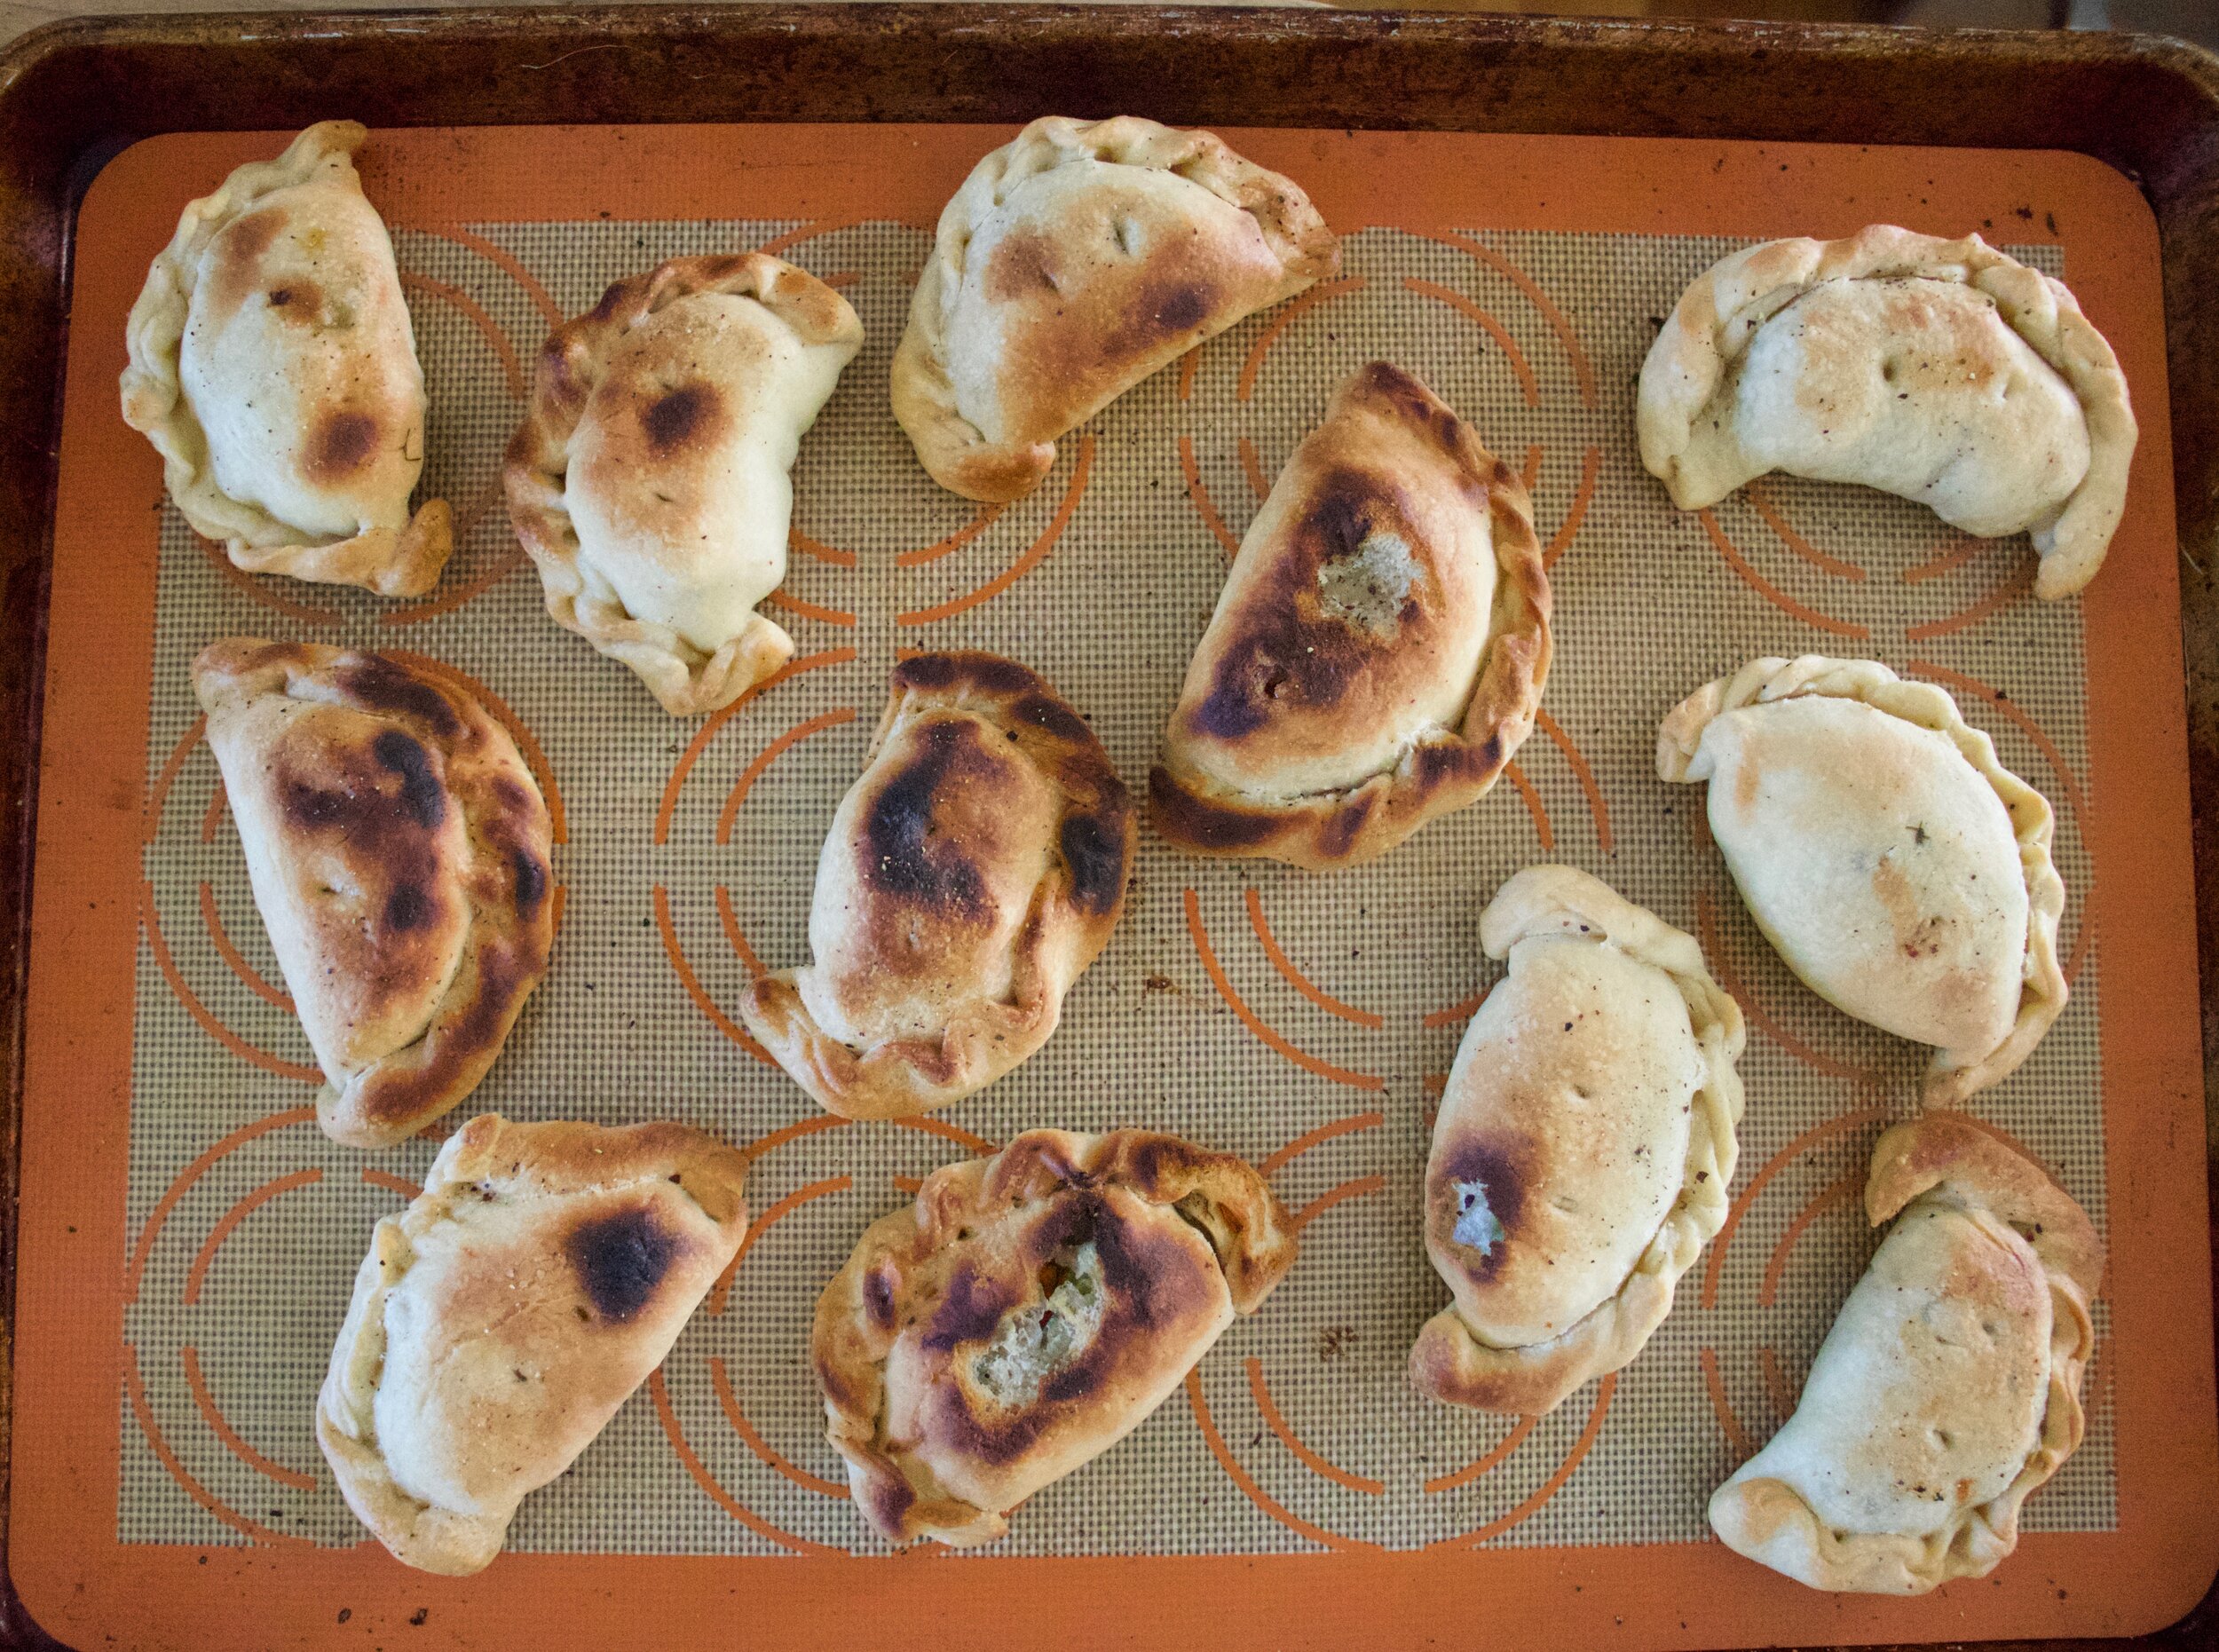
Empanadas. Little hard pies. A perfect little vessel to stuff some zucchini into. Add some dill and it makes it all the better. I mean who wouldn't a zucchini and dill stuffed pastry on a warm summer afternoon (or whatever time you feel like eating). They are super easy to make, light and crispy, and are little pies of zucchini. What is not to like? Plus they require no utensils to eat them . Think about it, Make batch, throw them into a picnic basket and head to a nice little grassy patch under a tree. Doesn't that sound just so nice? That does sound nice. Why didn't I do that? Oh because I was busy being pissy because I made a perfect batch and while letting them cool off in the oven for a few minutes I accidentally turned on the broiler and burnt a few. But whatever, the mr actually really liked them burnt so no harm no foul, But next time I make them it will definitely be for a picnic.

Now to the zucchini dill empanadas!

IMG_5851.jpg

The stuff. Zucchinis, a carrot and a onion, some dill and ground ginger, salt and pepper, water, oil, flour, and baking powder.

IMG_5862.jpg

Start with making the filling. Chop the carrots into little cubes then grate up the onion and zucchinis.

IMG_5869.jpg

Gather the zucchini and onion into a tea towel (or cheese cloth) and squeeze out he excess liquid. ( I squeezed it into the dough mixture)

IMG_5892.jpg
IMG_5901.jpg

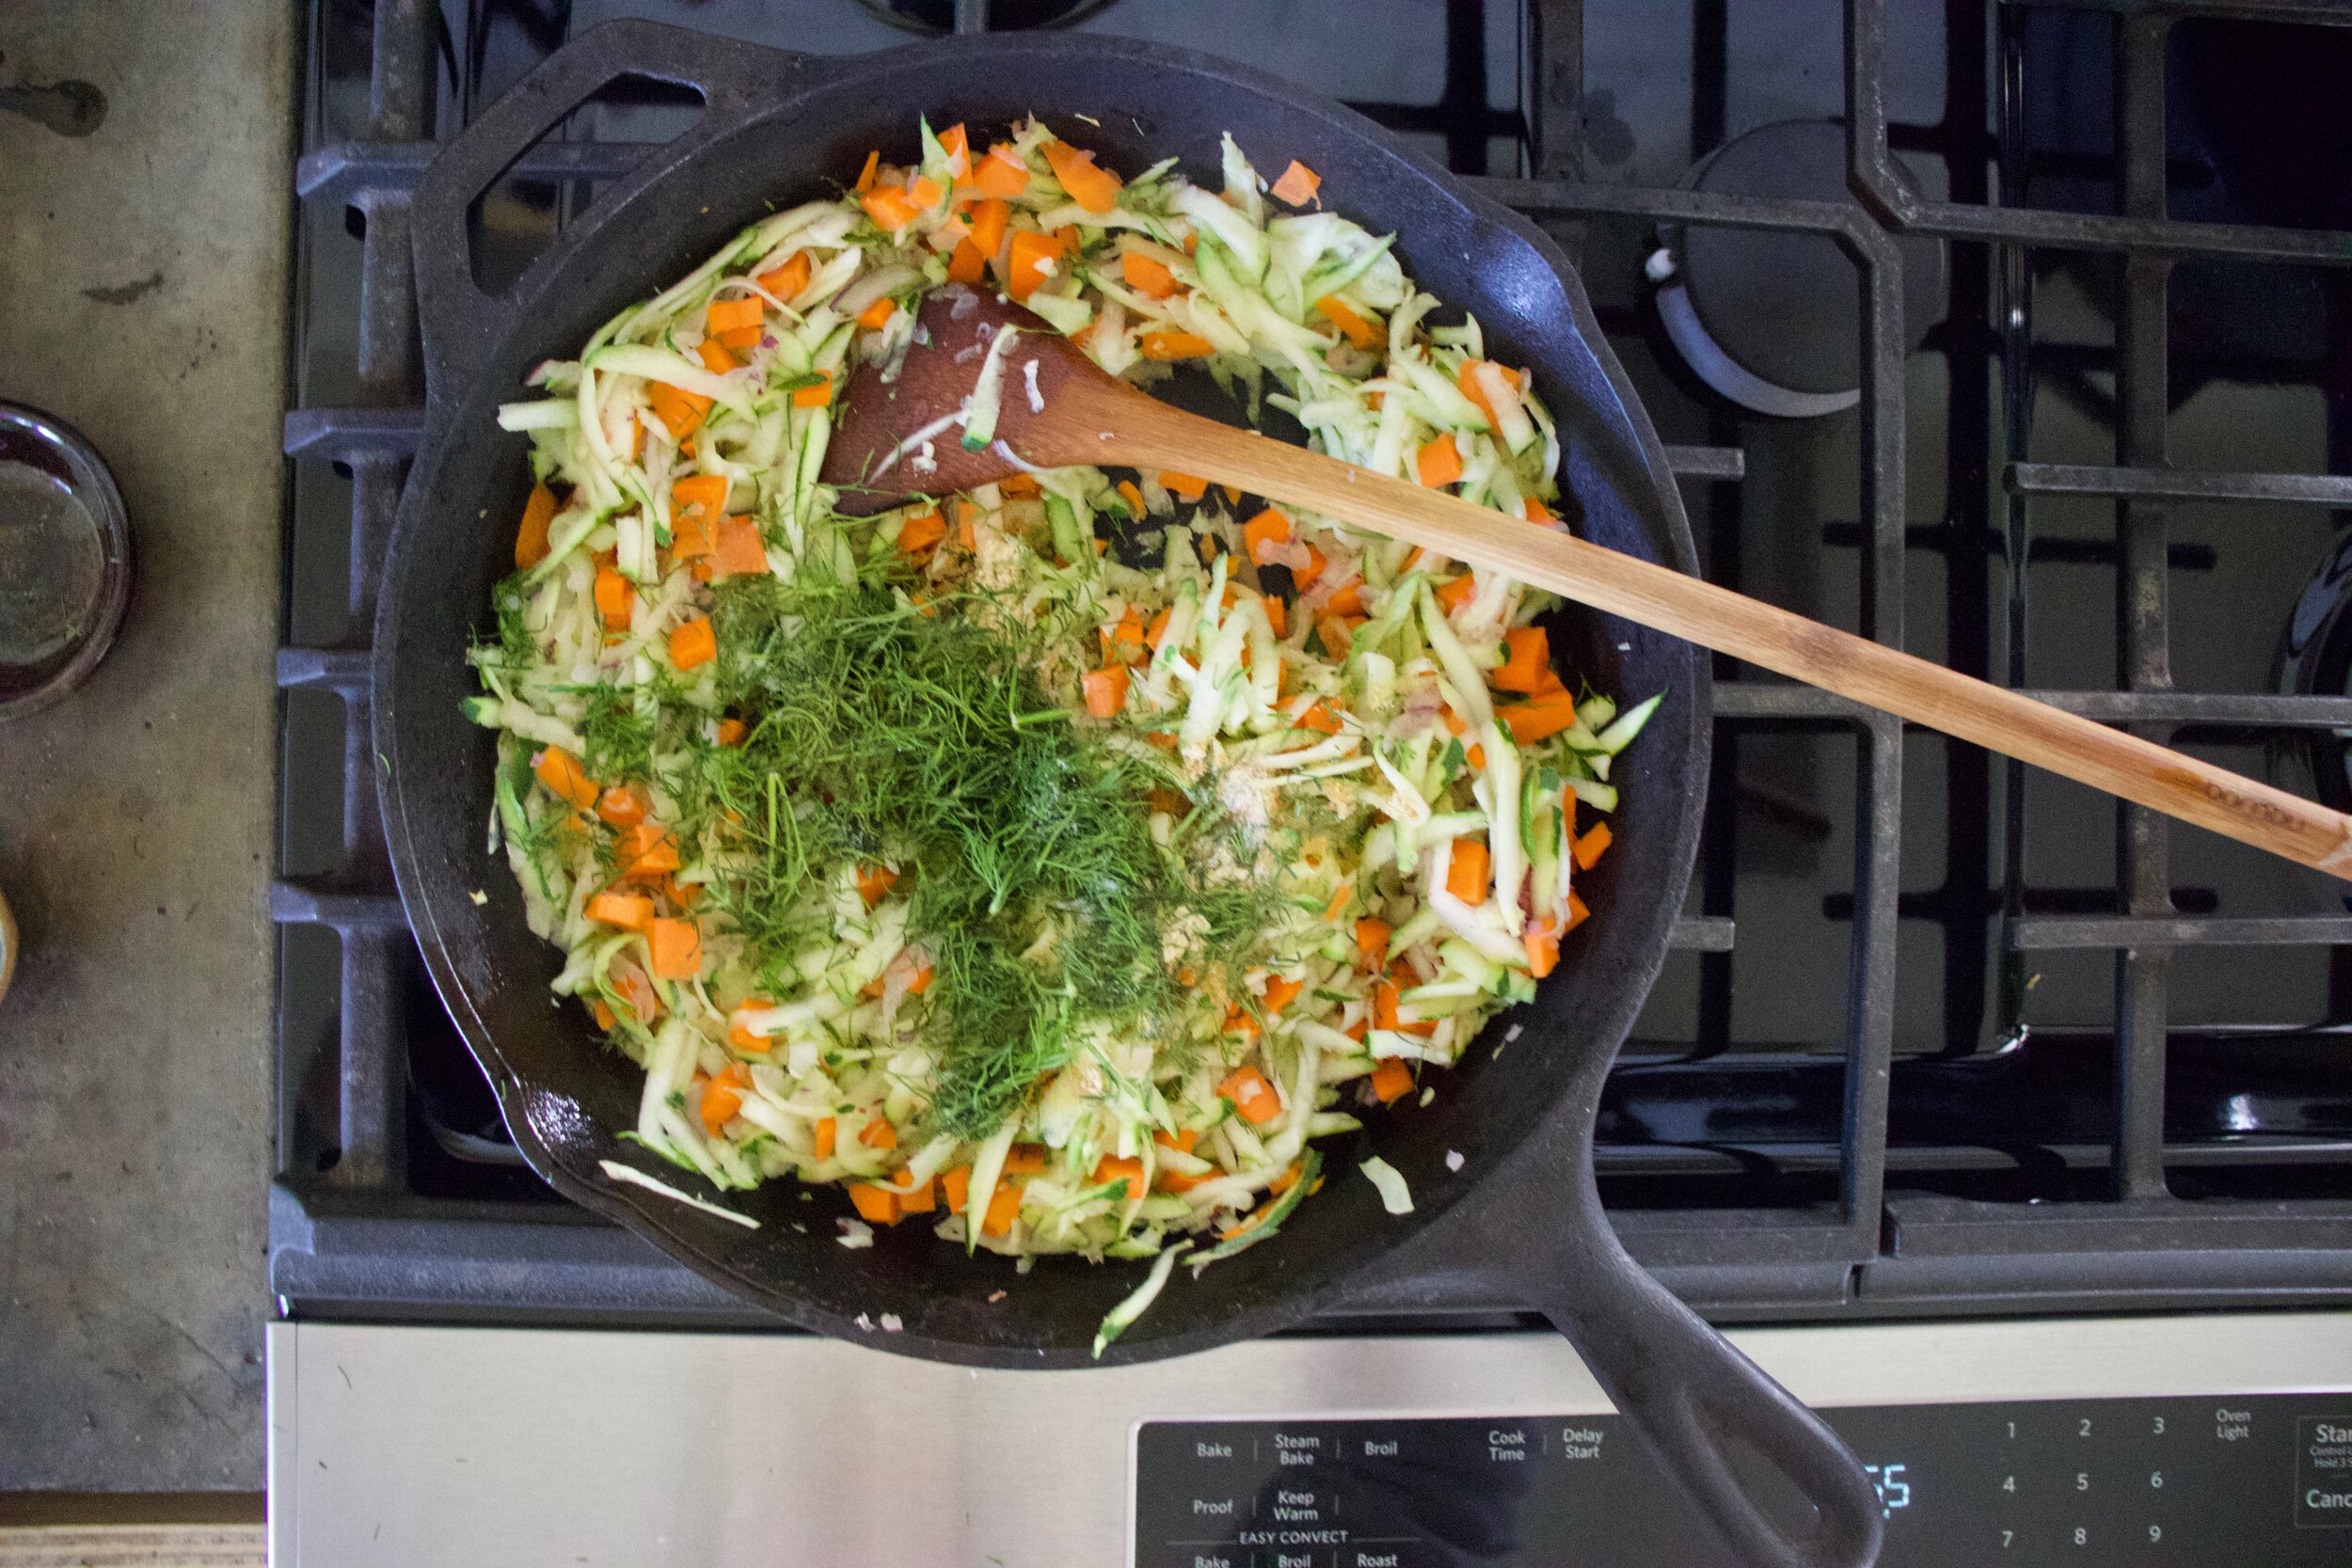
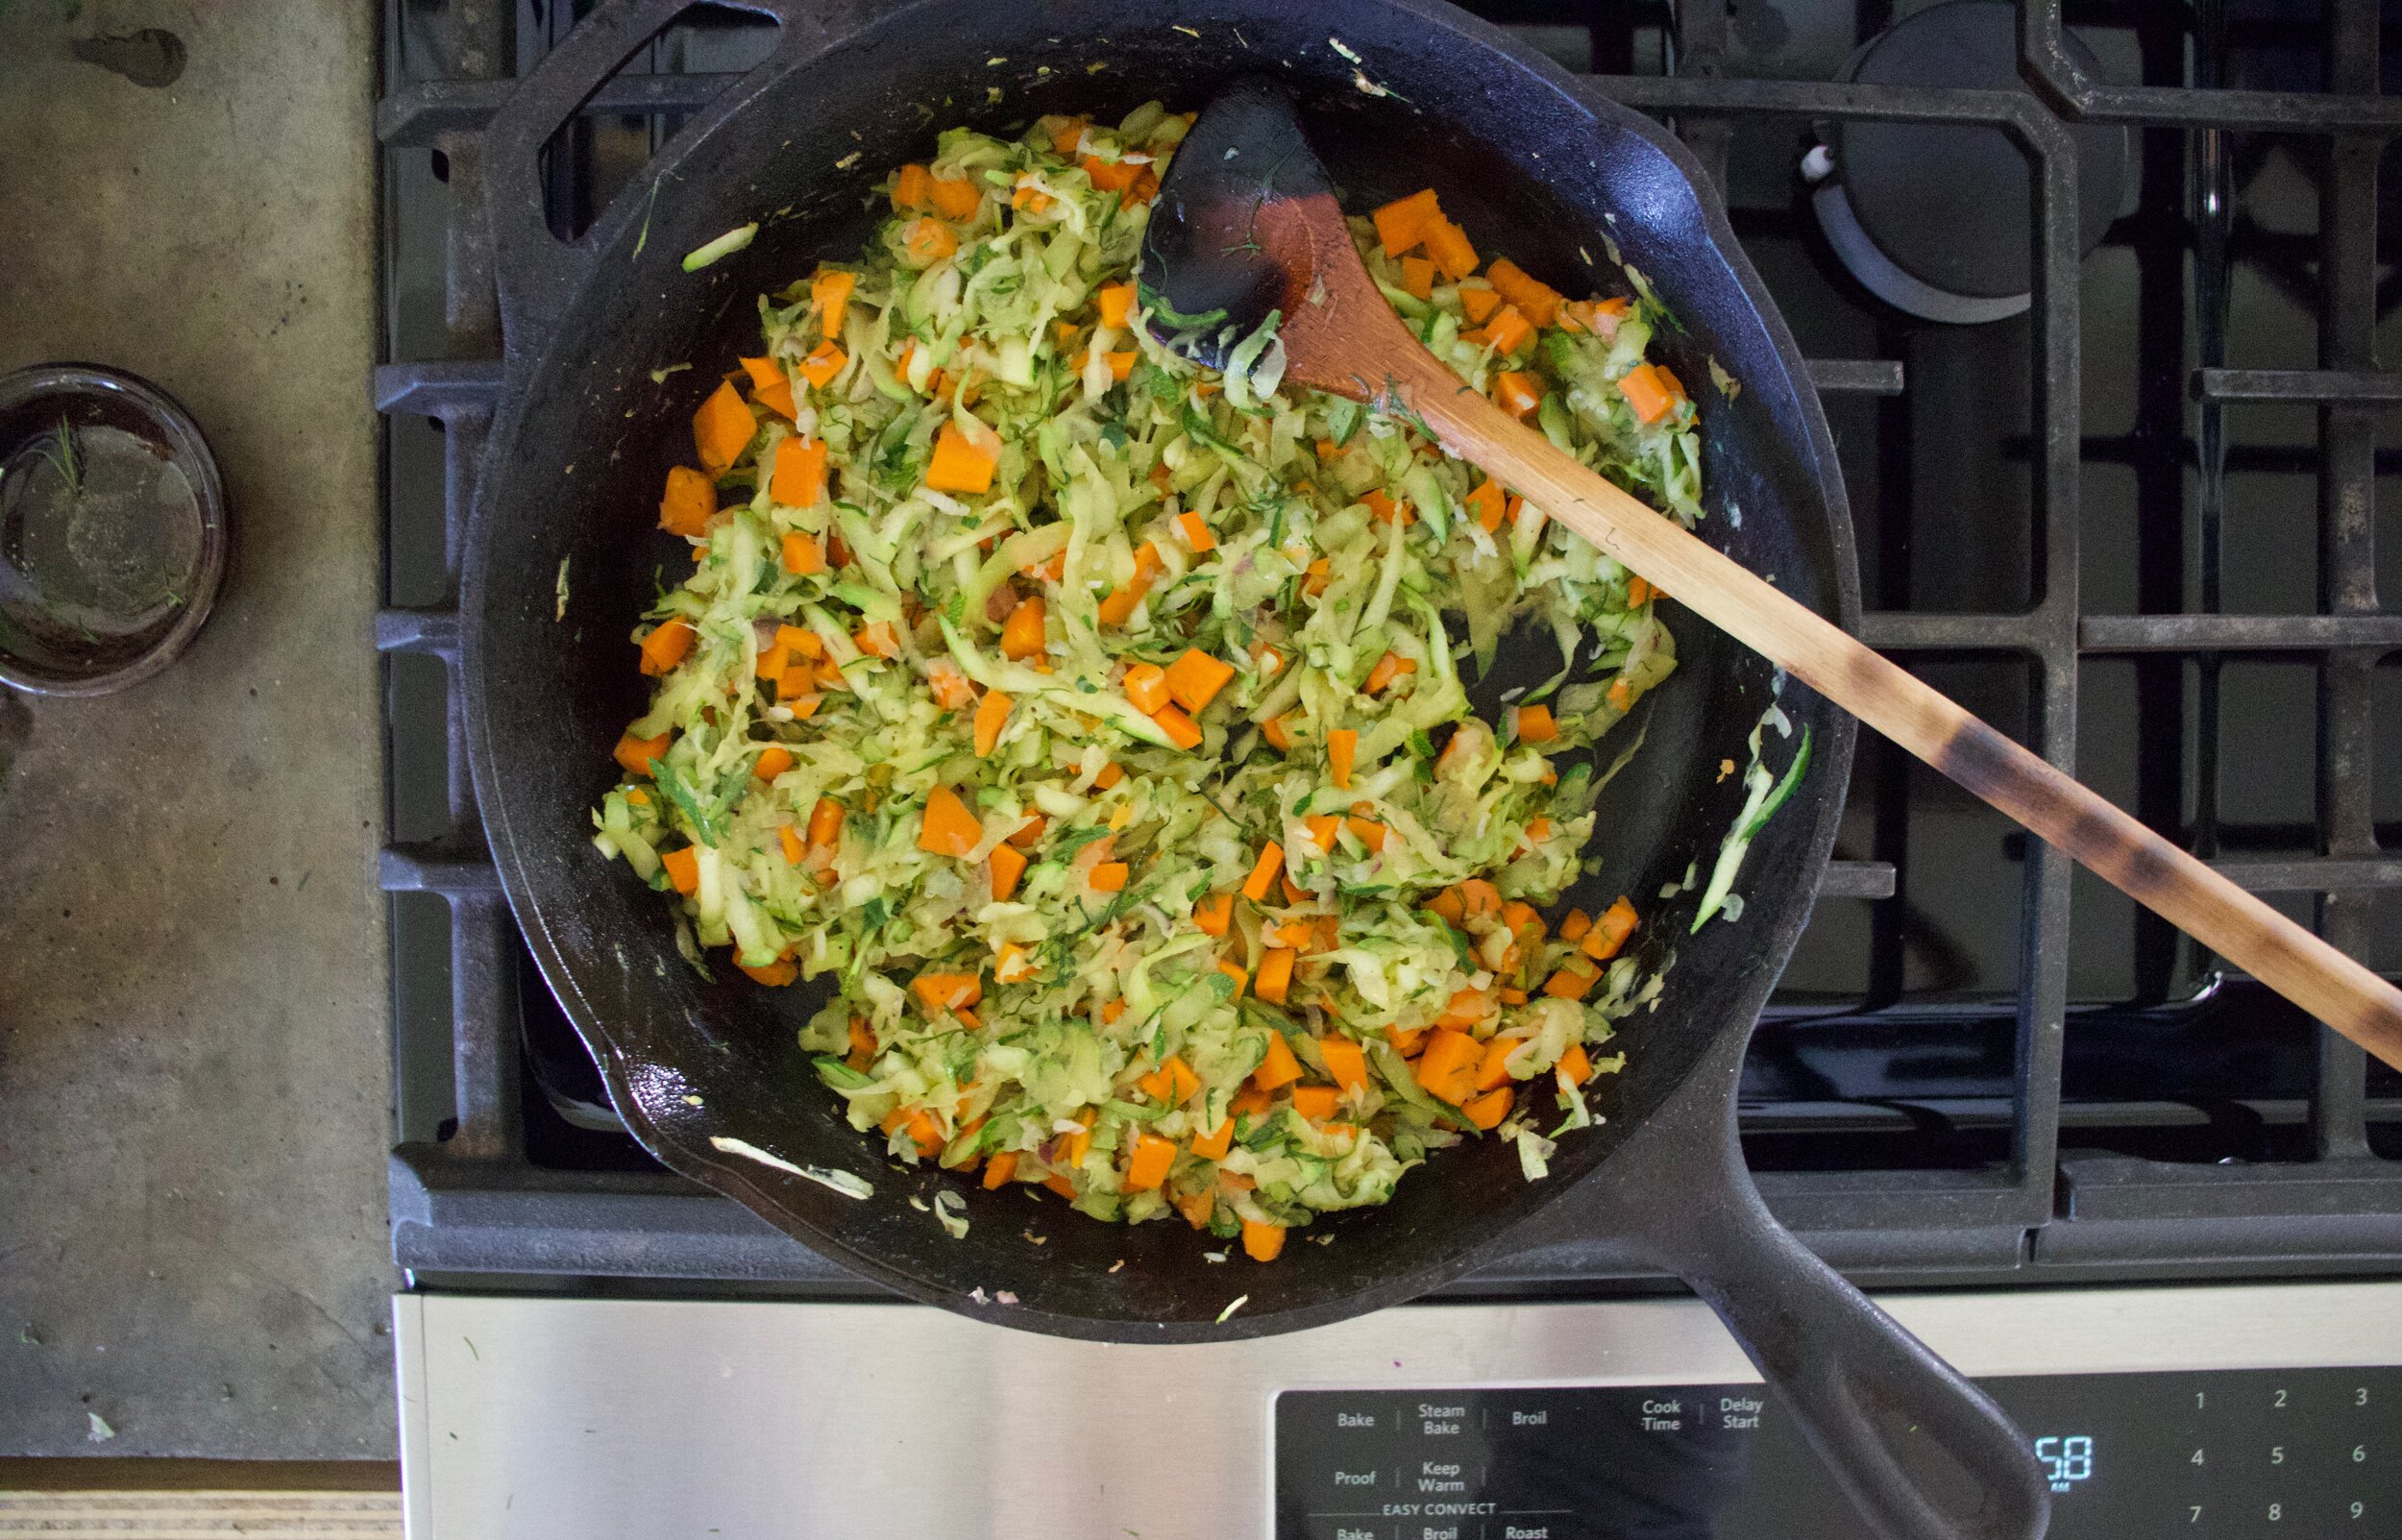
dump the zucchini and onion into a heated and lightly oiled skillet. Add in the carrots, the ginger and dill, and a good pinch of salt and pepper. mix around a cook until the zucchini has gone cooked down and the carrots are slightly tender. Remove from heat.

IMG_5905.jpg
IMG_5907.jpg

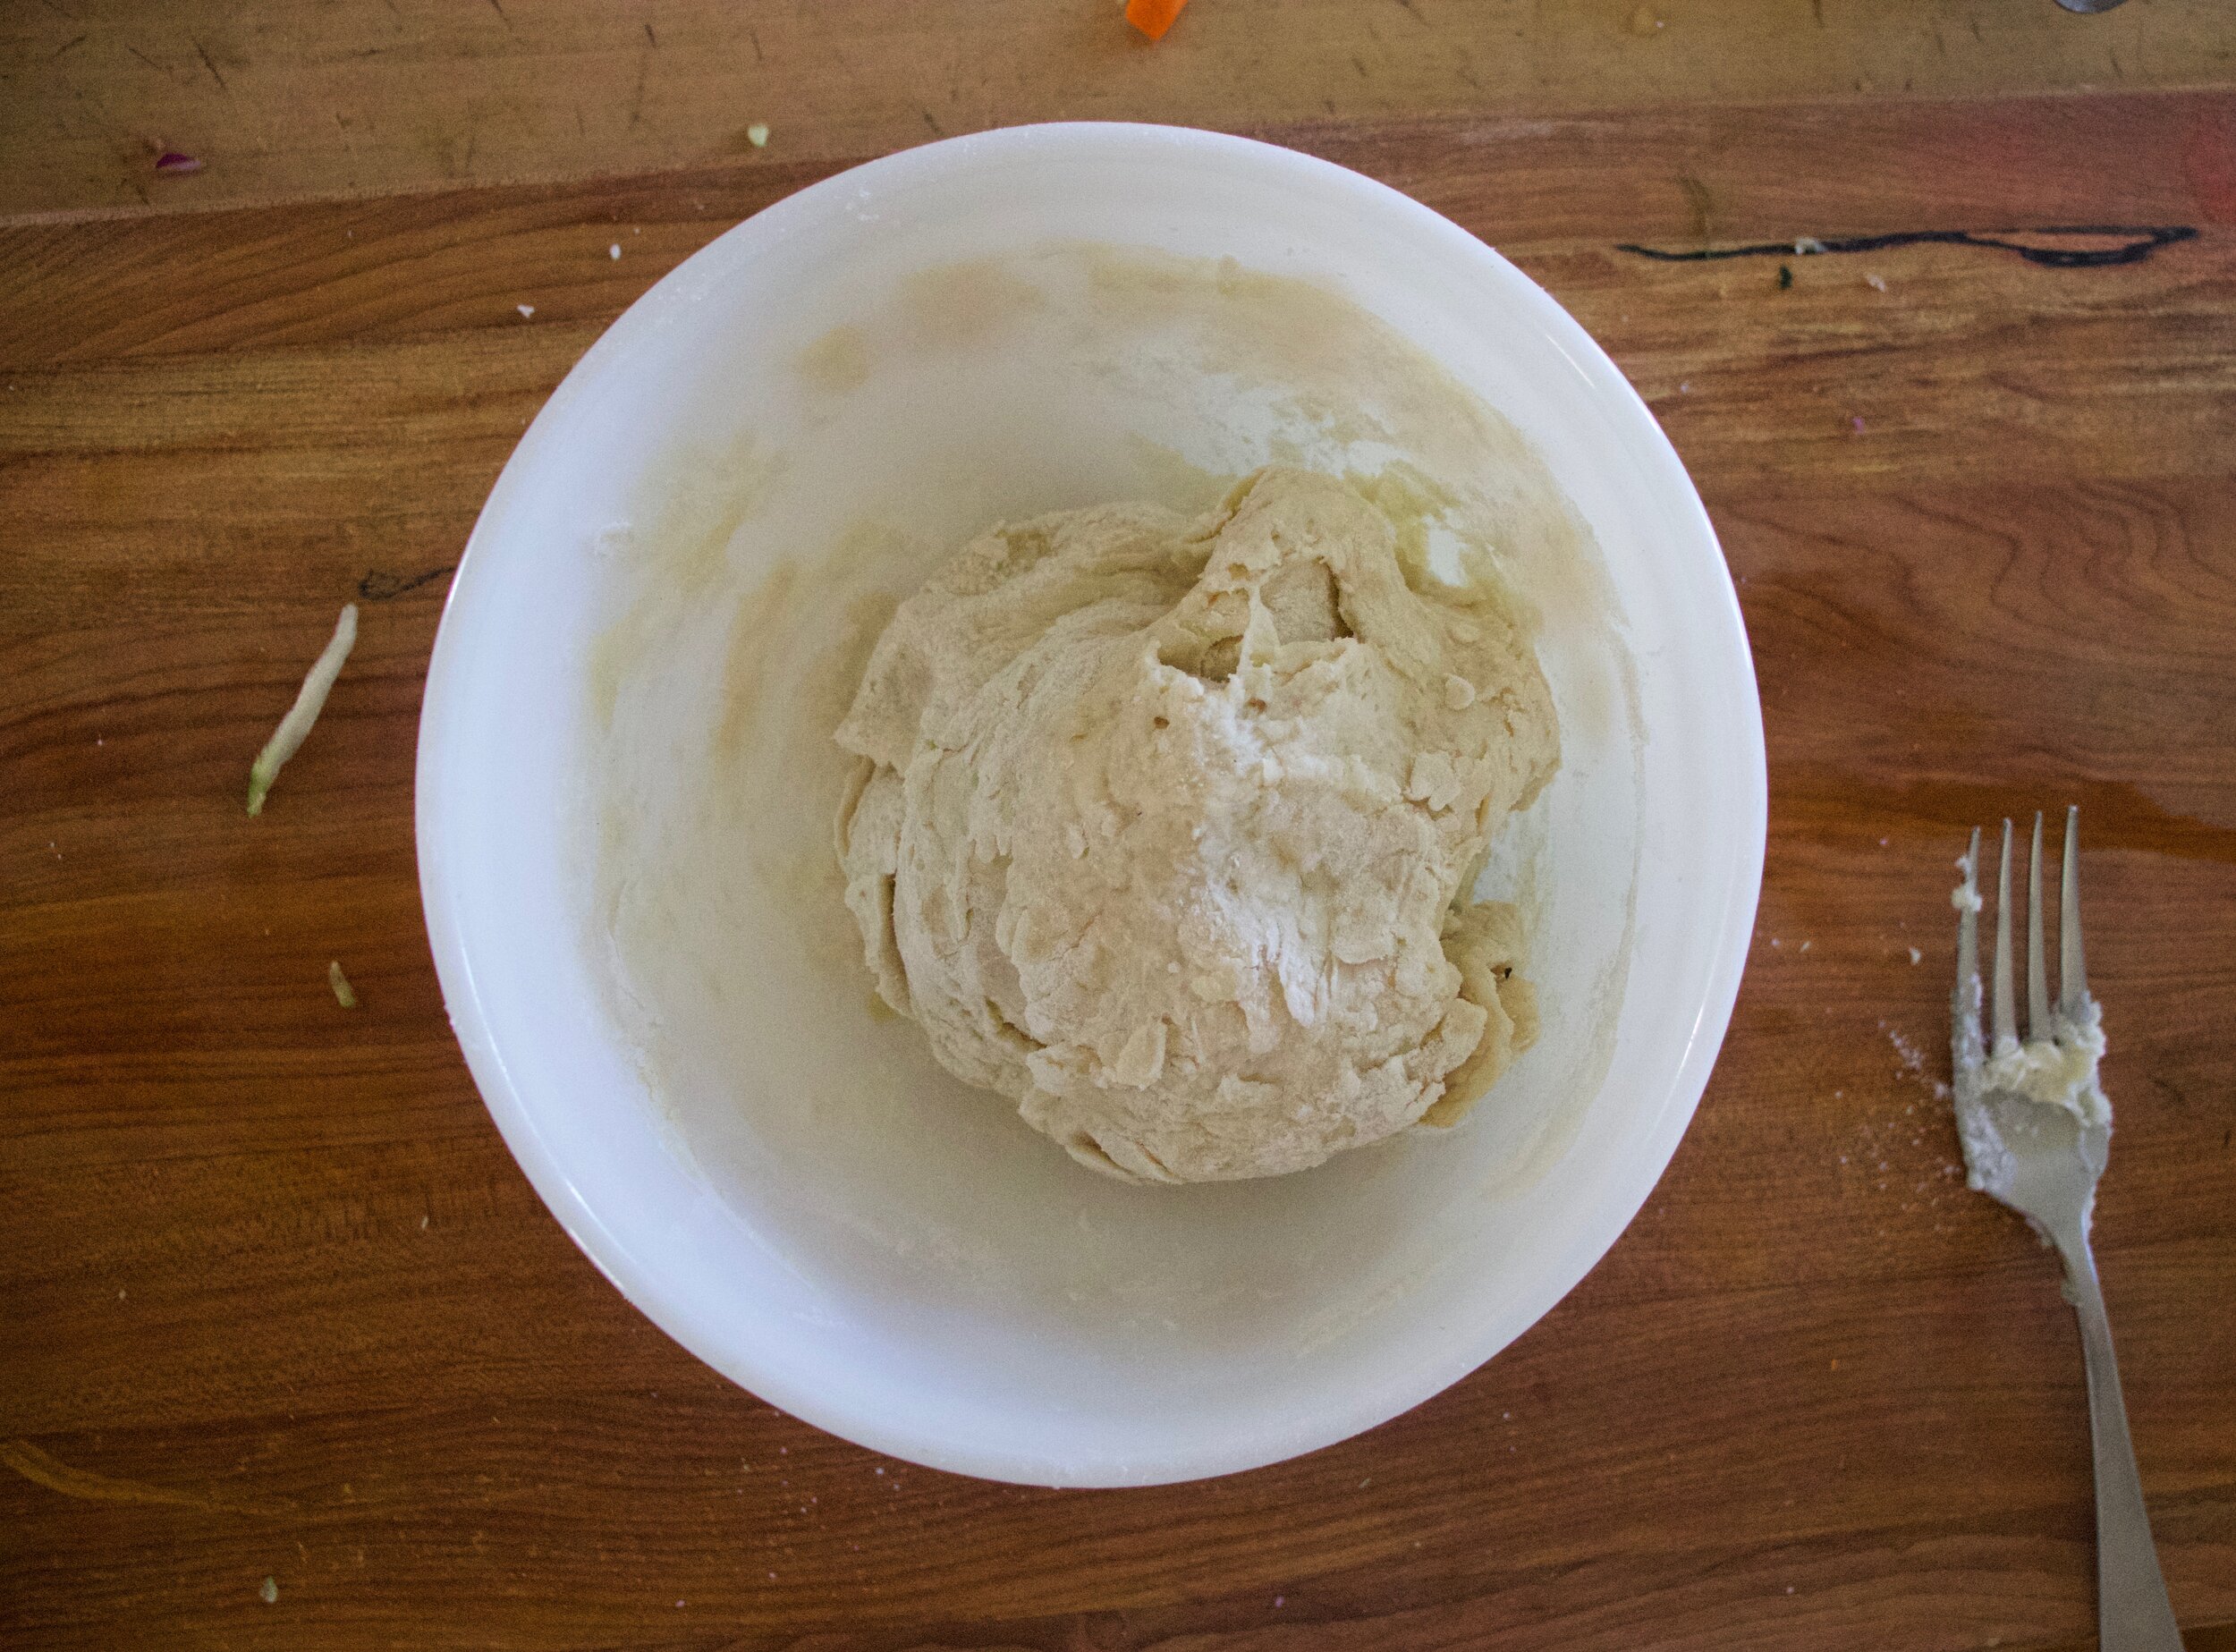
Now make the dough. Ad the wet the dry and mix around unit a shaggy dough form then knead it for about a minute and place in a clean bowl covered with a towel to rest for 15 or so minutes.

IMG_5910.jpg
IMG_5919.jpg

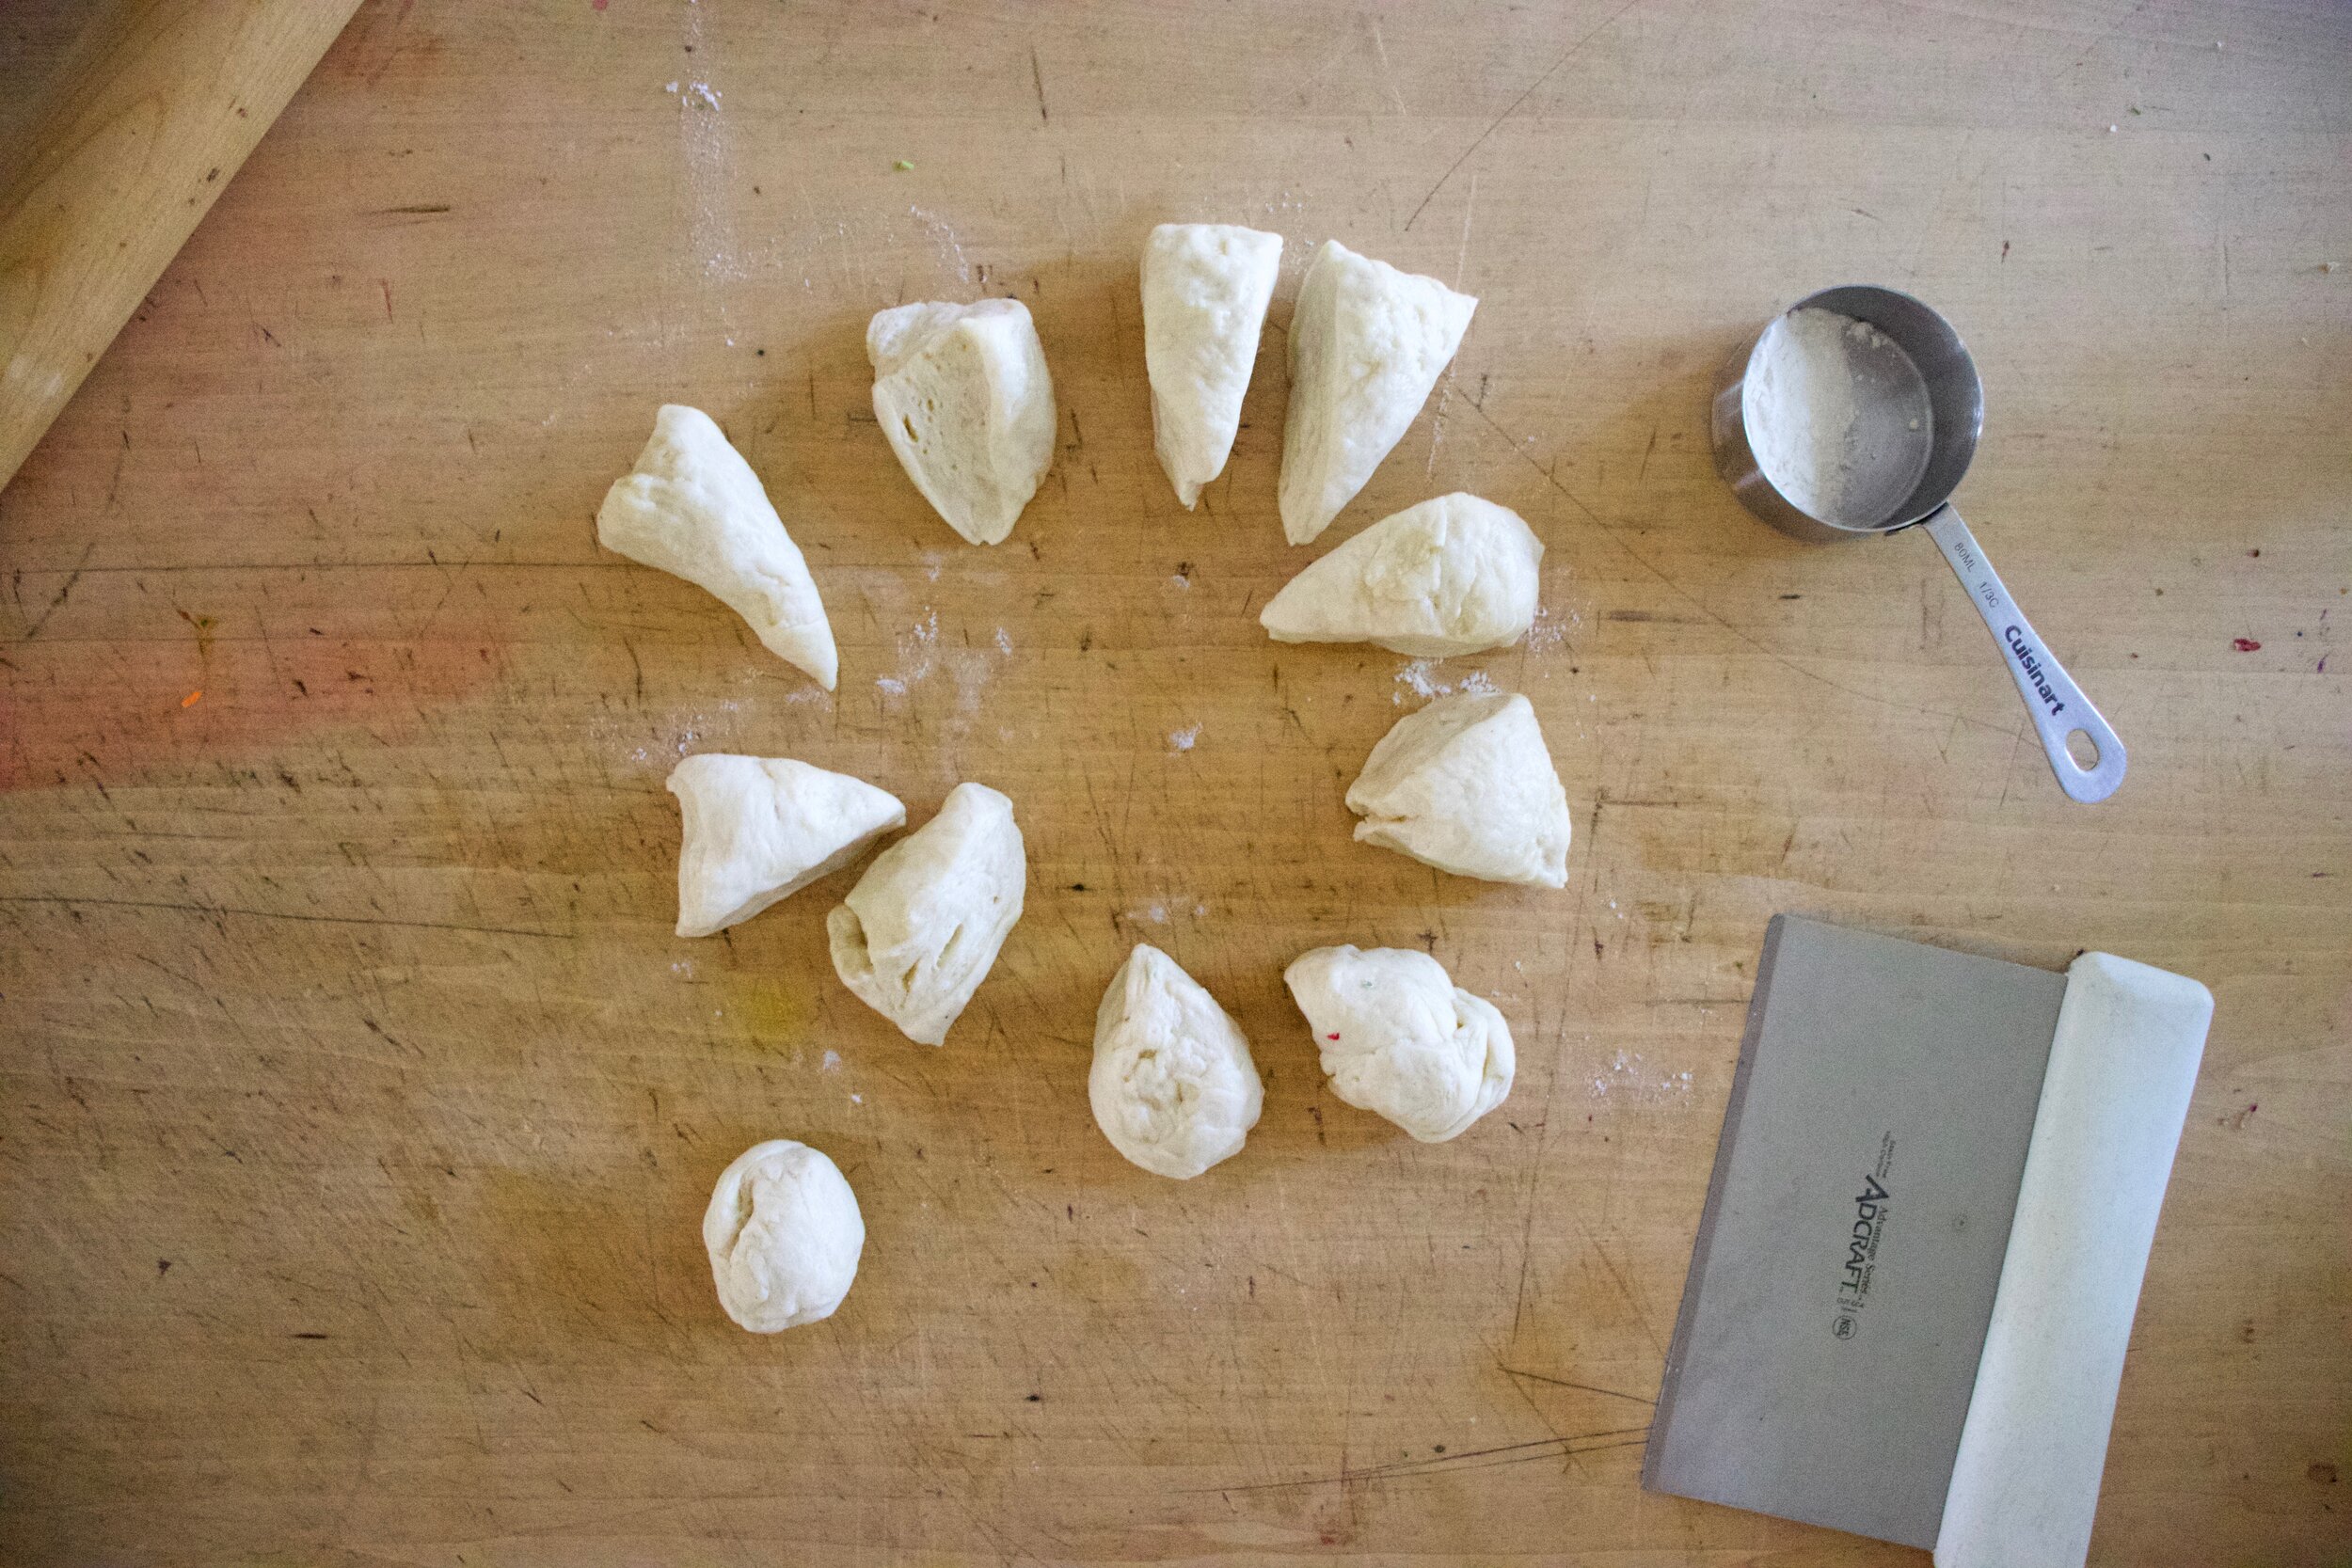
After the dough has rested, dump into counter, pat into a disk and cut into 12 equal pieces.

IMG_5924.jpg

Then roll each piece into a ball. Take a ball and on a lightly floured surface, roll out into a disk.

IMG_5930.jpg
IMG_5931.jpg
IMG_5939.jpg

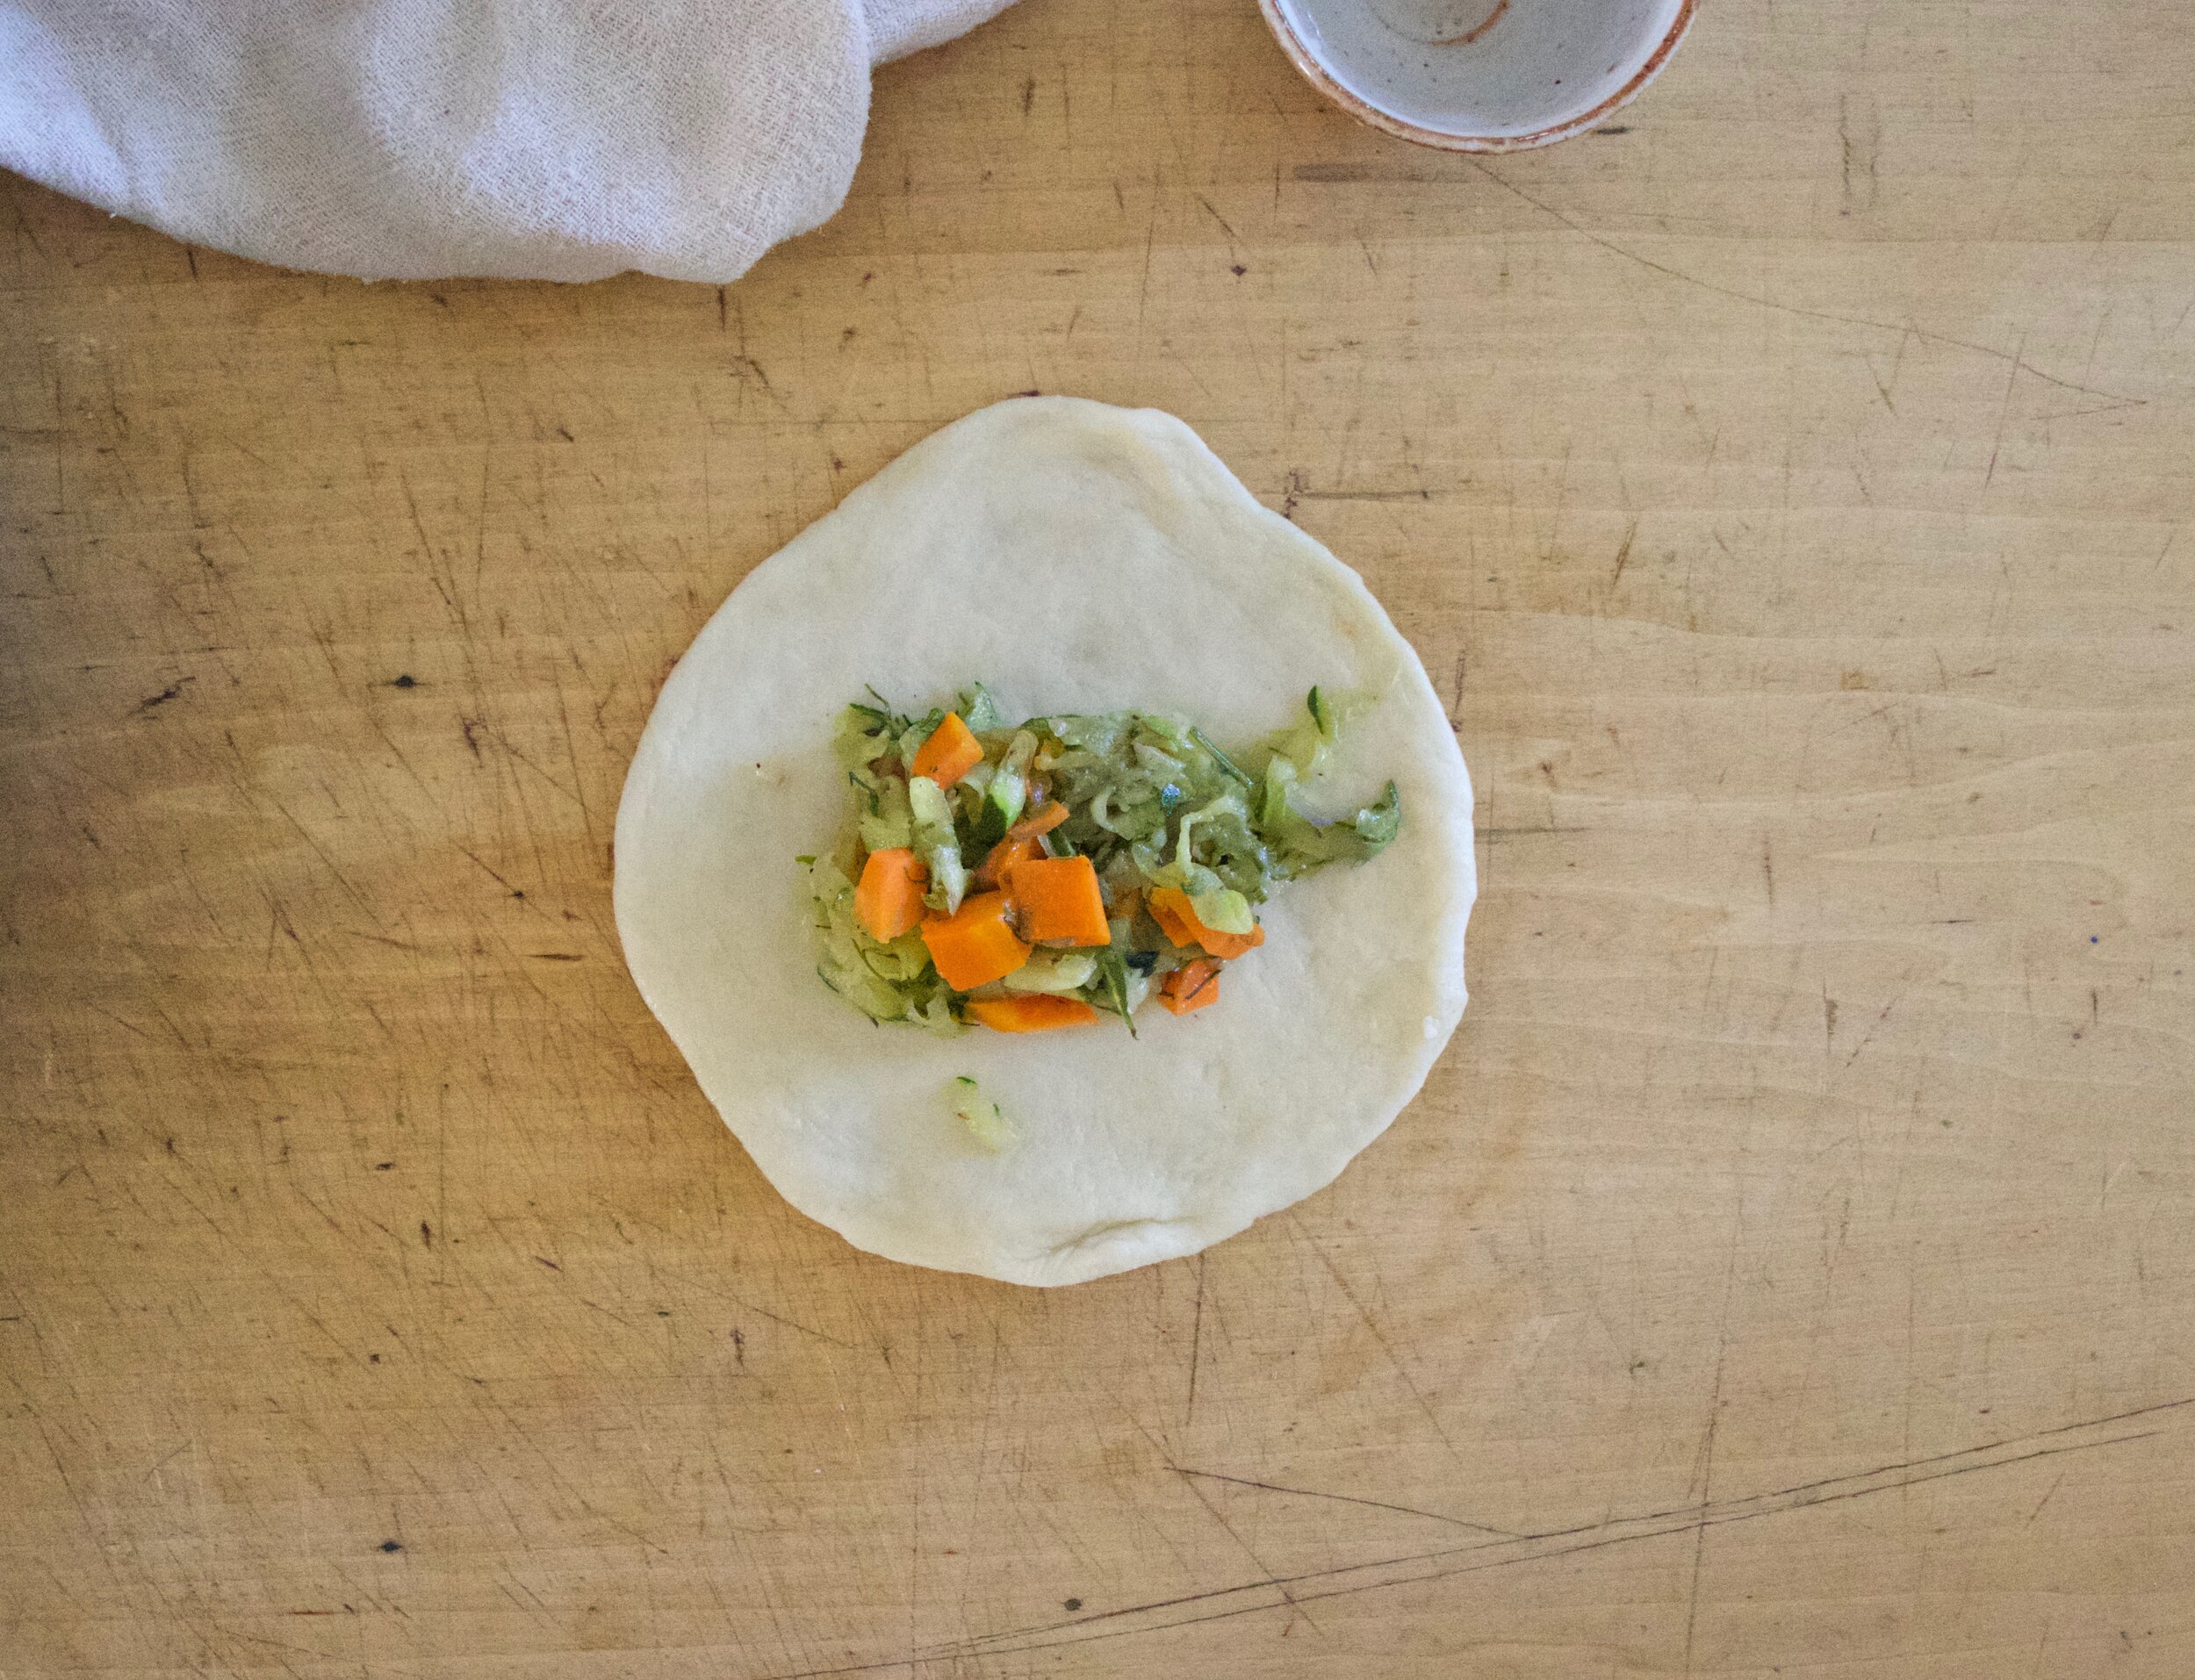
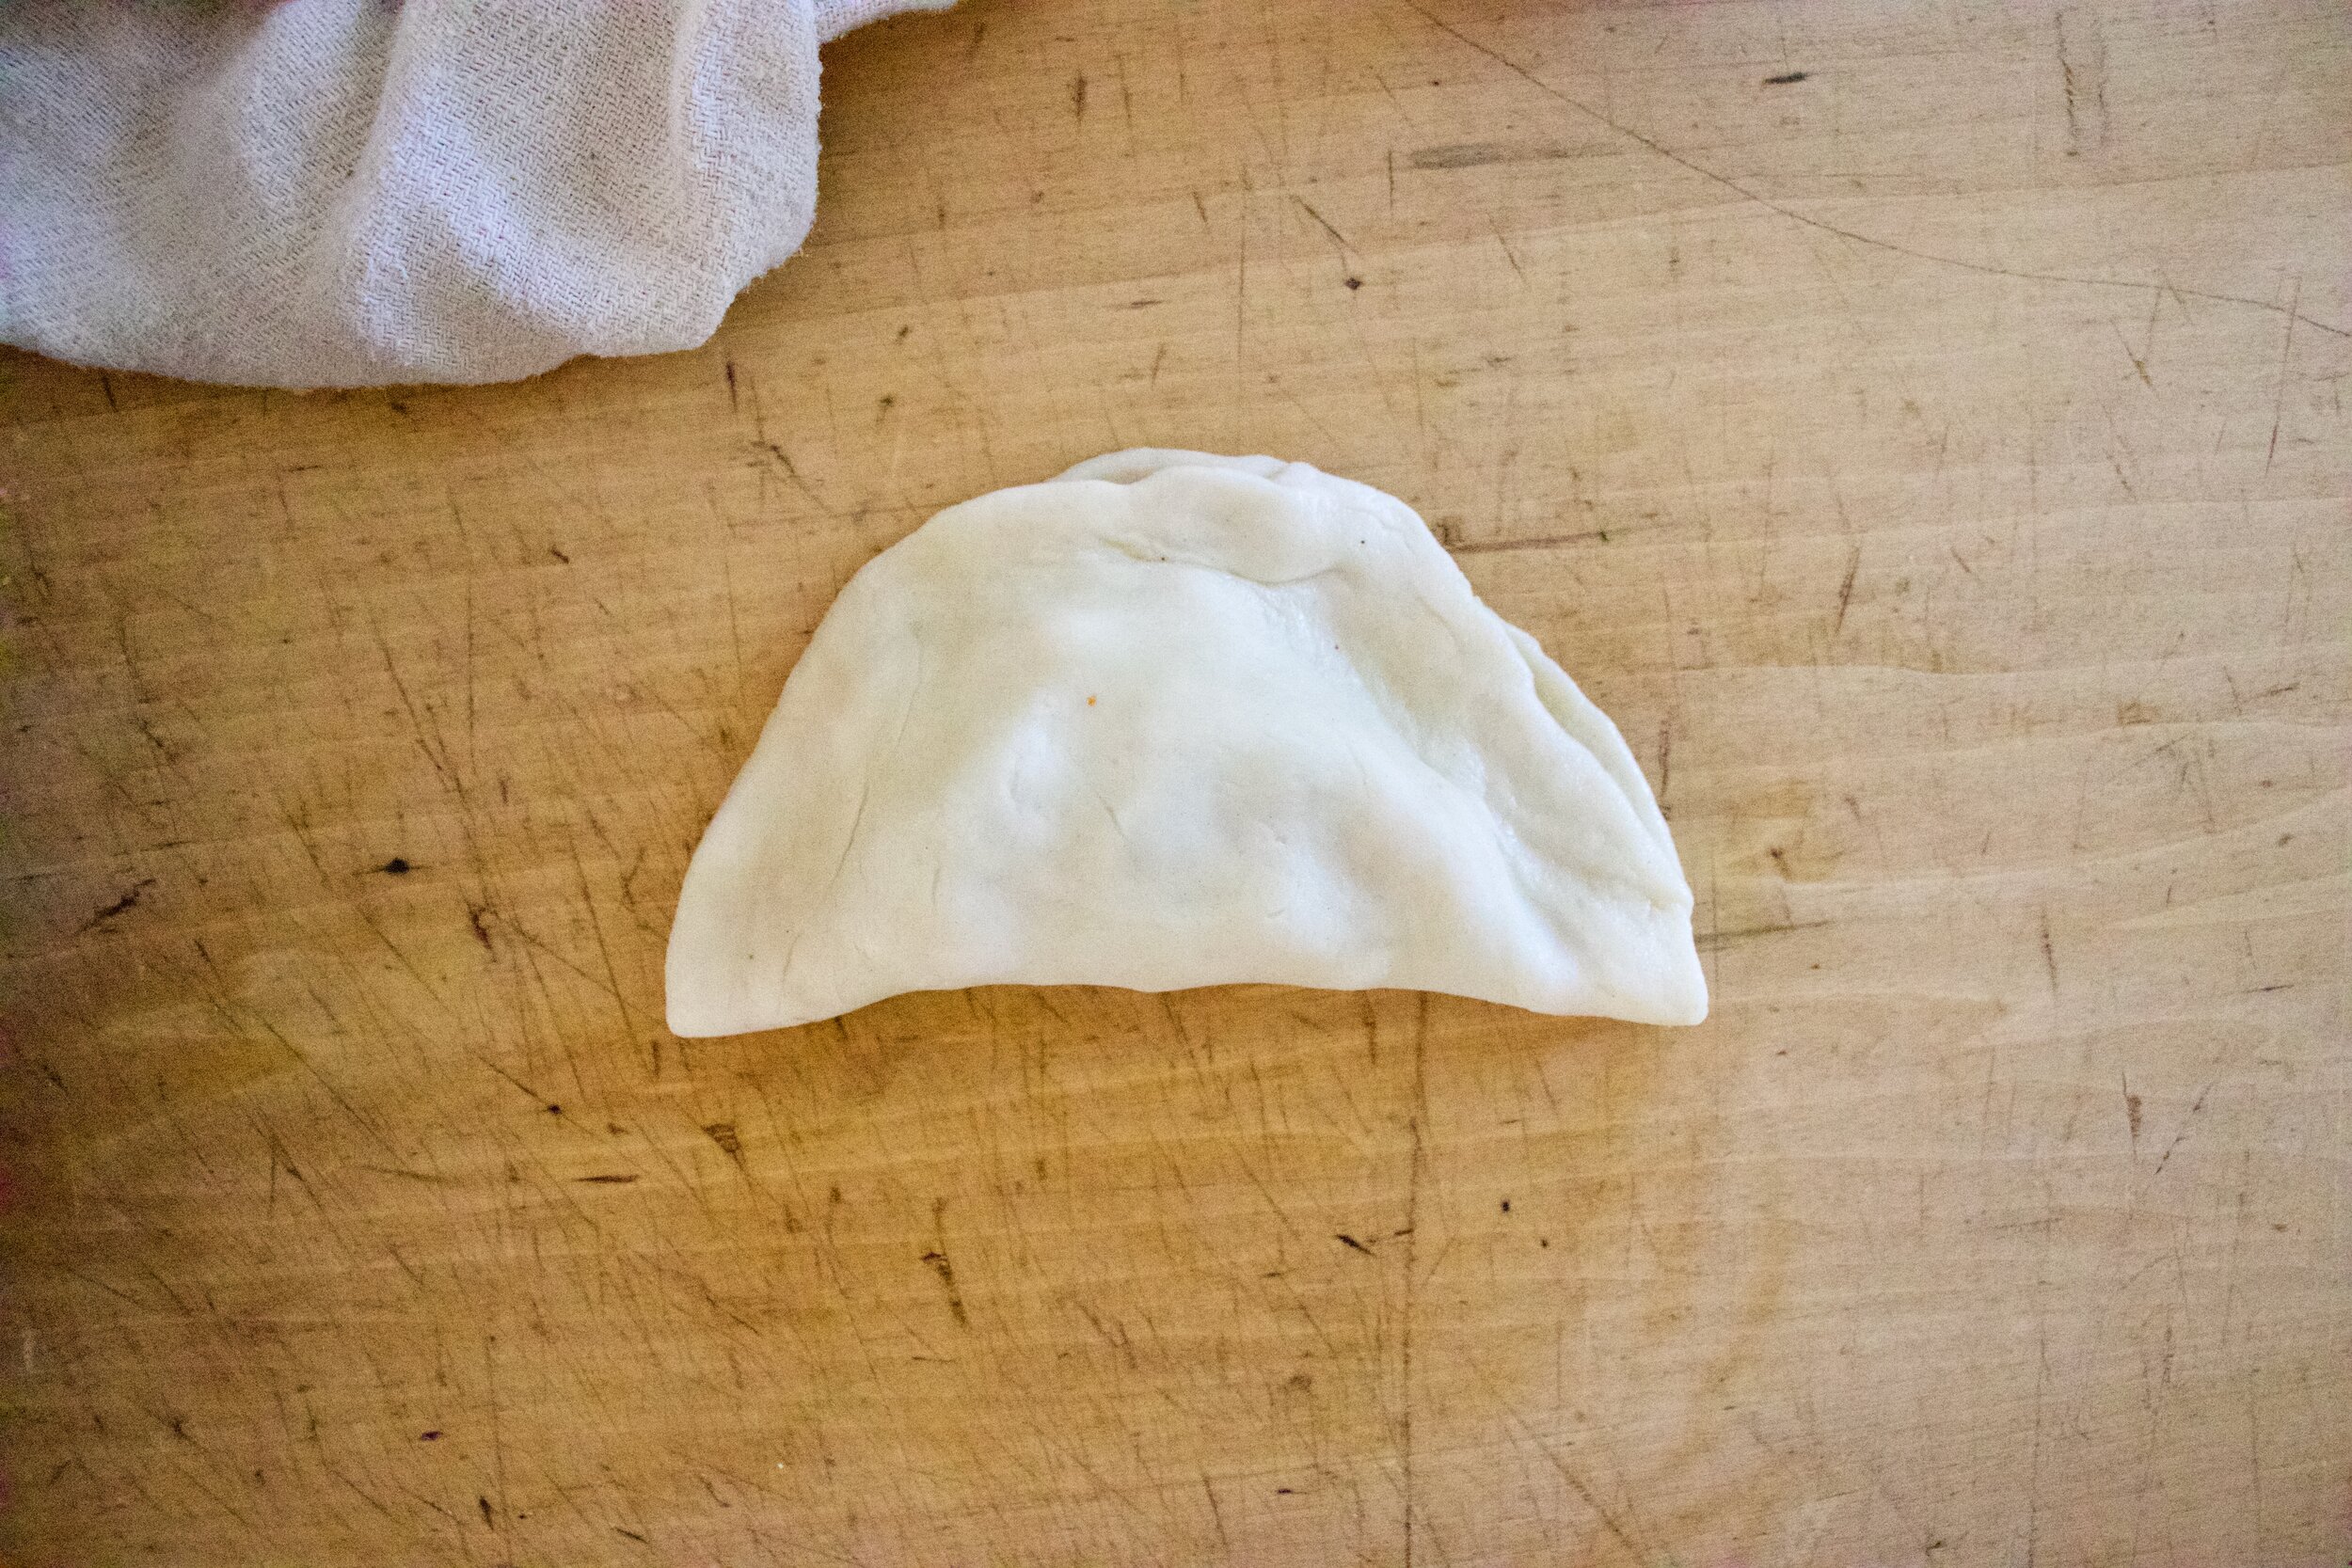
Then add the filling, A couple heading tablespoons of cooled filling go Into the middle. Have a little bowl or water and dip a finger into the bowl and run wet finger around the edge od dough. Fold the filed disk in half and lightly press the dough together. Now you can either try to twist the edges or just crimp them with a fork. Take a knife and cut a little steam vent into he top the place onto a baking sheet. Repeat until all empanadas are made.

IMG_5942.jpg

Brush tops with a little oiled sprinkle with pepper. Pop into the oven to bake.

IMG_5964.jpg

Pro tip. Don’t accidentally turn on the broiler right before you pull them out (especially if they were perfect. But in all honesty the mr liked the burnt ones so whatever.) Once they are nice and golden brown, pop them out of the oven.

IMG_6023.jpg

Now toss them onto a plate and start feeding your face. No utensils required. Dipping sauce is up to you.

-C


Zucchini Dill Empanadas

makes 12

For dough

  • 2 1/4 cups all-purpose flour

  • 1/2 teaspoon salt

  • 1/2 teaspoon baking powder

  • 1/3 cup vegetable oil

  • 1/2 cup cold water

Filling

  • 2 small zucchinis (3 packed cups grated)

  • a small onion

  • a carrot

  • 2 tablespoons fresh or 1 tablespoon dried dill

  • 1/2 teaspoon ground ginger (optional)

  • salt and pepper

  • vegetable oil

Start with making the filling. Chop the carrot into small little cubes then shred the zucchini and onion on a box grater. Gather the zucchini and onion and place in a clean tea towel of cheese cloth and ring to excess liquid. Place the carrot and the zucchini and onions into a preheated and lightly oiled skillet. Add in the dill, ginger, and a pinch of salt and pepper. Cook down for 7-9 minutes or until zucchini has lost a lot of liquid and the carrot pieces are fork tender. Remove from heat and let cool.

Make dough. Place the dry ingredients into a bowl and mix around. Add in the water and oil and mix until it comes together into a shaggy dough. Dump out onto counter and knead for about a minutes them place dough back into the bowl ( wipe it out) and cover with a towel. Let dough rest for 15 or so minutes.

Preheat oven to 375.

Once dough has rested, plop onto counter, pat into a disk shape, then cut into 12 equal pieces and roll each piece into a ball. Lightly flour the counter and start to roll each ball out into a round disk about 4-5 inches wide. You can one at a time and fill it or roll them all out and fill all at the same time.

To fill, take about 2 heaping teaspoons of the cooled filling and place in the center of the rolled out disk. dip your finger into water and and run it around the edge of the dough then fold in half and lightly press the edge together. Then either twist the edge or crimp the edge with a fork. Take a knife and cut a small slit into the top then place on a baking sheet. Once all the empanadas are on the sheet, lightly brush the tops with oil and sprinkle with black pepper. Pop into the oven and bake for 20 -25 minutes or unit the empanadas are a nice golden brown.

Remove from oven. Eat while hot.

Place any left overs in a container in the fridge for 5-7 days. Reheat in oven or toaster oven.

In Savory, summer, Vegan, Vegetables, pie Tags Zucchini Dill Empanadas, vegan, plant based, empanada, dill, summer, zucchini, easy, home made dough, fresh, dairy free, vegetable, hand pie
2 Comments
Share

Almond Ricotta Tart with Spring Vegetables

May 4, 2019 Colleen Stem
IMG_8114 2.jpg
IMG_8045 2.jpg

Spring is here for reals, I think. No, it is here, it has just been a bit raw and maybe a bit more rainy then it really needs to be, but whatever, it is spring and it is good. Things are greener by the day, the temperatures although not exactly warm are still inhabitable and without cause for winter jackets (although I have still been rocking the mittens) and spring veggies are popping up all over. Things are looking good.

So last week I made a pie crust with the intention to make a veggie pot pie and stuck it into the freezer. When the time came to make said pot pie, I forgot to take it out of the freezer so the crust was not meant to be for pot pie (it will probably end up as a rhubarb pie…we shall see). Without pie crust, I wasn’t exactly feeling like I should make a pot pie, but a tart, well yeah, sure. A crispy and chewy crackery crusted thing with almond ricotta a spring veggies because that is where the mind went and what the mr agreed sounded good. (When I make up recipes I just start taking about ingredient and preparations and wait til the mr says “Yea, that loud good. I’ll eat that “ He usually will say it right away and for anything. Very easy to please or he just doesn’t care…hum? )

And so the tart was made and the tart was eaten in all entirety for dinner by the mr alone. Usually when he eats all of something it means it was one of the really good things. Or he is really really hungry. But he said it was a really good thing. I trust him because I agreed. I got in a few spoonfuls of the almond ricotta mixture and it is really freaking good if I do say so myself (I could eat bowls of almond ricotta all day long).

Anyway, heres to spring and all things that are green and good.

To the tart.

The stuff. Flours (white and white whole wheat), baking powder, and a little salt in the bowl. Water and olive oil, blanched almonds, a lemon, a clove of garlic, asparagus, peas, frozen and thawed spinach, a small red onion, and salt and pepper.

IMG_7961.jpg
IMG_7965.jpg

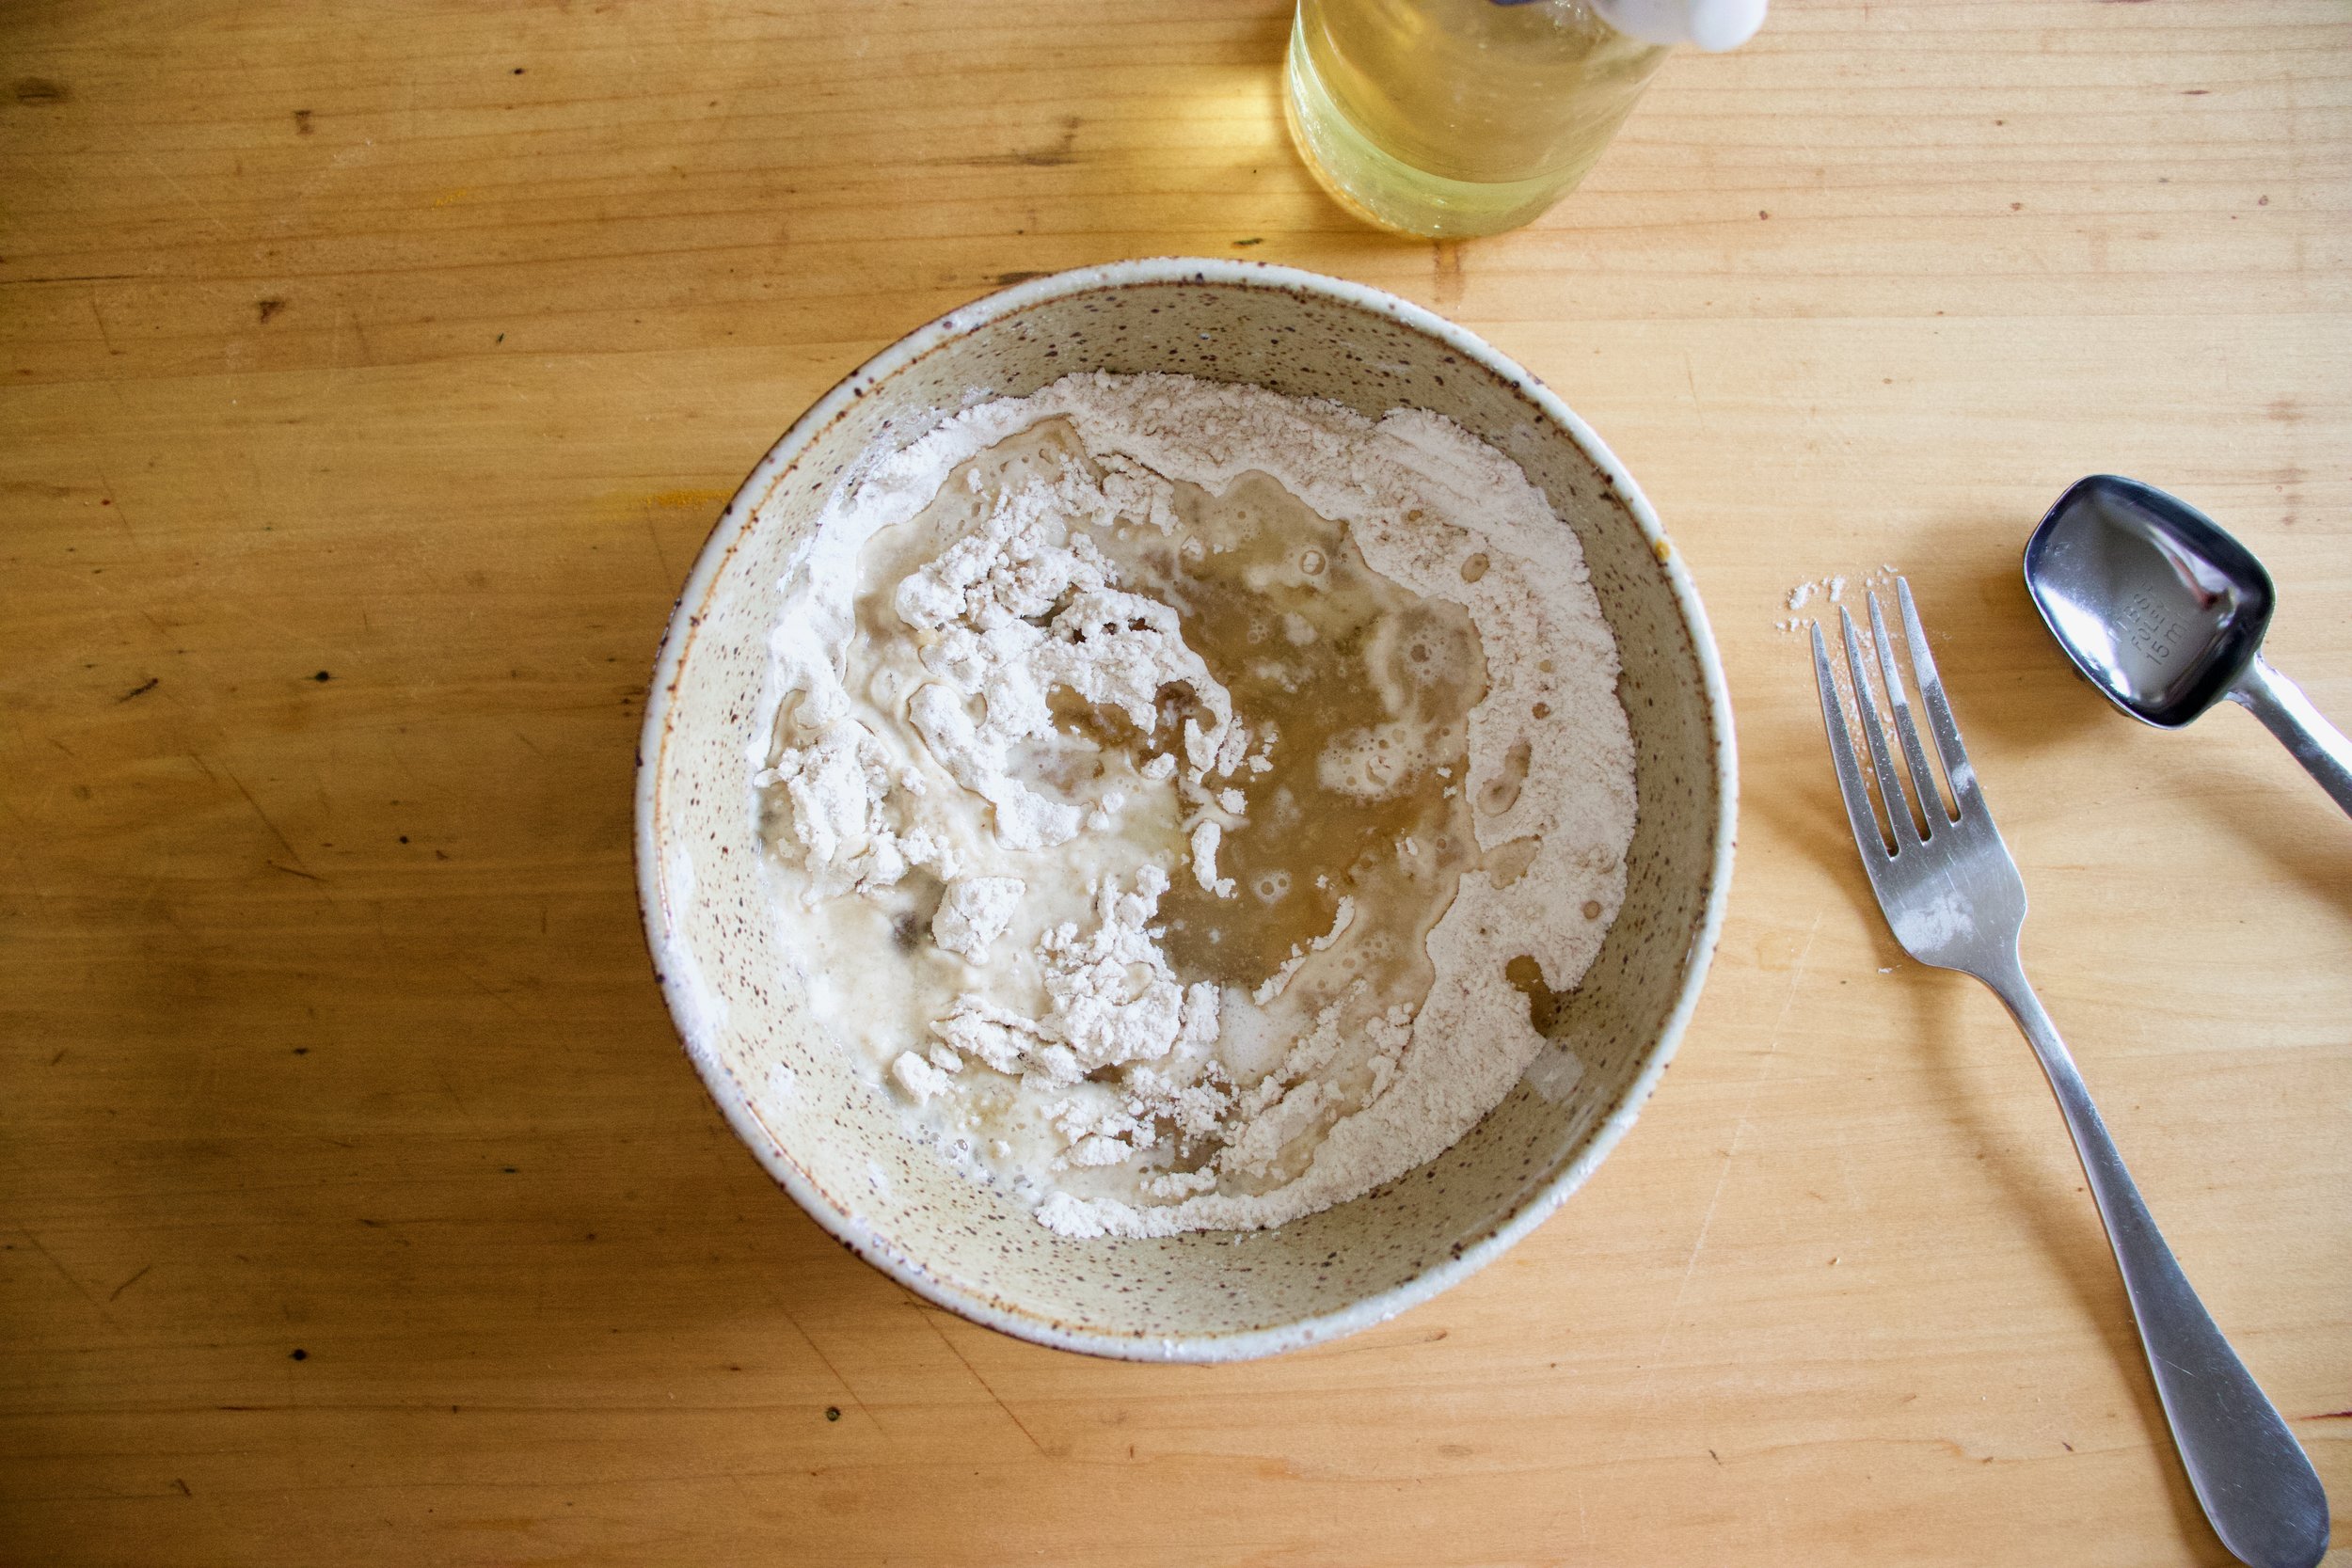
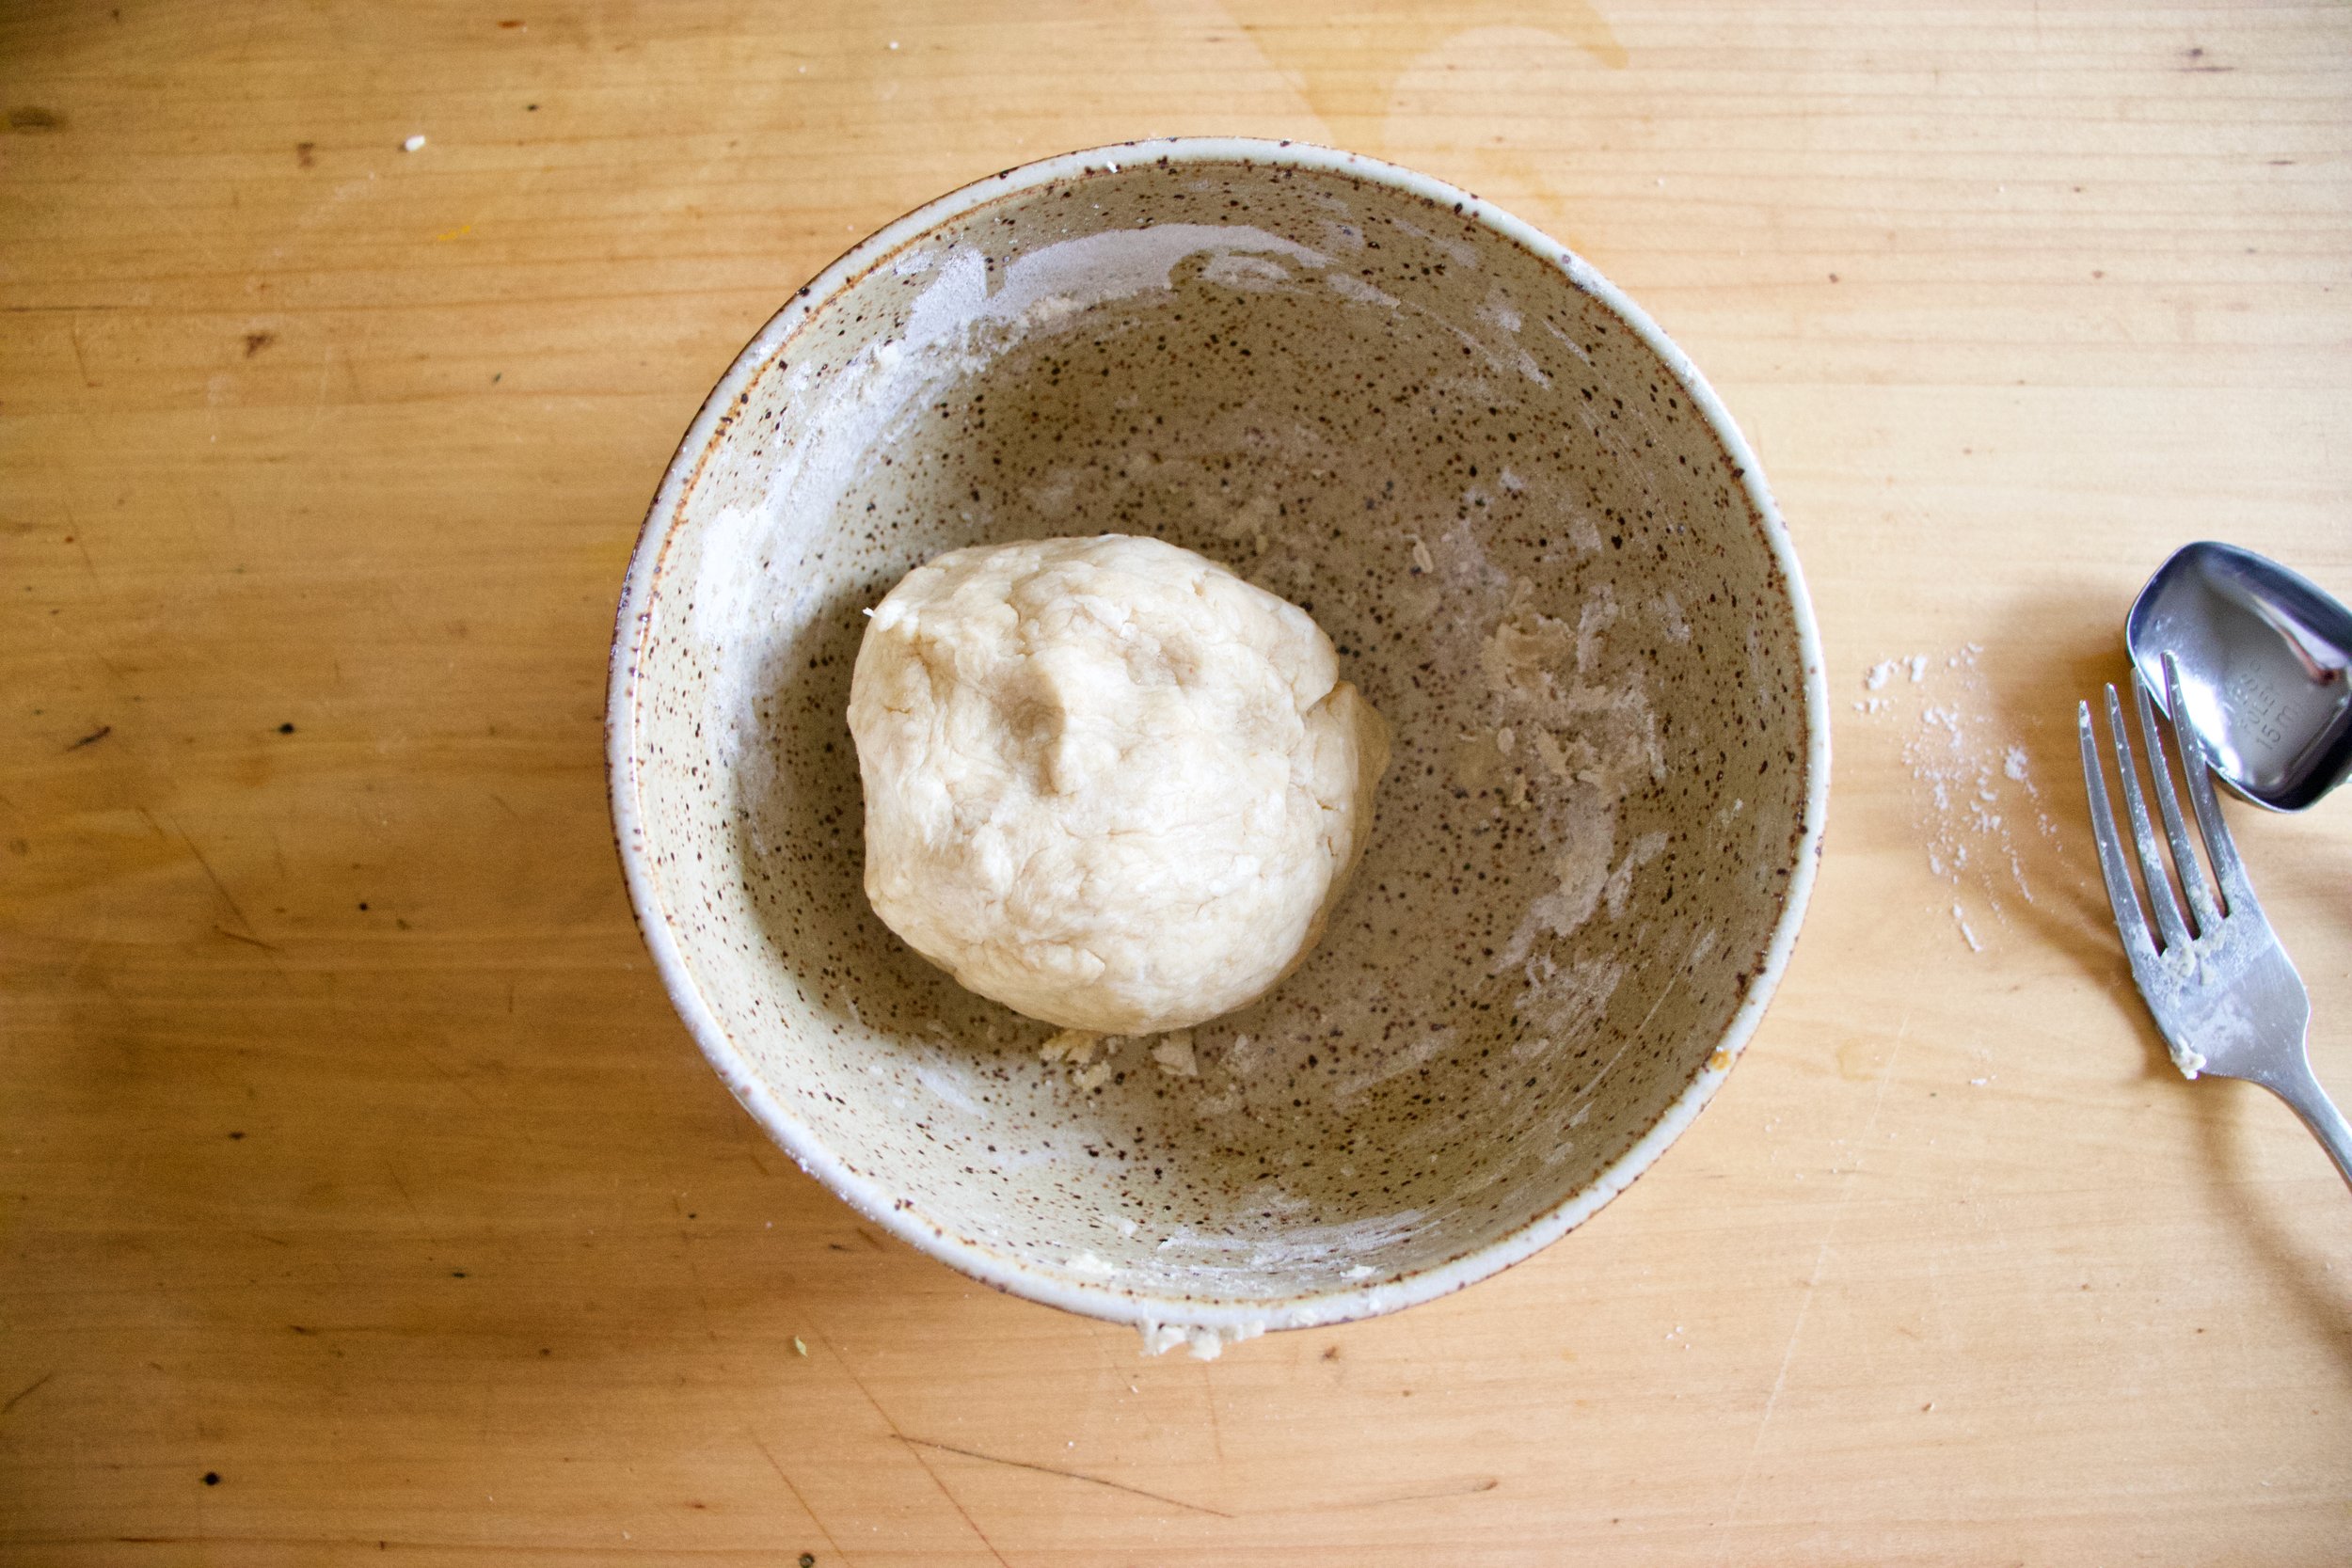
Start with making the crust. Mix the dry together then add in the oil and water to form a dough. Knead dough a minutes until the dough is uniform and place back in bowl and cover. Dough needs a few alone minutes to rest. I can relate to that.

While dough is resting, make the almond ricotta. Almonds, garlic, the juice of the lemon, and a bit of water go into blender. Add in a pinch of salt and pepper too.

IMG_7979 2.jpg

Blend until creamy and smooth.

Dump in the spinach and blend, just until combined.

IMG_7986.jpg

So good. So. Good.

Scoop ricotta into a bowl and mix in the peas. And sure give it another taste but try not to eat it all.

Grab the onion and slice it all nice and thin.

IMG_8010.jpg

And after the resting time, grab dough and roll it out. Try for a rectangular shape or as rectangular as you can get it, but nice and thin. Thiner is better.

IMG_8012.jpg
IMG_8022.jpg

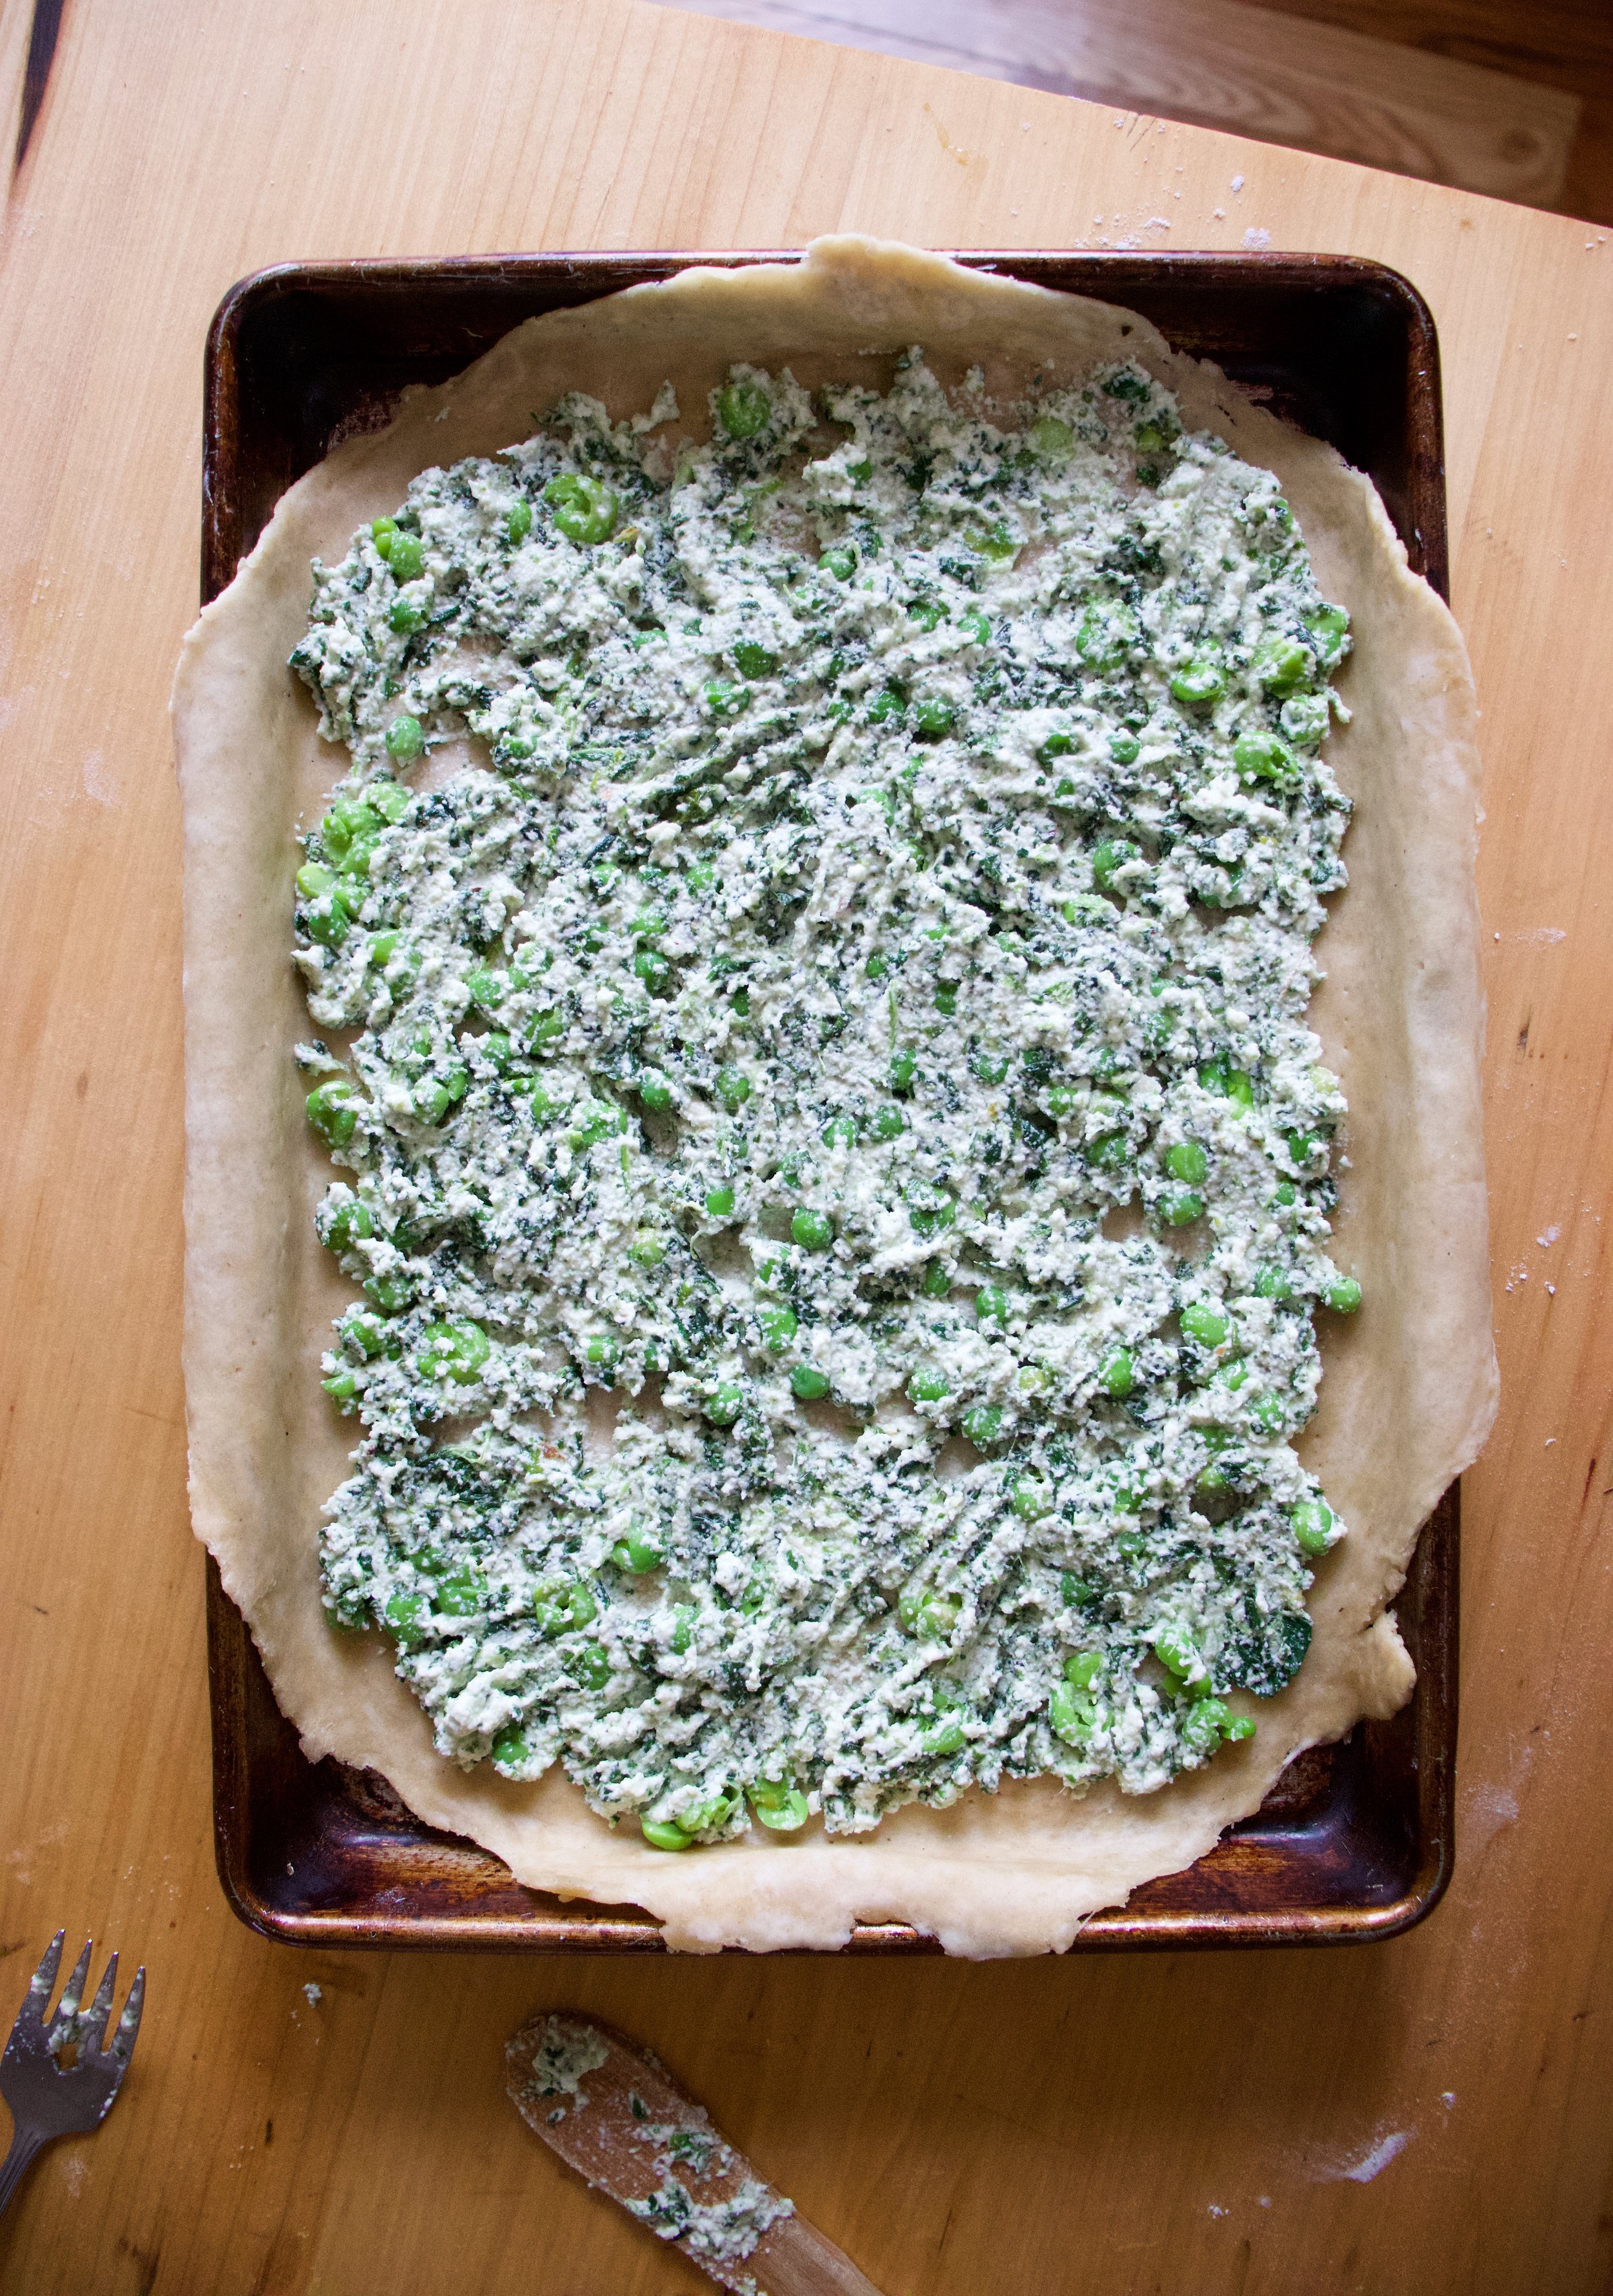
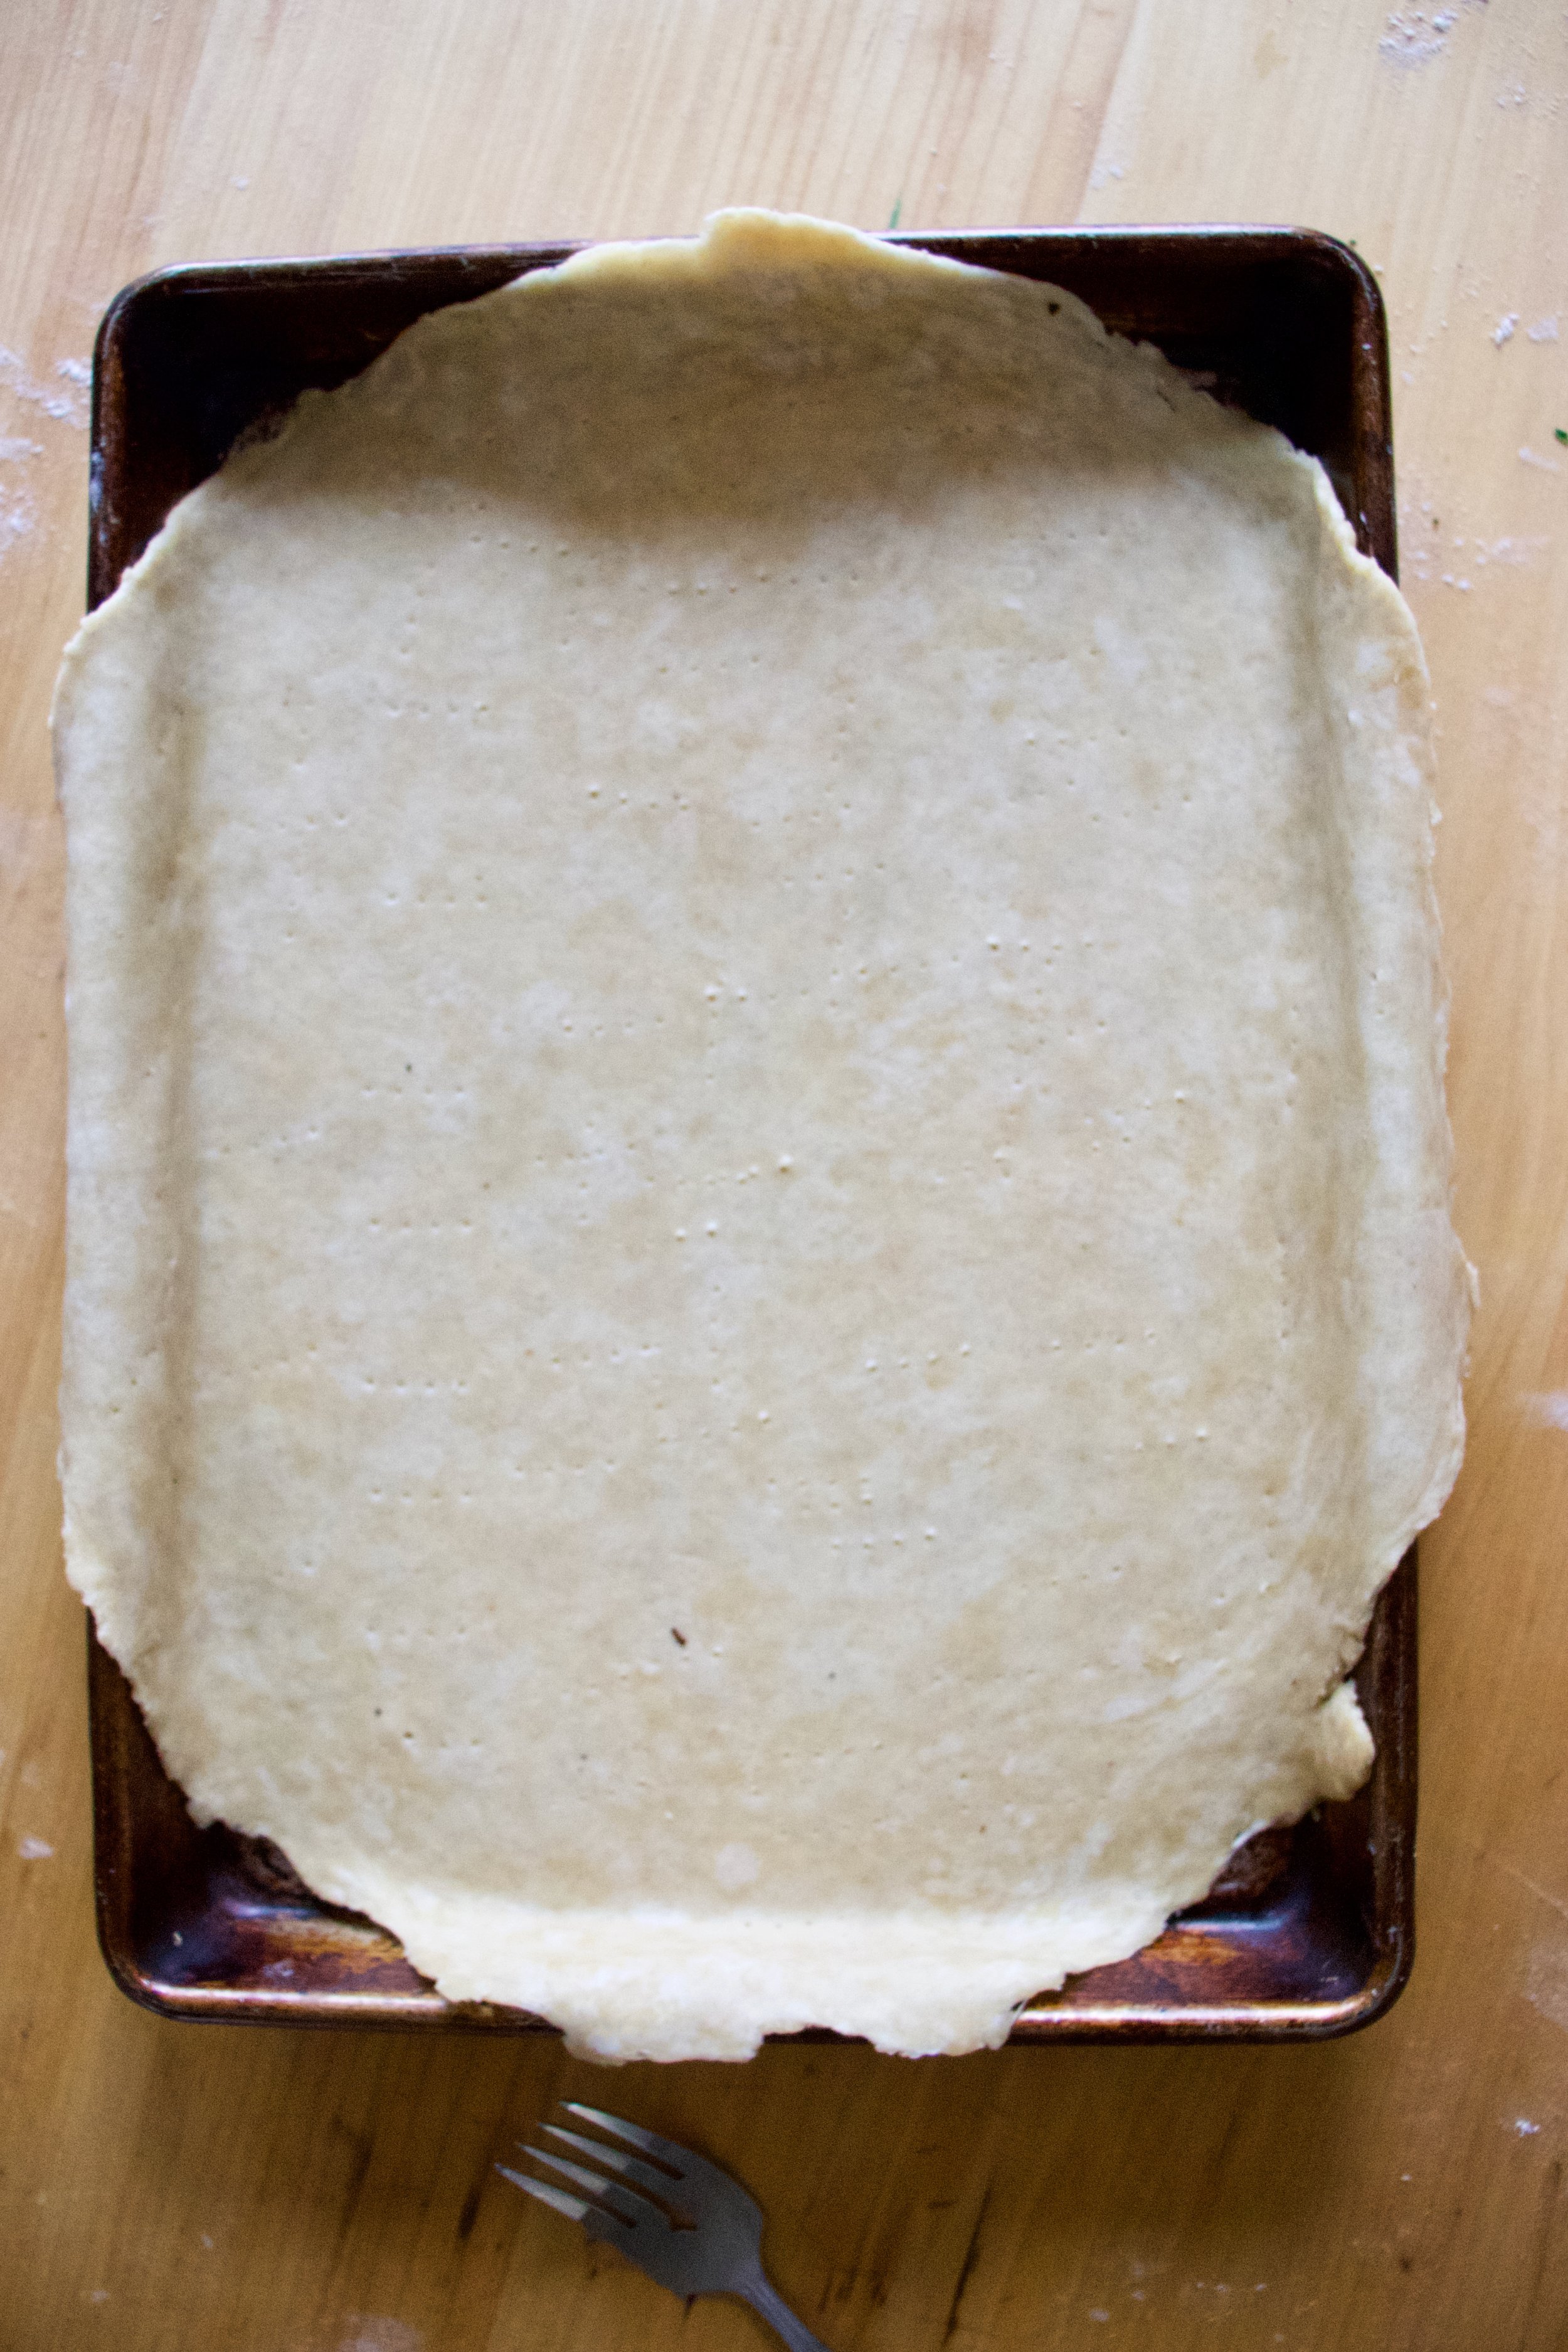
Place rolled out dough onto a baking sheet and poke the bottom with lots of little hole. Take ricotta mixture and spread evenly all over crust, leaving a 1 1/2 border all the way around.

IMG_8043.jpg

Add a layer of onions.

IMG_8047.jpg

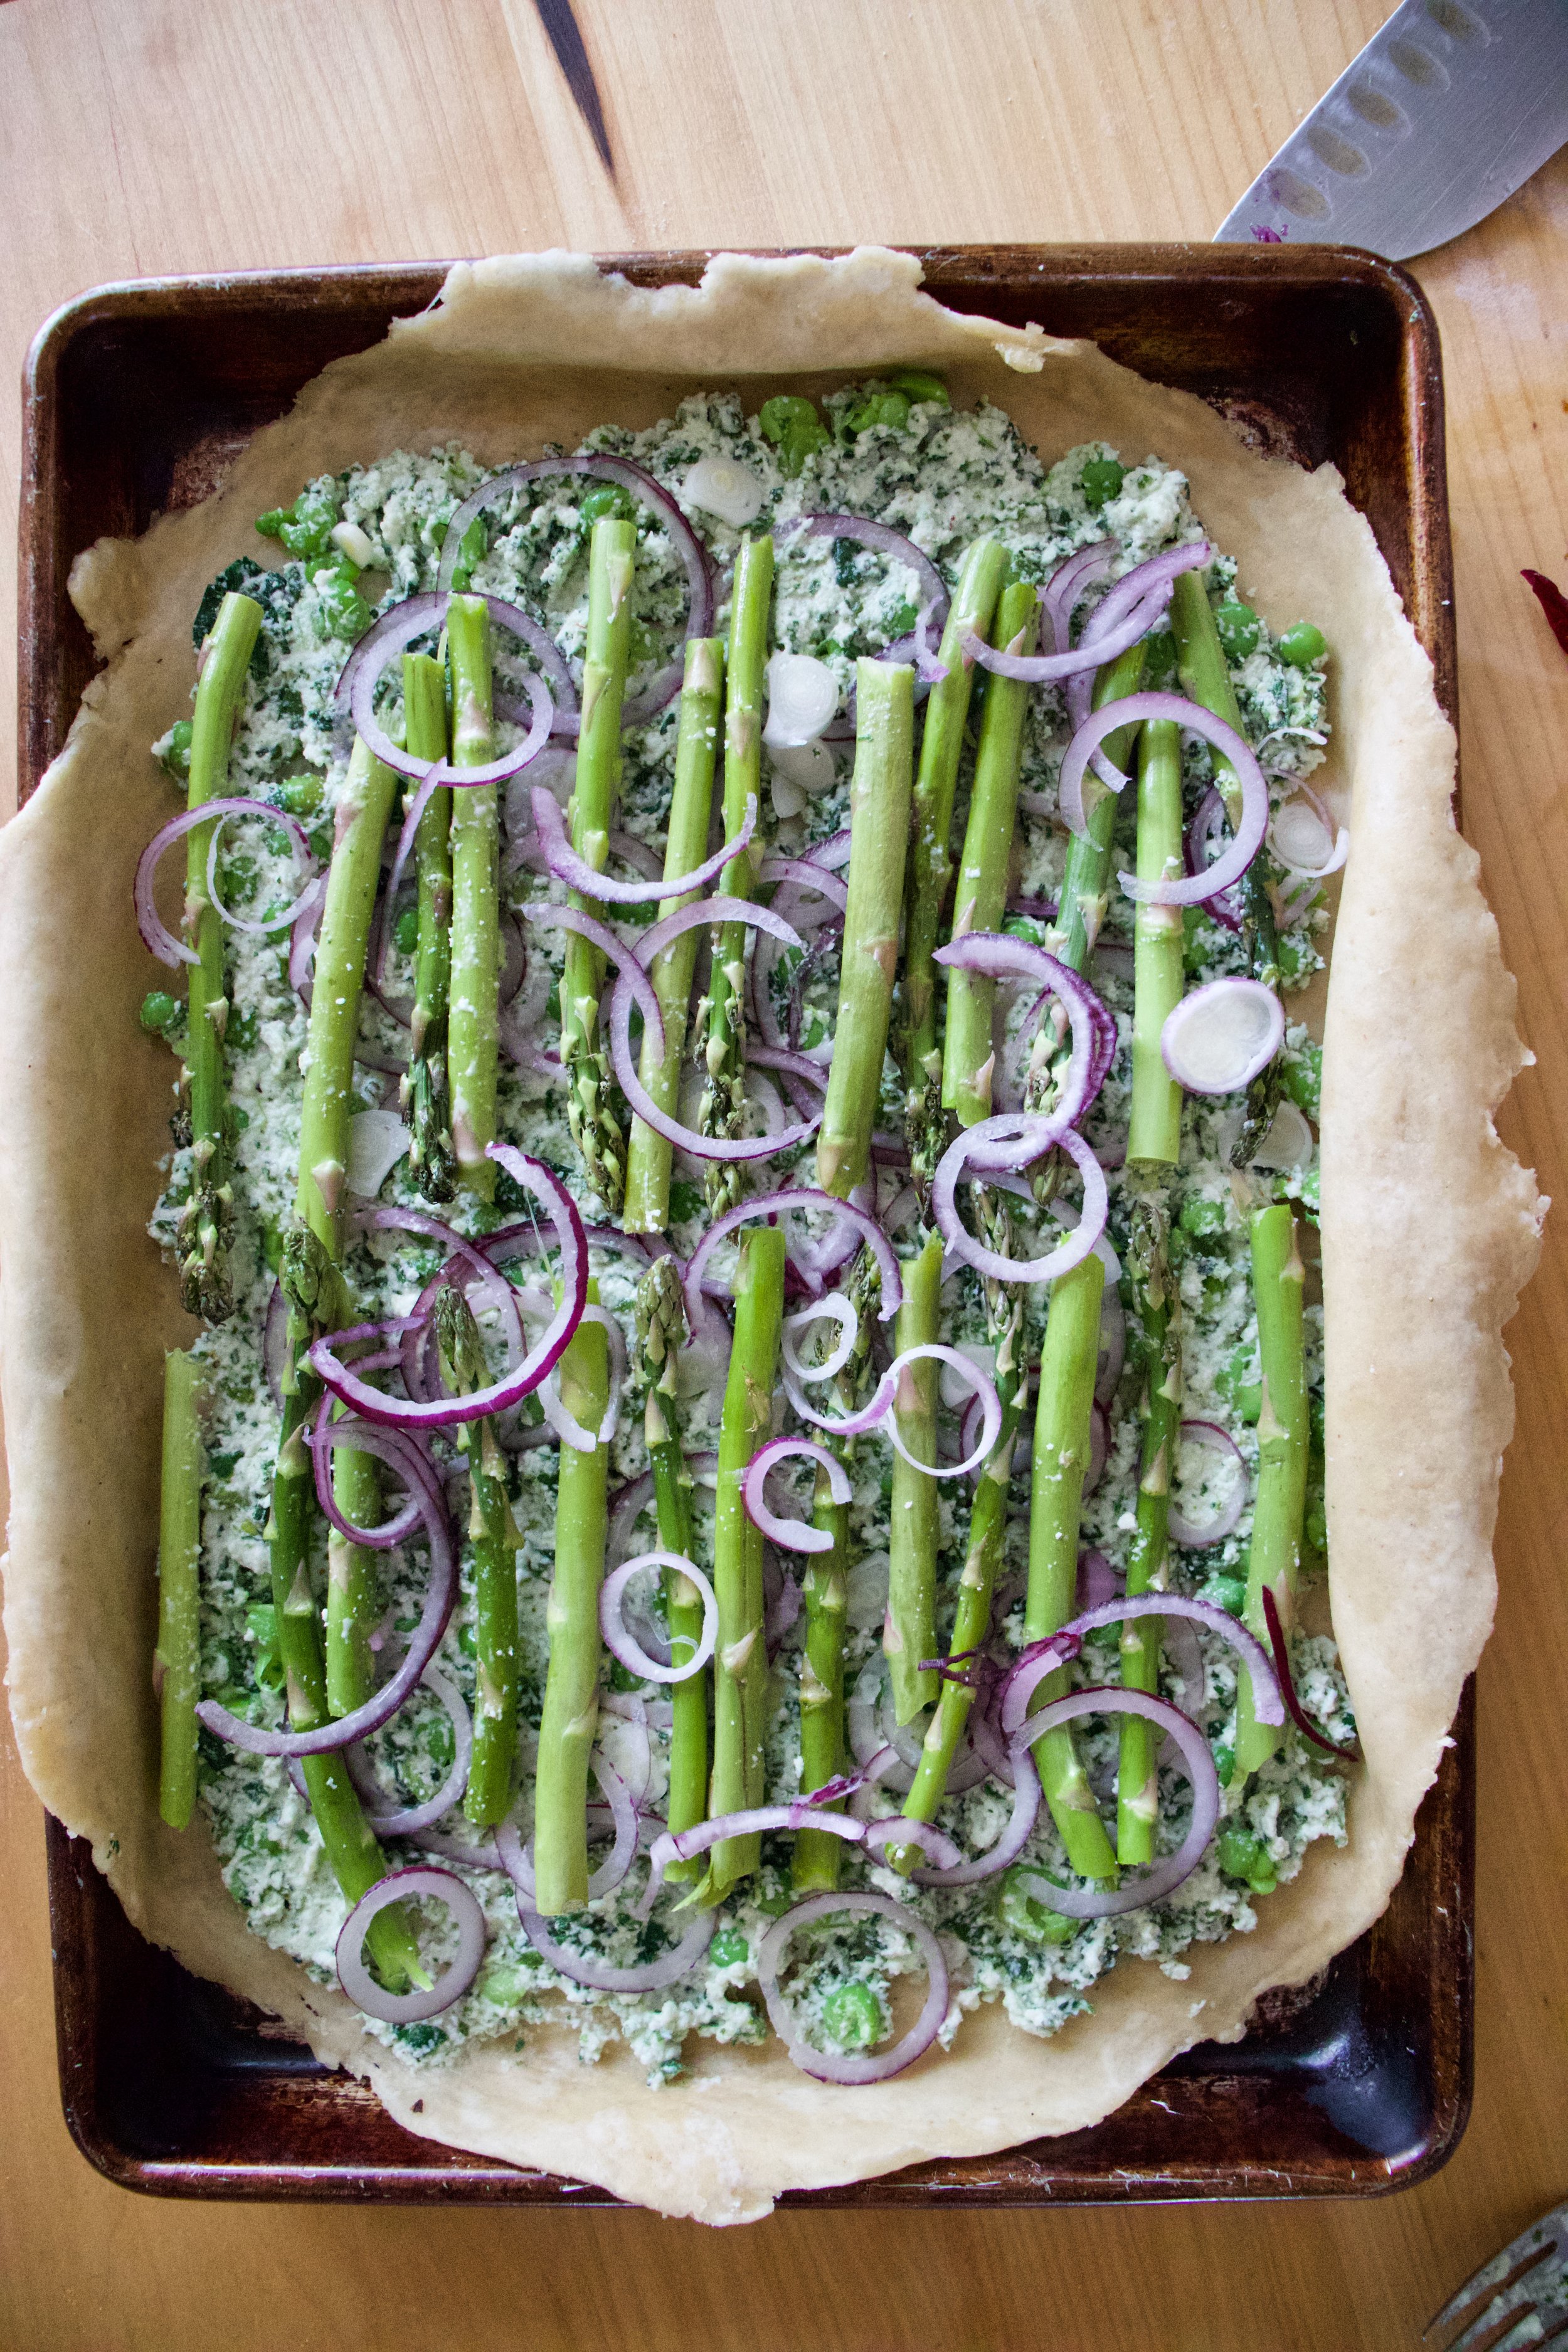
Then top with the asparagus and more onions.

IMG_8052 2.jpg

Fold over the edges of the crust, sprinkle with a pinch of salt and pepper, and into the oven it goes to bake.

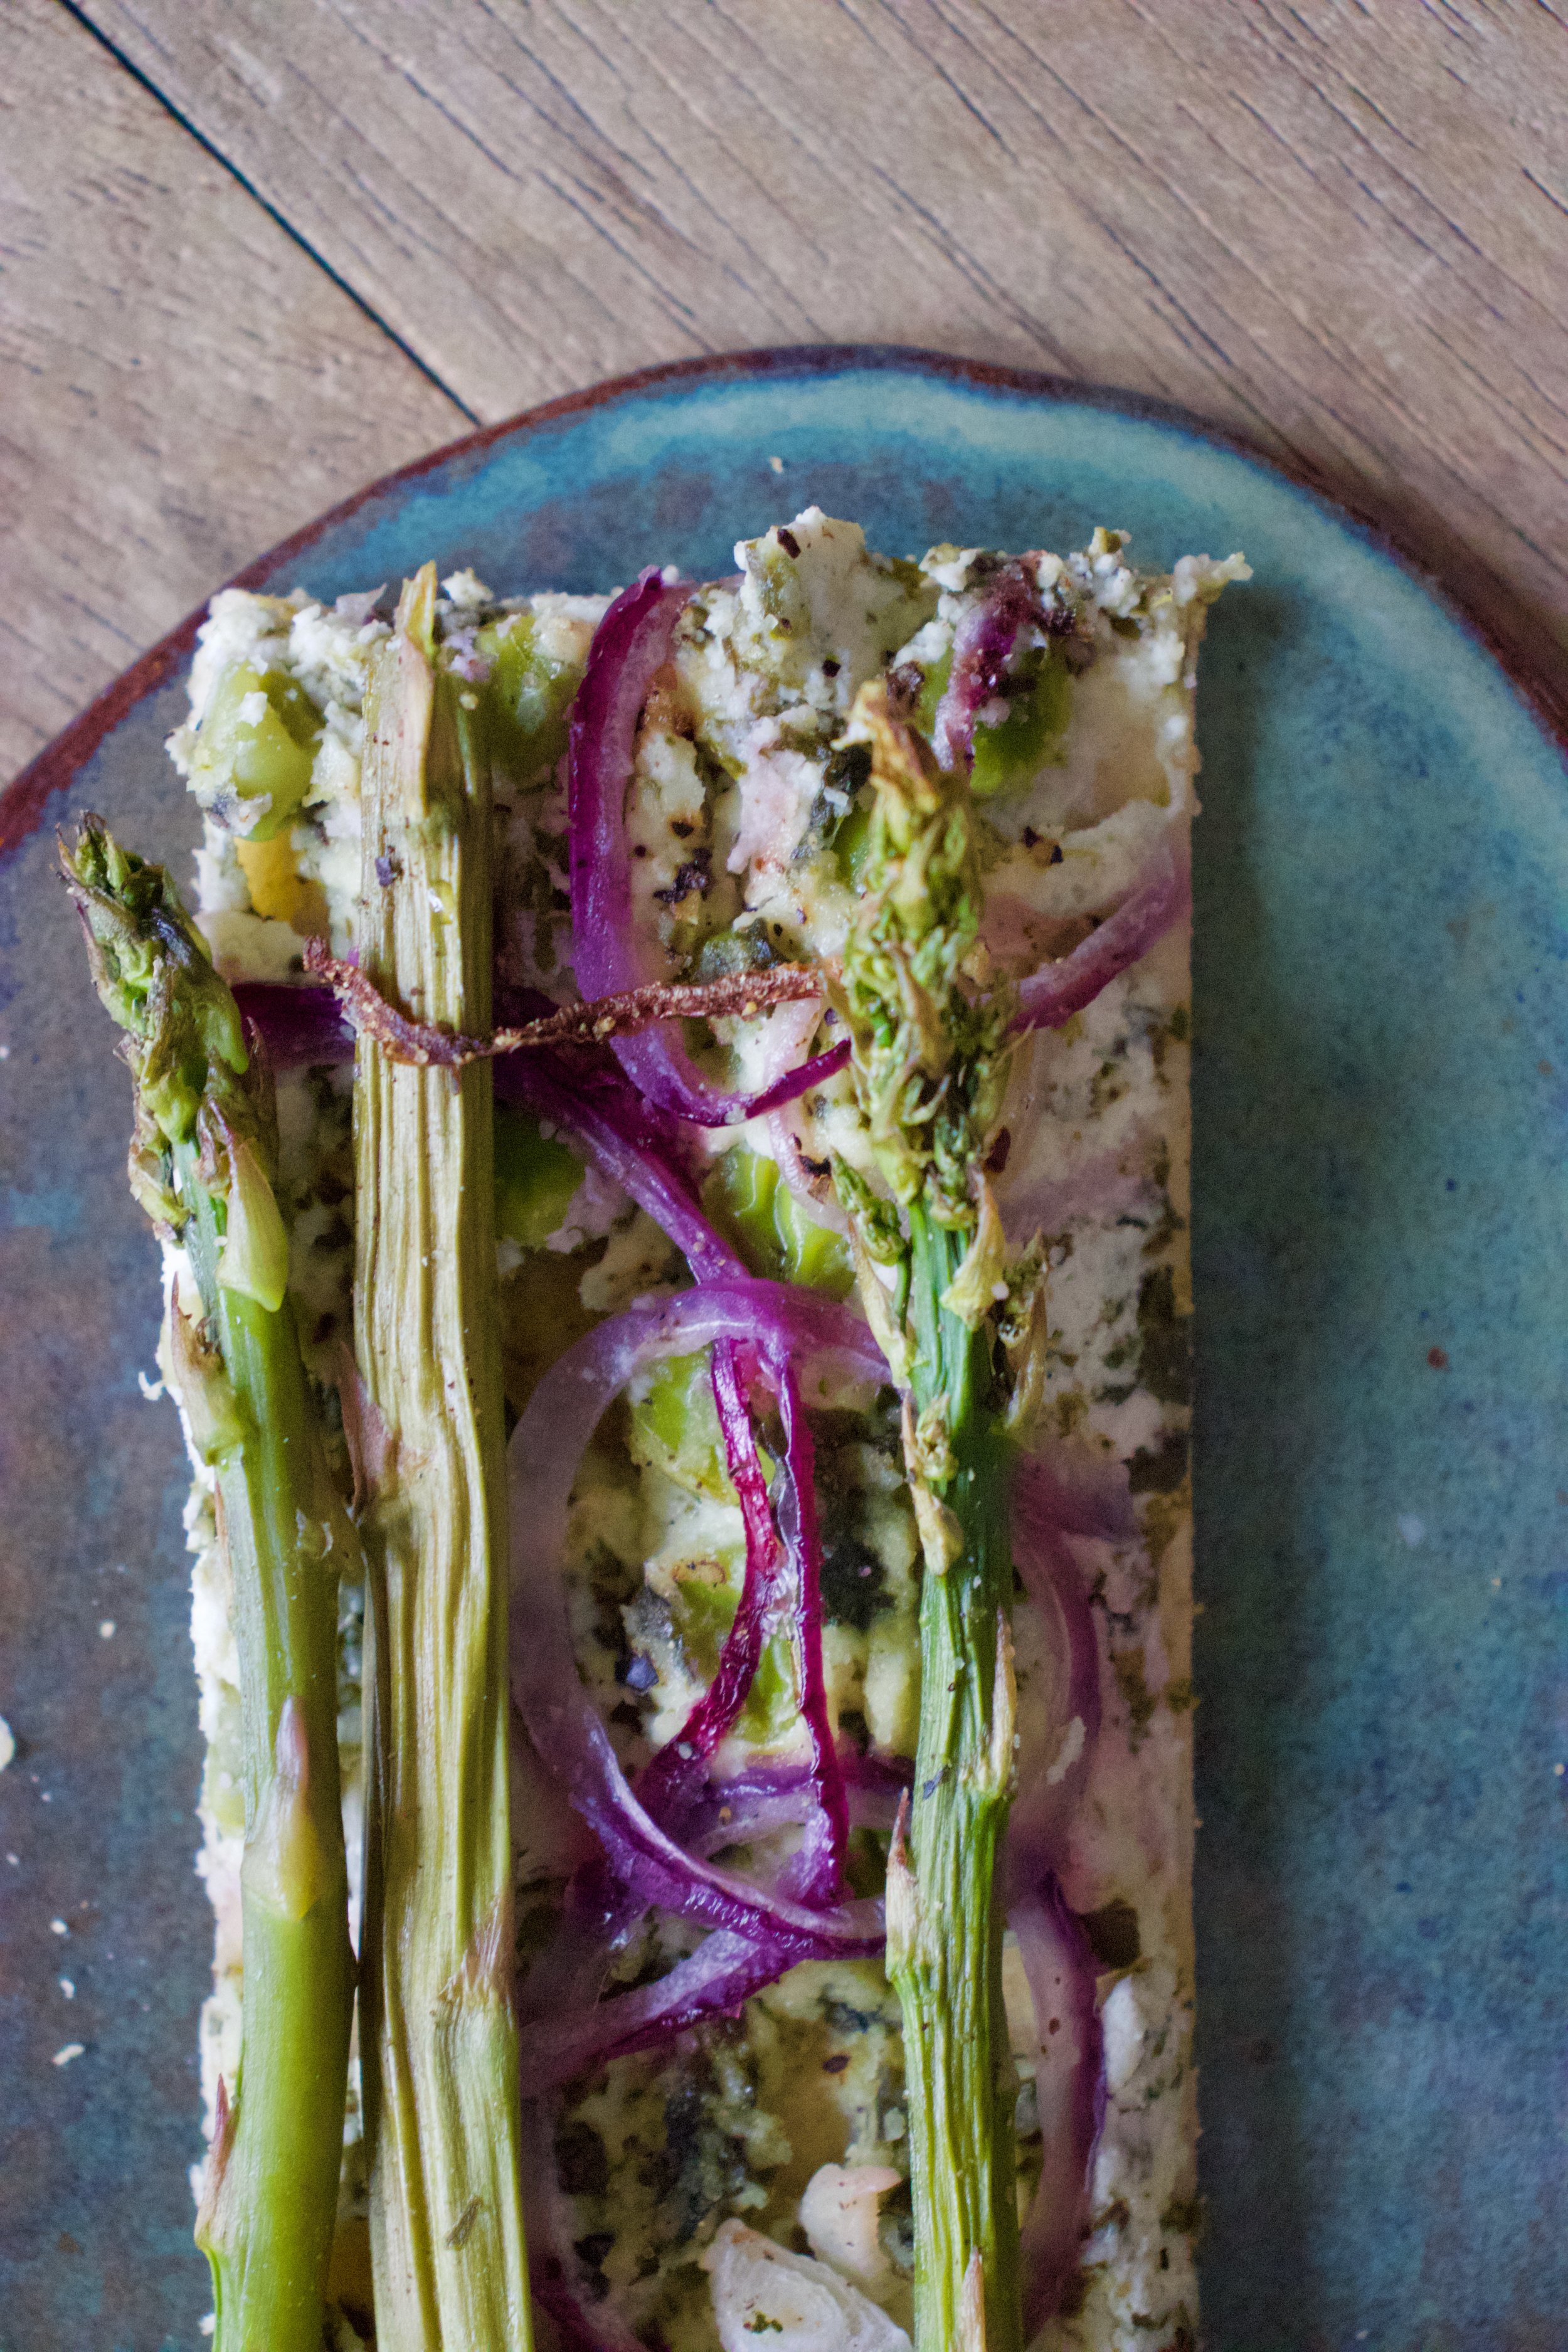
And then it is baked. And ready to eat (after a few minutes of cooling).

IMG_8126.jpg

Nothing left but to cut it up and eat it.

Spring. Green. Food.

Things are good.

-C


Almond Ricotta Tart with Spring Vegetables

Makes a 8x12(ish) tart

  • For the Crust

  • 1/2 cup all purpose flour

  • 1/2 cup white whole wheat (can sub for all purpose)

  • 3 tablespoon oil

  • 1/3 cup room temp water

  • 1/4 teaspoon baking powder

  • 1/2 teaspoon salt

  • For the Almond Ricotta and Veggies

  • 1/2 cup blanched almonds

  • 1/4- 1/3 cup warm water

  • 1 lemon

  • 1 clove garlic

  • 1/2 teaspoon salt and pepper or more to taste

  • 1/4 cup frozen and thawed spinach squeezed of liquid

  • 9-10 spears of Asparagus

  • 1/4 cup peas (fresh or frozen and thawed)

  • 1 /2 red onion

First make the crust. Whisk together the flours, salt, and baking soda. Add in the oil and water and mix until a dough forms. Form dough into a ball and knead for minute or two on counter then place dough back into the bowl and cover. The dough needs to rest for 10-15 minutes.

While dough is resting, make the almond ricotta. Place almonds, garlic, and juice of lemon into a blender. Start blending and add in the lesser amount of water, adding a little more until the stuff all starts to blend. Blend on high for a minute or two until the mixture is nice and creamy. Season with salt and pepper, blend a second to mix then add in the squeezed out spinach. Blend until mix together then dump or scoop the mixture into a bowl and mix in the peas. Then thinly slice up the onion.

Preheat the oven to 450

After doughs little rest, lightly flour a counter and roll it out, thin as you can, in a rectangular shape. Try for at least 12in x 16in. The rectangle doesn’t need to be perfect. Rough is good.

Place the rolled out crust onto a baking. Take a fork and dock the surface (poke holes into it to prevent air bubbles). Take the ricotta and pea mixture and spread evenly on crust, leaving about a 1 1/2 inch border all the way around. Add a layer of sliced red onion and then take asparagus (trim off woody ends) and either lay on whole or break in half and lay on. Add more onions on top. Fold the border of the crust over the top. Sprinkle the whole thing with pepper and place into the hot oven.

Bake for 22-25 minutes or until the crust becomes a nice golden brown. Remove and let cool a few minutes

And then cut up and eat. Right away or at room temperature. Or some now and some later. All up you you.

Store left over in fridge in air tight container for up to a few days. the crust will not be crispy but more chewy. Can stick it back in oven for a few minutes to crisp it up.

In appetizers, Dairy Free, Nuts, Savory, Spring, Vegan, Vegetables, tarts Tags Almond Ricotta Tart with Spring Vegetables, Vegan, Cracker Crust, Asparagus, Peas, Spinach, Almond Ricotta, nuts, nut cheese, sping, dinner, tart, galette, easy, protein, vegetables, dairy free, dairy free cheese, healthy, plant based, brunch
Comment
Share

Everything Bagel Focaccia

October 20, 2018 Colleen Stem
IMG_1633 3.jpg
IMG_1664 2.jpg
IMG_1644.jpg

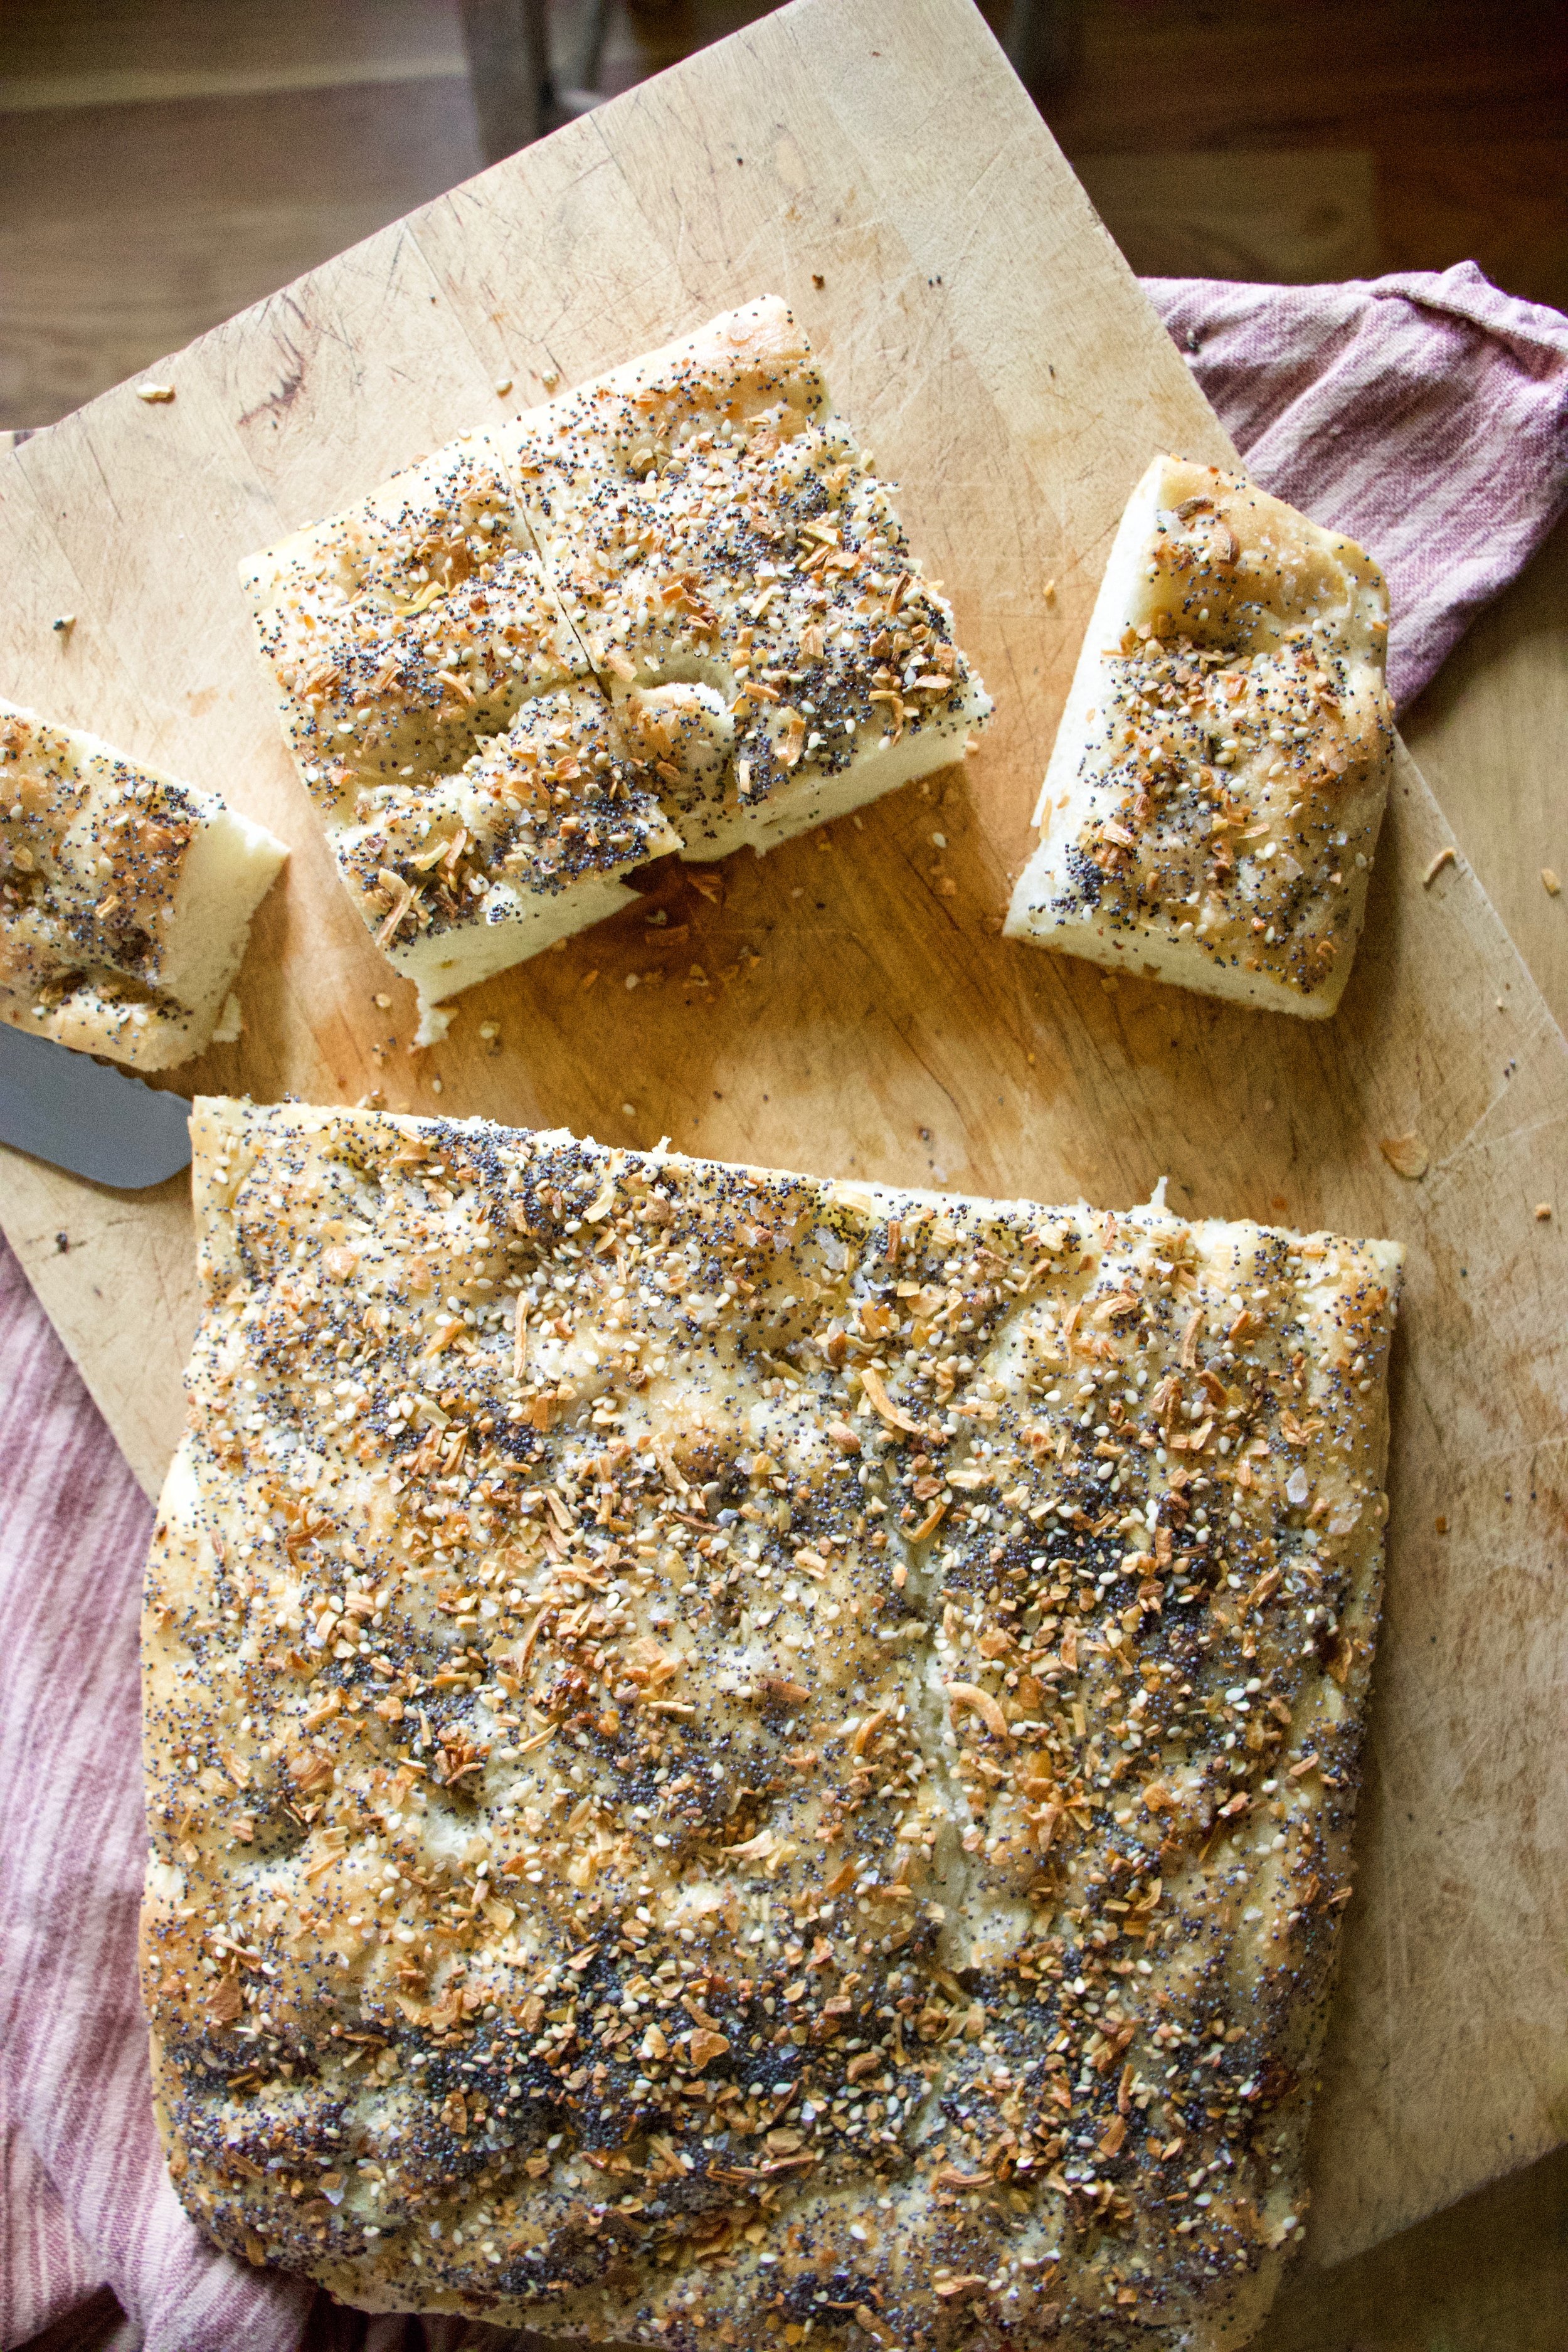
If you come around my house in the cold months, you will more times then not find yourself faced with fresh bread. Why? Well because I like to bake bread. But mostly, if I am honest, when I am cold, I bake. (We keep the house heat off until at least November 1. After that we keep the heat at a low 60 when it’s on.) I like the house to be kept on the colder side, but sometime, it’s a little brisk so if I am home and cold, I am probably just going to bake something, to stay warm of course. This focaccia was my first foray baking to stay warm of the cold season. It was 40 degrees out and the heat still wasn’t on, and I just so happen to be going through my spice drawer and found a batch of everything bagel seasoning that I had mixed up a couple months ago that needed to be used. Hence the bread.

Cold weather+found seasoning+I should make something for dinner=everything bagel focaccia. Or you can just make it because it is super easy and every time I make focaccia it gets gobbled right up. Especially this time. Barb and the mr ate half of it at dinner. And I think the other half was gone by the next day. To quote the mr. “This focaccia is professional”. He said it with a mouth full of bread. No shit dude. I am professional. Ha

IMG_1541.jpg

The stuff. Flour, yeast, warm water, everything bagel seasoning, sea salt, pepper, and olive oil.

Start with getting the yeast and warm water mixed together. Let it sit for a minute or 5, just to make sure it is active (this is more important to do if you are not using fresh yeast)

IMG_1549.jpg
IMG_1554.jpg

Once you are sure your yeast is alive, add in the flour and mix together until you are having a hard time mixing anymore.

Dump dough onto a floured surface and start to knead. Probably for 5 minutes, until you dough looks like….

This. Kneaded until smooth and beautiful .

IMG_1567.jpg
IMG_1578.jpg

Place dough into a deep bowl and drizzle with olive oil. Make sure the whole ball is coated. Then cover with a damp cloth and stick in a warm place to rise for about an hour, or until the dough has doubled in size.

Once dough has doubled, grab your baking sheet (can use a pan) and coat the pan with about 2 tablespoons olive oil.

IMG_1584.jpg

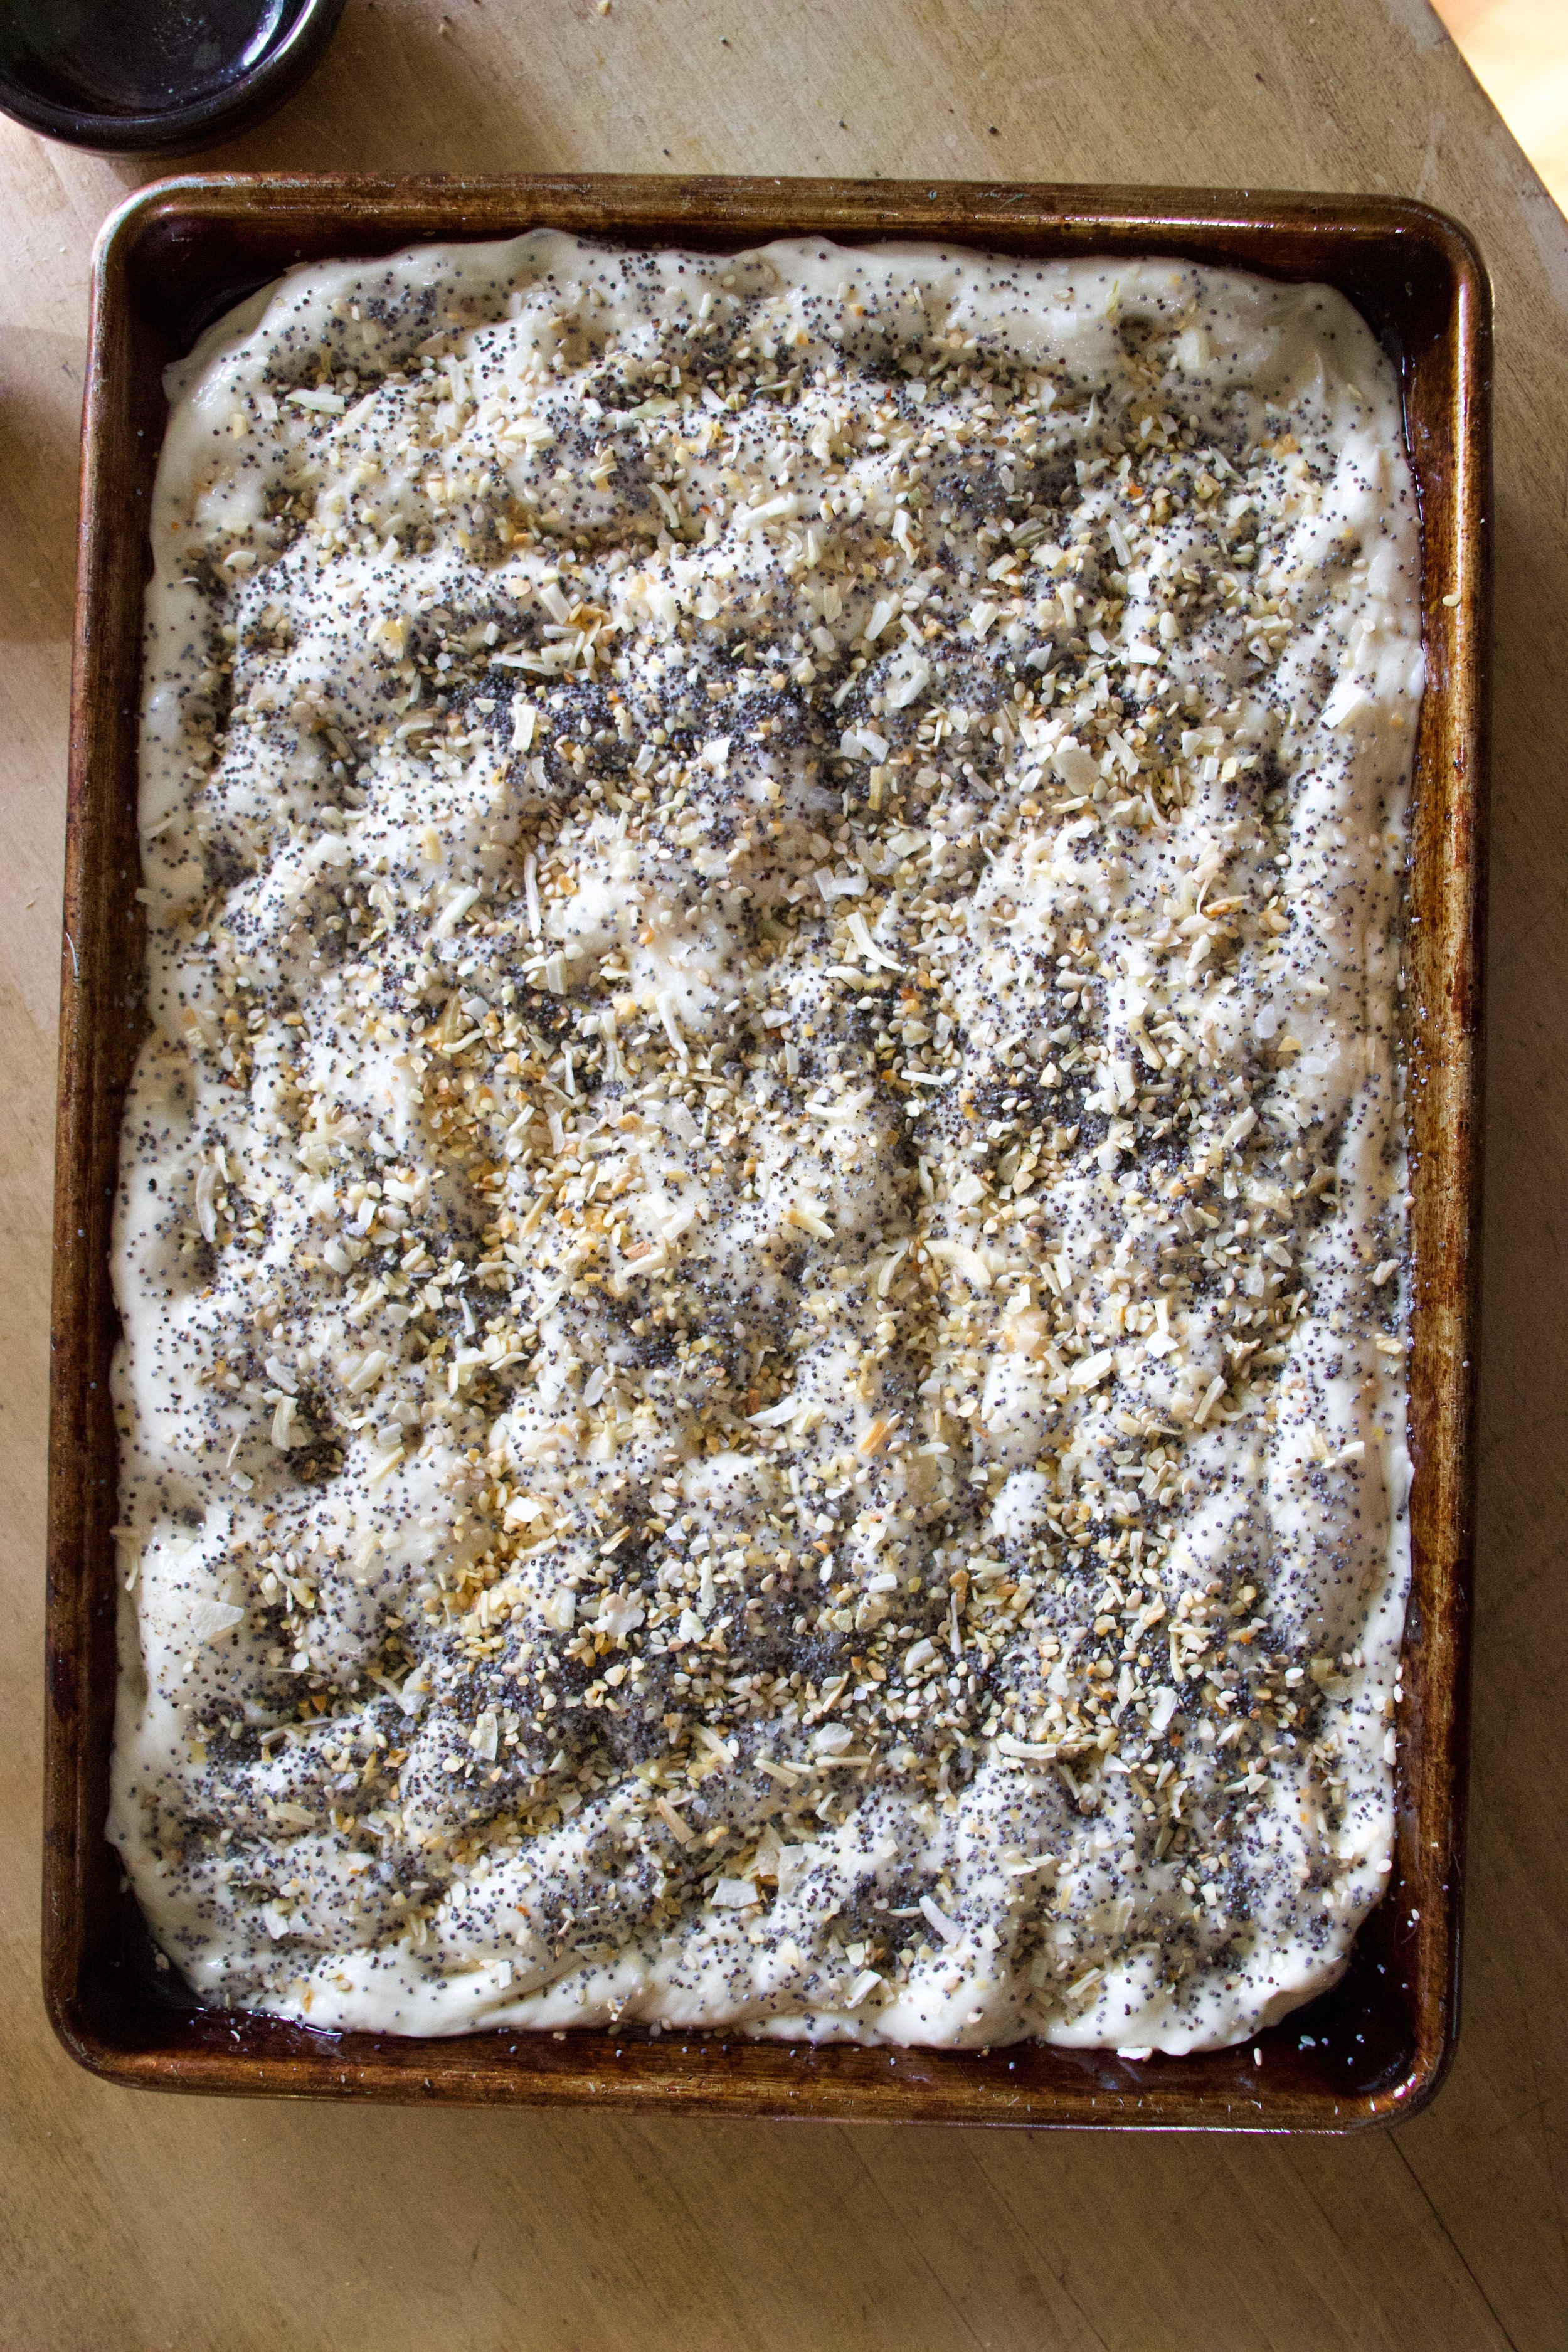
Place the dough into pan and spread it out using your fingertips. Flip the dough over if you need to and keep dimpling the dough until it hits all the sides. Drizzle on another tablespoon of oil on top.

IMG_1601.jpg

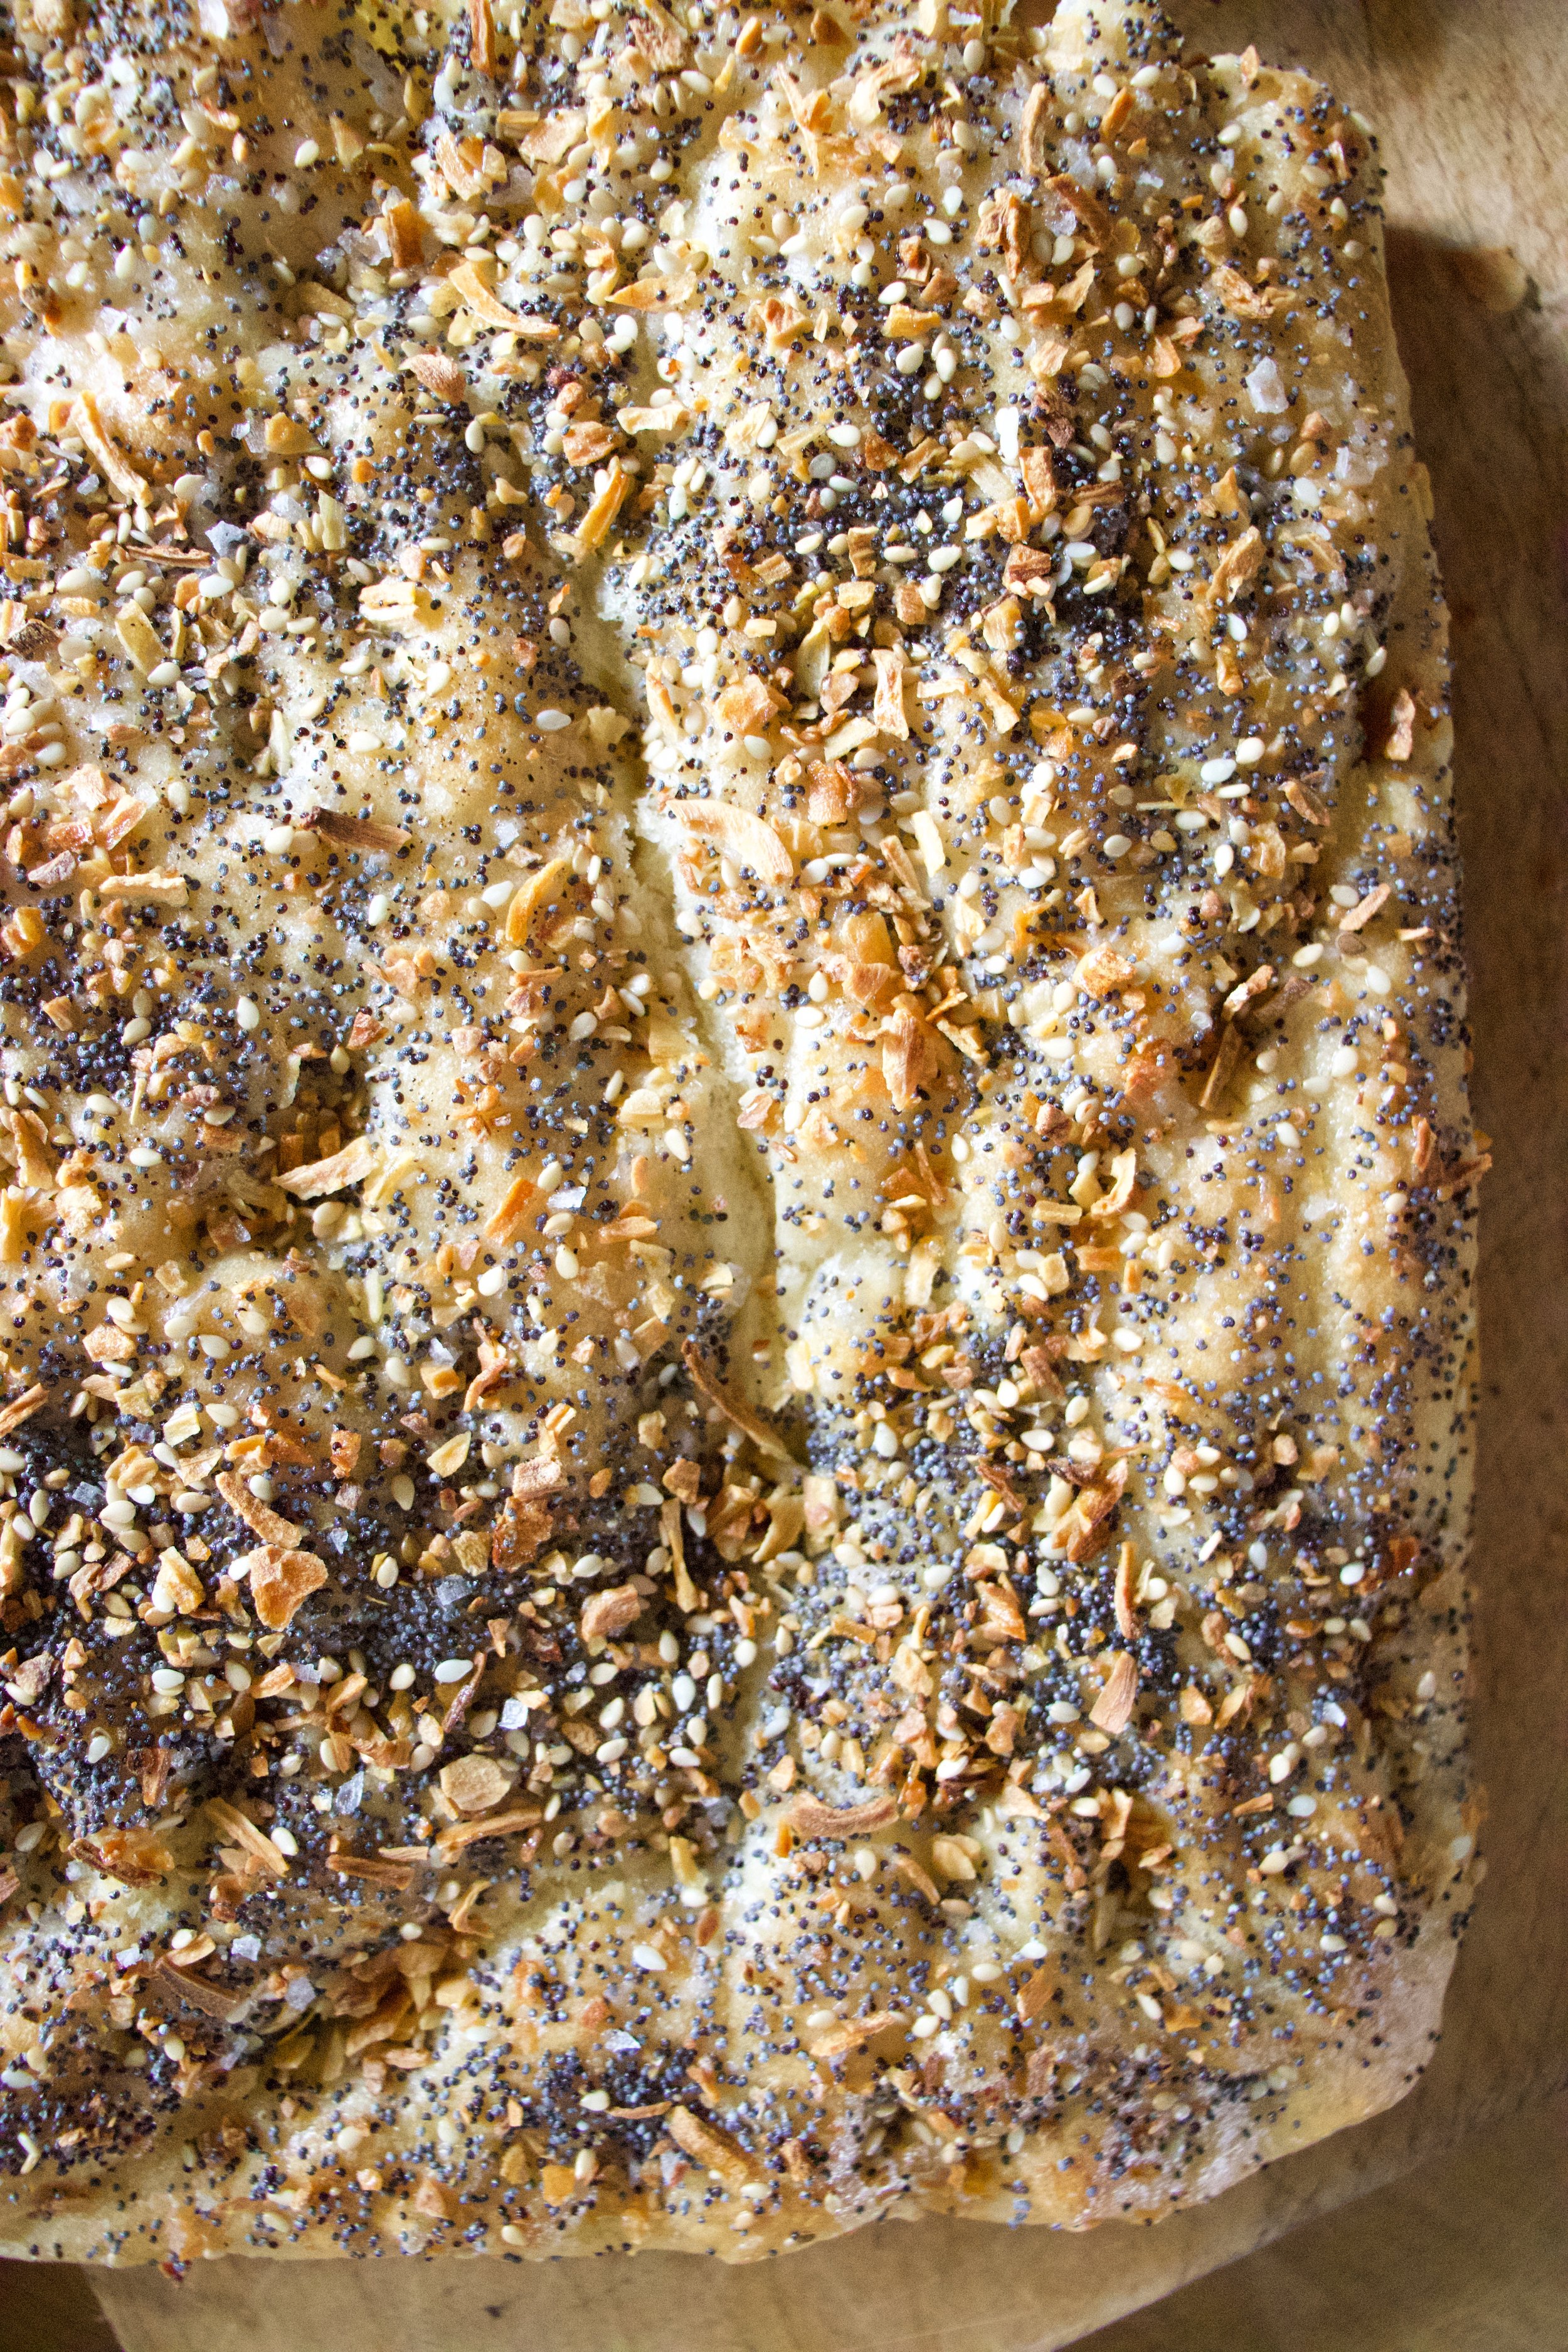
And don’t forget the seasoning. Sprinkle on all the everything seasoning along with the sea salt and some cracked pepper. Make sure to be somewhat liberal with the seasonings too because you know that’s what you want.

IMG_1599 2.jpg
IMG_1604 2.jpg

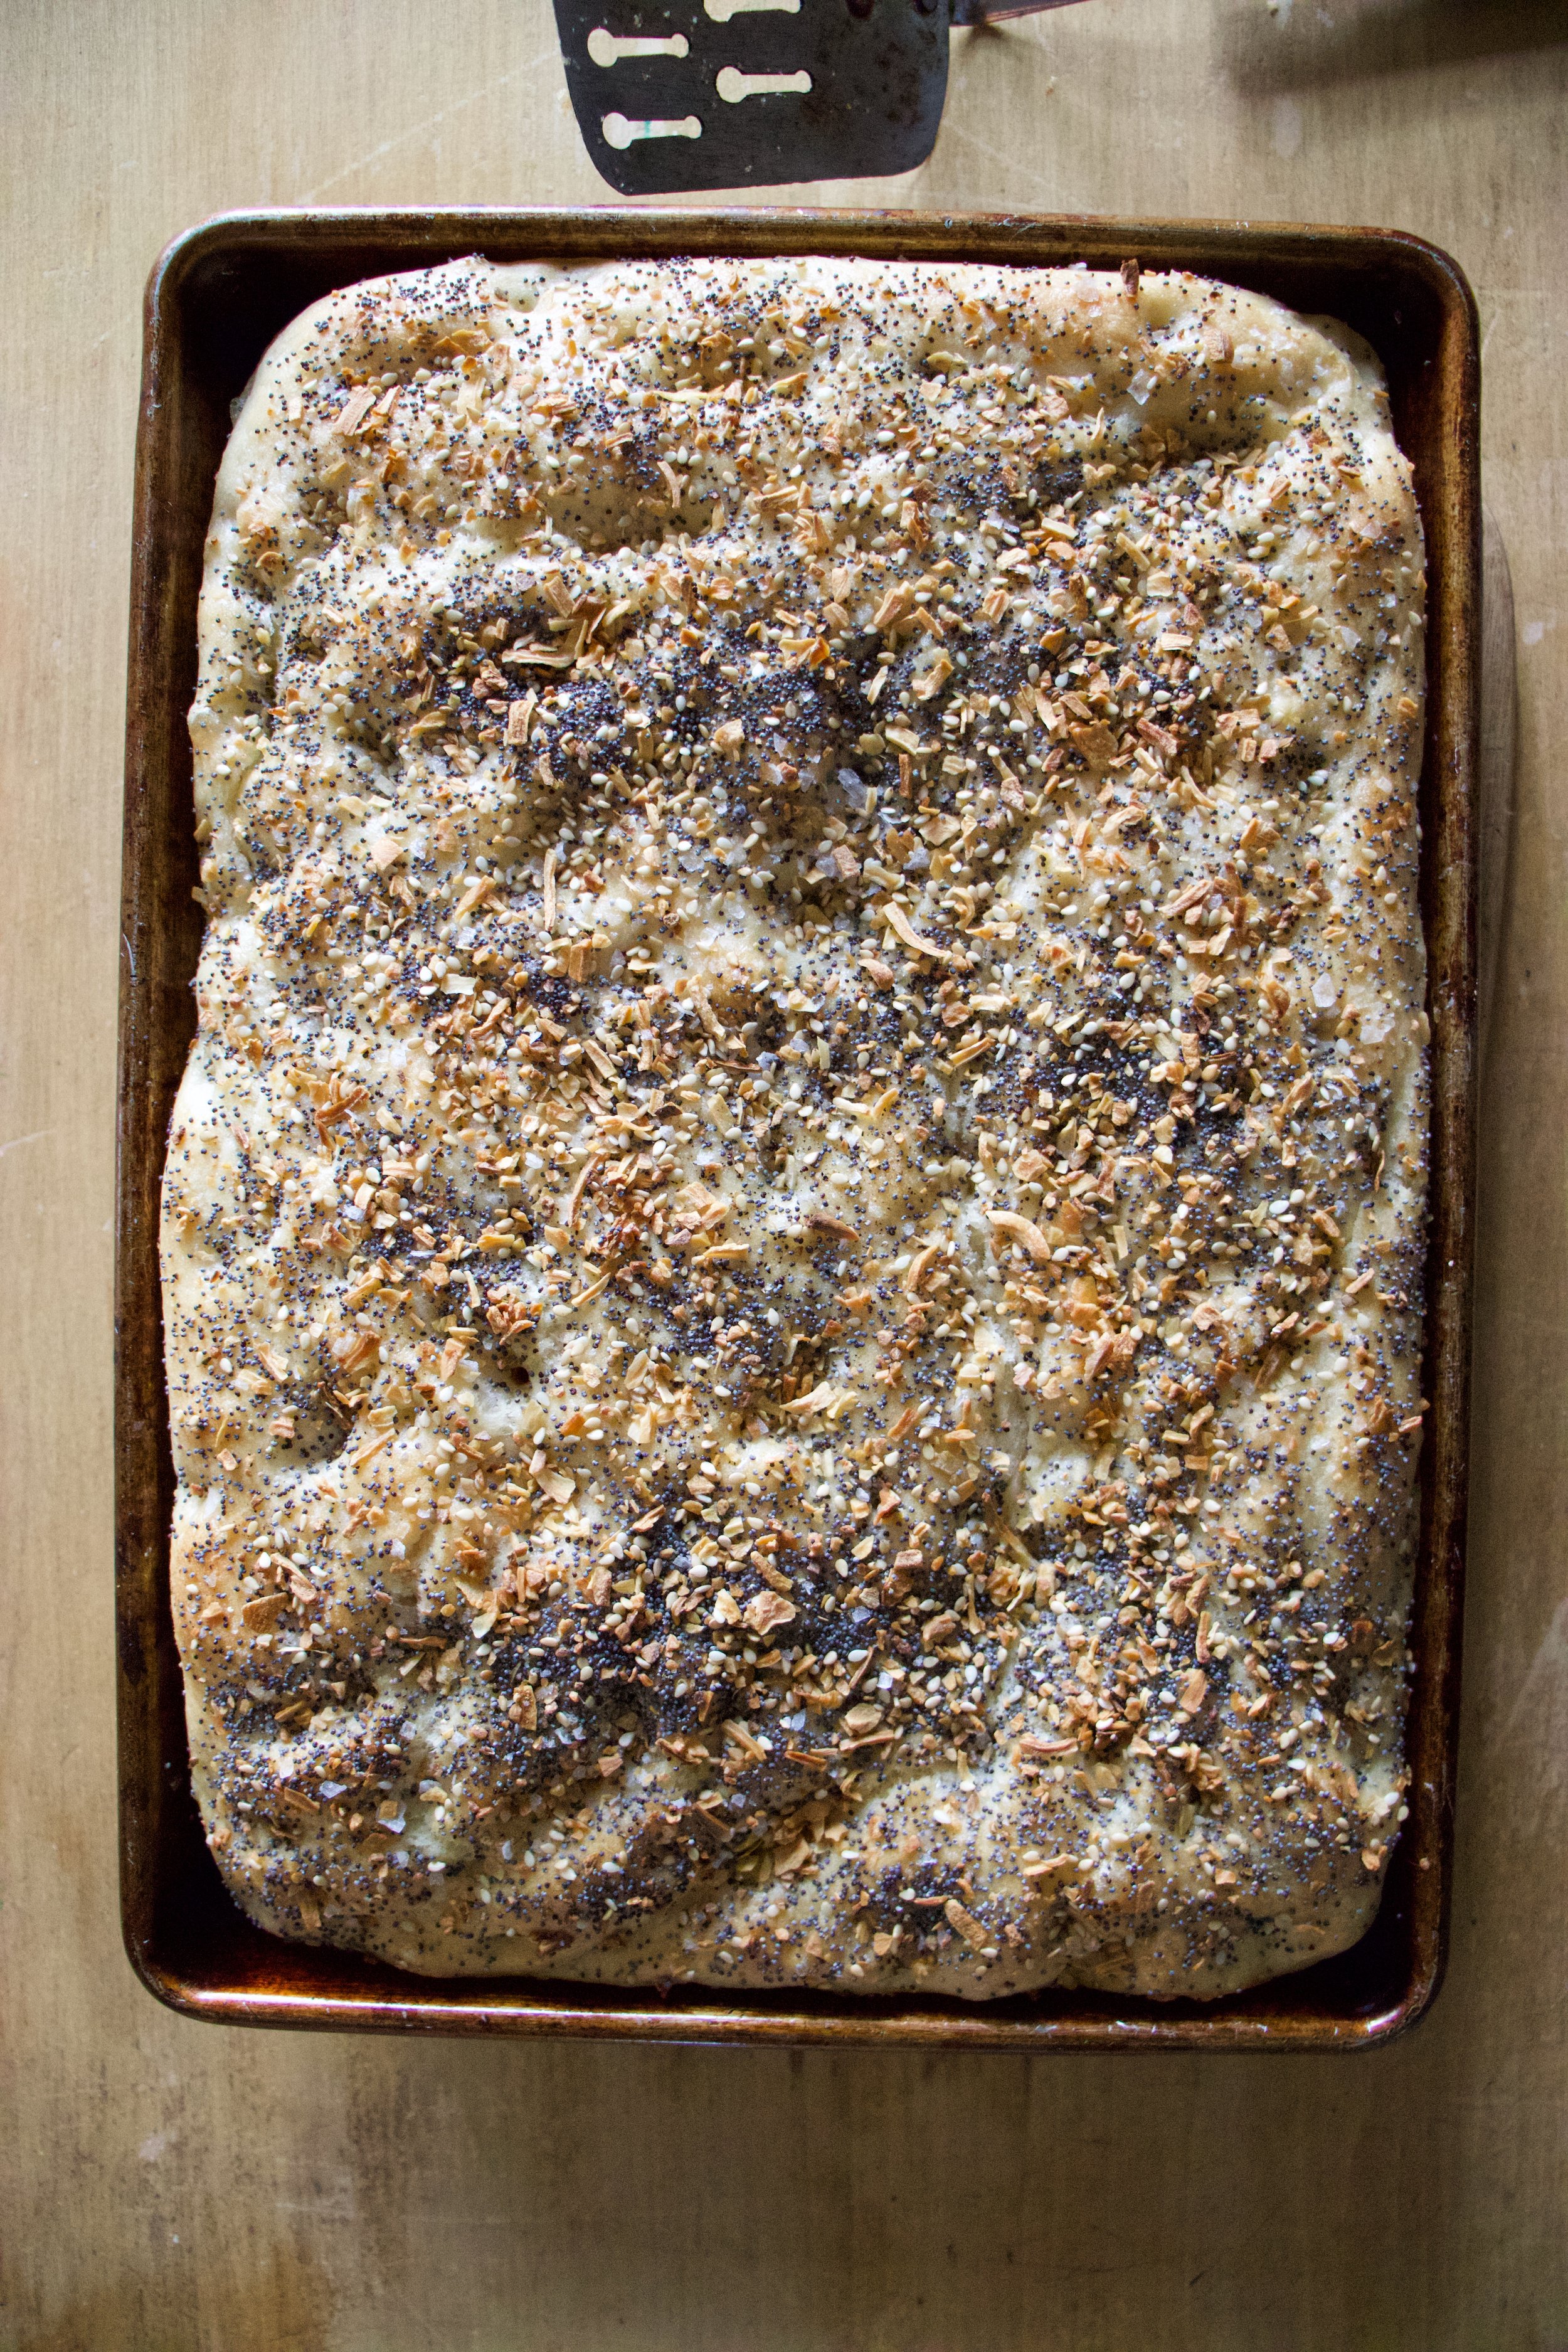
Into the oven for 30ish minutes then out of the oven

Look at all the everything.

Drizzle the top of the bread with a little more olive oil, pop it out of the pan, stick it on a cutting board, and that’s it. Now watch your slab of bread disappear.

Happy bread baking. Stay warm.

-C


Everything Bagel Focaccia

make a 9x13 slab of bread

  • 4 cups all purpose flour (plus a little more for kneading)

  • 2 cups warm water

  • 2 teaspoon yeast (or one packet)

  • 3 tablespoons everything bagel seasoning*

  • 1 tablespoon sea salt

  • cracked pepper

  • about 1/3 cup very good olive oil

*Note To make your own everything bagel seasoning mix up equal parts dried minced garlic, dried onion flakes, sesame seeds, and poppy seeds. Or I think you can buy it now at the store with all the other spices. But it’s probably cheaper to make it yourself.

To start, place yeast and warm water in a big bowl. Mix until incorporated and let sit for a minute or two or until you see little bubble form, just to make sure the yeast is active. When your sure it’s good, add in 4 cups of flour. Mix with a wooden spoon or dough mixer until it becomes hard to mix anymore. Dump the dough onto a flour surface and start to knead, adding a little bit of flour as you go if it became to sticky, until the dough is smooth and uniform. Should take about 5 minutes. Place the kneaded dough back into bowl (scrap any of the extra bits out first) and drizzle with olive oil. Make sure the whole dough is coated. Cover the bowl with a damp towel and place in a warm spot. Let dough rise for an hour, or until it has doubled in size.

Preheat oven to 375.

Once dough has doubled, grab a 9x13 baking sheet or pan and coat with 2 tablespoons of olive oil. Really make sure the pan is well greased. Place dough into pan and with the tips of your fingers, smoosh and spread dough until it has filled up the pan. Drizzle with another tablespoon of oil then take your seasoning and evenly spread it all over the top. Sprinkle with salt and add a little cracked pepper. Now pop it into the preheated oven. Bake for 30 -35 minutes or until the bread has turned a nice golden brown.

Remove from oven and right away drizzle on another tablespoon or so of olive oil. Let sit for a few minutes to absorb then pop the bread out of the pan and place on a rack or cutting board and either let cool, or not. Warm focaccia is loved by all.

In Vegan, seeds, Savory, bread Tags Everything Bagel Focaccia, Focaccia, everything bagel seasoning, bread, vegan, veagan bread, easy bread, fast yeasted bread, yeasted bread, plant based, dairy free, dinner side
Comment
Share

Black Bean Tortilla Chips

May 5, 2018 Colleen Stem
IMG_1812 2.jpg
IMG_1840.jpg

The mr has a soft spot for tortilla chips. He doesn't get chips often, but when he does it is usually the super fried, super salty, in a plastic bag, tortilla chips. And I am ok with that because it is not often and the dude deserves chips when he wants them. But I hate how crappy they are for him, especially all the salt. So much salt that I can smell it in my mouth (yes, I said that right). So, as with everything else we eat in the house, I now make chips from scratch. (Slowly I have eliminated just about everything that is pre packaged and started making it myself. I think it's pretty much just the dried pasta and the mr's yogurt and cheese that I haven't gotten to.Yet.) This way he can eat his chips and I don't have to sit there tasting the smell and thinking about the crap that he is eating.  I know I say this a lot, but lets just take a minute here and acknowledge how I really am the best girlfriend ever. 

Ok, now about these chips. I have made plan tortilla chips a few times before and figured it was time for a twist.  In come black beans. Why, because I was pretty sure beans were going to be awesome, and lo and behold, I was completely right. Adding the beans take little to no more effort then making the chips without, and bonus here, more fiber and protein and good stuff going into a chip. Then they are lightly oil, lightly salted, and eaten without any guilt because I made them and they are the best. Seriously, the mr thinks they are amazing and doesn't miss those pre package ones a bit.  And sure, they might take a little time and minimal effort, but really they are super easy and the time and effort to make them is probably no more then going into a store, waiting in line to pay, and driving home to eat your chips. You can have these chip made in that amount of time. So you might as well just make them.

To the chips. 

The stuff. Masa harnia, black beans, water, salt, and a little oil. There should be a lemon or lime here too, but I forgot to stick it into the picture. Oops. 

IMG_1707.jpg
IMG_1710.jpg
IMG_1713.jpg
IMG_1716.jpg

Pretty easy.  Add the beans to a food processor and blend untill completely smooth. Add in the masa and pulse then gradually add in water until a dough forms. Stop and feel the dough. If it feels like play dough and comes together into ball easily, then you are good. If it is to wet, add a little more masa, to dry, more water.

IMG_1719.jpg

Dump the dough onto the counter and form into a ball. Place the doguh into a bowl and cover with a damp closer for 15-30 minutes to let the dough rest.

After the rest, divide the dough into 12 pieces and roll into balls. Place the balls onto a damp cloth and cover while you are making the tortillas so they don't dry out. 

IMG_1735.jpg
IMG_1739.jpg
IMG_1741.jpg

To flatten those balls into tortillas.  After doing this a bunch of times, I have a system that works the best for me.  I use a large ziplock bag (the plastic is a little thicker and easier to deal with, plus I don't use plastic wrap), a cutting board, and a rolling pin. Place a dough ball into the center of the bag then take the cutting board and press directly on top, placing all your weight onto it. It gets flat, but not flat enough so take the rolling pin and flatten some more. Then press the rolled out dough with the cutting board one last time. Carefuly remove from bag and place direrely onto a hot dry skillet. 

Cook each side 3-4 minutes or until it starts to get a few light brown spots. Once cooked, place on a plate or baking sheet. If I were just making tortillas, I would place then in between a kitchen towel to keep them warm, but because they are destined for chips and don't care. 

IMG_1758.jpg

Black bean corn tortillas. Hey, you could stop here and make a taco or something if you need to. Feel free to use a tortilla or two before using the rest to make the into chips. 

IMG_1769.jpg

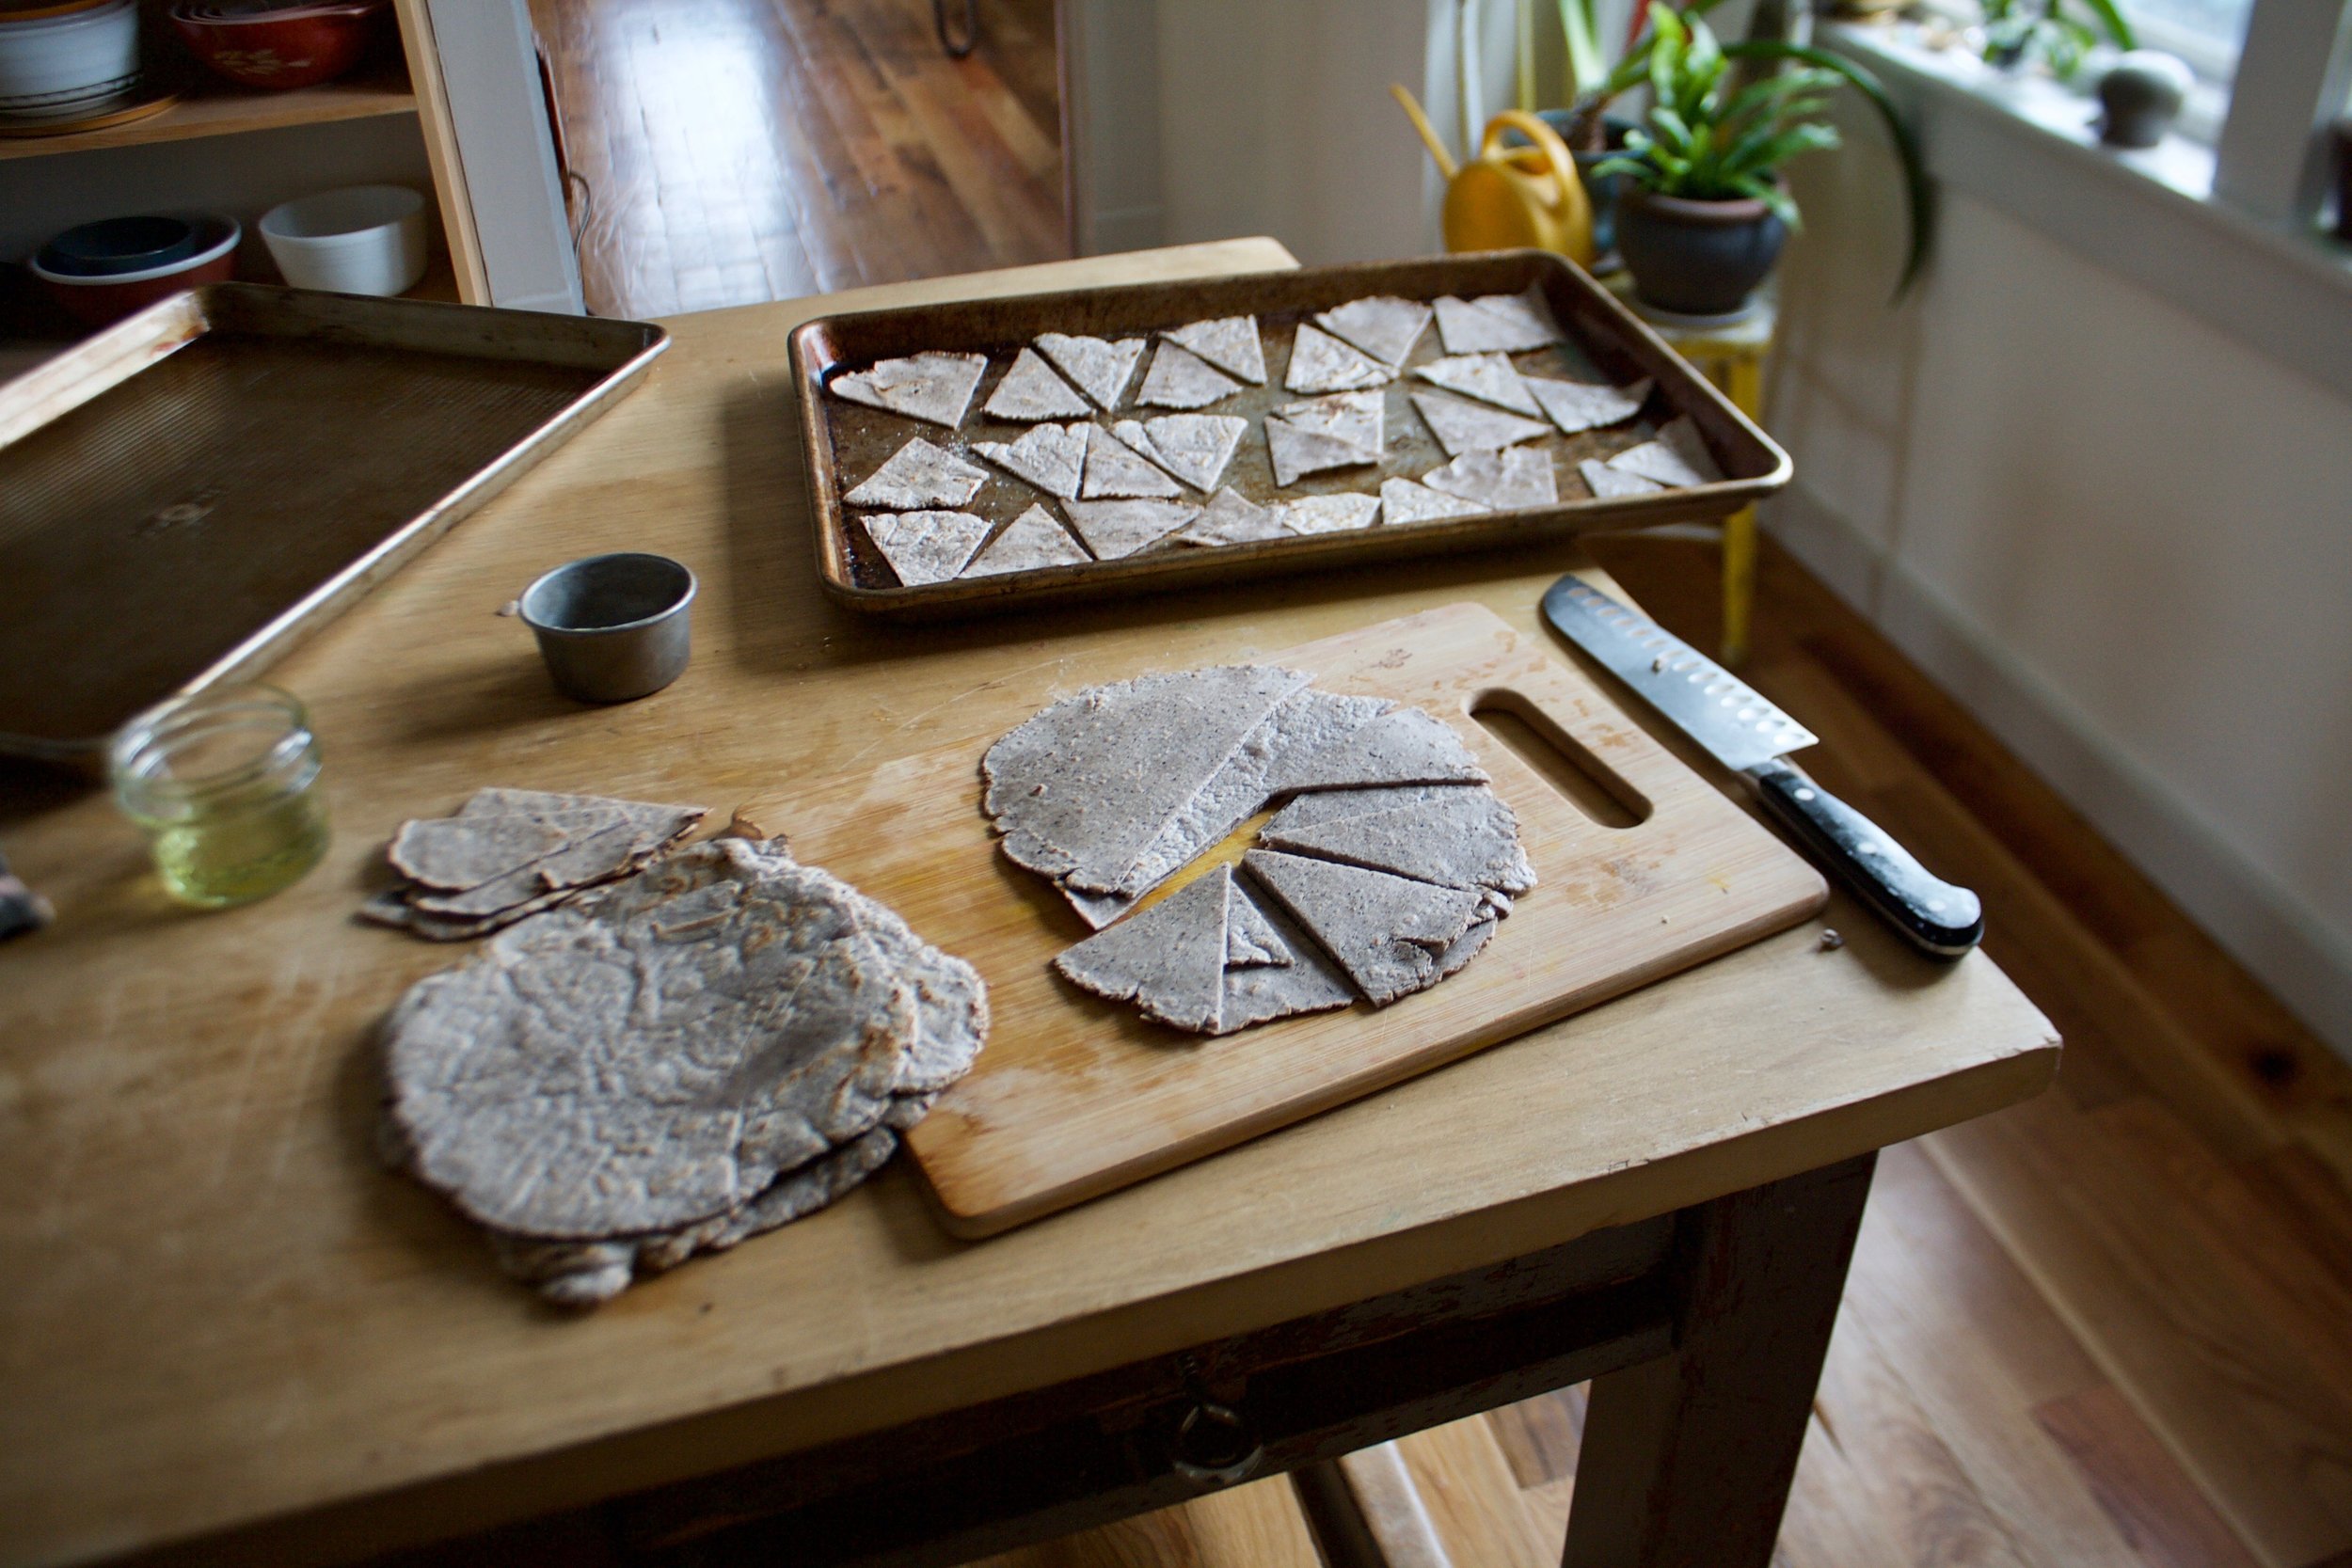
So chips. Grab baking sheets, oil, salt, a knife, and the tortillas. Take a few of the tortillas and oil them. (The easiest way I found to do this is to rub oil on with my hands then rub the oil onto the tortillas. ) Oil 3 at a time, stacked them on top of each other and cut into 8 triangles, 

Get as many of the triangles onto a baking sheet as you can, without overlapping.  Once all nice and tight, sprinkle the tops with salt and pop them into preheated oven. 

Pull the chips out of the oven when they are crispy and done (about 10 minutes) then squeeze a little lemon juice all over the chips. Toss around and pop the pan back into the oven for another minute or two just so the juice doesn't  leave the chips soggy.

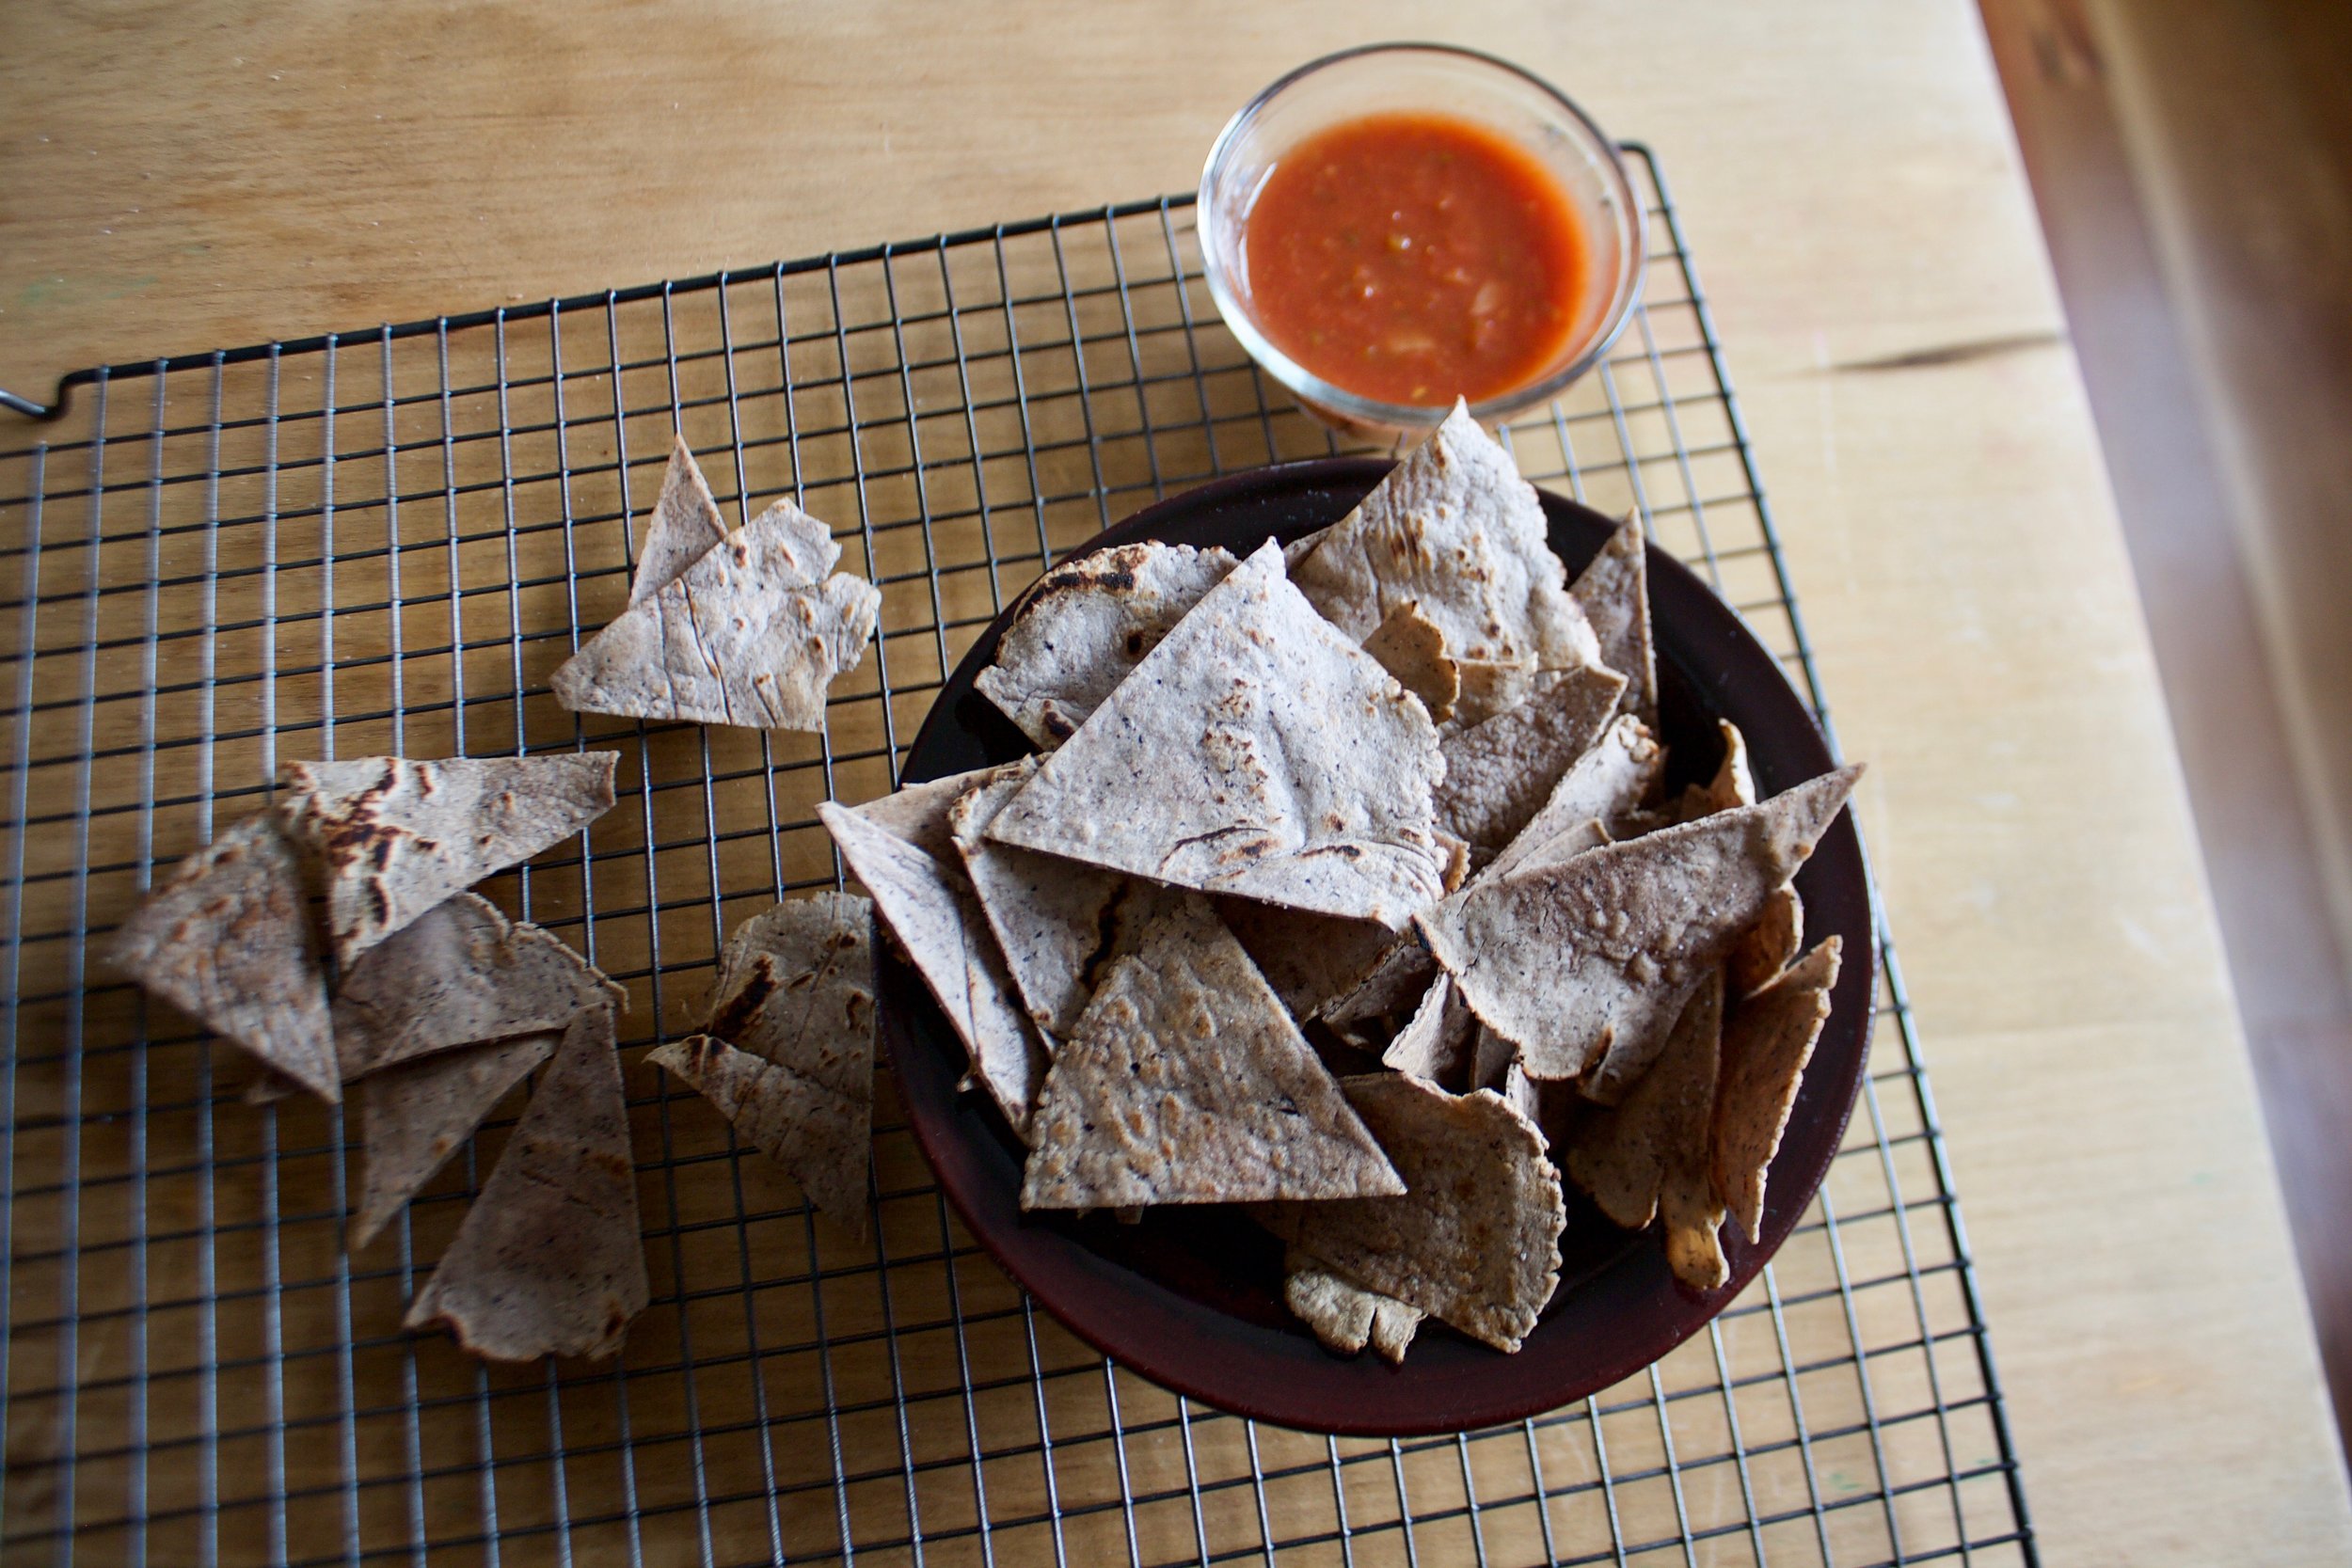
Dump cooked chips  onto a wire rack to cool. Eat as you work, you deserve it.

IMG_1837.jpg

Pile chips into a bowl, and serve with some salsa or guacamole or whatever you eat you chips with.  They are your chips. 

-C


Black Bean Tortilla Chips 

Makes 98 chips, or like a good sized bag worth

  • 2 cups masa harina 
  • 1 cup cooked black beans in bean juice
  • 1- 1 1/4  cups warm water
  • couple teaspoons neutral oil (I used grape seed oil)
  • 2-3 teaspoons salt
  • A lemon or lime

Beans go into a food processor and blended until completely smooth. Add in the masa and blend, slowly adding 3/4 cups water until a dough starts to forms.  Stop and check dough. It should feel like play dough and come together easilty onto a ball. If it feel wet, add in a couple of tablespoons more of the masa. If it is still too dry and crumbly, add in more water until it's to the right consistnacey. Dump dough onto counter and form in a ball. Place dough in a bowl and cover with a damp towel and let sit for abut 15-30 minutes.

Preheat a skillet on medium high heat on stove.

Once dough has rested, divide into 12 pieces and roll into balls. Place balls onto a damp towel and cover when not working with them. Grab a large ziplock bag, a cutting board, and a rolling pin. Take a dough ball and place in the center of the bag. Press down with the cutting board, placing all your weight on top. It got flat, but not flat enough. Continue to flatten out with the rolling pin until it is about  1/8 inch thick. Press again one last time with the cutting board. Gently remove from bag and place directly onto the hot skillet. Cook each side for 3-4 minutes or until it  starts to get a few light brown spot. Place cooked tortilla on a baking sheet or in between a kitchen towel. Repeat until all 12 dough balls are cooked into tortillas.

Preheat oven to 375

Working in 3's. dump a little oil onto your hand then lightly rub it all over the tortillas. Stack them on top of each other then cut into 8 wedged. Place wedges onto a baking sheet, get as many as you can onto sheet without any overlapping, then sprinkle with salt. to taste. If you have them, use multiple baking sheets.  Place in oven for about 10-12 minutes or until the chips are crispy. Remove and sprinkle lemon juice all over the chips. Toss around and place back into oven for a minute or two just until lth lemon juice evaporates. Remove and dump chips onto a wire rack to cool.

Eat chips. Any left over can be placed into a airtight container or bag and will last about 3-4 days. 

In 5 ingerdients or less, beans, Dairy Free, Vegan, snack, Savory, pulses, Gluten Free, crackers and chips Tags Black Bean Tortilla Chips, Masa harina, chips form scratch, cinco de mayo, cron chips, Vegan, Gluten free, plant based, beans, black beans, black bean chips, corn chips, snack, chips, dairy free, gluten free
1 Comment
Share
← Newer Posts Older Posts →
 

https://thelovelycrazy.squarespace.com/config#/|/about/

Me. Food Maker.Food eater. Woo HOO!

STEM+NODE  SMALL BATCH AND ONE OF A KIND POTTERY

stem+node ceramics


____________________

Subscribe

GET NEW POSTS IN YO EMAIL

You are AWESOME!!!


@thelovelycrazy 2014-2021

­
­
0 items
$0