• stem+node ceramics
  • HOME
  • Food Recipes
  • About
  • Contact
Menu

The Lovely Crazy

Street Address
City, State, Zip
Phone Number

Your Custom Text Here

The Lovely Crazy

  • stem+node ceramics
  • HOME
  • Food Recipes
  • About
  • Contact

Roasted Roots Snack Plate

February 5, 2022 Colleen Stem

Did I make a roasted roots charcuterie of sorts? Yeah maybe I did, but I don’t know about calling it a charcuterie. I like to think of it more as a snack plate. And I say snack plate only because I placed everything on a plater which is, in fact, a very large plate. I could have showed you how I usually eat this, directly off a baking sheet, but that wouldn’t be as fun. And a snack plate looks a heck of a lot nicer when/if you want to share. Think of it. All your people around, snacking away in some dank ass roasted veggie. (No I did not share or even intend to share any. This was my lunch thank you very much.) Well not exactly something to day dream about but your people, if choosing to share, will really enjoy themselves while eating. Plus it works for any occasion where there are like people withl food allergies and easy to make all the people with all the different diets happy. Everyone can eat it. And it is really pretty. That counts as another plus.

This snack plate. Well it is basic. Just a bunch of the most delicious roots roasted up and served with dips. It is so simple and can be made with pretty much any veggies you like and then served with whatever dips you want. It is a choose your own adventure snack plate. You can even get fancy with it and serve it with nuts and olives and maybe some fruit or whatever but it is not necessary. And also I a want to make it clear, just because I called it a snack plate does not mean it needs to be a snack or that you have to share (see previous paragraph.) Eat is all to your face. I applaud you.

Now to the roasted roots!

The stuff. A bulb of celeriac, a big watermelon radish, a couple carrots and ac couple of beets. A big parsnip, some beets, vinegar and water, and salt and pepper.

Wash all the roots then cut them up. IF you want to peel go for it, but I don’t because I prefer not to.

Anyway, cut them all into wedges, shtik and or rounds. A variety of shapes is nice, just make sure that they are all roughly the same thickness.

Arrange all the cut roots on a baking sheet, trying not to overlap much. Sprinkle with water and vinegar then toss on a good pinch of salt and pepper.

Place in hot oven and roast.

40 fish minutes later, all tender and ready.

Place all your roasted roots on a large plate or plater, grab some dips of your choice (Mustard, hummus, and guacamole are excellent choices) and eat away. Or wait and serve whenever cause these snack situation is delicious eaten at any temperature.

-c


Roasted Roots Snack Plate

Note. The following is more of a suggestion then a recipe. Use as many roots as you like or stick with a just one or two.

  • a bulb of celeriac

  • 2 carrots

  • a large watermelon radish

  • 2 parsnips

  • 2 medium turnips

  • 2 medium beets

  • a couple teaspoons white vinegar and water

  • salt and pepper

  • Hummus, mustard, guacamole.. anything you like to dip veggies in. (optional)

Preheat oven to 425.

Prepare roots. Wash and cut them all into sticks, rounds, and or wedges, just make sure they are roughly the same thickness. Once all cut, place them on a baking sheet, trying not to overlap much, and sprinkle with a little water and a few teaspoons of vinegar (you can use a spray bottle or just flick the the water and vinegar with your fingers) Sprinkle with a good pinch of salt and black pepper.

Place in oven and bake for about 40 minutes or until all veggies are tender.

Remove from oven and let cool enough to handle them arrange on a large plate or plater along with at least one, if not many dips that you like.

Serve hot. Or warm. Room temperature is good or you can pre roasted refrigerate, then serve cold. Whatever temperature it’s fantastic!

In Vegan, Vegetables, snack Tags charcuterie, vegan, roasted roots, fresh, winter roots, dips, plant based, oil free, easy, snack plate, snack, lunch, dinner, gluten free, party, food, simpe
Comment

Carob Snack Cake with Tahini Maple Frosting

January 22, 2022 Colleen Stem
IMG_9911.jpg
IMG_9934 2.jpg

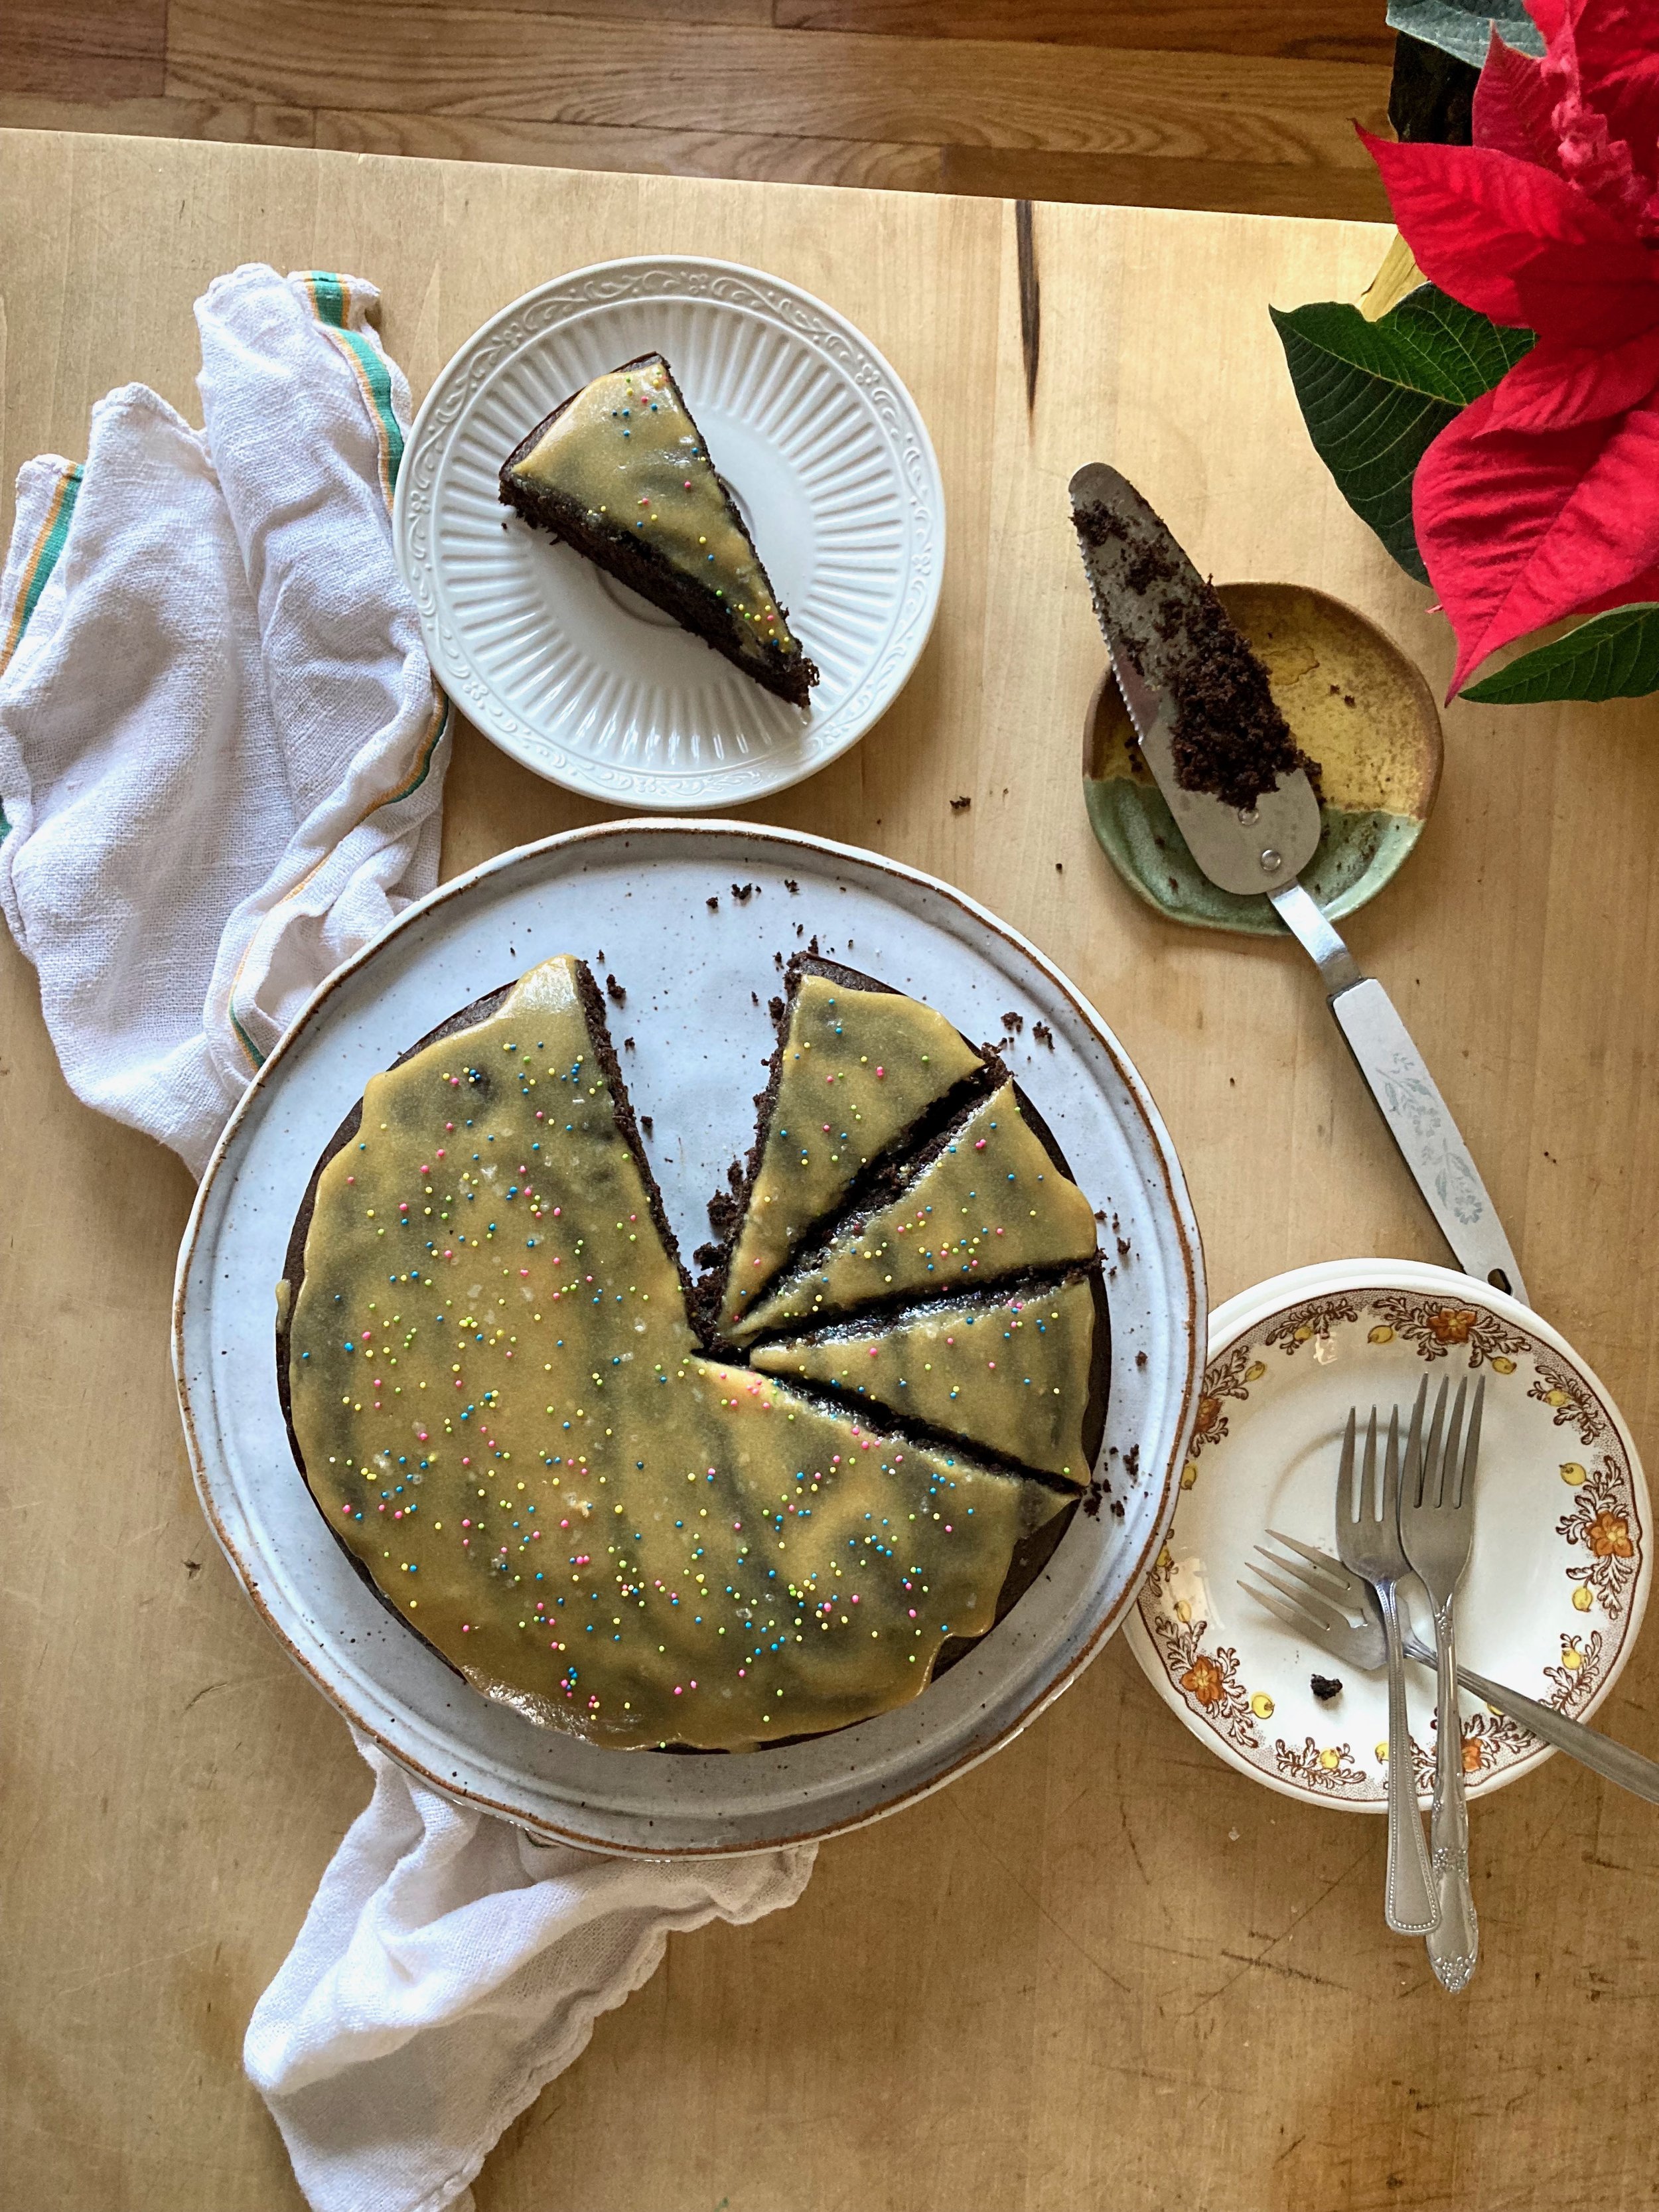
I made a snack cake and did so for a couple reasons. The first reason is cake and the mr loves him some snack cake so you know. Secondly is what else is there to do when you are basically suck inside because it is so cold that if you leave the house for more then15 minutes you are risking frost bite. (Ok so I have been going for my morning runs in the -20 degrees but that is different because I am running and getting relay hot. Once I come back I stay back.) It only makes sense to have the oven going for both reasons and who doesn’t want to get down with baked goods all winter.

Flavor wise, this snack cake is carob, not chocolate, although it looks like it. If you have never eaten carob it tastes somewhat chocolaty but way more fruity, less bitter, more sweet, more nutty. It is just really good. And it pairs really well with maple and tahini so that is the frosting situation. A cake of good flavors that is easy to throw together and you get to enjoy the residual heat from the oven…It is a no brainer. Basically what I am saying it that you should be making this cake. It only makes sense.

Now to the snack cake!
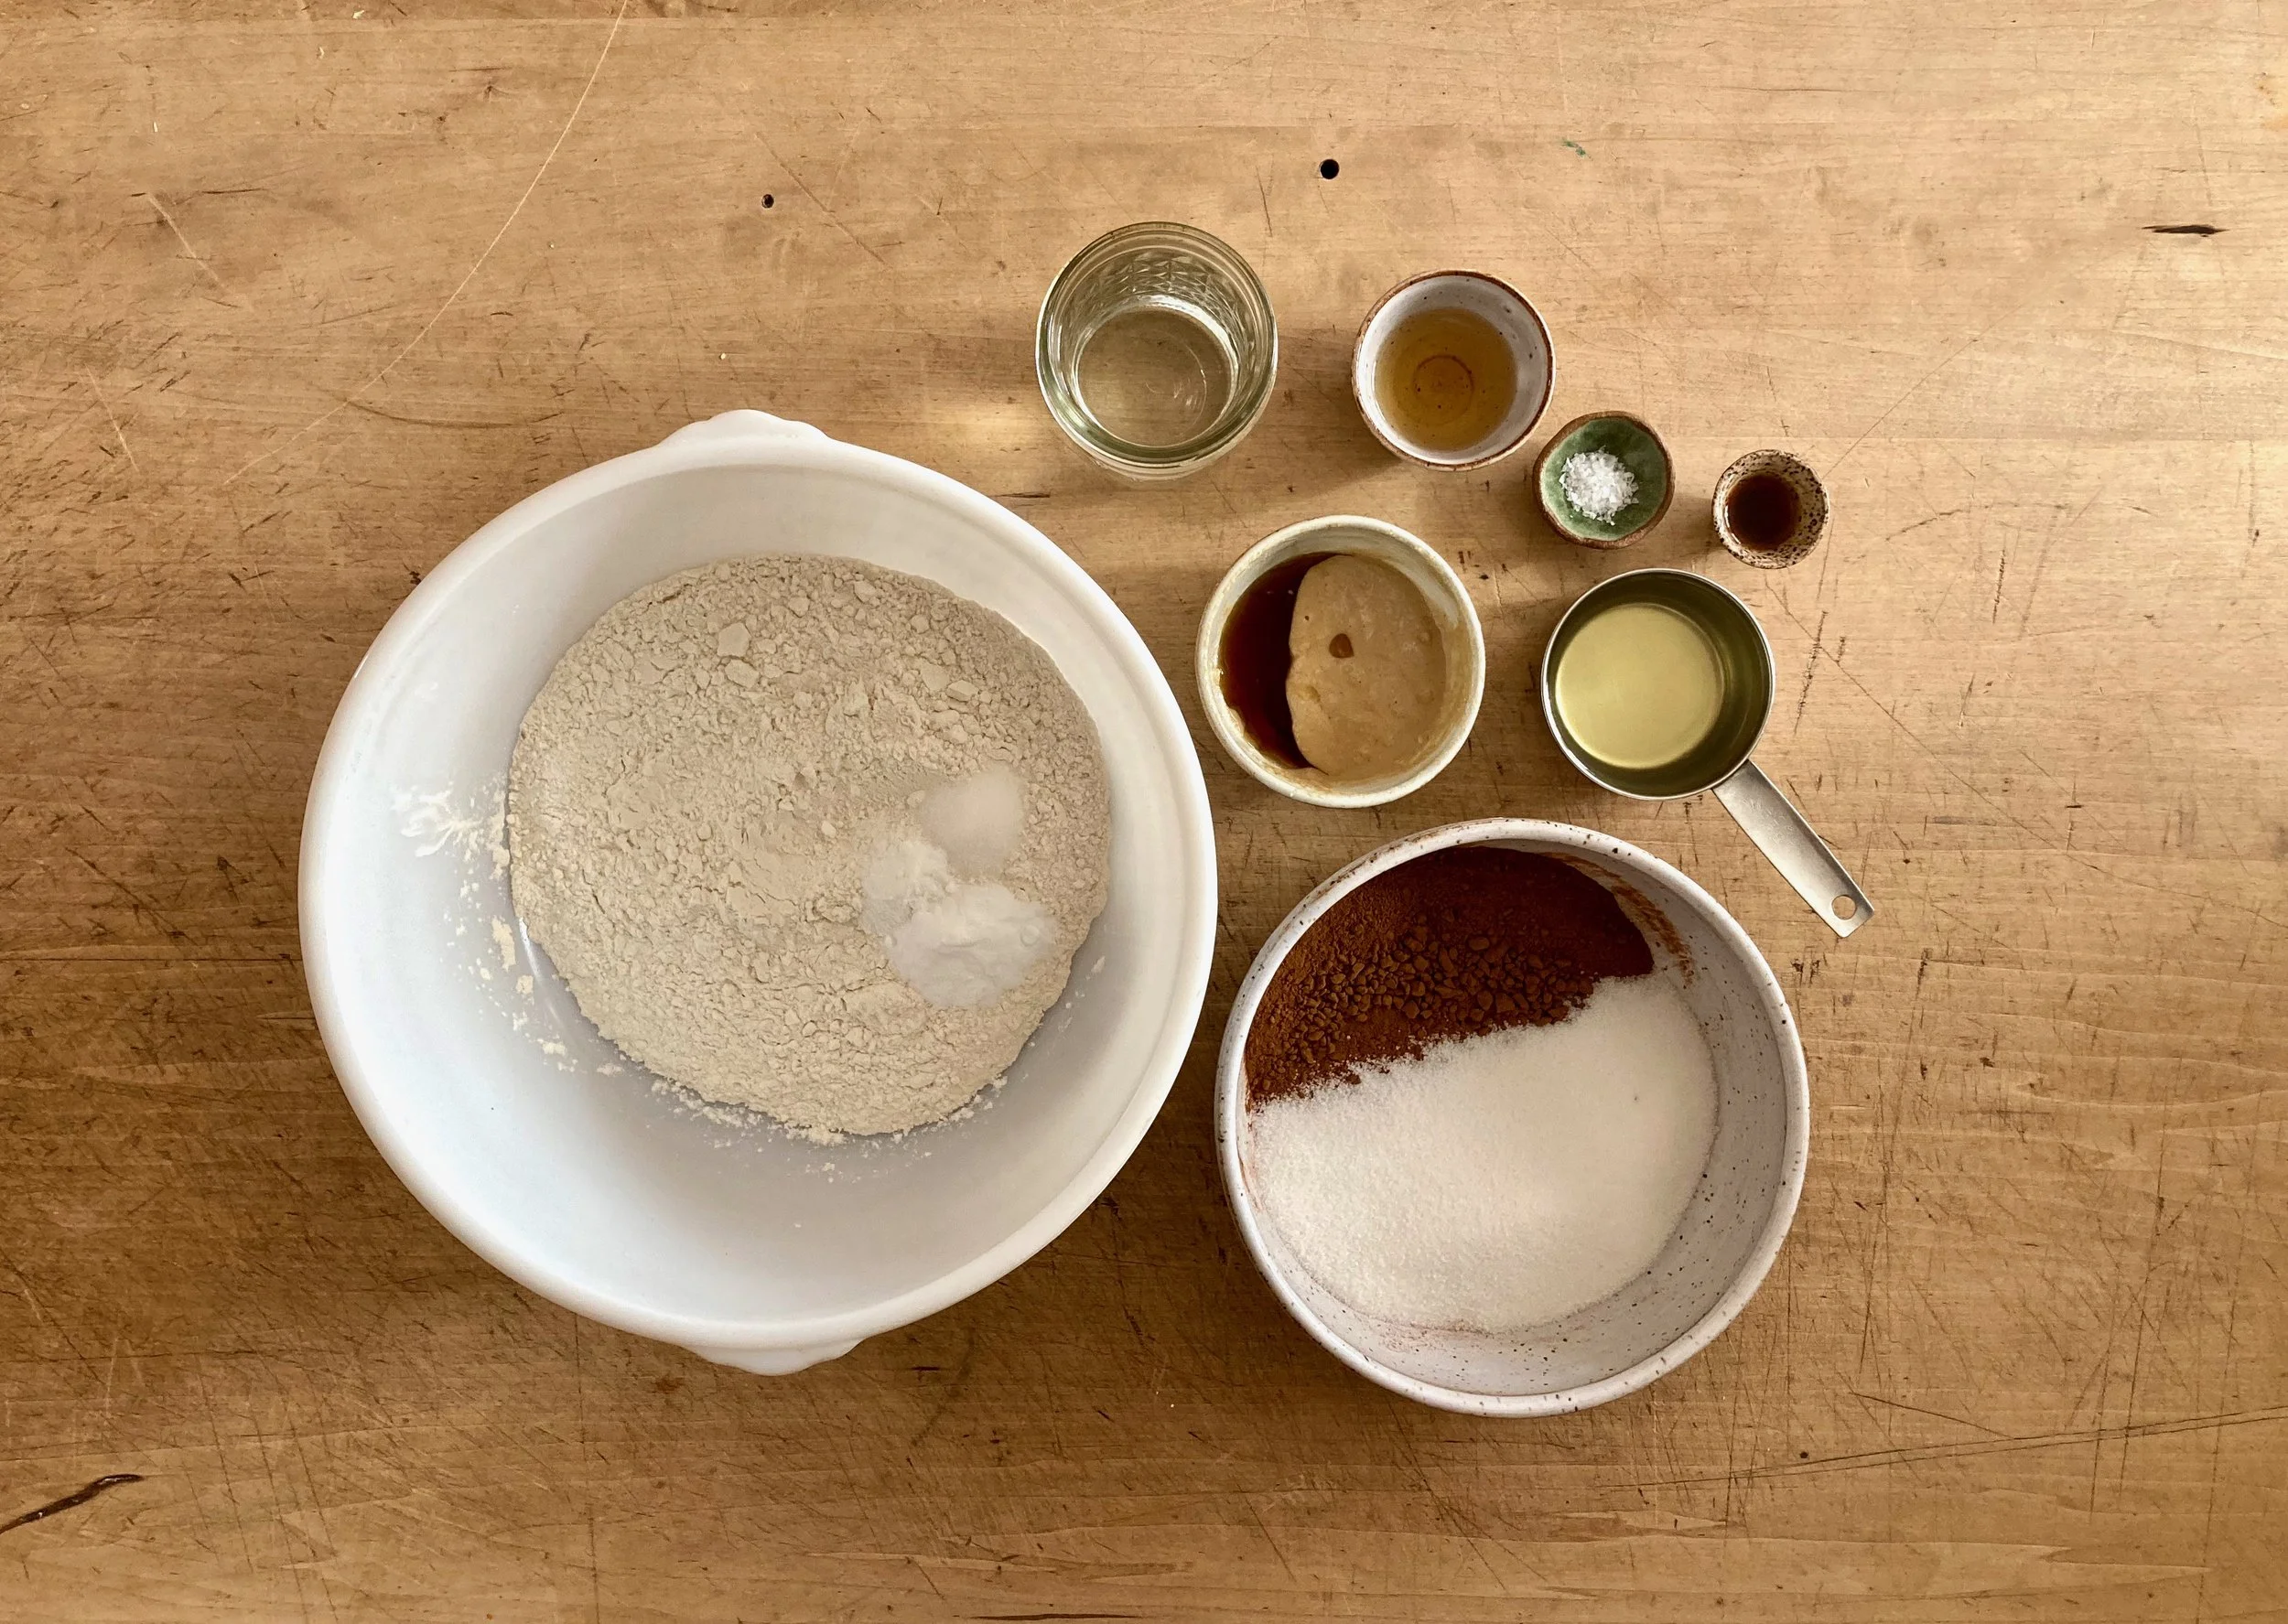
The stuff. Carob powder, flour, baking powder and soda, salt, oil, boiling water, vanilla extract, sugar, vinegar , tahini, and maple syrup.

IMG_9801 2.jpg
IMG_9803 2.jpg
IMG_9809 2.jpg
IMG_9811 2.jpg

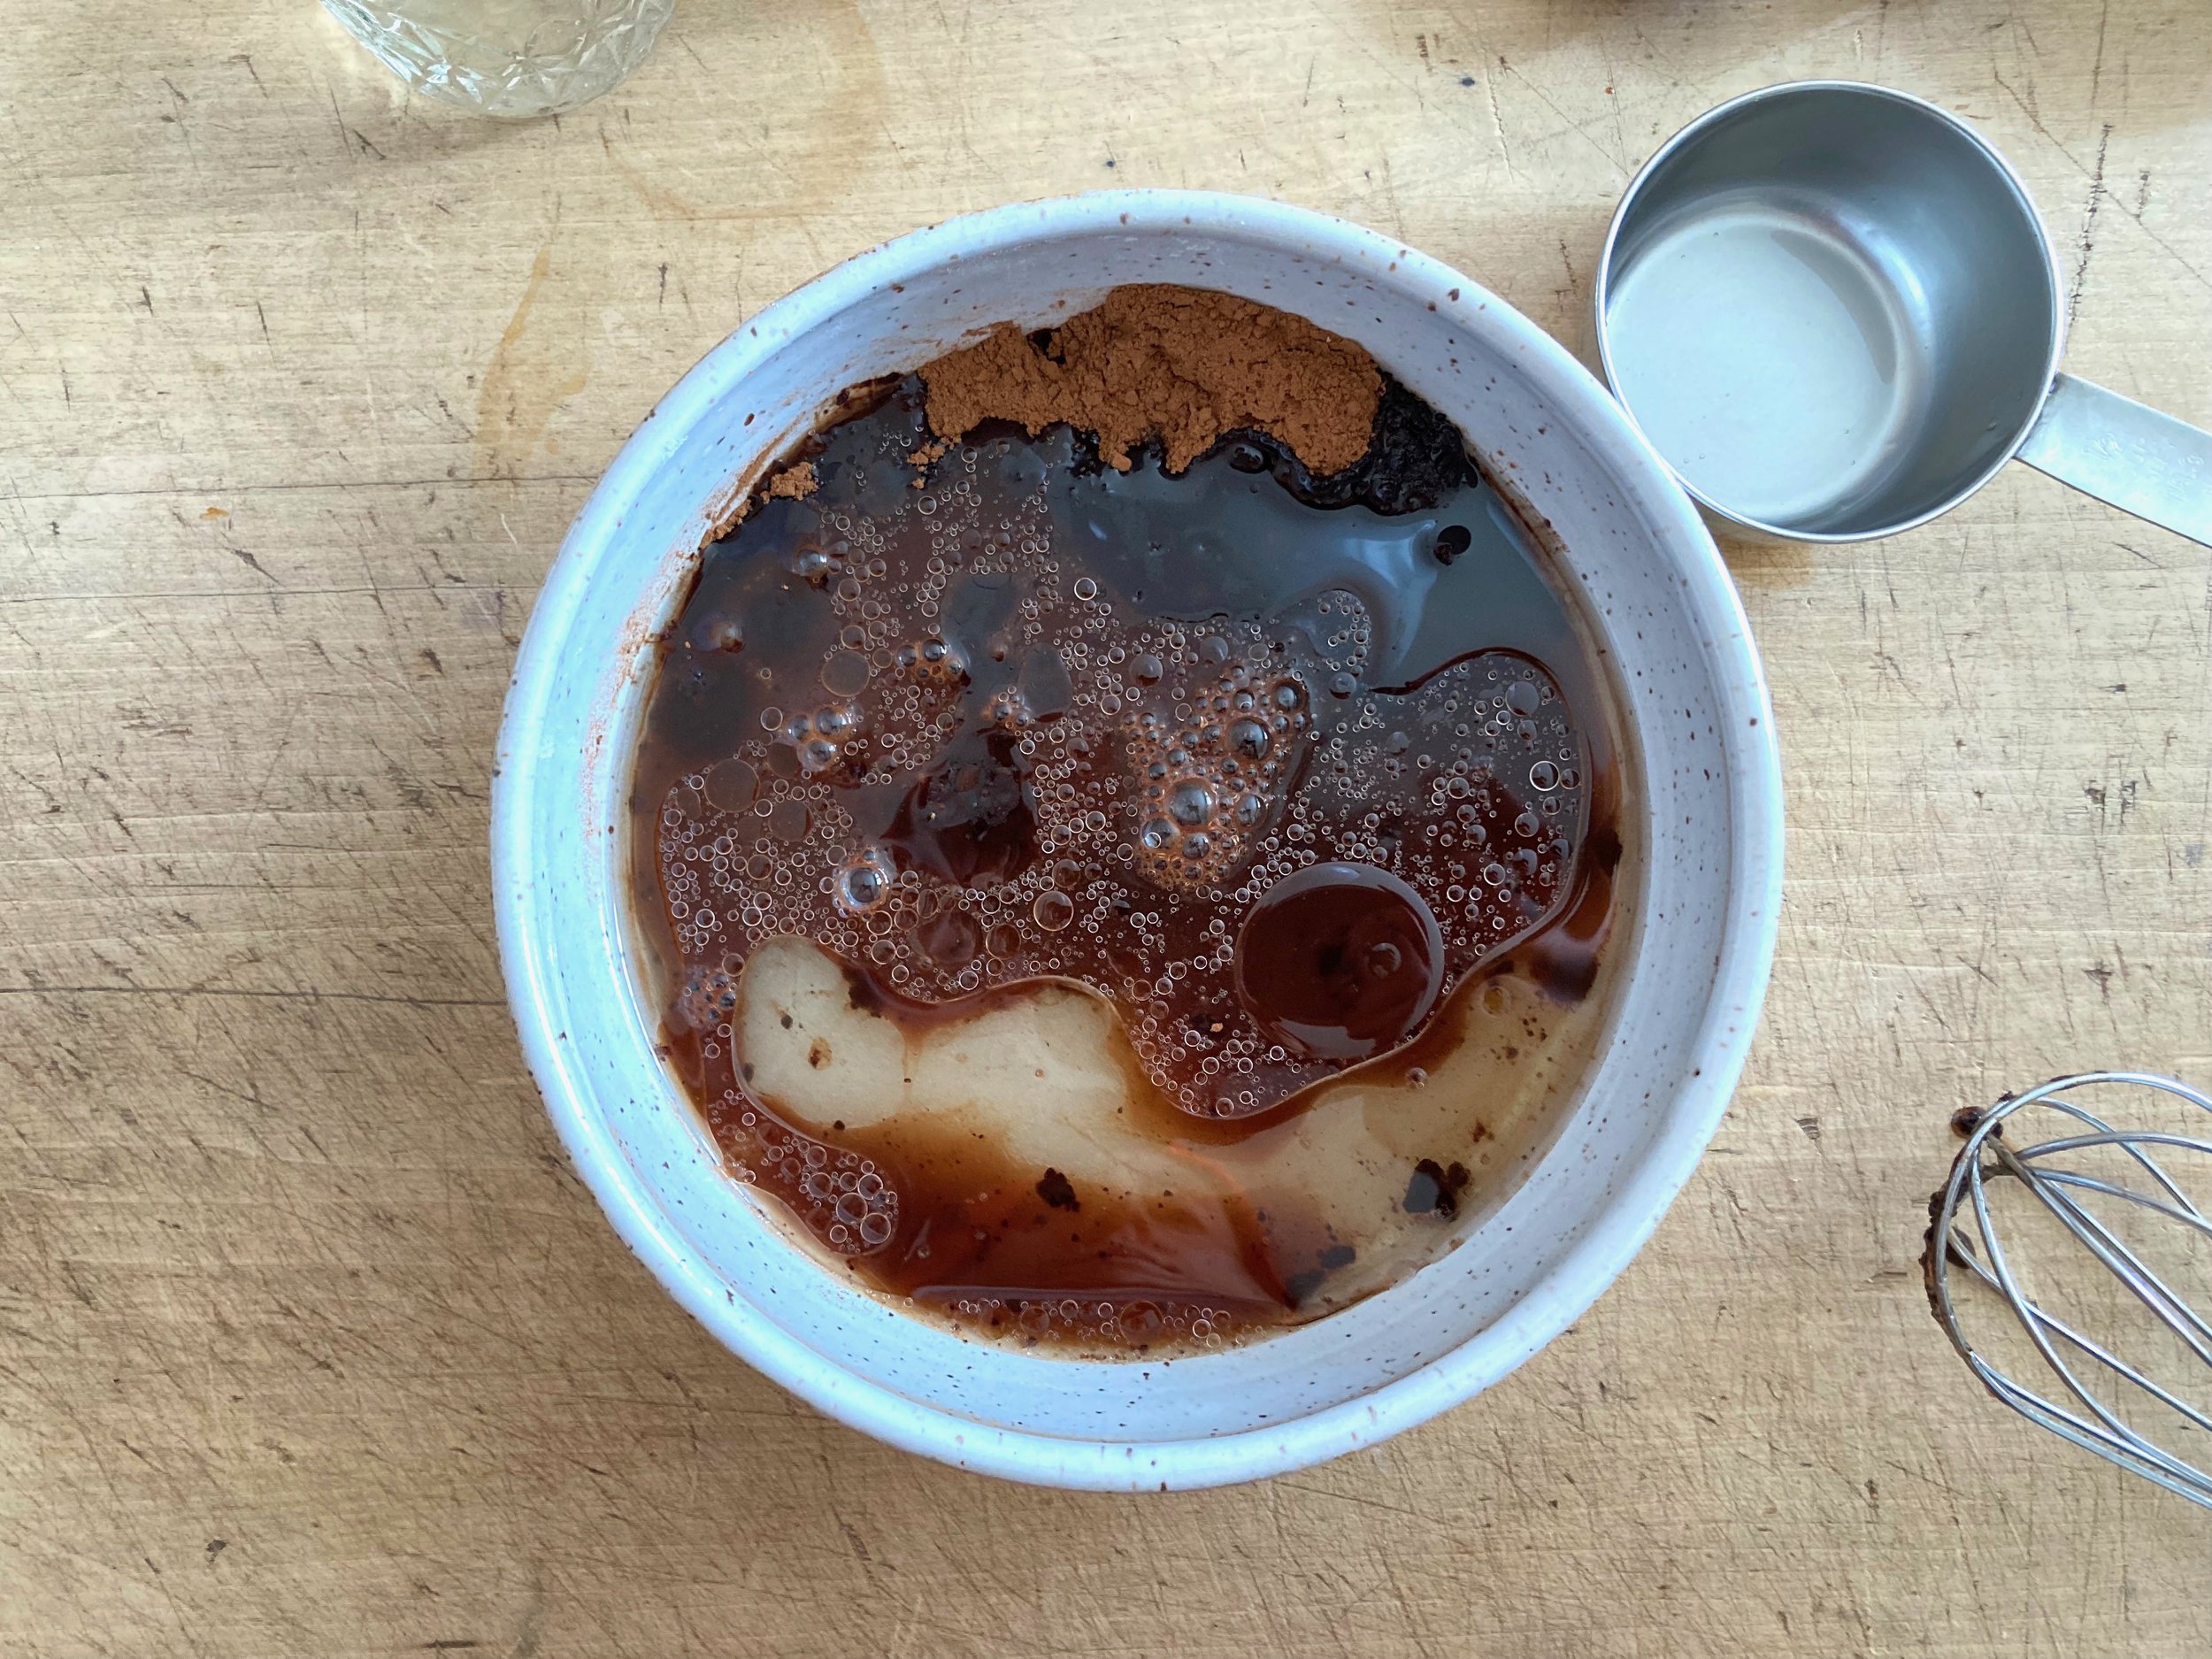
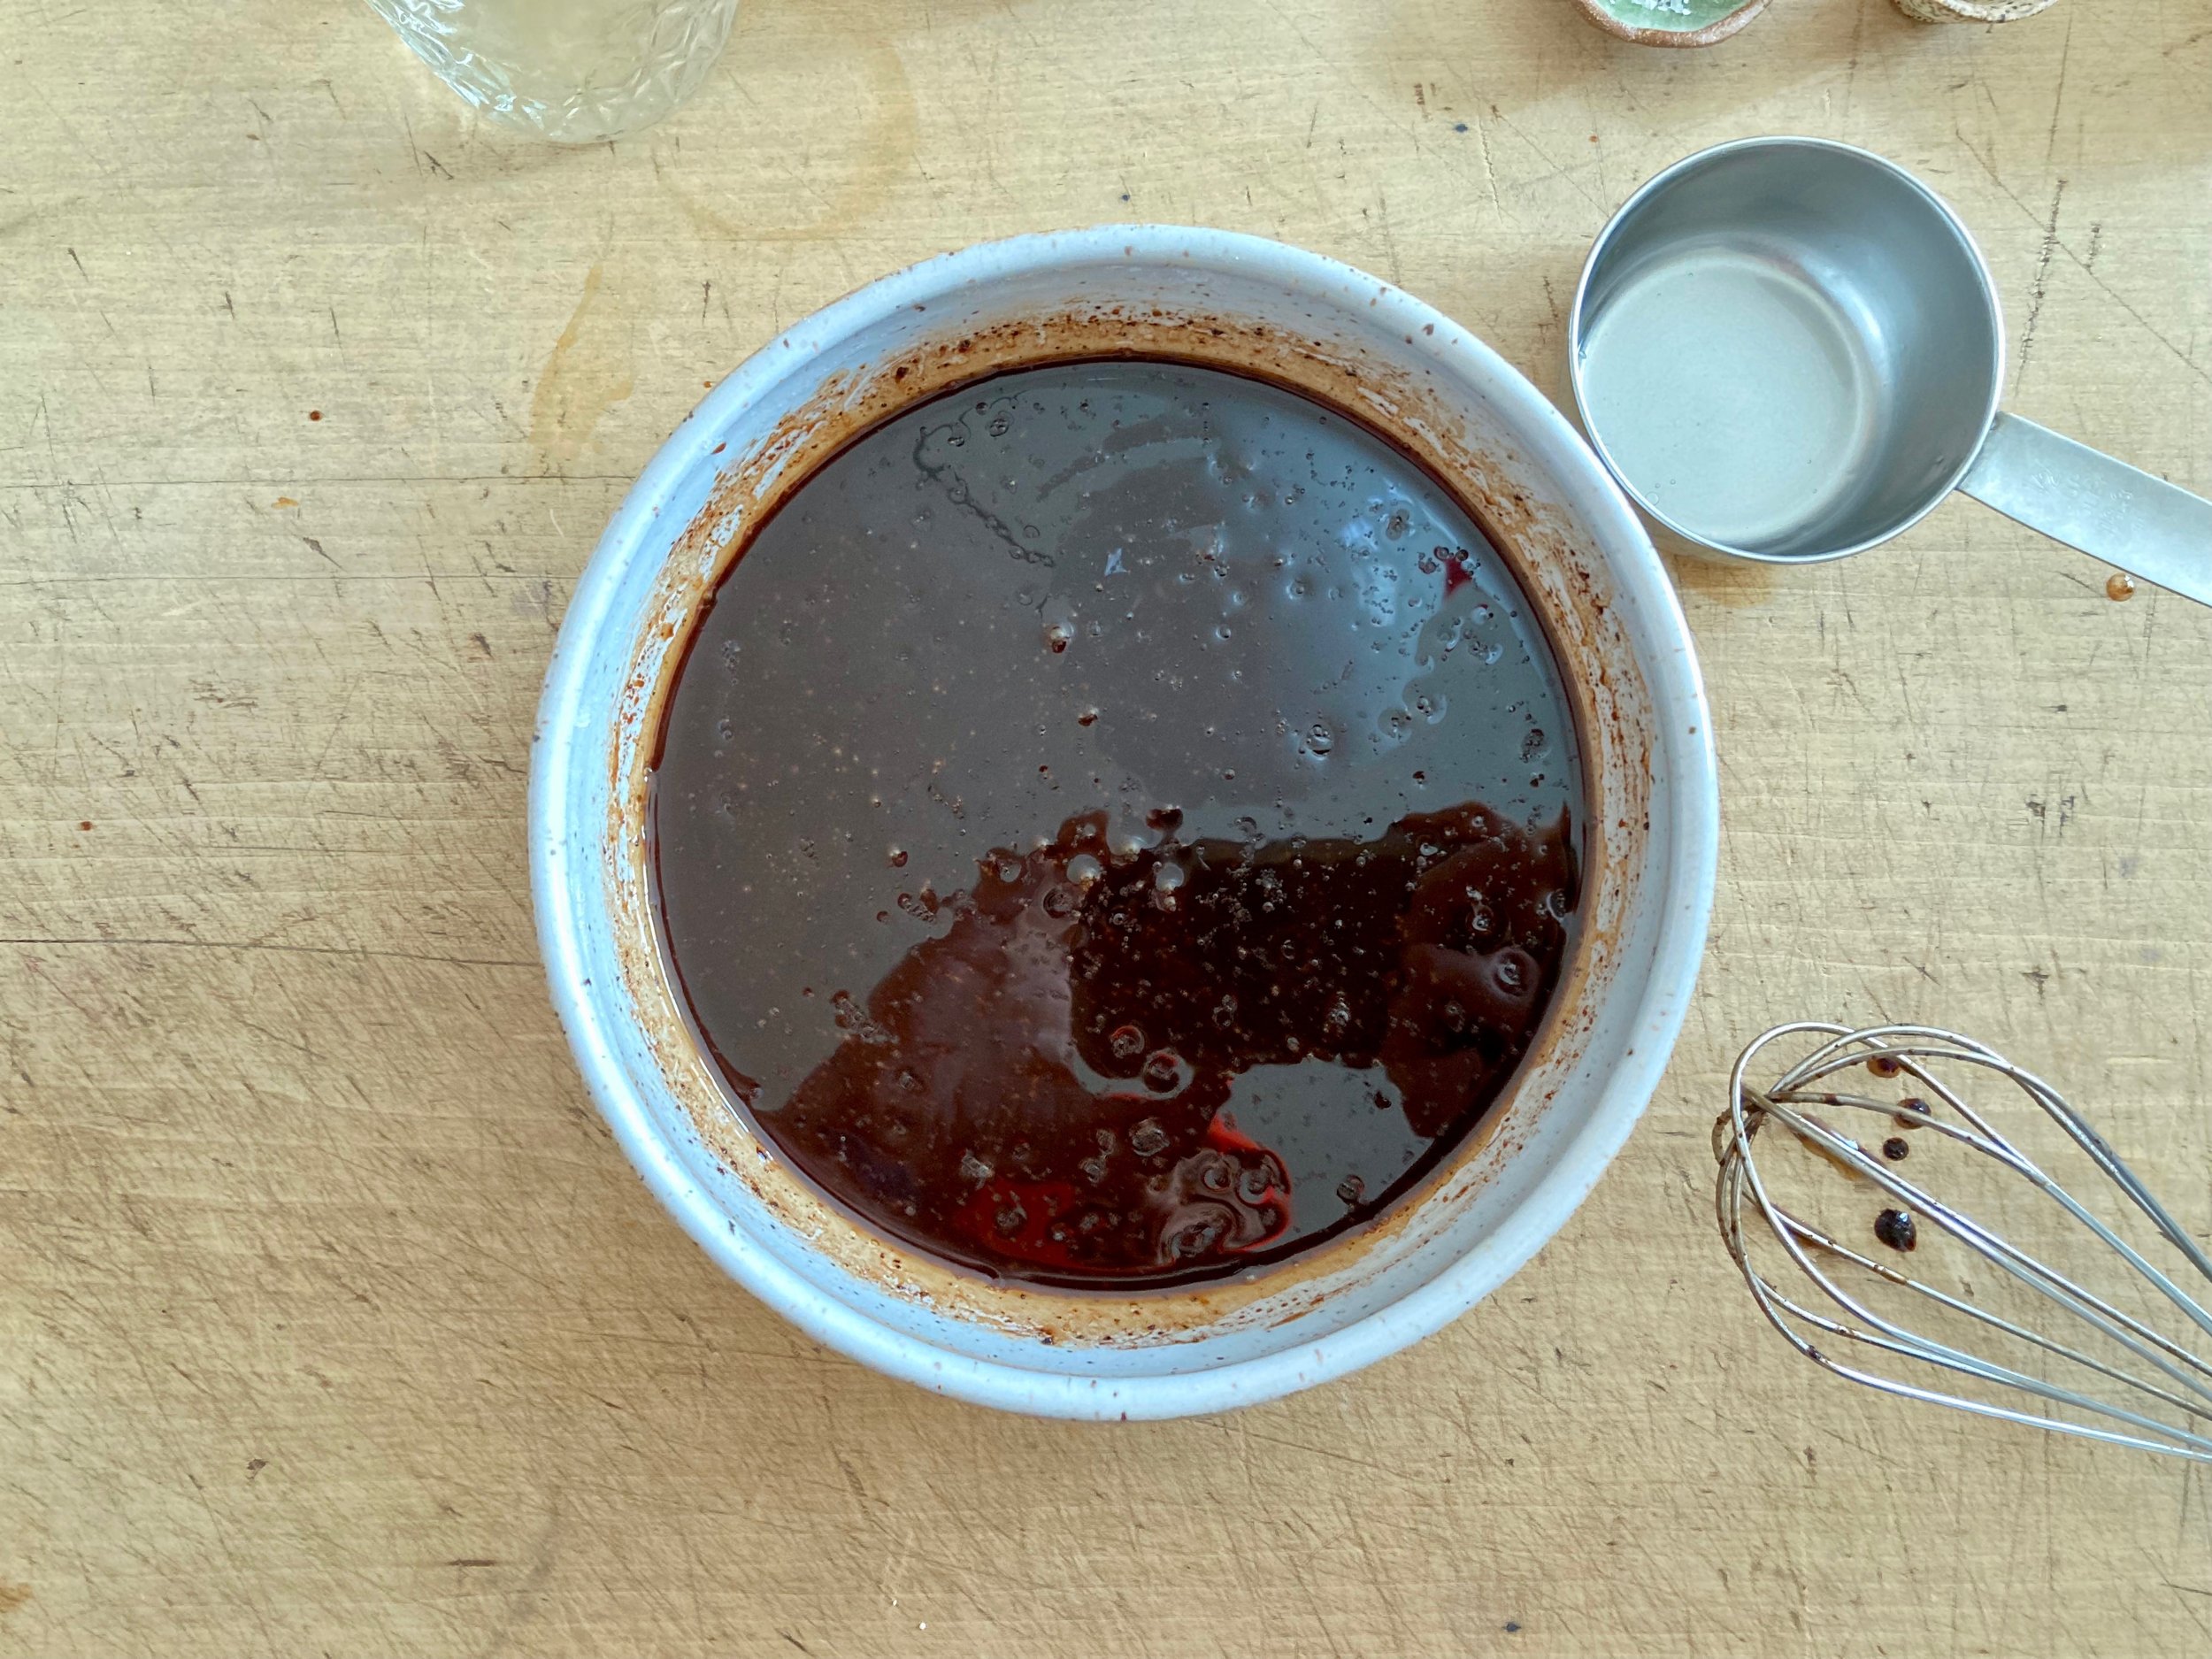
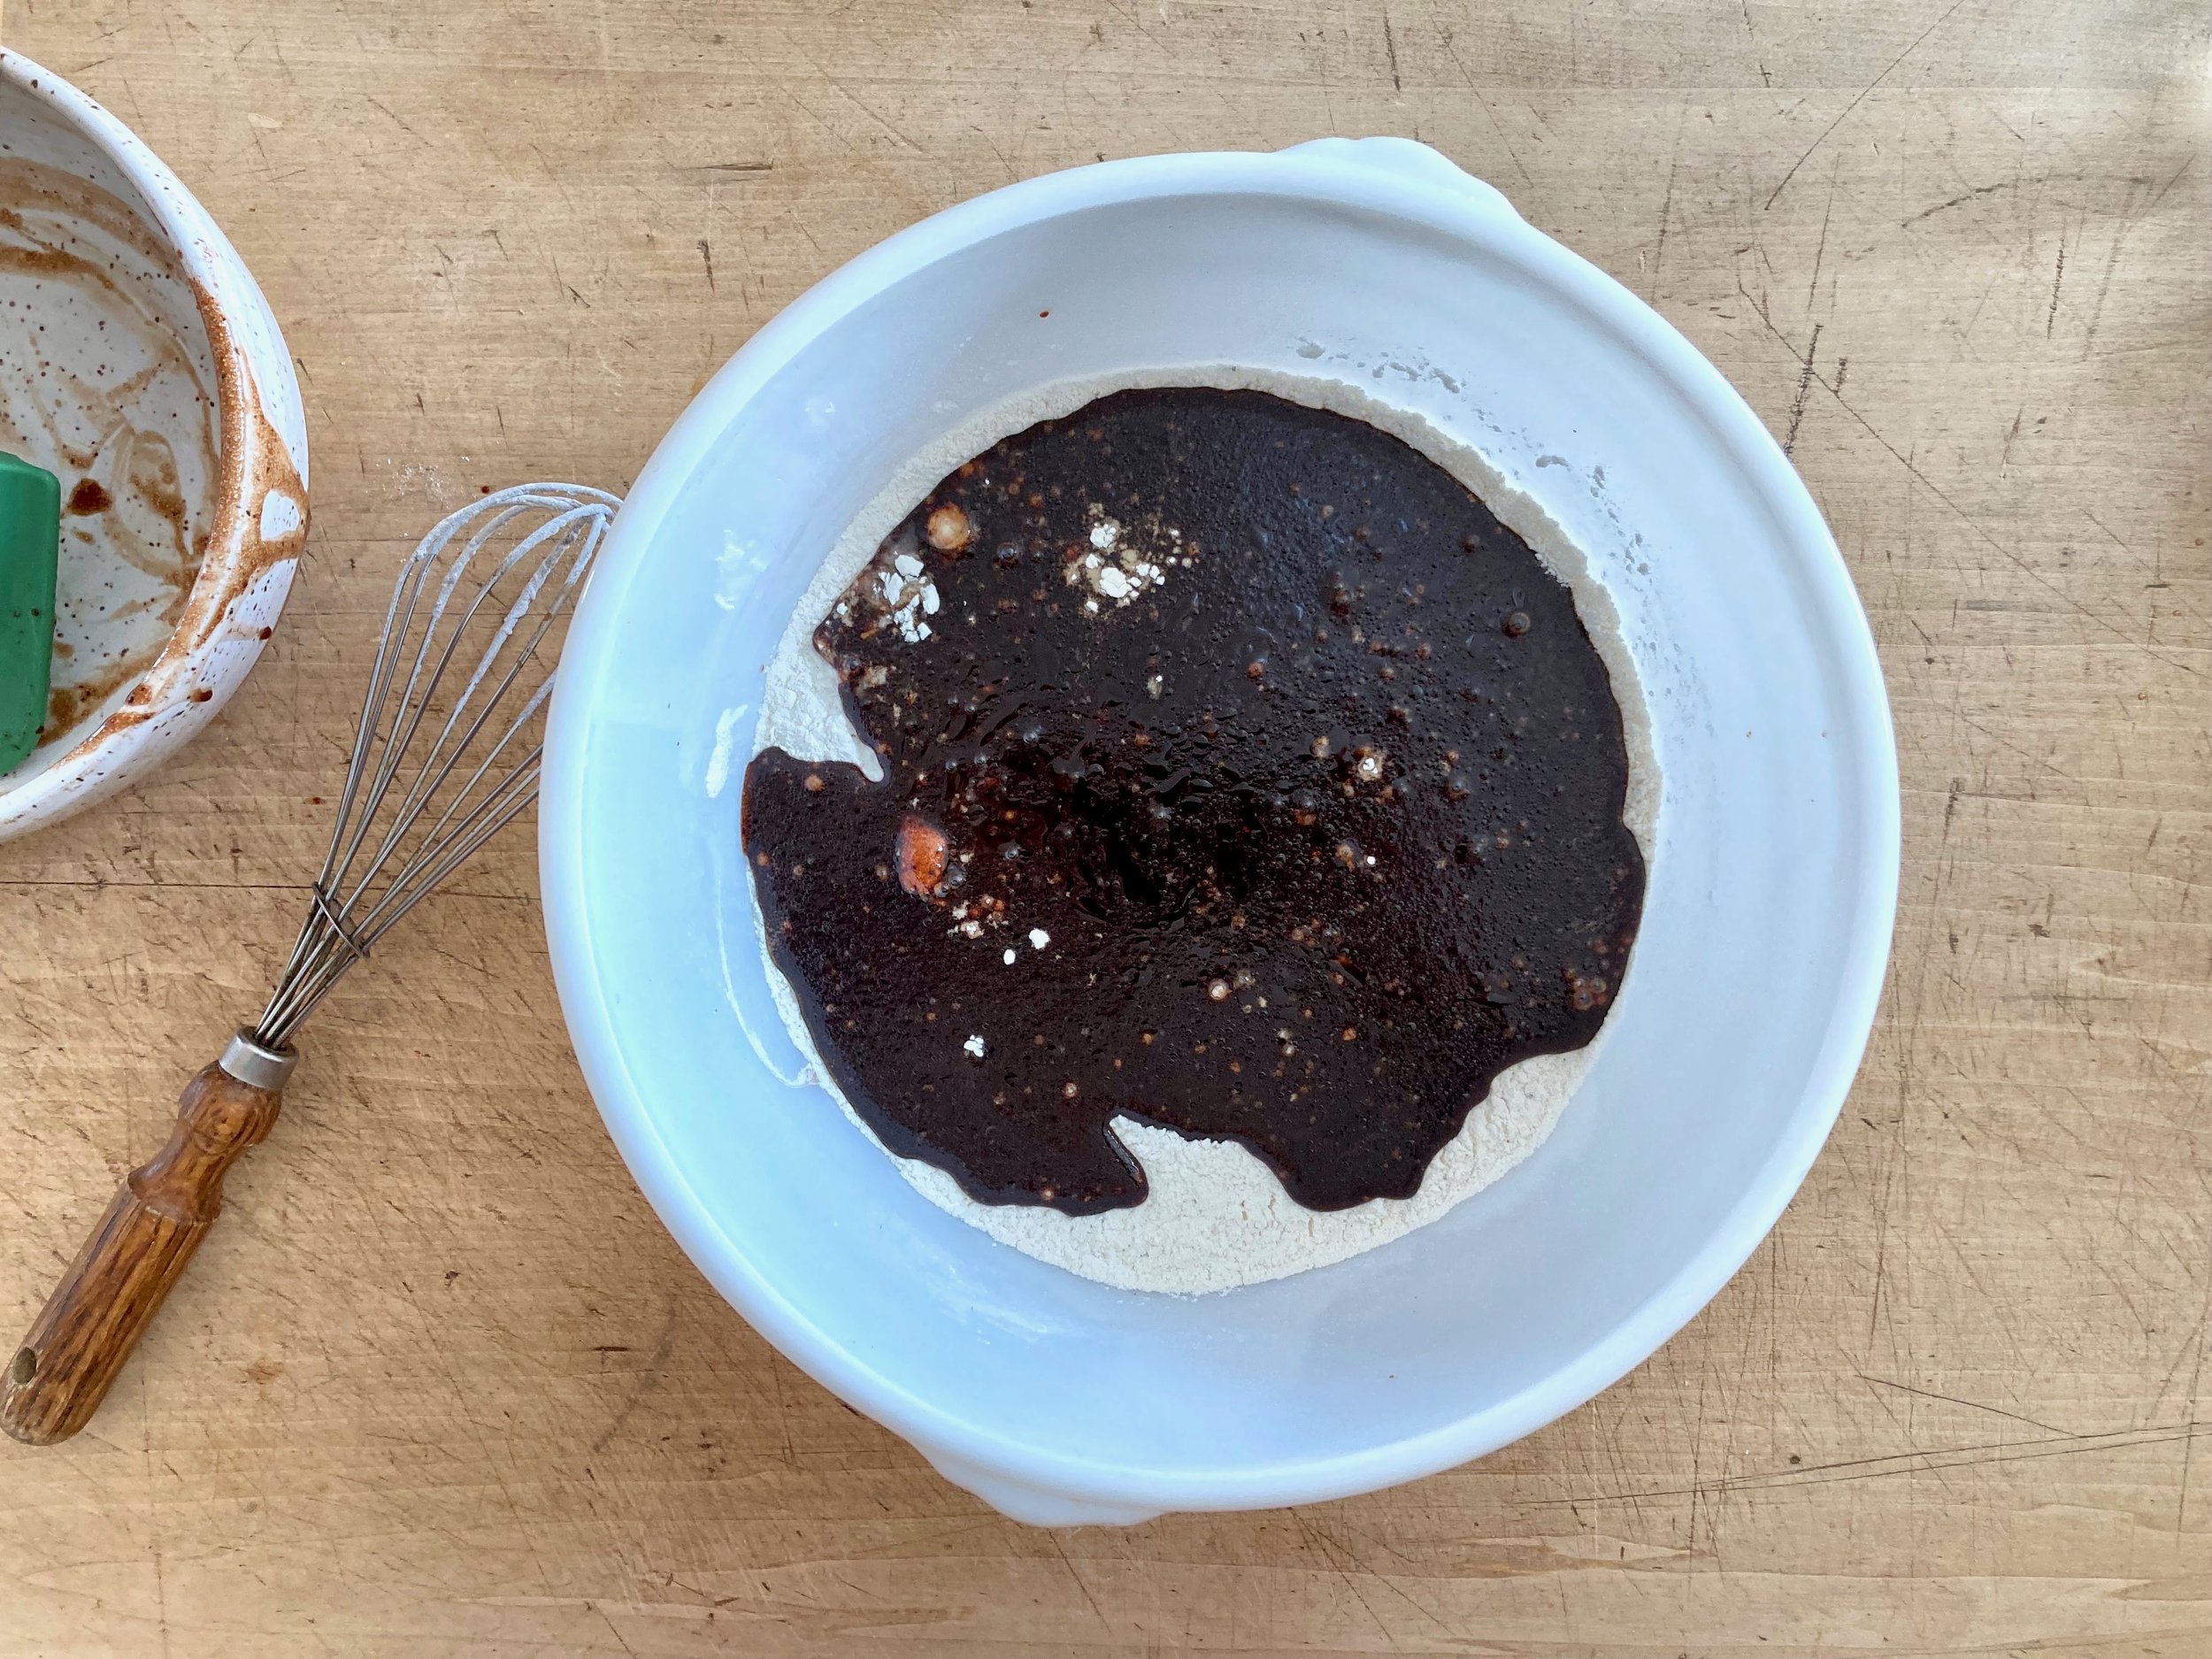
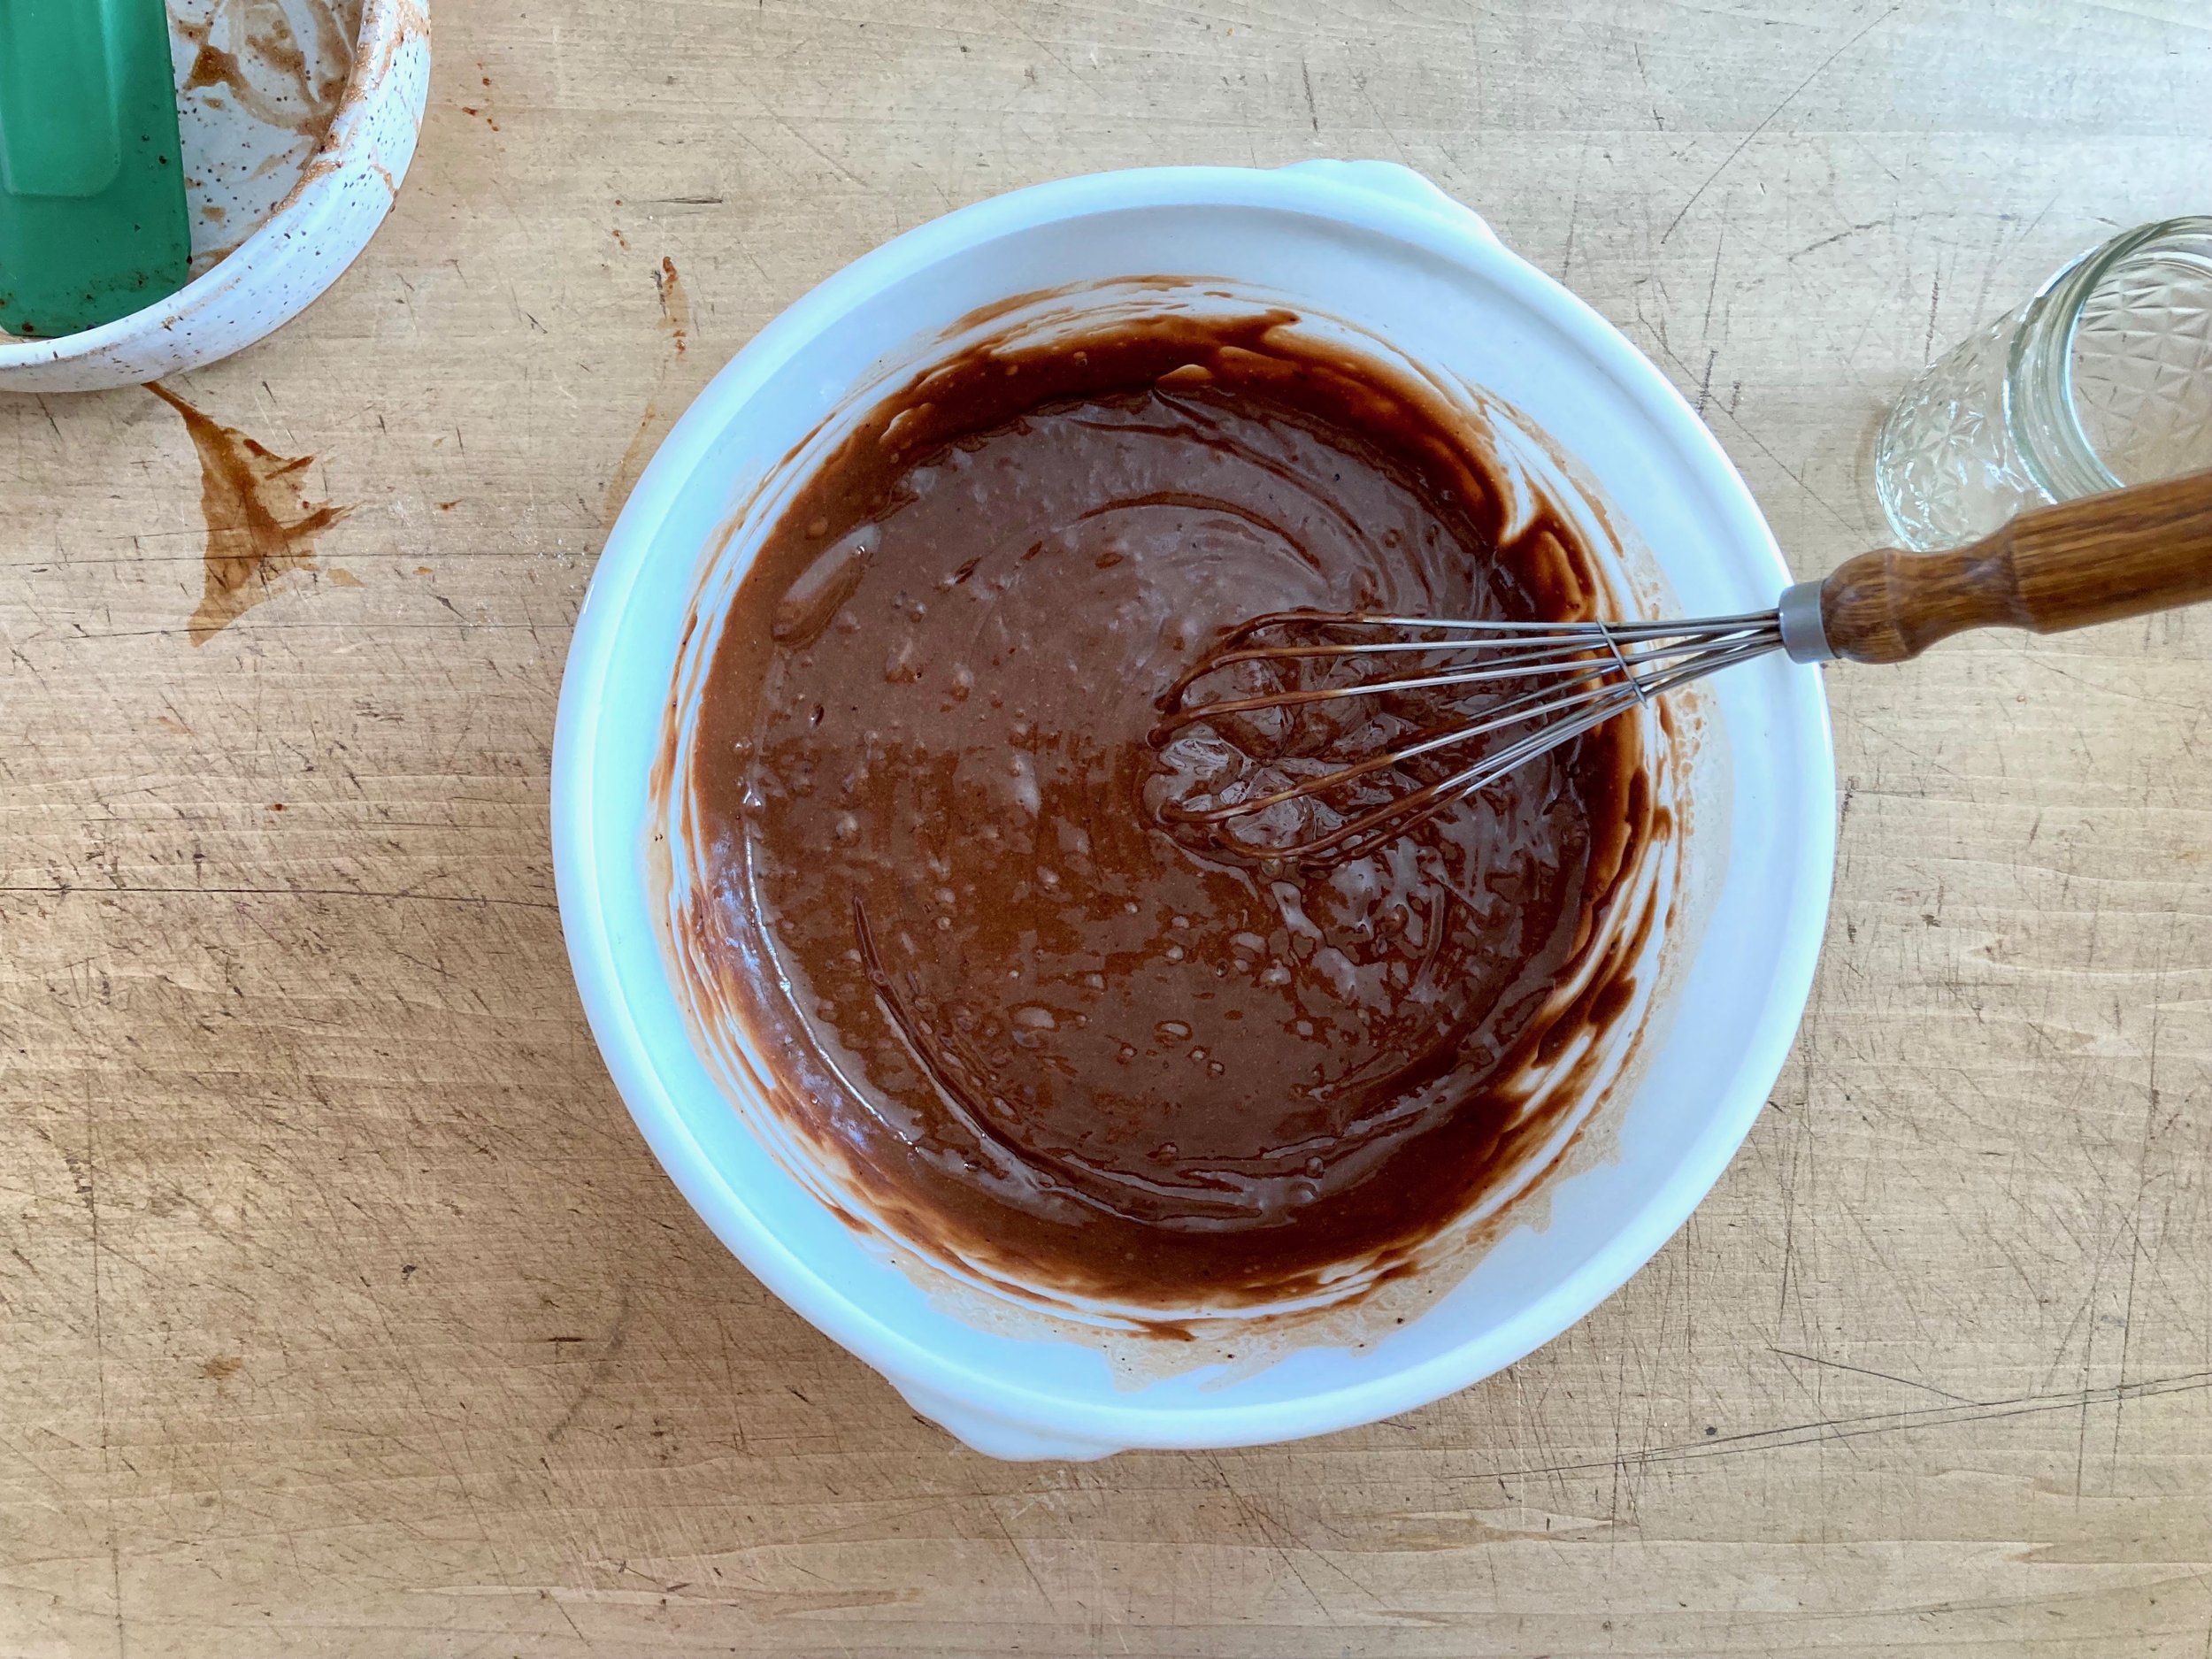
Make the cake batter. Mix dry ingredients into a big bowl then in a separate bowl mix the oil, sugar, carob, vanilla. vinegar and boiling water together until completely incorporated. Dump the wet mixture into the dry and mix until incorporated.

Pour batter into a well greased and lined cake pan and pop into the oven to bake.

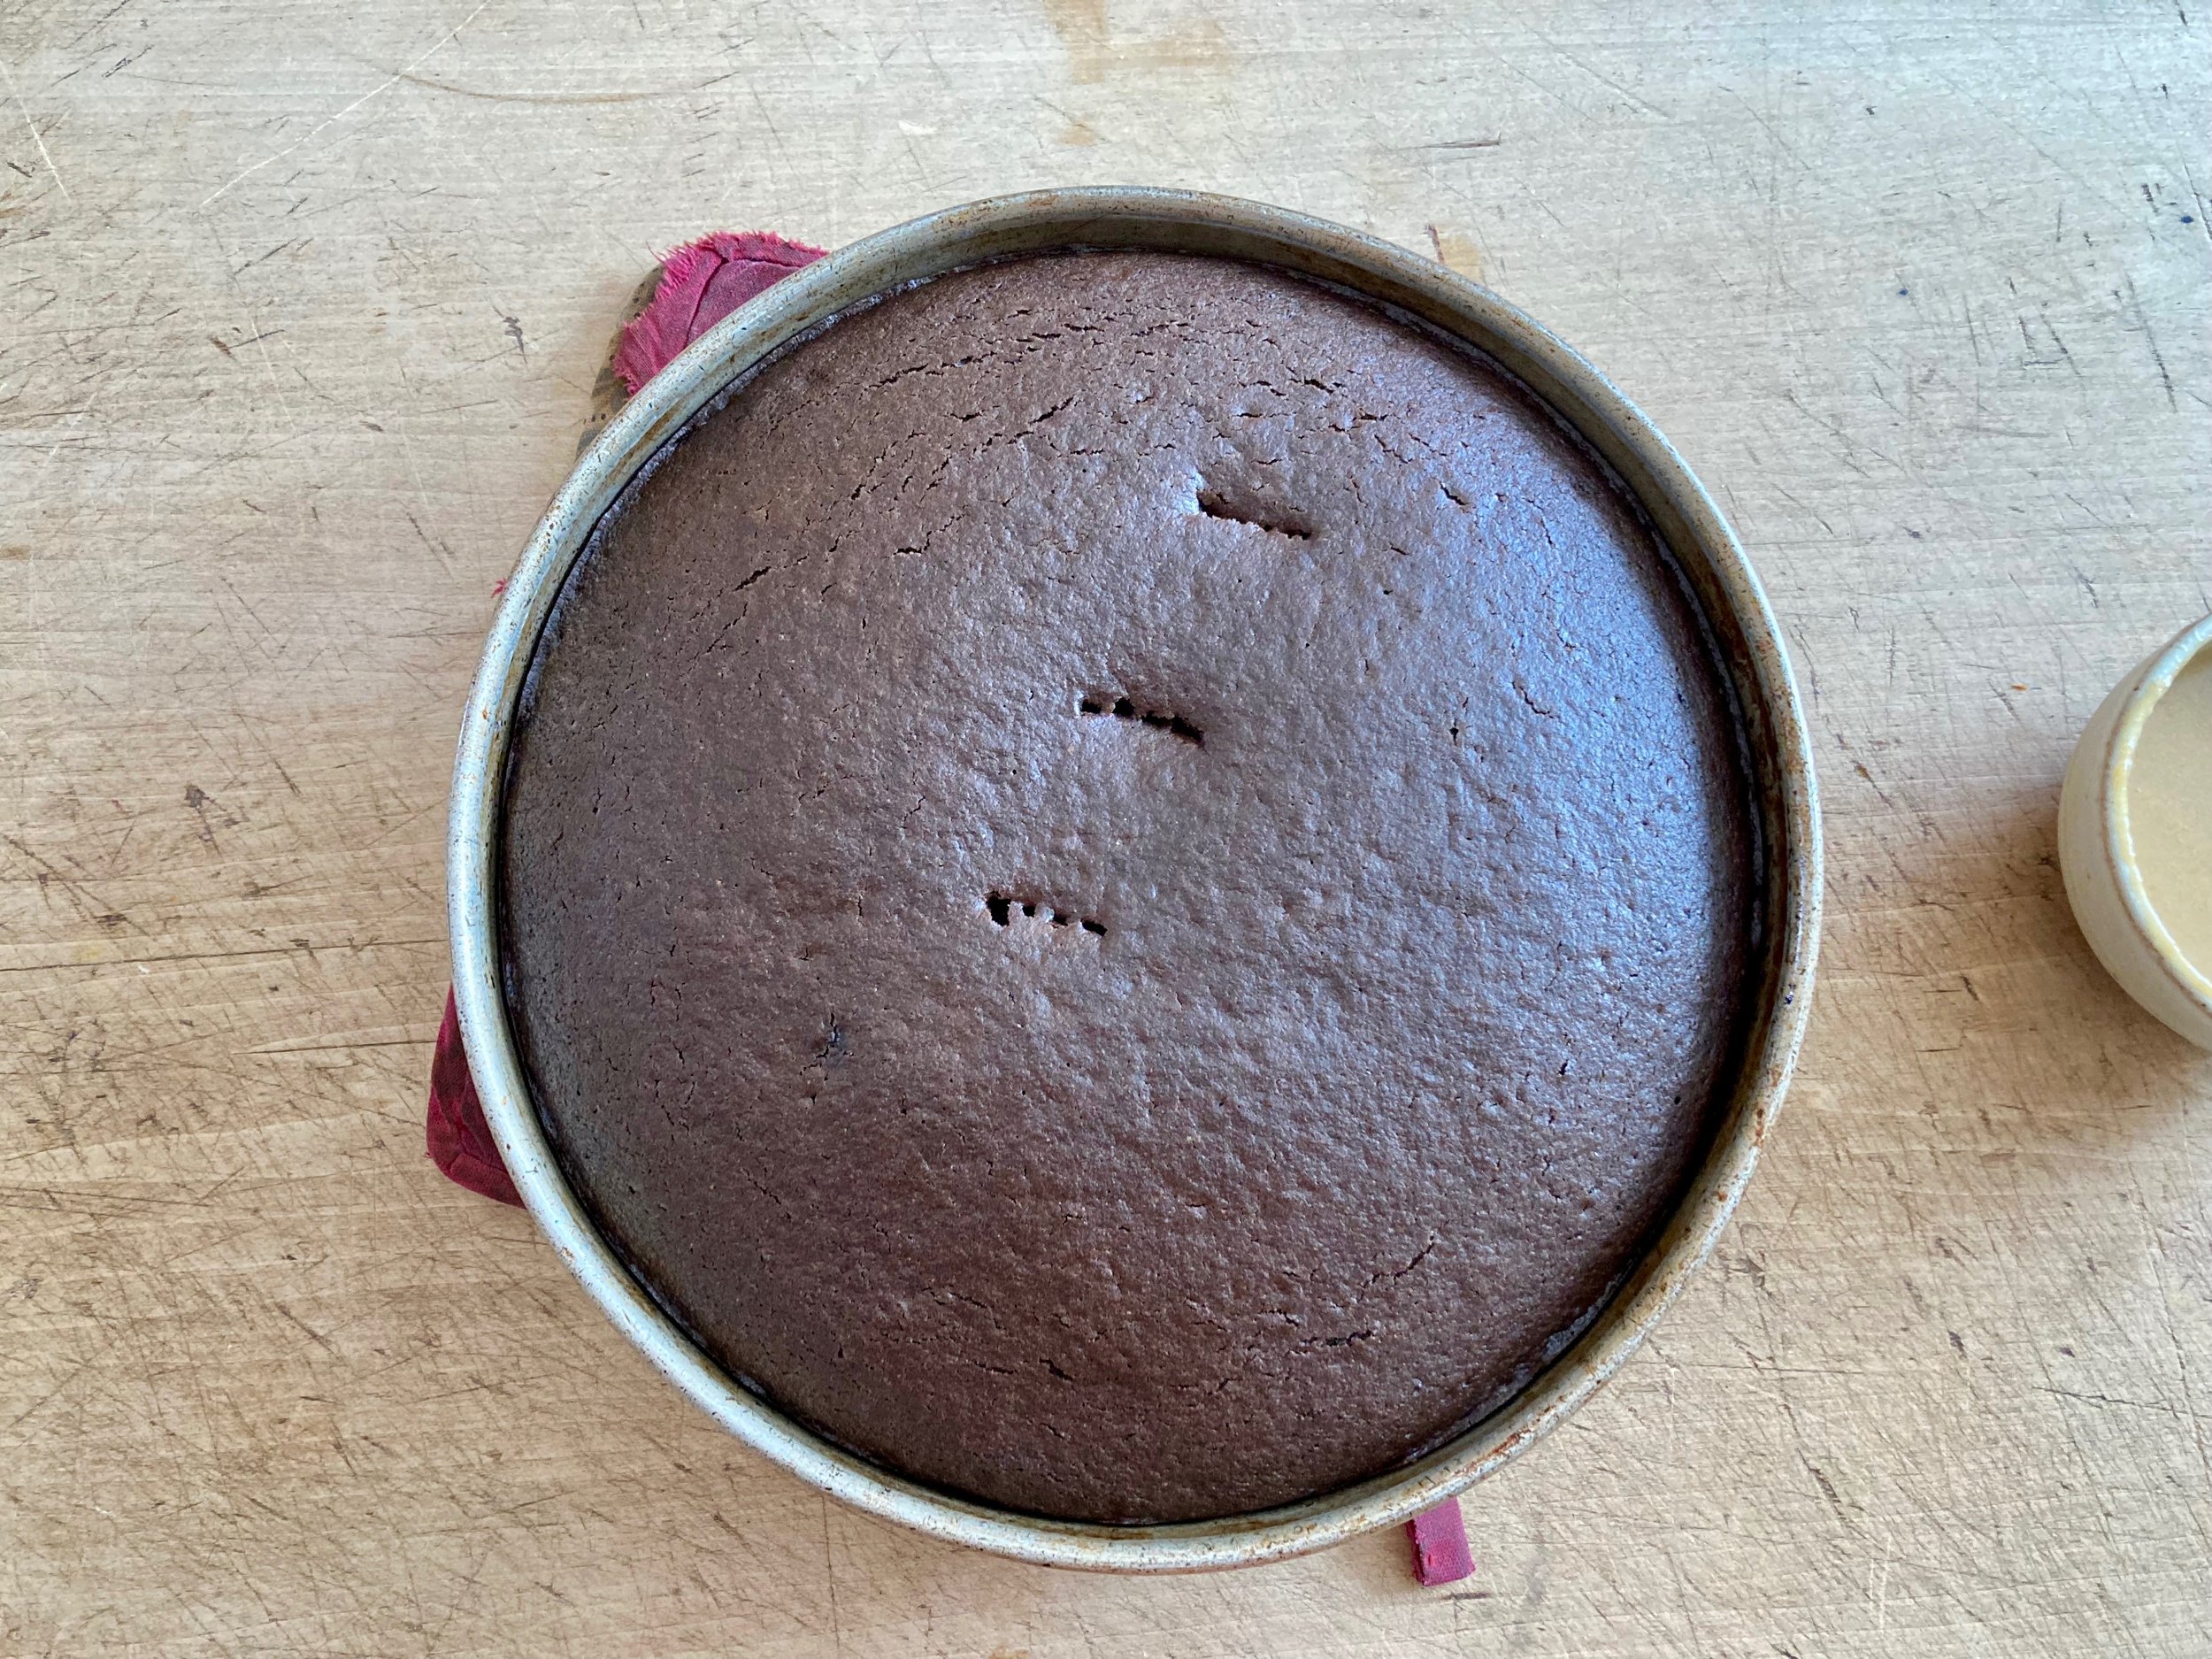
And baked it gets. Pop it out of the cake pan and place on wire rack to cool.

IMG_9821.jpg
IMG_9822.jpg

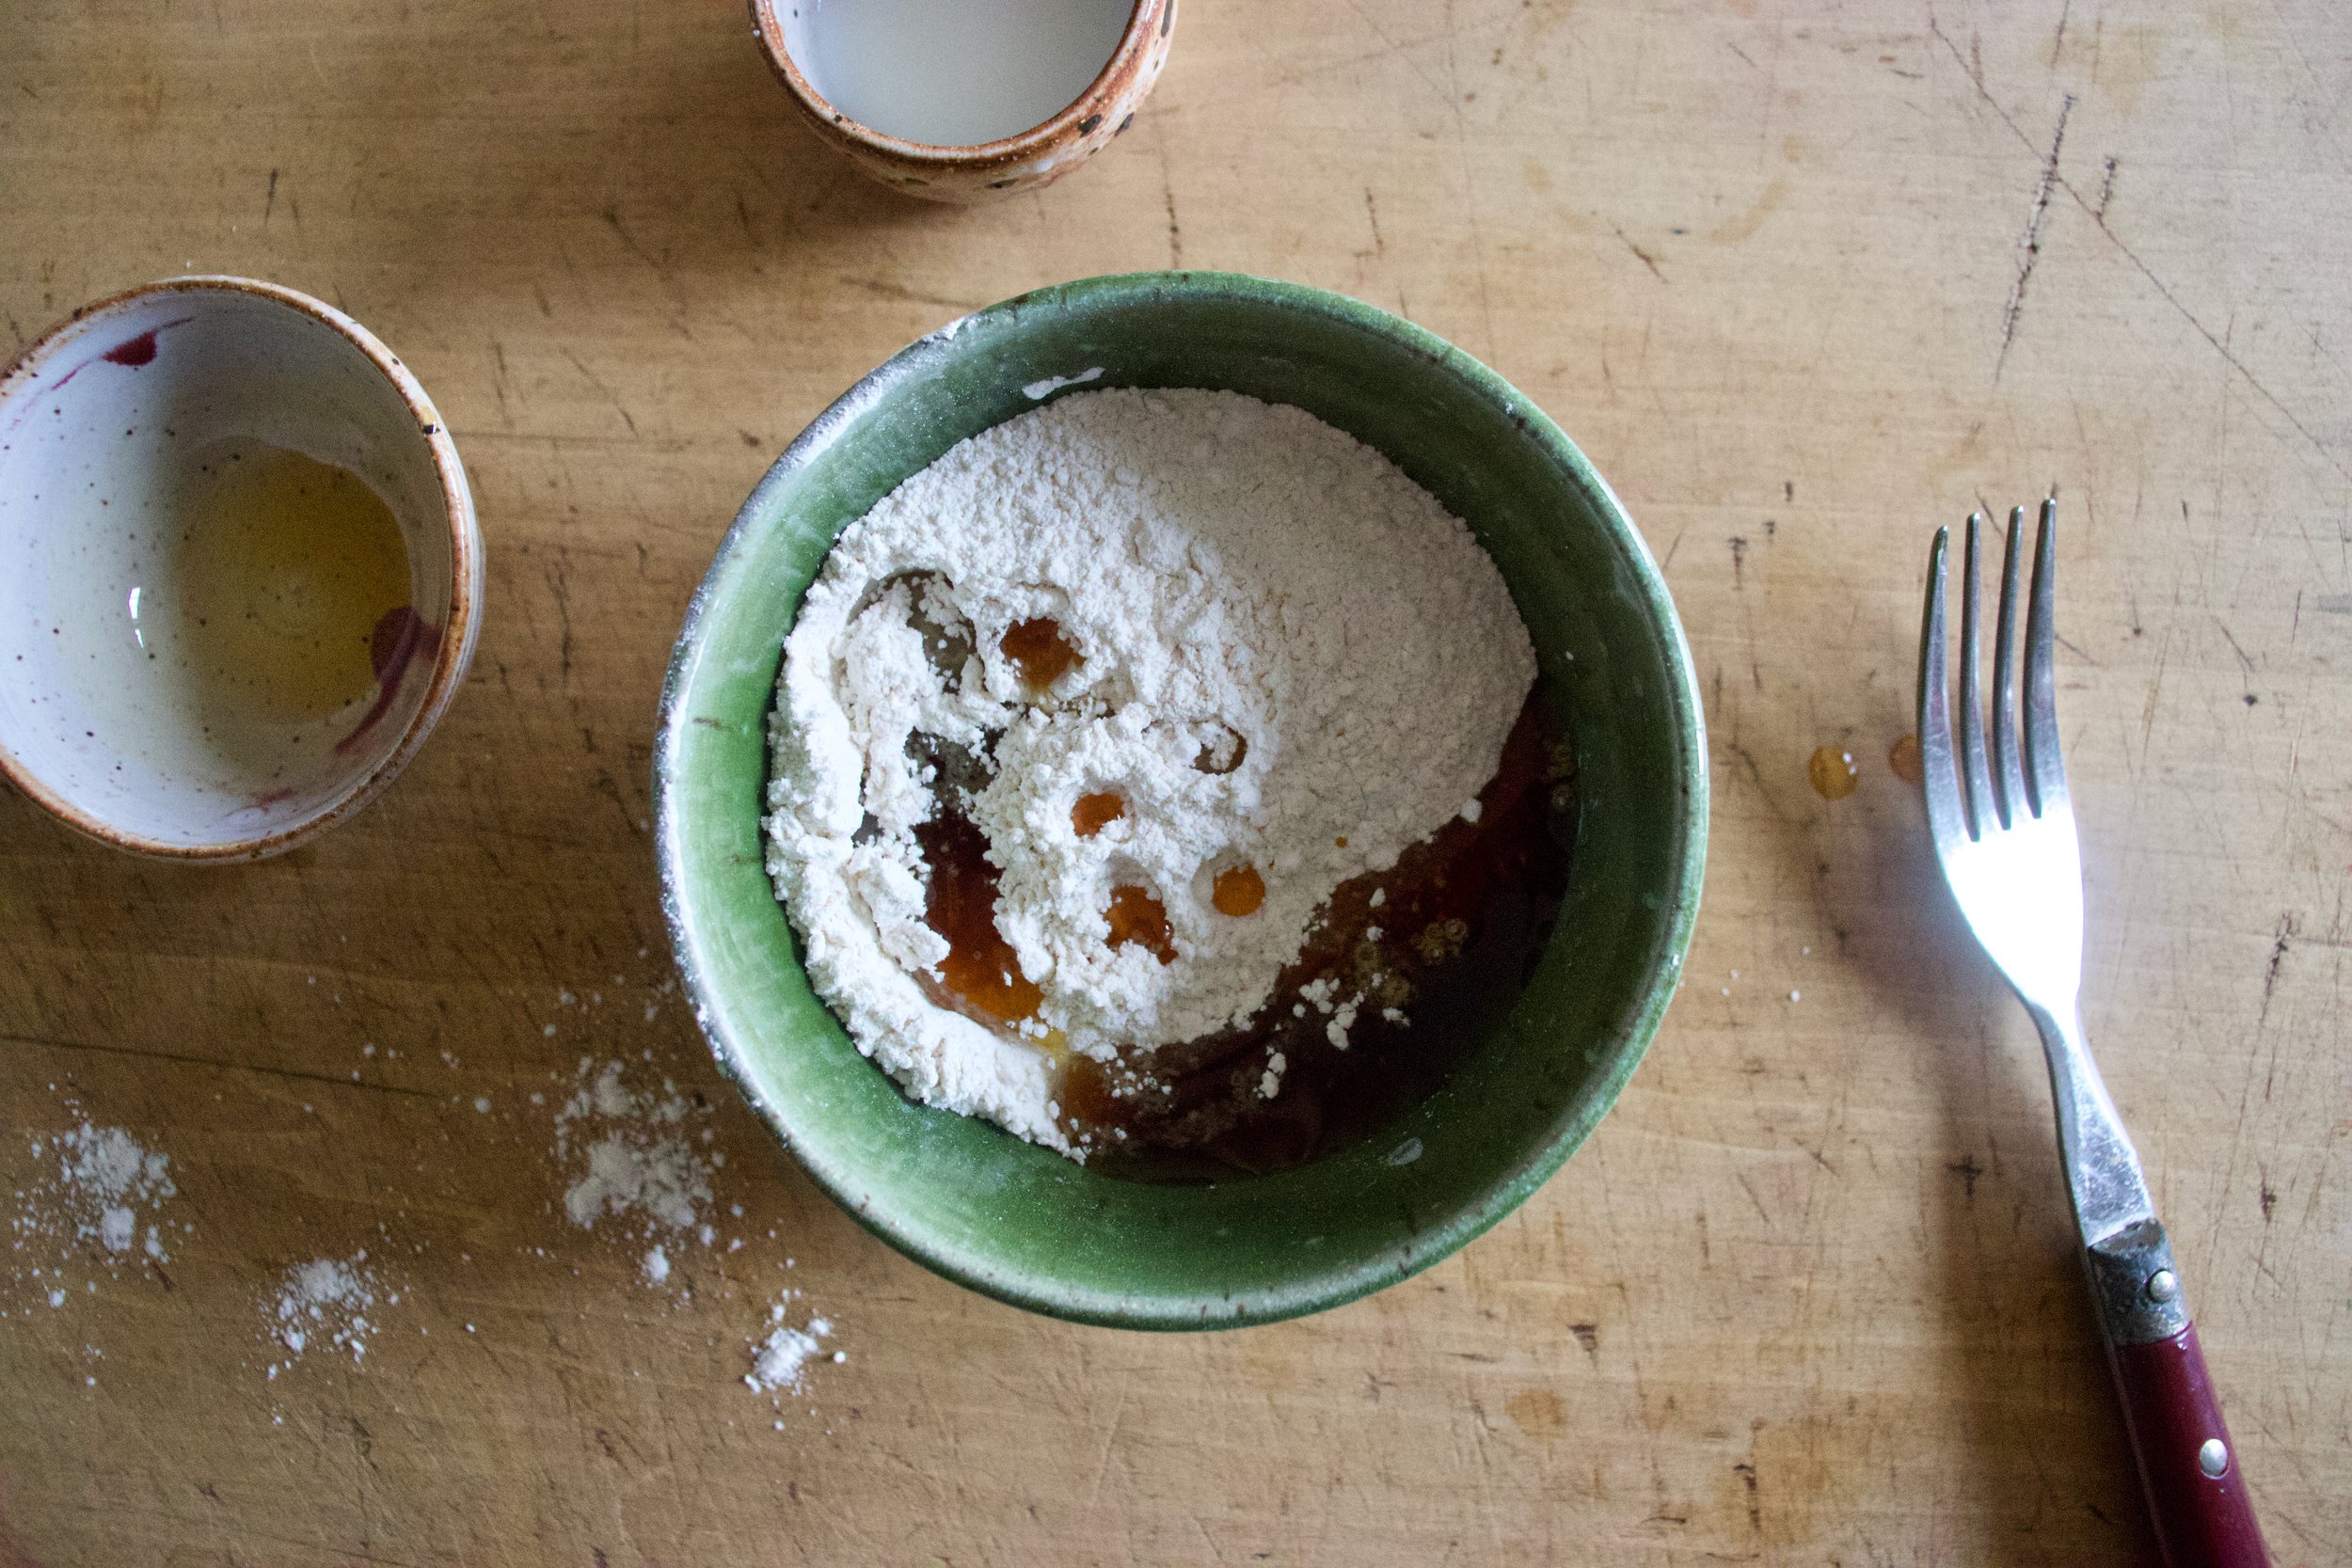
Now make maple tahini frosting. Just wish the two ingredients together with a fork and a splash or two of hot water until completely combined and creamy like frosting.

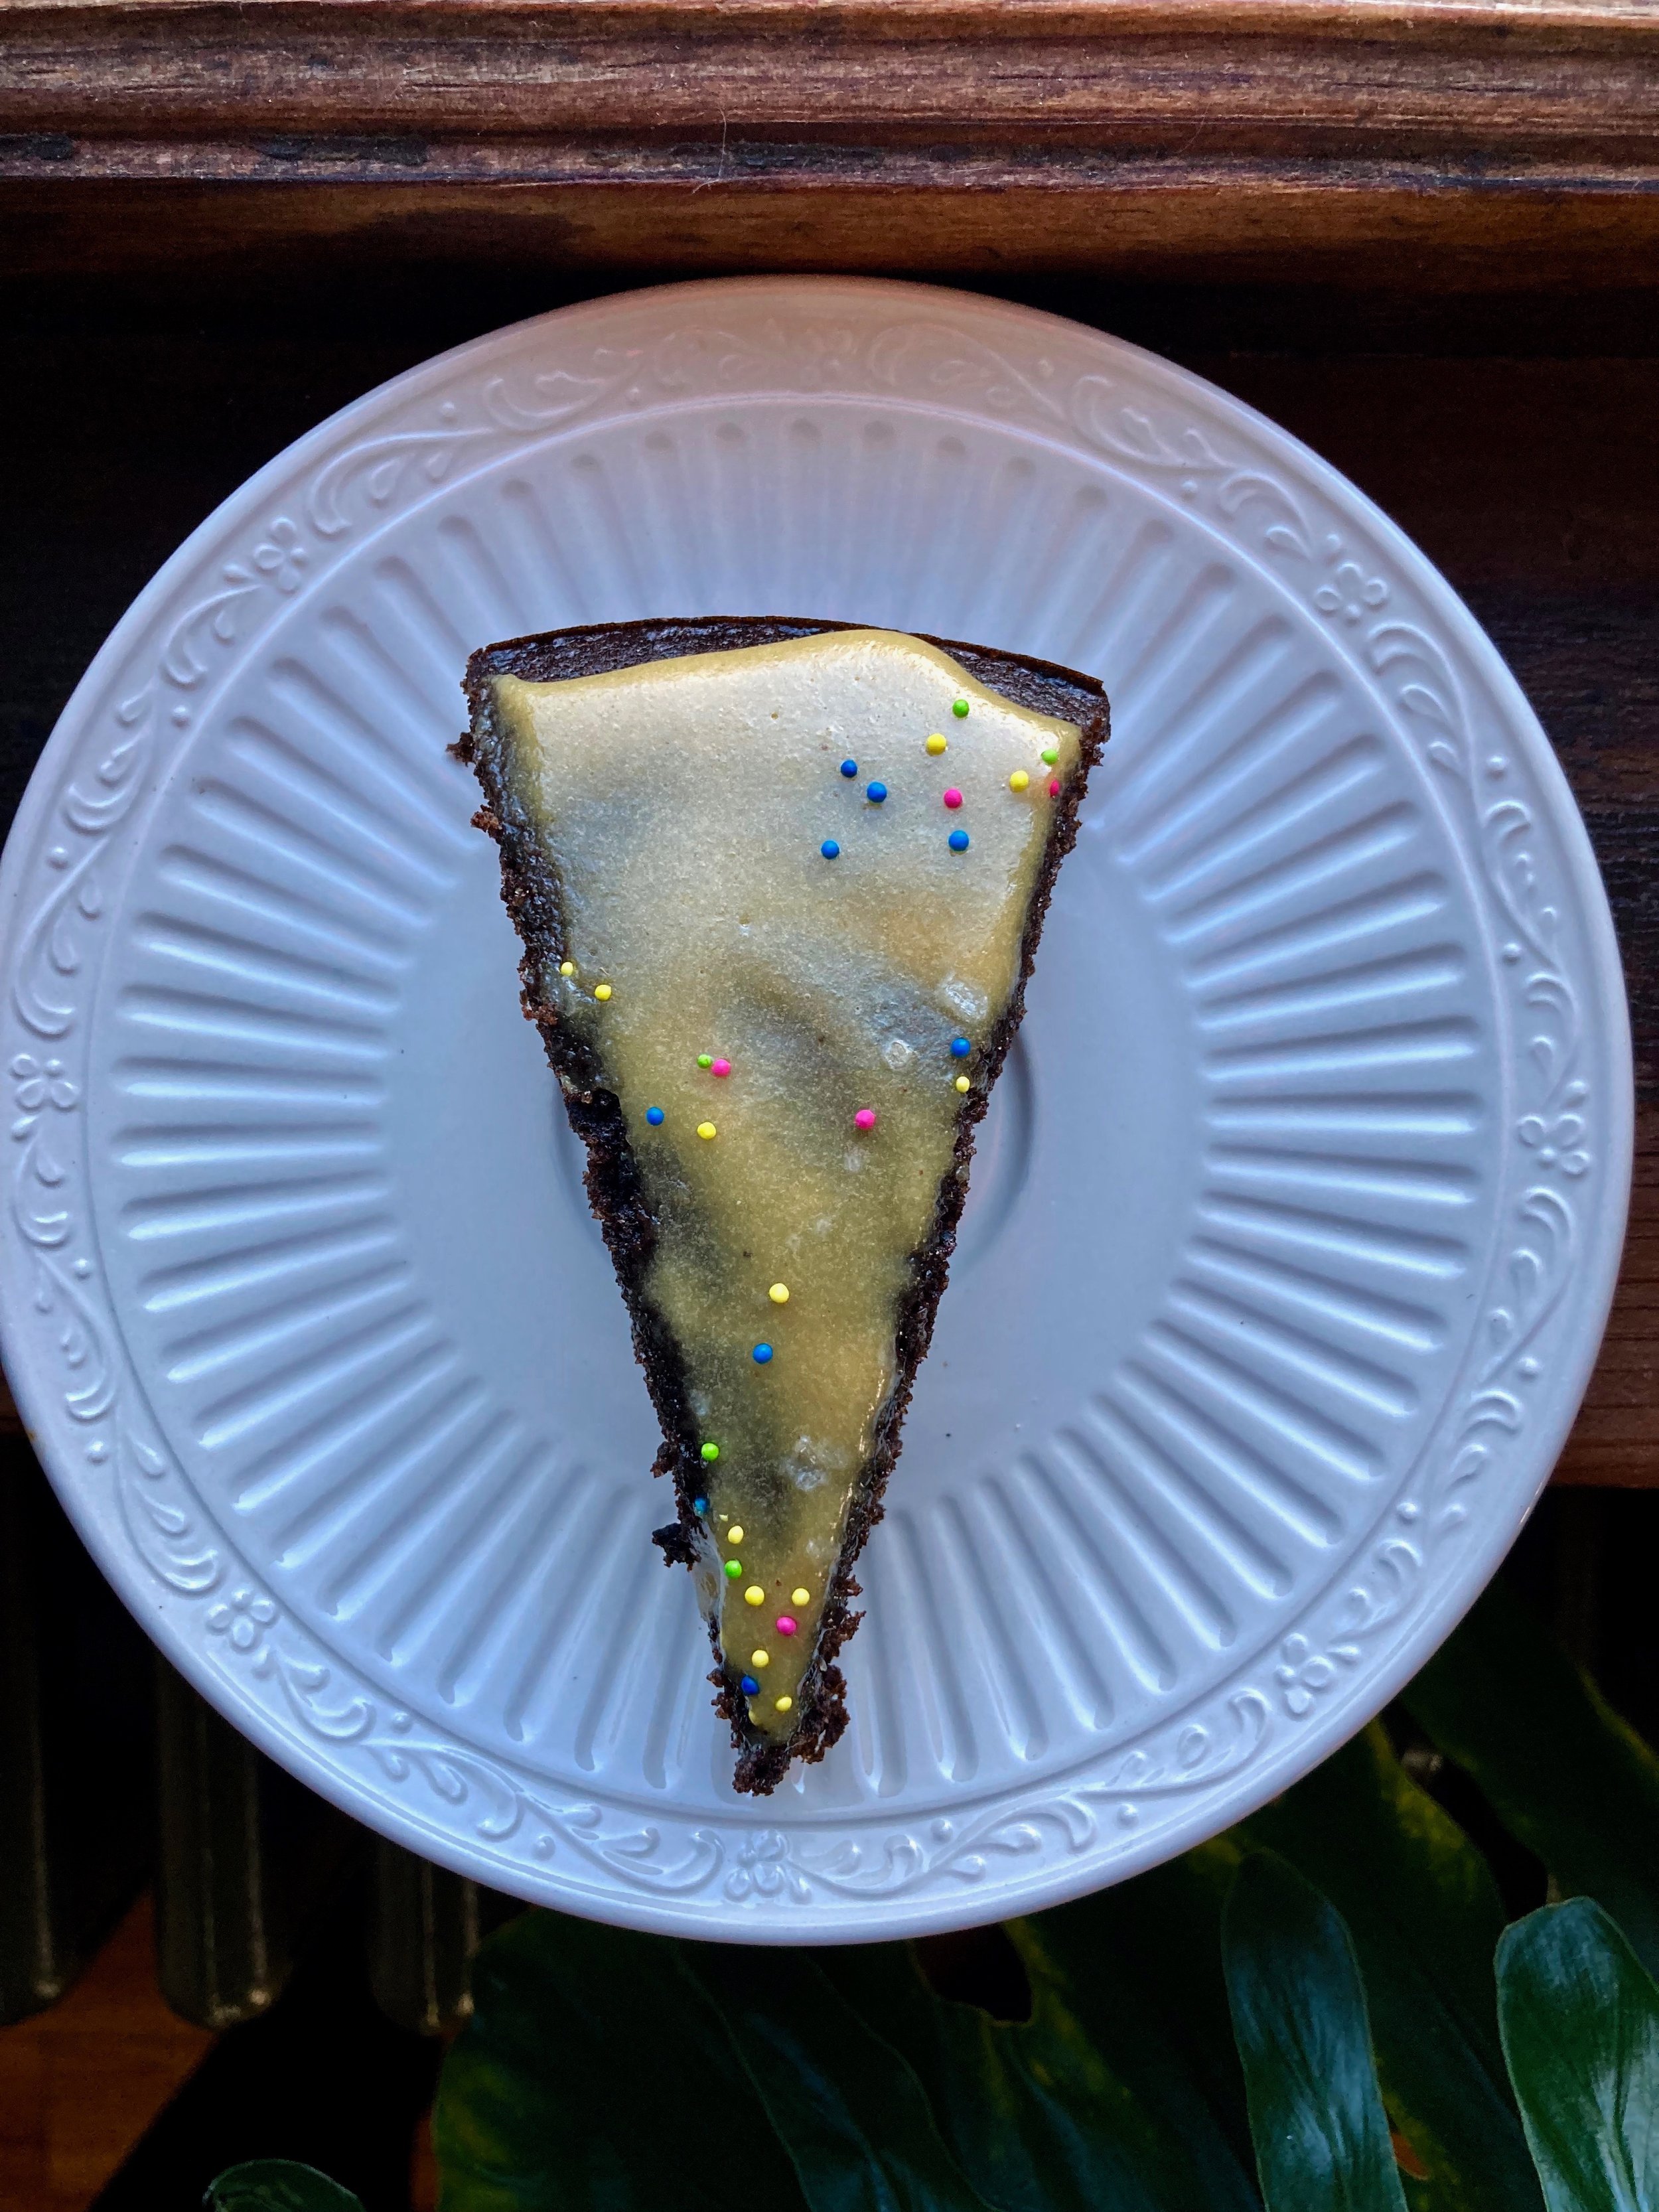
And frost cooled cake.

And for good measure add a sprinkle of sea solt and some sprinkles because why not.

And now you eat it because that is why you made the cake.

-c


Carob Snack Cake with tahini Maple Frosting

makes one 10 inch round

  • 1 1/2 all purple flour

  • 1/2 cup carob powder

  • 3/4 cup white sugar

  • 1 teaspoon baking soda

  • 1/2 teaspoon baking powder

  • 1/2 teaspoon salt

  • 1/2 cup oil

  • 1 cup boiling water

  • 1 teaspoon vanilla

  • 1/4 cup tahini

  • 3 teaspoons maple syrup

  • sea salt and sprinkles (optional)

Preheat oven to 375.

Grab a big mixing bowl and add in the flour, baking soda and powder, and salt and mix together. In separate bowl mix the carob, sugar, vanilla, vinegar, oil, and boil water together until completely incorporated and the sugar and carob start to dissolve. Pour wet mixture into dry and whisk until just incorporated. Pour batter into a well greased and parchment lined 10 inch round baking pan. (or a pan of similar size)

Place cake into oven and bake for 25-28 minutes , checking at 25 with a cake tester to see if it comes out clean.

Once baked, remove from oven, let cool for a minute in the pan, then pop out and finish cooling it on a wire rack.

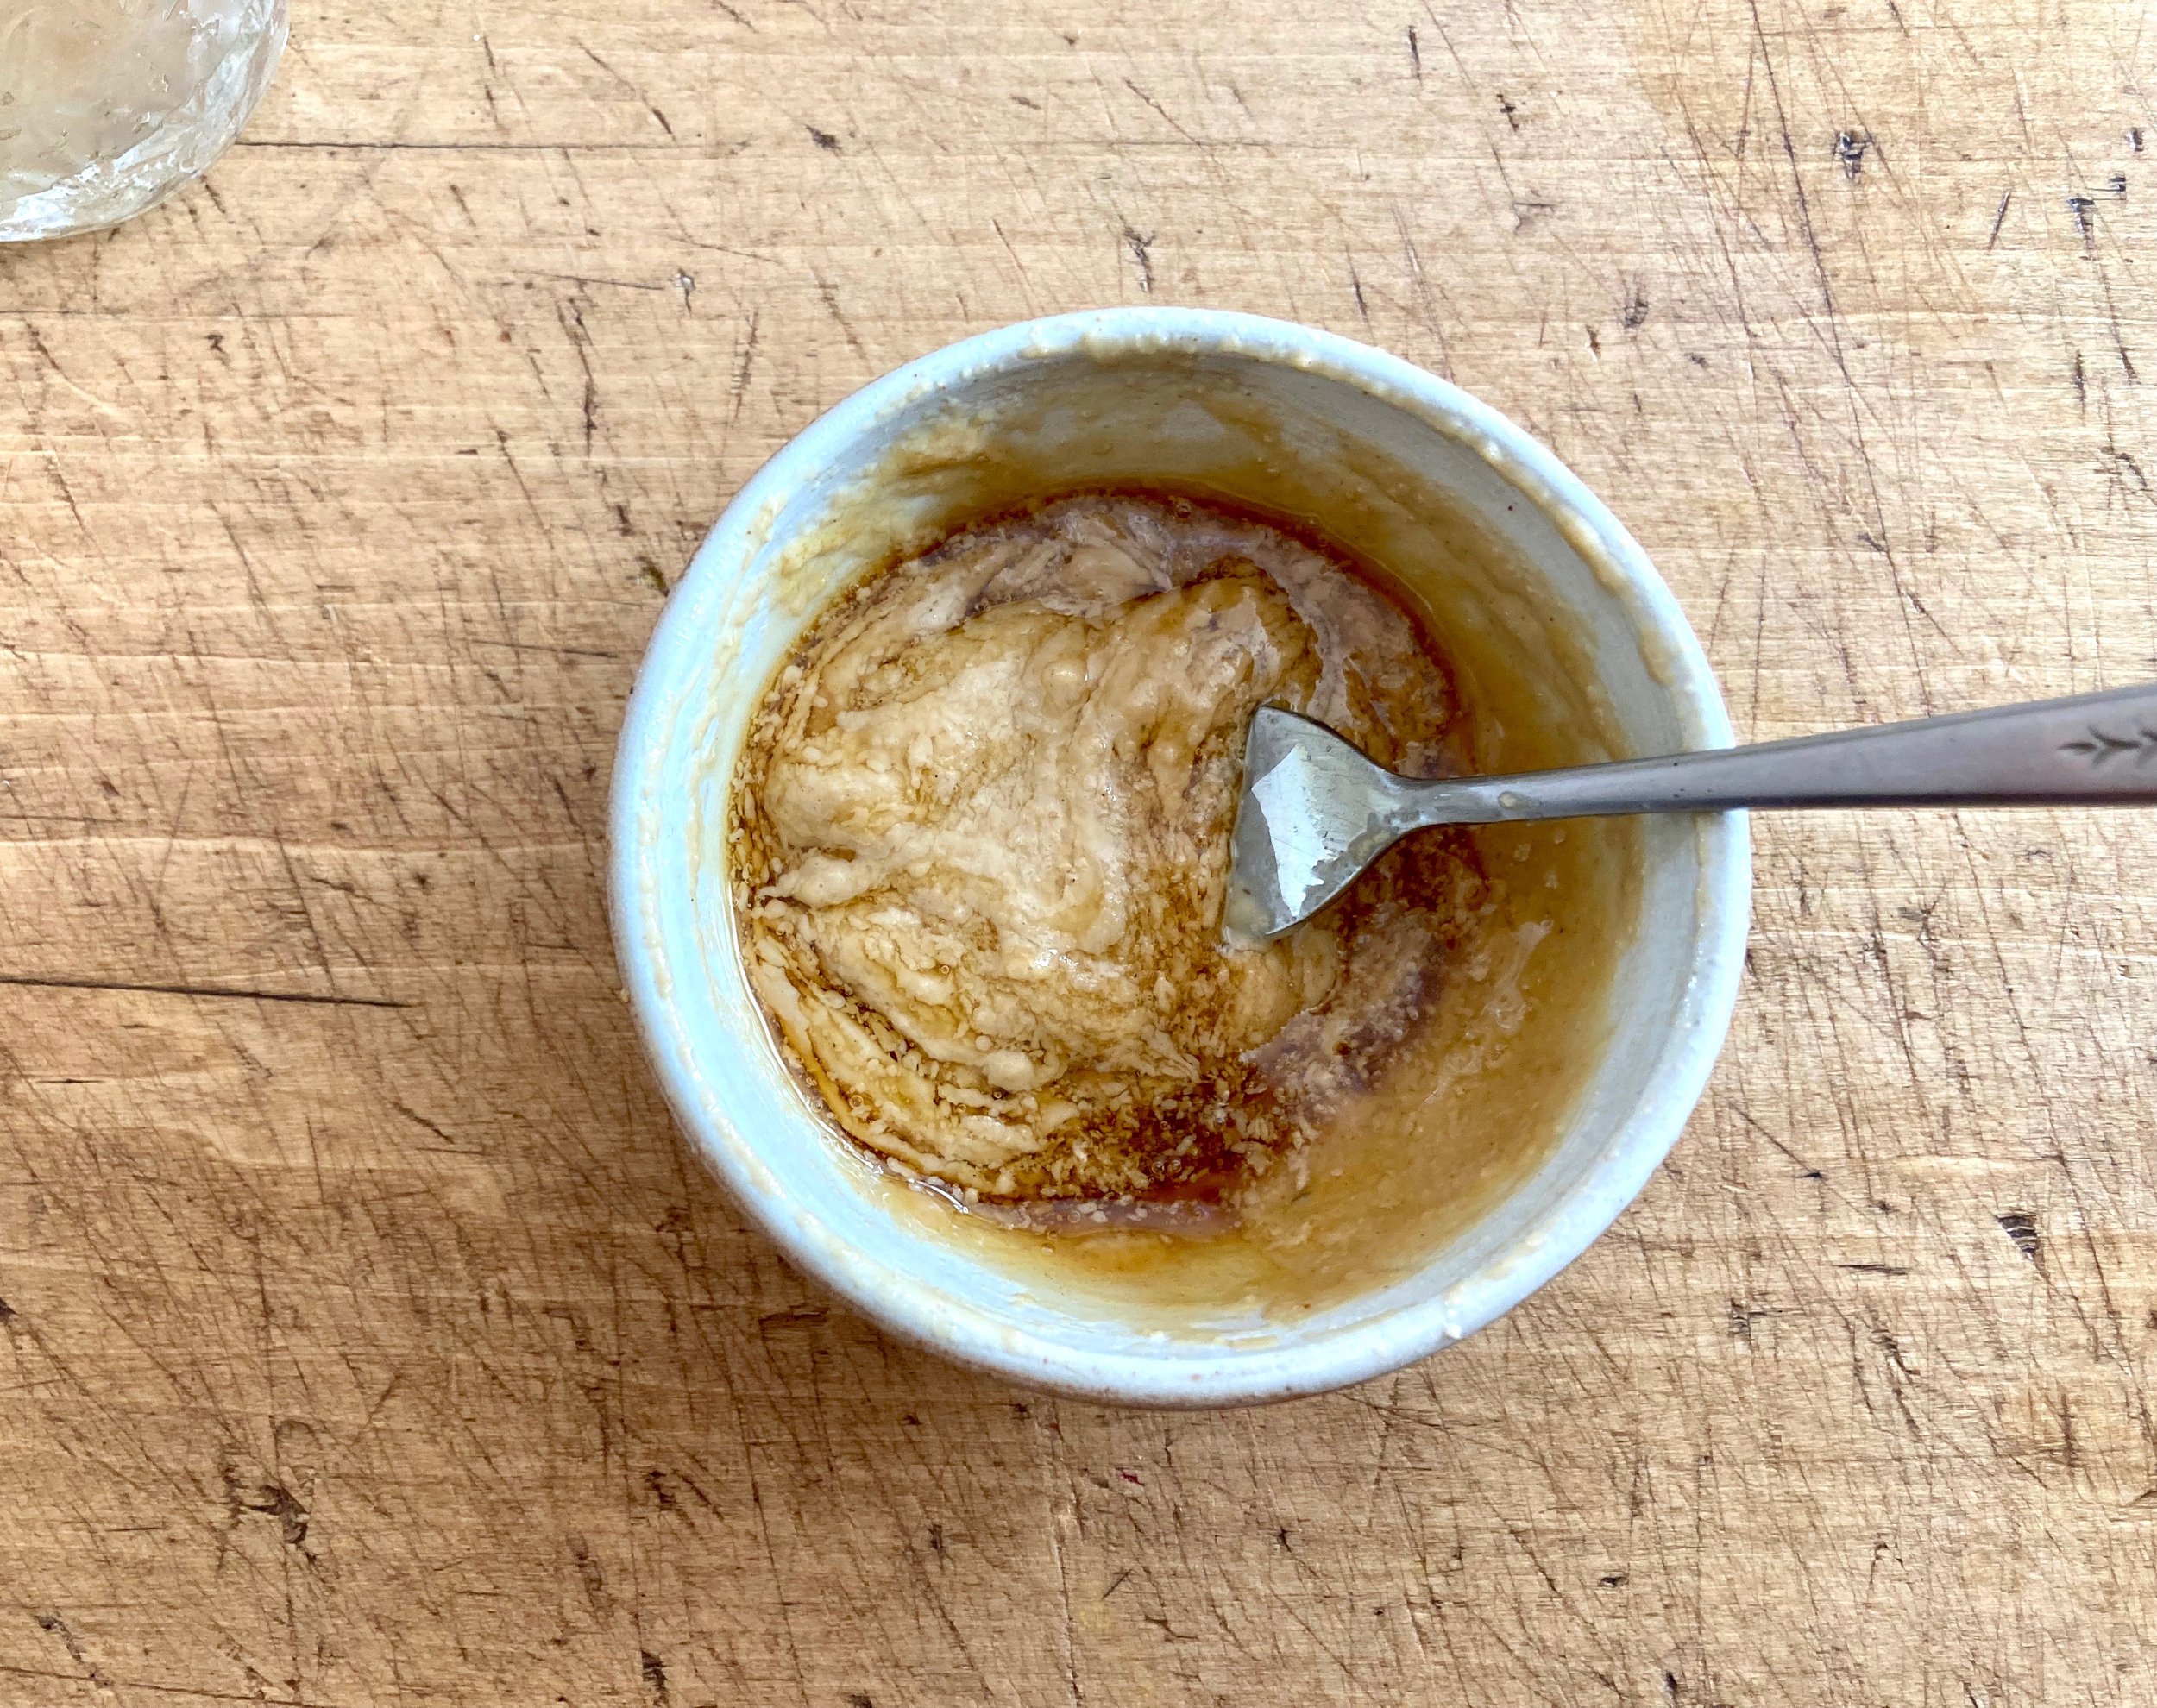
To make the maple tahini frosting simply take the two ingredients and whisk them together with a tablespoon of hot water in a bowl with a fork until creamy. If the mixture seems to thick, add in another splash of hot water. The consistency should be a bit thinner then actually frosting, more like a thick glaze.

Once cake has cool frost it. Sprinkle top with a pinch of sea salt and add some sprinkles, if you want.

Then eat.

Left overs can be stored in airtight container for 5-7 days at room temperature.

In cake, Vegan Tags Carob Snack Cake with tahini Maple Frosting, carob, vegan, chocolate alternative, cake, snack, easy, vegan cake, dairy free, tahini, maple, bake, home made, chocolate
Comment

Butternut Squash and Apple Parfait

January 8, 2022 Colleen Stem
IMG_8611.jpg
IMG_8613.jpg

I have a thing for squash and apples. I roast them together all the time. It is a combination that I never get sick of. I go savory mostly but once in a while I’ll go the slightly sweeter route. This is one of those times. And I also opted to make it seem fancier then my average eating situation (eating with fingers of baking sheet) and added a few steps, and made parfaits out of them. (Parfaits are fancy right?) The result is amazing and maybe even more delicious then ever before. That’s saying something.

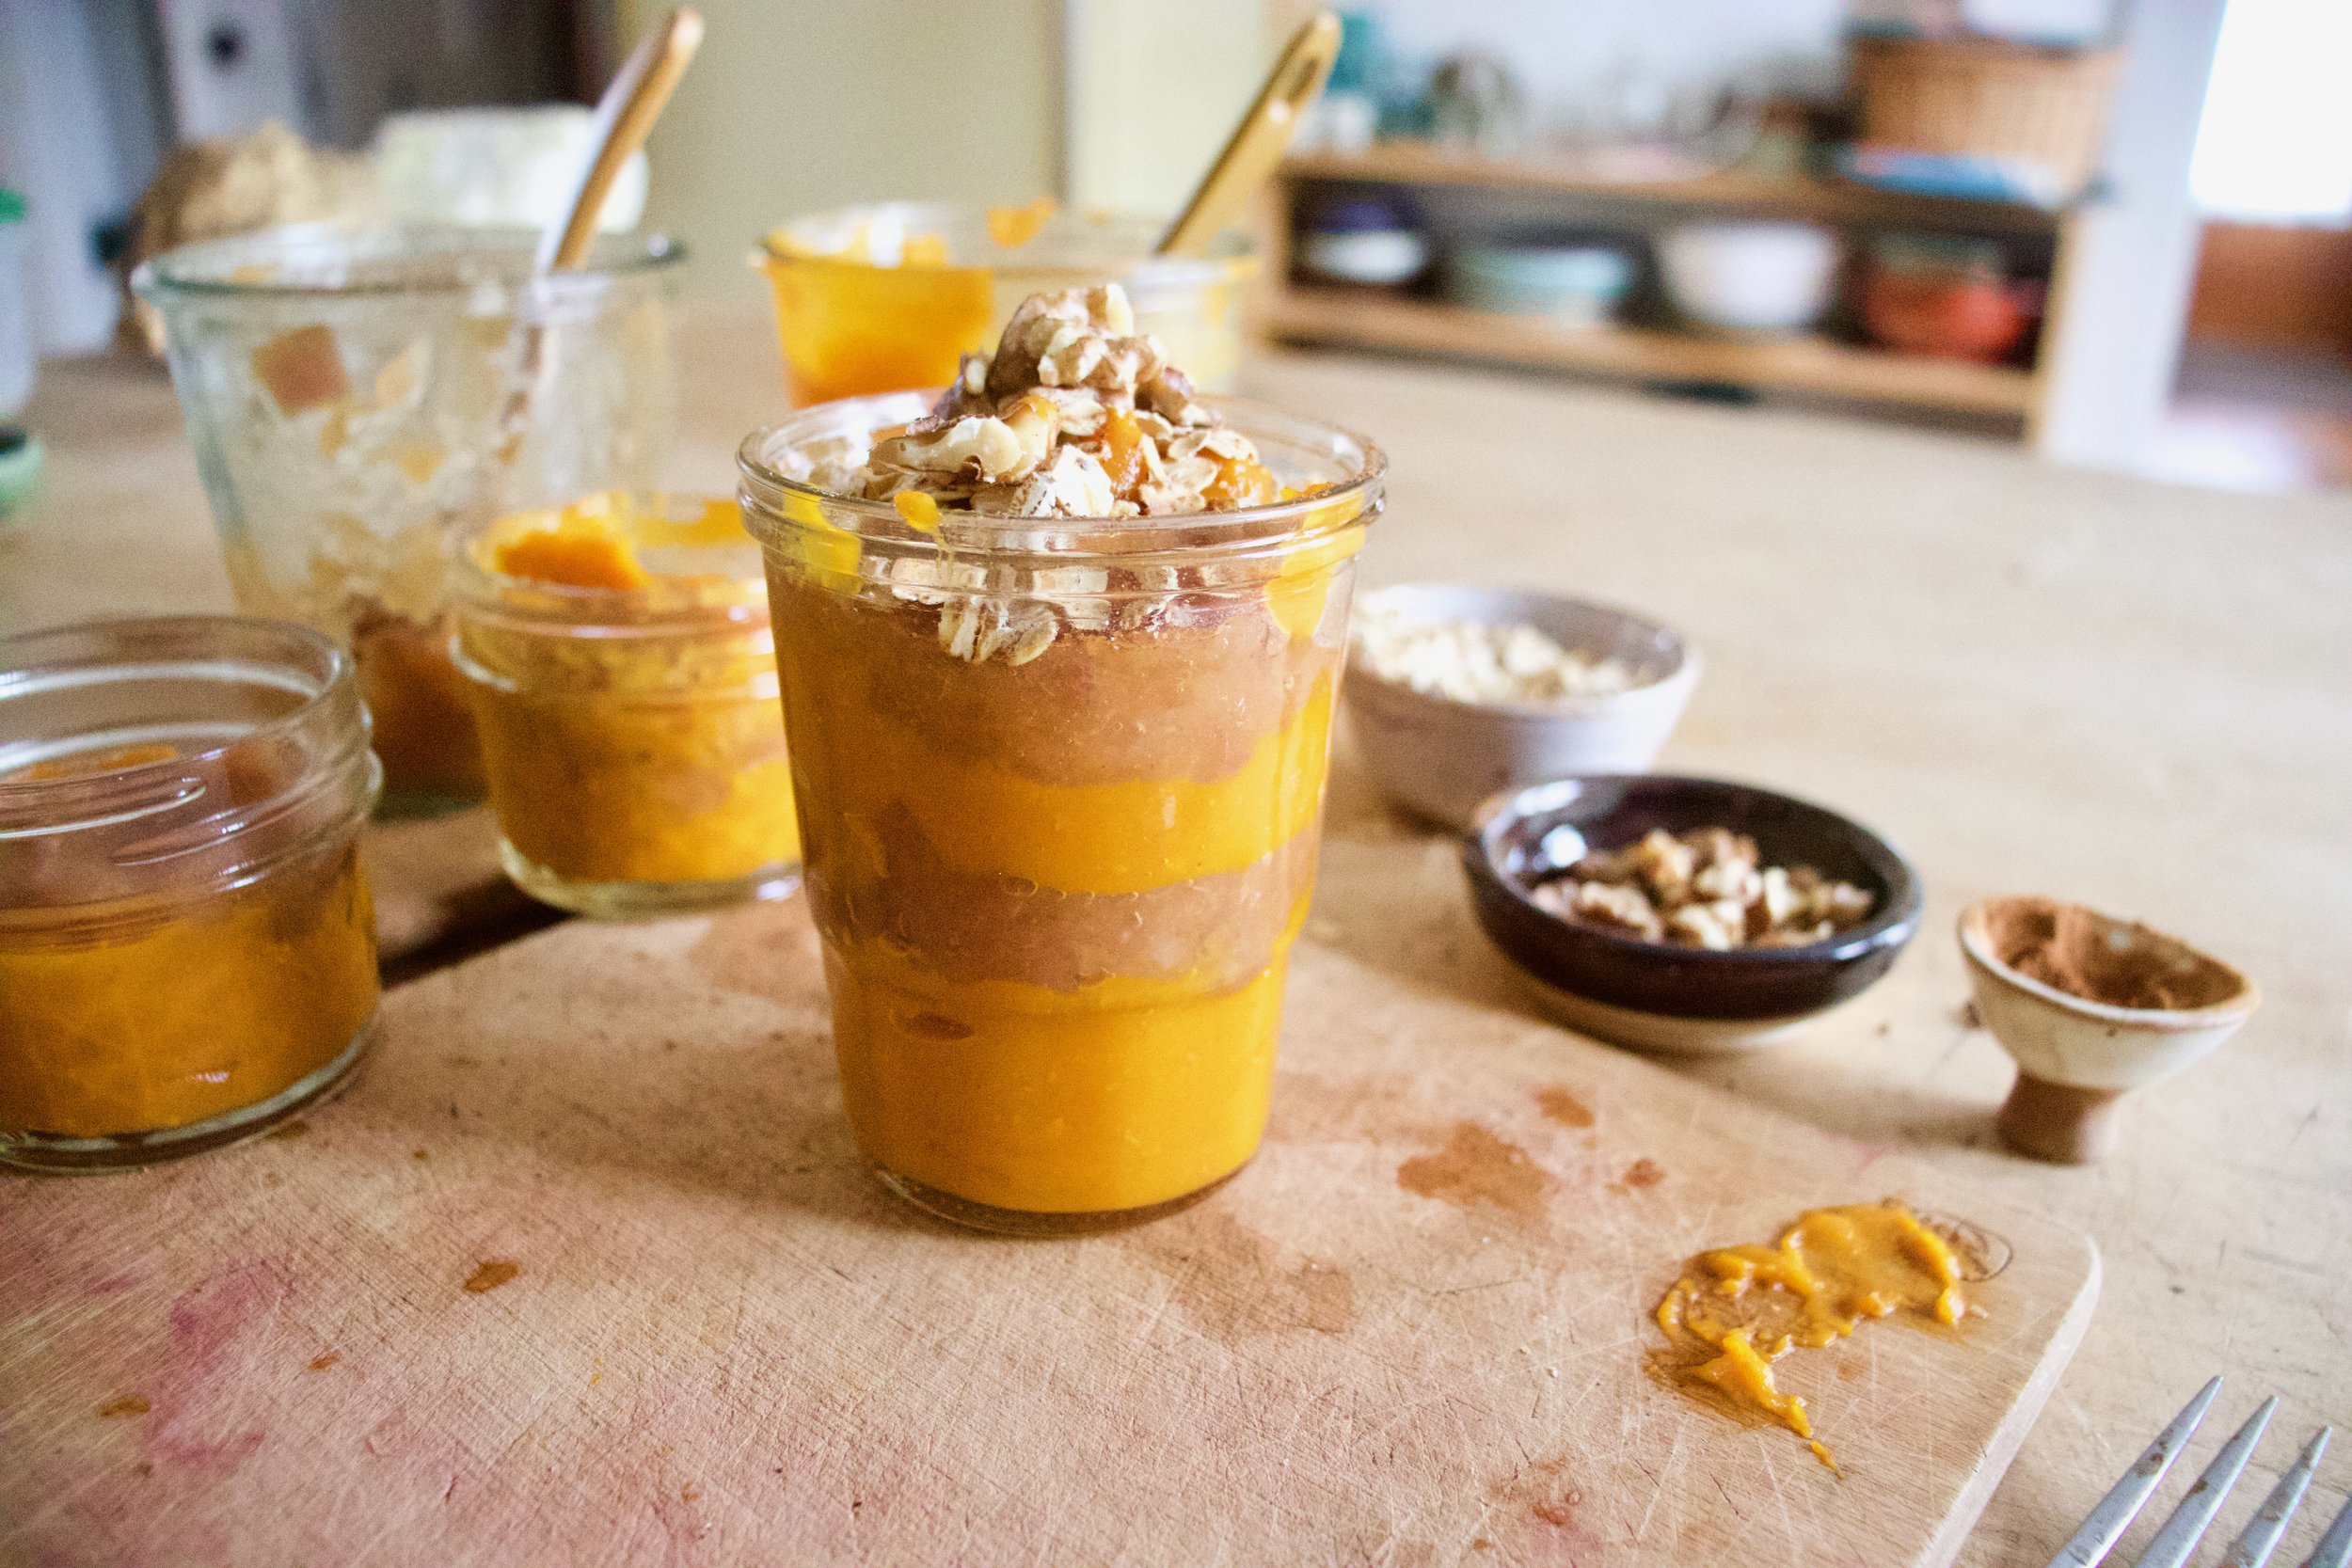
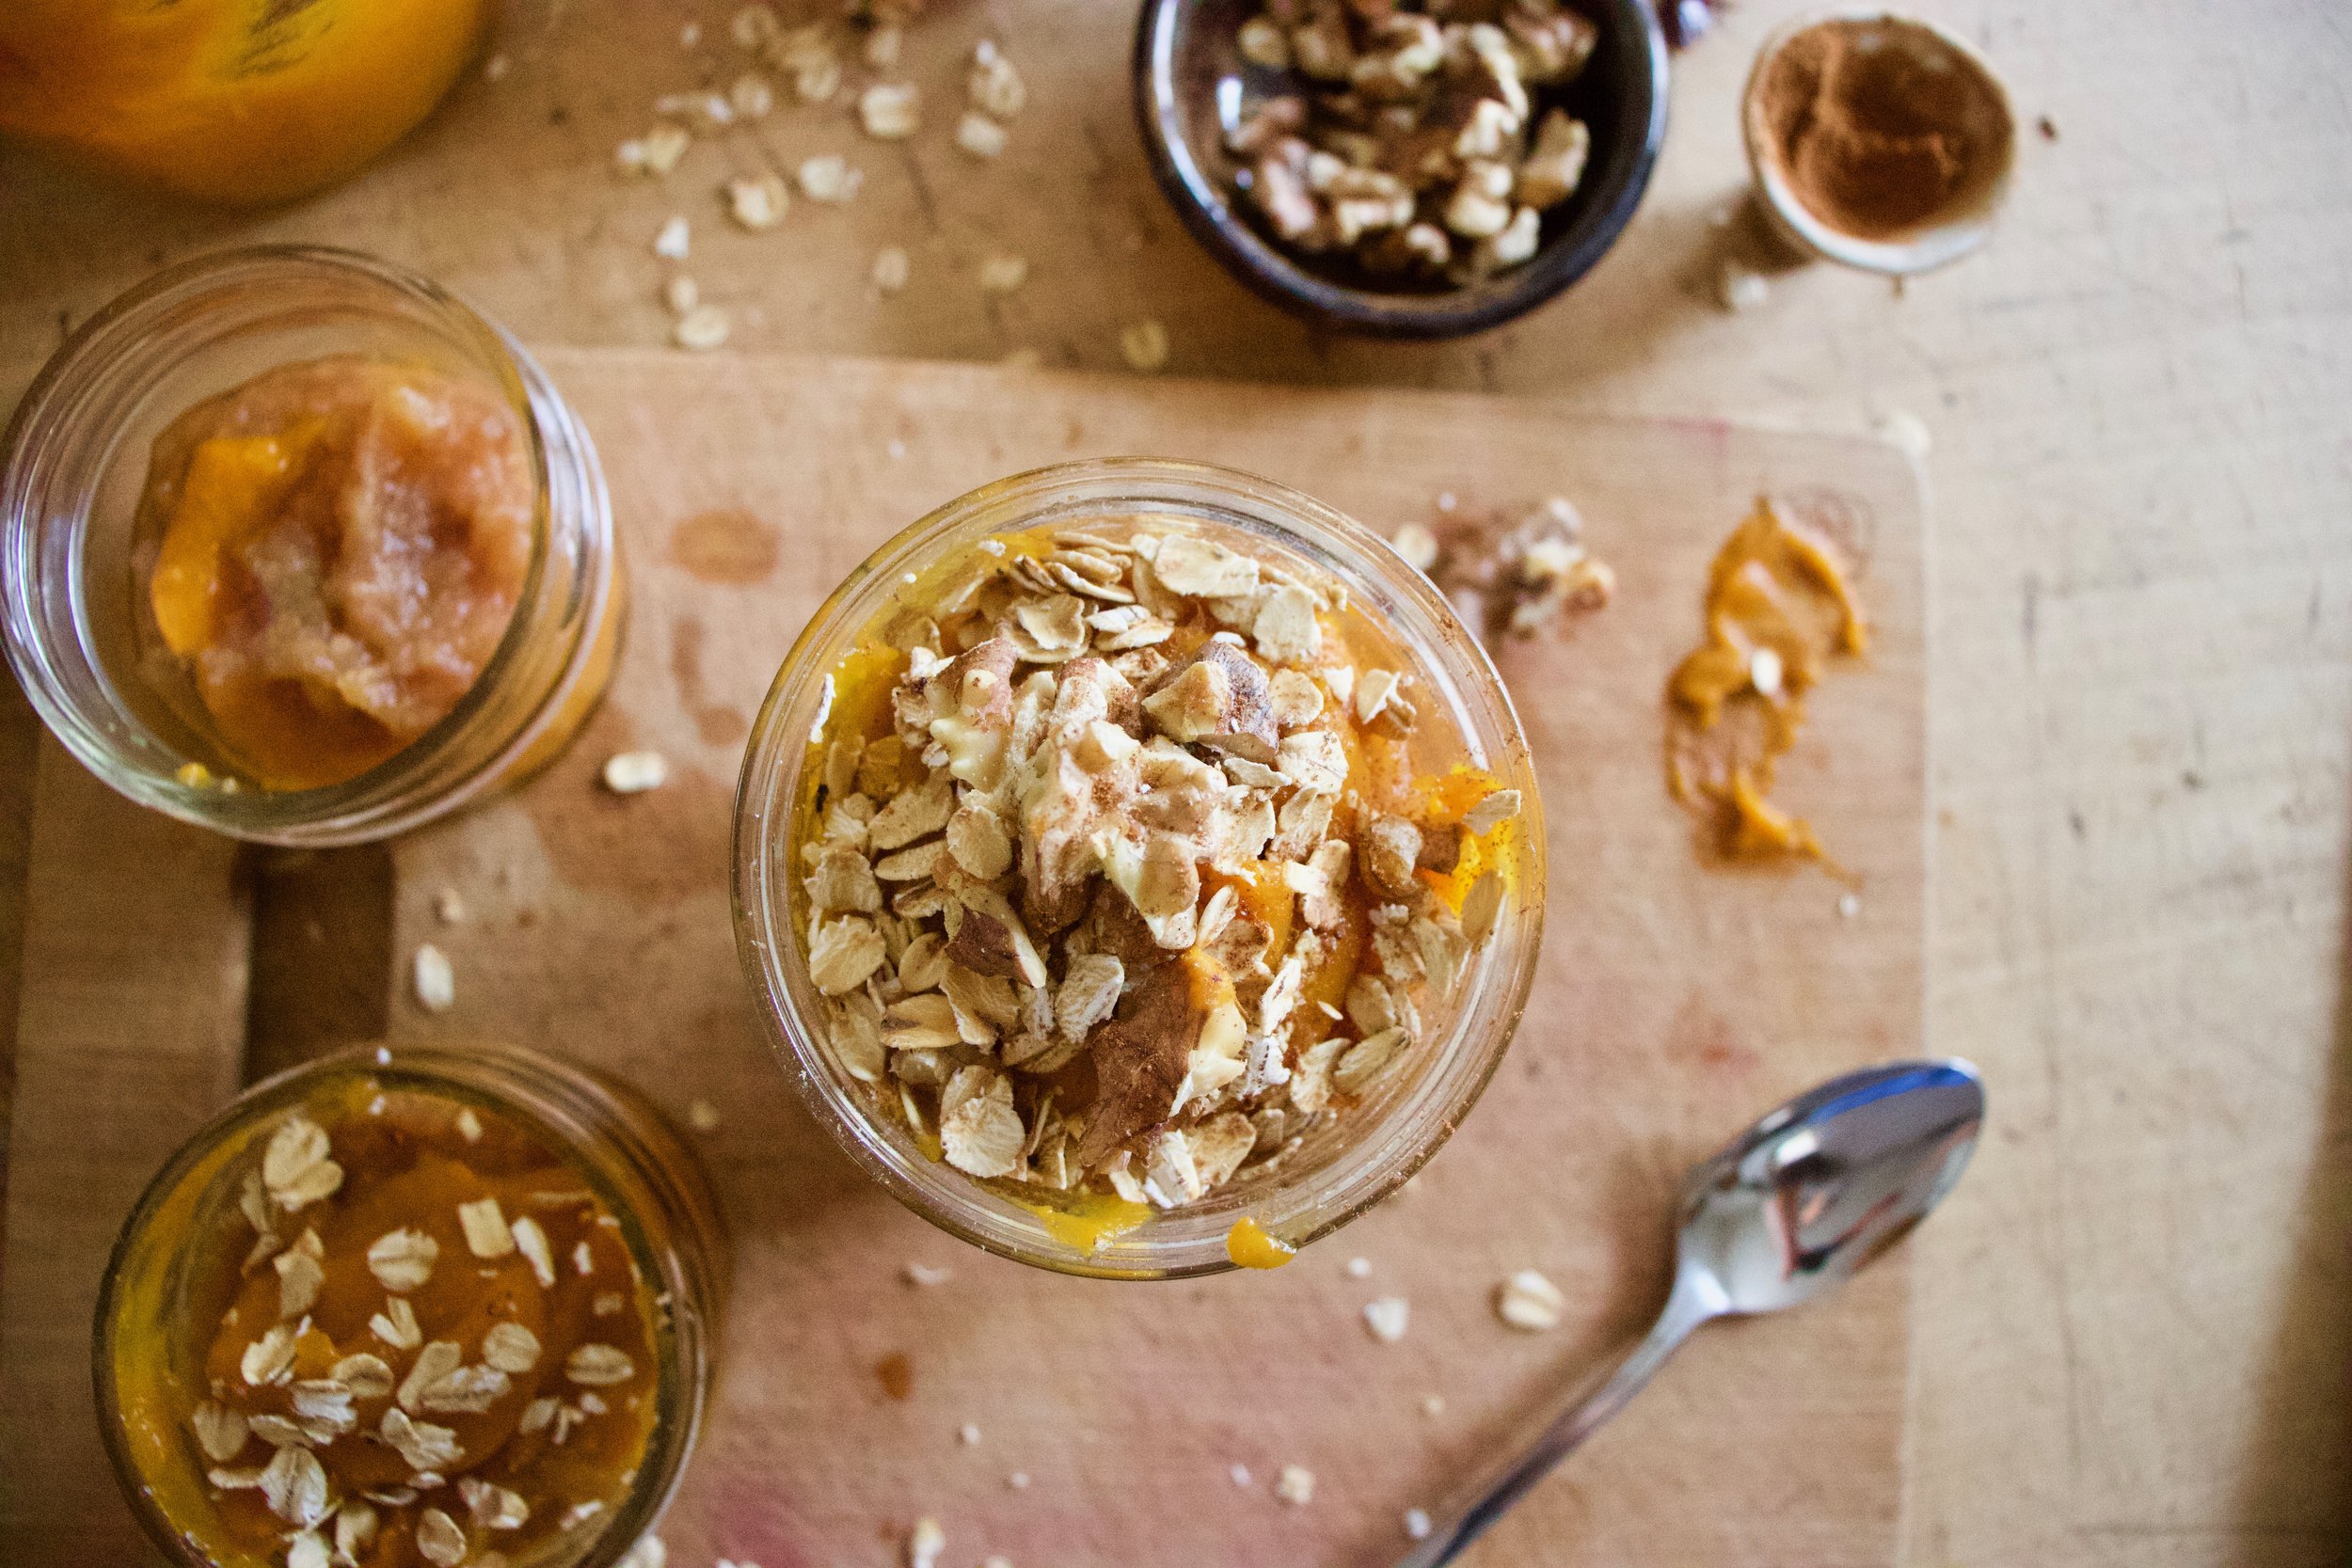
Basically what these parfaits consists of is layers of creamy pureed roasted butternut squash and slightly chunky cinnamon applesauce topped with oats and walnuts. That might not sound fancy or even that spectacular but you know when you underestimate something but once you experience it you are very much surprised by how fantastic it really is? Well if you are doubting me then that is what will happen here because this parfait situation even surprised me at how much I loved it.

So if you are in need of a breakfast, lunch, snack, or dessert that will satisfy all of your hunger needs then you should most definitely try this out. It is simple and easy to make, super healthy, can be made ahead or time, and looks cute. (Did I just call a parfait cute? Yes, yes I did.) And again, super freaking delicious of course.

Now to the parfaits!

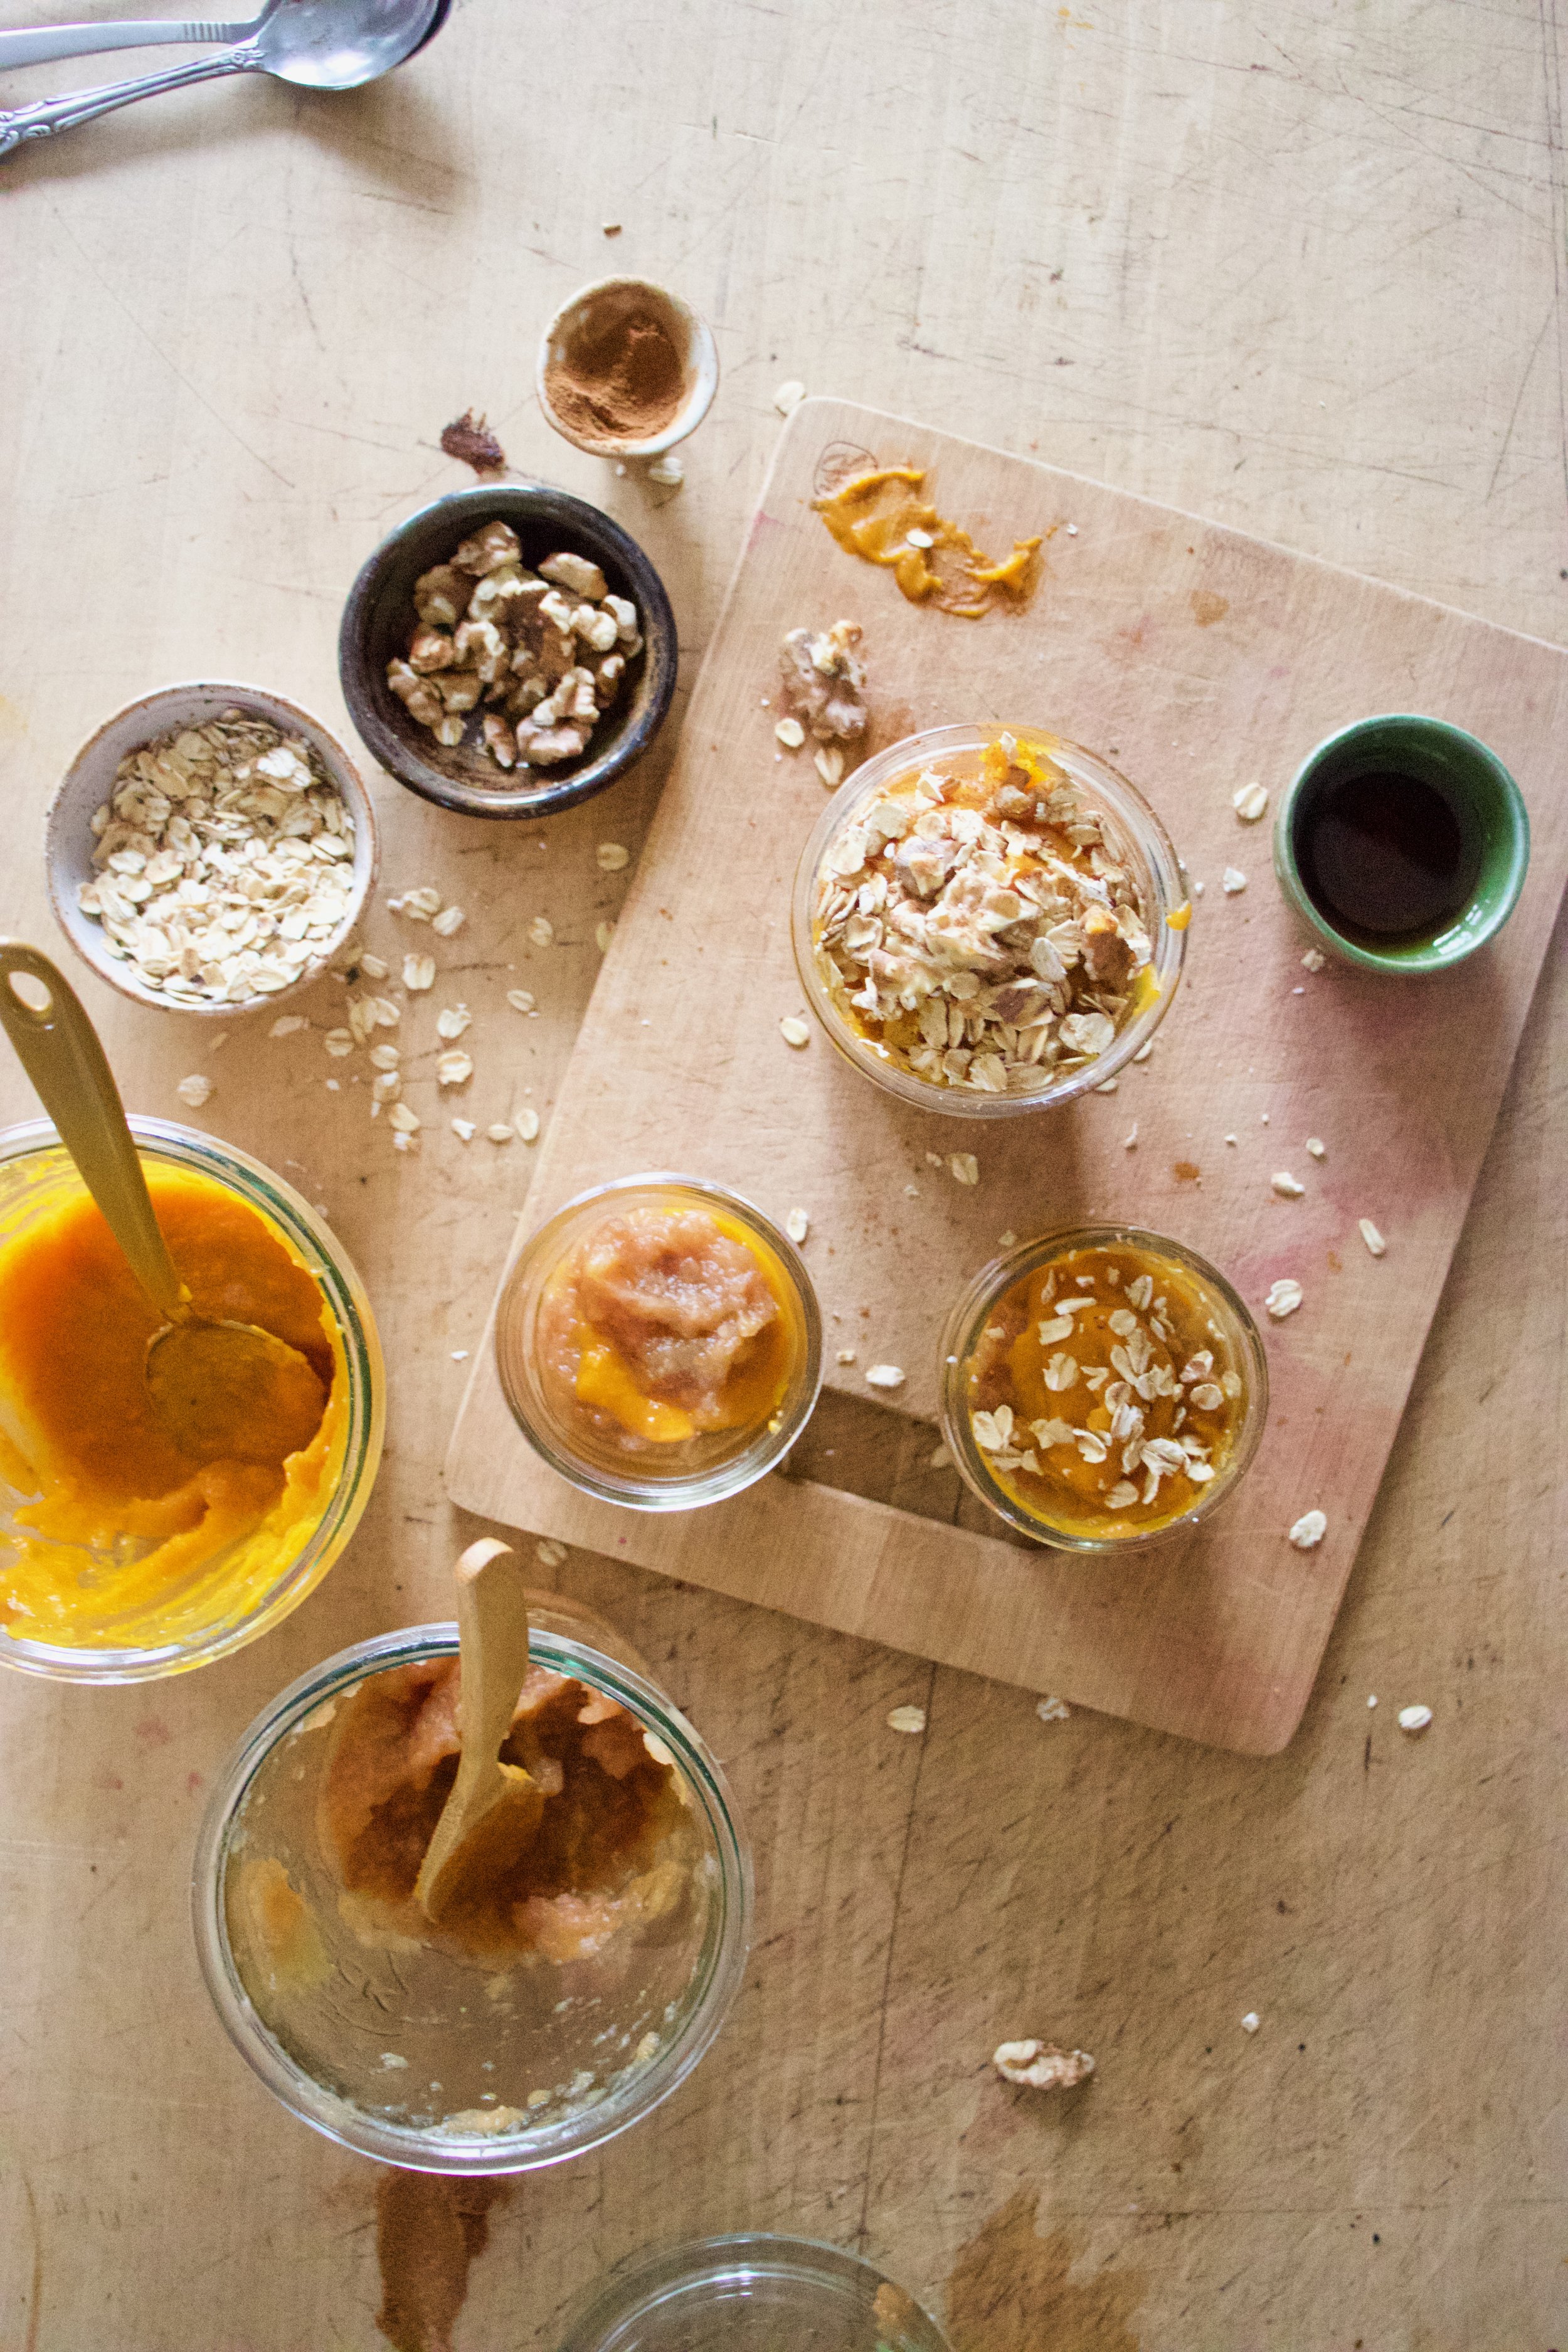
The stuff. Butternut squash, a couple of big apples, old fashion oats, walnuts, maple syrup, cinnamon, and almond milk.

IMG_8540.jpg
IMG_8554.jpg
IMG_8567.jpg
IMG_8571.jpg

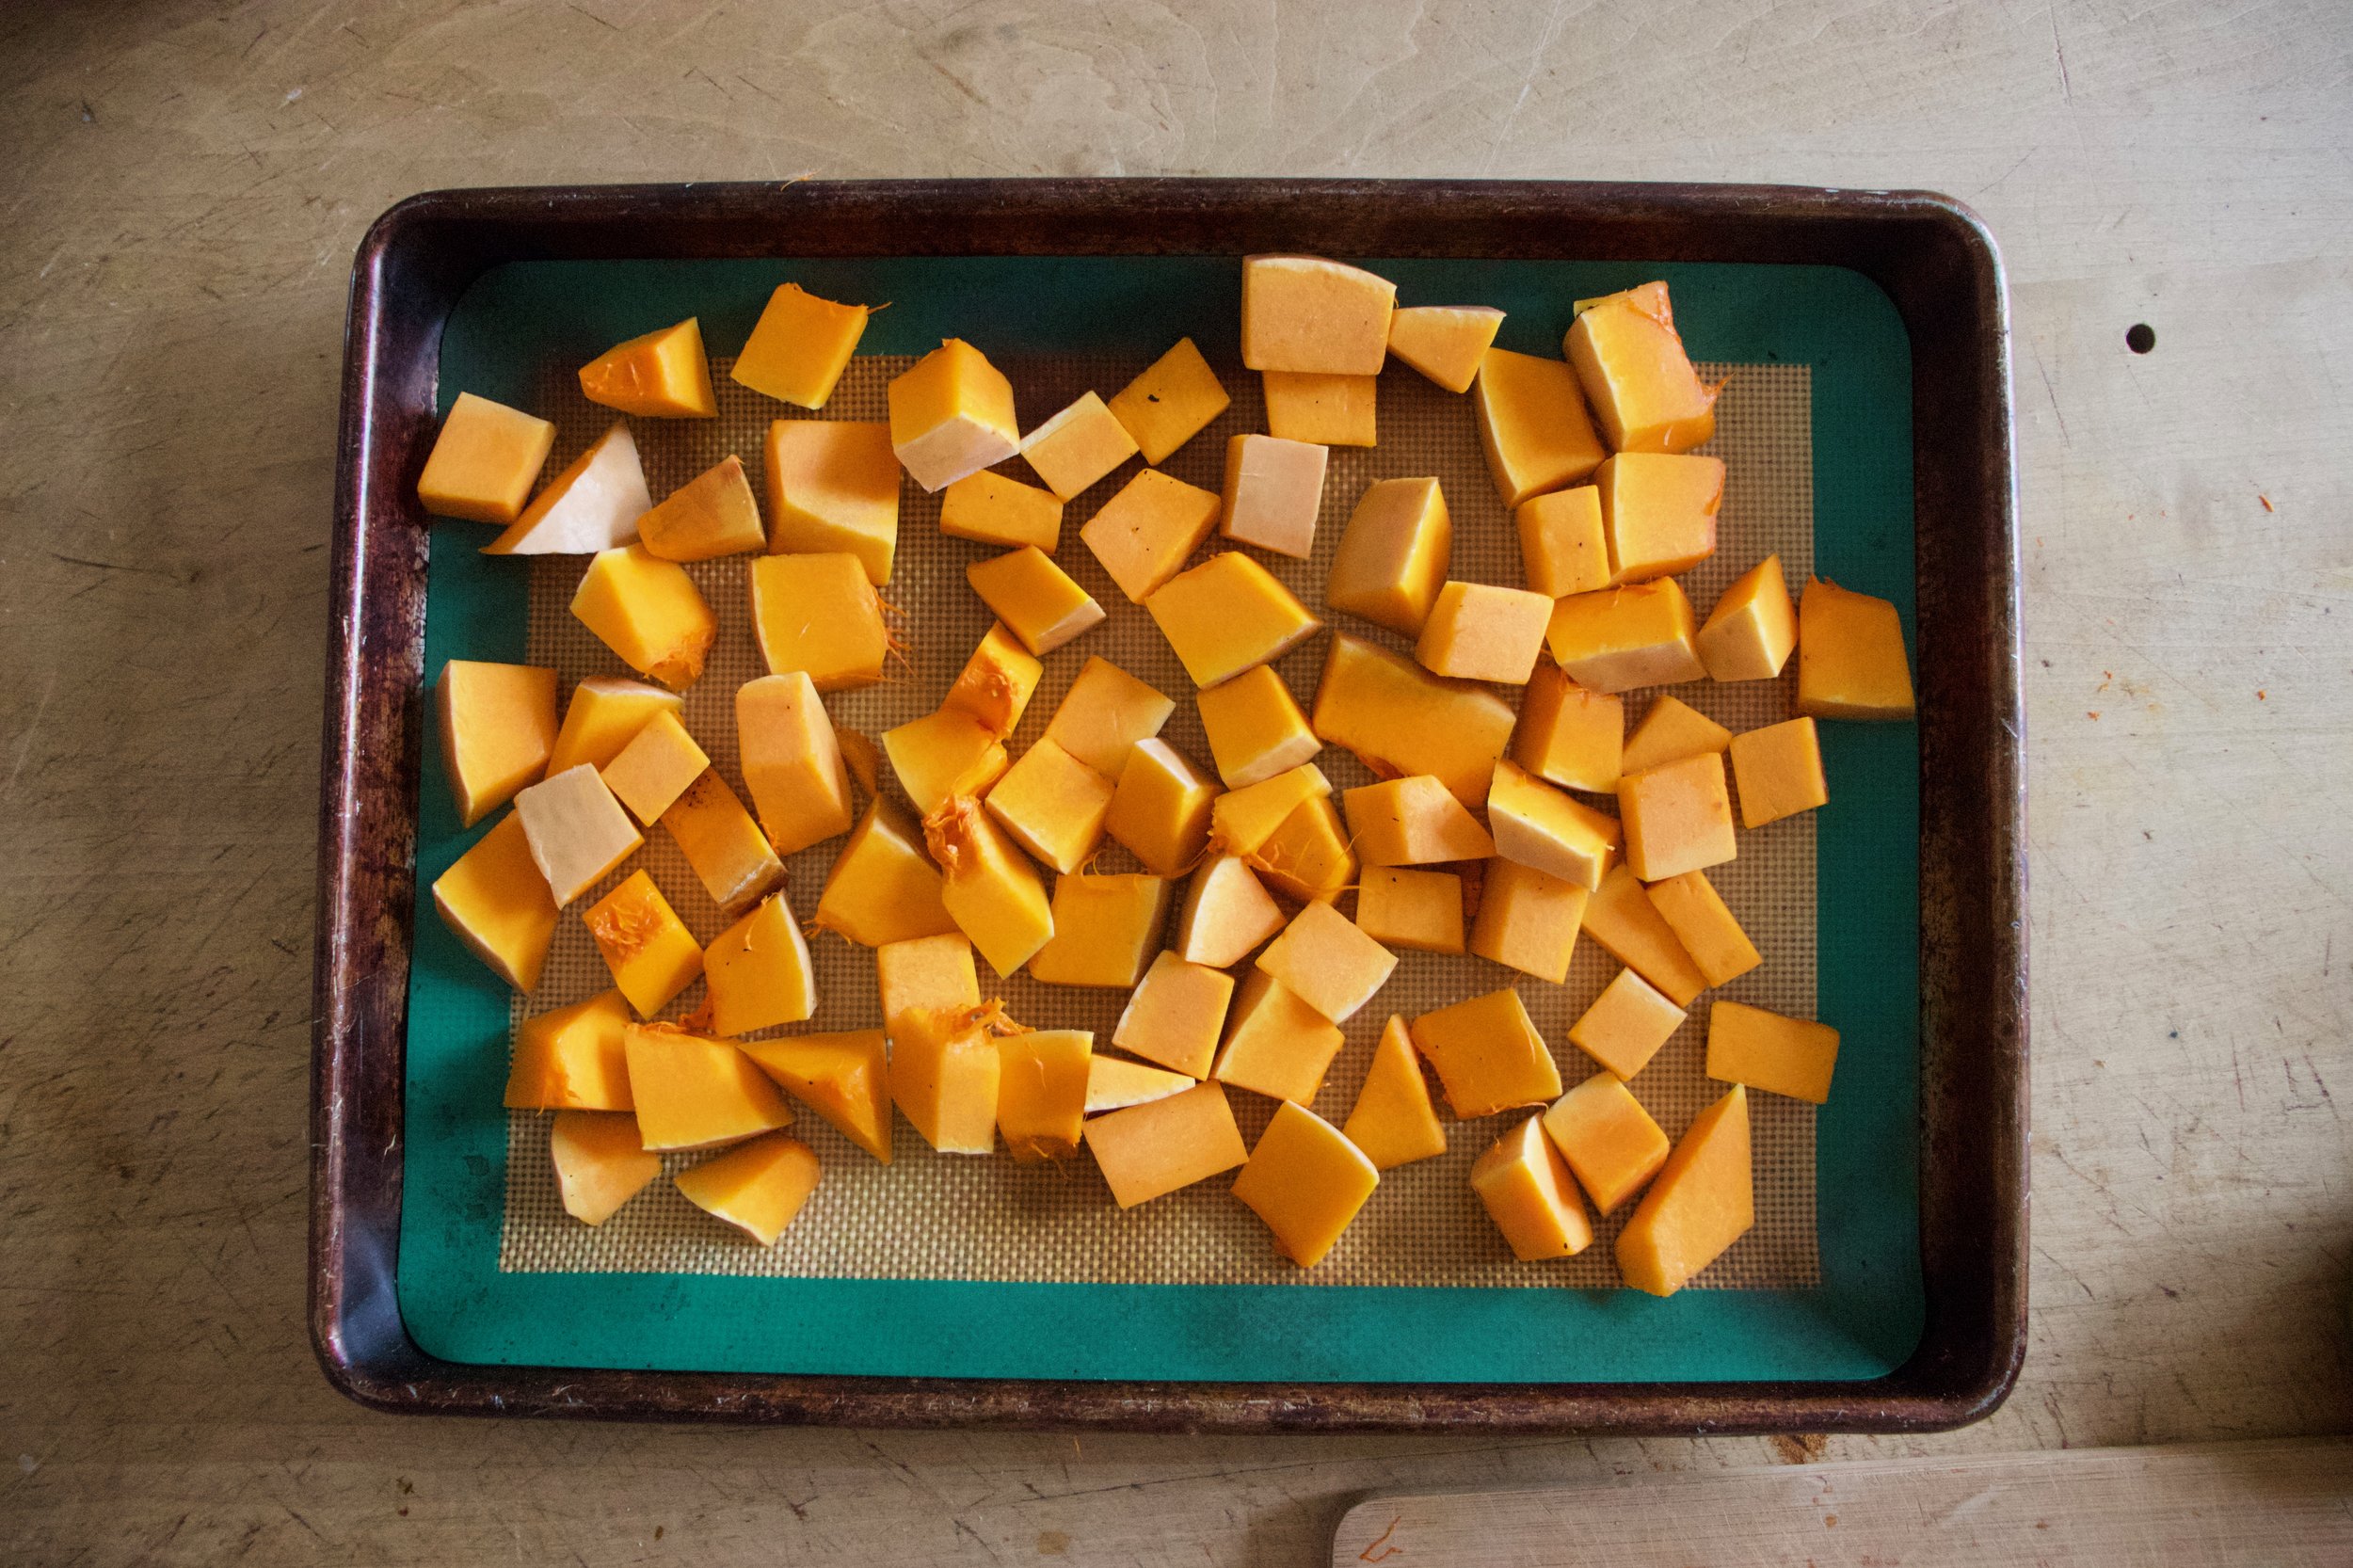
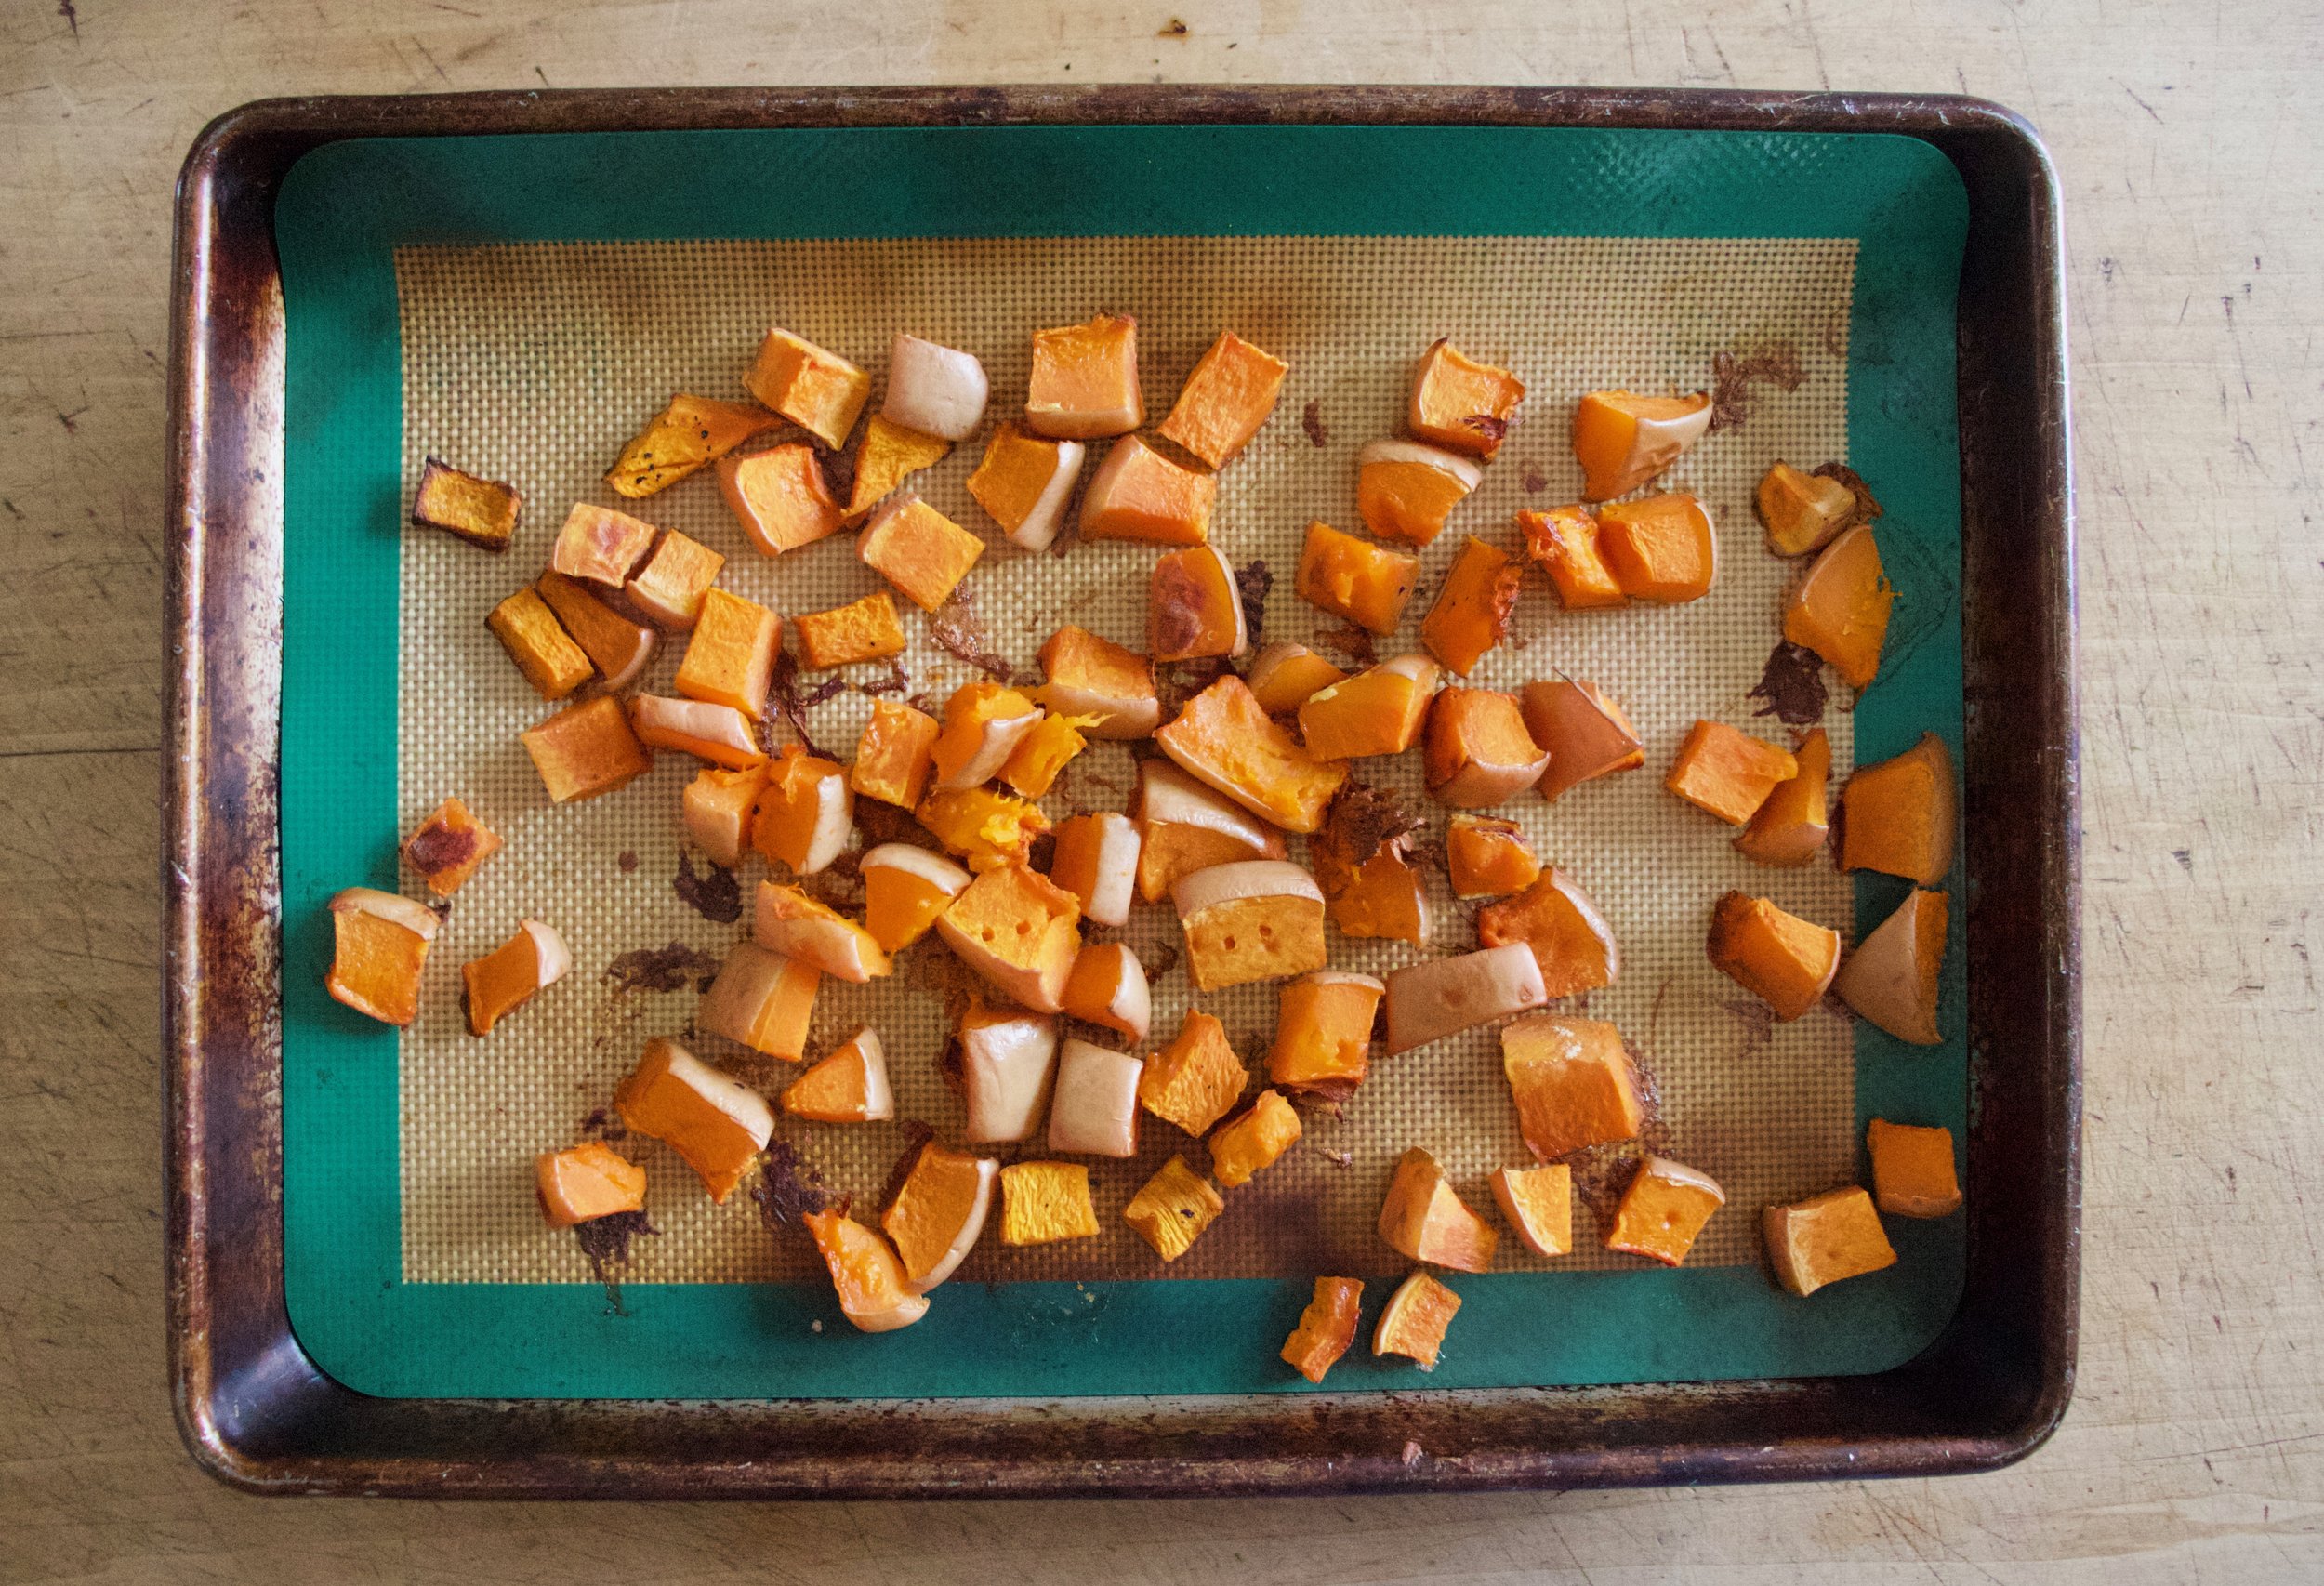
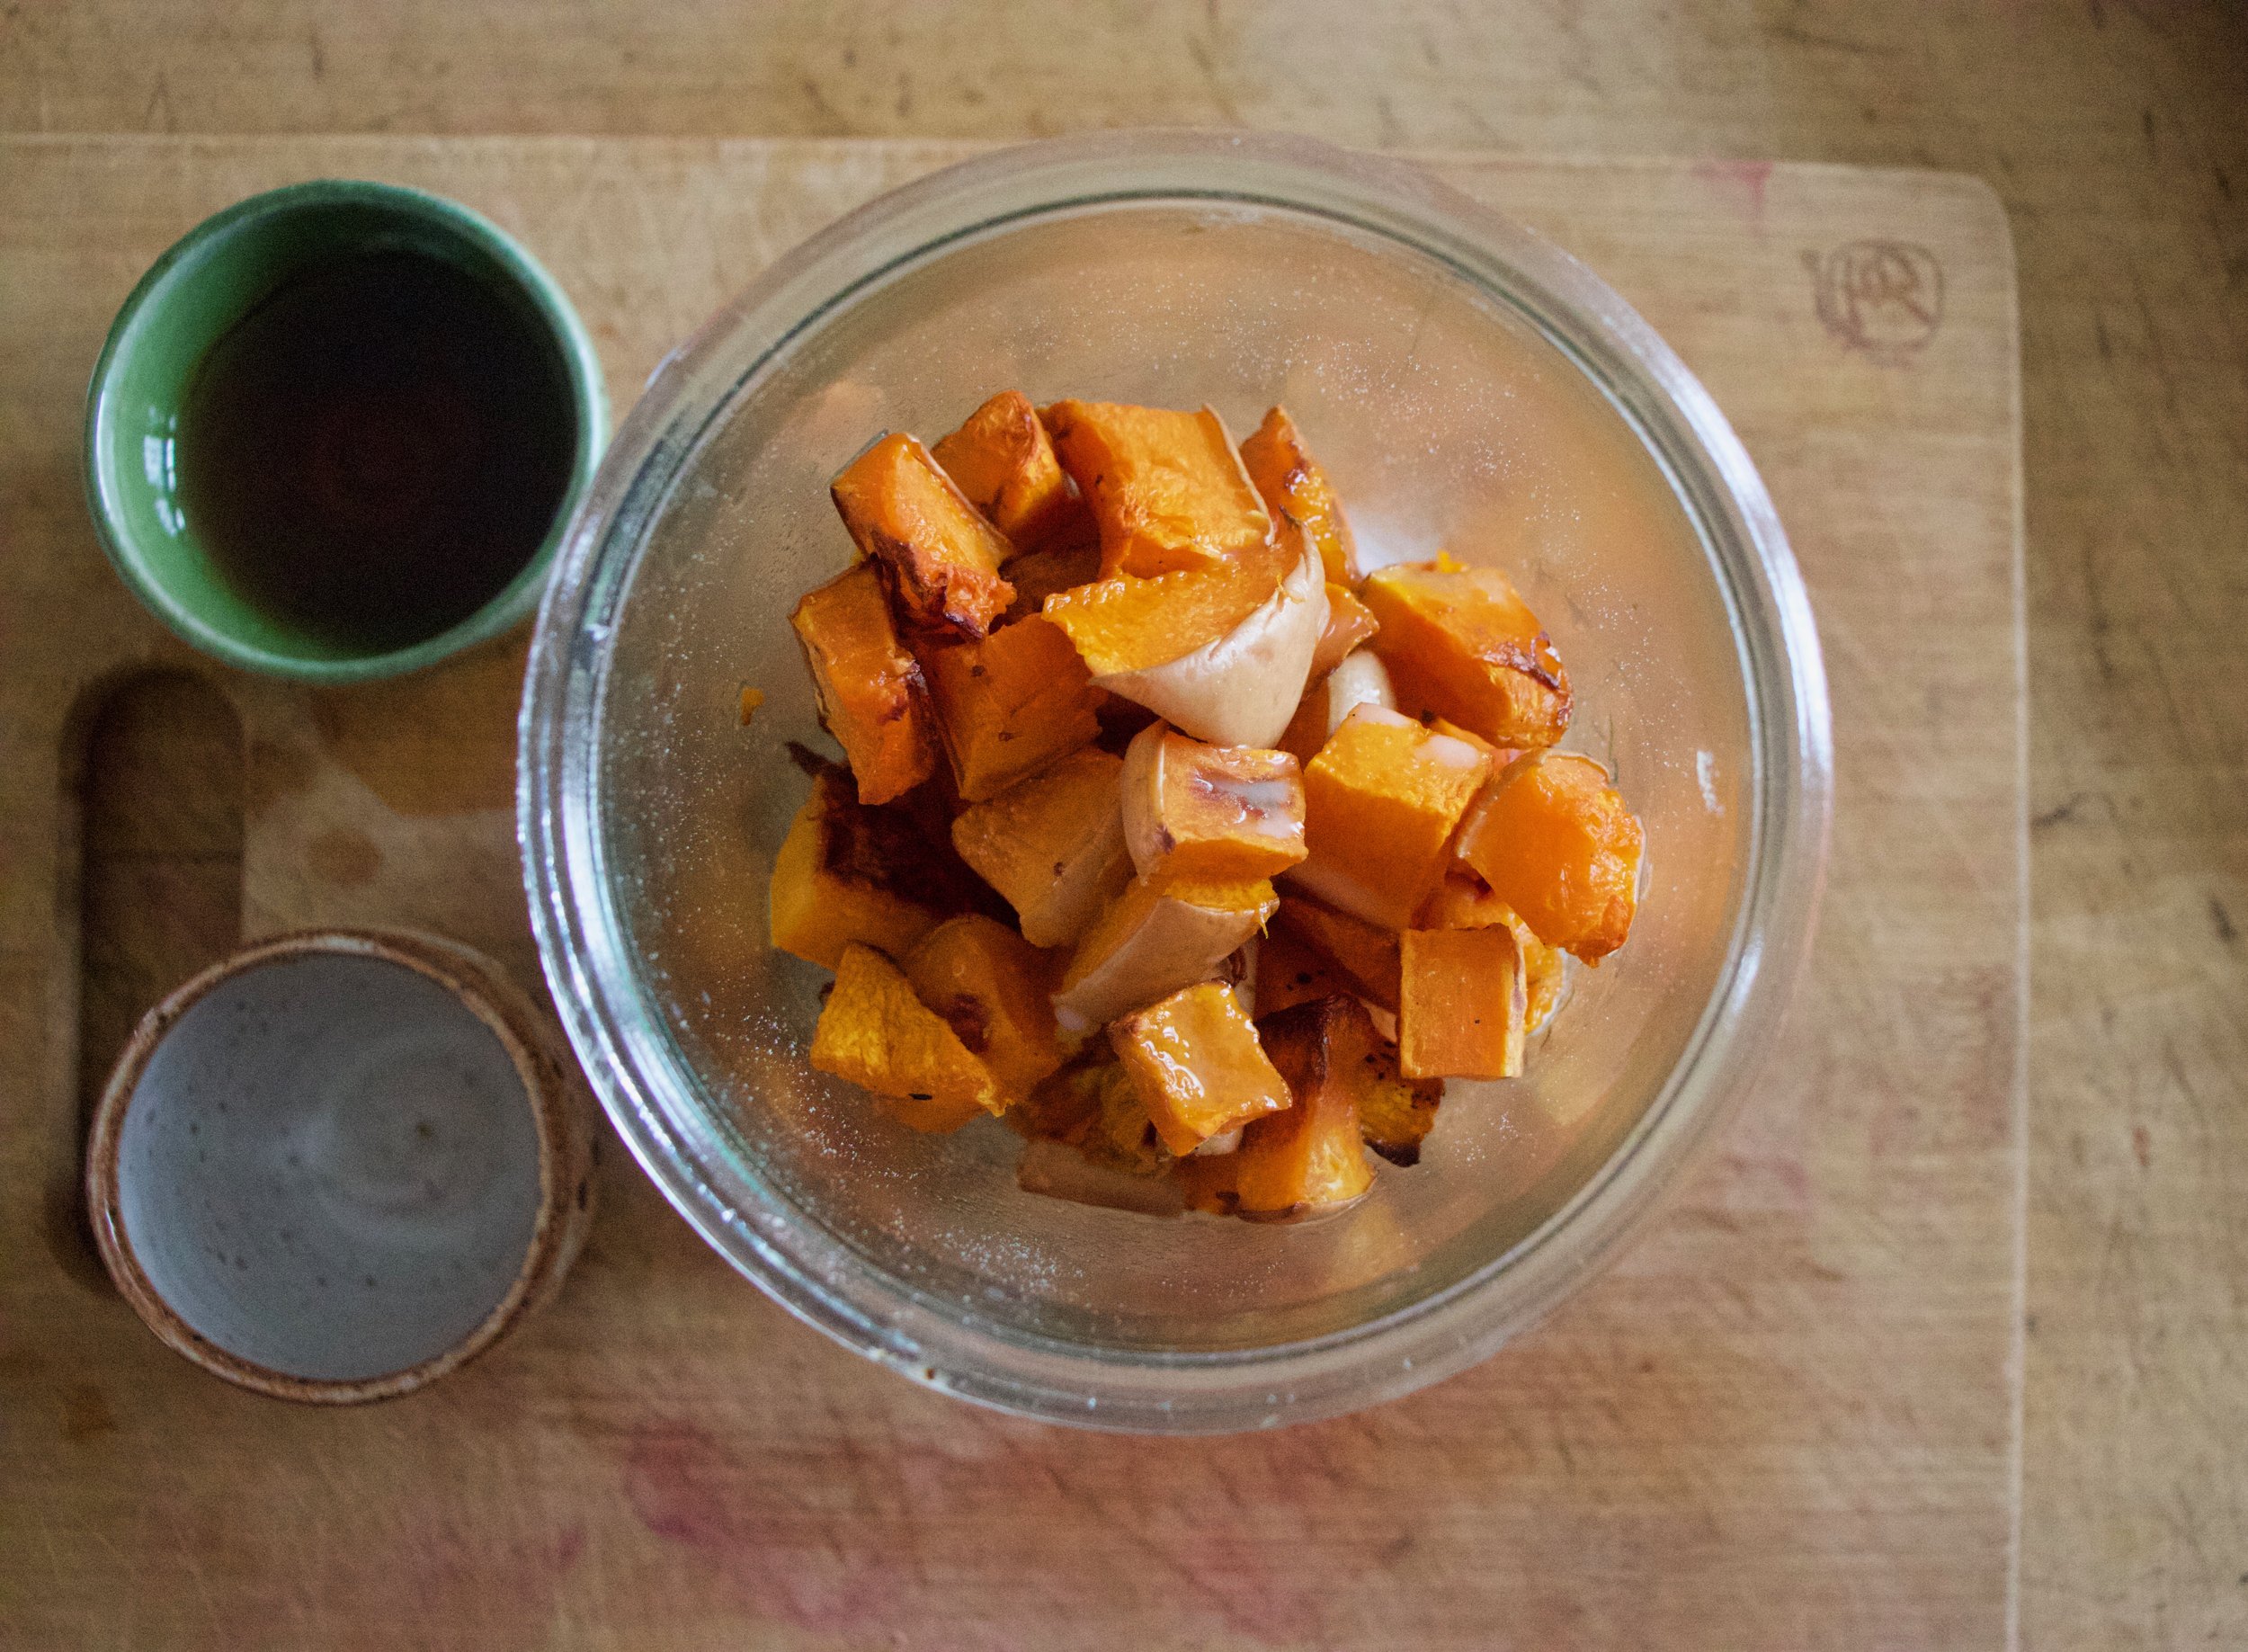
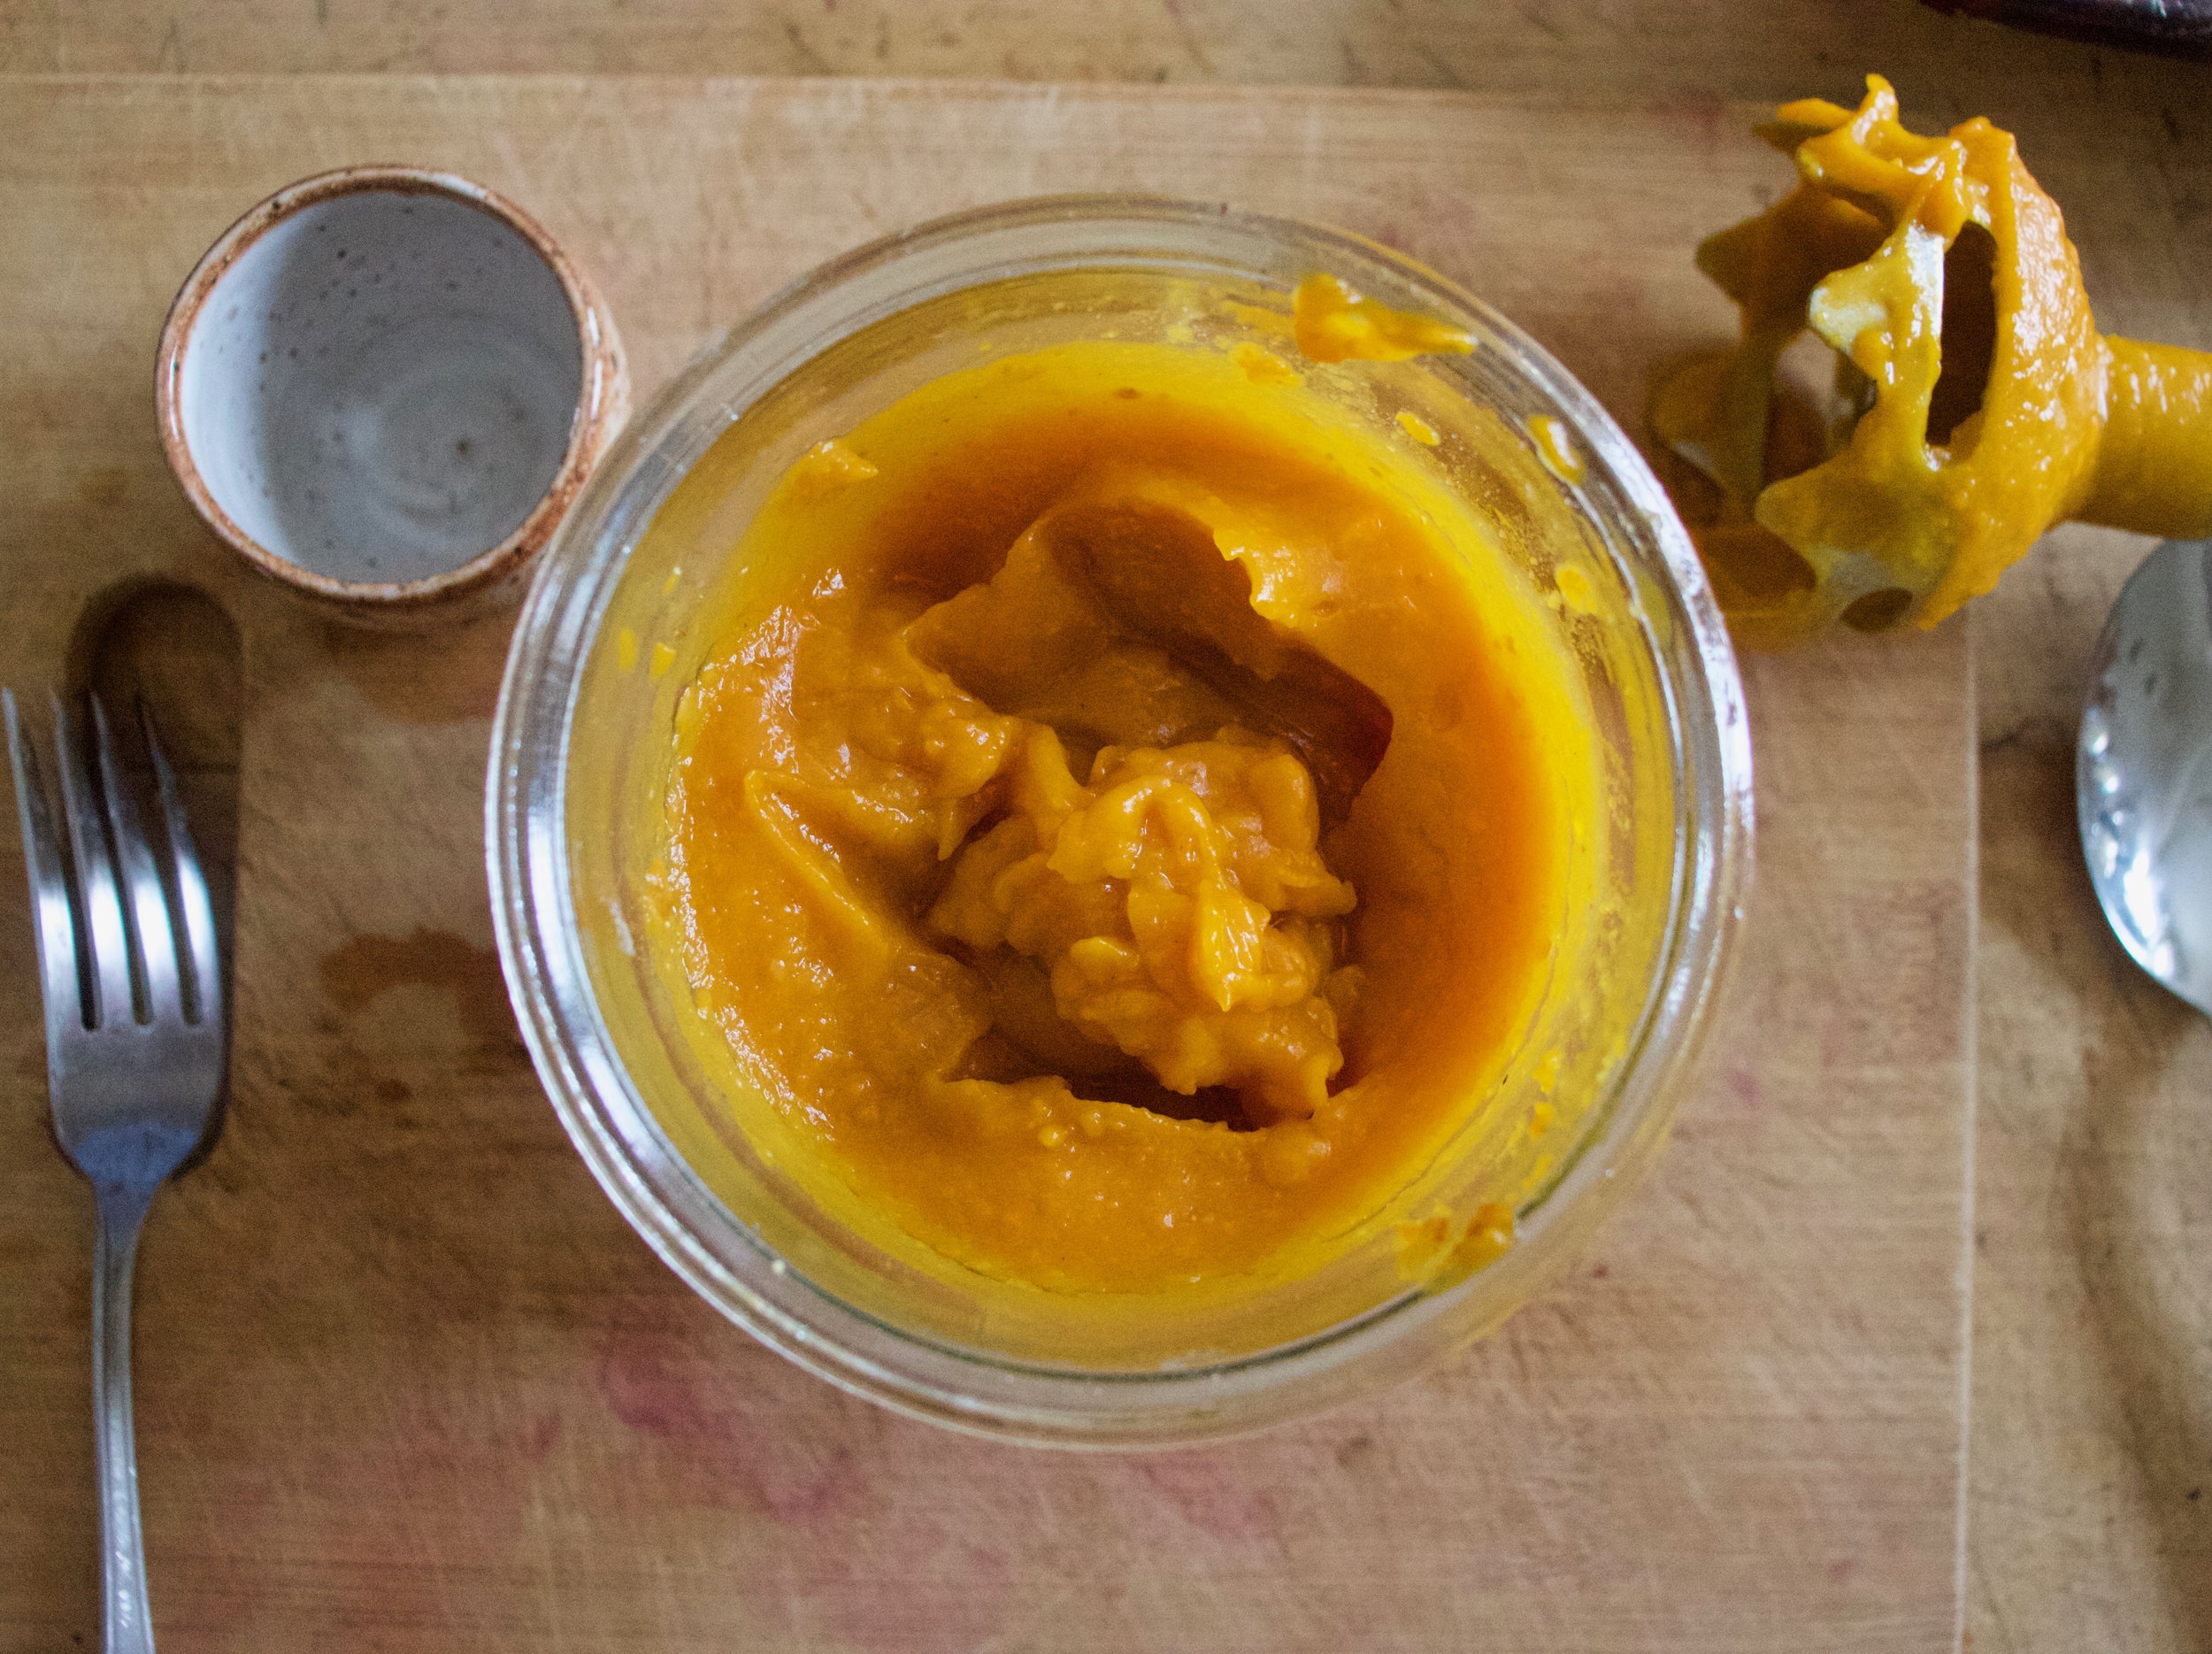
For the squash you need to roast it so do that. Place on a baking sheet and roast until tender. Once cooked transfer to a blender or jar (if using stick blender) , add in milk or water and blend until smooth. Add in maple to taste.

IMG_8544.jpg
IMG_8548.jpg
IMG_8556.jpg
IMG_8584.jpg

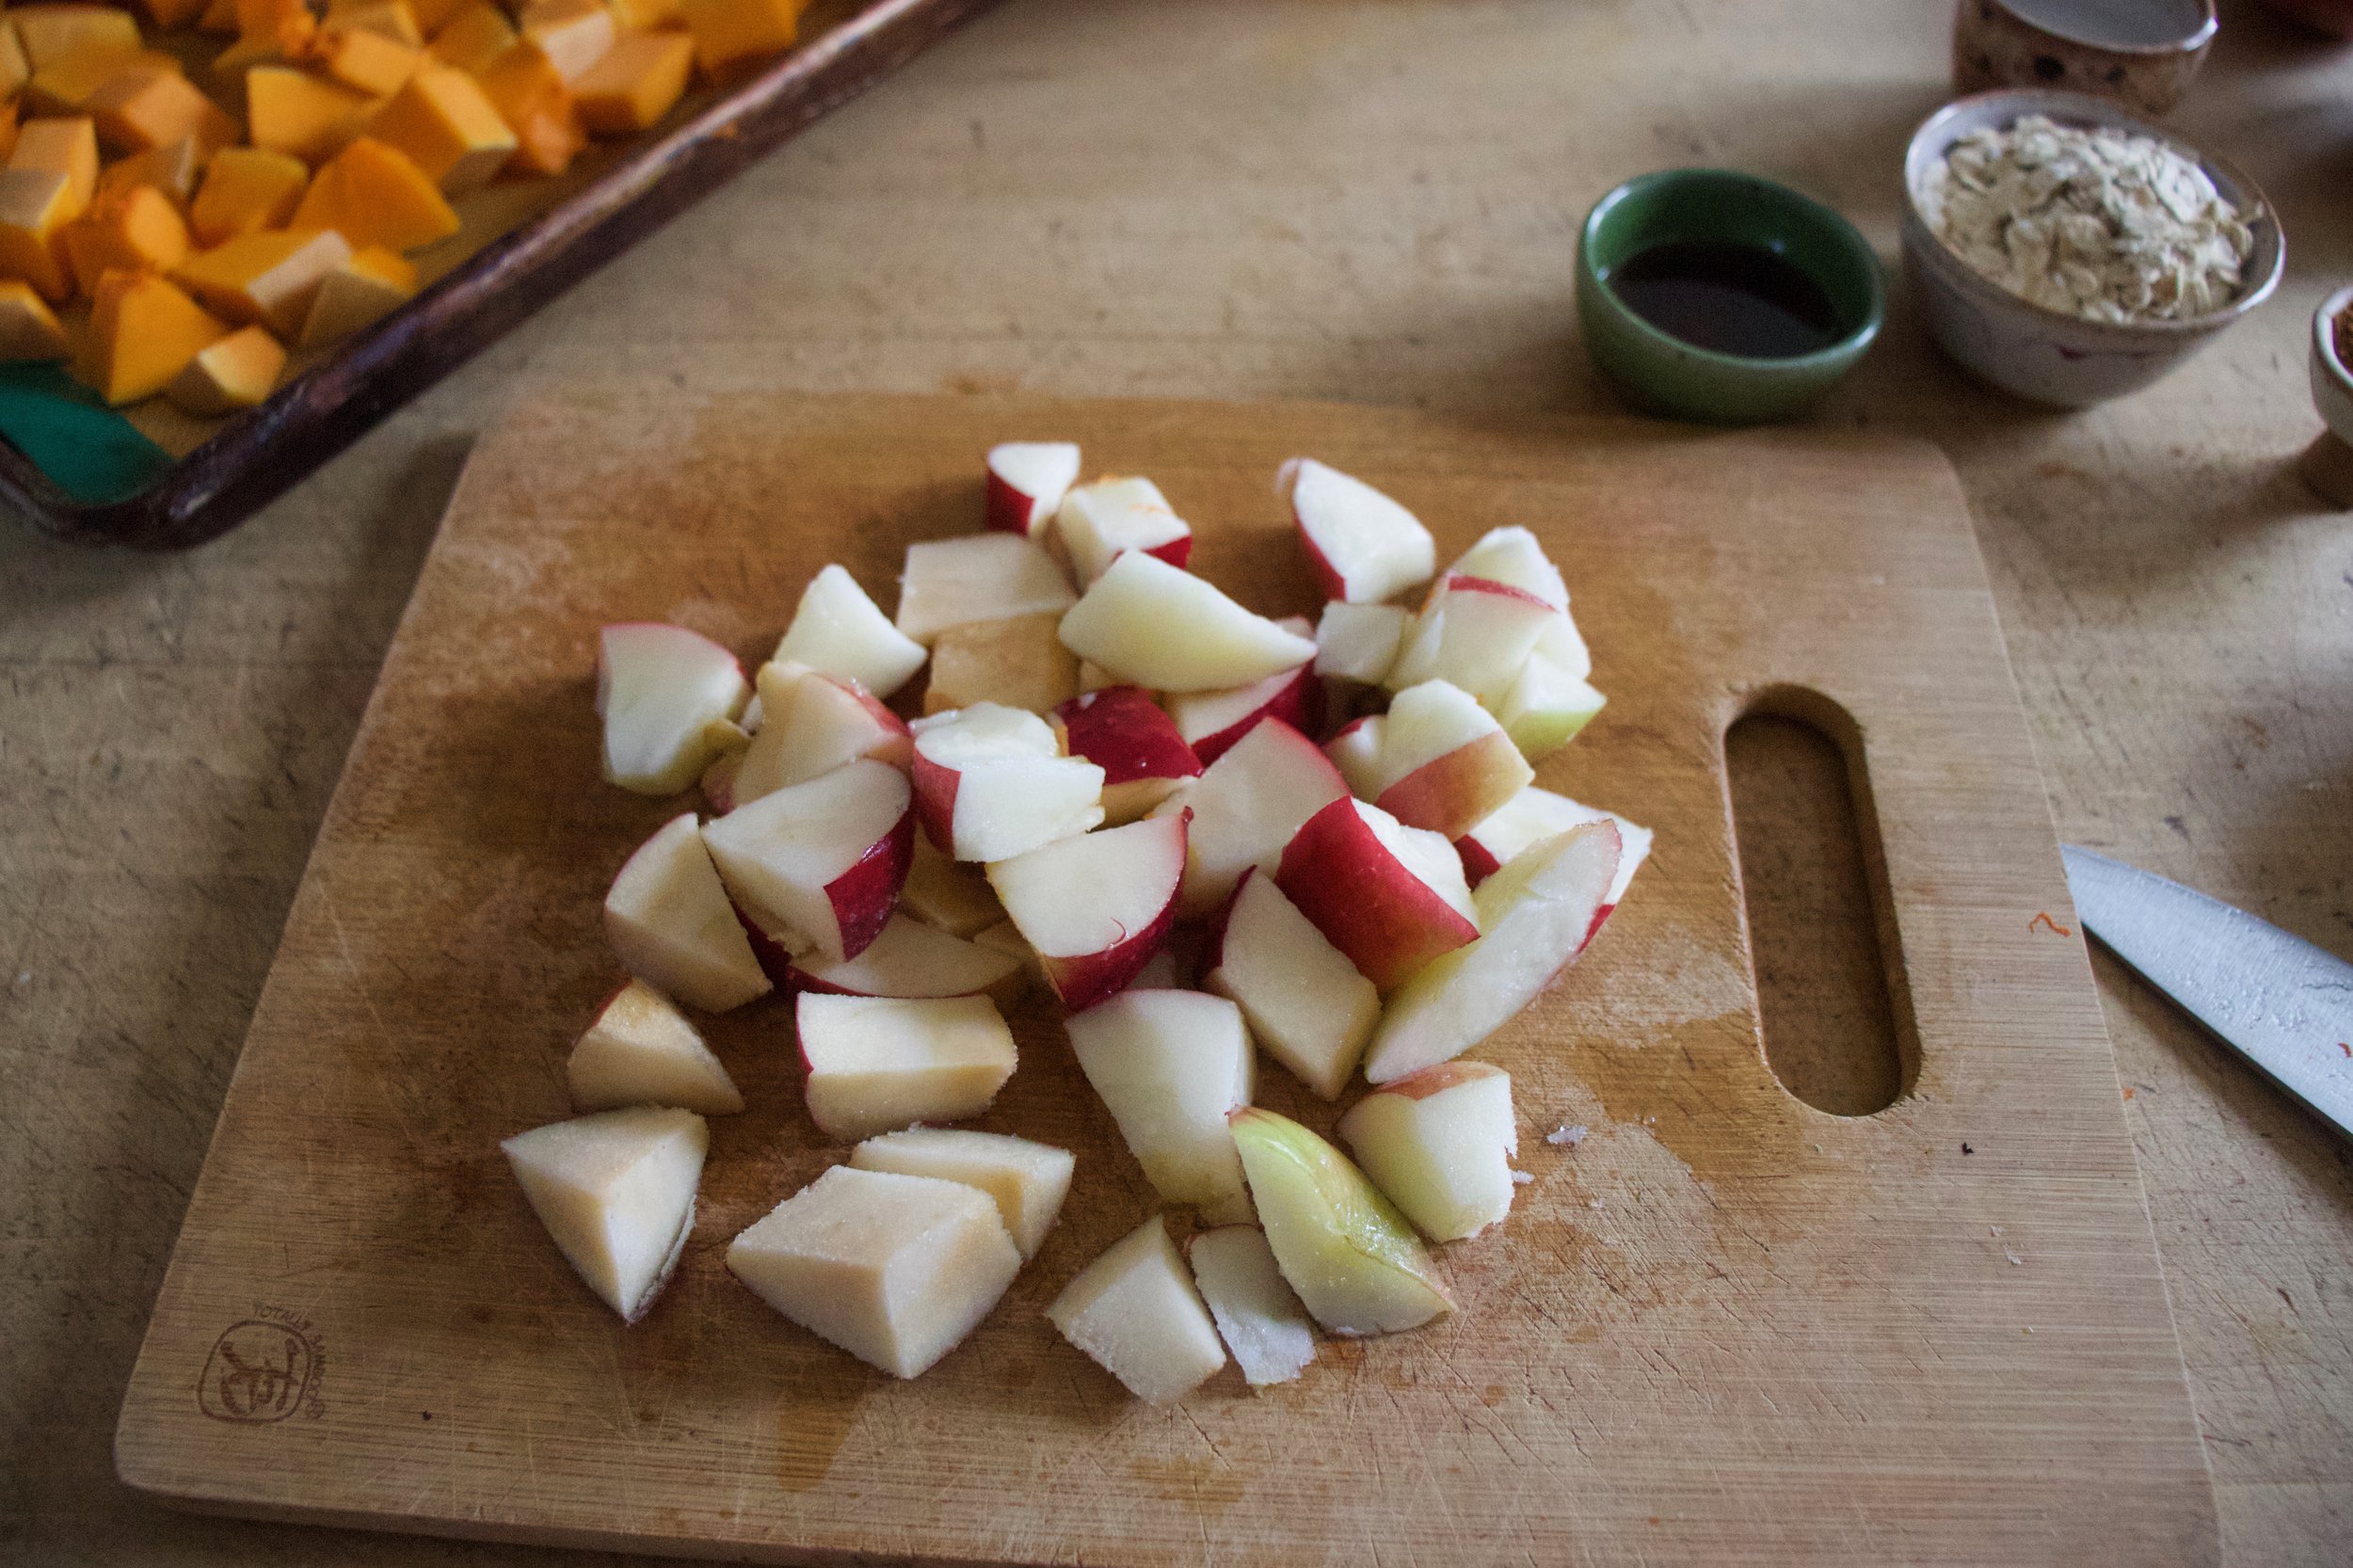
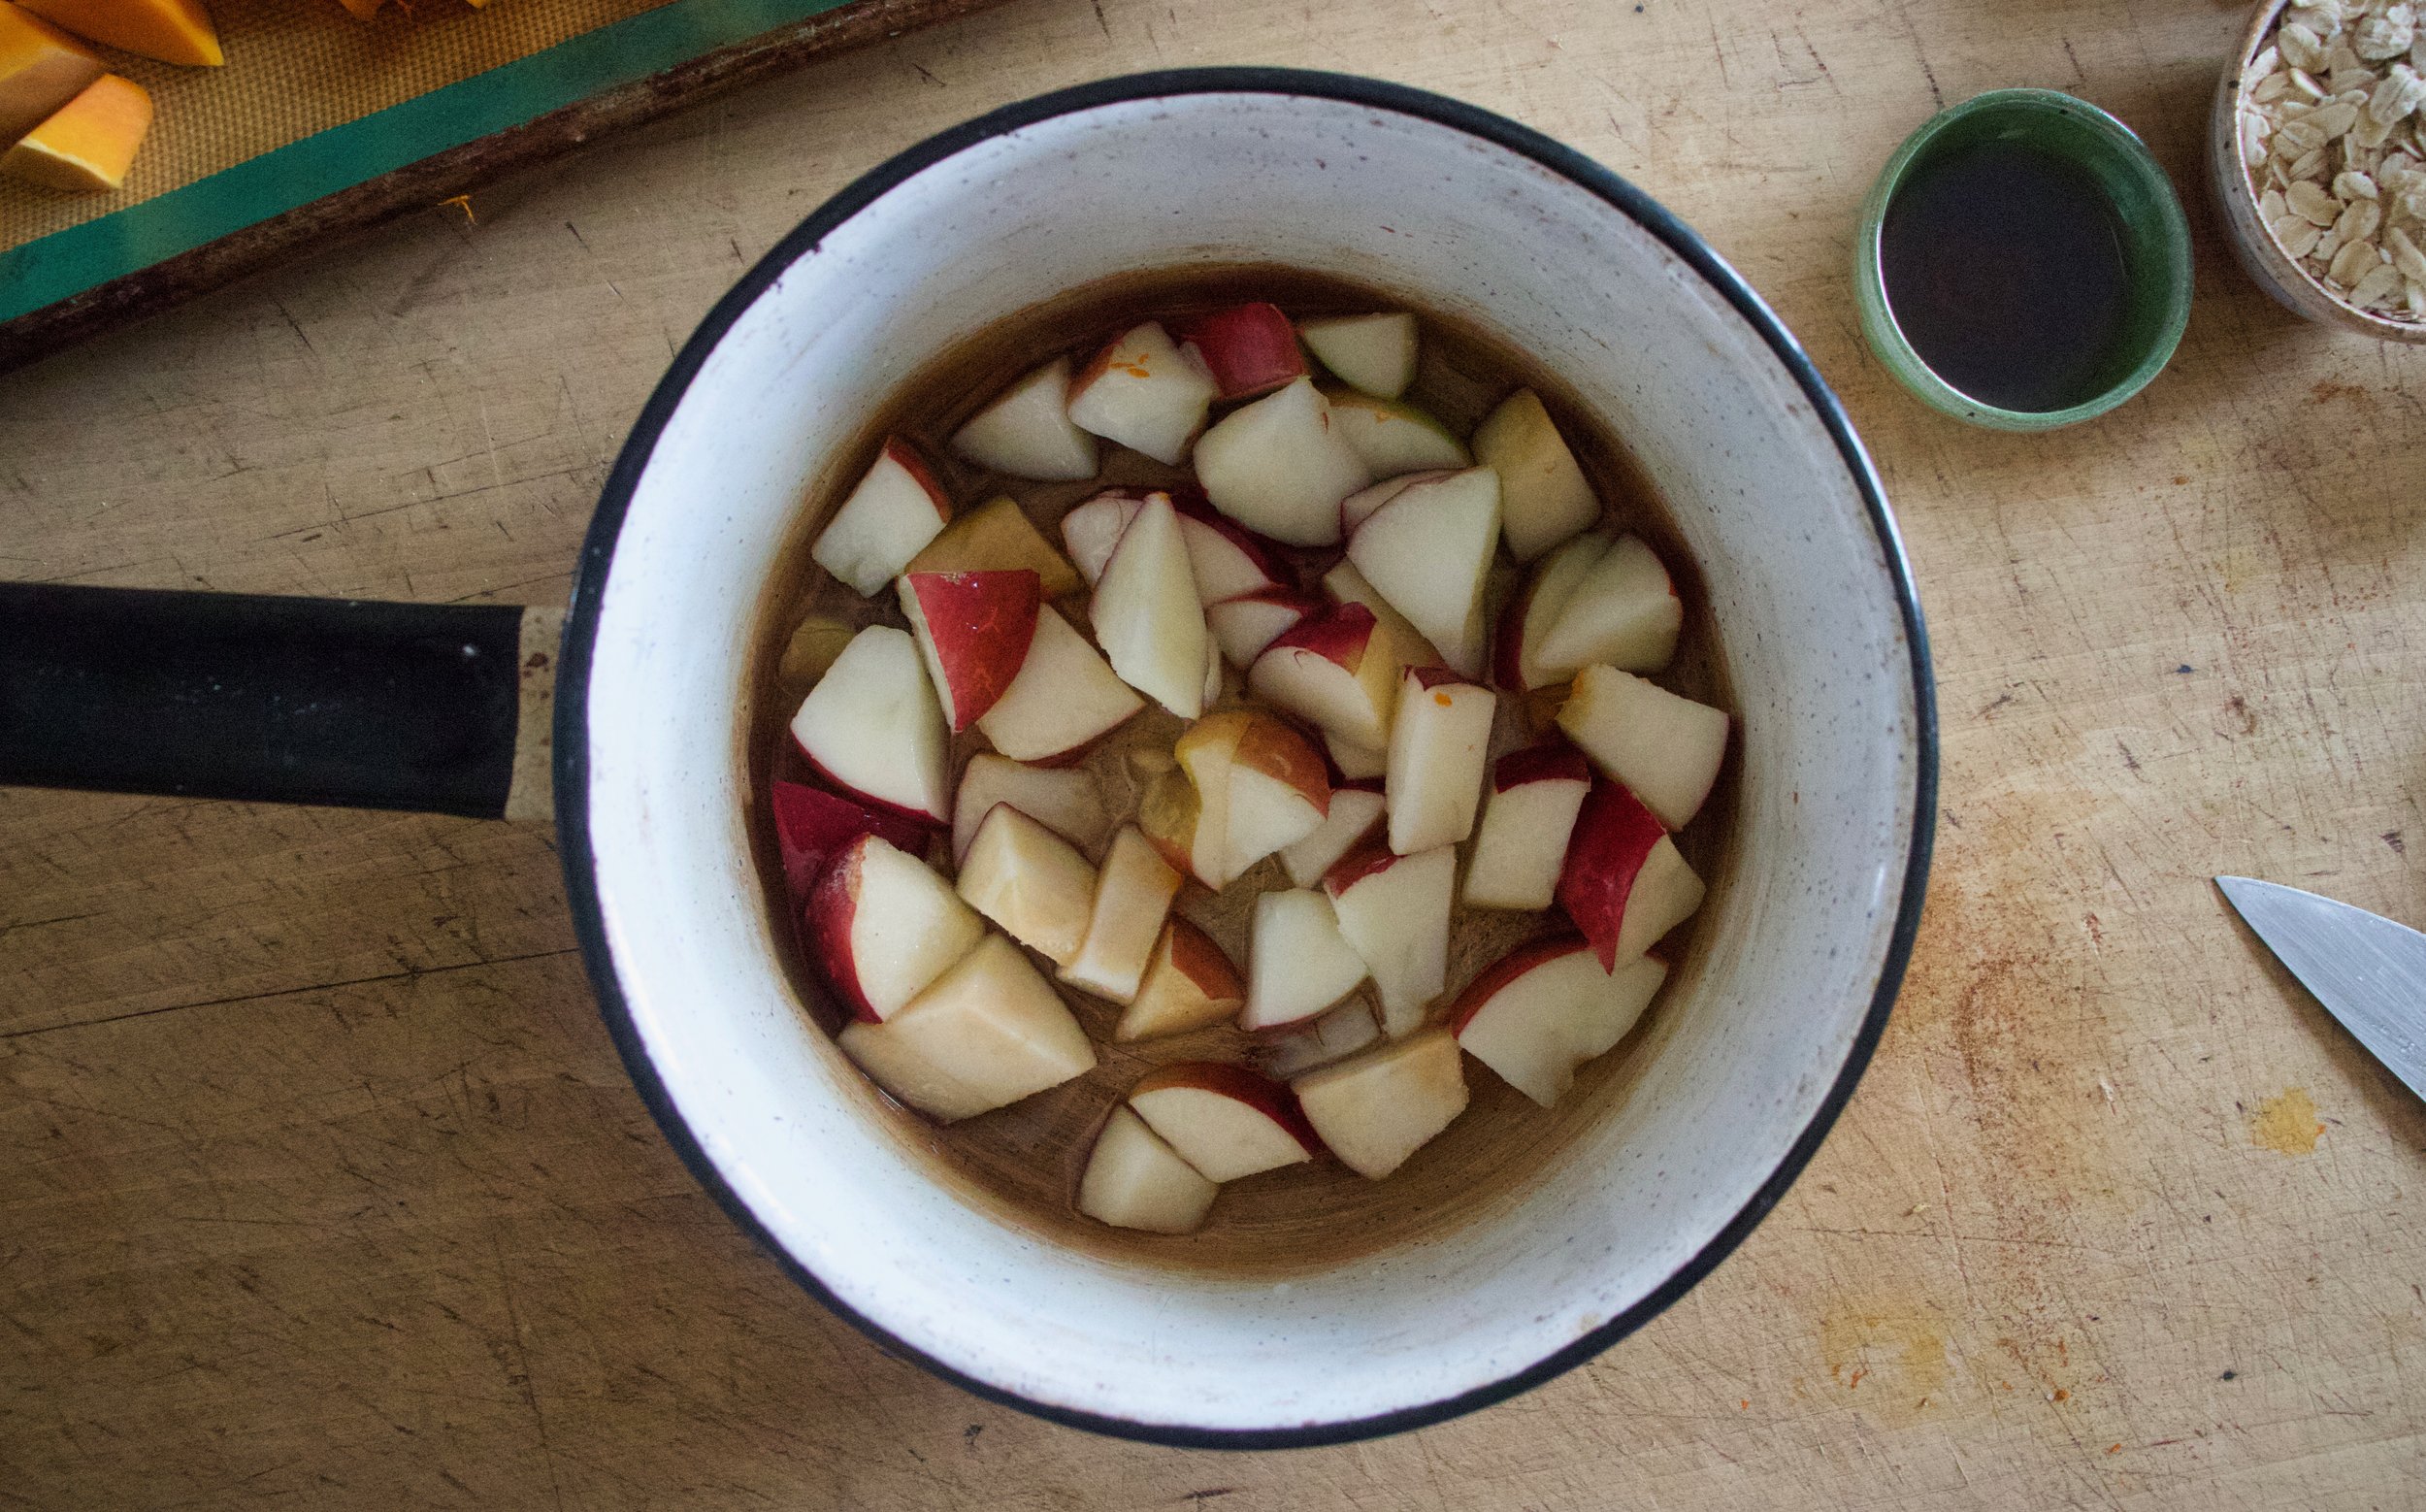
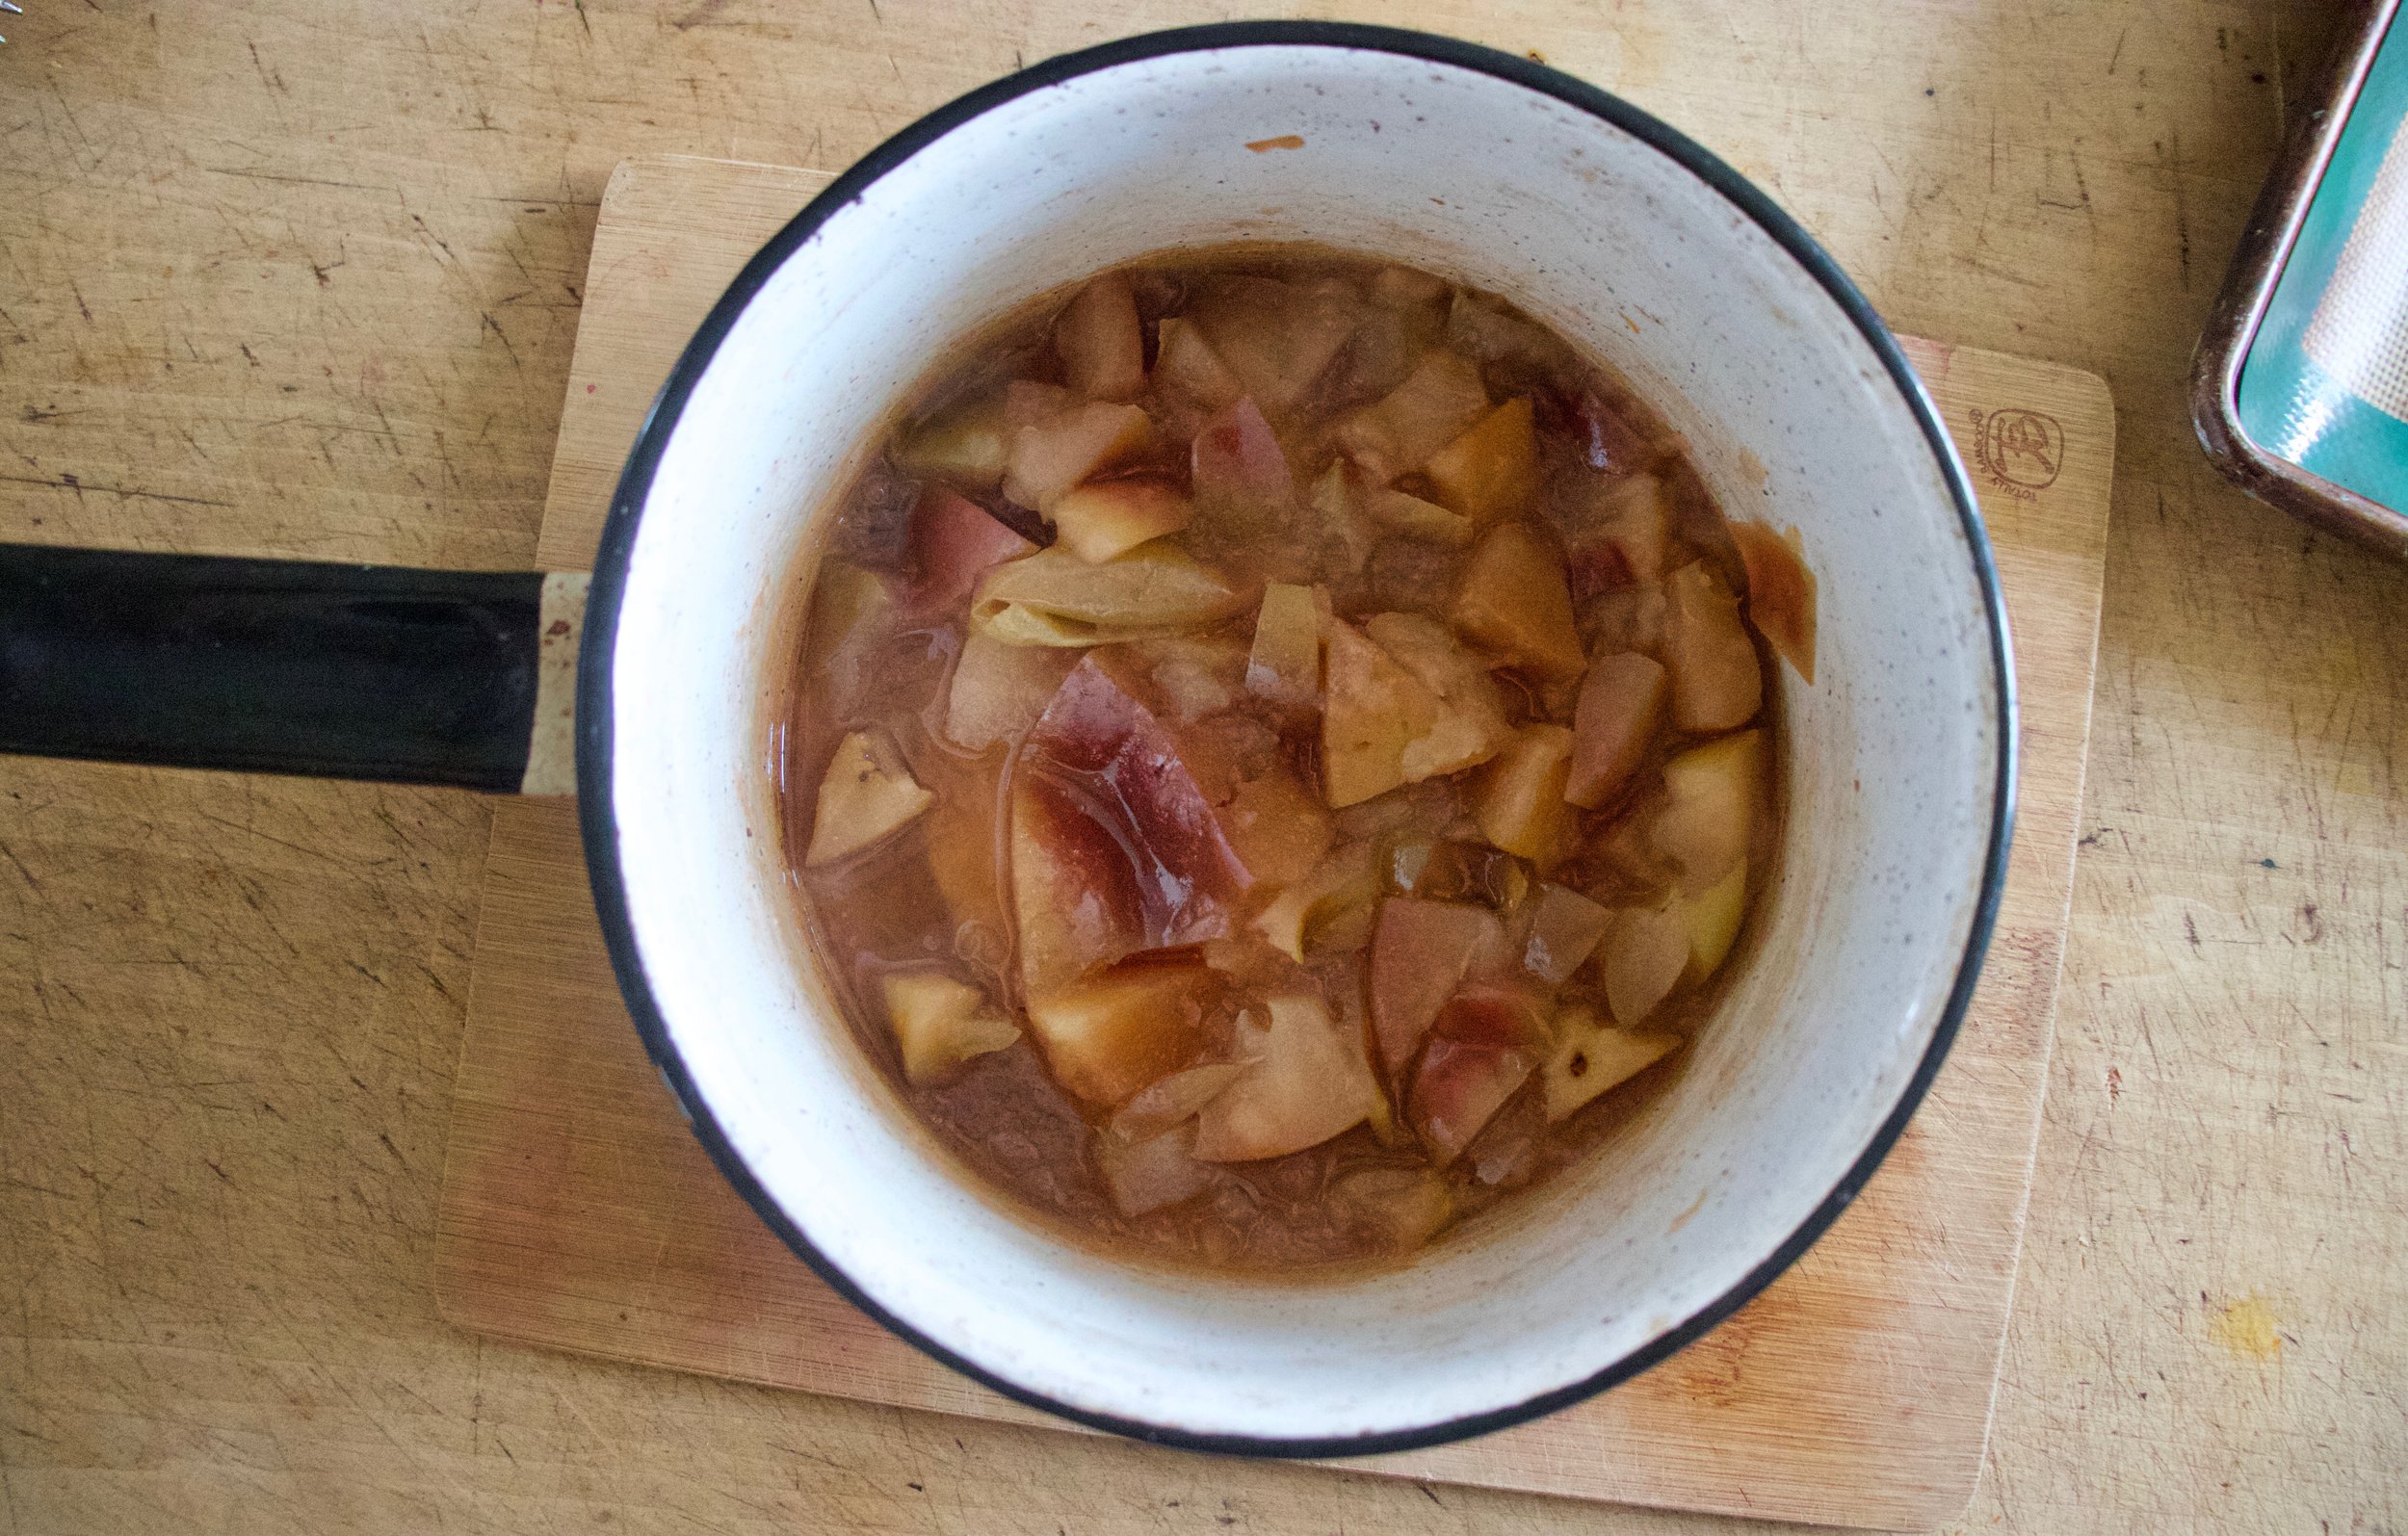
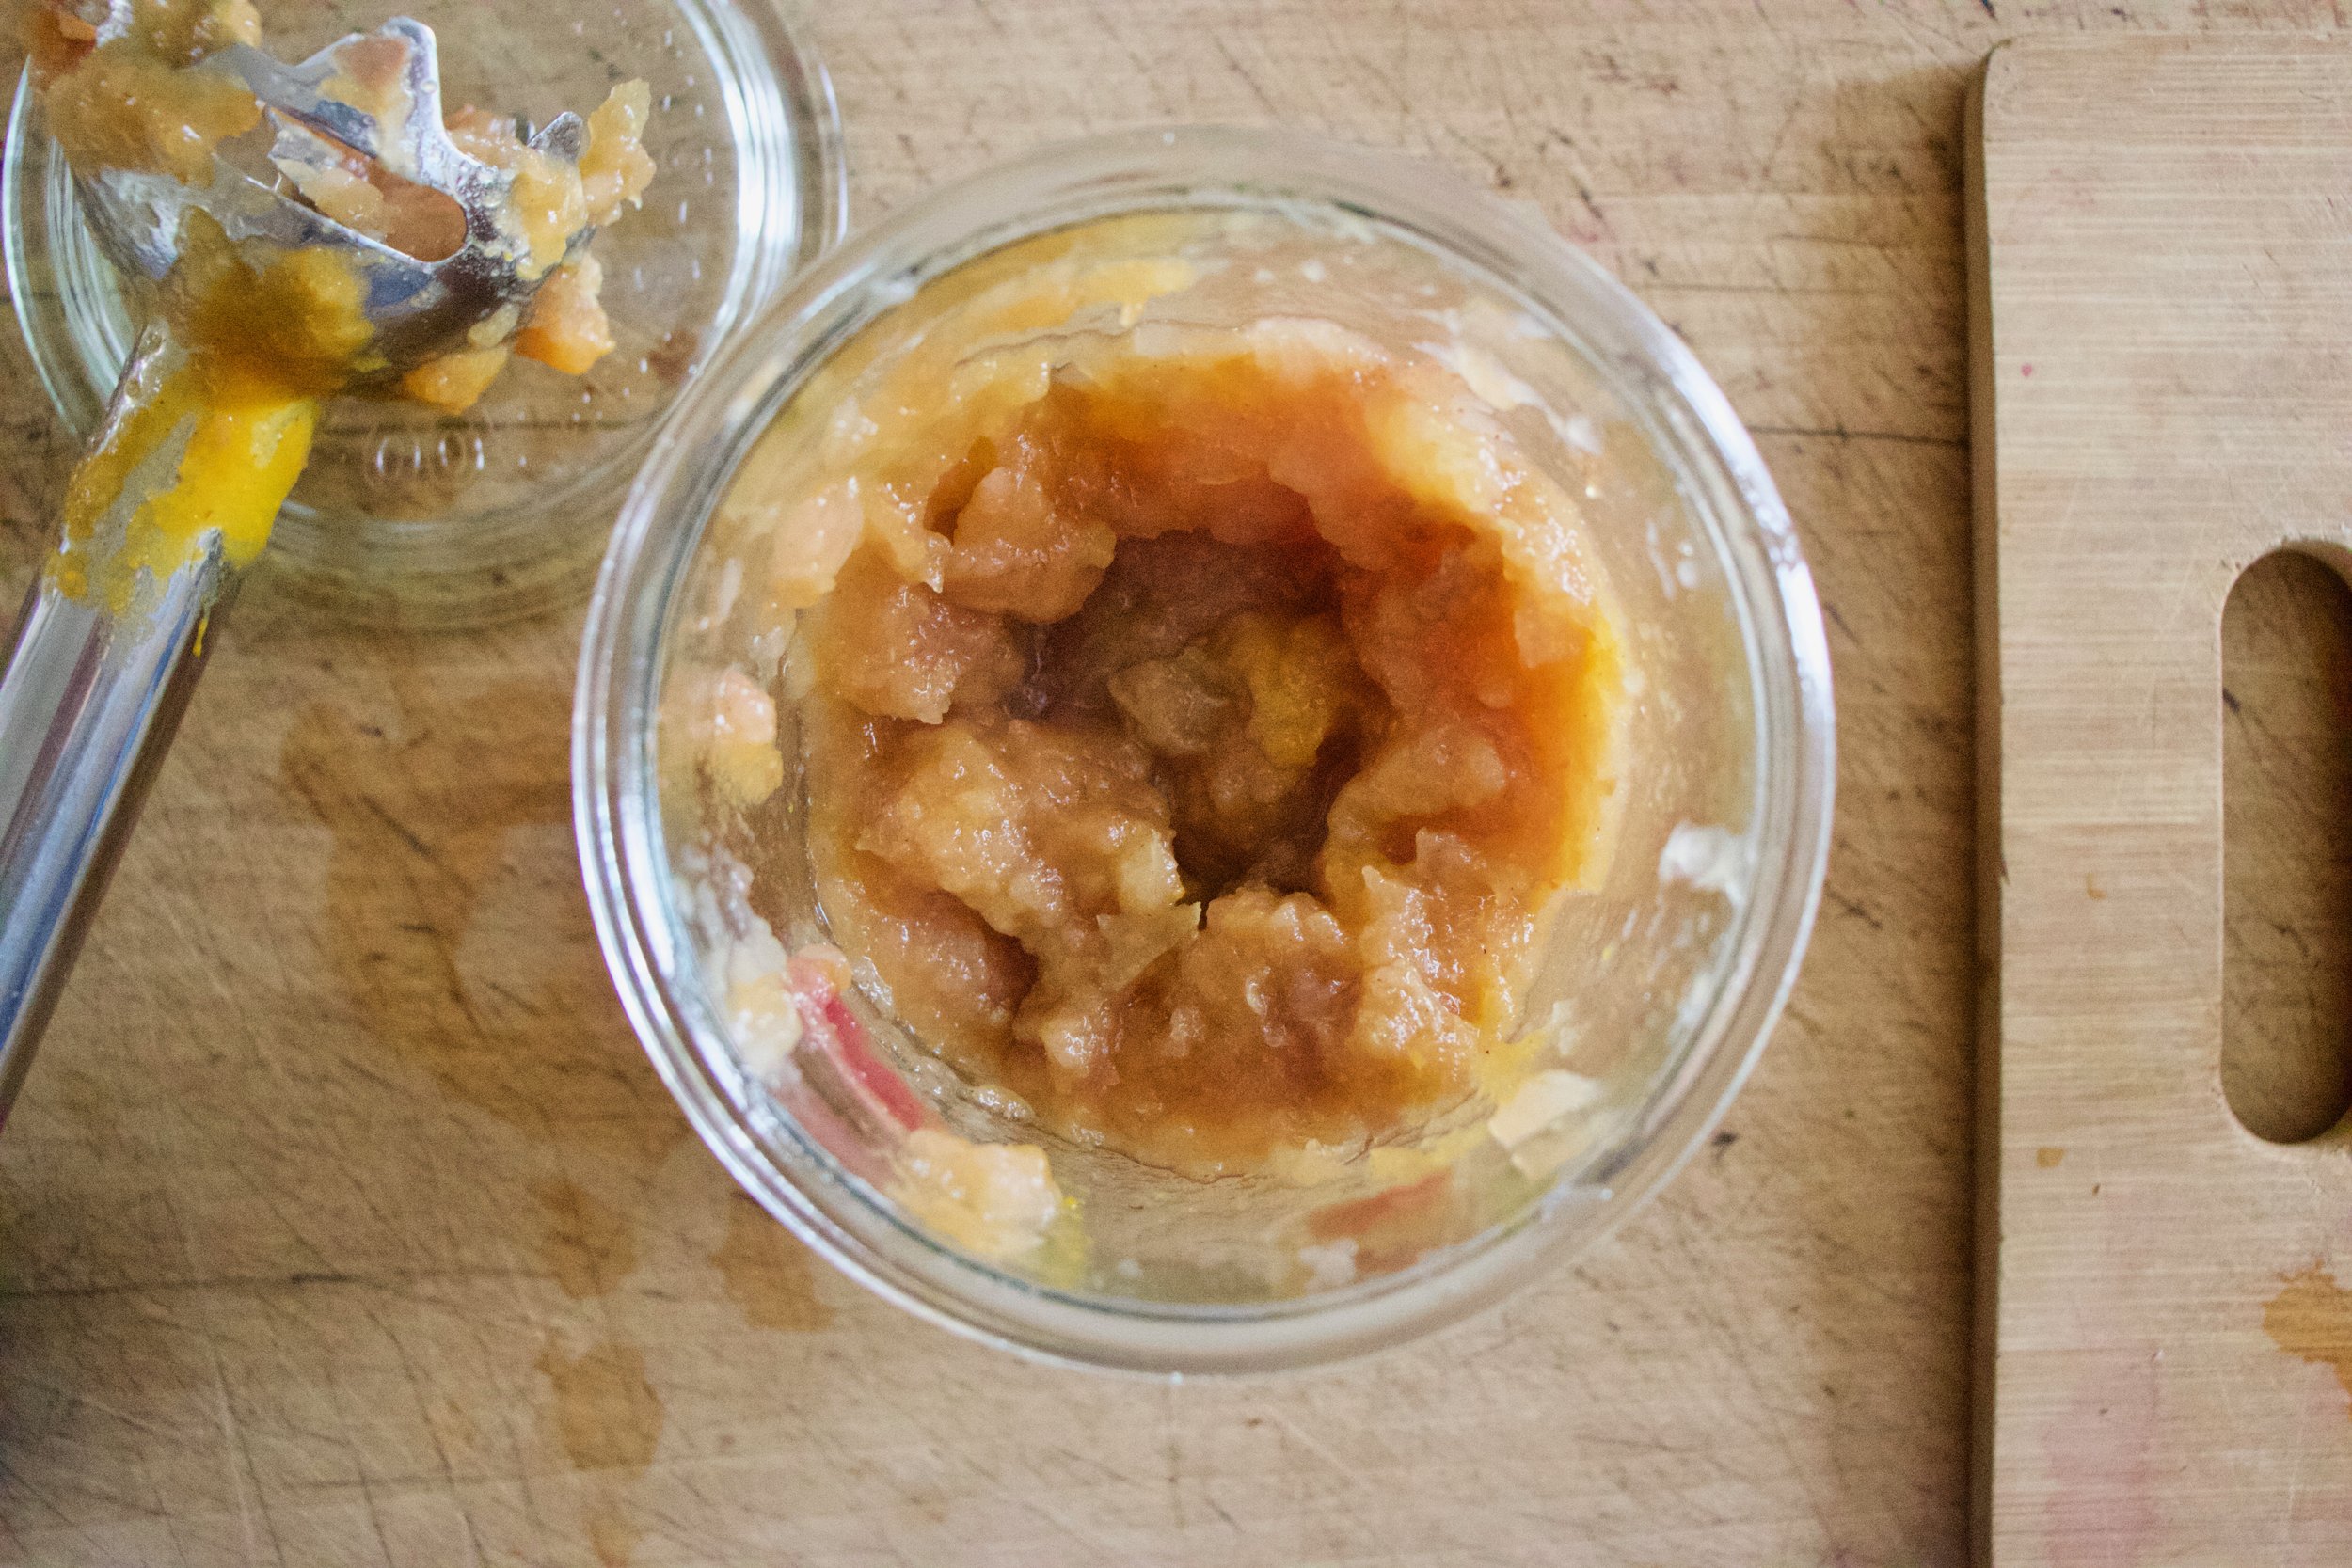
For apples. Core and chop apples into small pieces and place into a pot with water. Cook on medium heat until apples completely break down. Then either transfer to a blender or use as stick blender and blend until slightly smooth but still a bit chunky. Stir in some cinnamon.

And toast up the oats and walnuts, in the oven, just for 5-8 minutes.

Now assemble. You can do this while the stuff is still warm or wait until it is cold. Delicious either way.

So basically all you do is layer a bit of the squash and then apple a few times in a bowl or jar then top with toasted oats and walnuts. Simple as that.

Ans then you eat it. Or wait and eat it later. Or do what I did and assemble a few jars for the week but then eat all of them in one day. I couldn't stop myself. It was just too freaking good.

-C


Butternut Squash and Apple parfait

makes 2-3 parfaits

  • 3 cups cubed butternut squash

  • 2 large apples (I used Macs)

  • 1/2-3/4 cups plant milk (or water)

  • 1-2 teaspoons maple syrup (optional)

  • 1-2 teaspoon cinnamon

  • 1/2 cup old fashion oats

  • 1/4 cup walnut pieces

  • 1/2 cup water

Preheat oven to 425.

Place cubed squash on a lined baking sheet and stick into hot oven and roast until fork tender.

While squash is roasting grab apples, cut and remove core and seeds, chop into smaller pieces and place into a pot with enough water to submerge the apple. Place on medium heat, stirring every few minutes, and cook until the apple starts to break down. If the water evaporates, add in more. When apples are soft and falling apart remove from heat and let cool a few minutes then either transfer to a blender or using a stick blender, blend until less chunky, but not completely smooth. You could also just smash it use with a fork. Add in a teaspoon or so of cinnamon and mix.

Once squash is roasted , remove from a pan and place either in a blender, or a jar or bowl if using a hand blender, add in 1/2 cup milk or water, and blend until smooth. If it seems really thick still, add in more liquid. Also add in maple to taste.

While oven is still hot, place oats and walnuts on baking sheet and place in oven for 5-8 minutes or unit walnuts and oats are toasted.

To assemble parfaits grab a bowl or jar and layer in a bit of squash then apple a few times. Top with some toasted oats and walnuts and sprinkle with more cinnamon and drizzle more maple if you want.

Eat warm or cold. Store left overs in fridge for up to a week.

Tags Butternut Squash and Apple Parfait, fruit, squash, walnuts, oats, apples, plant based, dairy free, vega, sugat free, sugar free, healthy, snack, easy, simple, dessert, make ahead, breakfast, gluten free, food
Comment

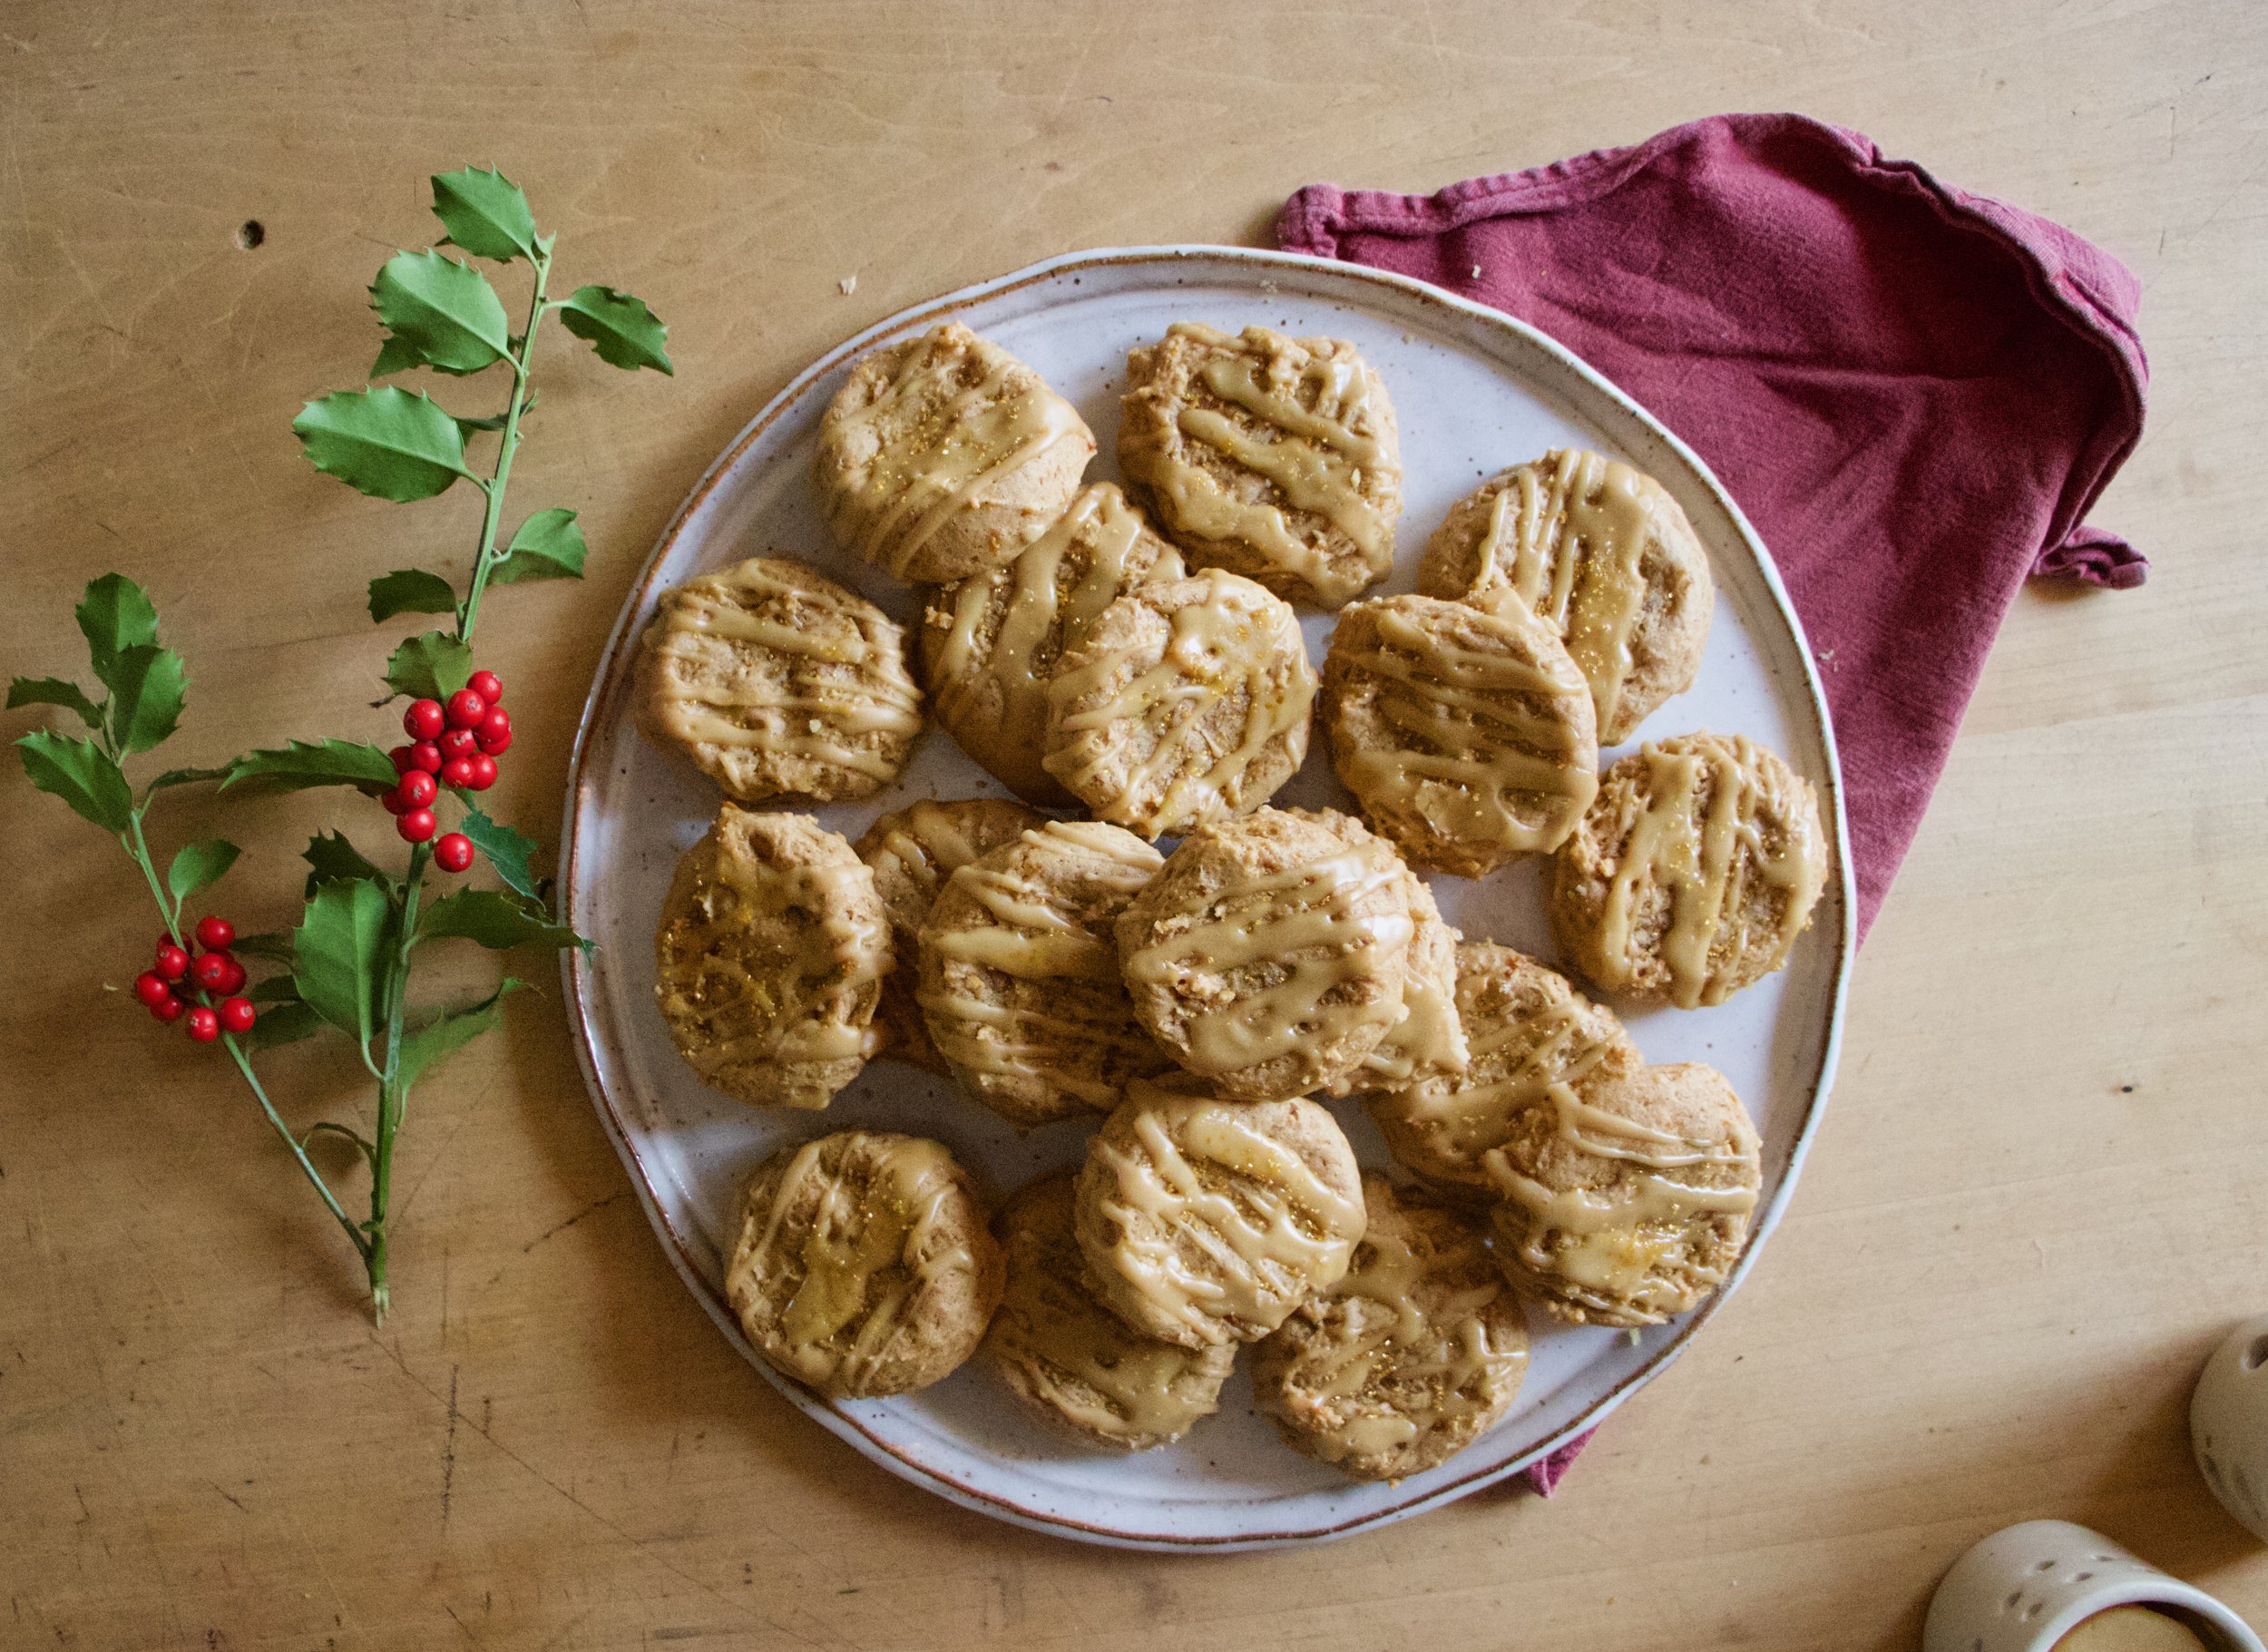
Maple glazed sweet potato cookies

December 11, 2021 Colleen Stem
IMG_8161.jpg
IMG_8244.jpg

If you are not making cookies right now then what are you even doing?

But seriously, I think that December is basically a month long cookie baking marathon and we all should be participating by baking up a least one batch of cookies. If not for yourself (although you really should be doing it for yourself) then for others. What better way to say something nice without saying anything at all then with homemade cookies? Cookie sharing is a language all on it’s own.

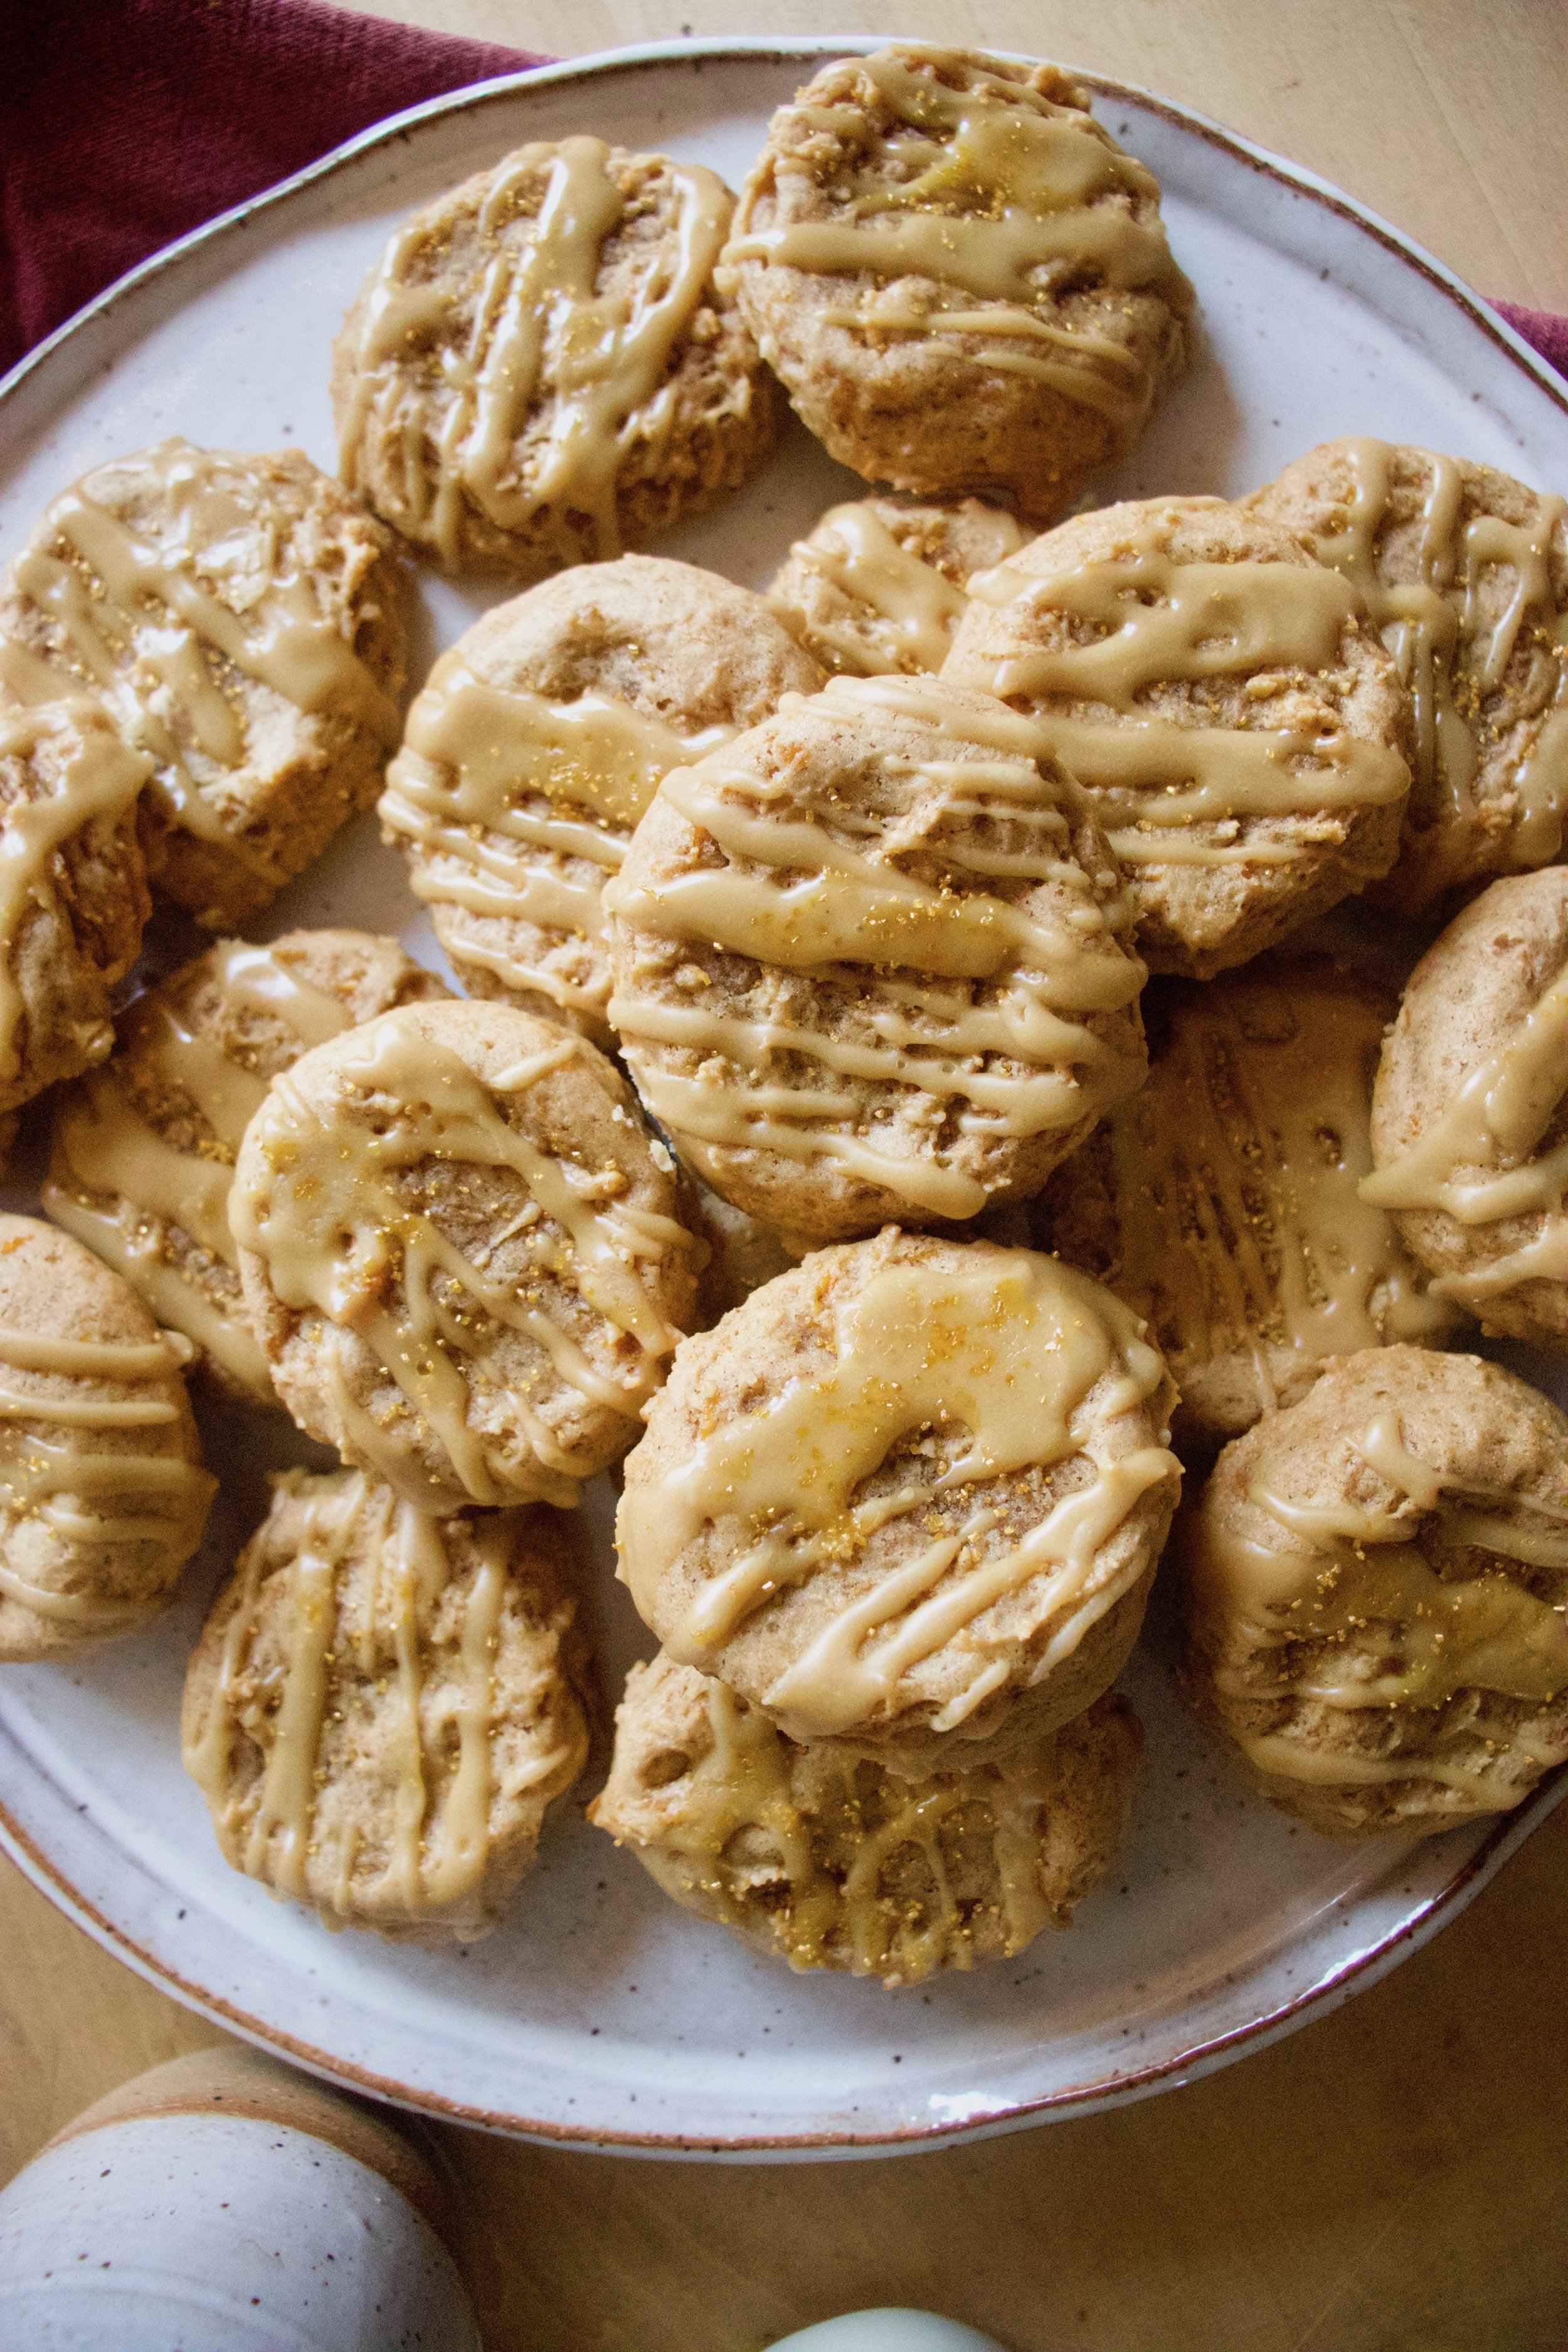
These here cookies are of the sweet potato kind, almost like pumpkin cookie, just a little less cakey and a little more sweet potatoy and are drizzled all over with a nice thick maple glaze that really just ties the hole cookie experience together. They are pretty simple to make, no extra steps or difficult anything. Just a spoon a scoop and the want and or need for a delicious cookie situation.

This cookie is going back into my baking marathon rotation next week when I go all out and bake like 6 batches of cookies .They were a hit and even requested so, you know, got to make the people happy. More like I have a couple extra sweet potatoes. HA!

Now to the cookies!

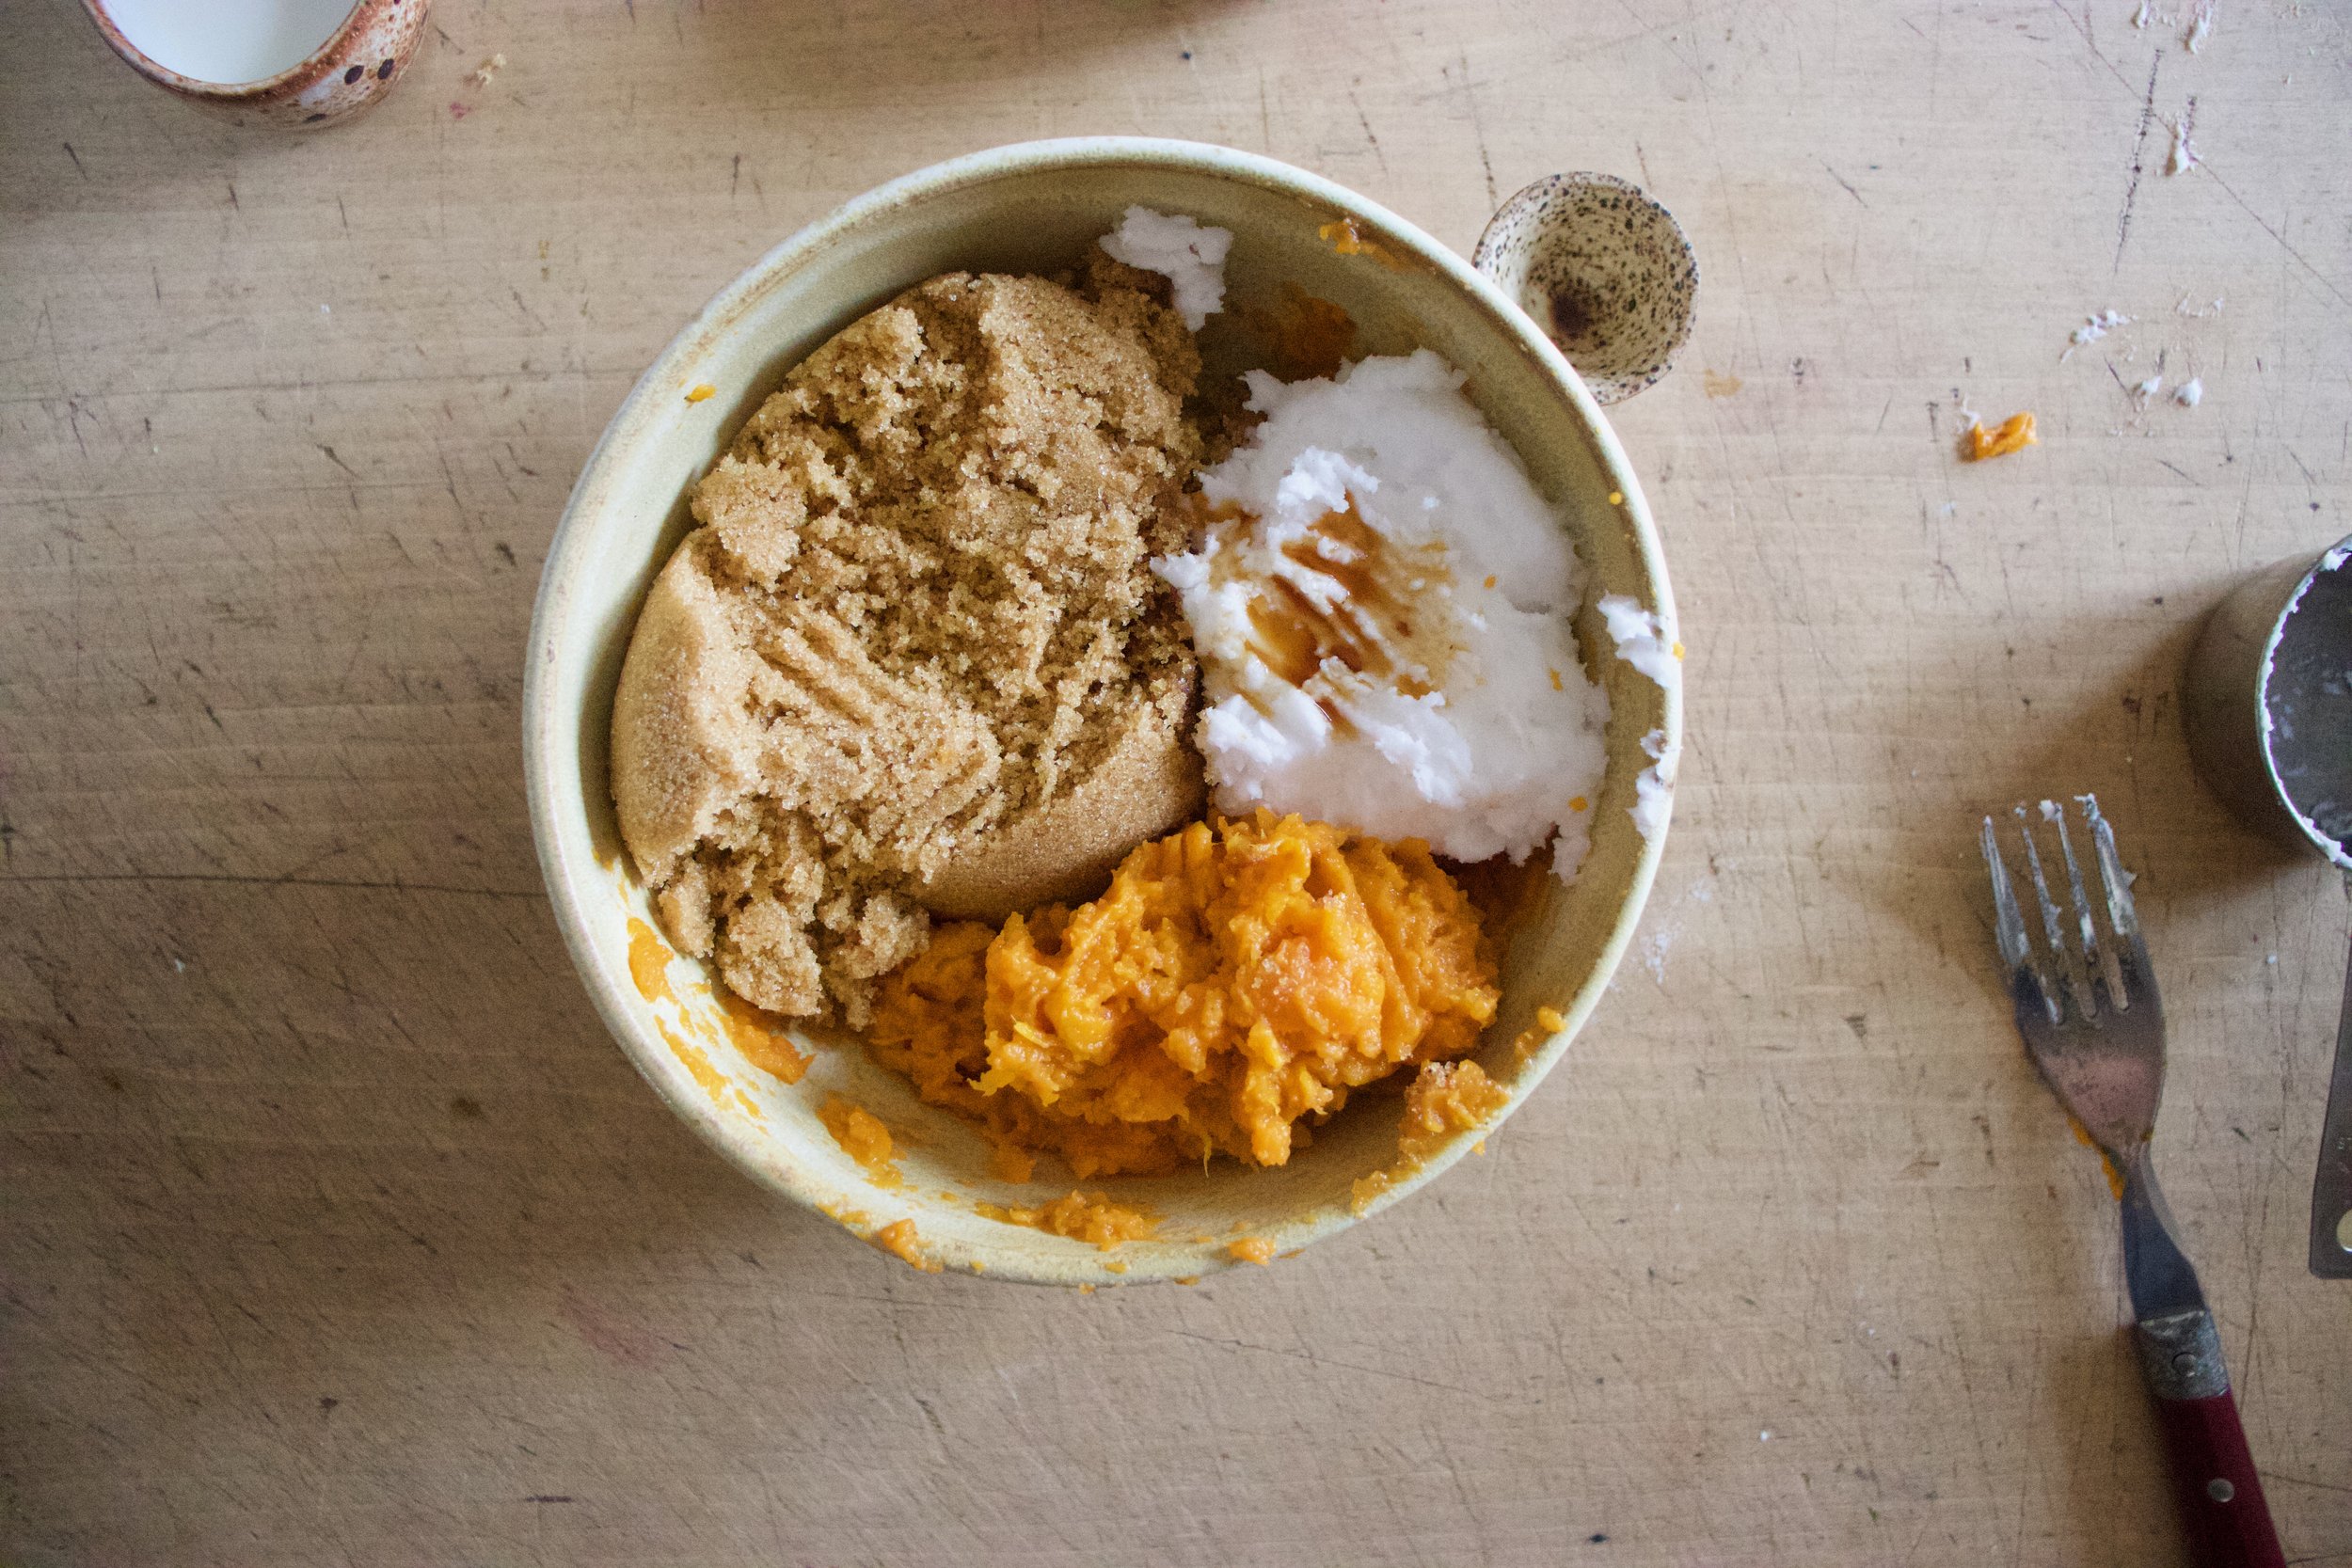
The stuff. Mashed sweet potato, flour, baking powder and soda, salt, cinnamon, brown sugar, coconut oil, vanilla, plant milk, powdered sugar, and last but not least, maple syrup.

IMG_8085.jpg
IMG_8101 2.jpg
IMG_8109.jpg
IMG_8114.jpg

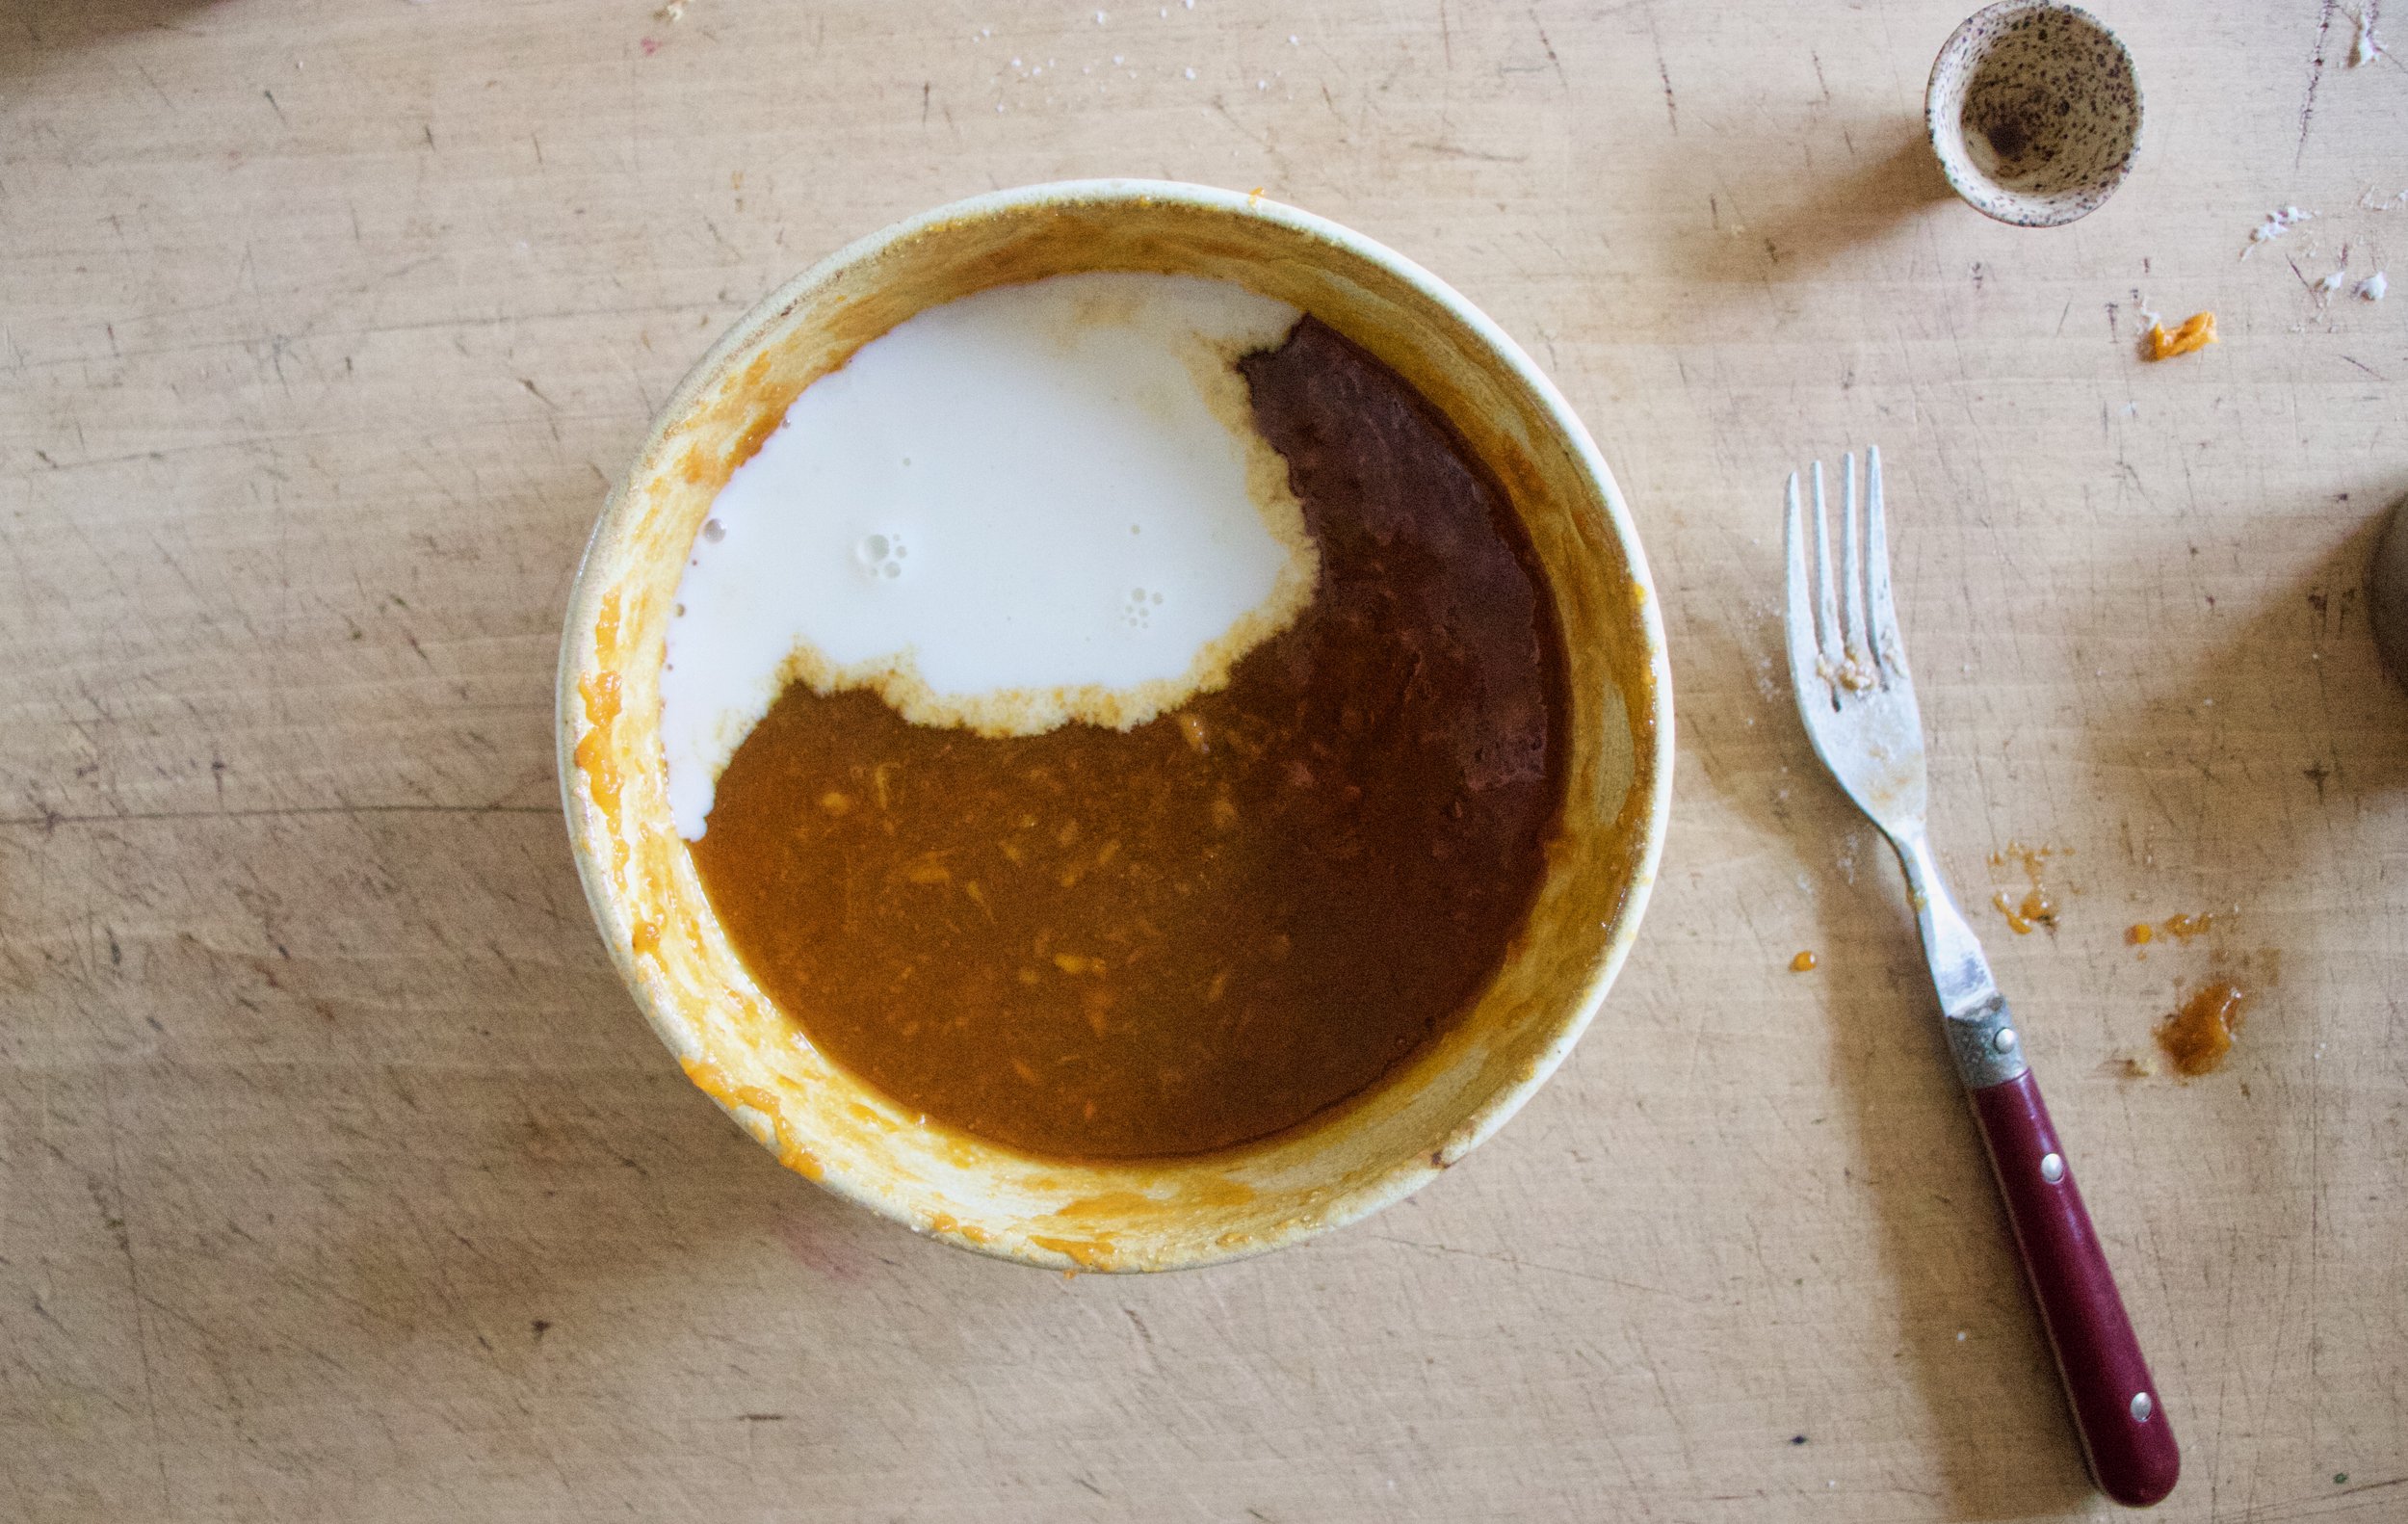
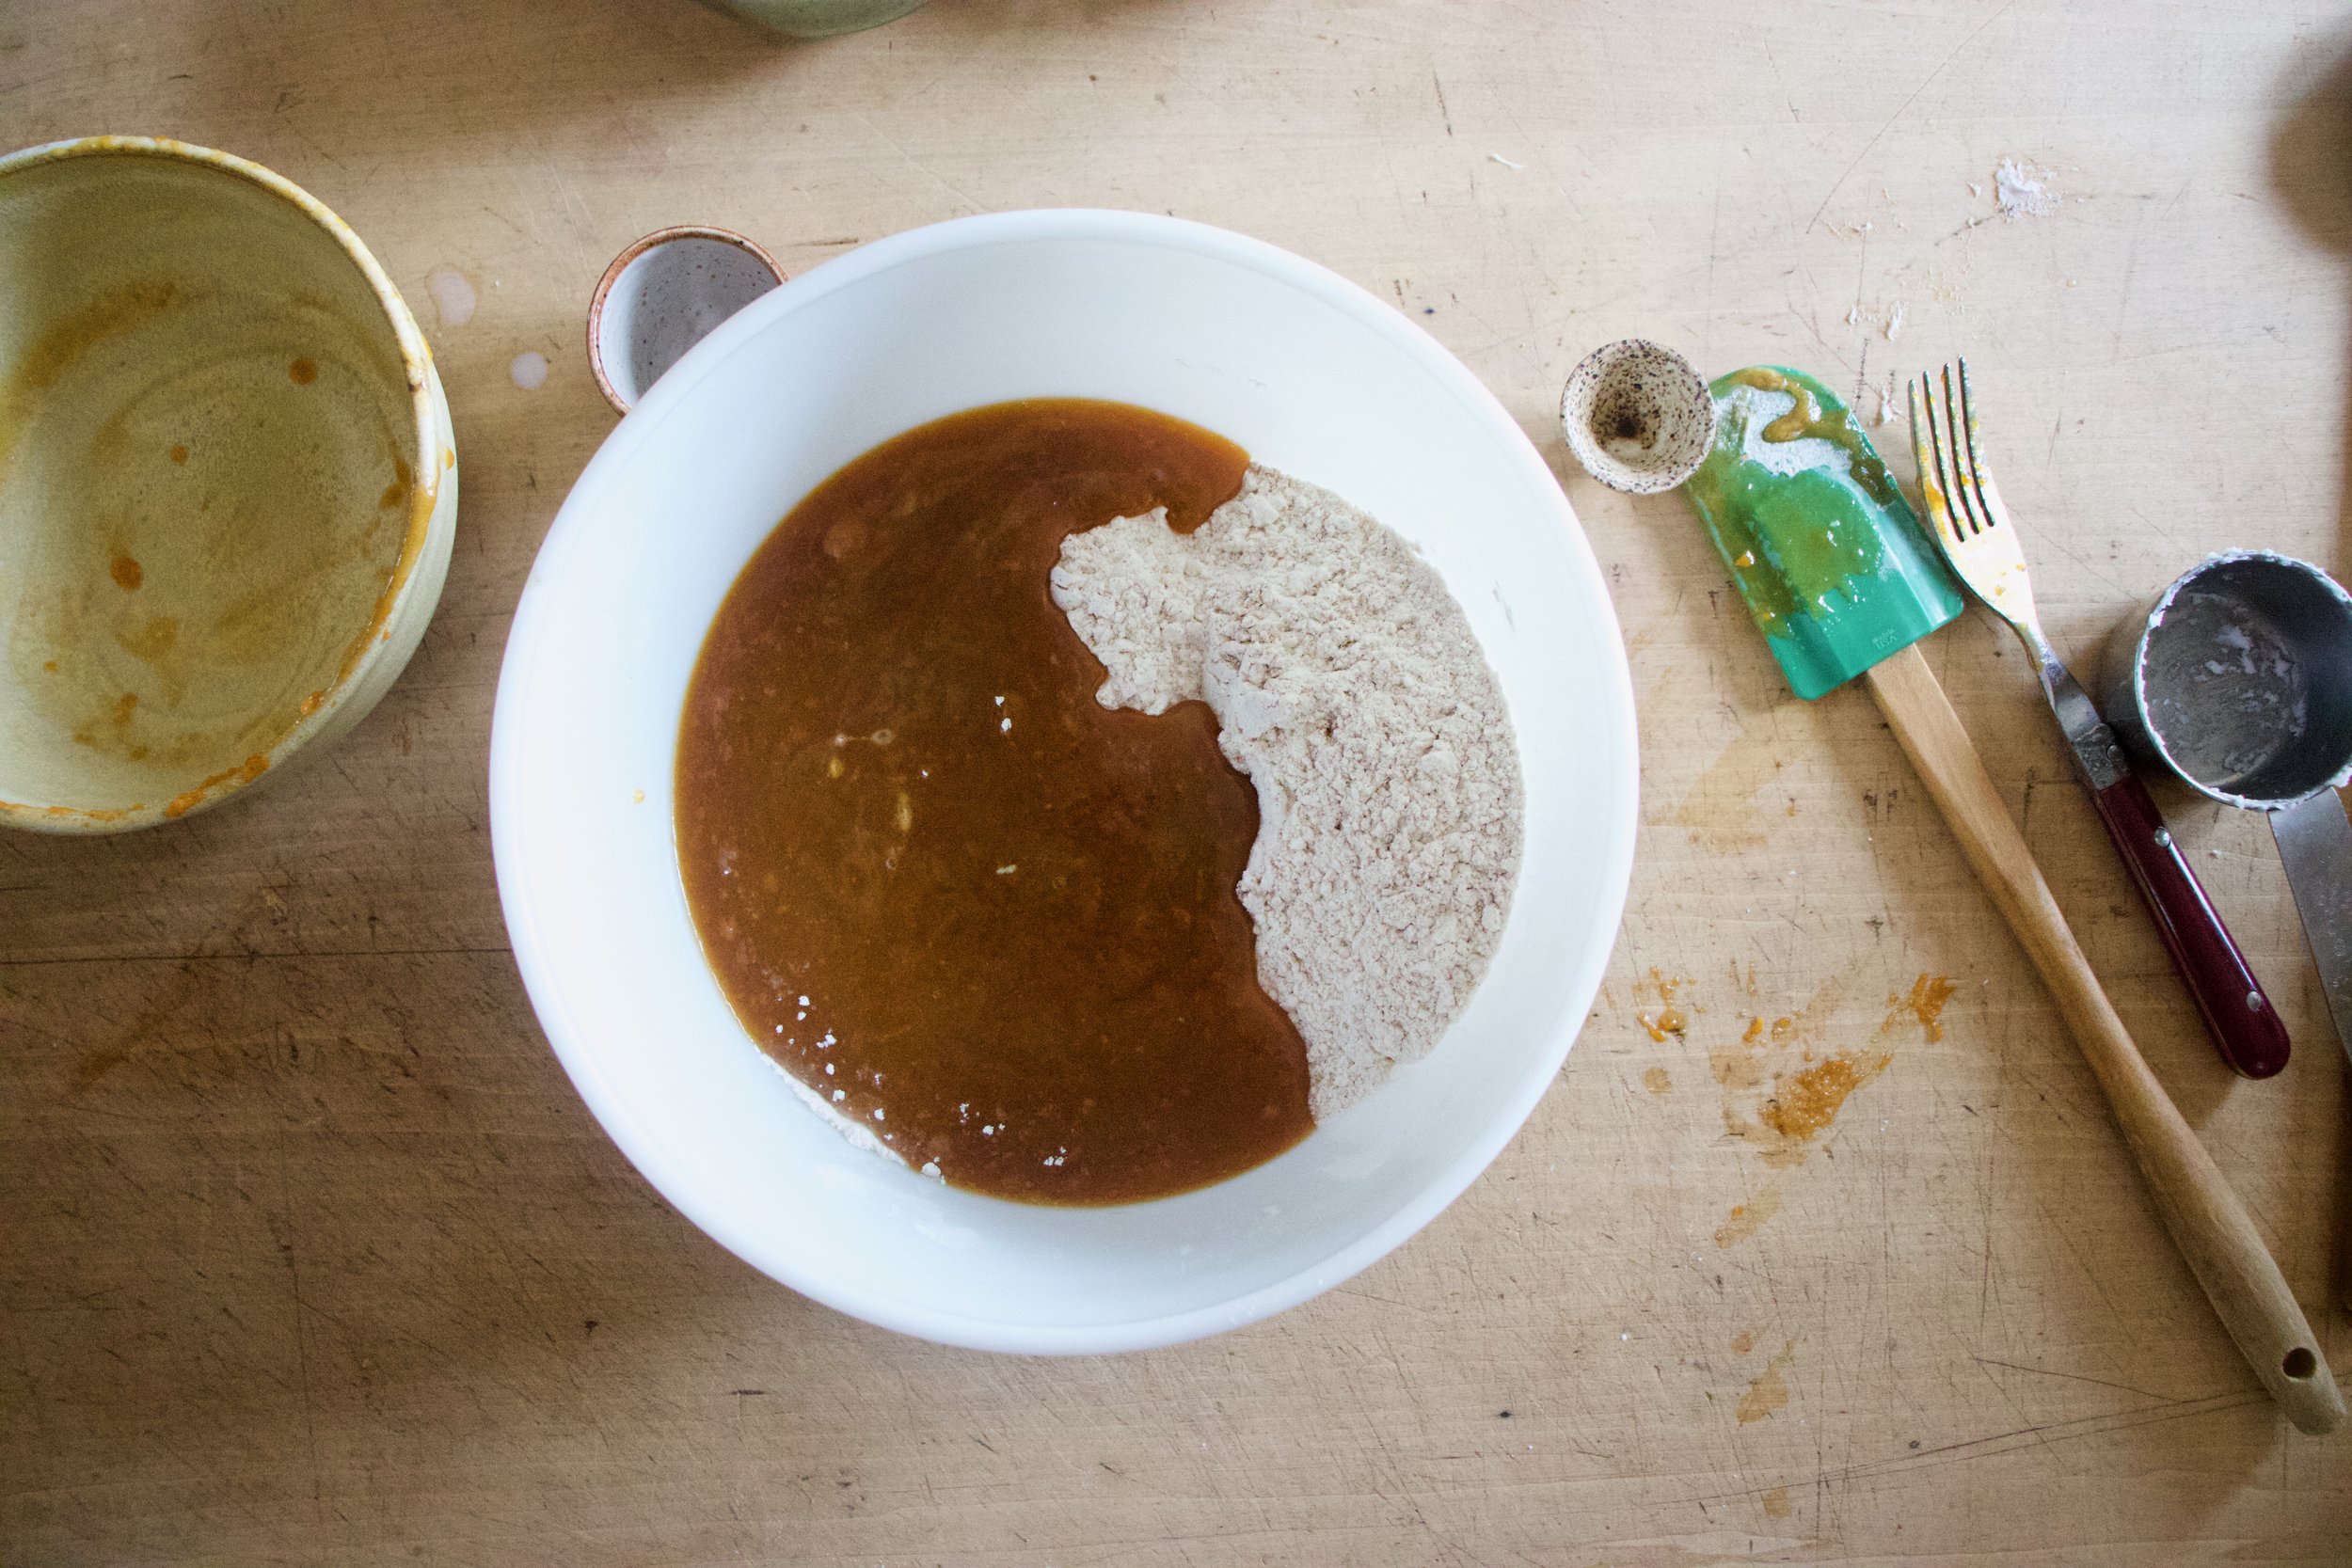
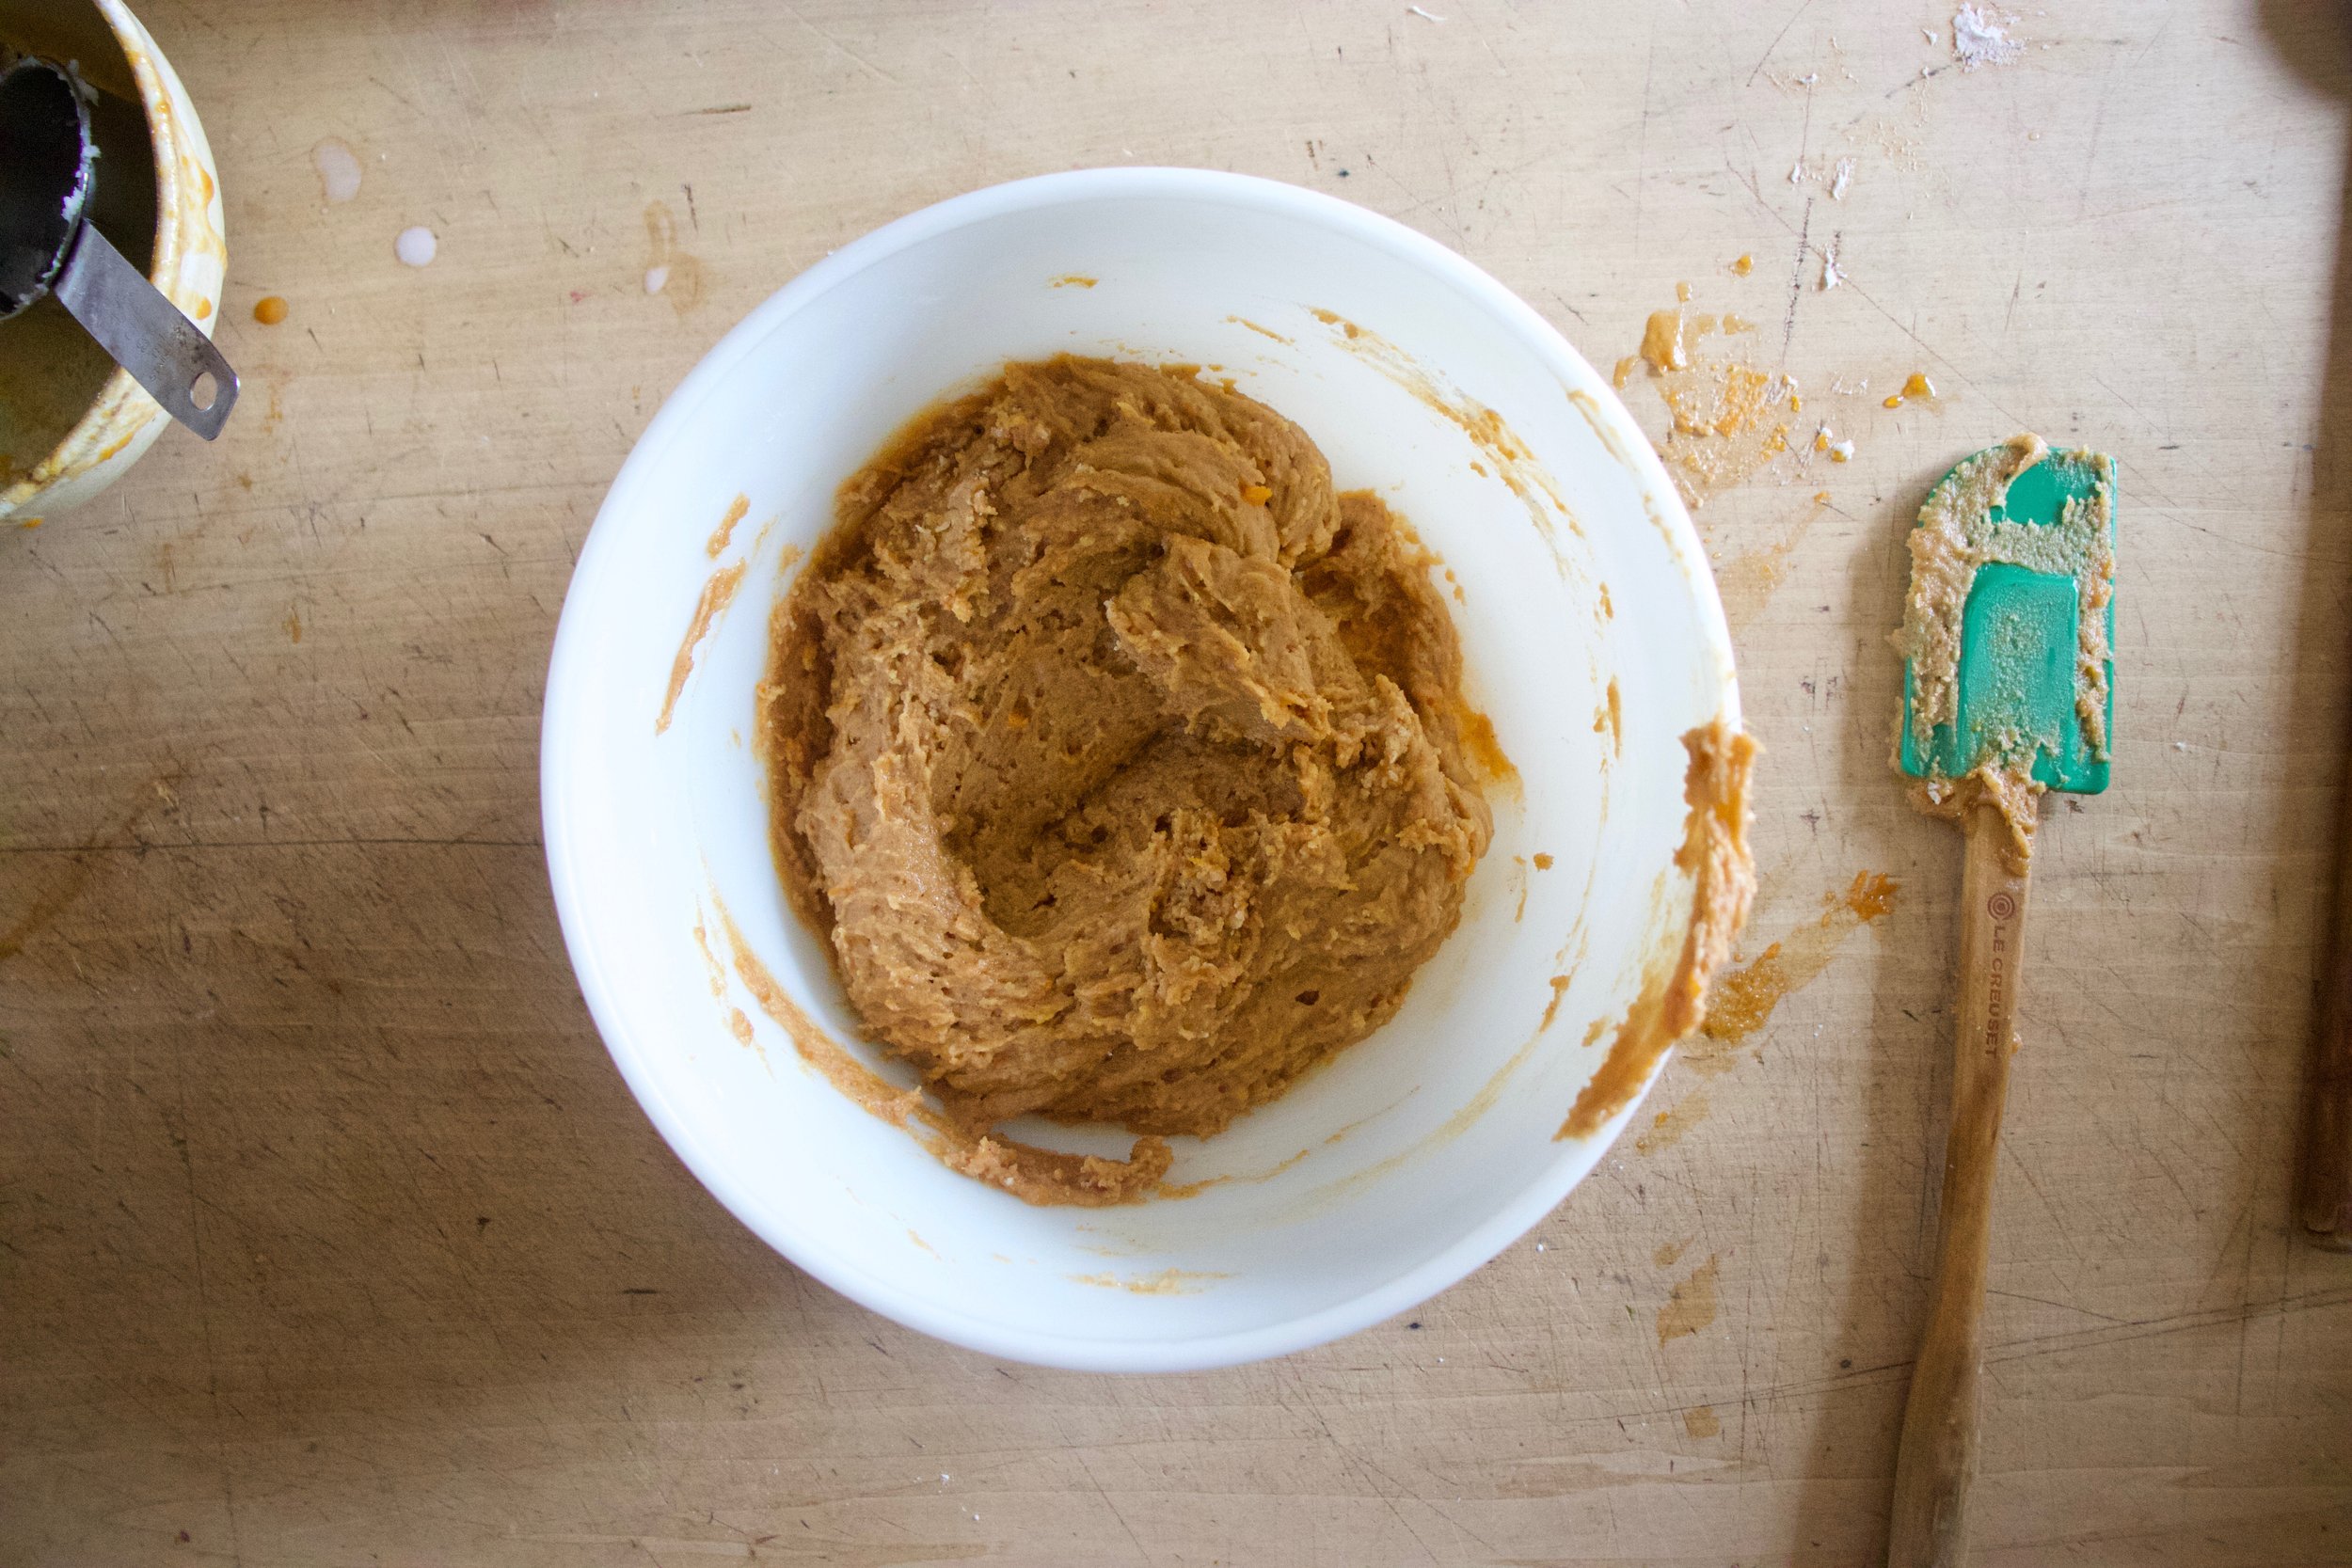
Start by mixing the dry ingredients together into a big bowl, Then mix the sweet potato, oil, sugar, vanilla, and oh the milk in a separate bowl. Once mixed and completely combined, dump the wet into the dry and gently mix until a combined and dough has formed.

Now scoop equal sizes amounts of dough onto a cookie sheet the pop them into a preheated oven.

Some minutes later they are done. Nic ans golden brown and slightly domed. A little trick I do is once they come out of the oven I right away take two fingers and just slightly push he dome down a bit. It makes the cookies a little less pillowy and more chewy.

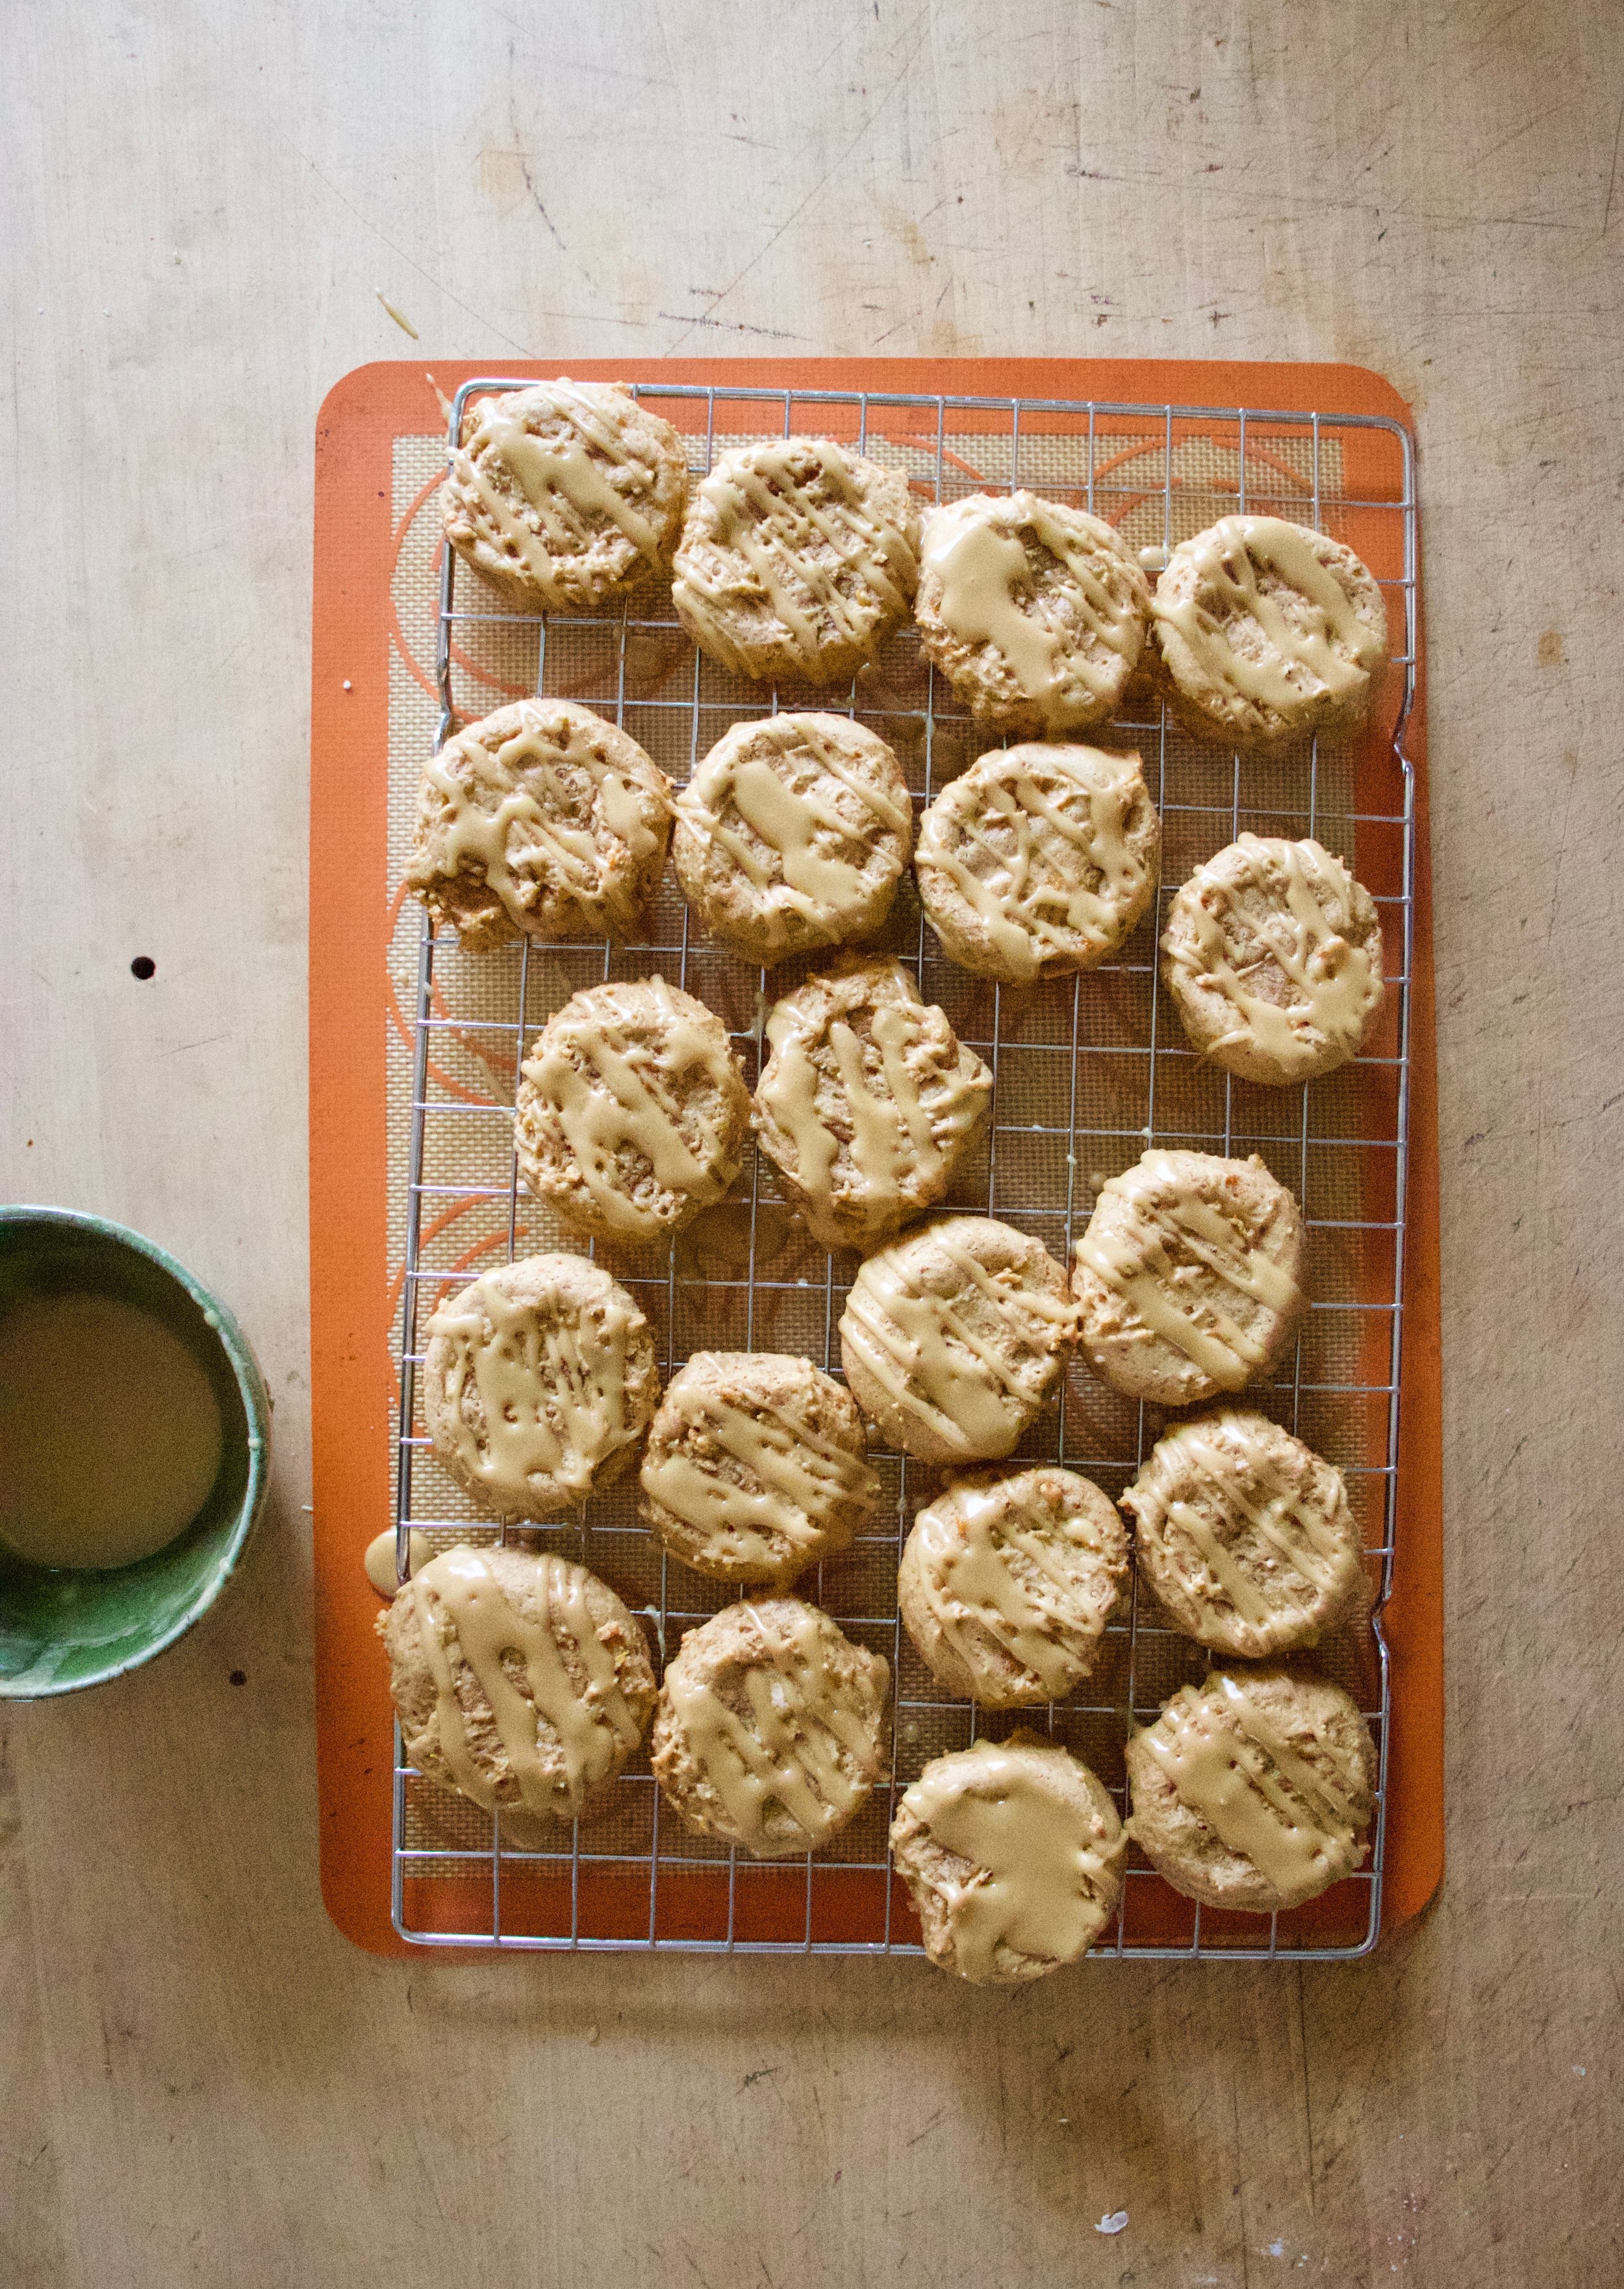
And then place them on a wire rack to cool.

IMG_8138.jpg
IMG_8142.jpg

In the meantime make the maple glaze. Mix maple and powdered sugar together until completely combined and is thick put still pourable.

Once cookies have cooled, drizzle on the maple glaze. And if you are feeling like it, add a little sprinkle situation. I added gold sparkly granulated sugar. It was a good idea.

As for the rest, you know what to do. Eat. share, eat some more. Do you.

-C


Maple glazed sweet potato cookies

maskes about 20

  • 2 cup all purpose flour

  • 1/2 reason baking soda

  • 1 teaspoon baking powder

  • 1/2 teaspoon salt

  • 3/4 cup sweet potato mash

  • 3/4 cup brown sugar

  • 2 teaspoons cinnamon

  • 1 teaspoon vanilla

  • 1/3 cup melted but cooled coconut oil

  • 2 tablespoons maple syrup (real shit please )

  • 3/4 cup powdered sugar

  • 1-2 teaspoons plant milk

Preheat oven to 350

In a large bowl whisk together the flour, baking soda and powder, salt, and cinnamon. In a separate bowl mix together the sweet potato mash, brown sugar, and coconut oil. Once completely combined add in the vanilla and milk and mix.

Pour wet ingredients into the dry and mix until combined and a dough forms. Scoop equal sized ball of dough and place on a baking sheet. The cookies will expand but not a lot. When the sheet is full, place into preheated oven and bake cookies for 10-12 minutes or unit they have puffed and turned a nice golden brown. Remove cookies from oven and very gently give each cookie a little smoosh, just to get rid of the dome. Transfer cookies to a wire rack to cool.

While cookies are cooling make glaze. Mix powdered sugar maple, and 1 teaspoon milk together until completely combined and glaze forms into a thick yet pourable consistency. If it is too thick add in a splash more of milk.

Once cookies are cooled, drizzle on maple glaze. And if you want, add a sprinkle situation before the glaze sets and hardens .

Eat.

Cookies will be good for about a week in an airtight container at room temperature. They also freeze amazingly.

In cookies, Vegan Tags sweet potato cookies, cookies, vegan, maple glazed, plant based, simple, easy, holiday, food, cookie, snack, desert, dairy free, egg free
Comment

Roasted Celeriac and Squash with Apples and Onions

November 13, 2021 Colleen Stem

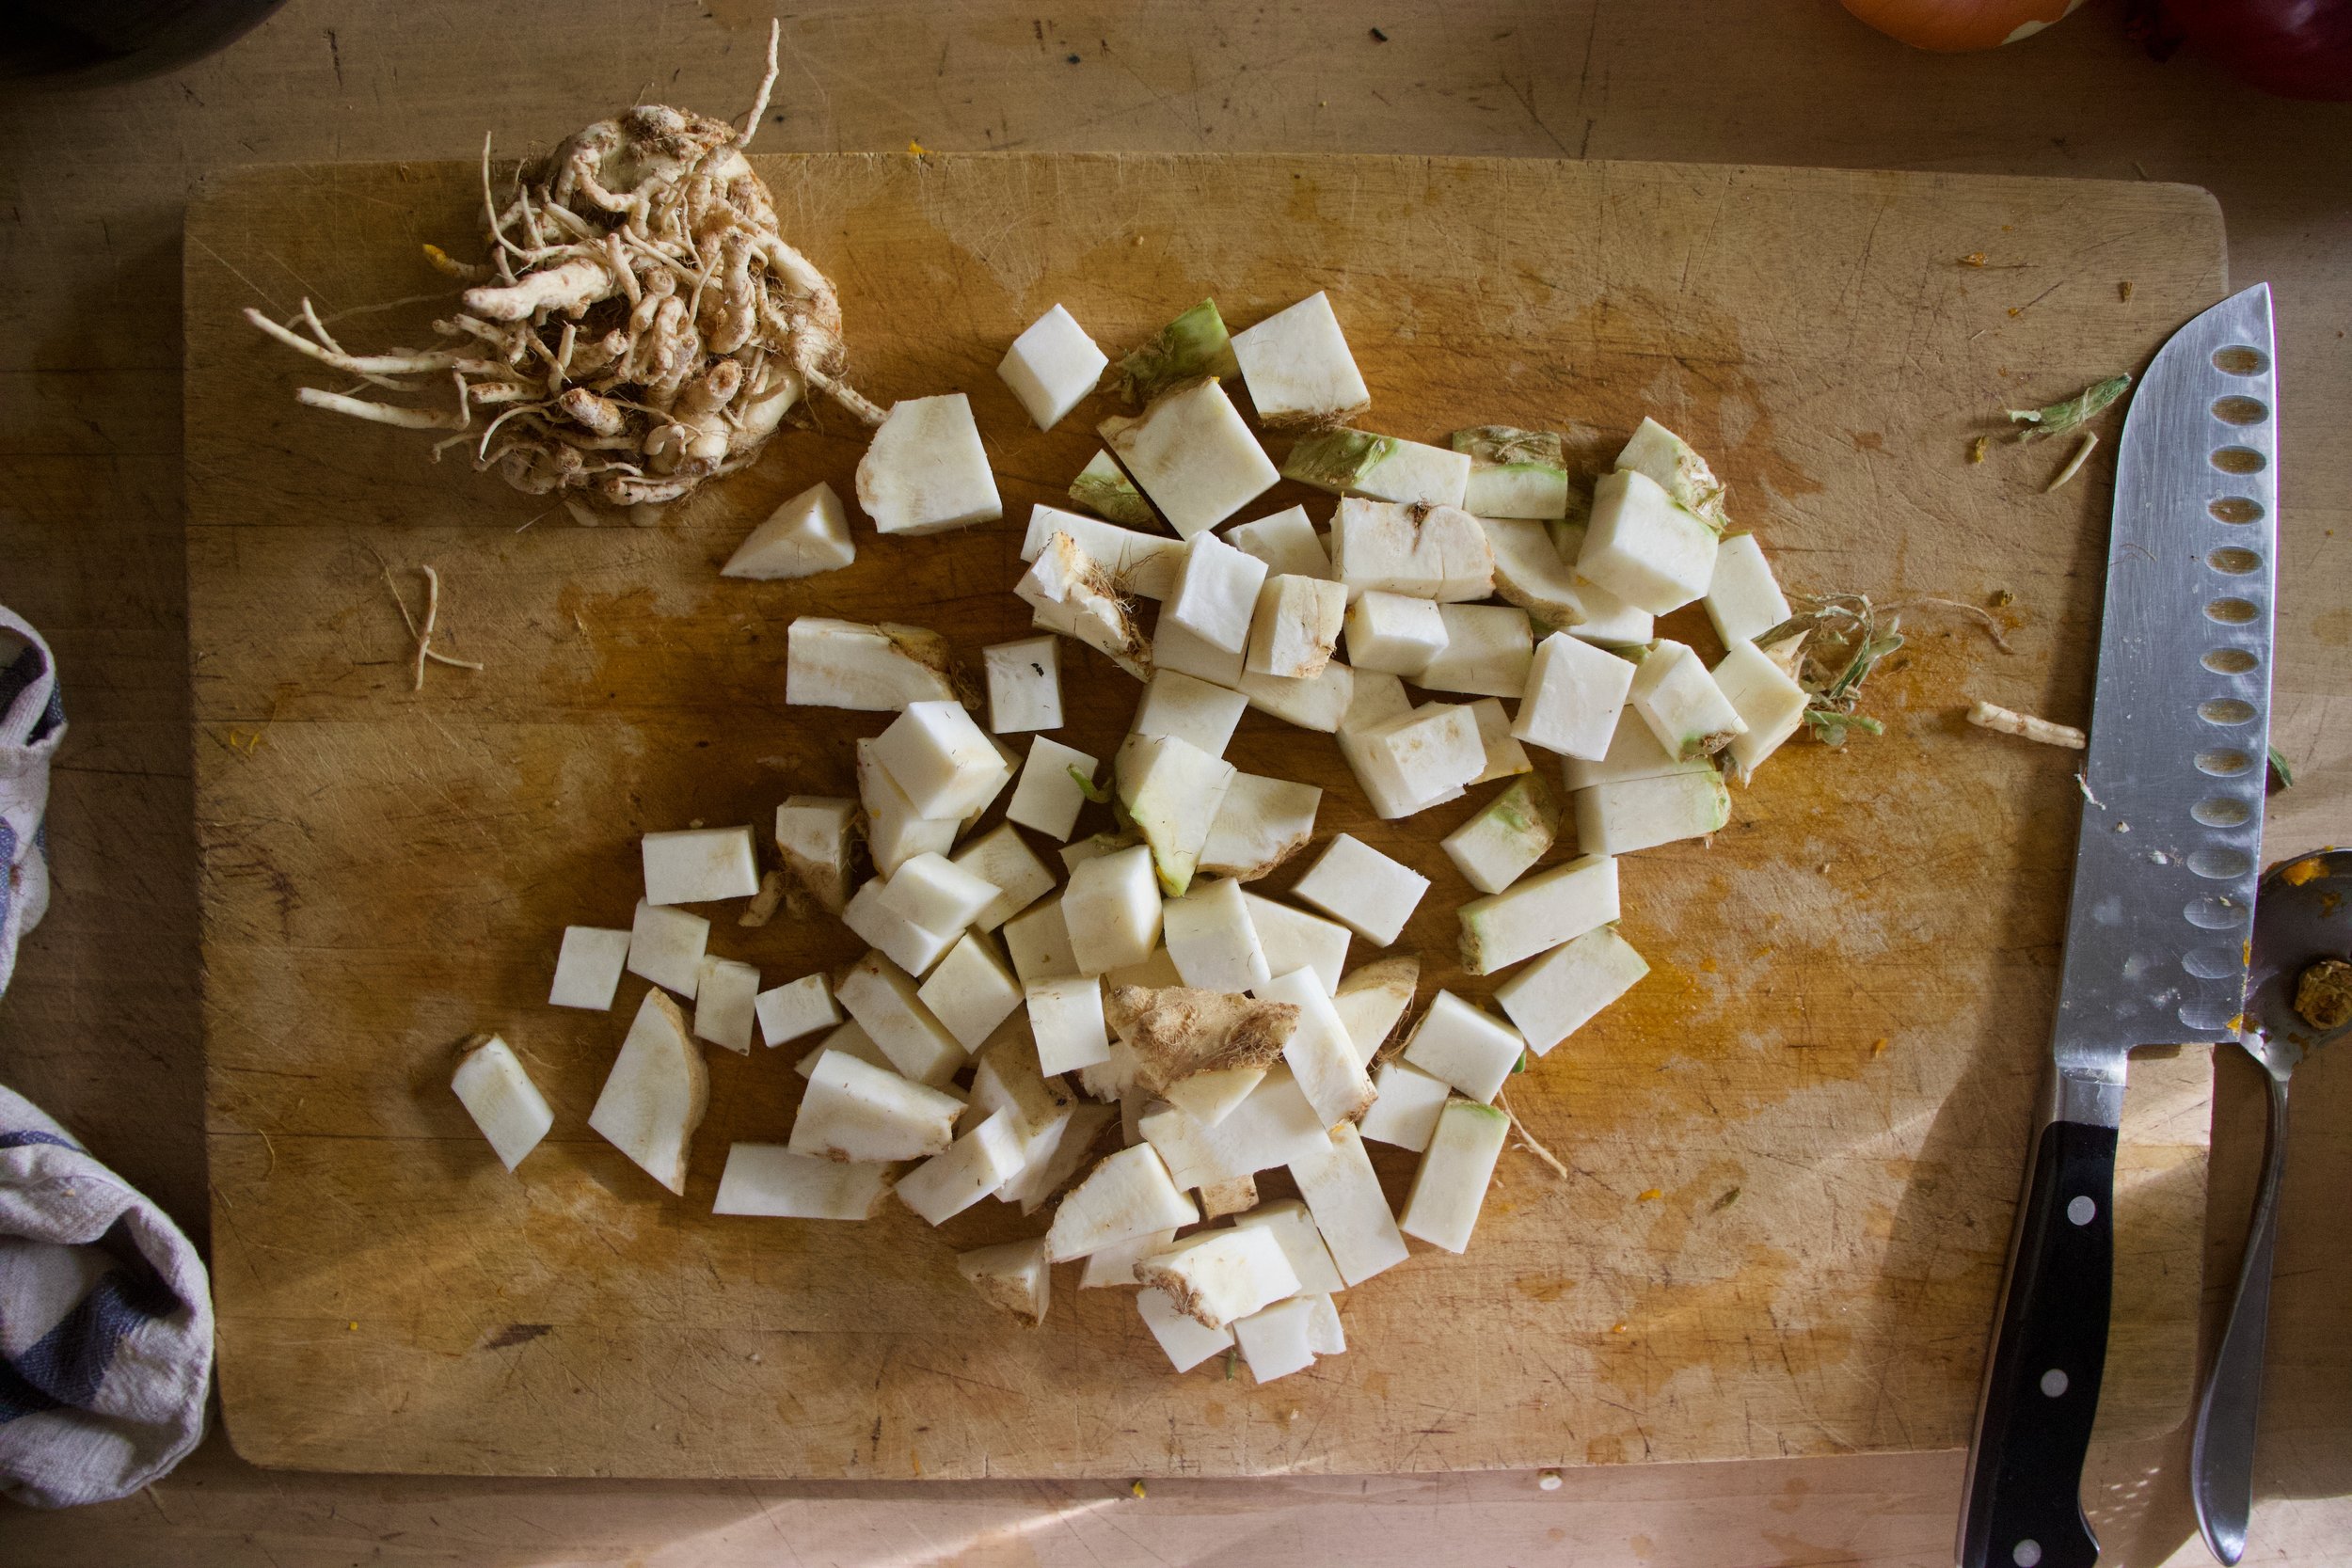
One of my most favorite root veggie has arrived in the farm share…Celeriac, also know as celery root and nothing has made me happier (with like food stuff)!. I know a lot of people do not know the deliciousness of the root and that makes me a little sad for them, but hopefully this simple little recipe inspires you to go get some and try it. Yeah sure it looks a little crazy, a little gnarly, but what do looks got to do with t? Celeriac taste like the best celery/apple/potato all mixed together but only better. And when it is roasted it gets nice a soft and just so freaking tasty. When I pick up my share, I make sure to get enough celeriac to eat a whole bulb a day.

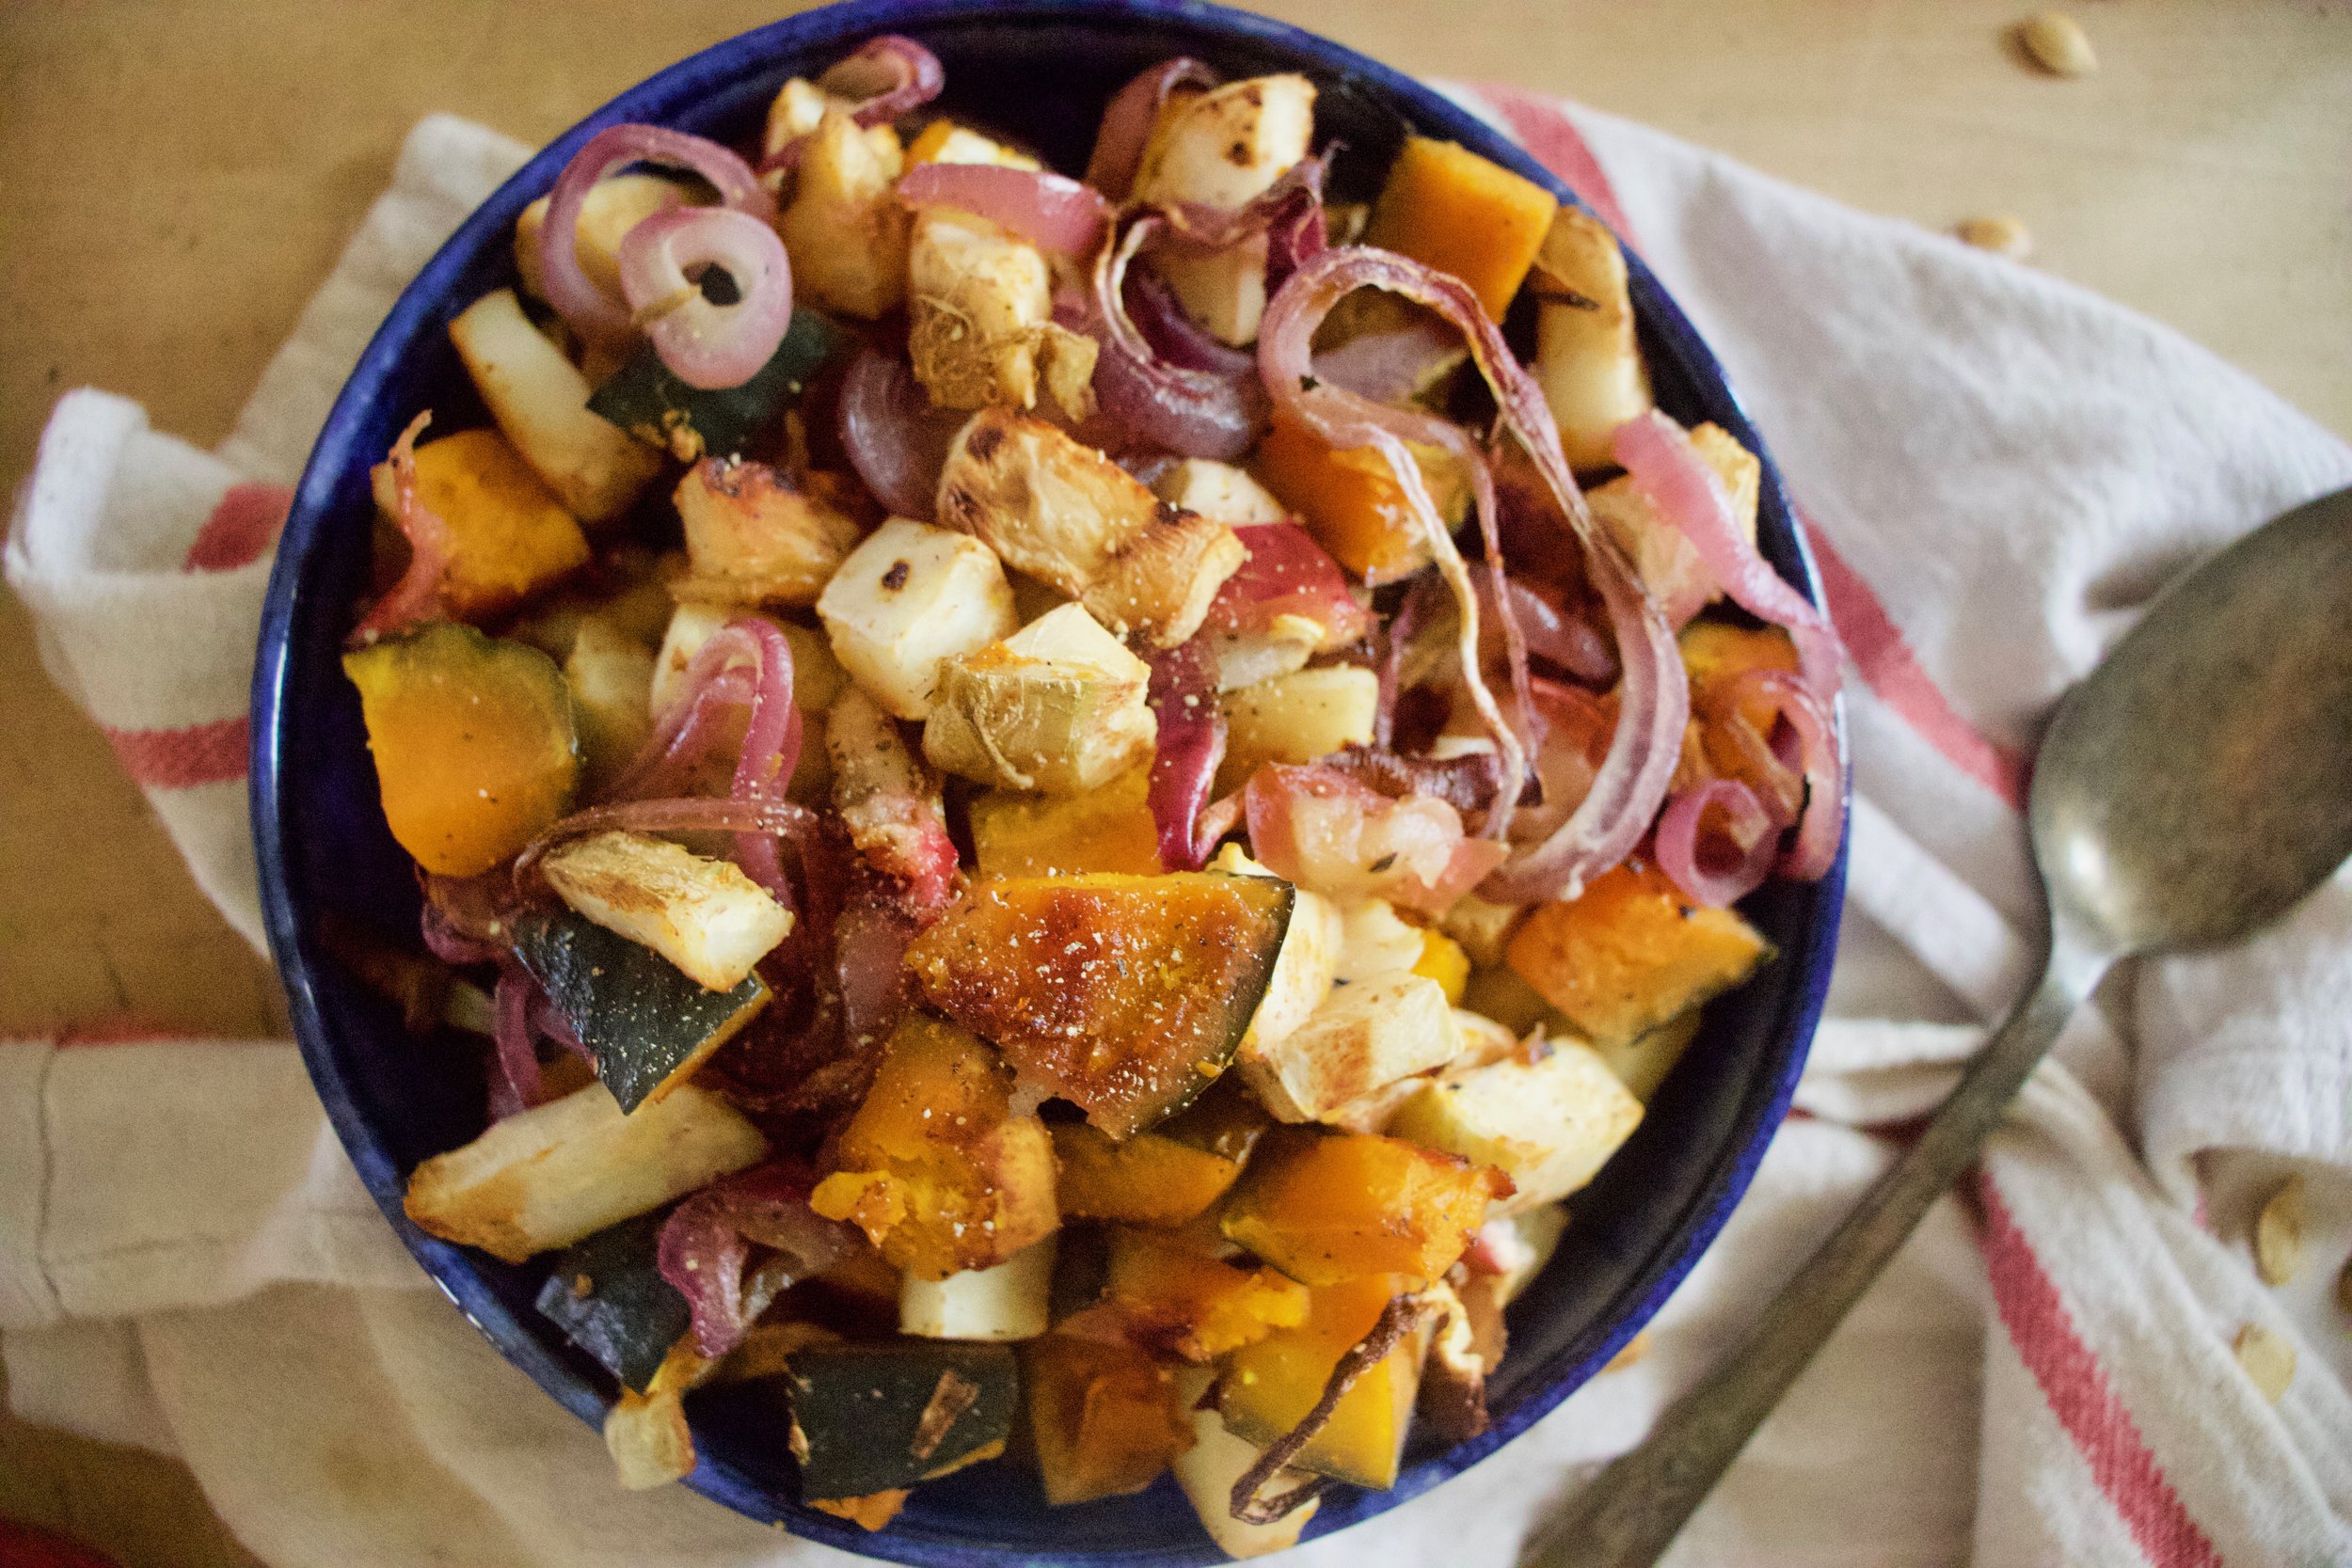
So now that we all know how amazing celeriac is, we can roast it with some other amazing stuff. Squash, apples, and onions. All tossed together. All roasted til tender. All super delicious on their own but maybe even better together. A easy little dish that is perfect to make for a quiet evening at home, a mid day snack, breakfast, or to place on the table at any holiday meal. It is that versatile and really, you don’t need to have a specific reason to make it, just do. You won’t be sorry.

Now to all the roasted things!

The stuff. A large celeriac bulb, a small kobocha squash, a couple apples, a couple onions, apple cider vinegar, and salt and pepper.

IMG_7804.jpg
IMG_7805.jpg
IMG_7810.jpg
IMG_7823 2.jpg

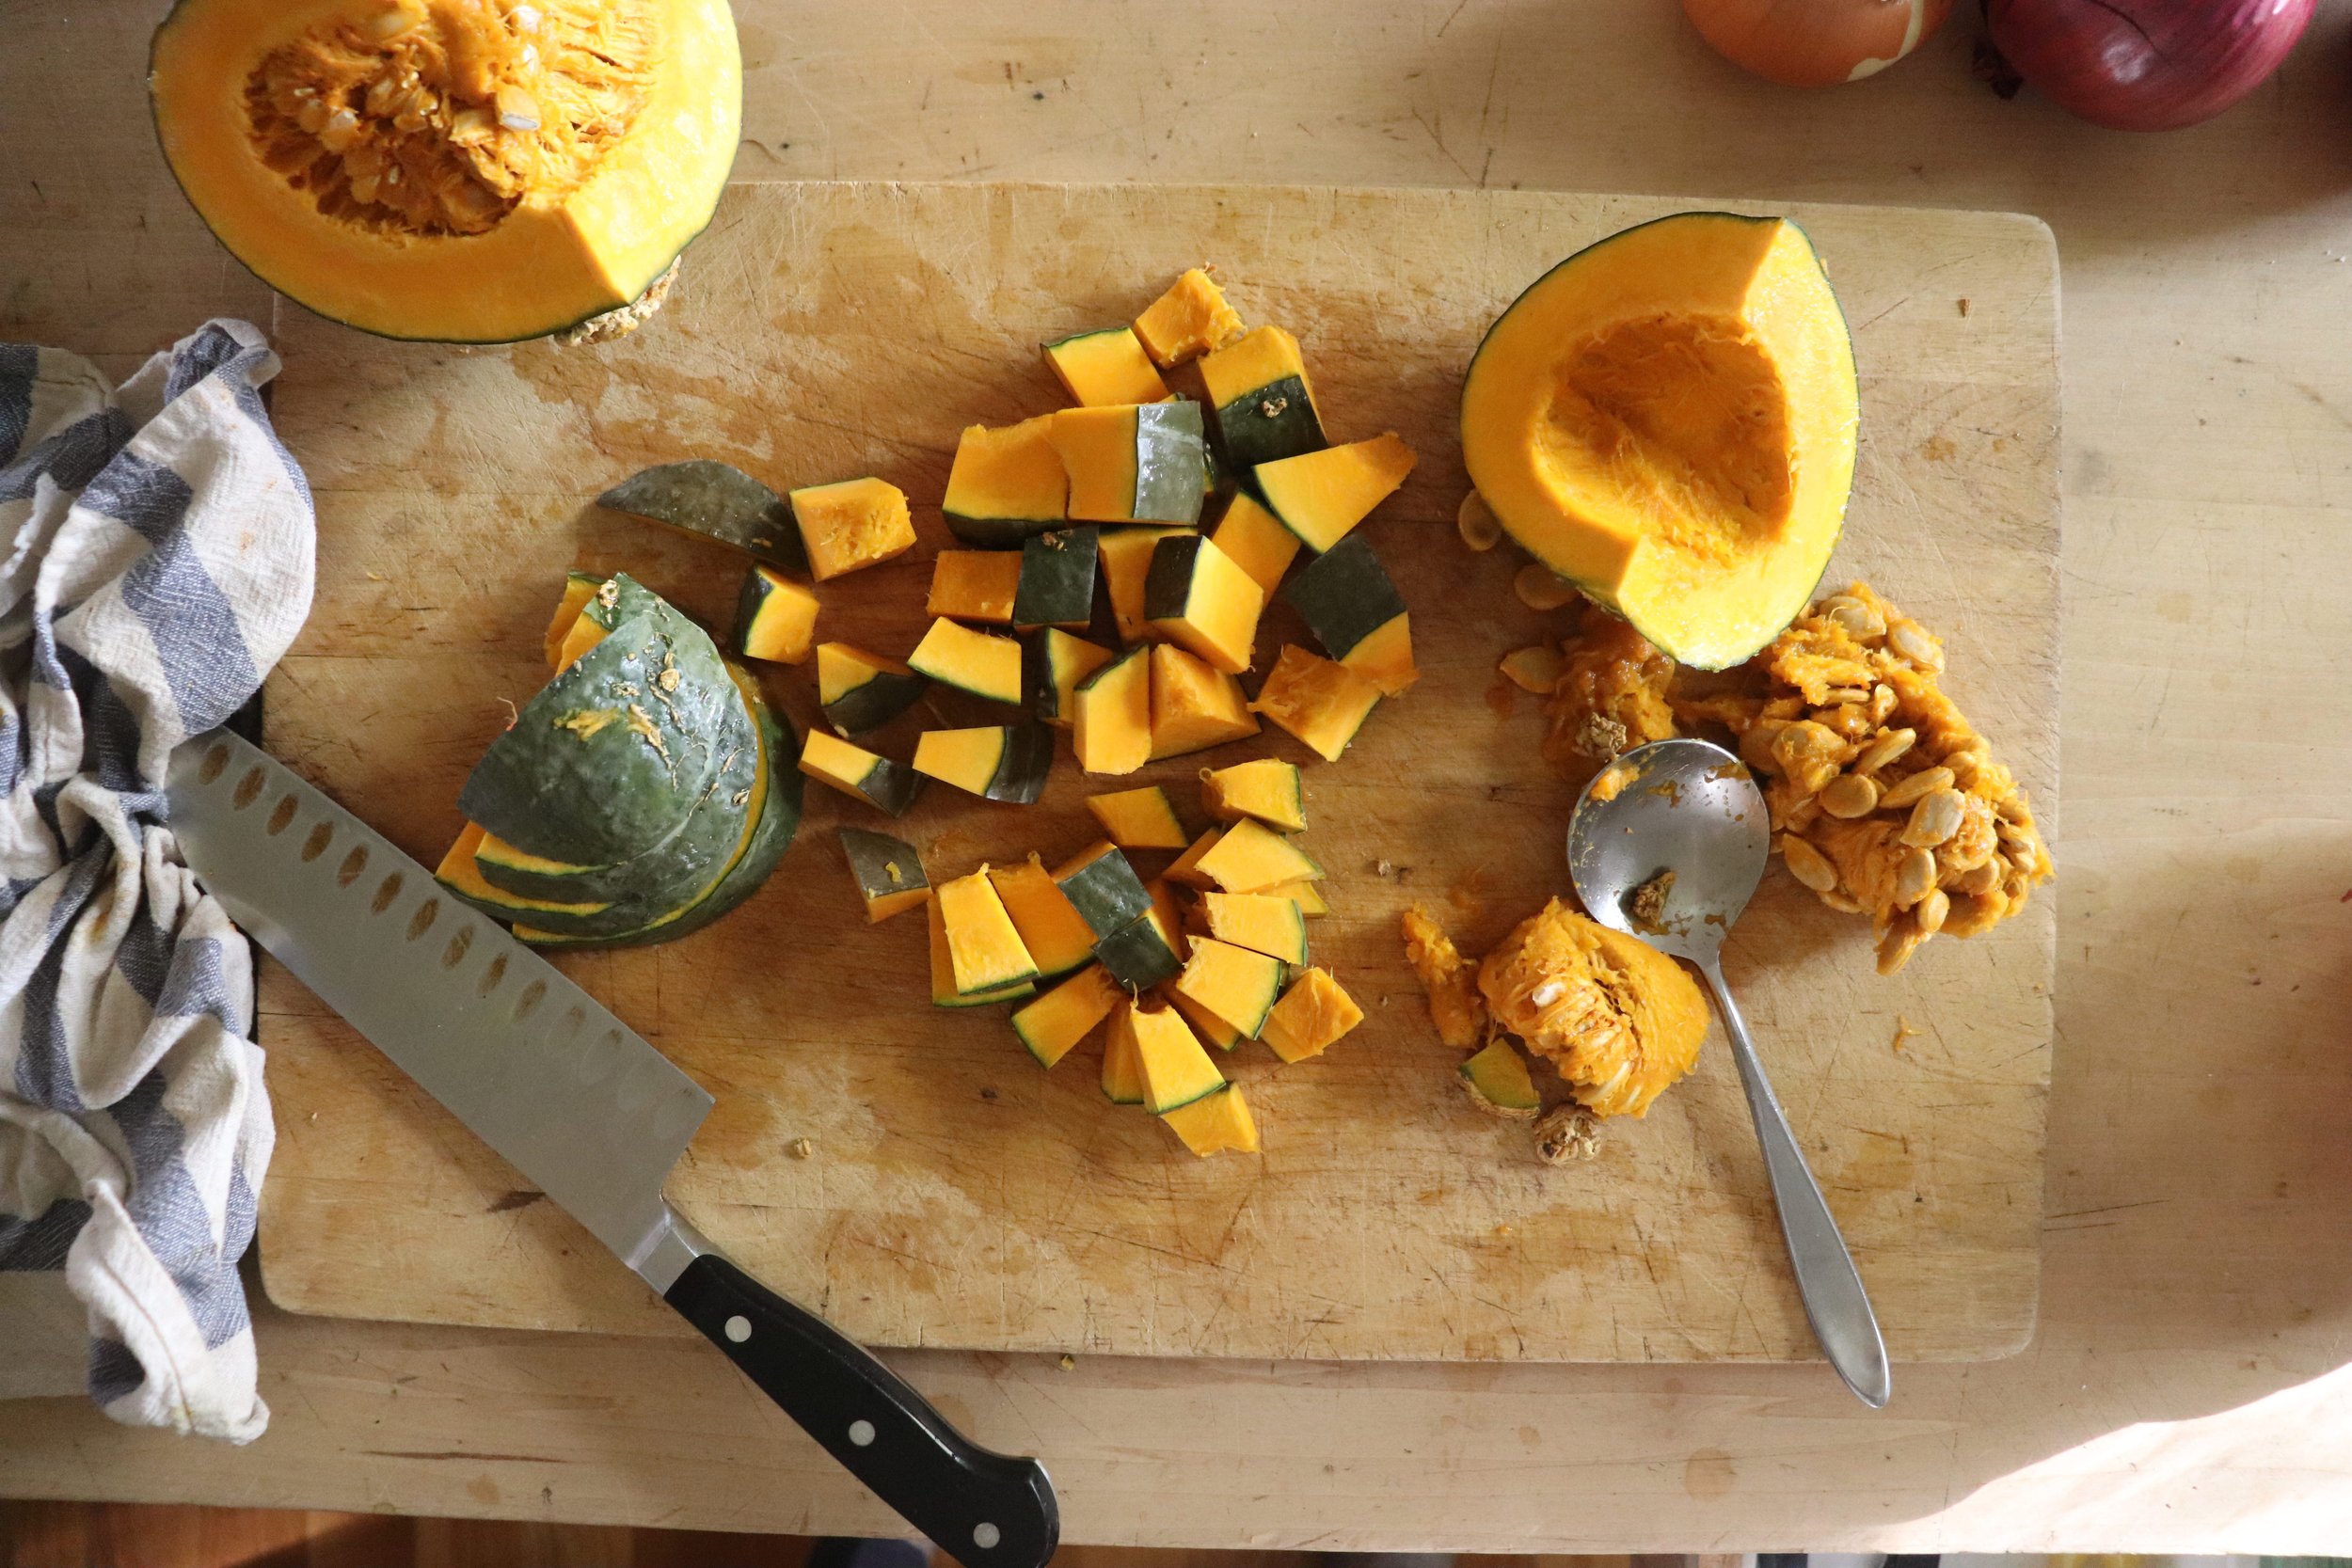
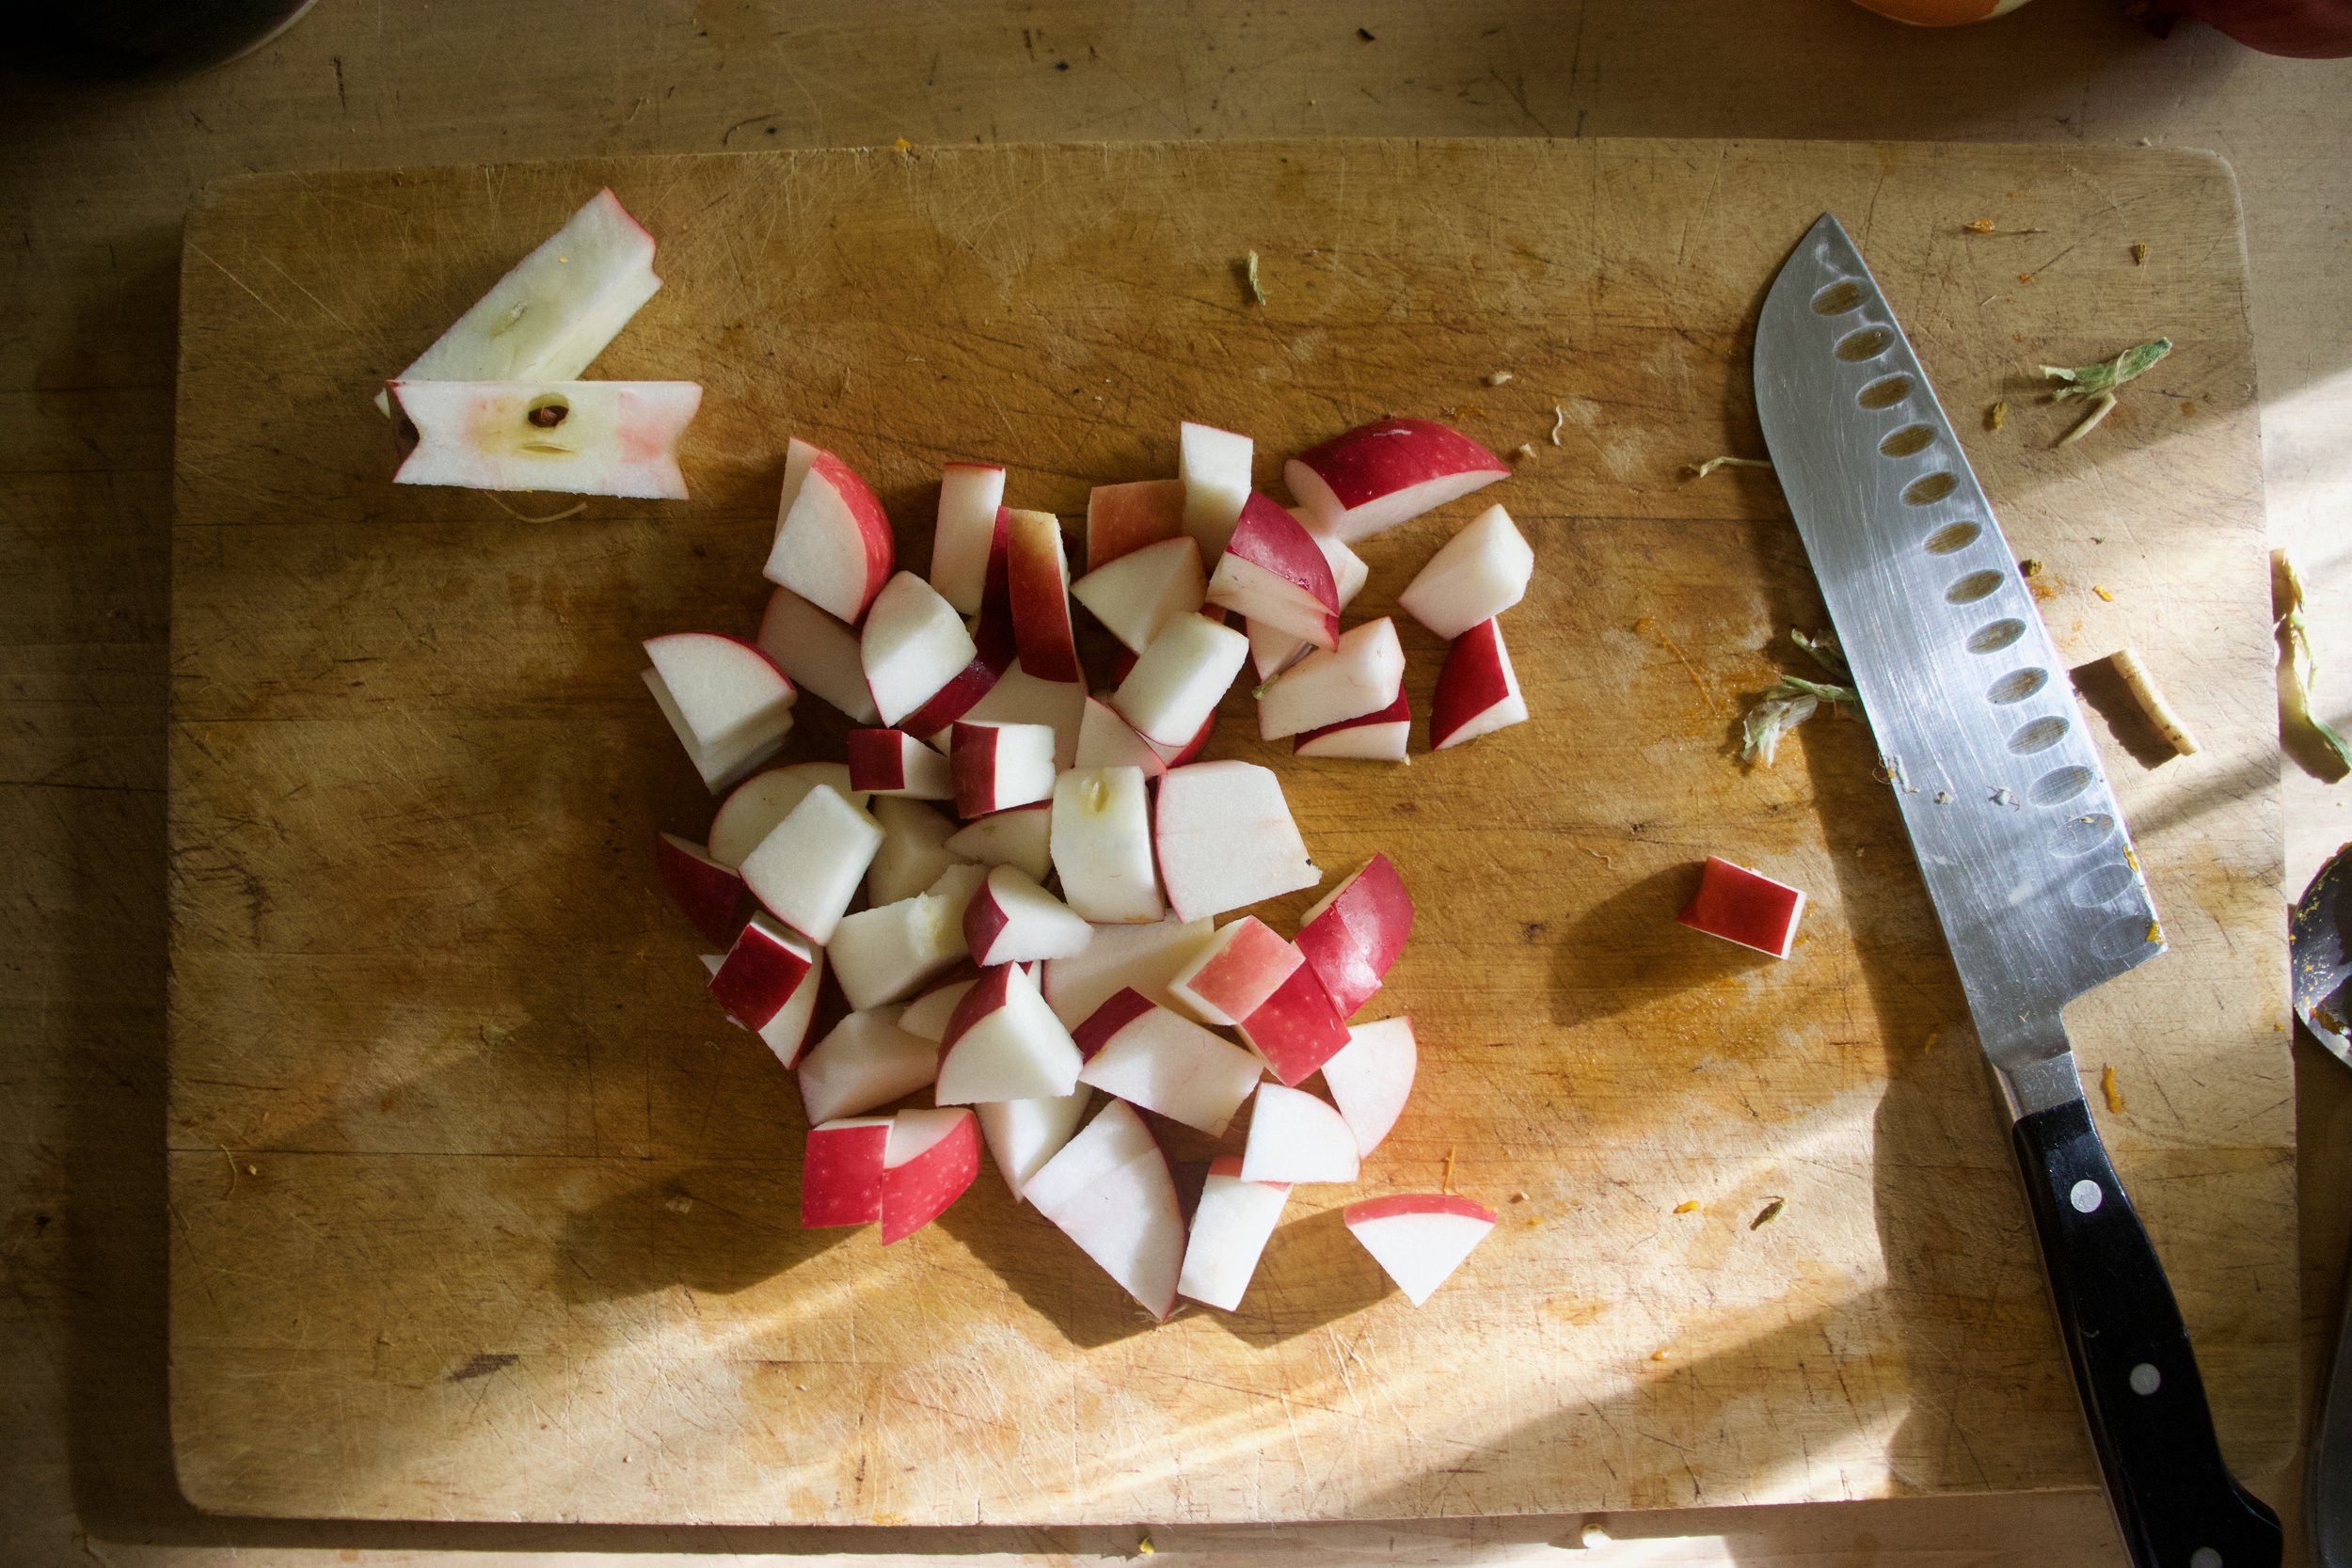
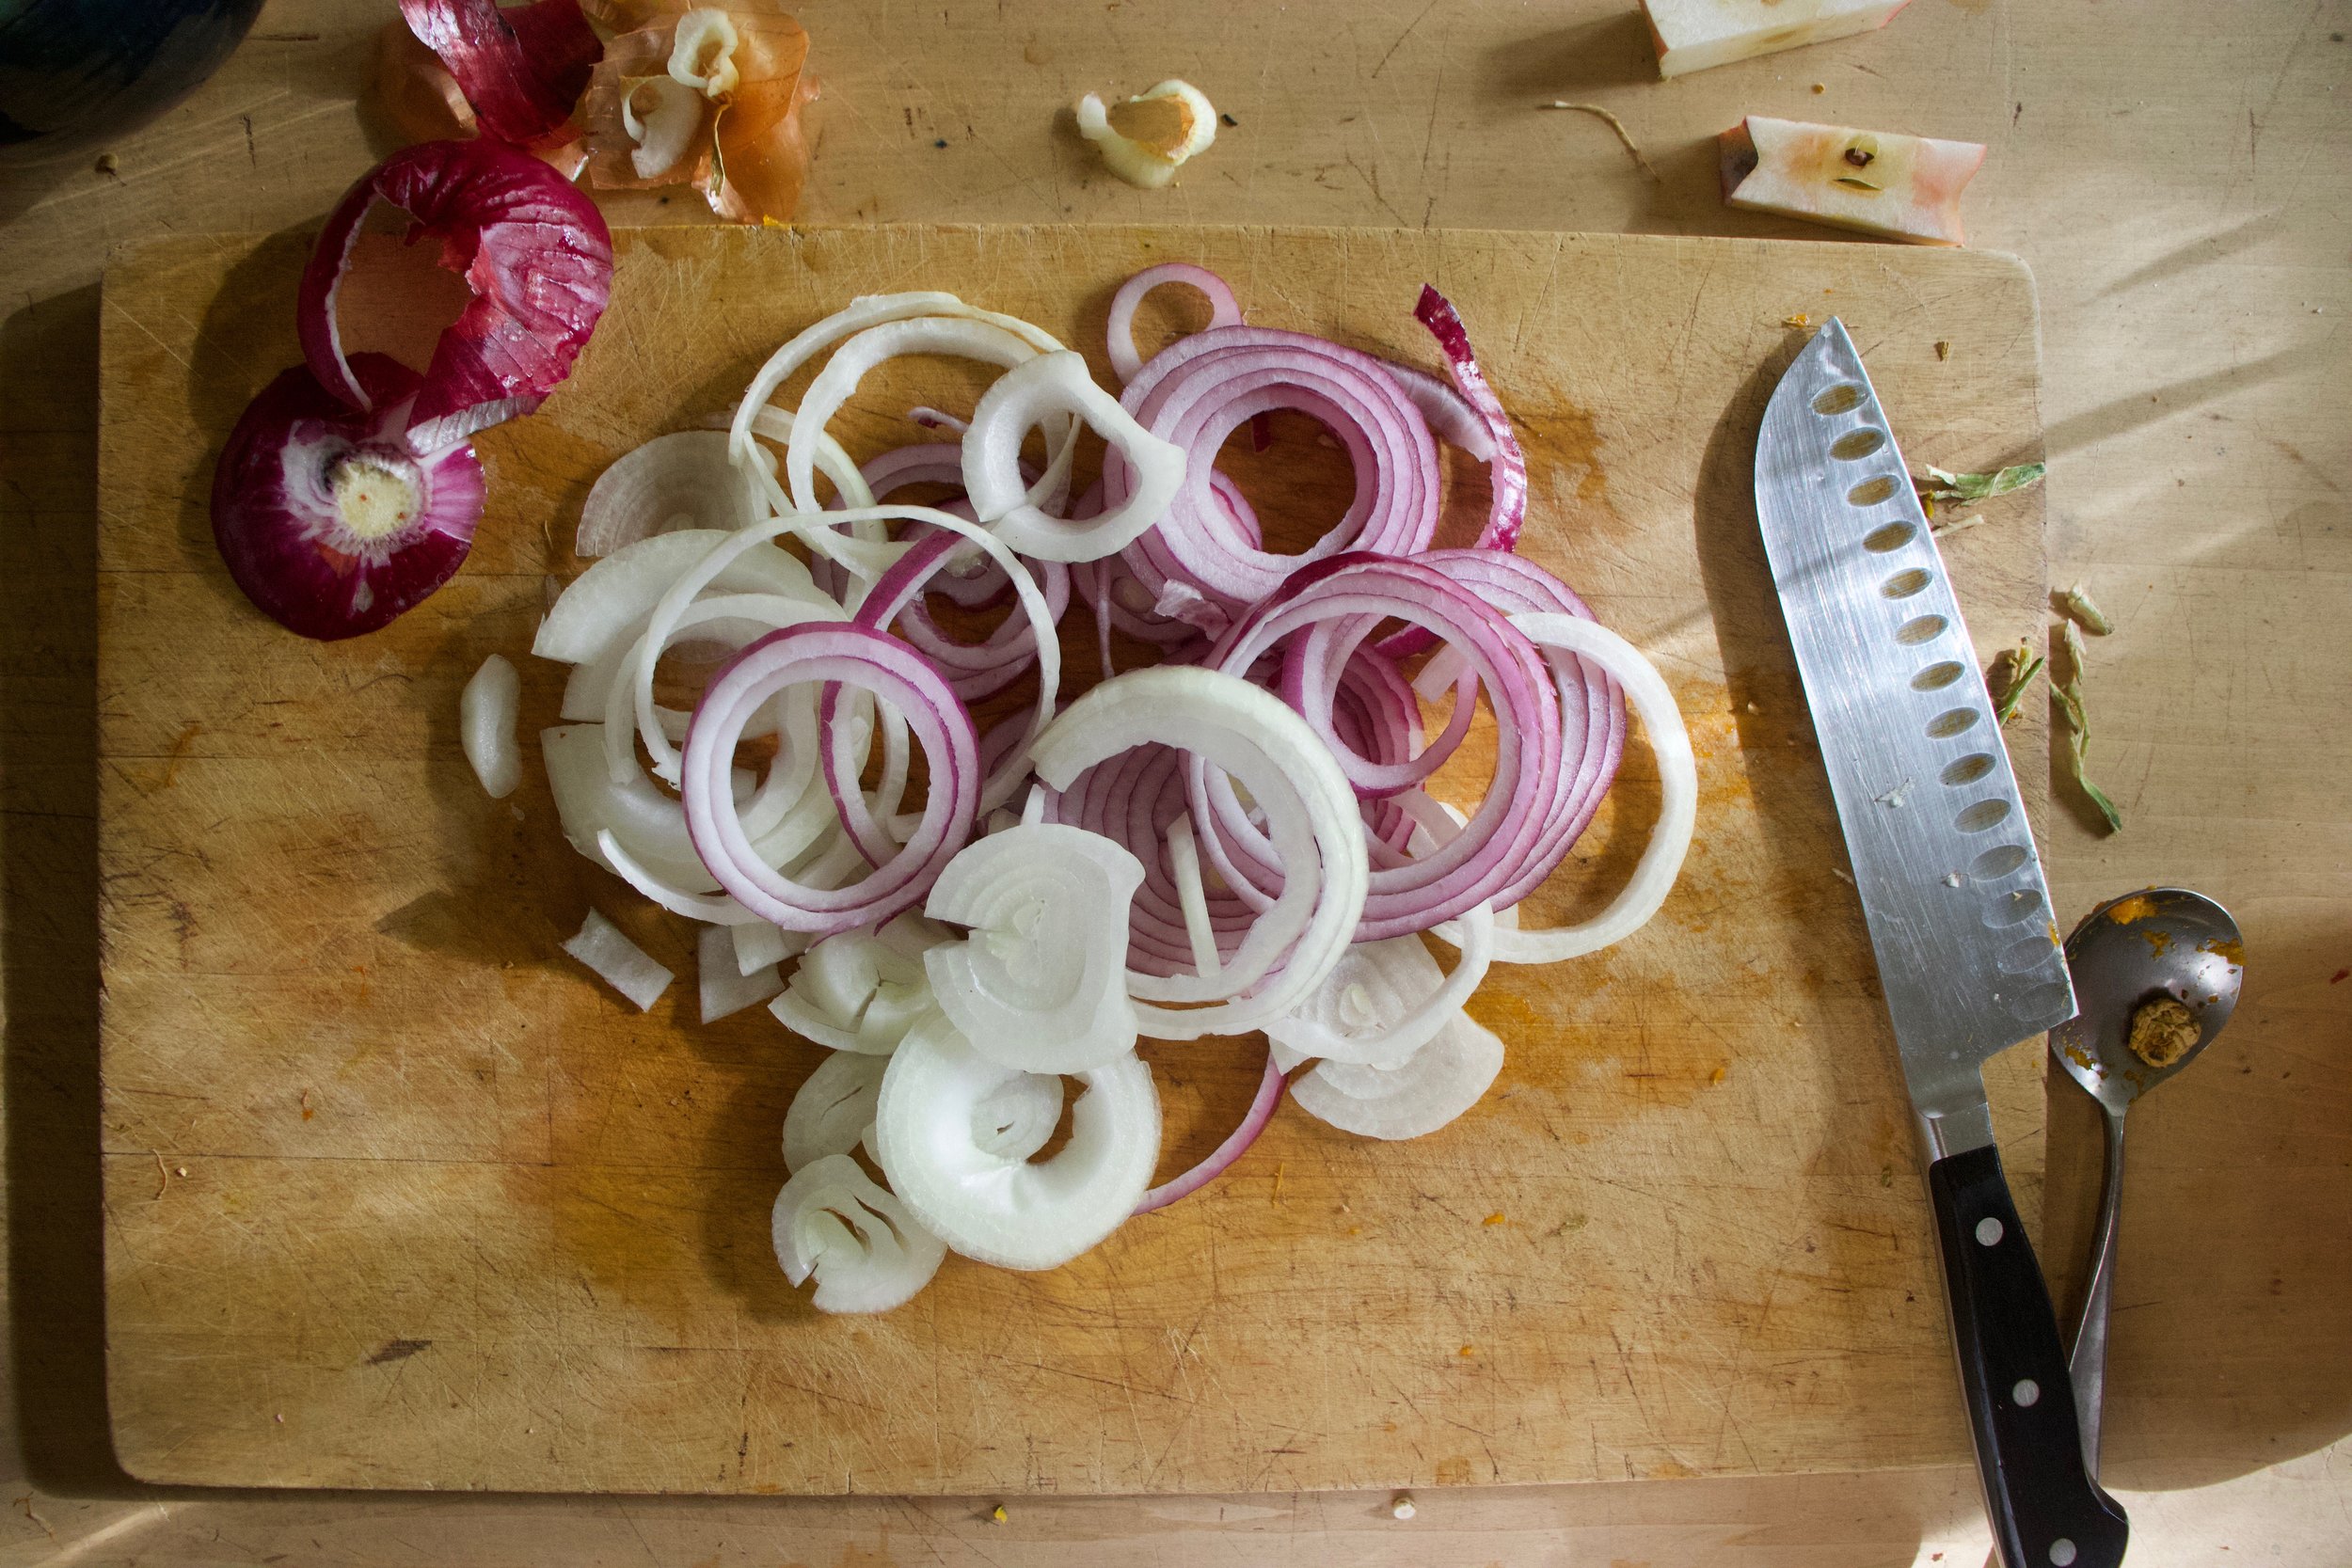
First thing is to cut everything up. Cube the squash, celeriac, and apple to about the same size and the onion just cut into rings.

Toss all the cut up stuff onto a lightly oiled sheet pan, toss with a tablespoon or so vinegar and sprinkle a pinch of salt and pepper and place in the oven. Roast for about 1/2 hour, but flipping and drizzling another tablespoon or so of vinegar all over about 20 minutes in.

Roasted and done. Taste and season with more salt and pepper if needed.

Now scoop it all into big bowl and serve it or just eat it all to your very own face like I did. No shade in that.

-C


Roasted Celeriac and Squash with Apples and Onions

  • 1 large bulb (softball sized) of celeriac

  • a small winter squash (can use any variety. I used kabocha)

  • 2 medium apples (I used Macs)

  • 2 onions. Red, yellow, or one of each

  • salt and pepper

  • A couple tablespoons of apple cider vinegar

Preheat oven to 425

Grab squash and cut in half. Remove seeds then cut into cubes about 1/2 and inch thick. Grab celeriac and peel it if you want (I do not peel it) then cut into cubes the same size ad the squash. Now the apples. Cut in half, remove seeds, and cube. And lastly grab onions and slice into 1/2 thick rings.

Toss together all the cut up stuff and place onto a lightly oiled baking sheet and sprinkle with a couple tablespoons of vinegar and a pinch of salt and pepper. Stick the pan into the hot oven and roast for around 20 minutes, removing to give everything a flip and drizzle on another tablespoon of vinegar, then place back in oven for about another 10 minutes or so or until everything is lightly browned and fork tender.

Remove form oven and transfer into a big bowl. Serve right away or at room temperature or heck, it taste freaking awesome cold too.

Tags celeriac, celery root, vegan, vegetable, thanksgiving, fall, side, side dish, snack, healthy, plant based, dairy free, gluten free, squash, winter, apple, onion, easy, simple, fast, food52, bon appetite
Comment
← Newer Posts Older Posts →
 

https://thelovelycrazy.squarespace.com/config#/|/about/

Me. Food Maker.Food eater. Woo HOO!

STEM+NODE  SMALL BATCH AND ONE OF A KIND POTTERY

stem+node ceramics


____________________

Subscribe

GET NEW POSTS IN YO EMAIL

You are AWESOME!!!


@thelovelycrazy 2014-2021