• stem+node ceramics
  • HOME
  • Food Recipes
  • About
  • Contact
Menu

The Lovely Crazy

Street Address
City, State, Zip
Phone Number

Your Custom Text Here

The Lovely Crazy

  • stem+node ceramics
  • HOME
  • Food Recipes
  • About
  • Contact

Tofu Veggie Pot Pie

February 15, 2020 Colleen Stem
IMG_5683.jpg
IMG_5770.jpg

Pot pies. I grew up on them. But not real pot pies, no, it was those little frozen, single serve, terribly terrible nasty things. Yup. All you needed to do was turn on the oven or better yet, open the microwave, poke a few holes in the frozen pie, and 10 minutes later, food. The ultimate in afterschool snacks. Oh those days. What the heck was I thinking? But my best or, most vivid memory of those pies was when I was like 10 and was stabbing one of those frozen pot pies with a very sharp knife (again, the directions stated to add a vent hole) that went threw said pie and right into the palm of my hand. I remember screaming, blood everywhere, and thinking I just cut my hand off. Luckly, it was just a big gash and the knife didn’t go all the way threw my hand so that was good. And I think that was the last time I made a pot pie. Ha.

This pot pie is nothing like those pot pies. First off, it is not frozen which is good because you won’t accidentally stab a hole into your and. Secondly, it is not nasty. And third, it is freaking awesome. There are other things that make them vastly different, but you get the idea. This pot pie is full of good veggies and tofu that are nicely spiced with a creamy oat sauce that is alll wrapped up in a easy hot water pastry crust. Everything and more a real pot pie should be. Sure, it is definitely not as quick and easy as opening a cardboard box, stabbing, and tossing the contents into the microwave but screw that, we are here for the good stuff.

To the pot pie!

The stuff. Tofu, an onion, a couple carrots and a couple mushrooms, some frozen pies, garlic, oats, spicy mustard, and spices. Also salt and pepper, oil, flour, and some boiling water.

IMG_5554 2.jpg
IMG_5560.jpg

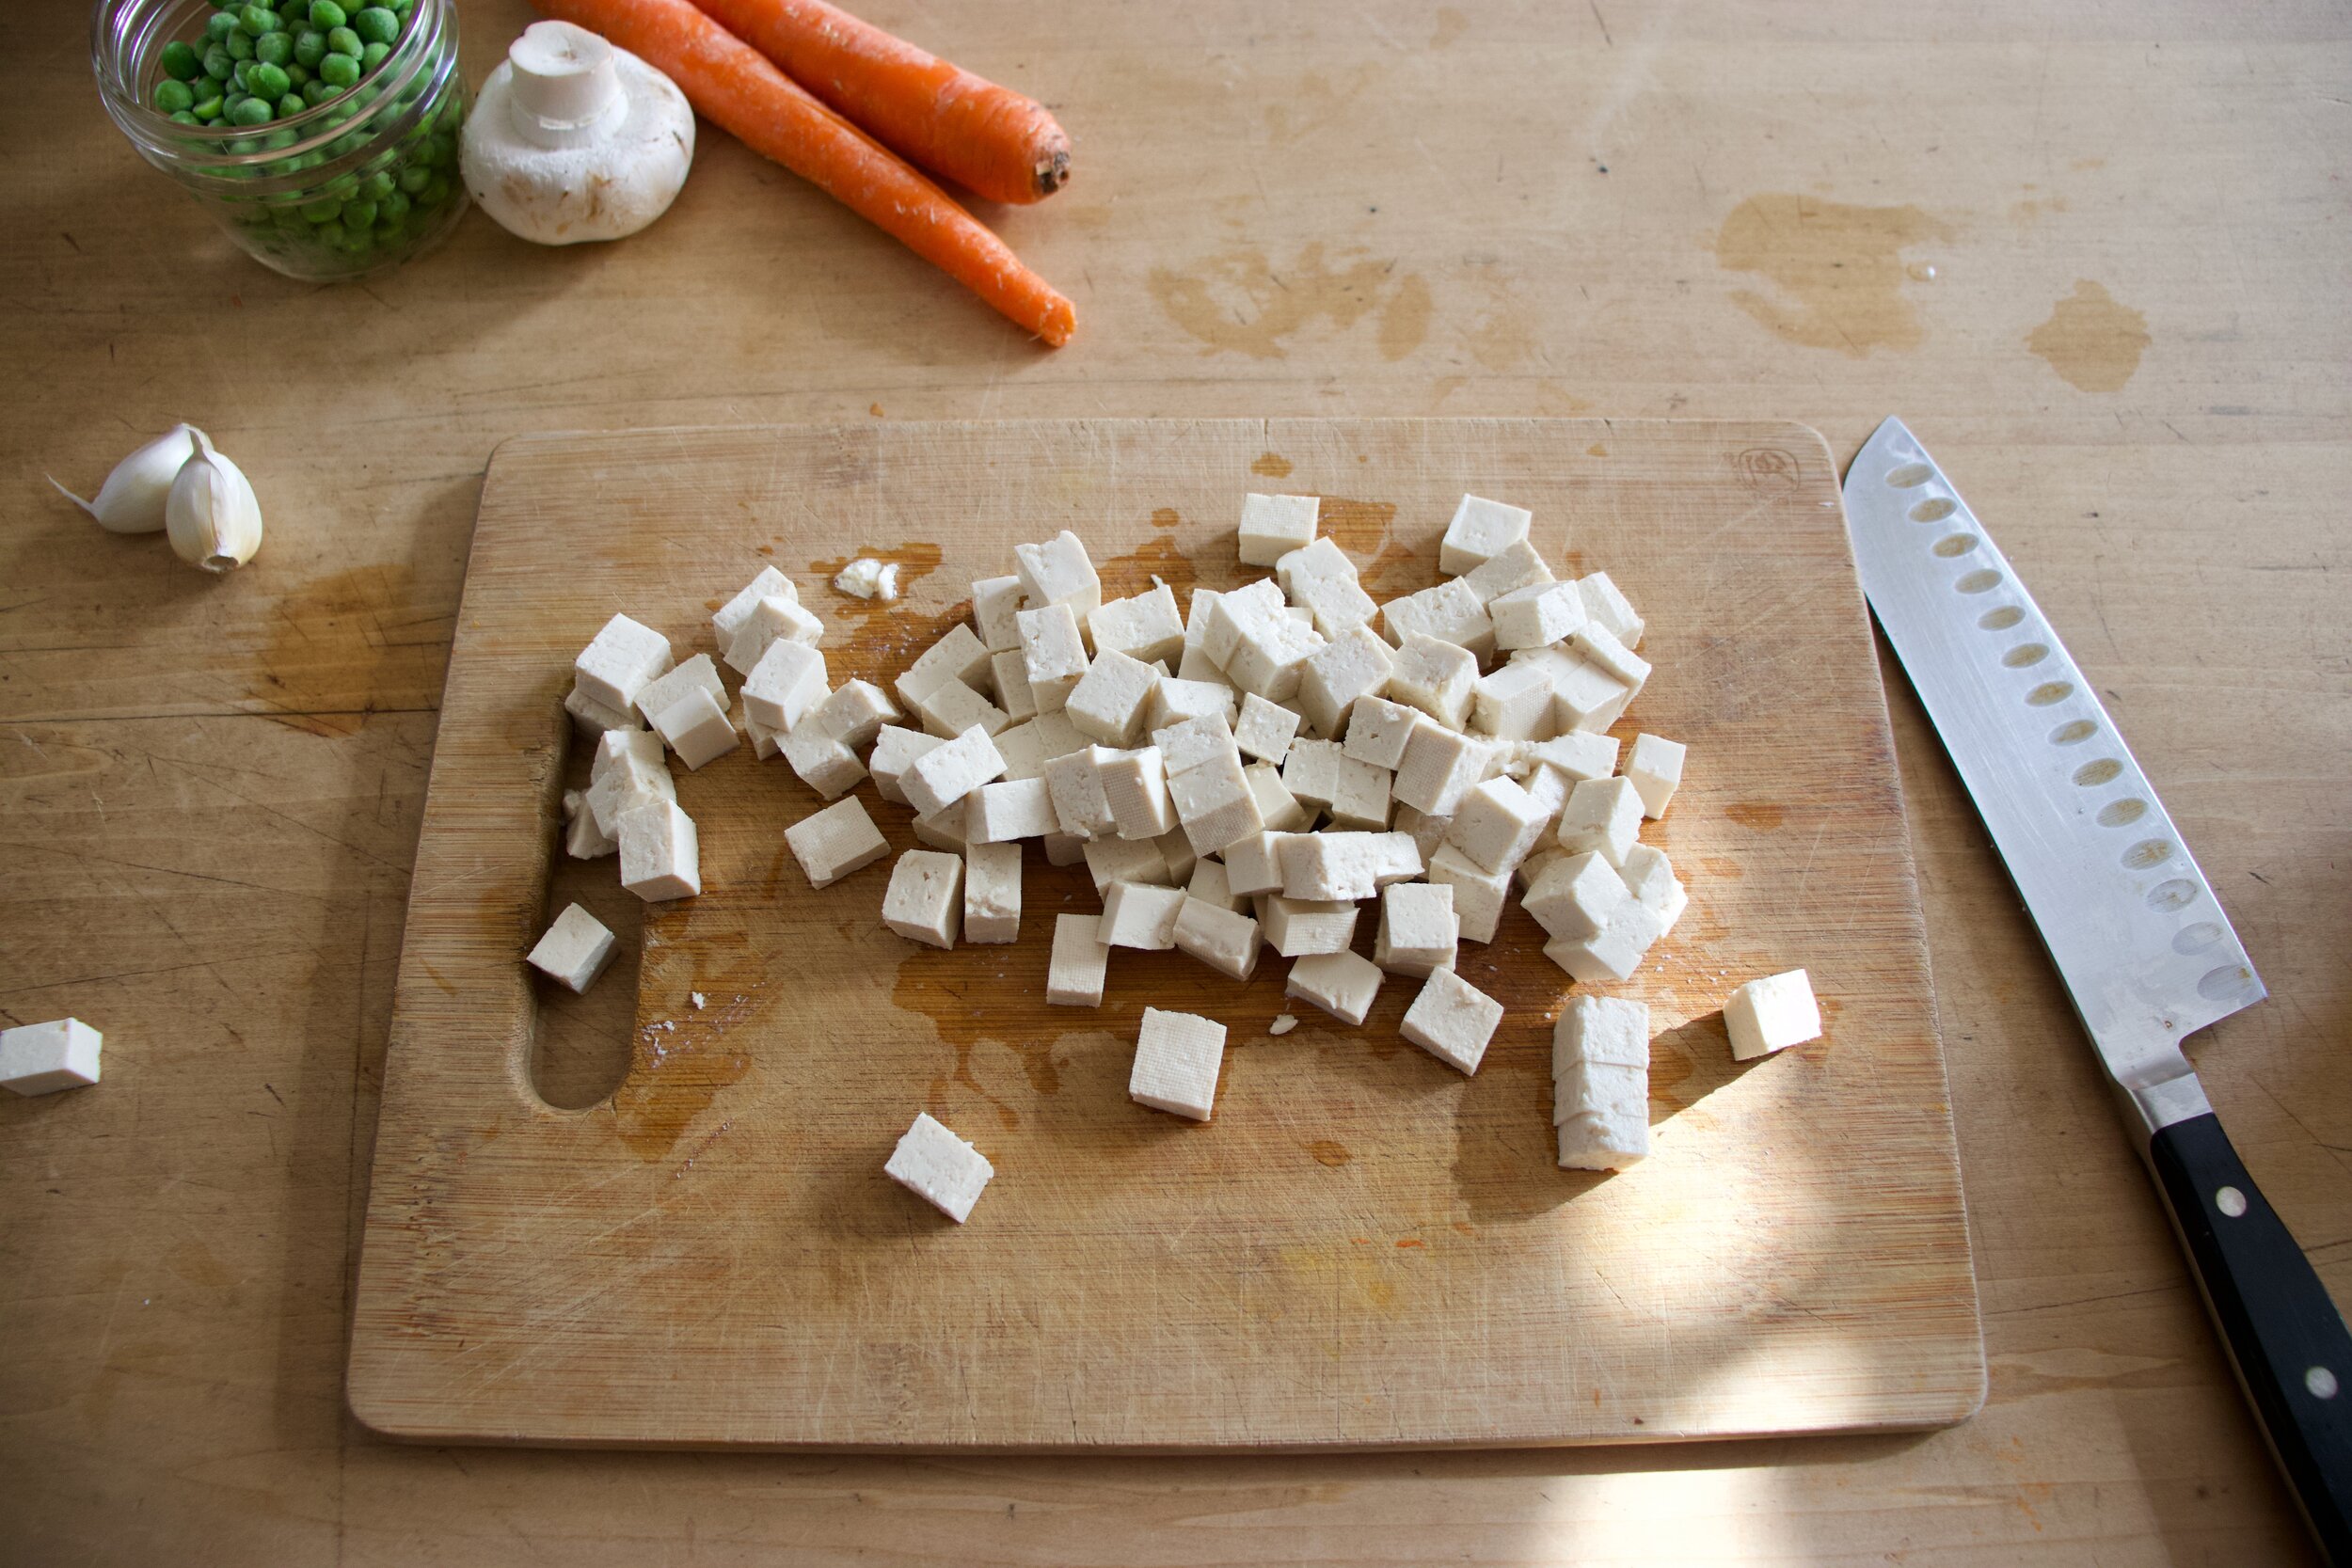
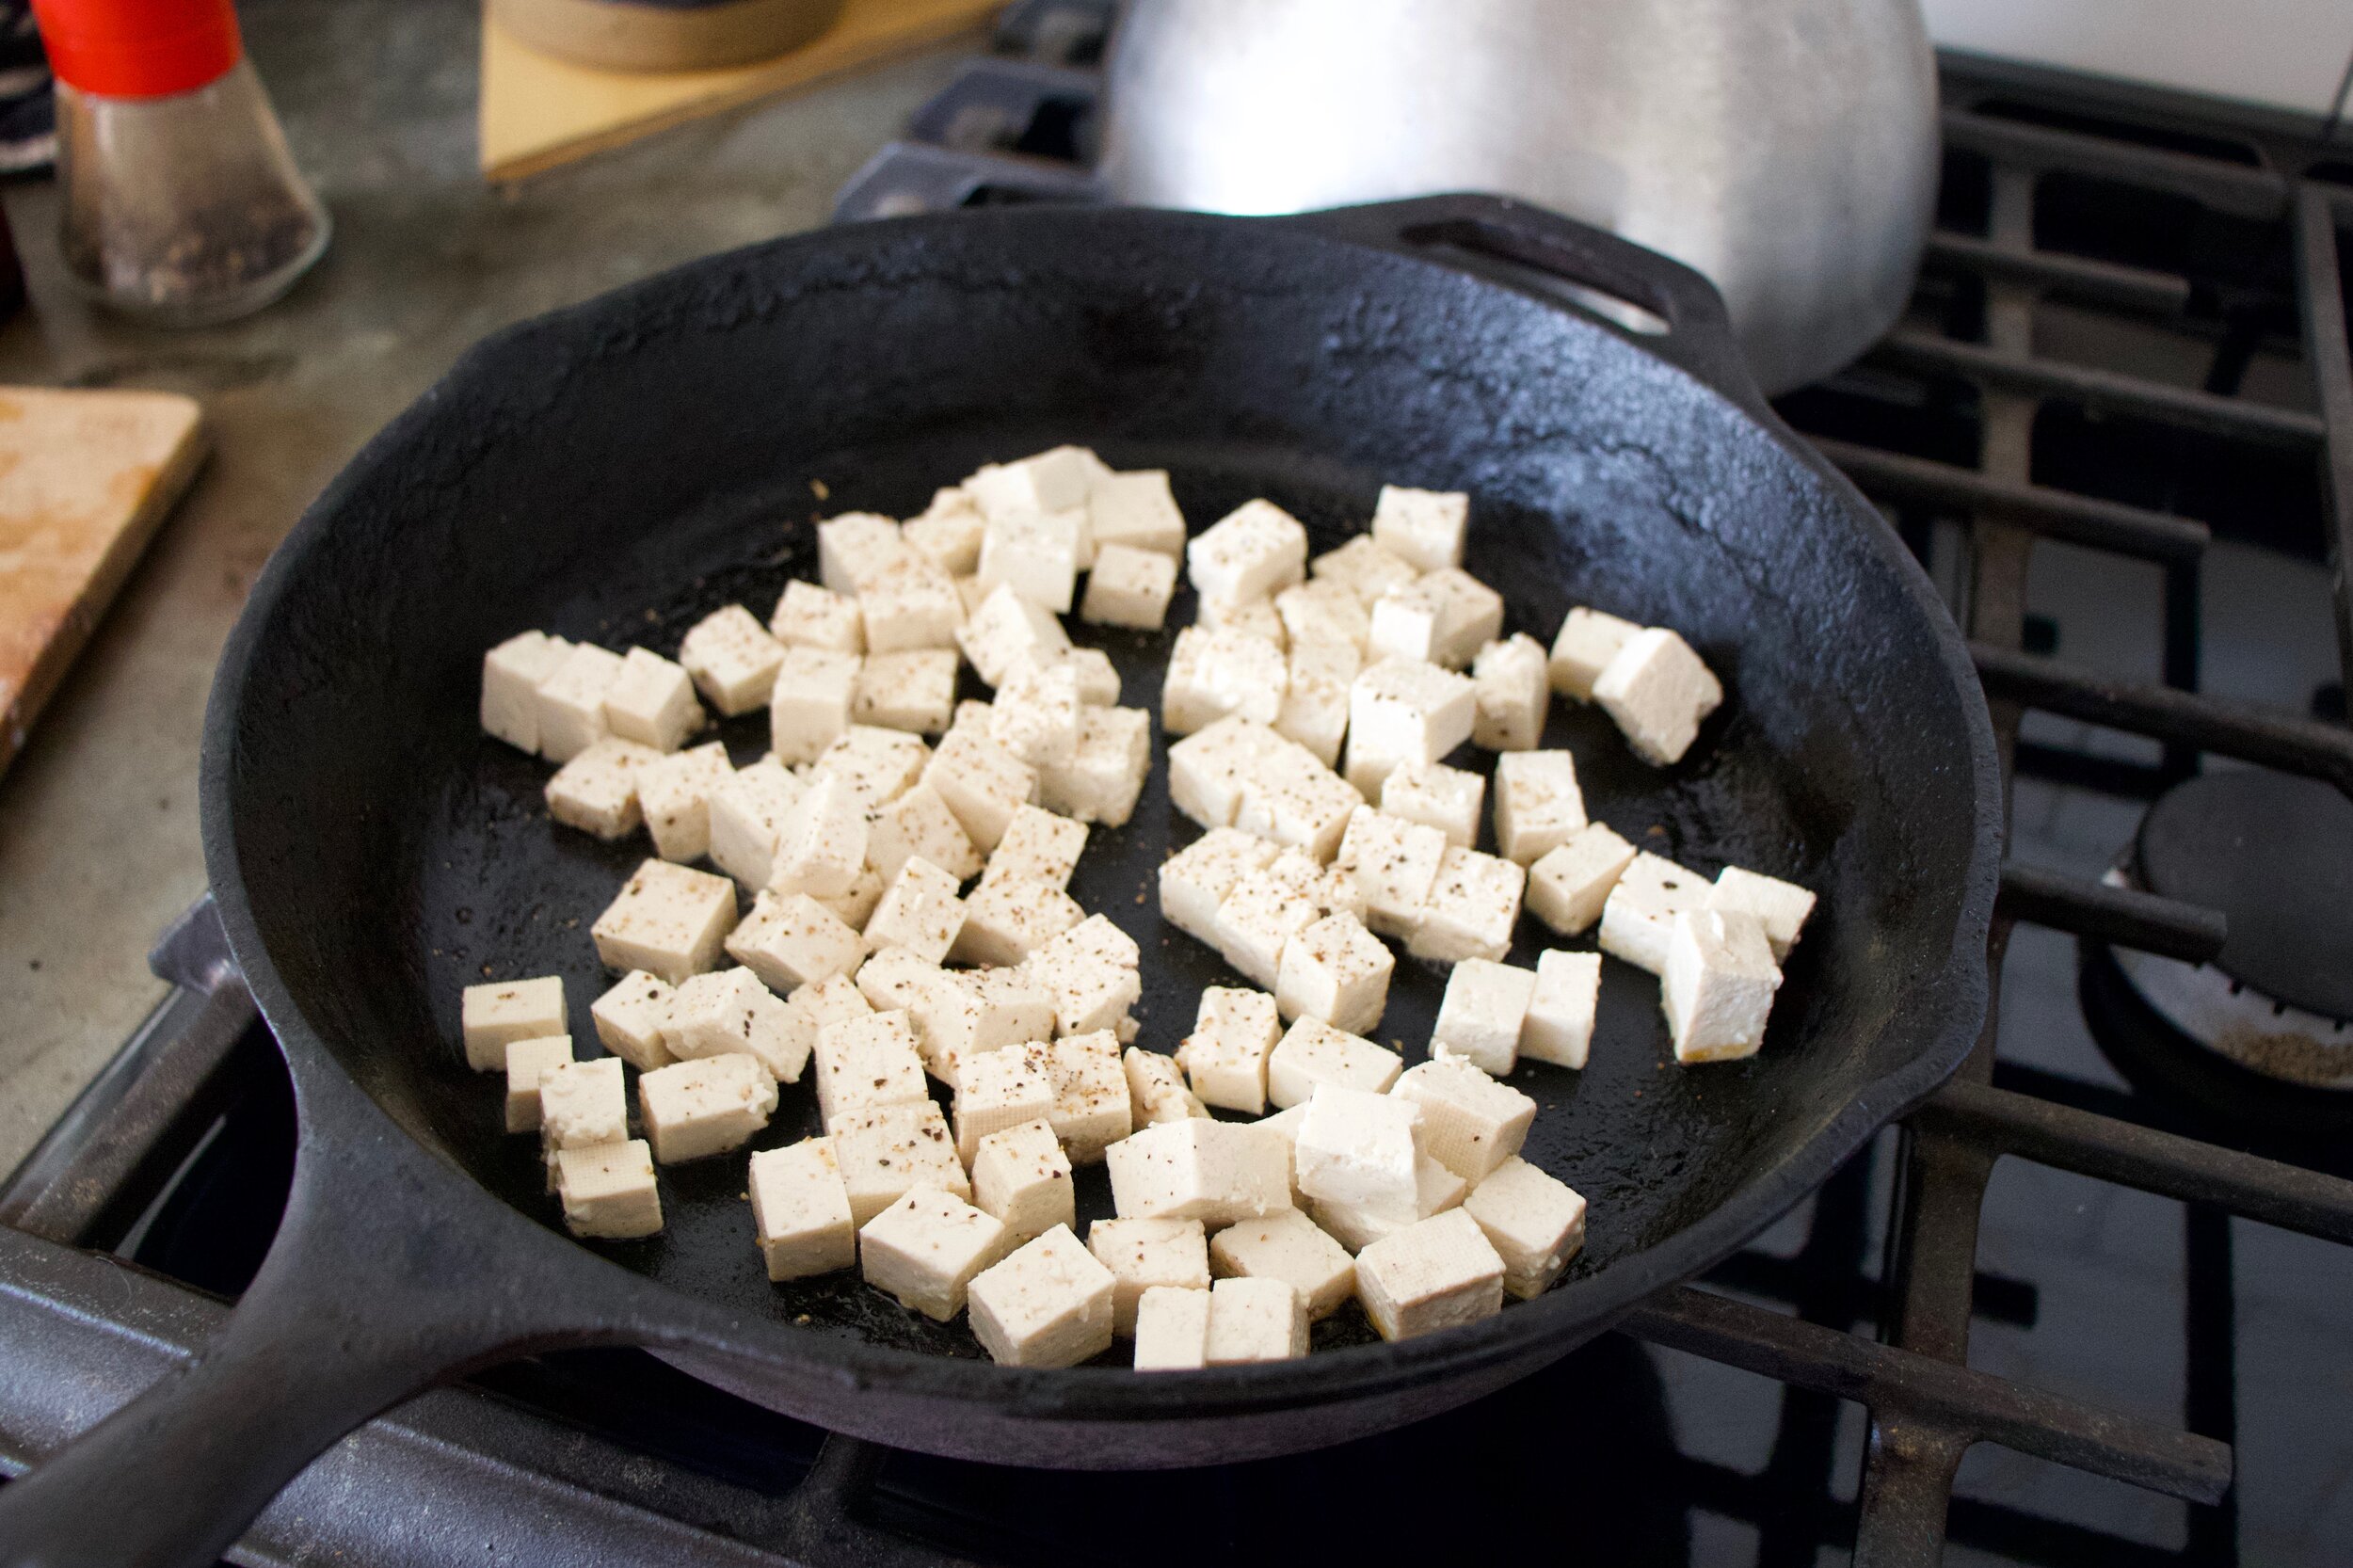
Start with the tofu. Grab a skillet, add a dash of oil and set o the stove on median heat. Cut the tofu into small cubs and pat as much of the liquid out as you can. Place tofu into skillet, sprinkle with a little salt, and let cook.

IMG_5561.jpg

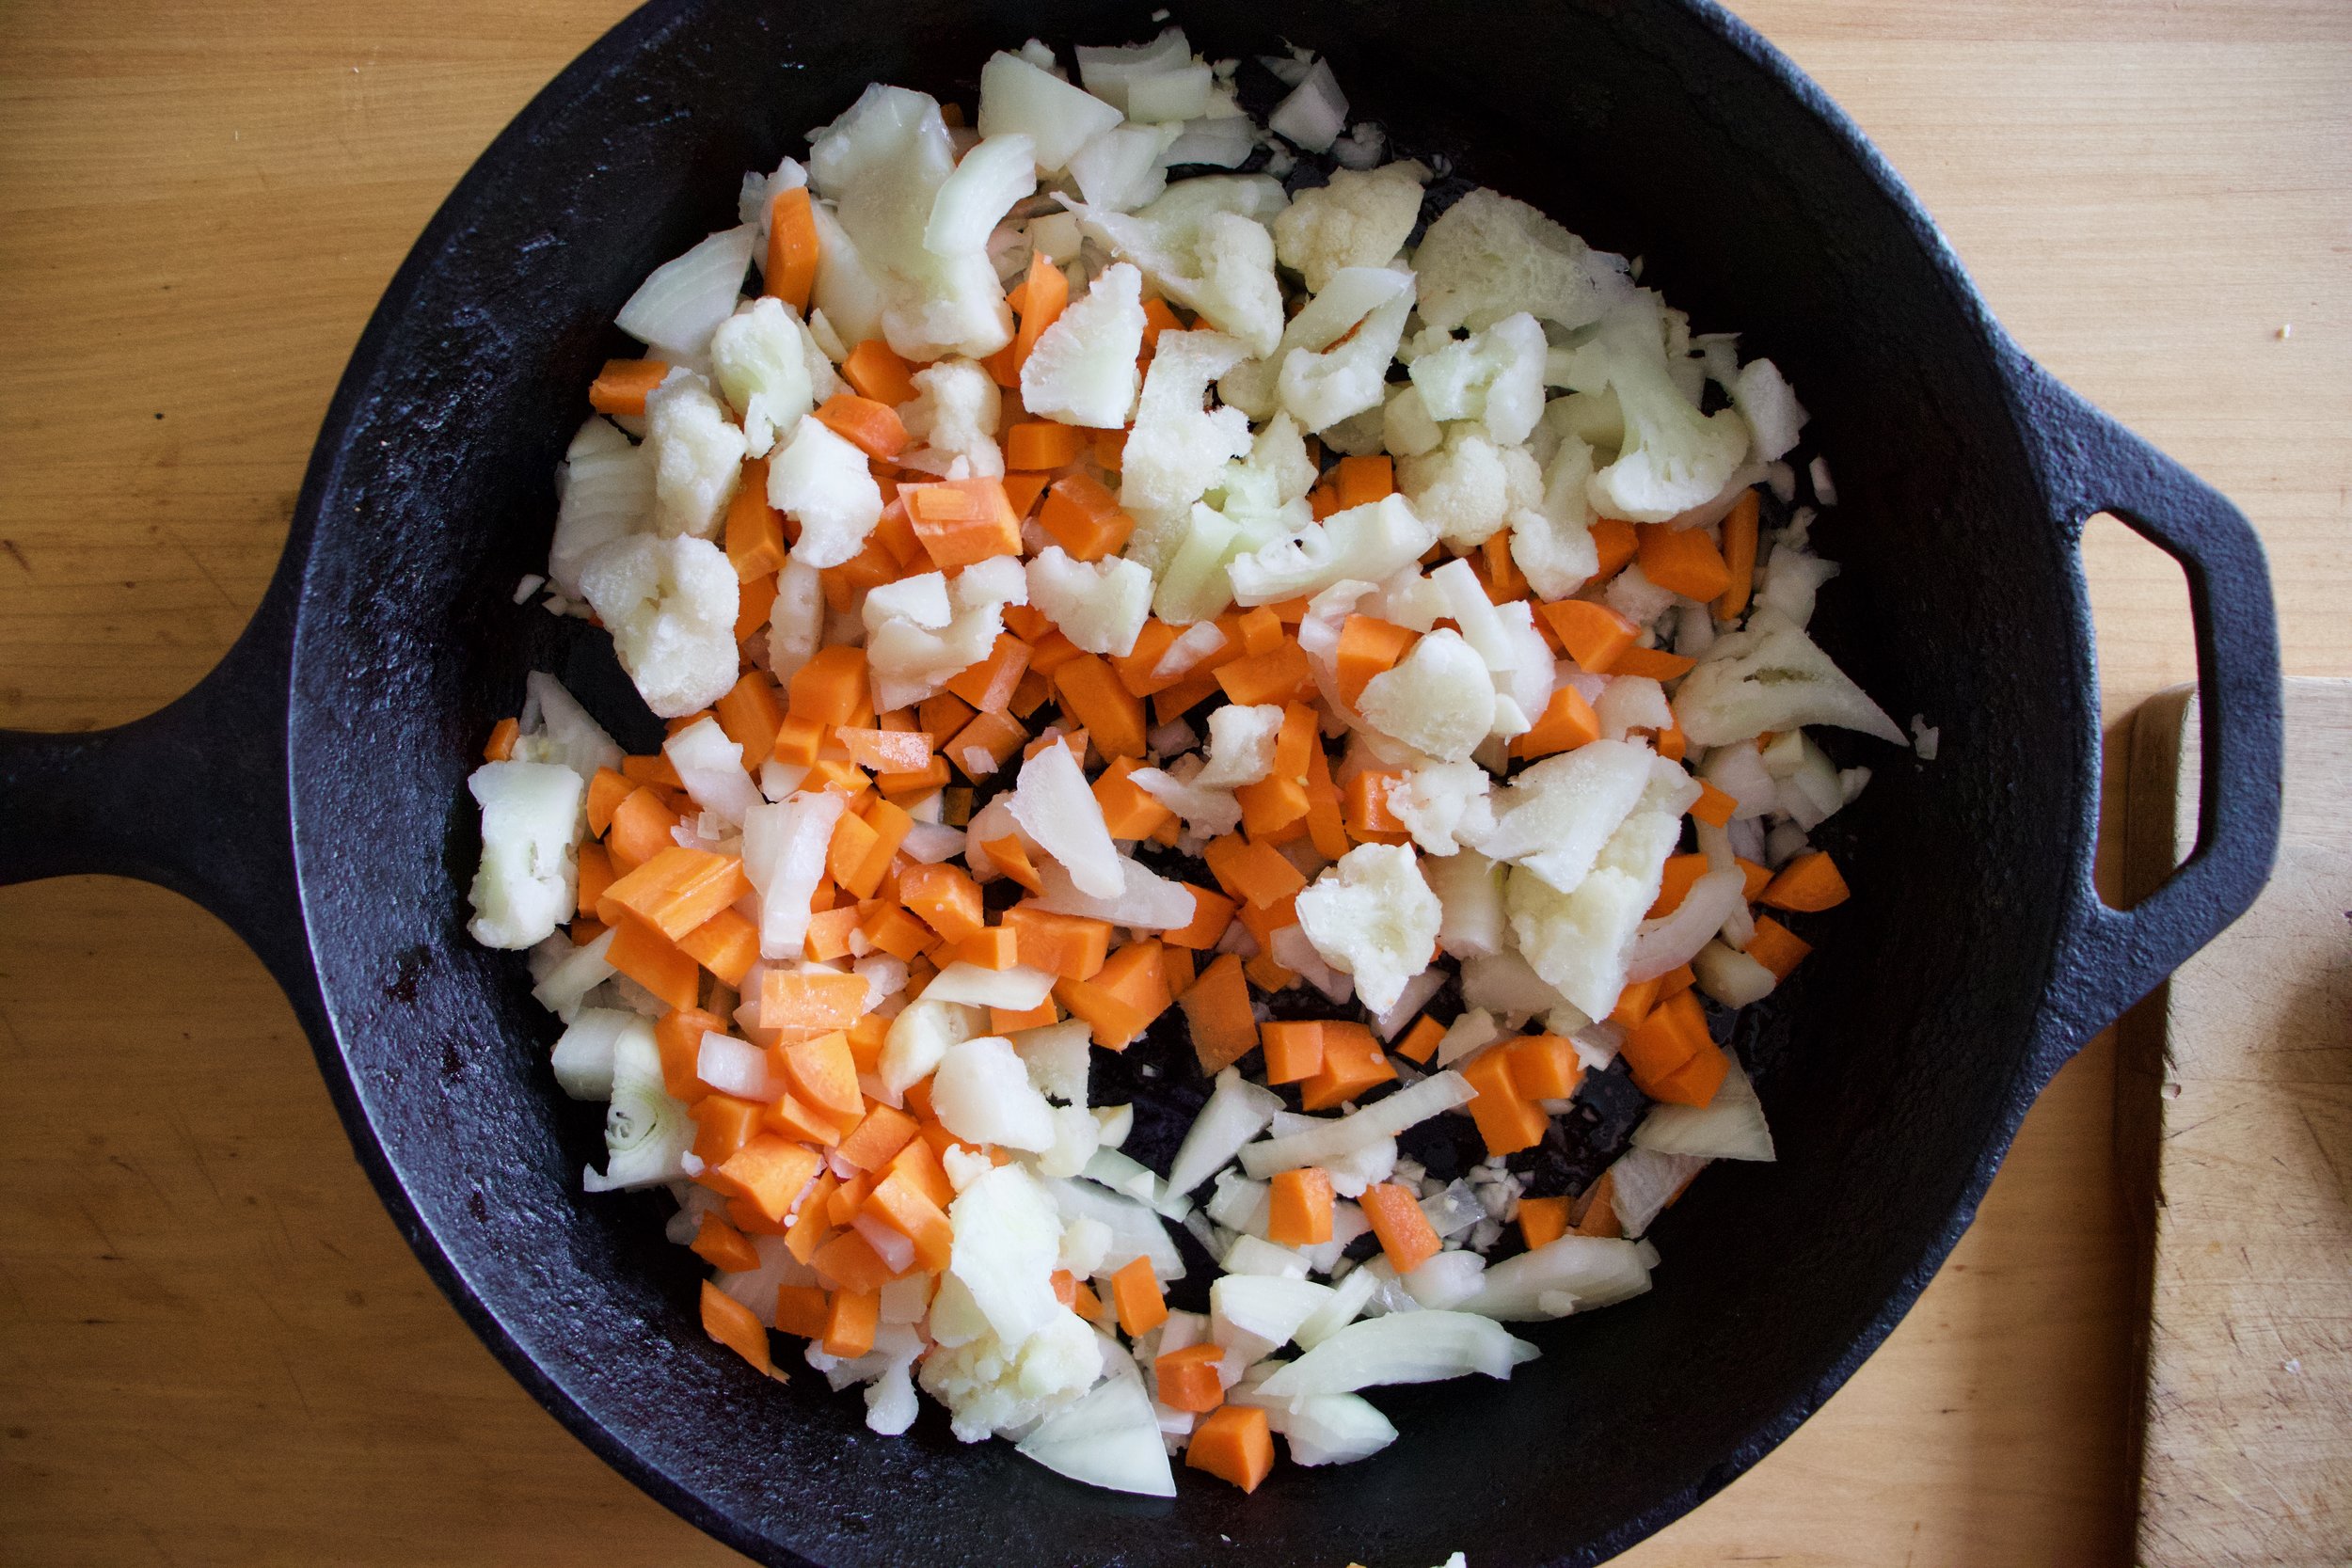
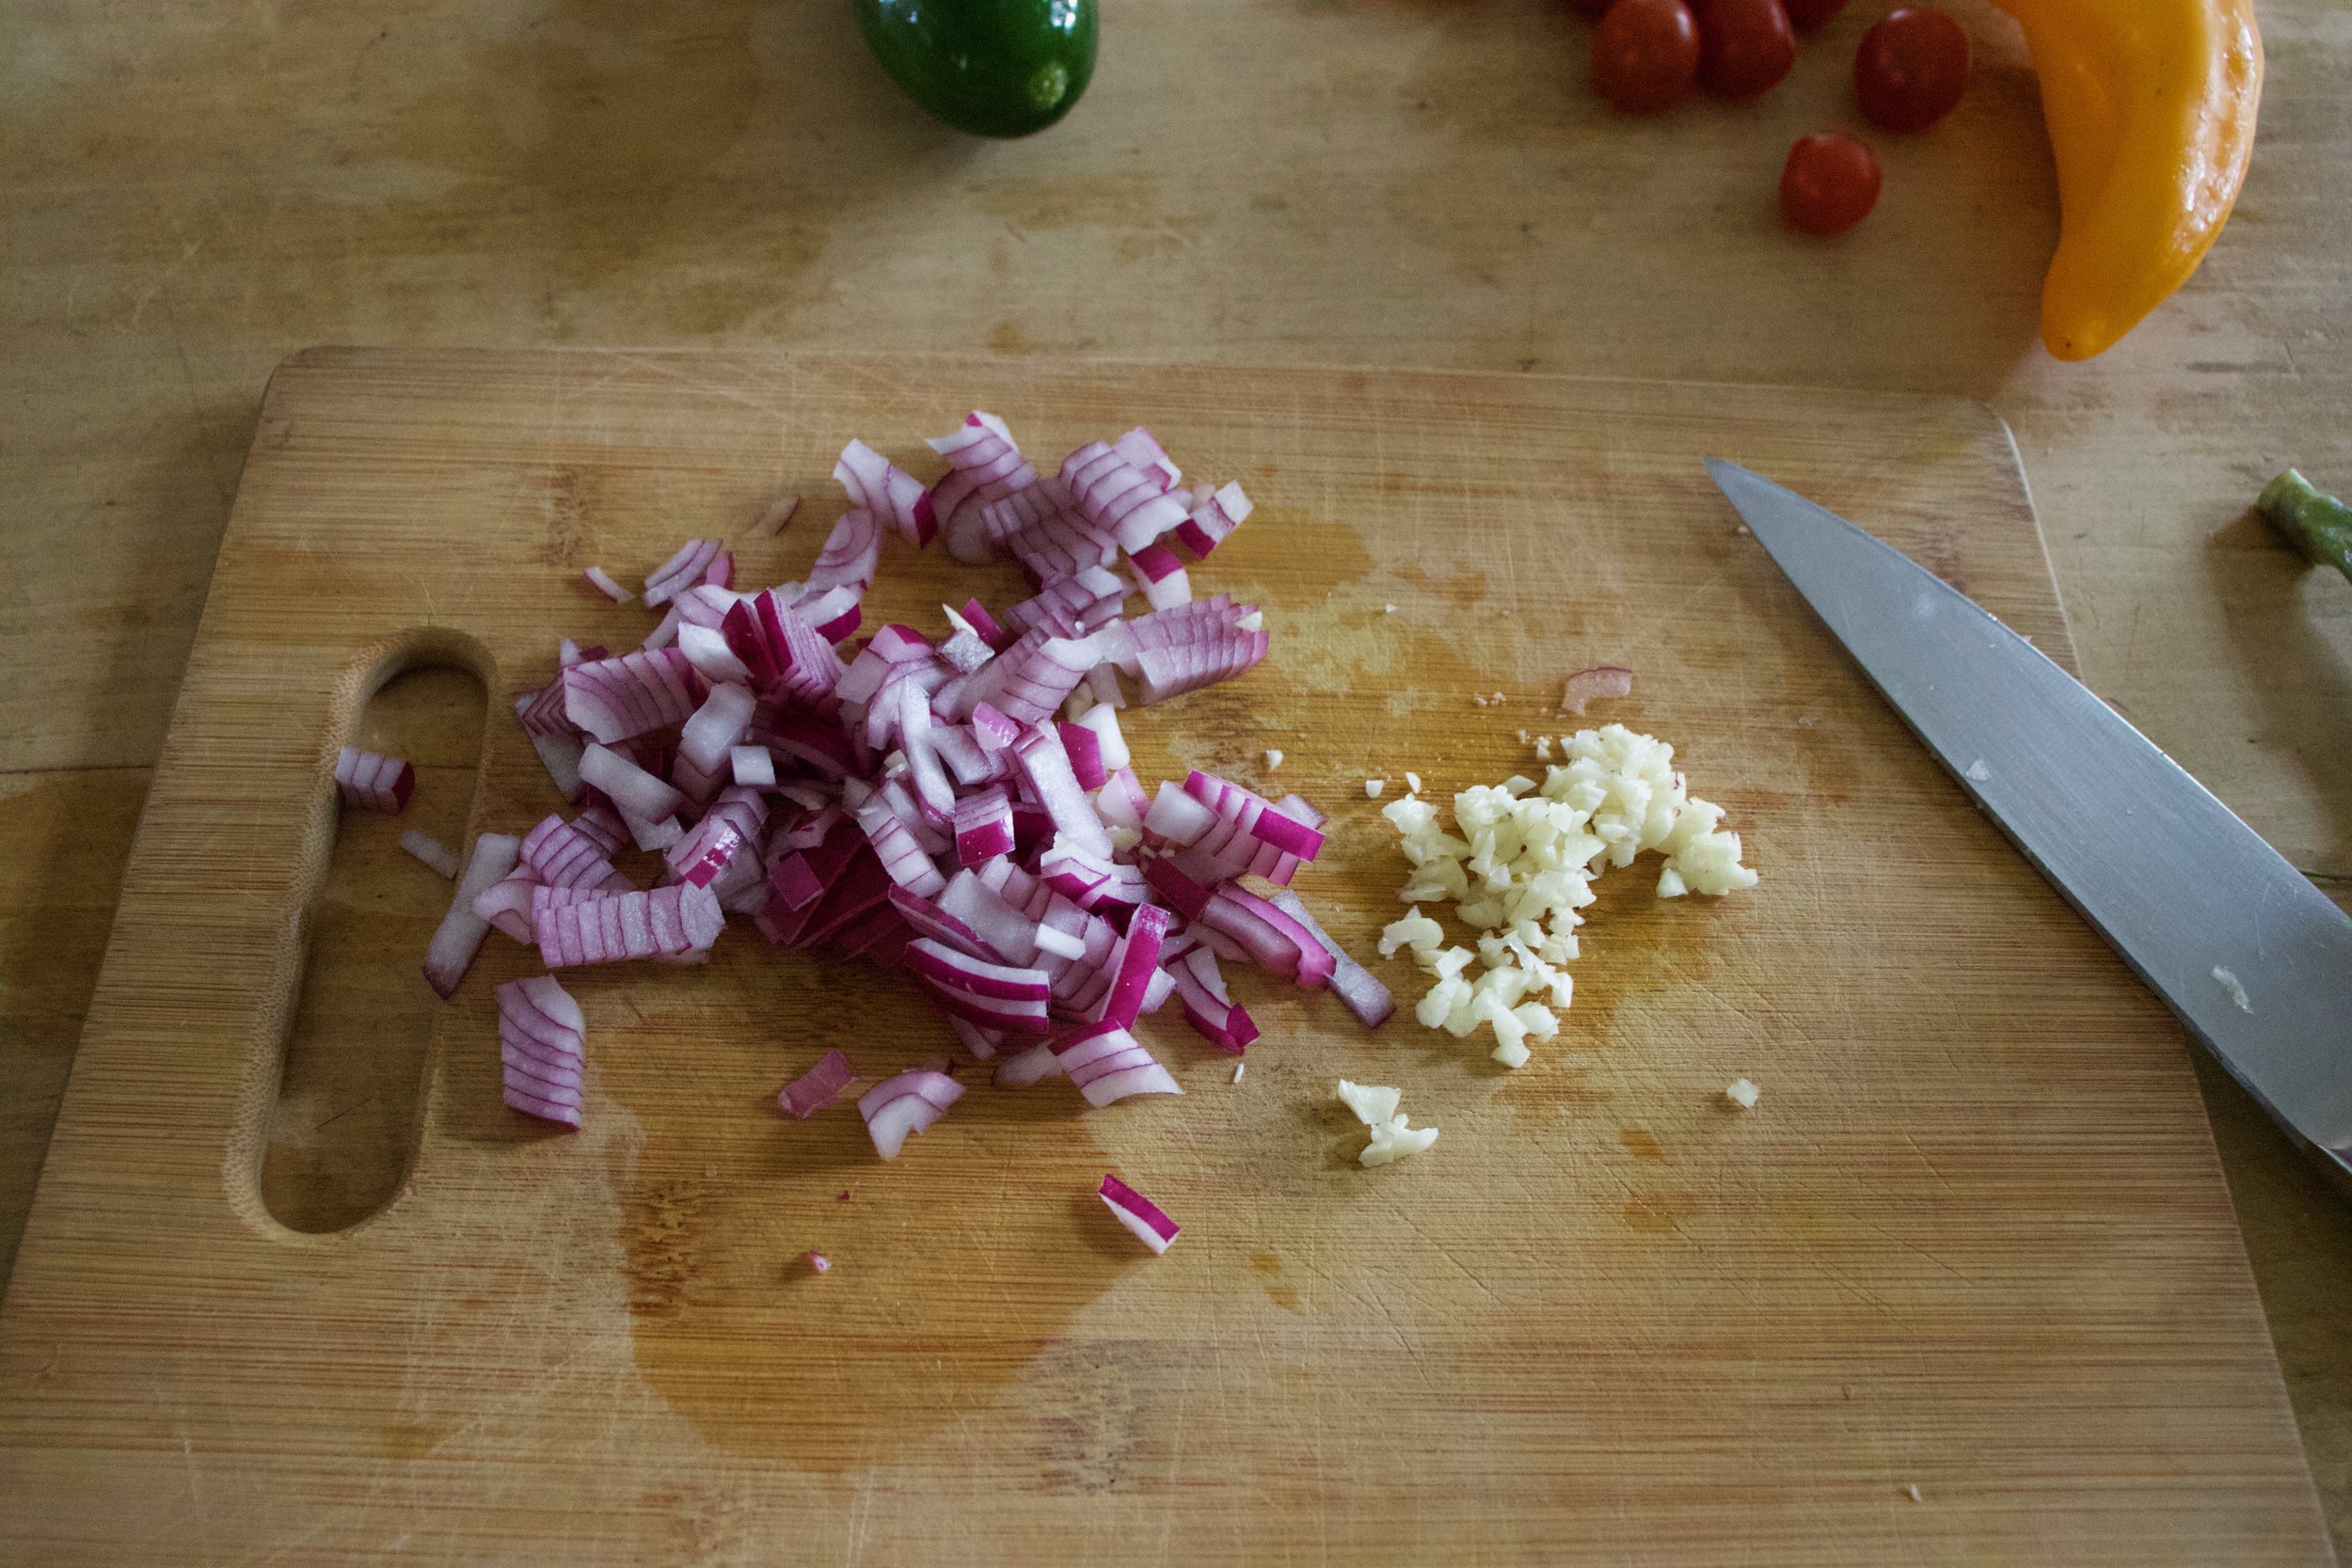
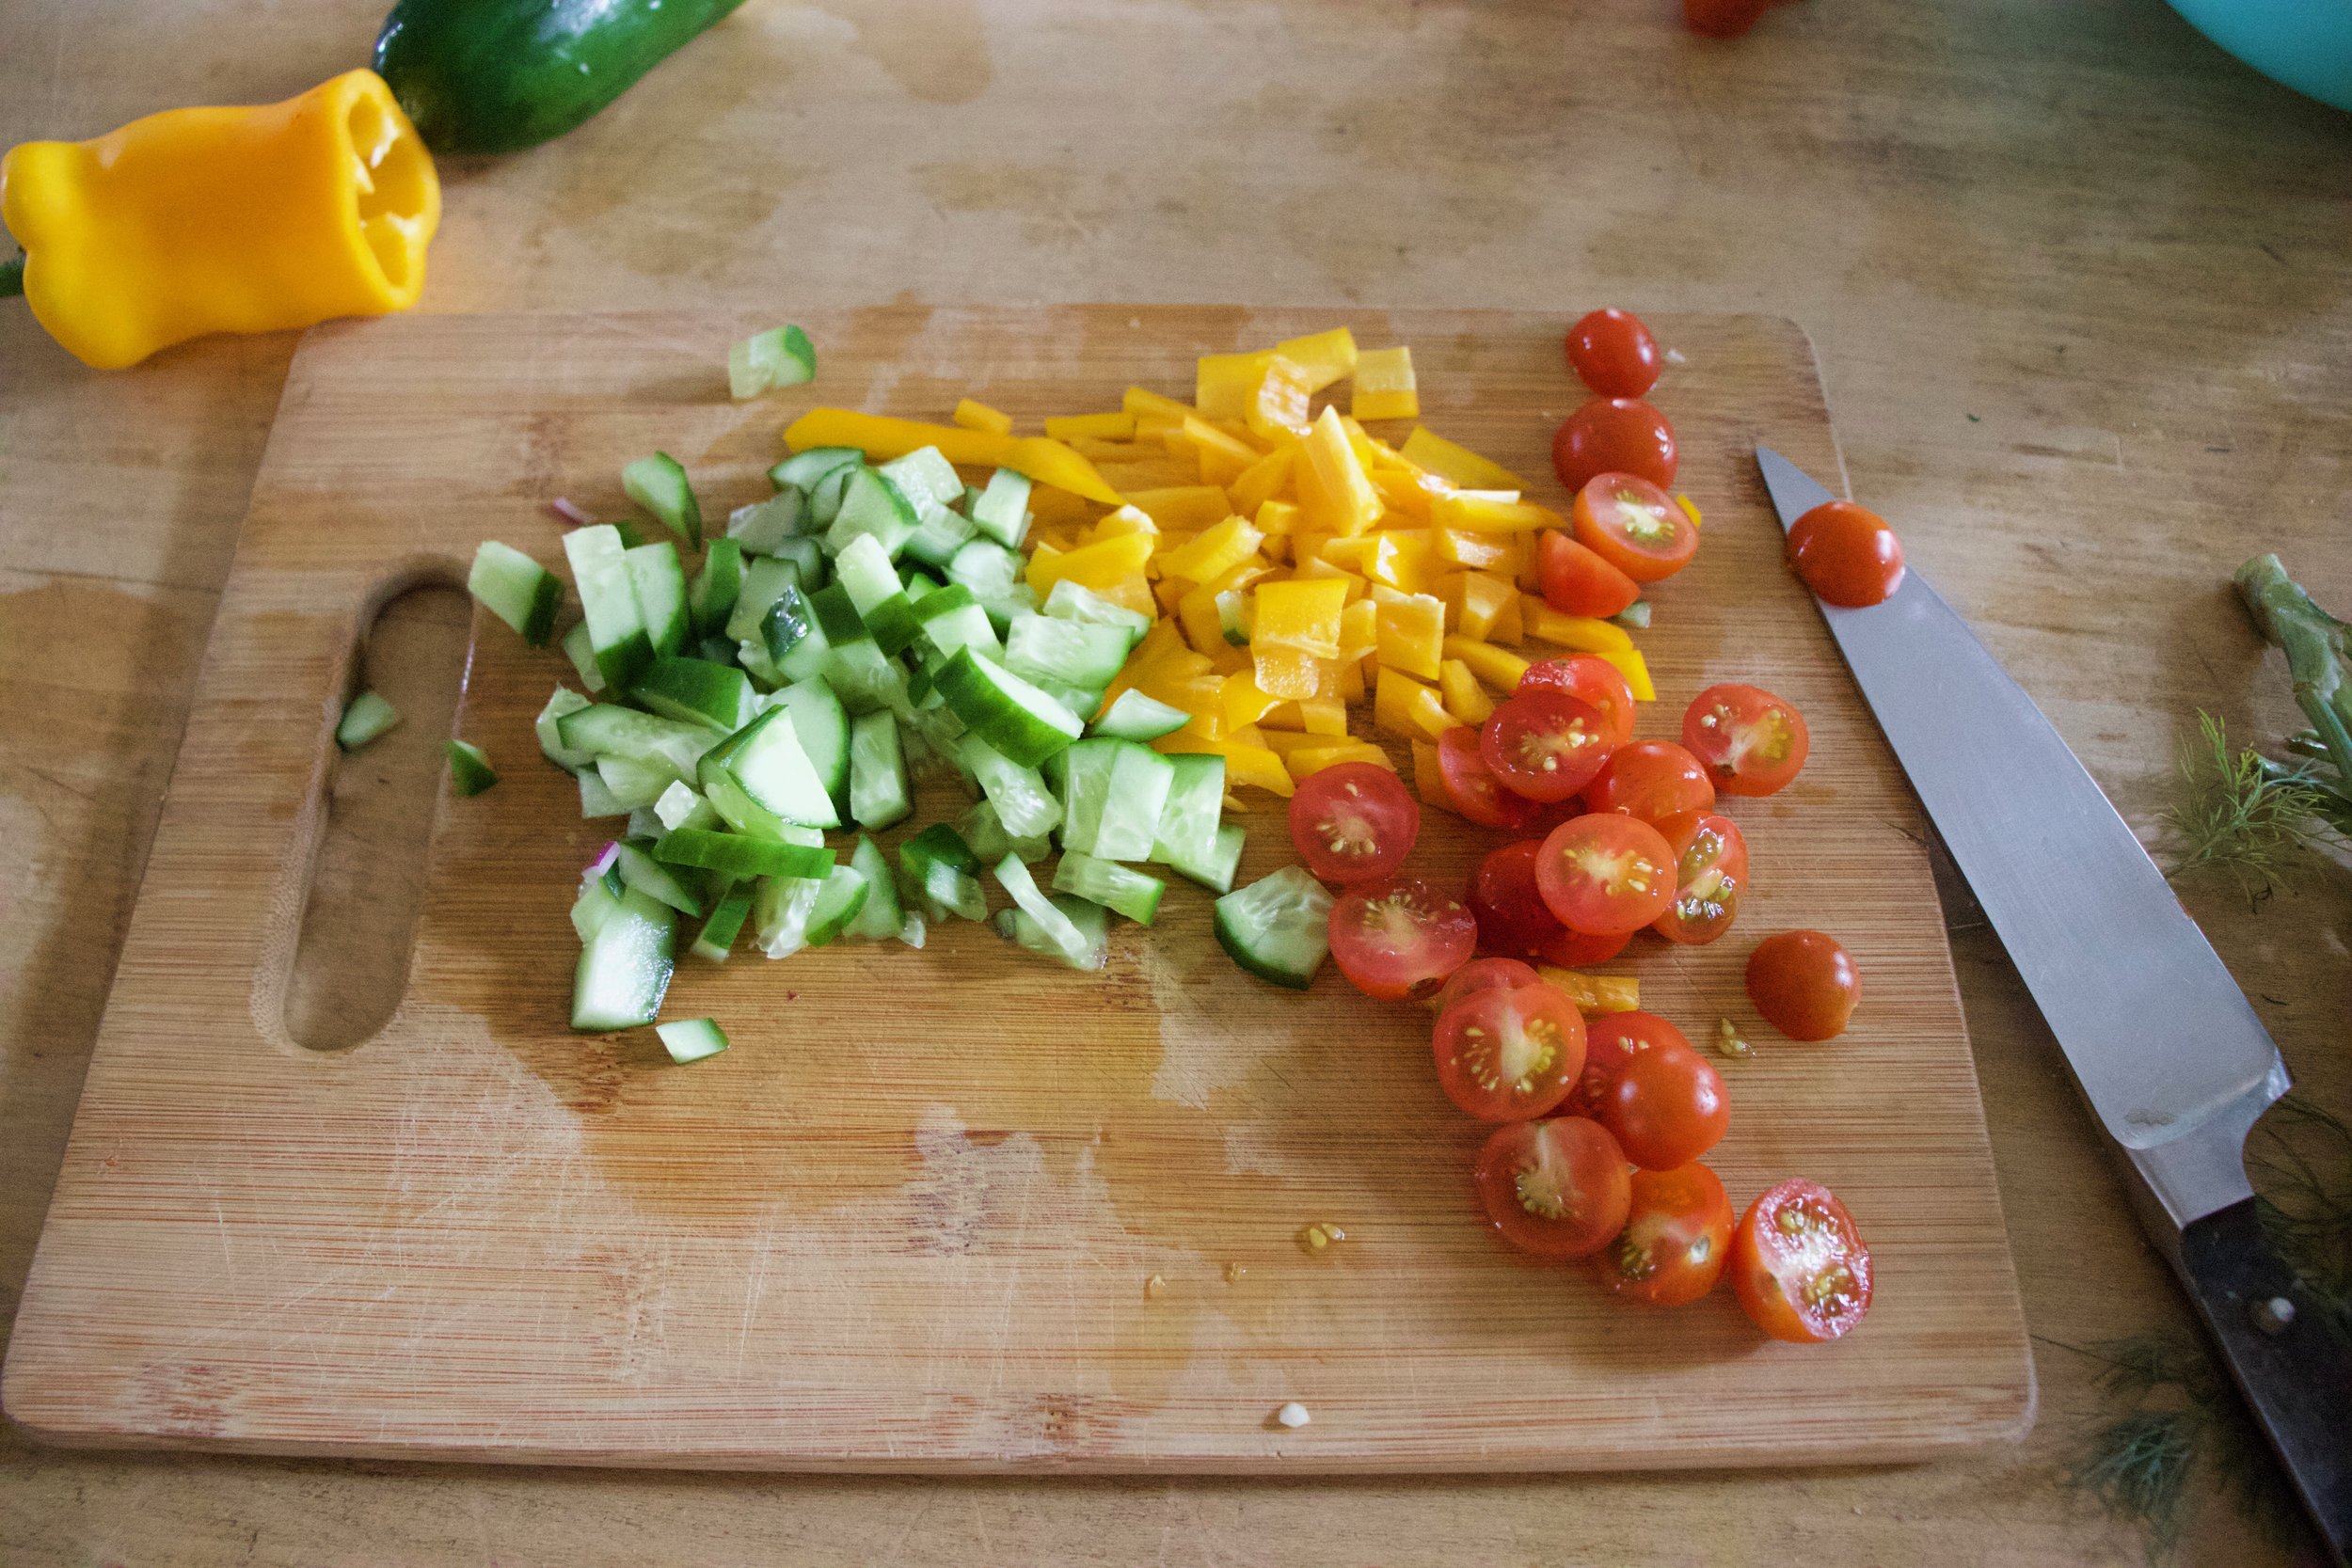
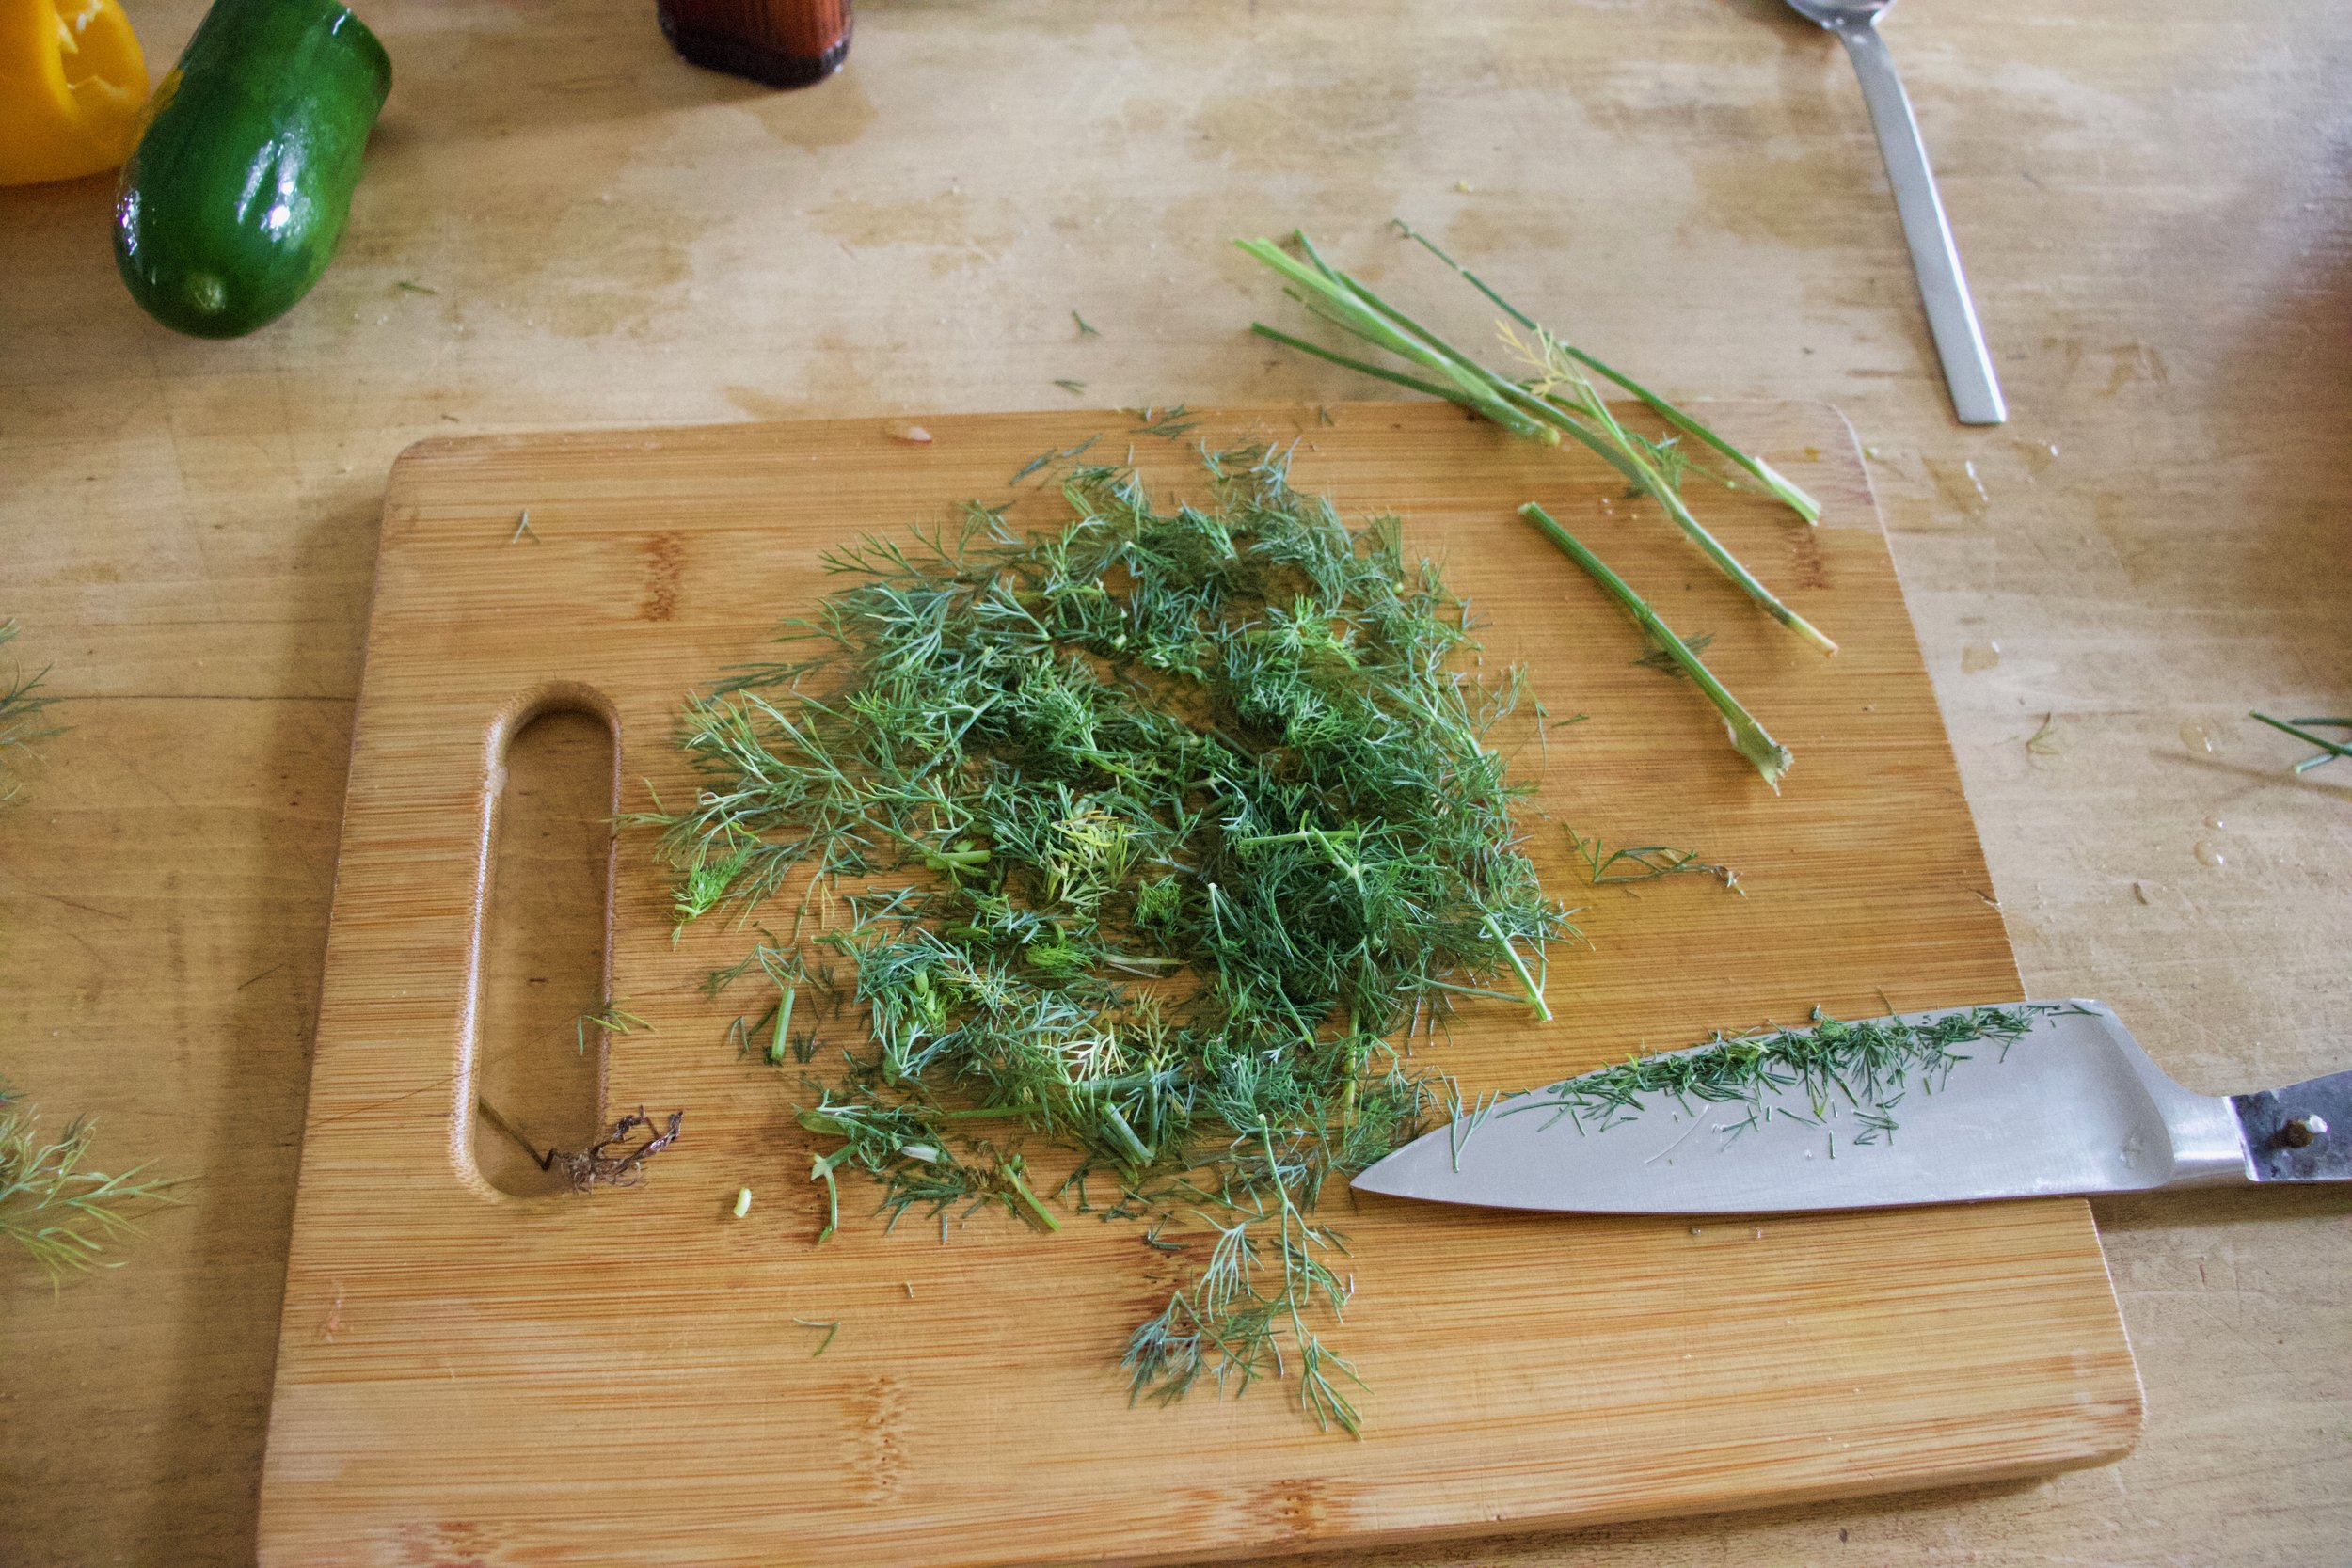
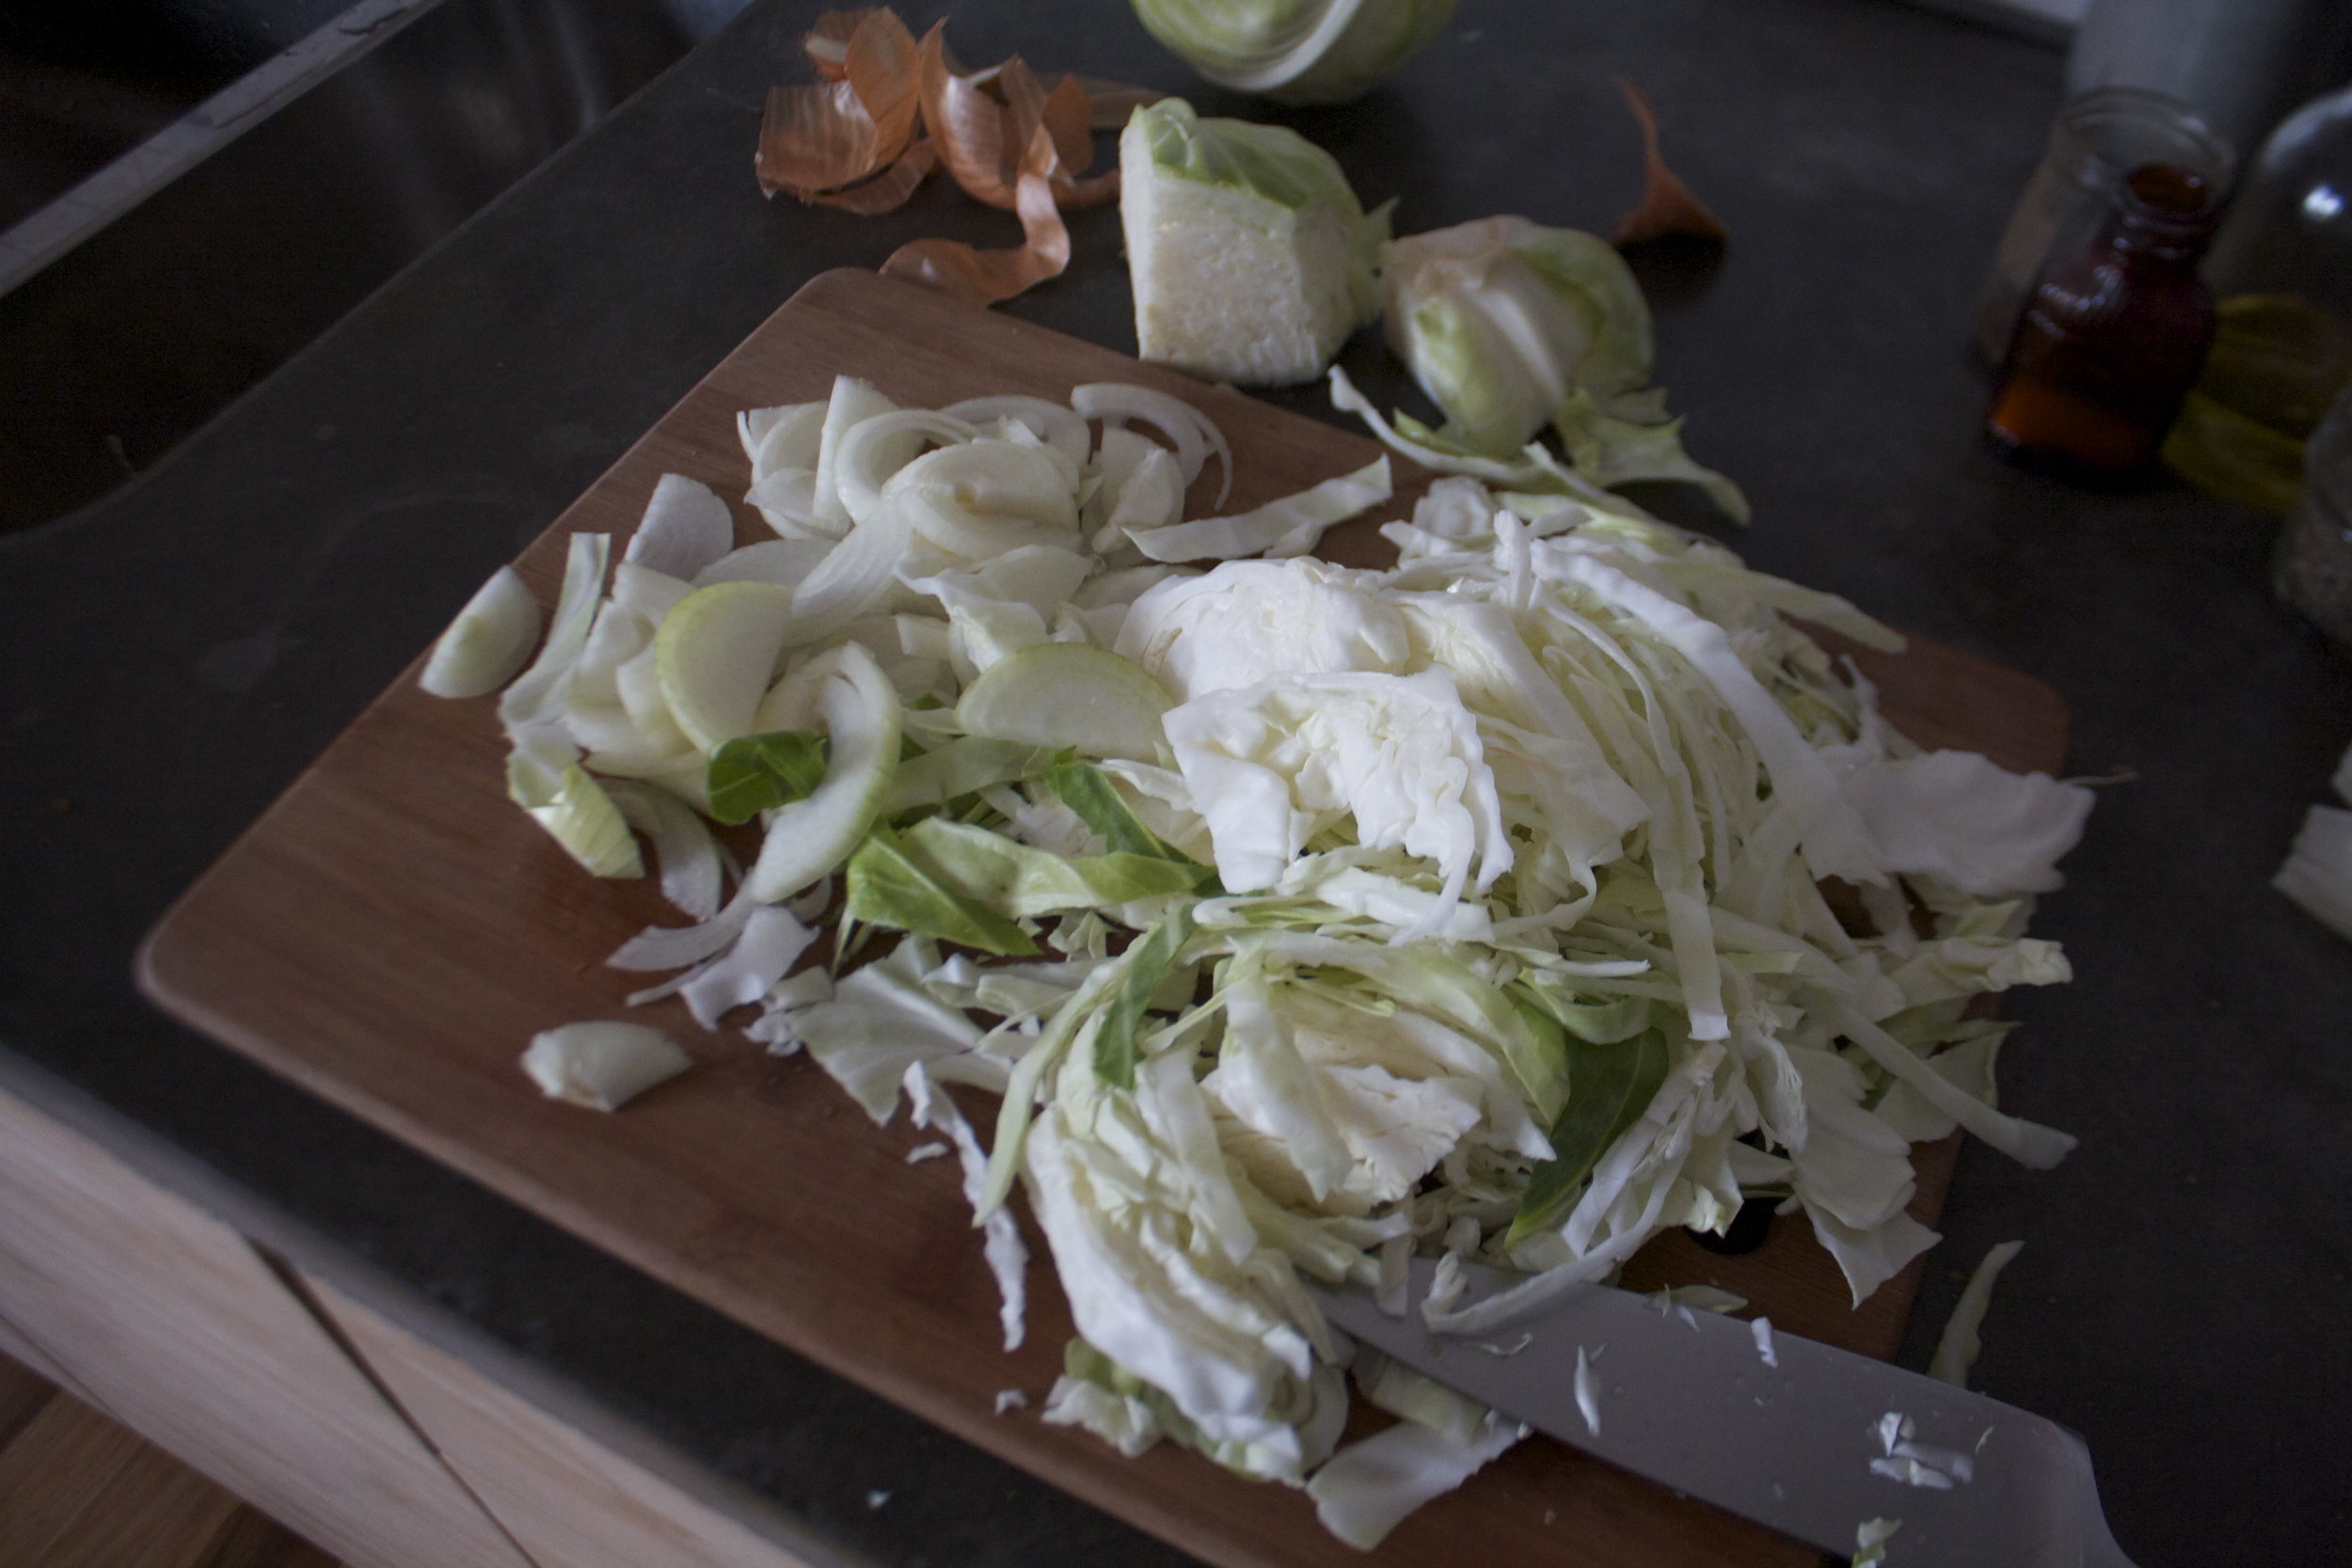
Whle tofu is cooking, cut up veggies into small, not tiny, pieces. And mince the garlic too.

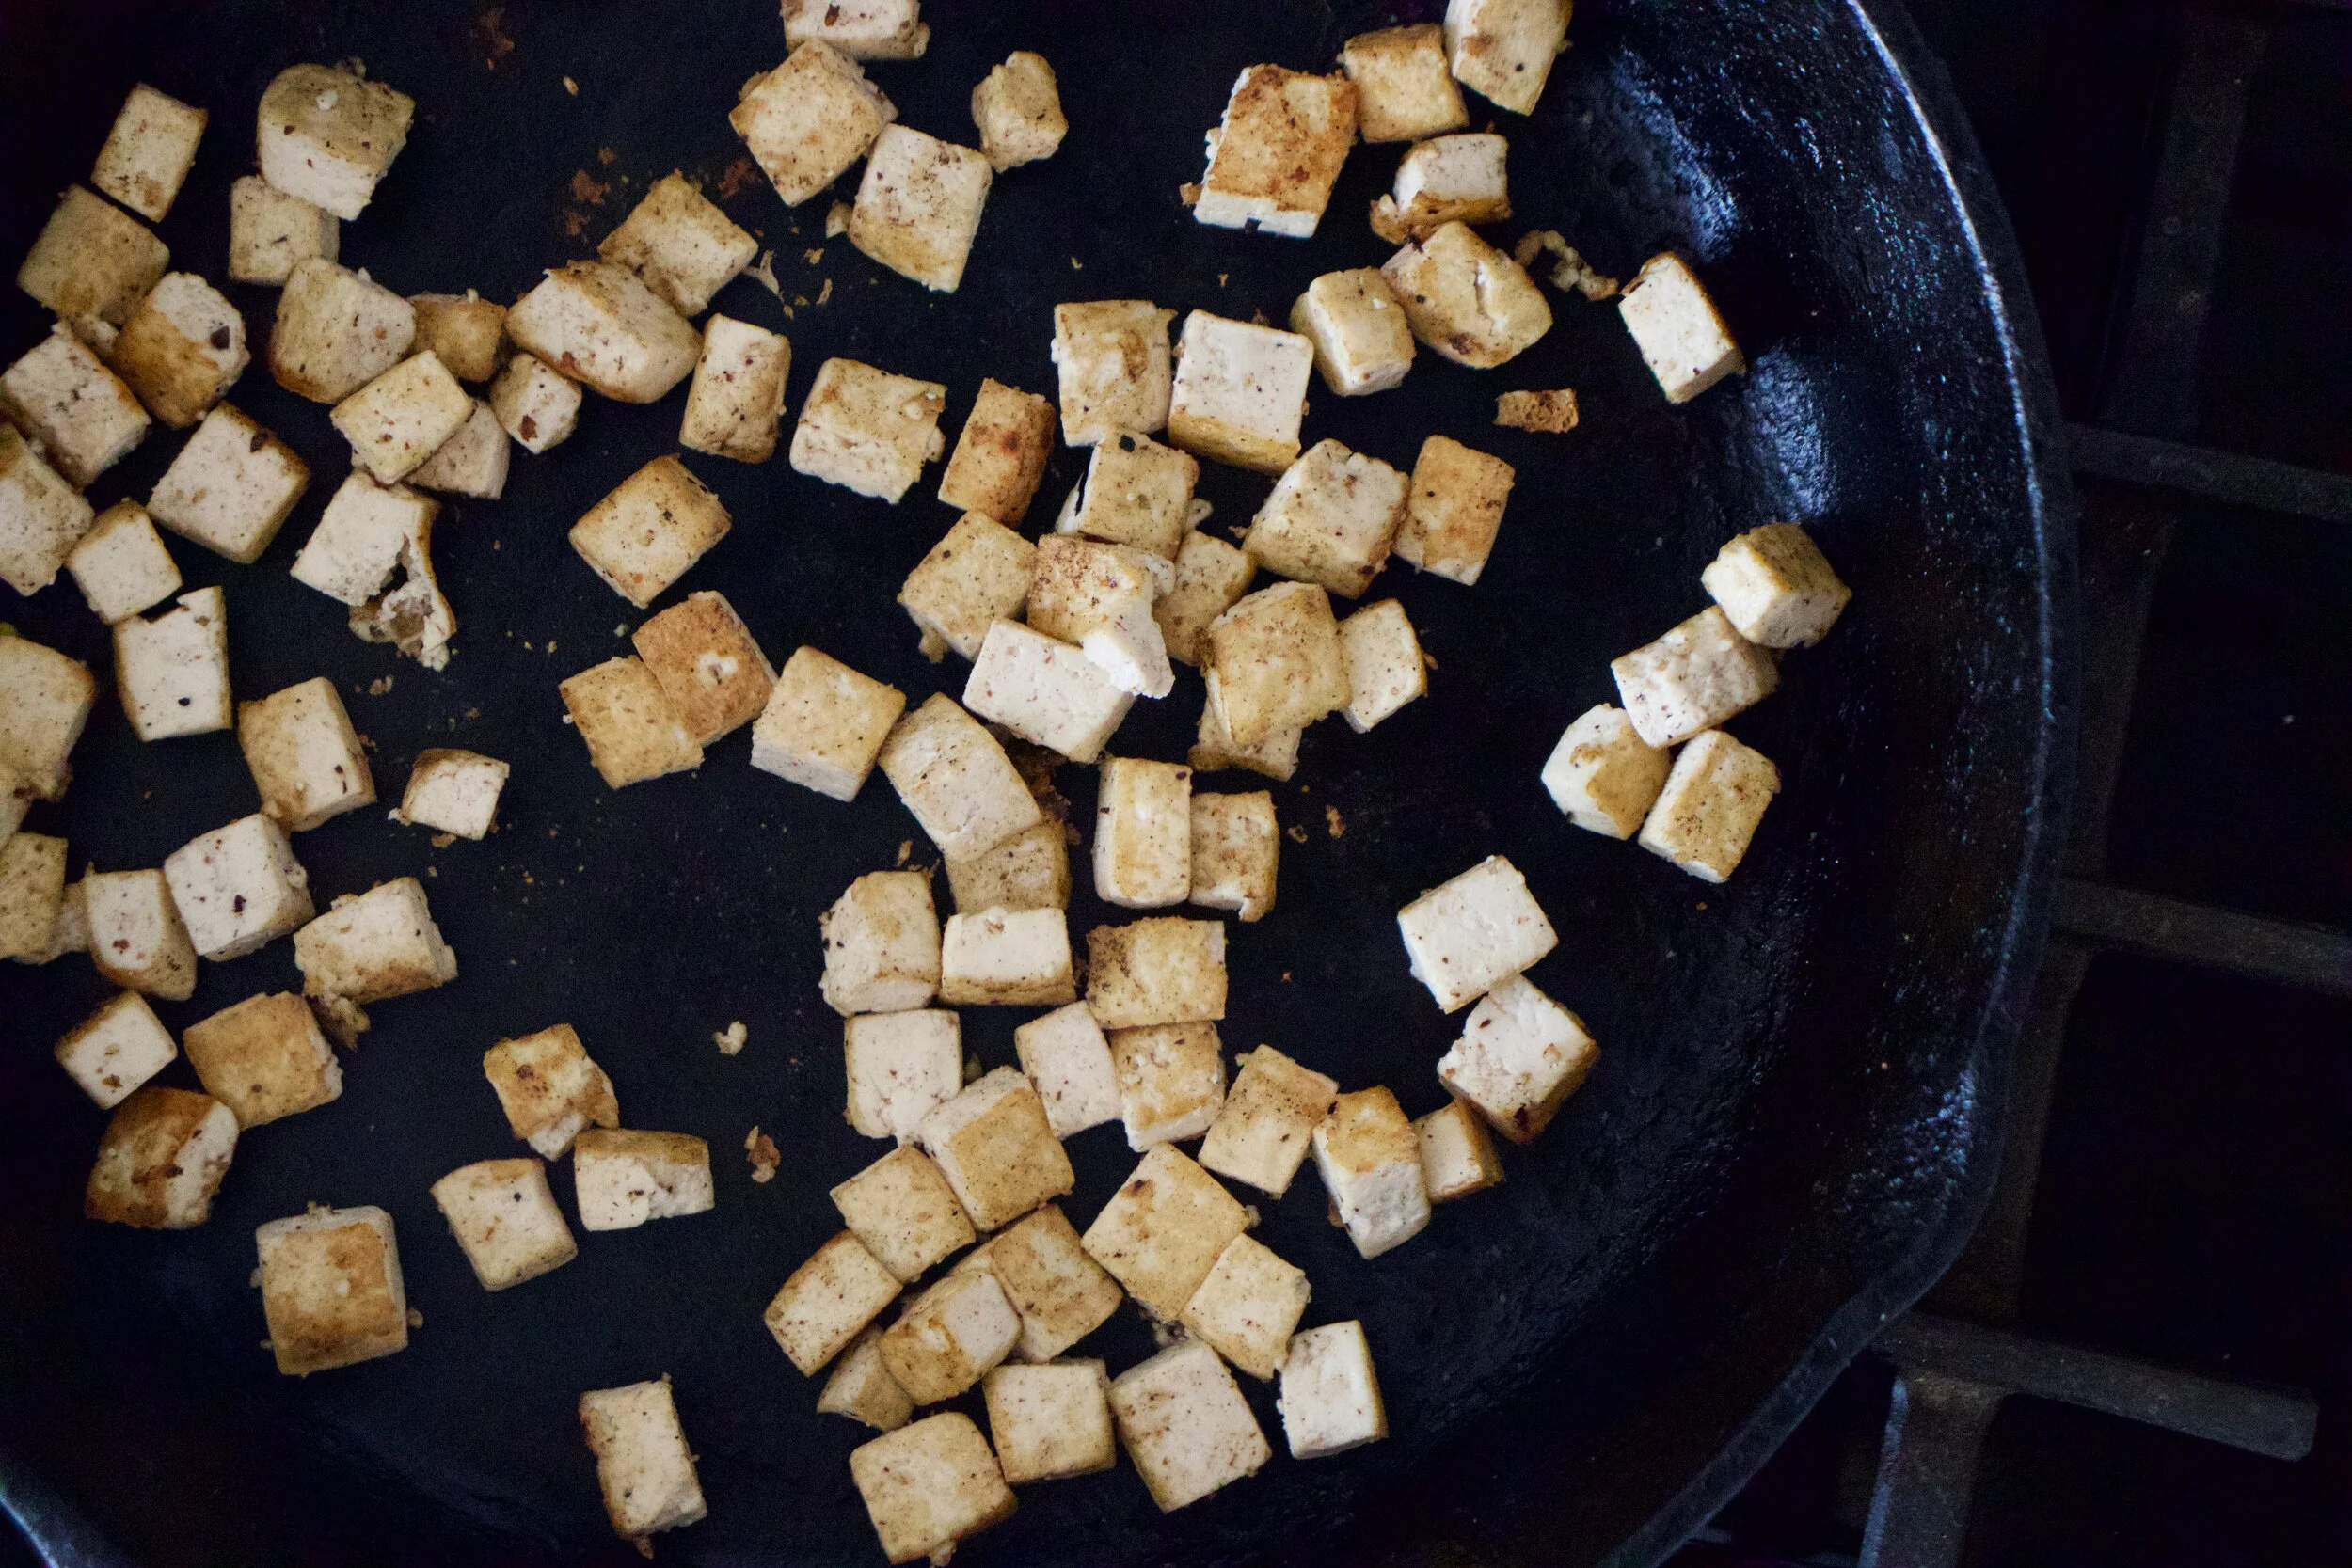
Browned and tasty tofu.

IMG_5584.jpg

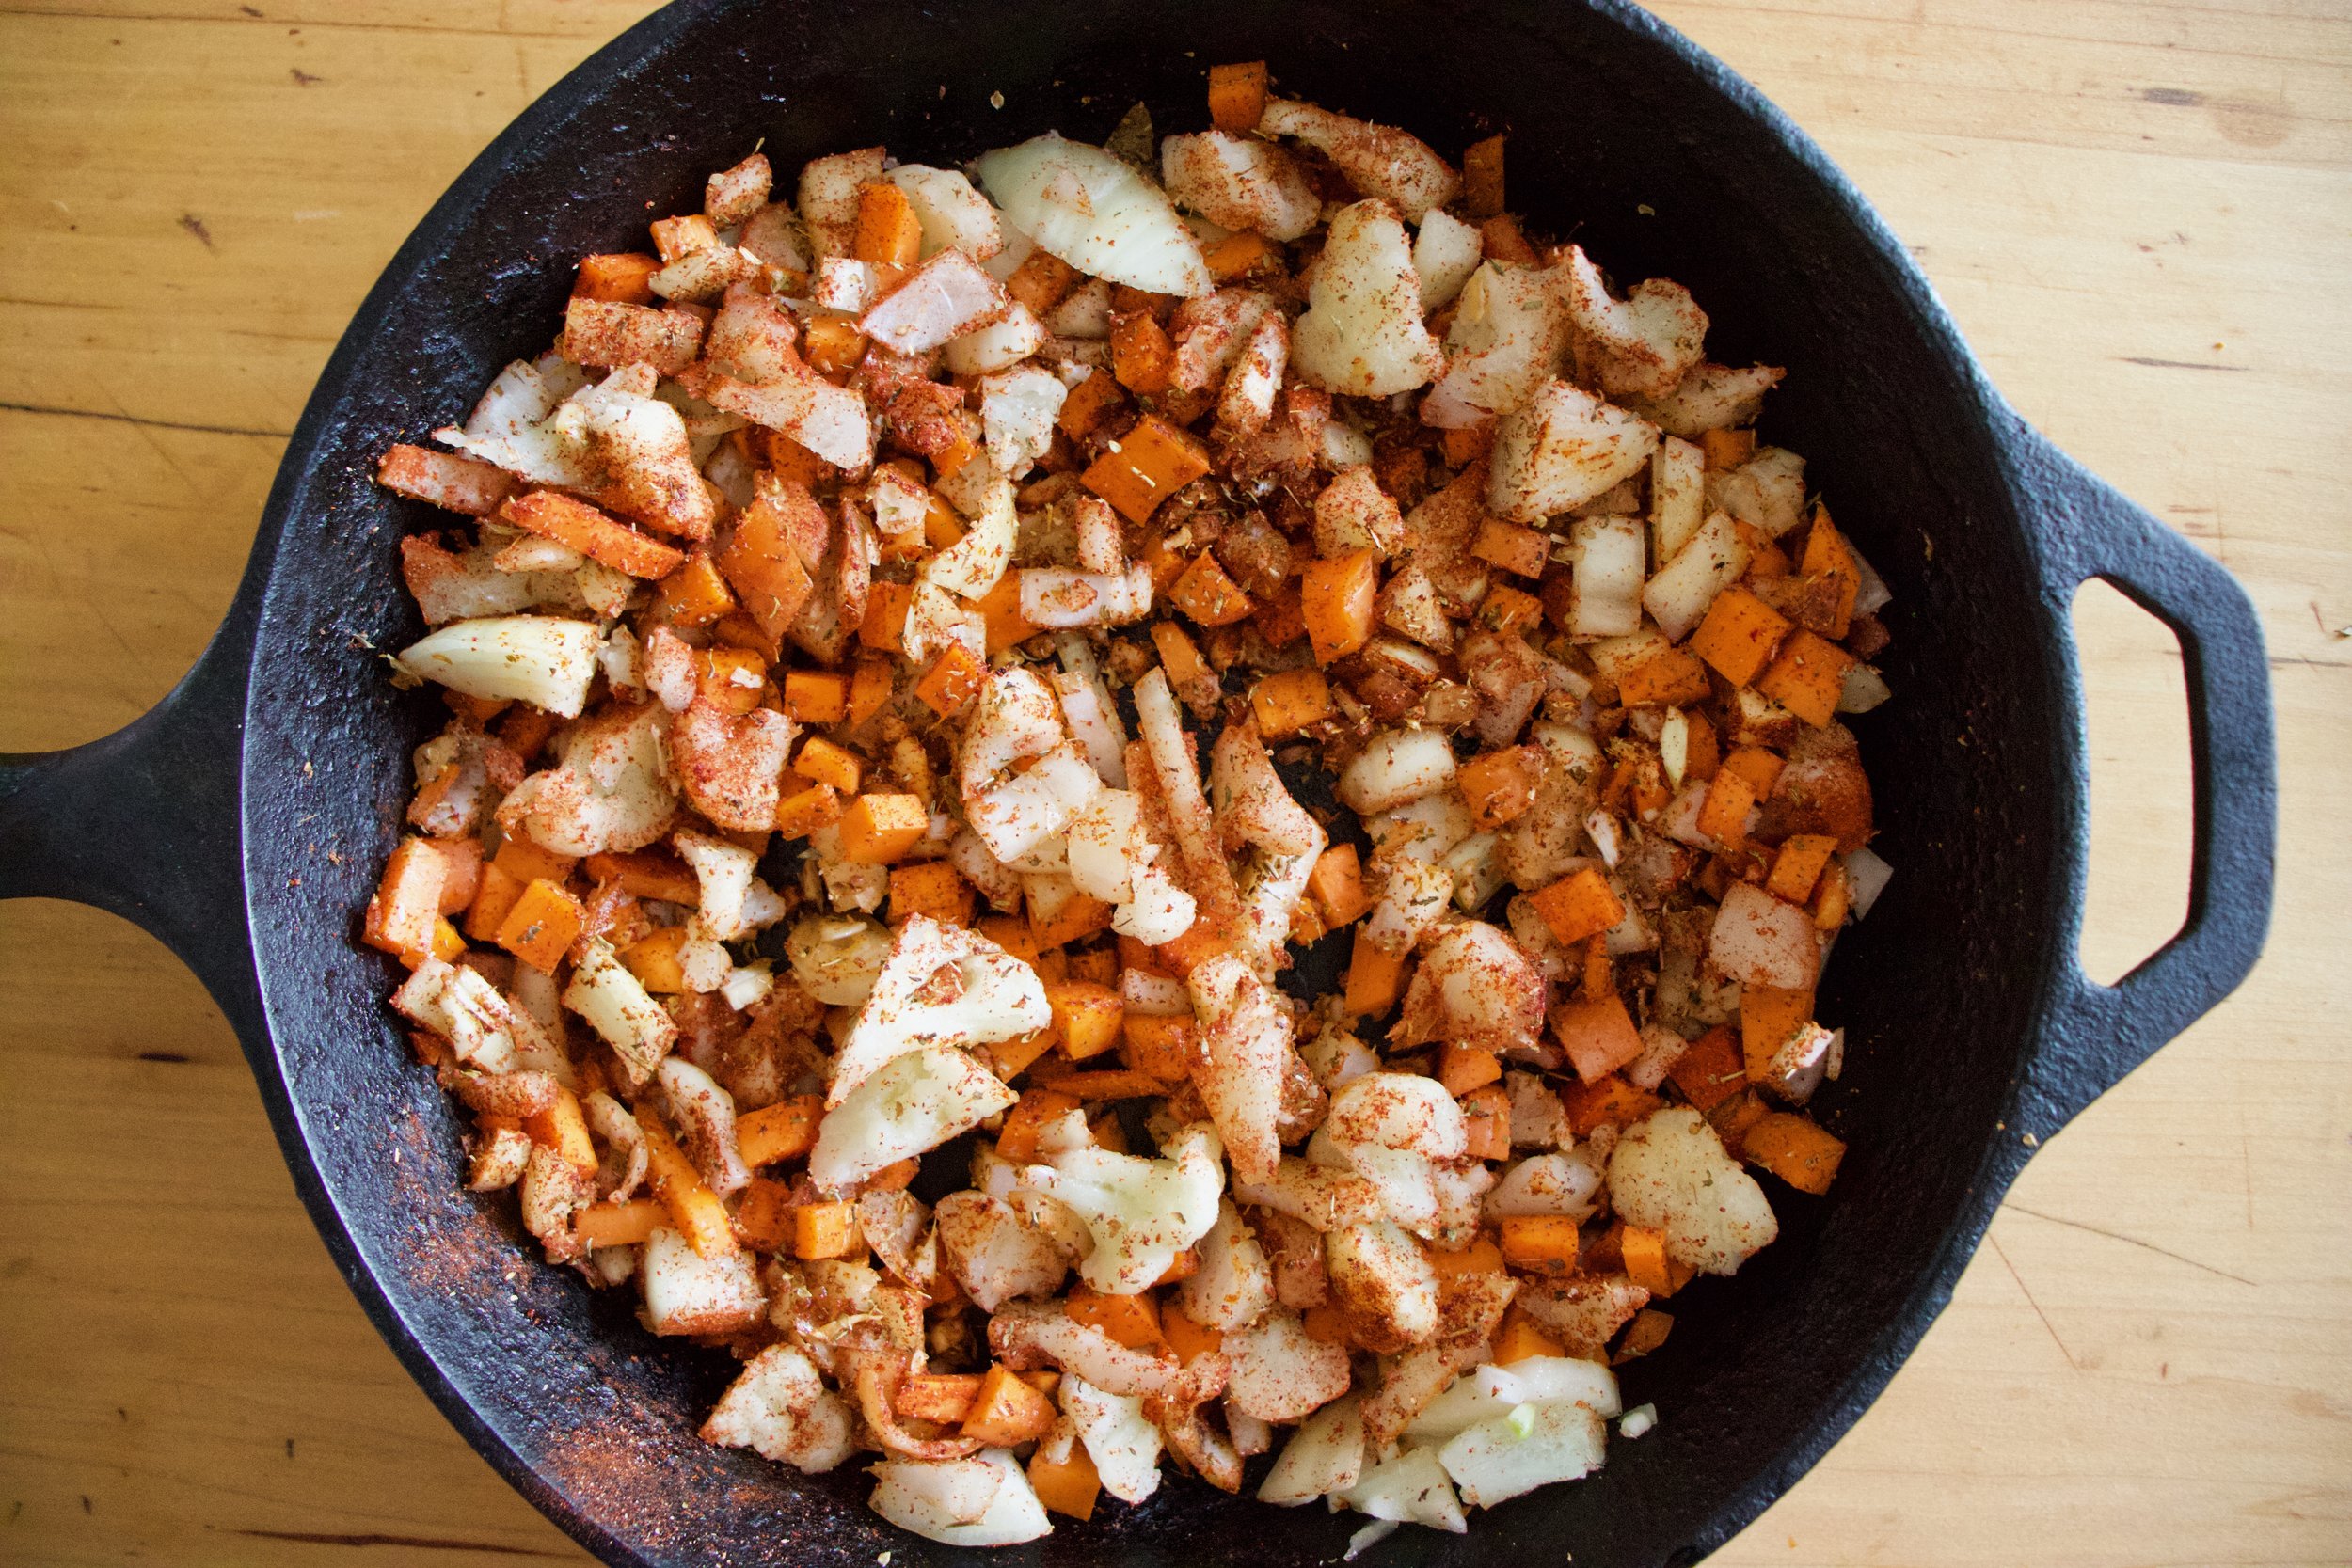
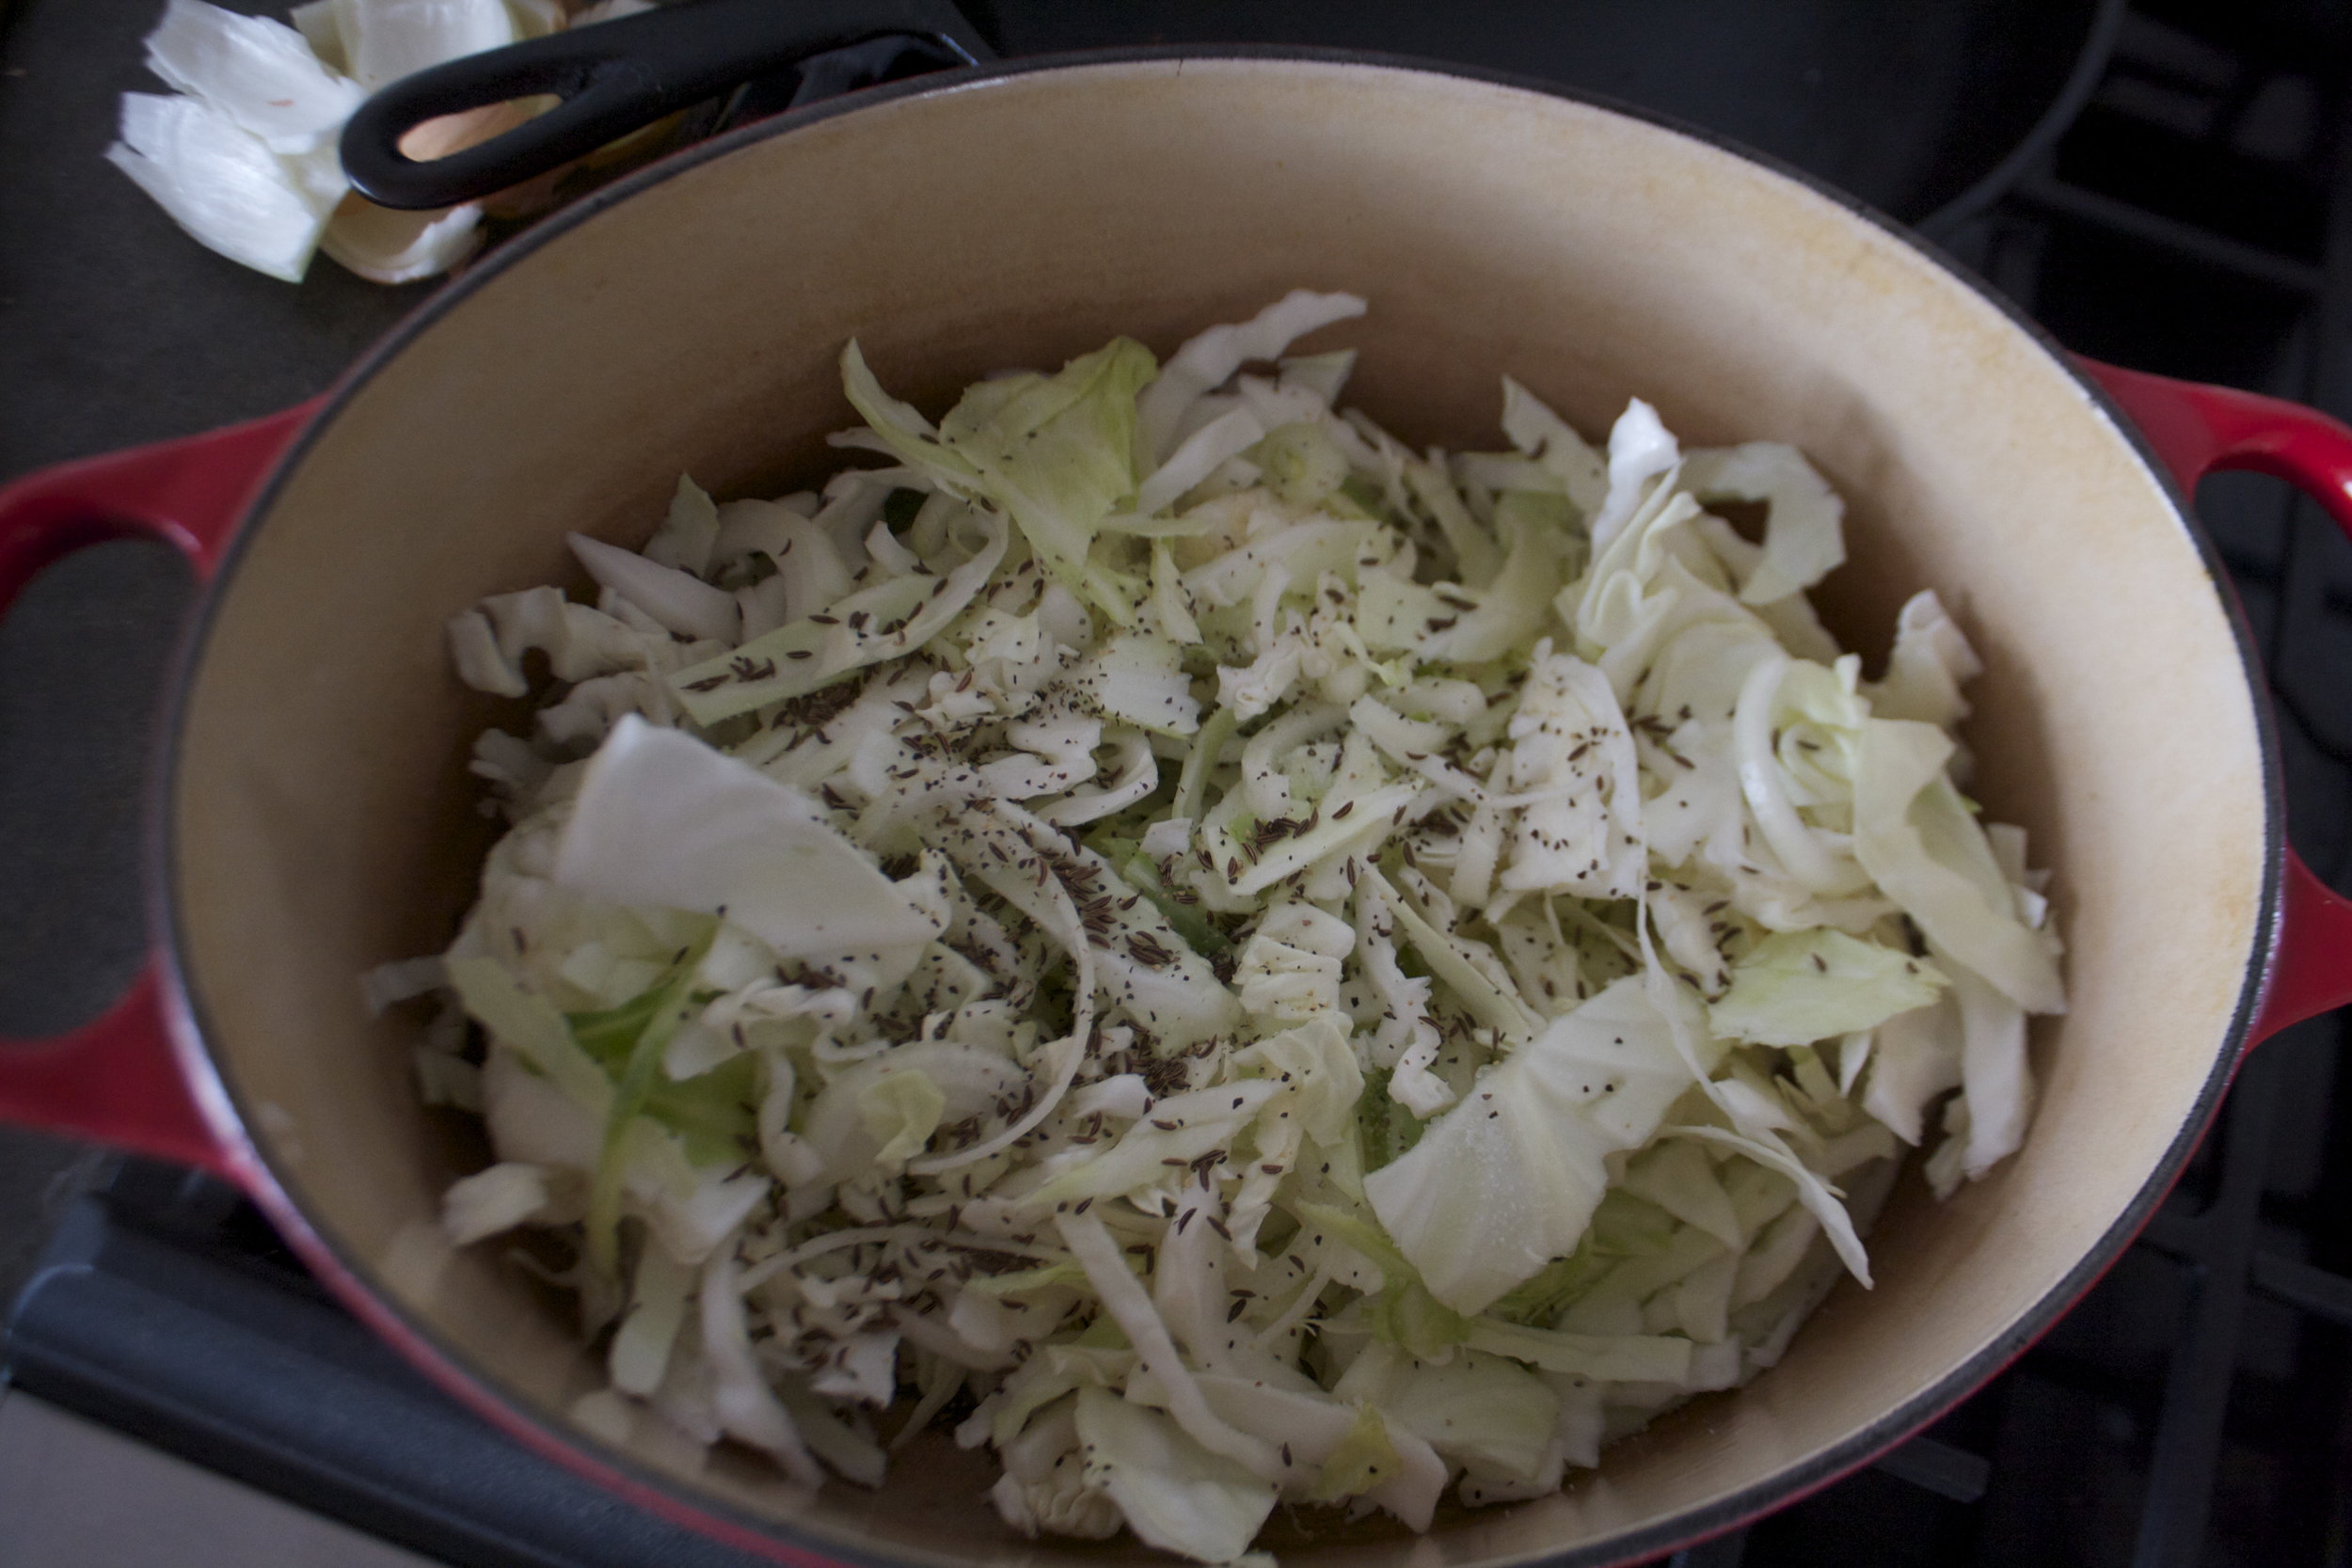
Remove tofu from skillet and place into a bowl. Add all the veggies you just cut up into the skillet along with the spices and another pinch of slat ans lots of pepper. Keep on heat and cook.

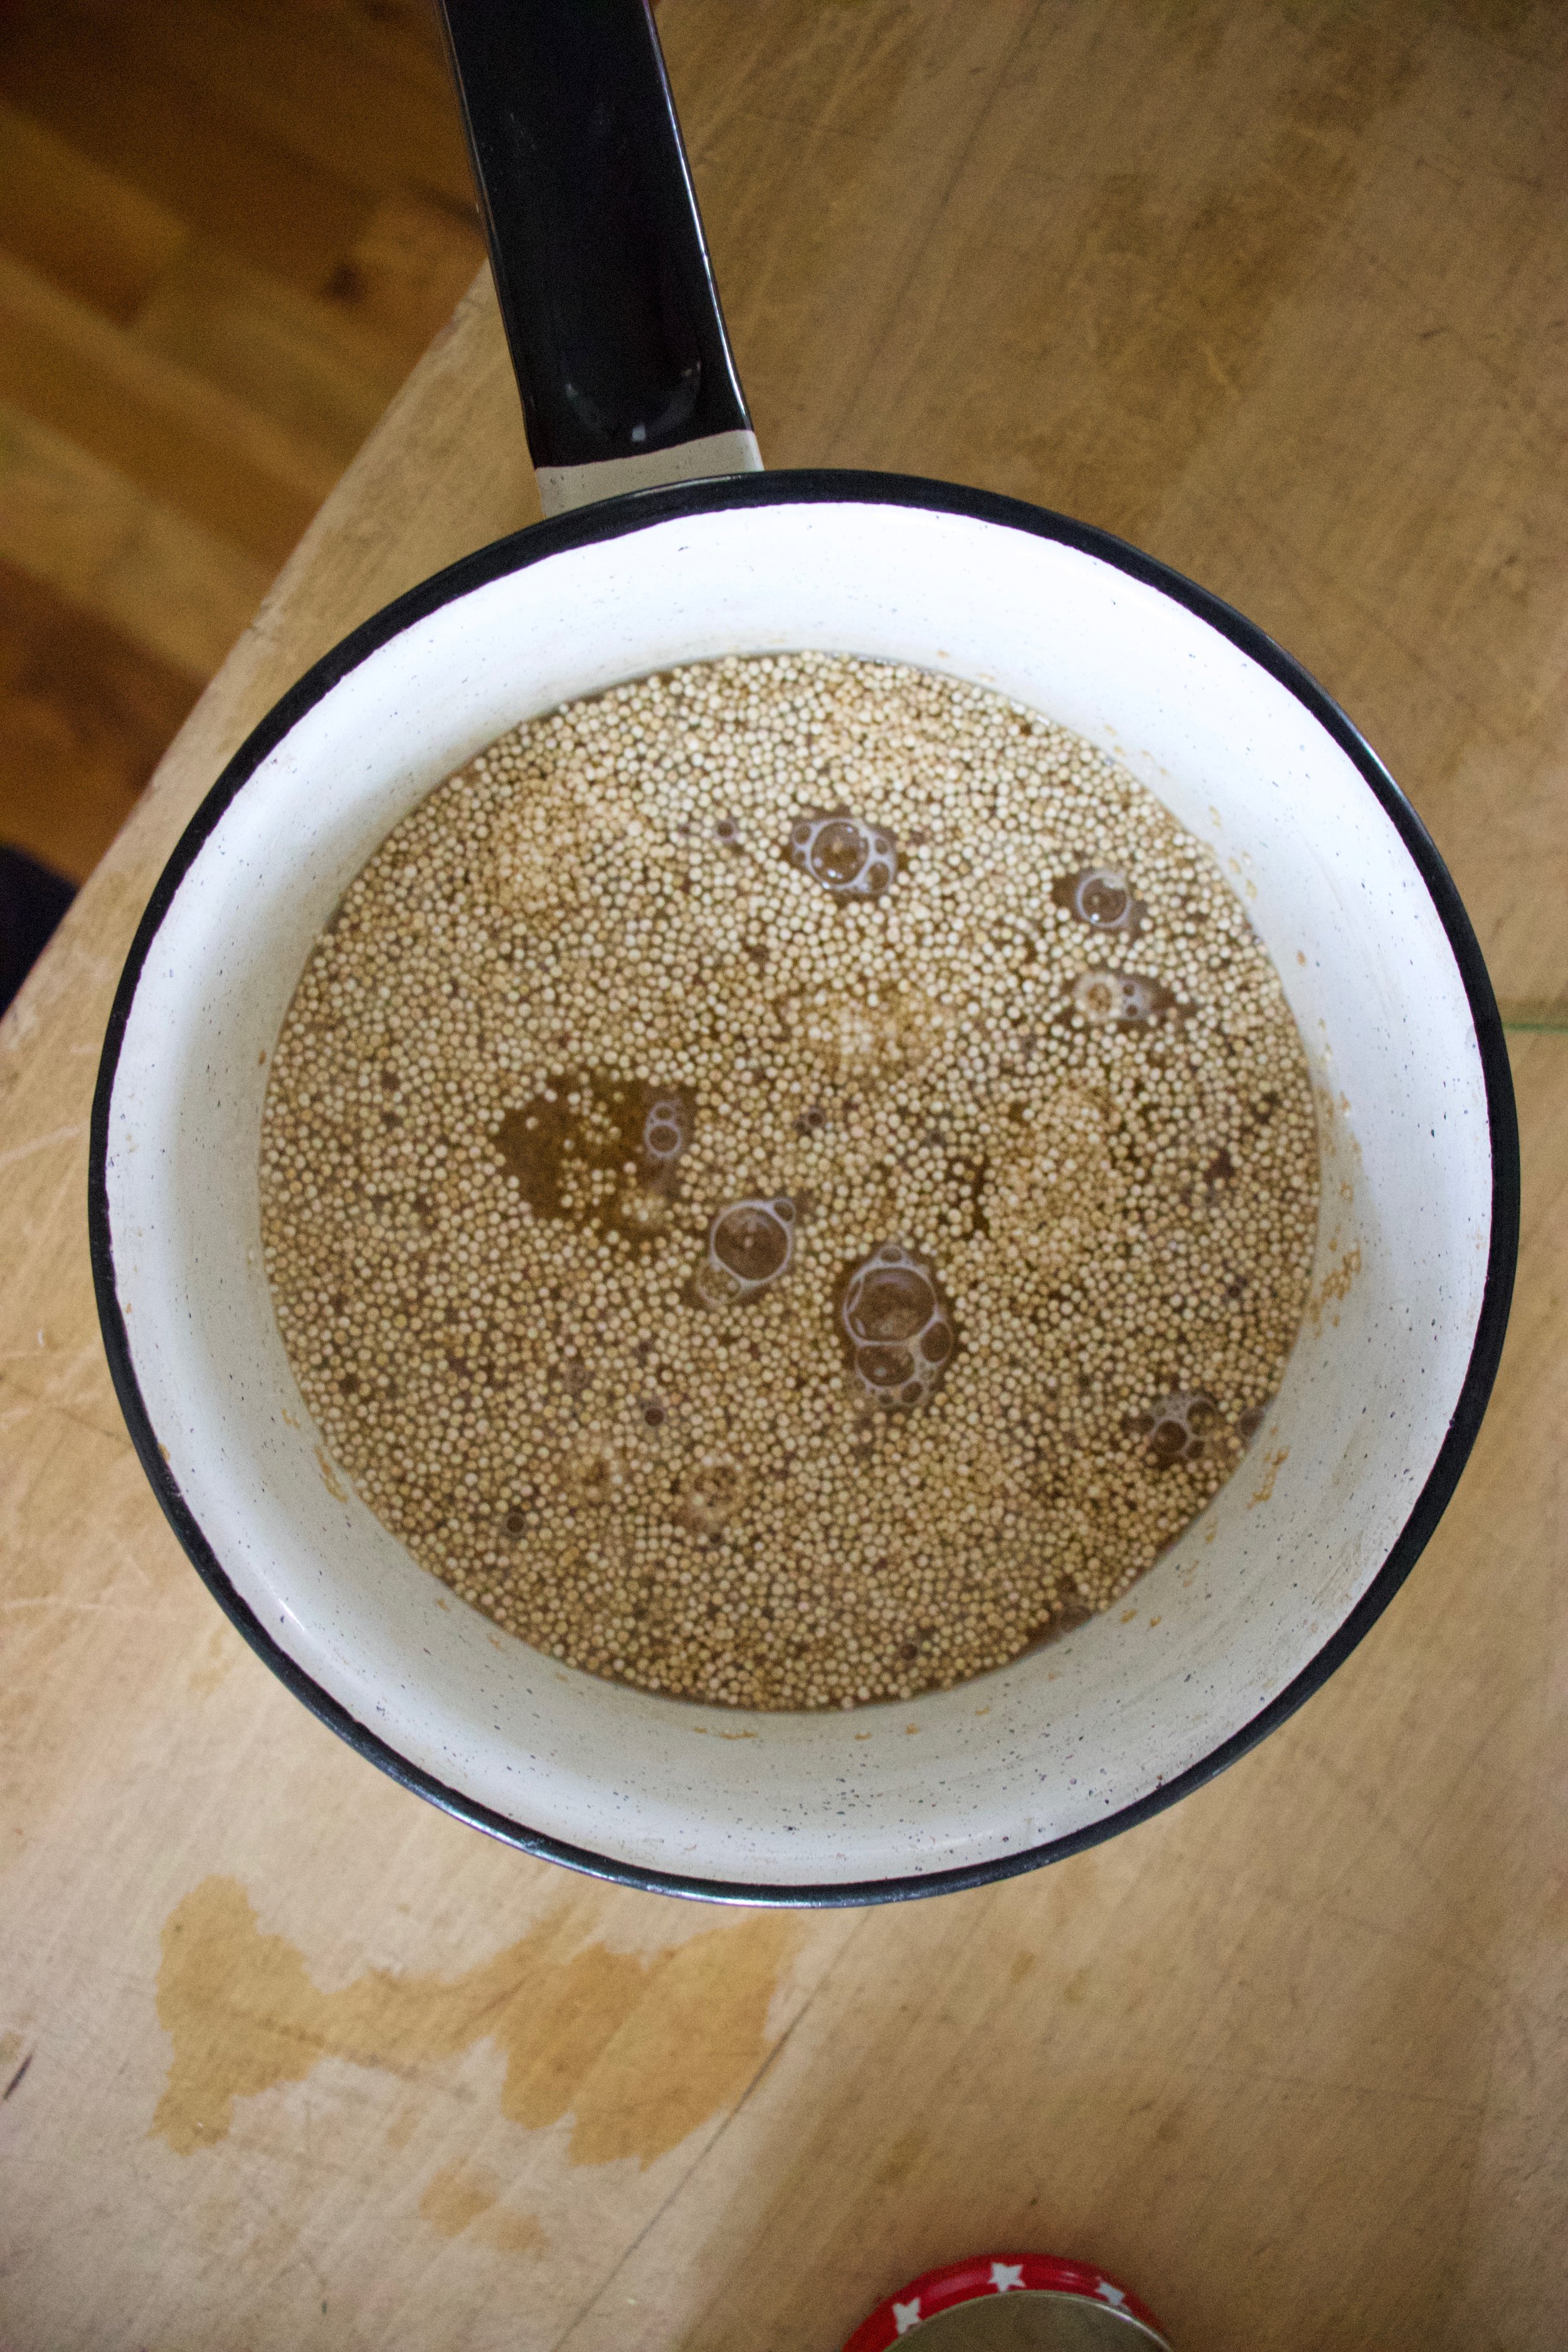
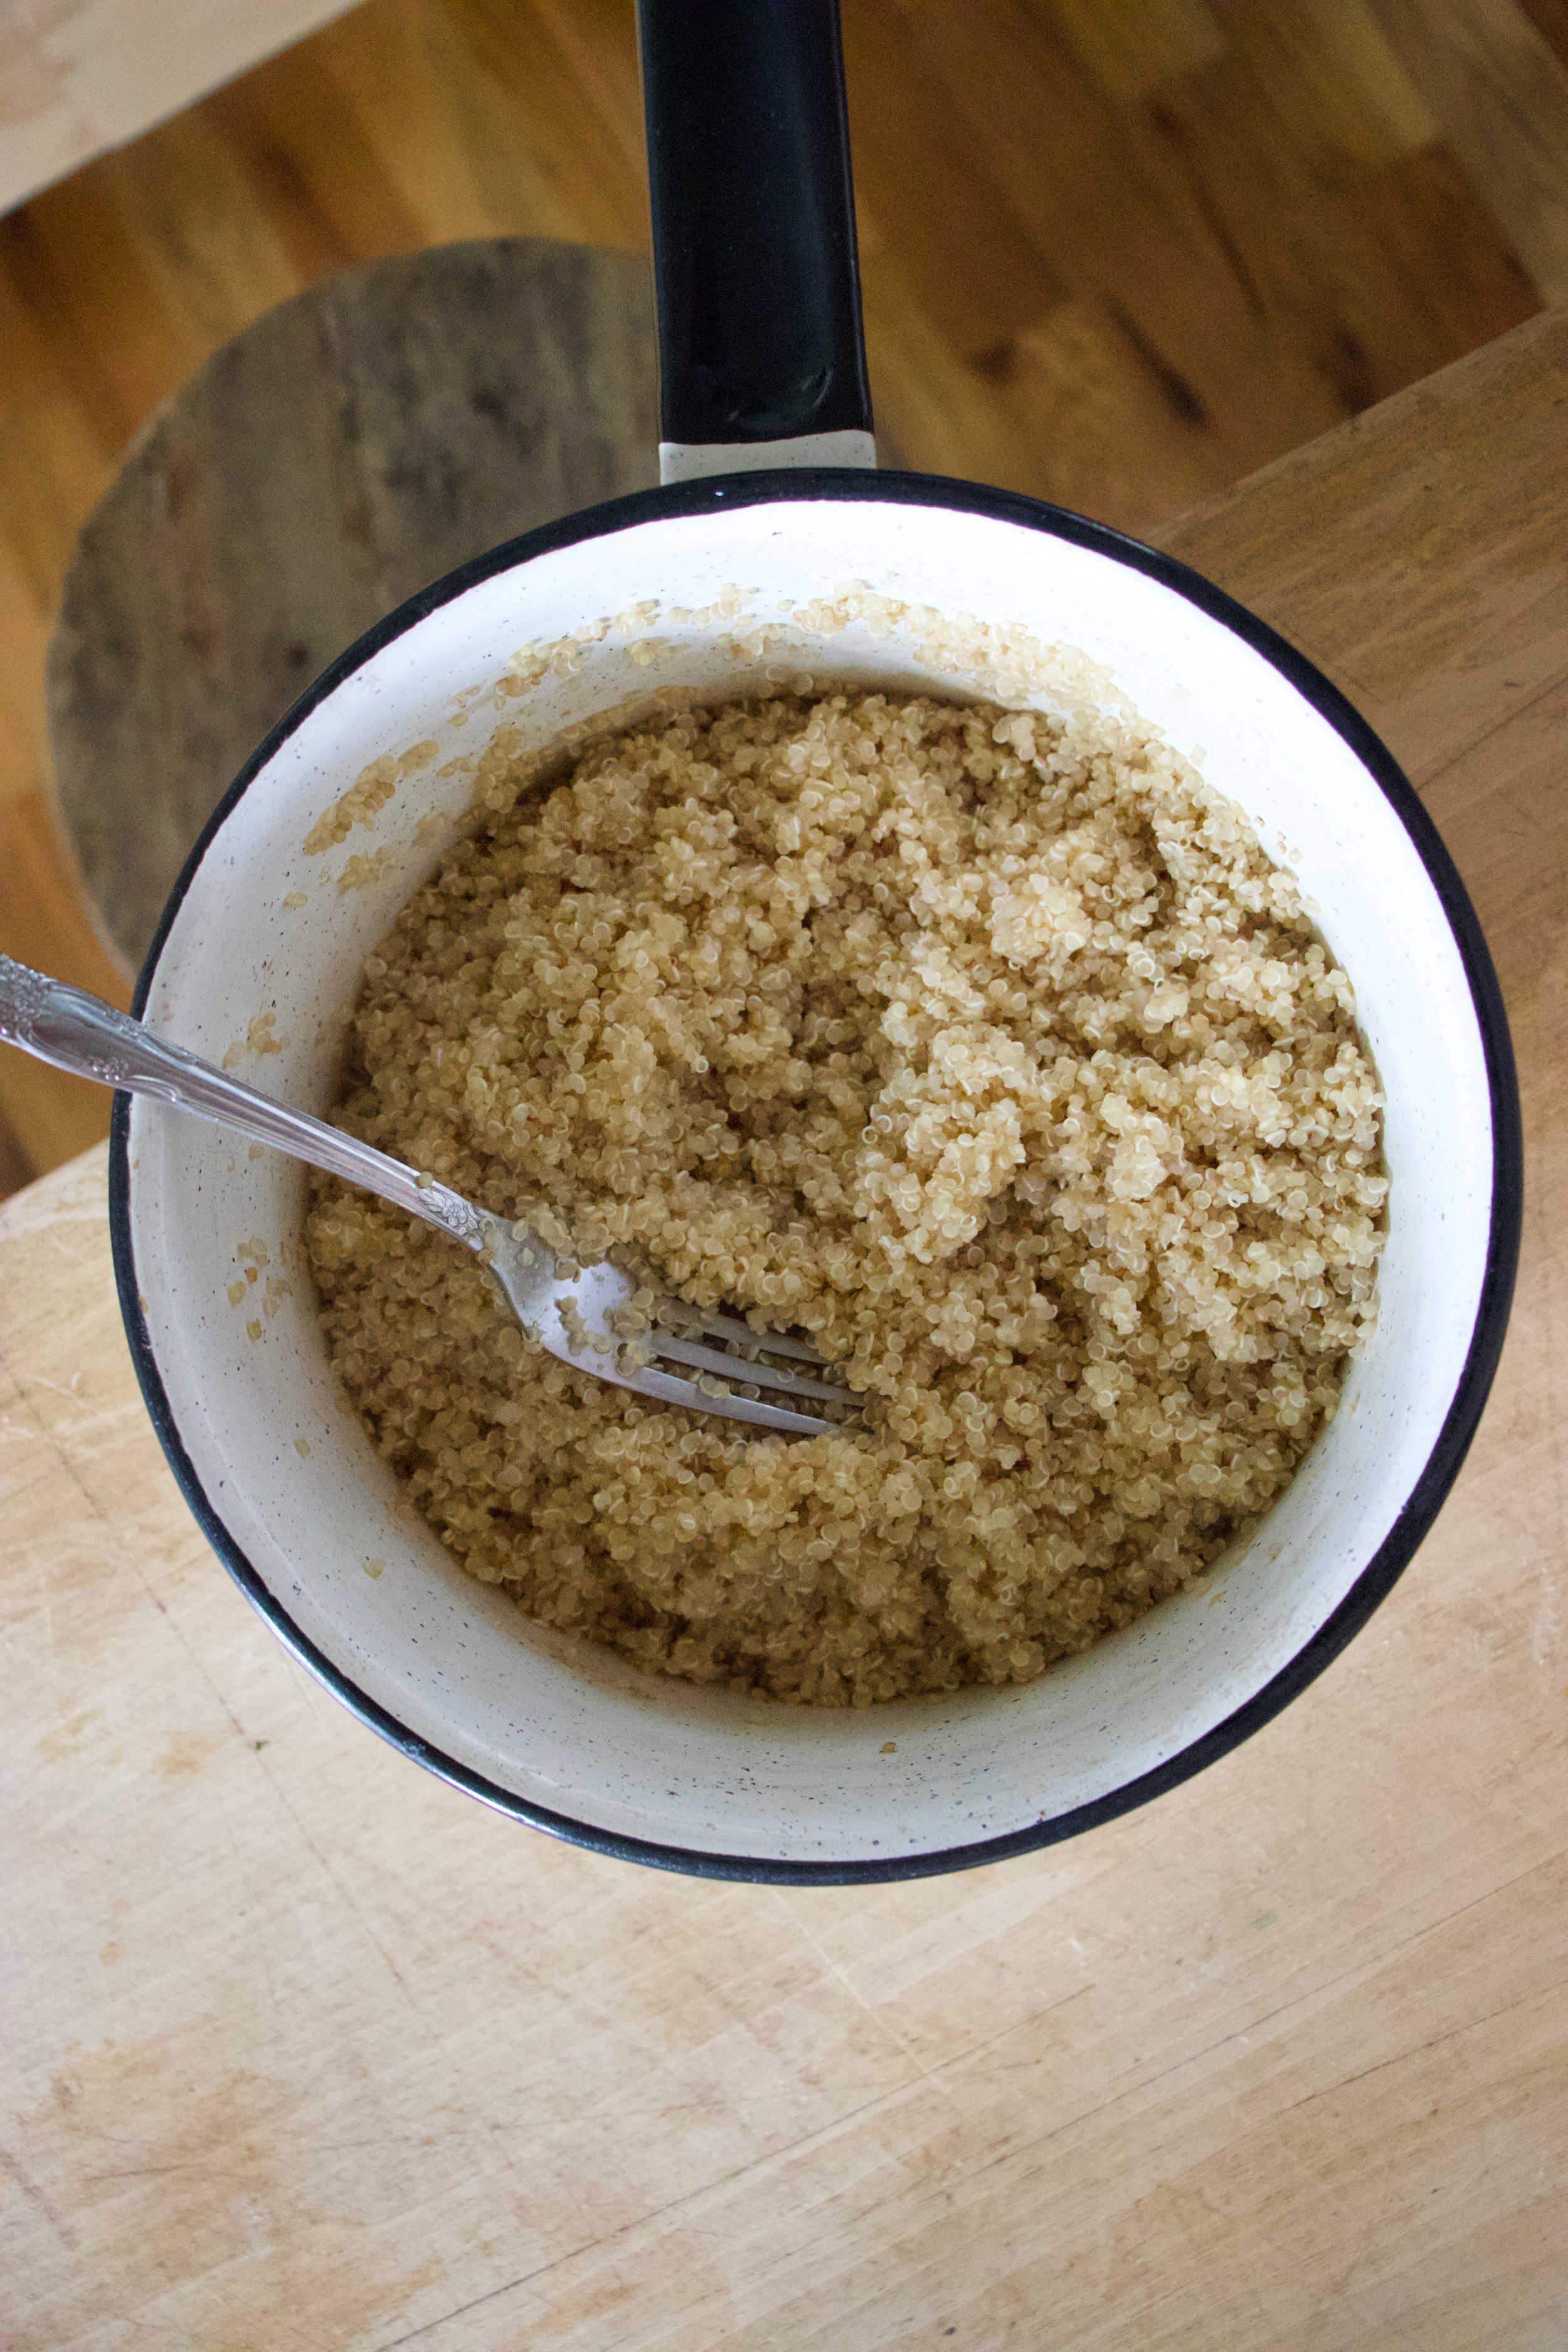
While veggies are cooking, place water and oats into blender and blend until smooth. Making oat milk to thicken the whole shebang.

IMG_5604 2.jpg
IMG_5611.jpg

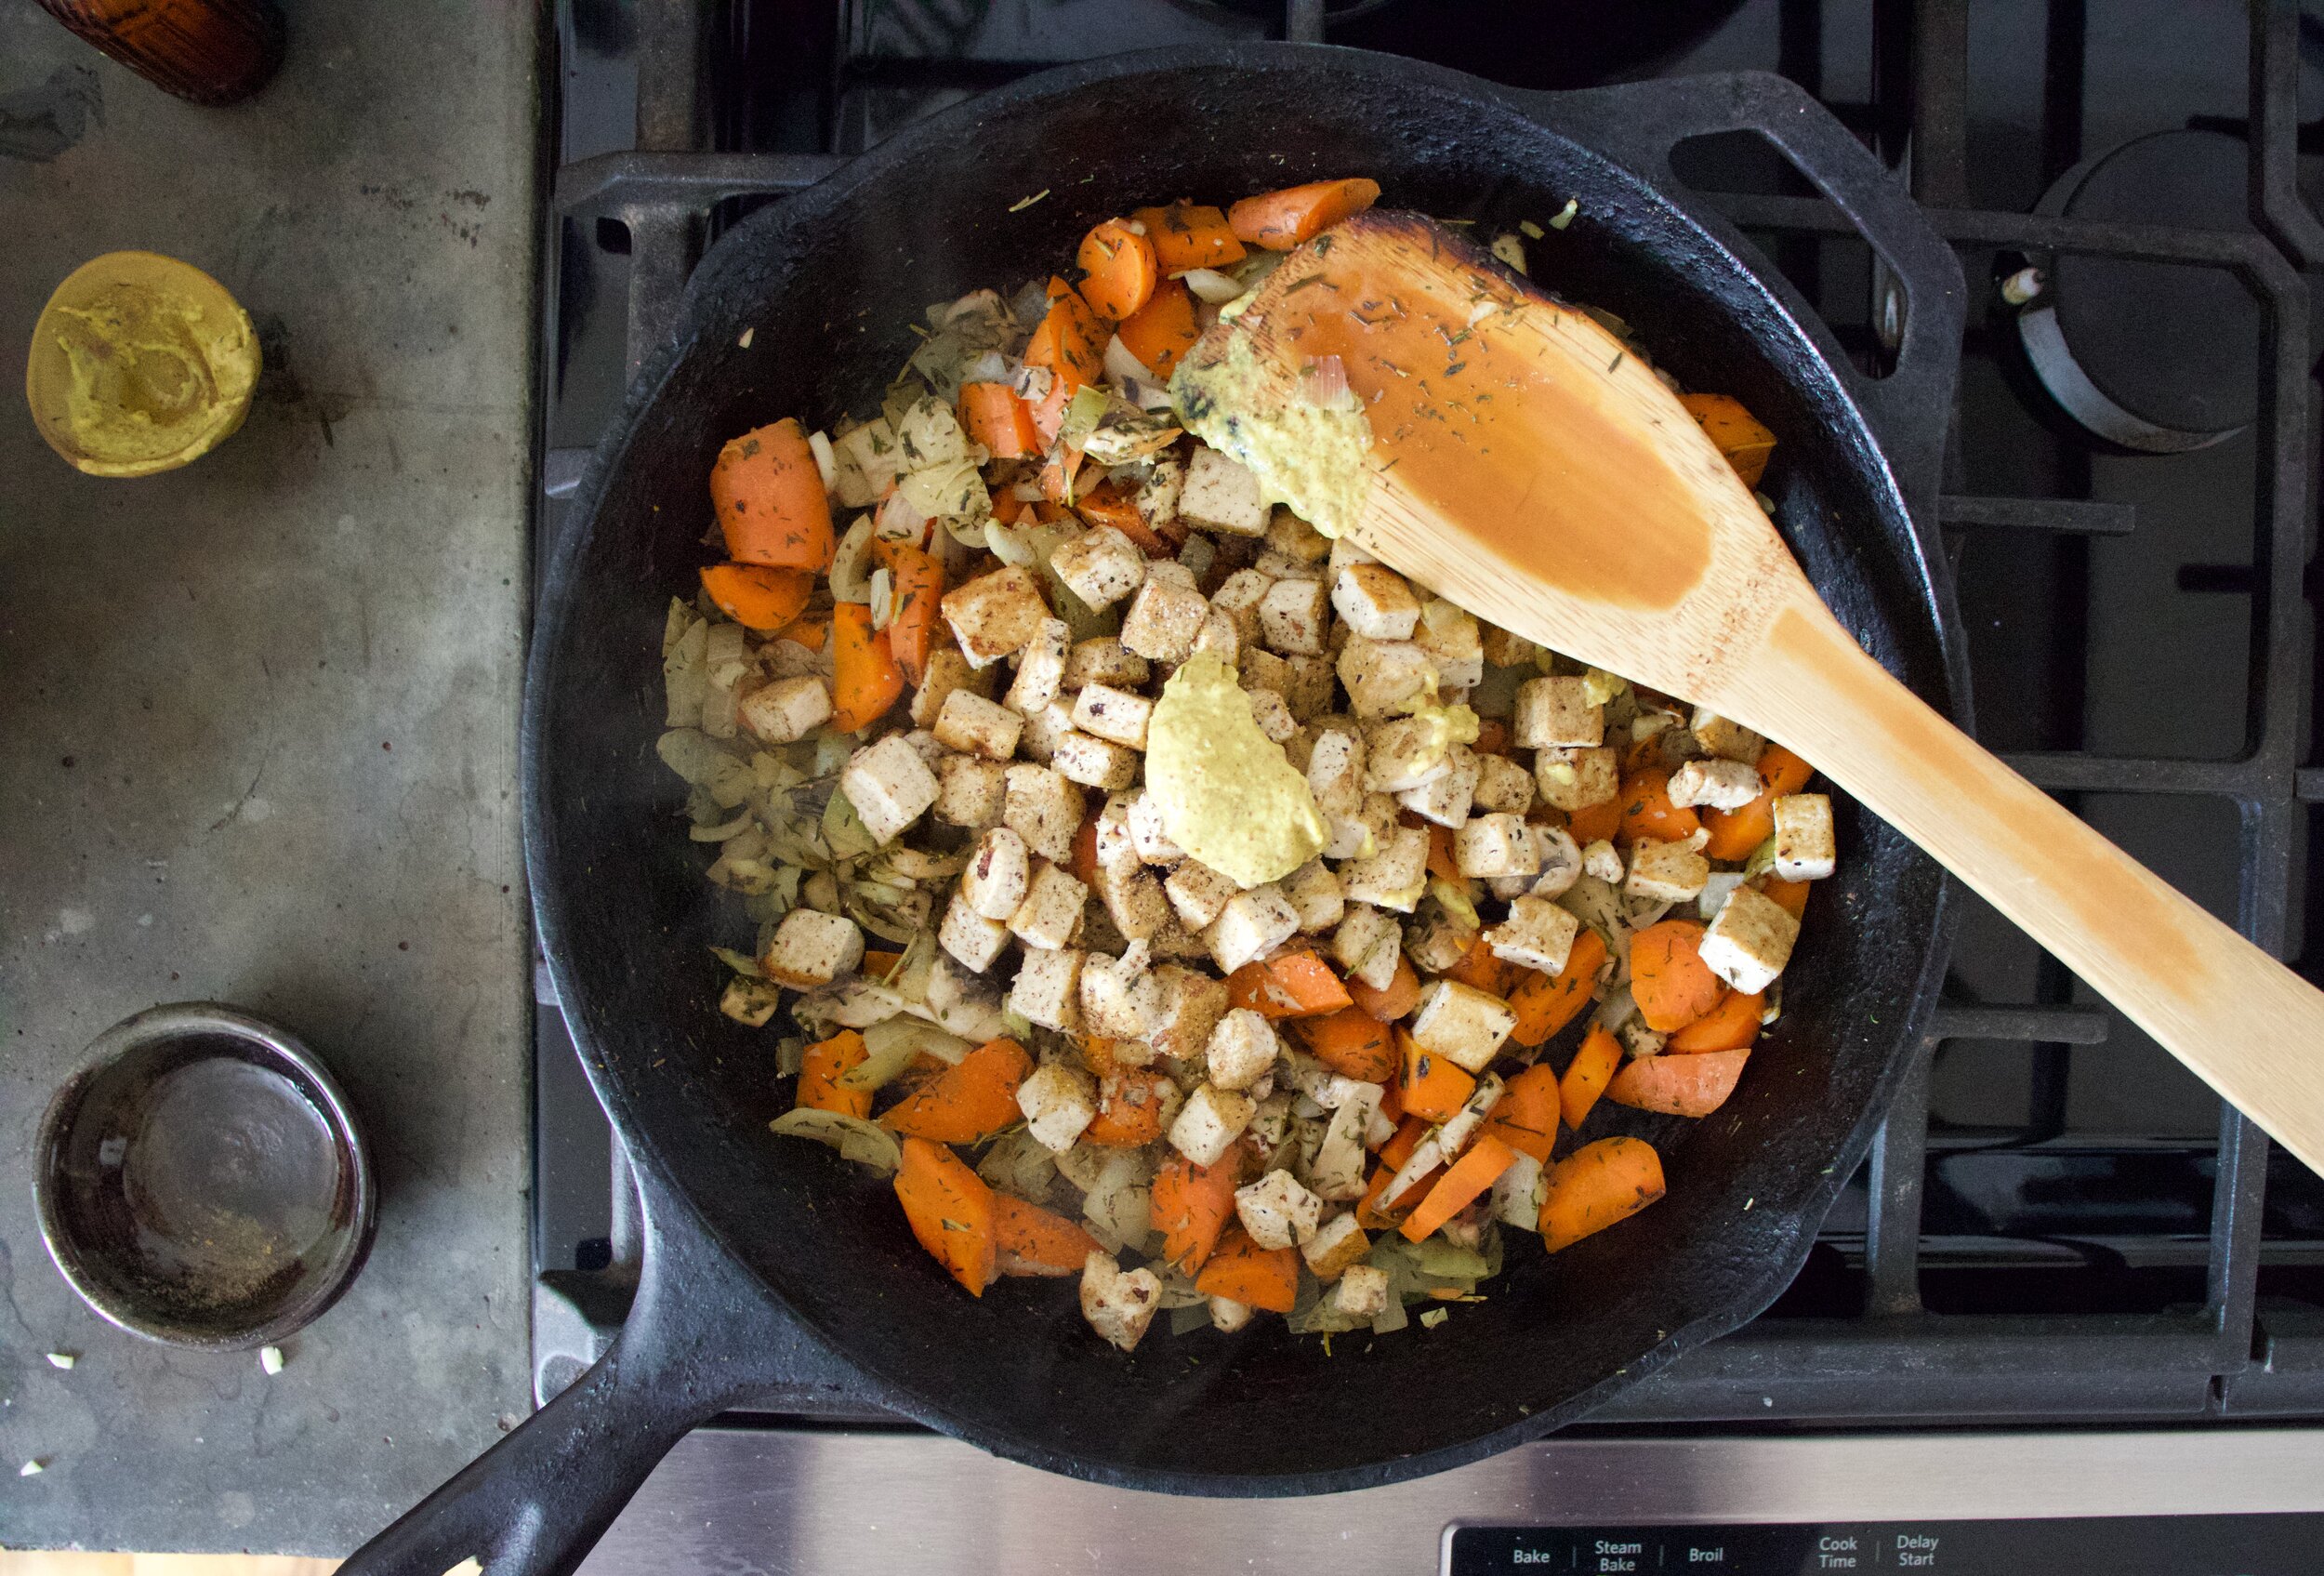
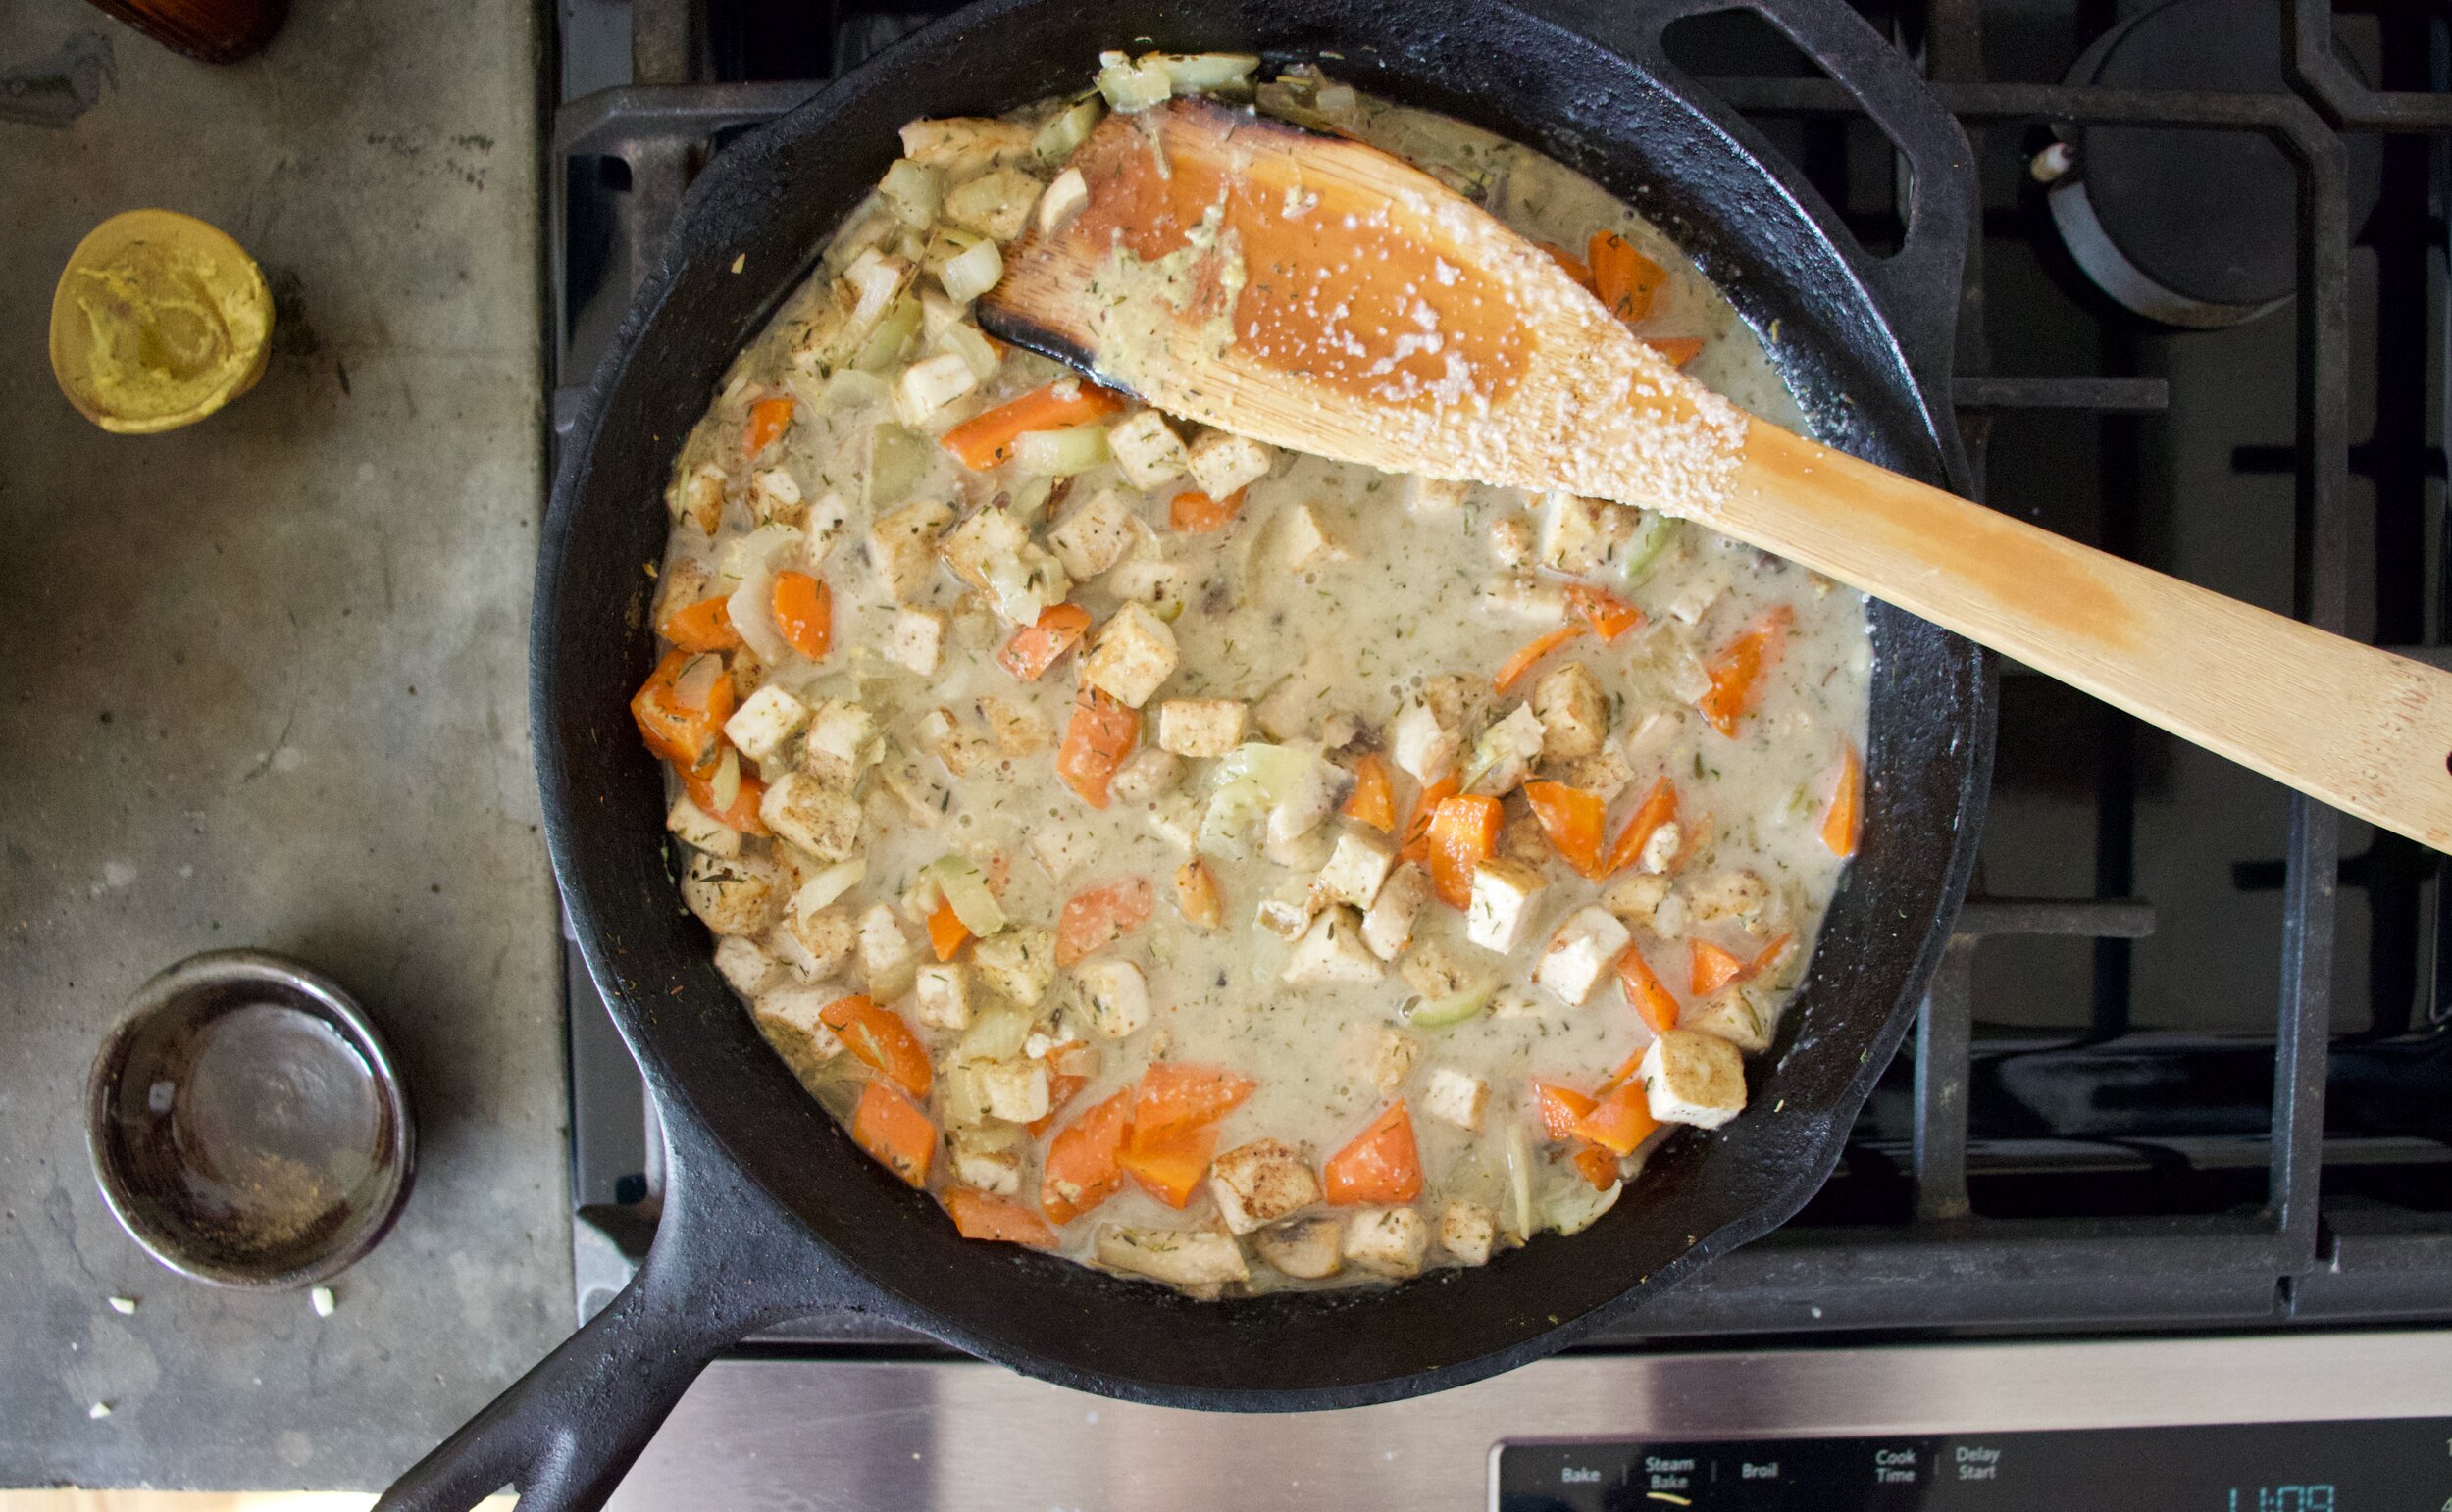
Once the veggies start to soften just a bit, add the tofu back in and add the mustard too. Then dump in the oat mixture you just blend up. Mix it al up and cook for a until it just start to thicken.

IMG_5625.jpg

Now add in frozen peas, mix, and remove from heat. Set aside. It’s now time to make the crust.

IMG_5636.jpg

FLour, hot oil, boil water and salt.

IMG_5637.jpg
IMG_5639.jpg

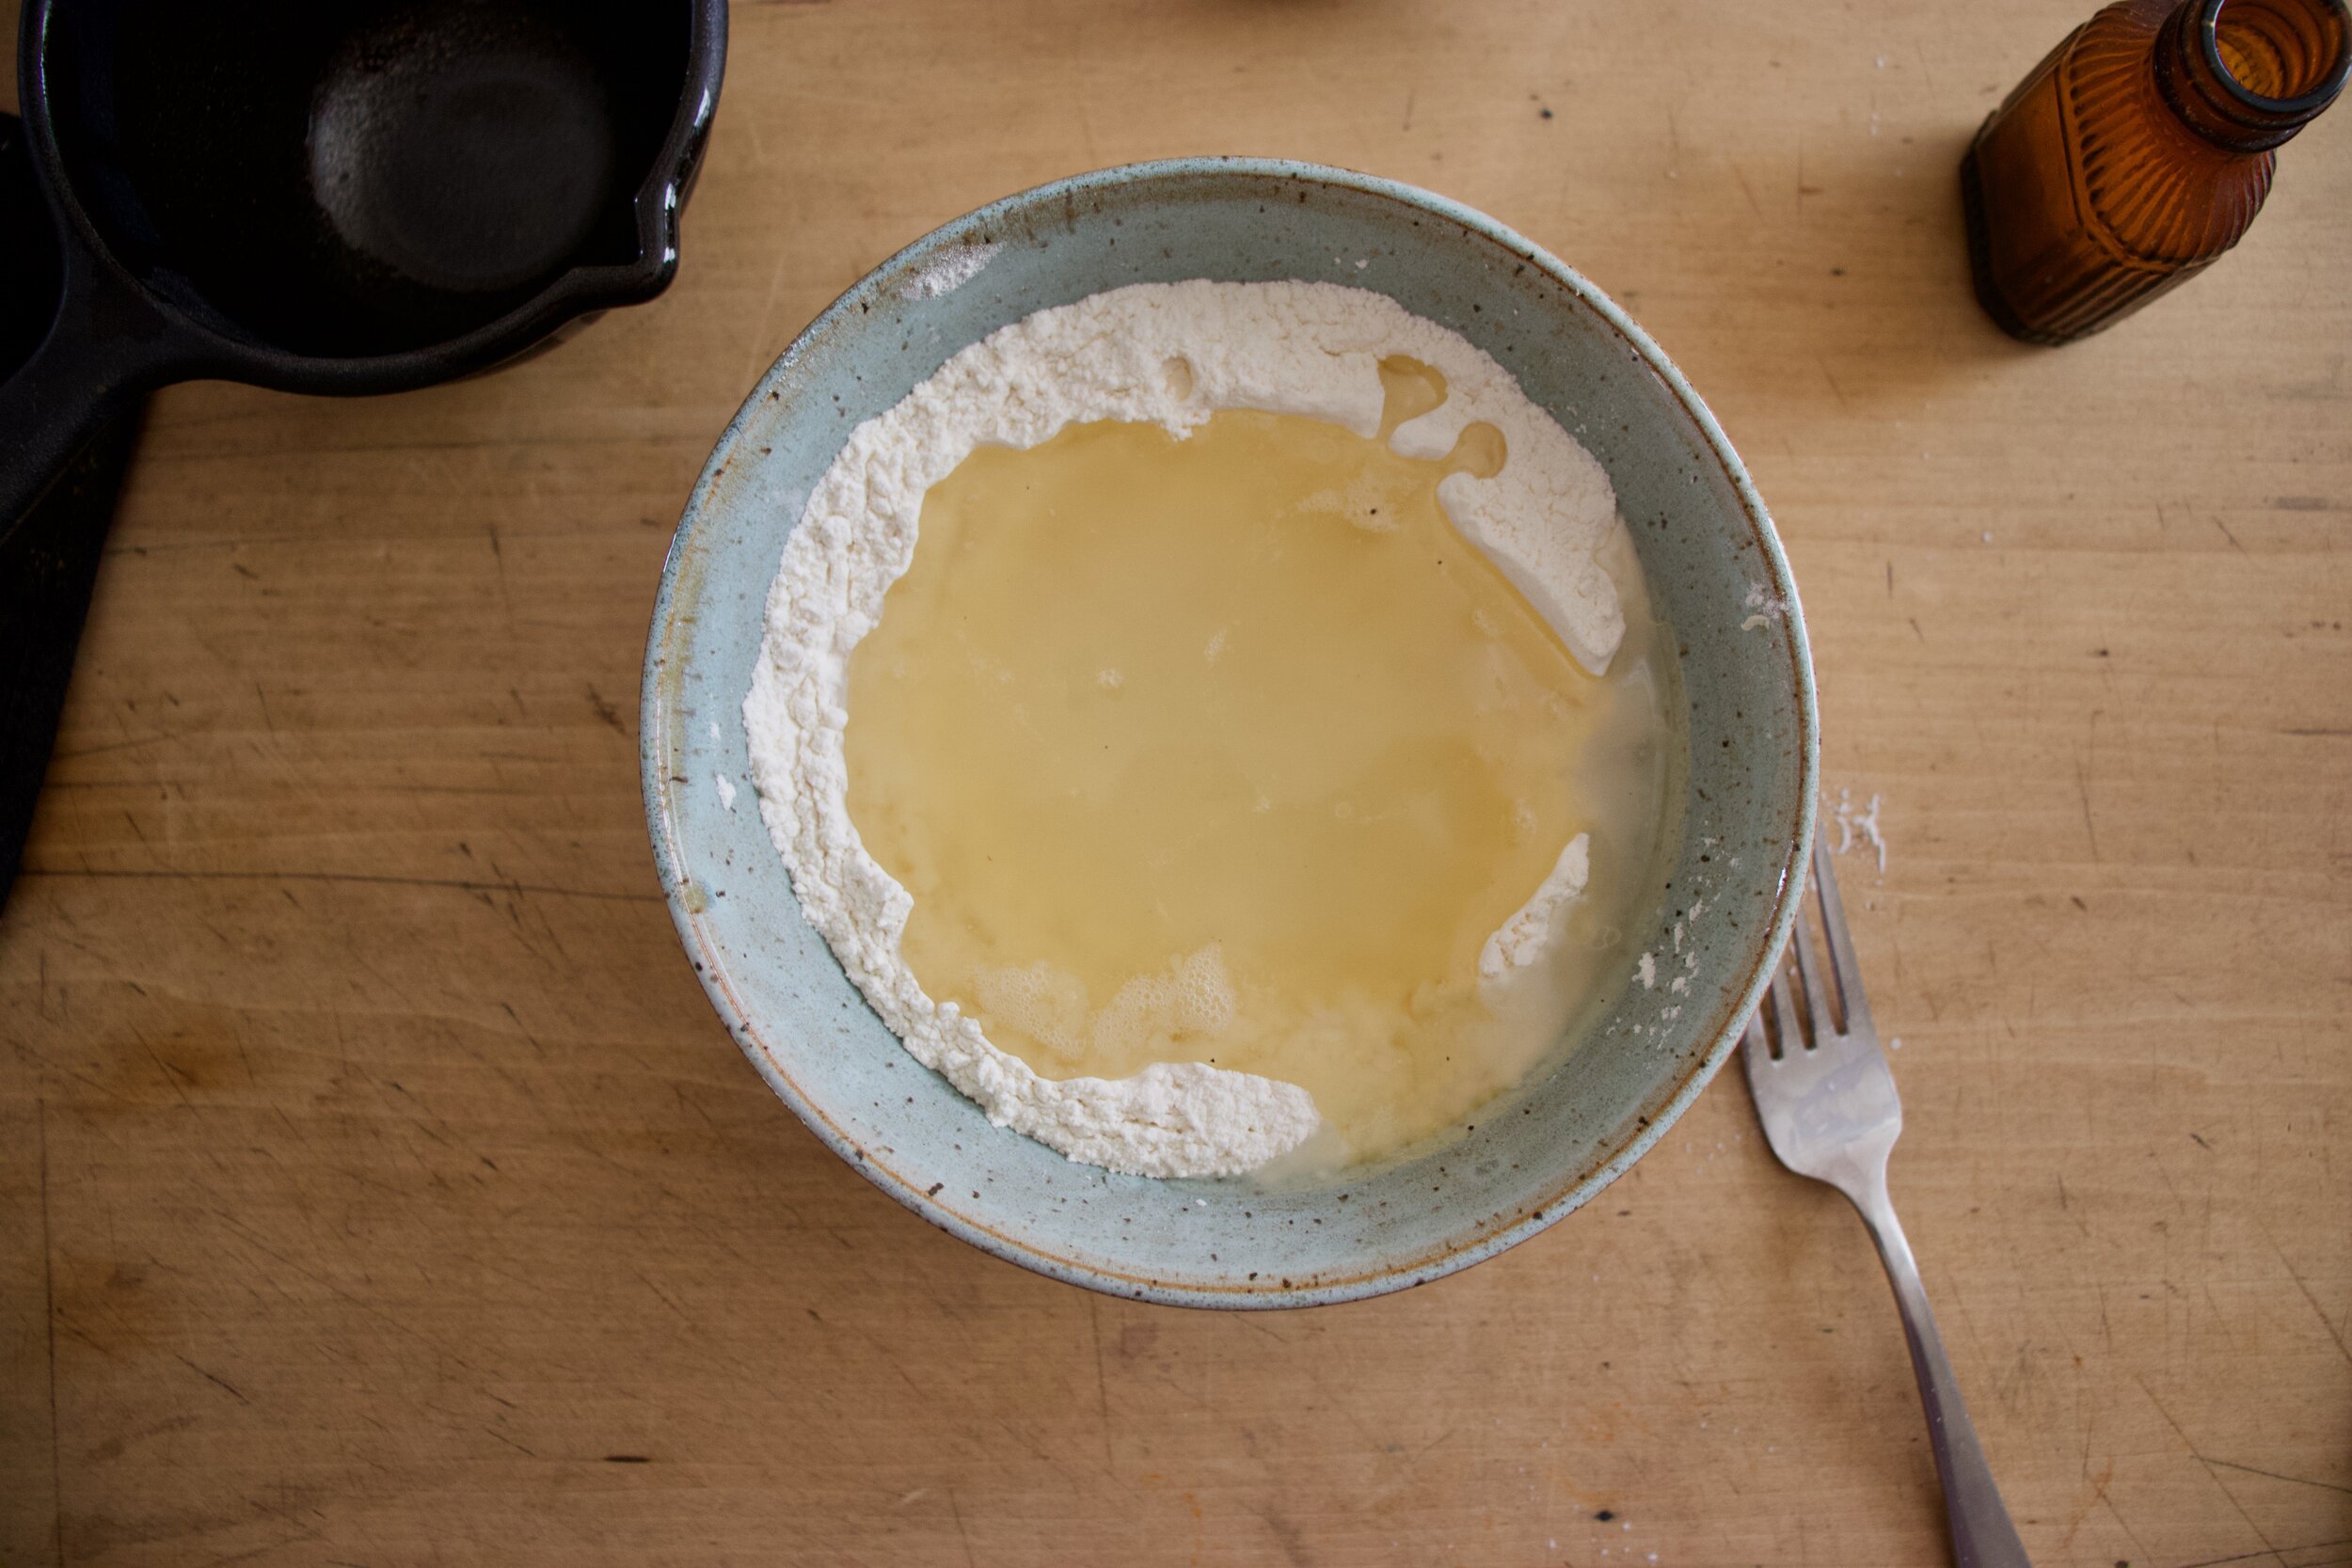
Add all the stuff together and mix until dough forms.

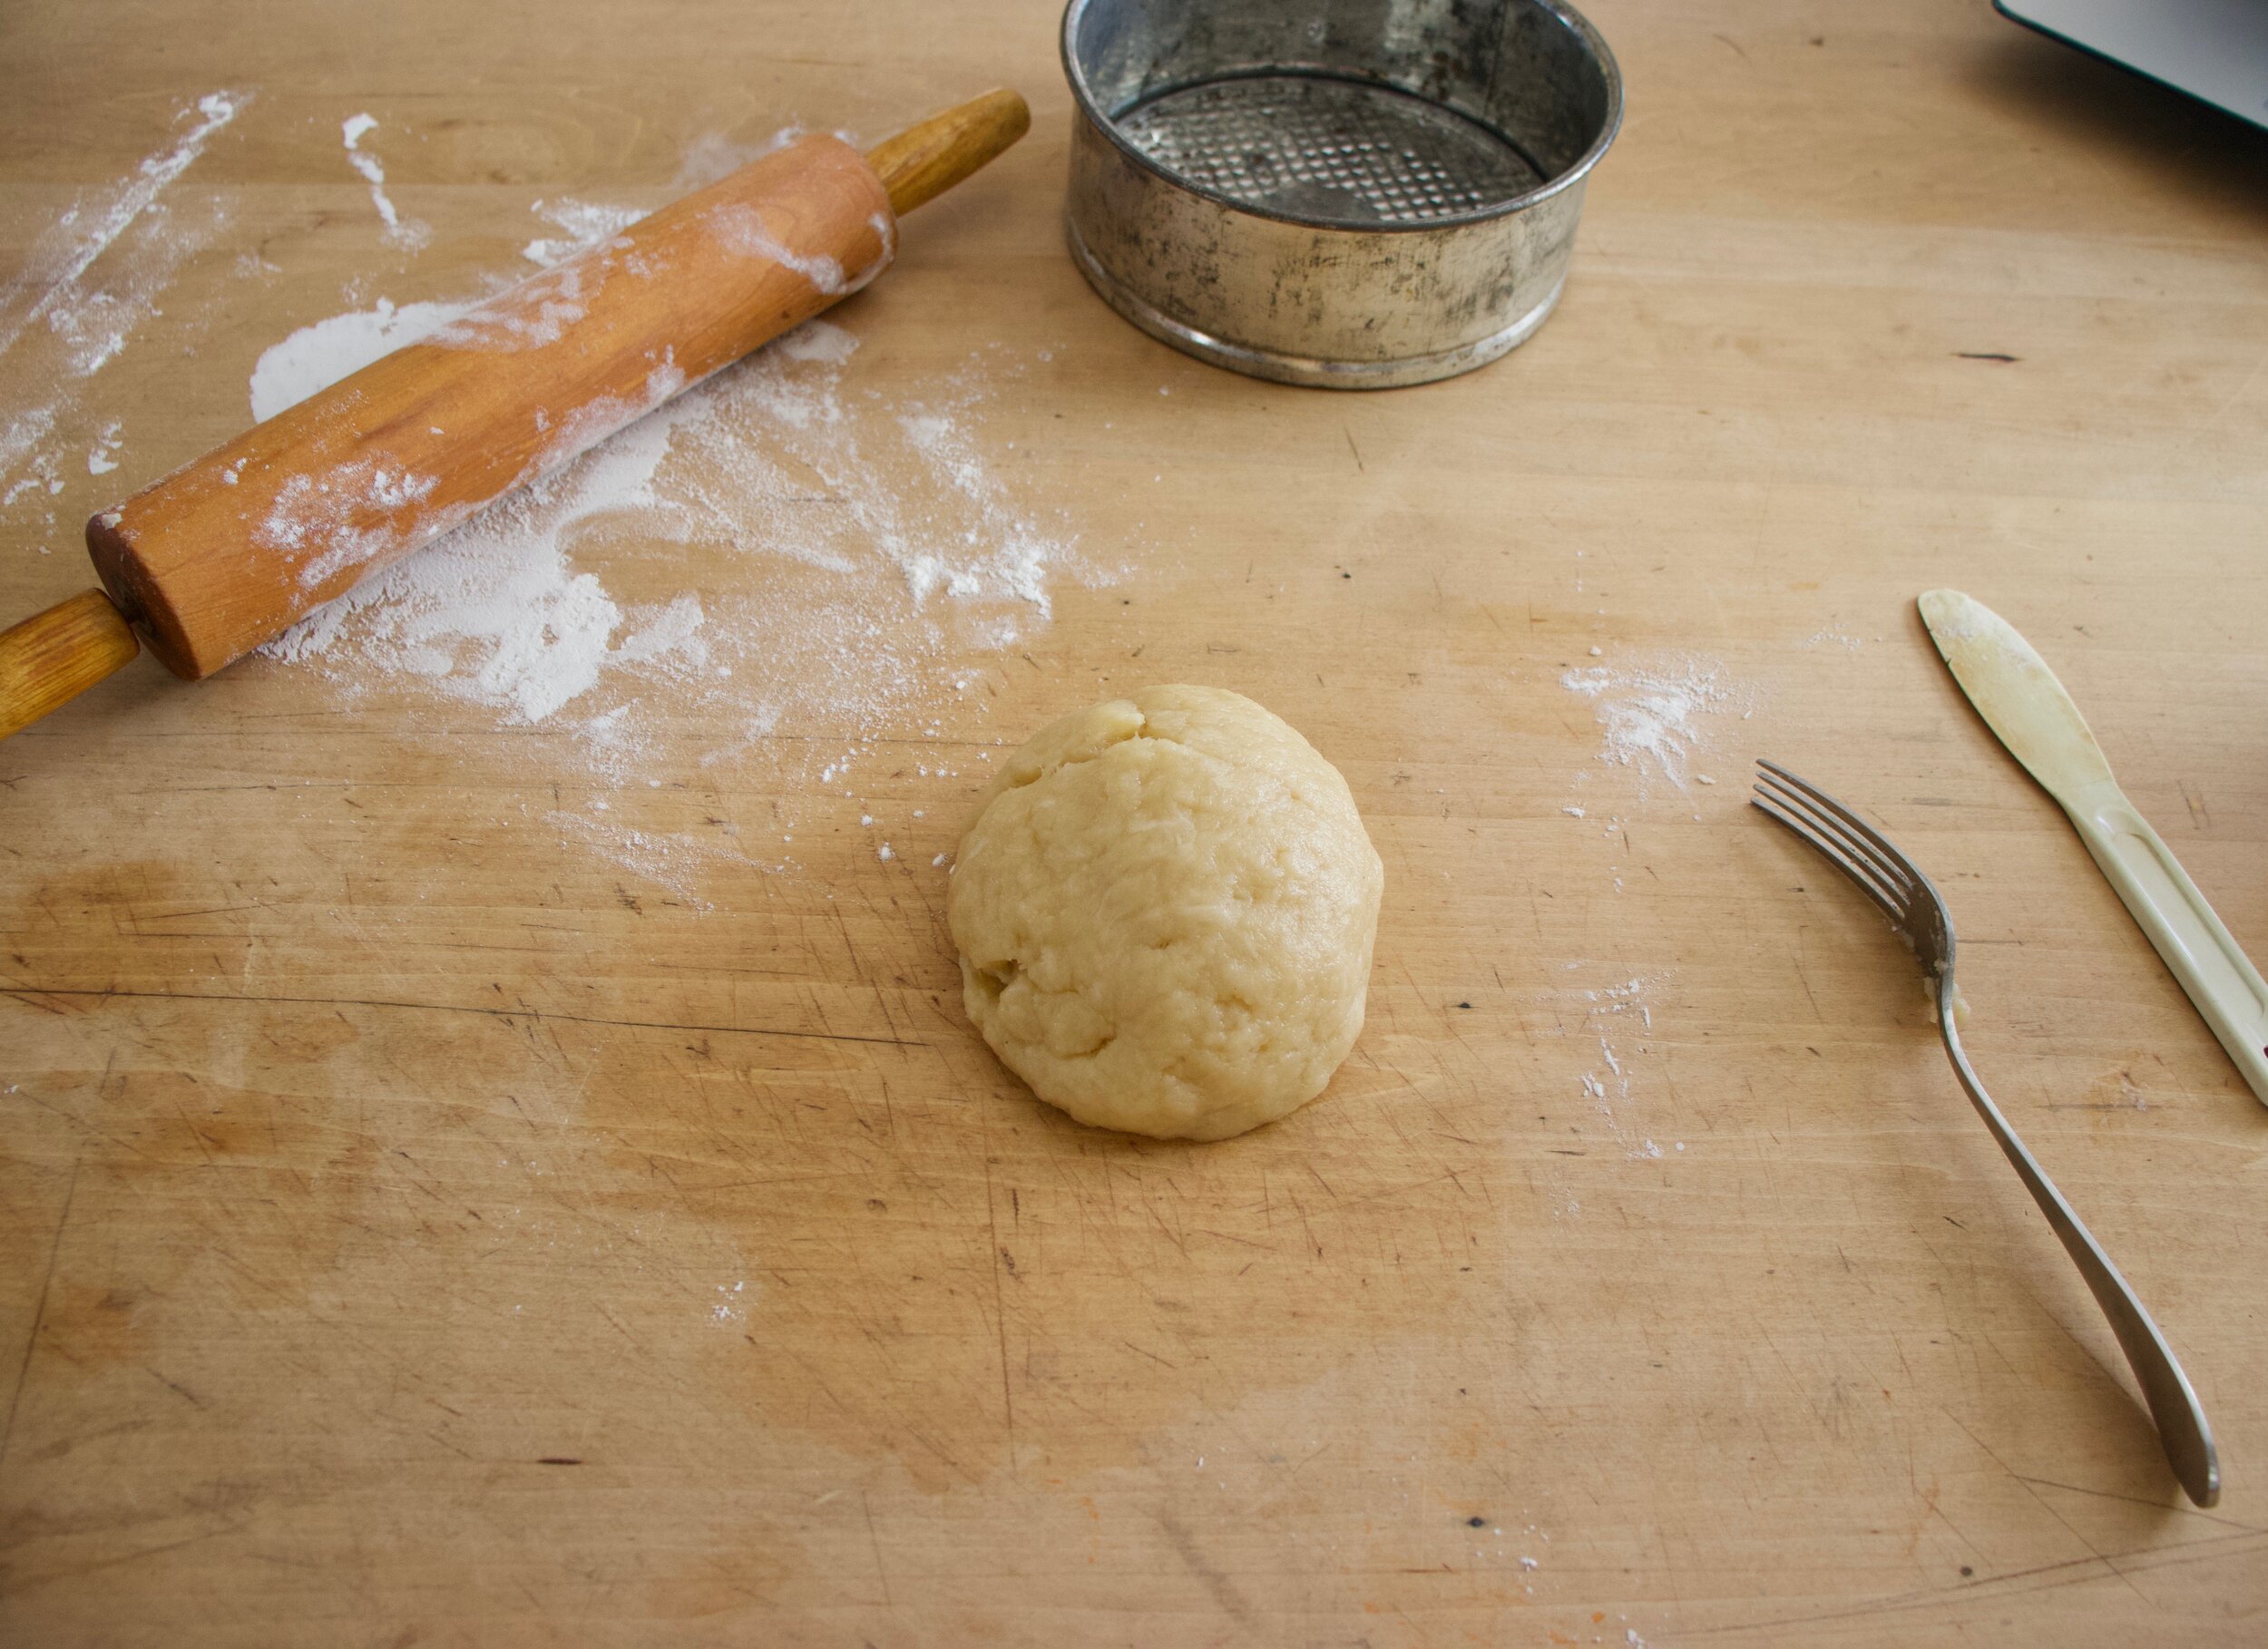
Dump hot dough onto counter and kneed for a minute of two. It shouldn’t be too hot to handle, but if it is, just wait a minute.

Once kneaded and unicorn. cut 2/3 of dough off and roll out about 1/8 inch thick either on a piece of parchment or a splat mat. IT is way, way easier to deal with then trying to roll it directly on the counter.

IMG_5654.jpg
IMG_5657.jpg

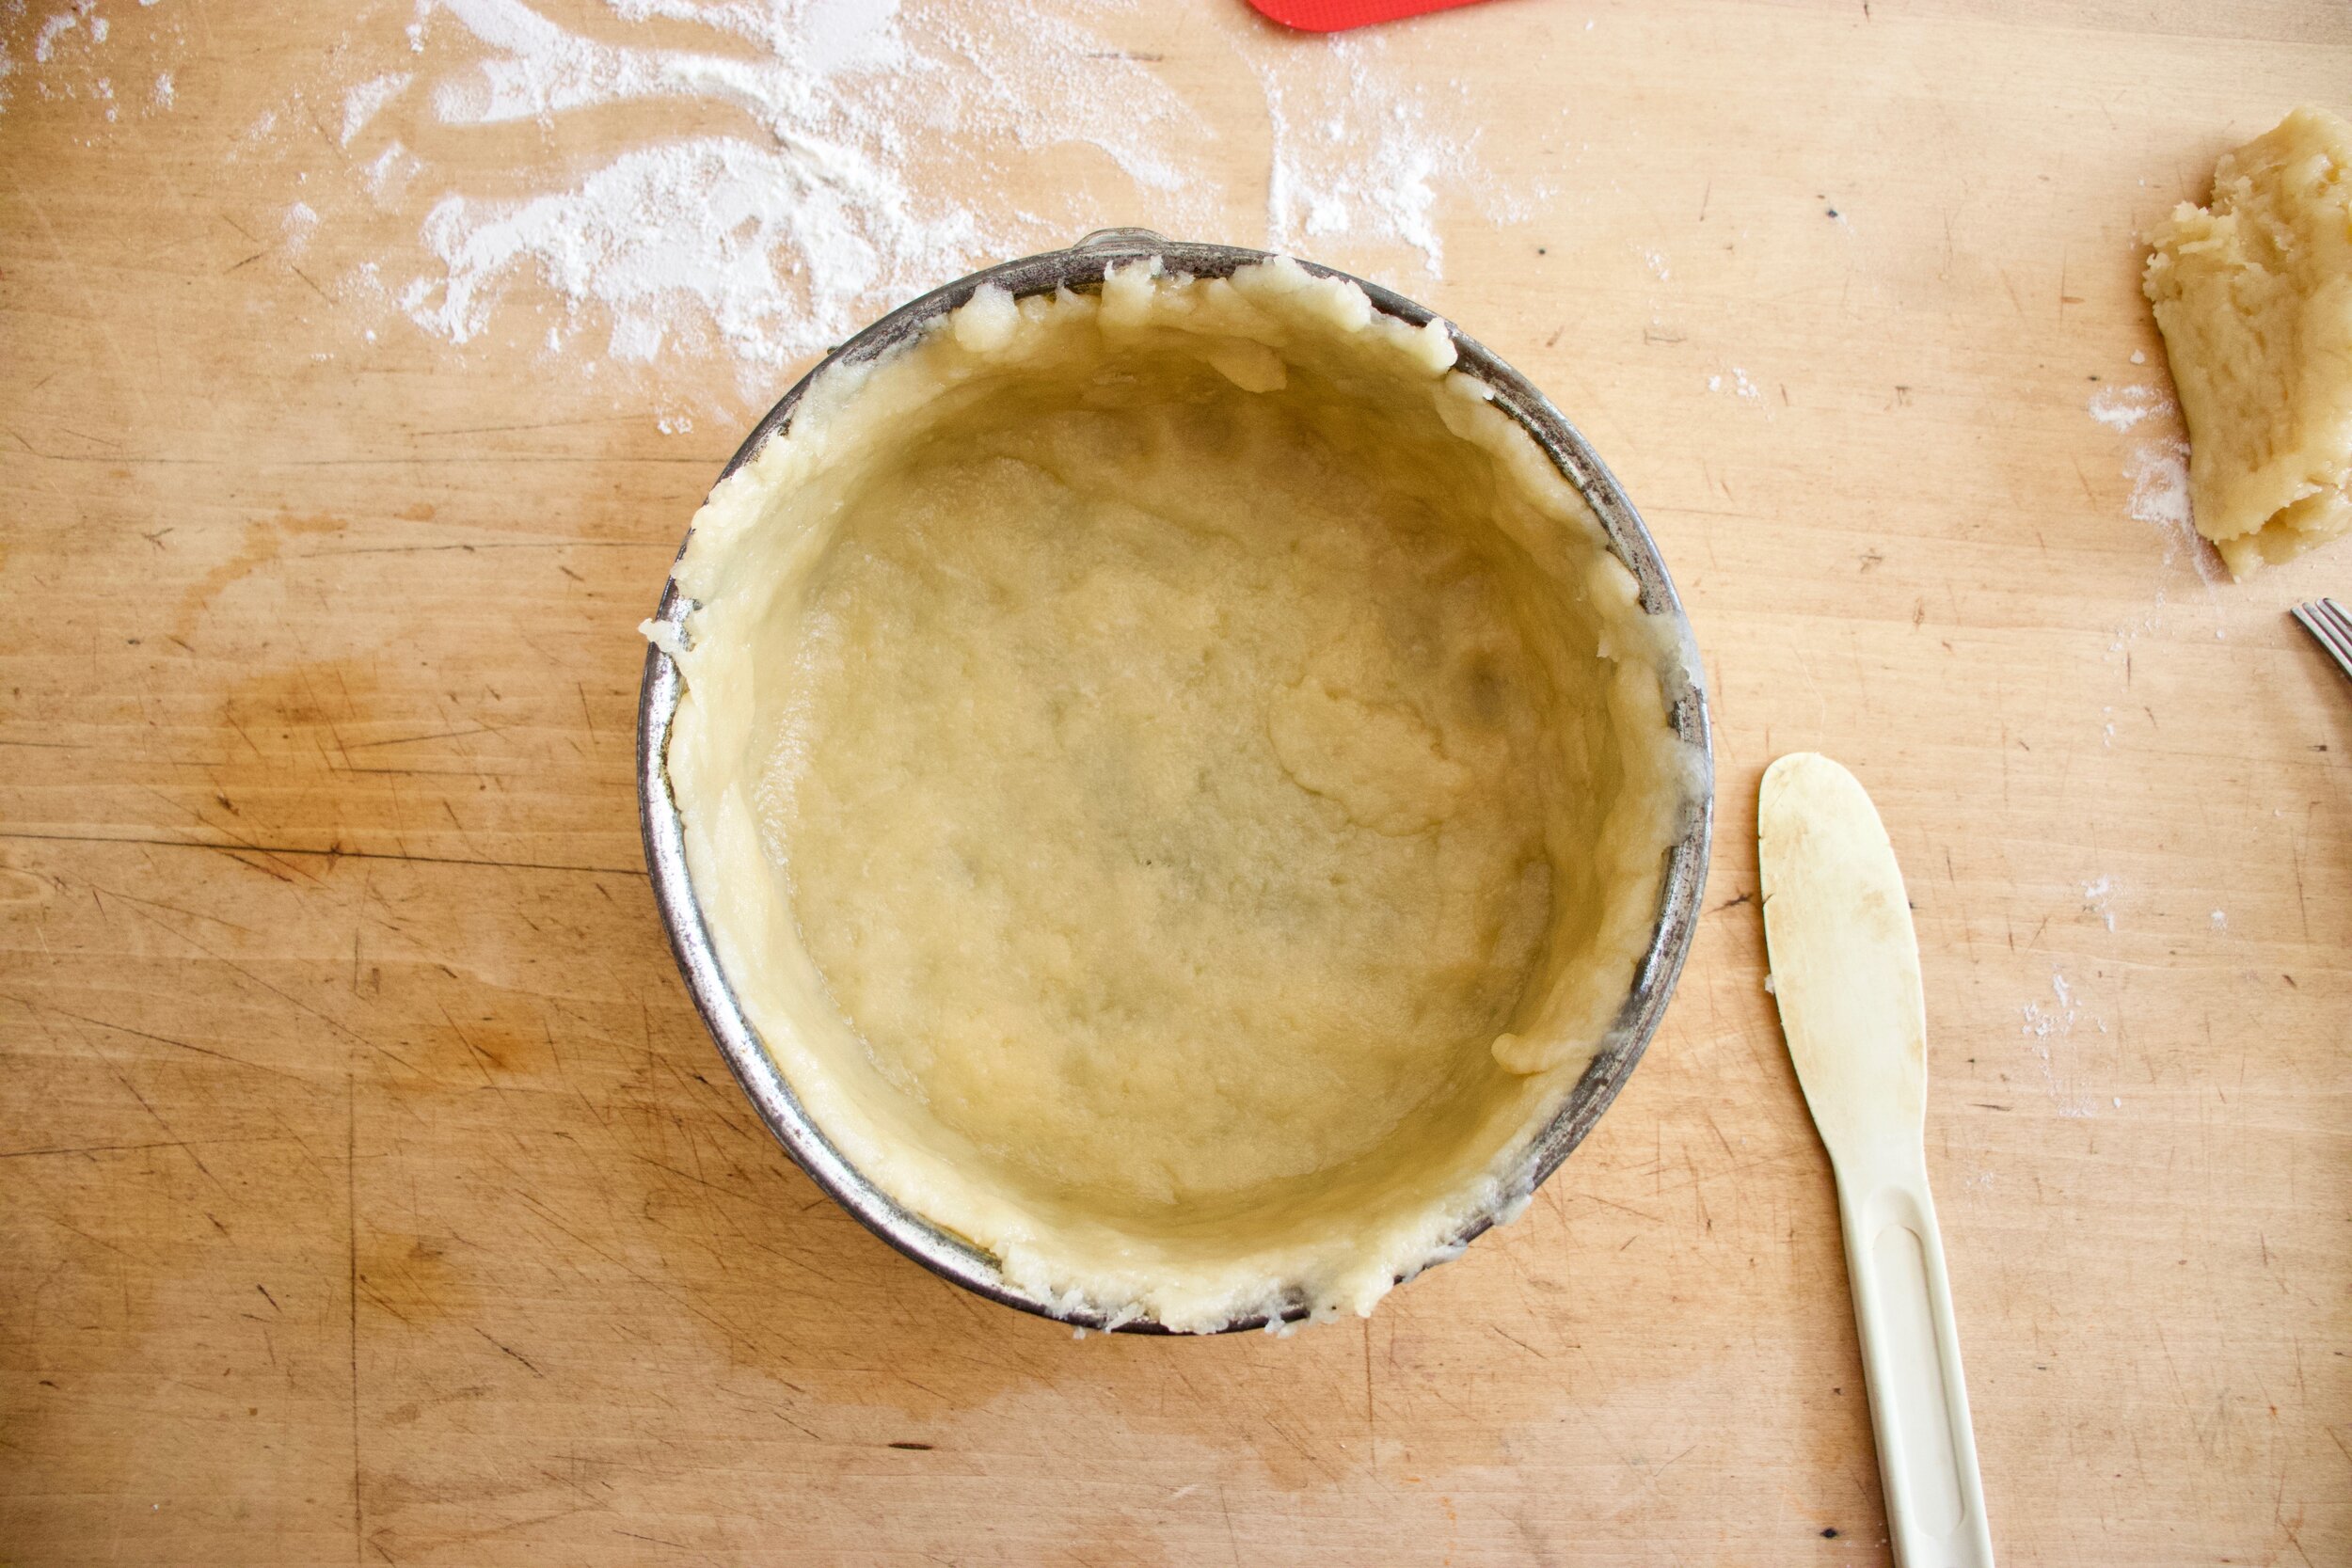
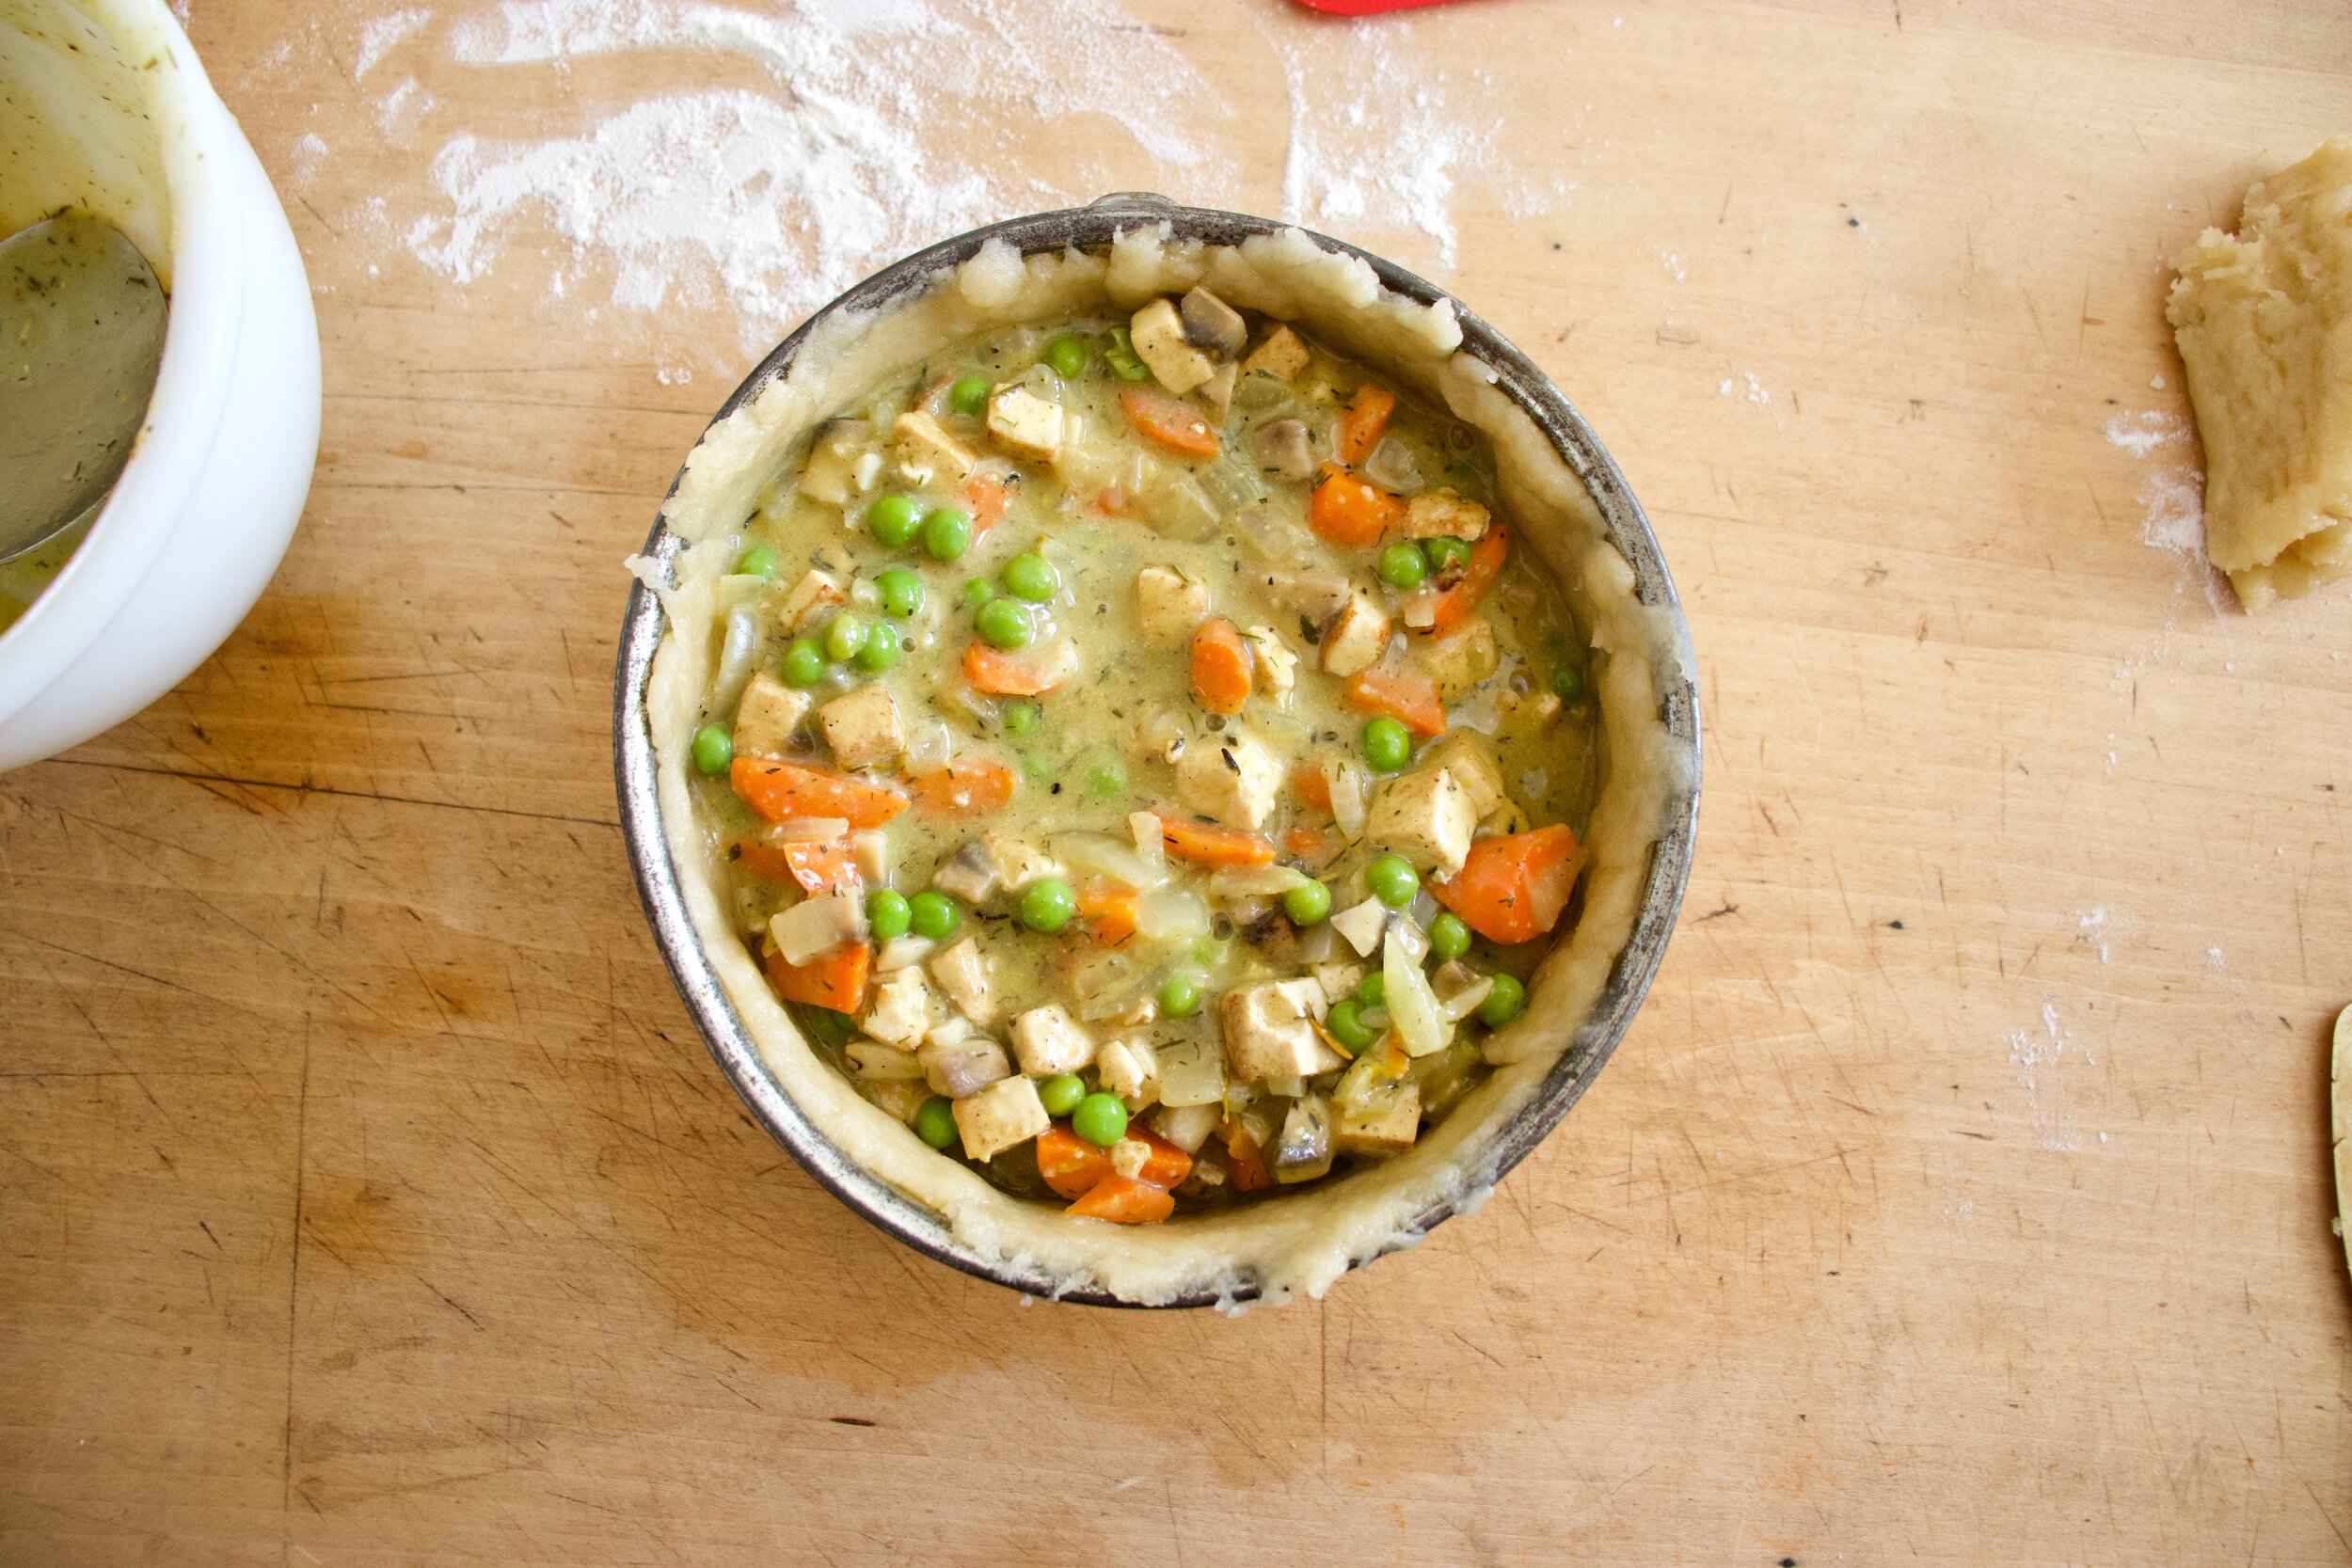
Place rolled out dough into spring form pan. It is going to rip and tear but guess what, no big deal. Just mush and patch the holes. That is the beauty of hot water crust. Once crust is all nice and uniform and all in the pan, dump in the filling.

Now roll out the top.

IMG_5670.jpg

Place top on, seal it up, add some vent hole and make a few little hearts with any scraps you have (only if you want too!) Now into the oven this baby goes, about and hour, until a nice golden brown.

IMG_5680.jpg

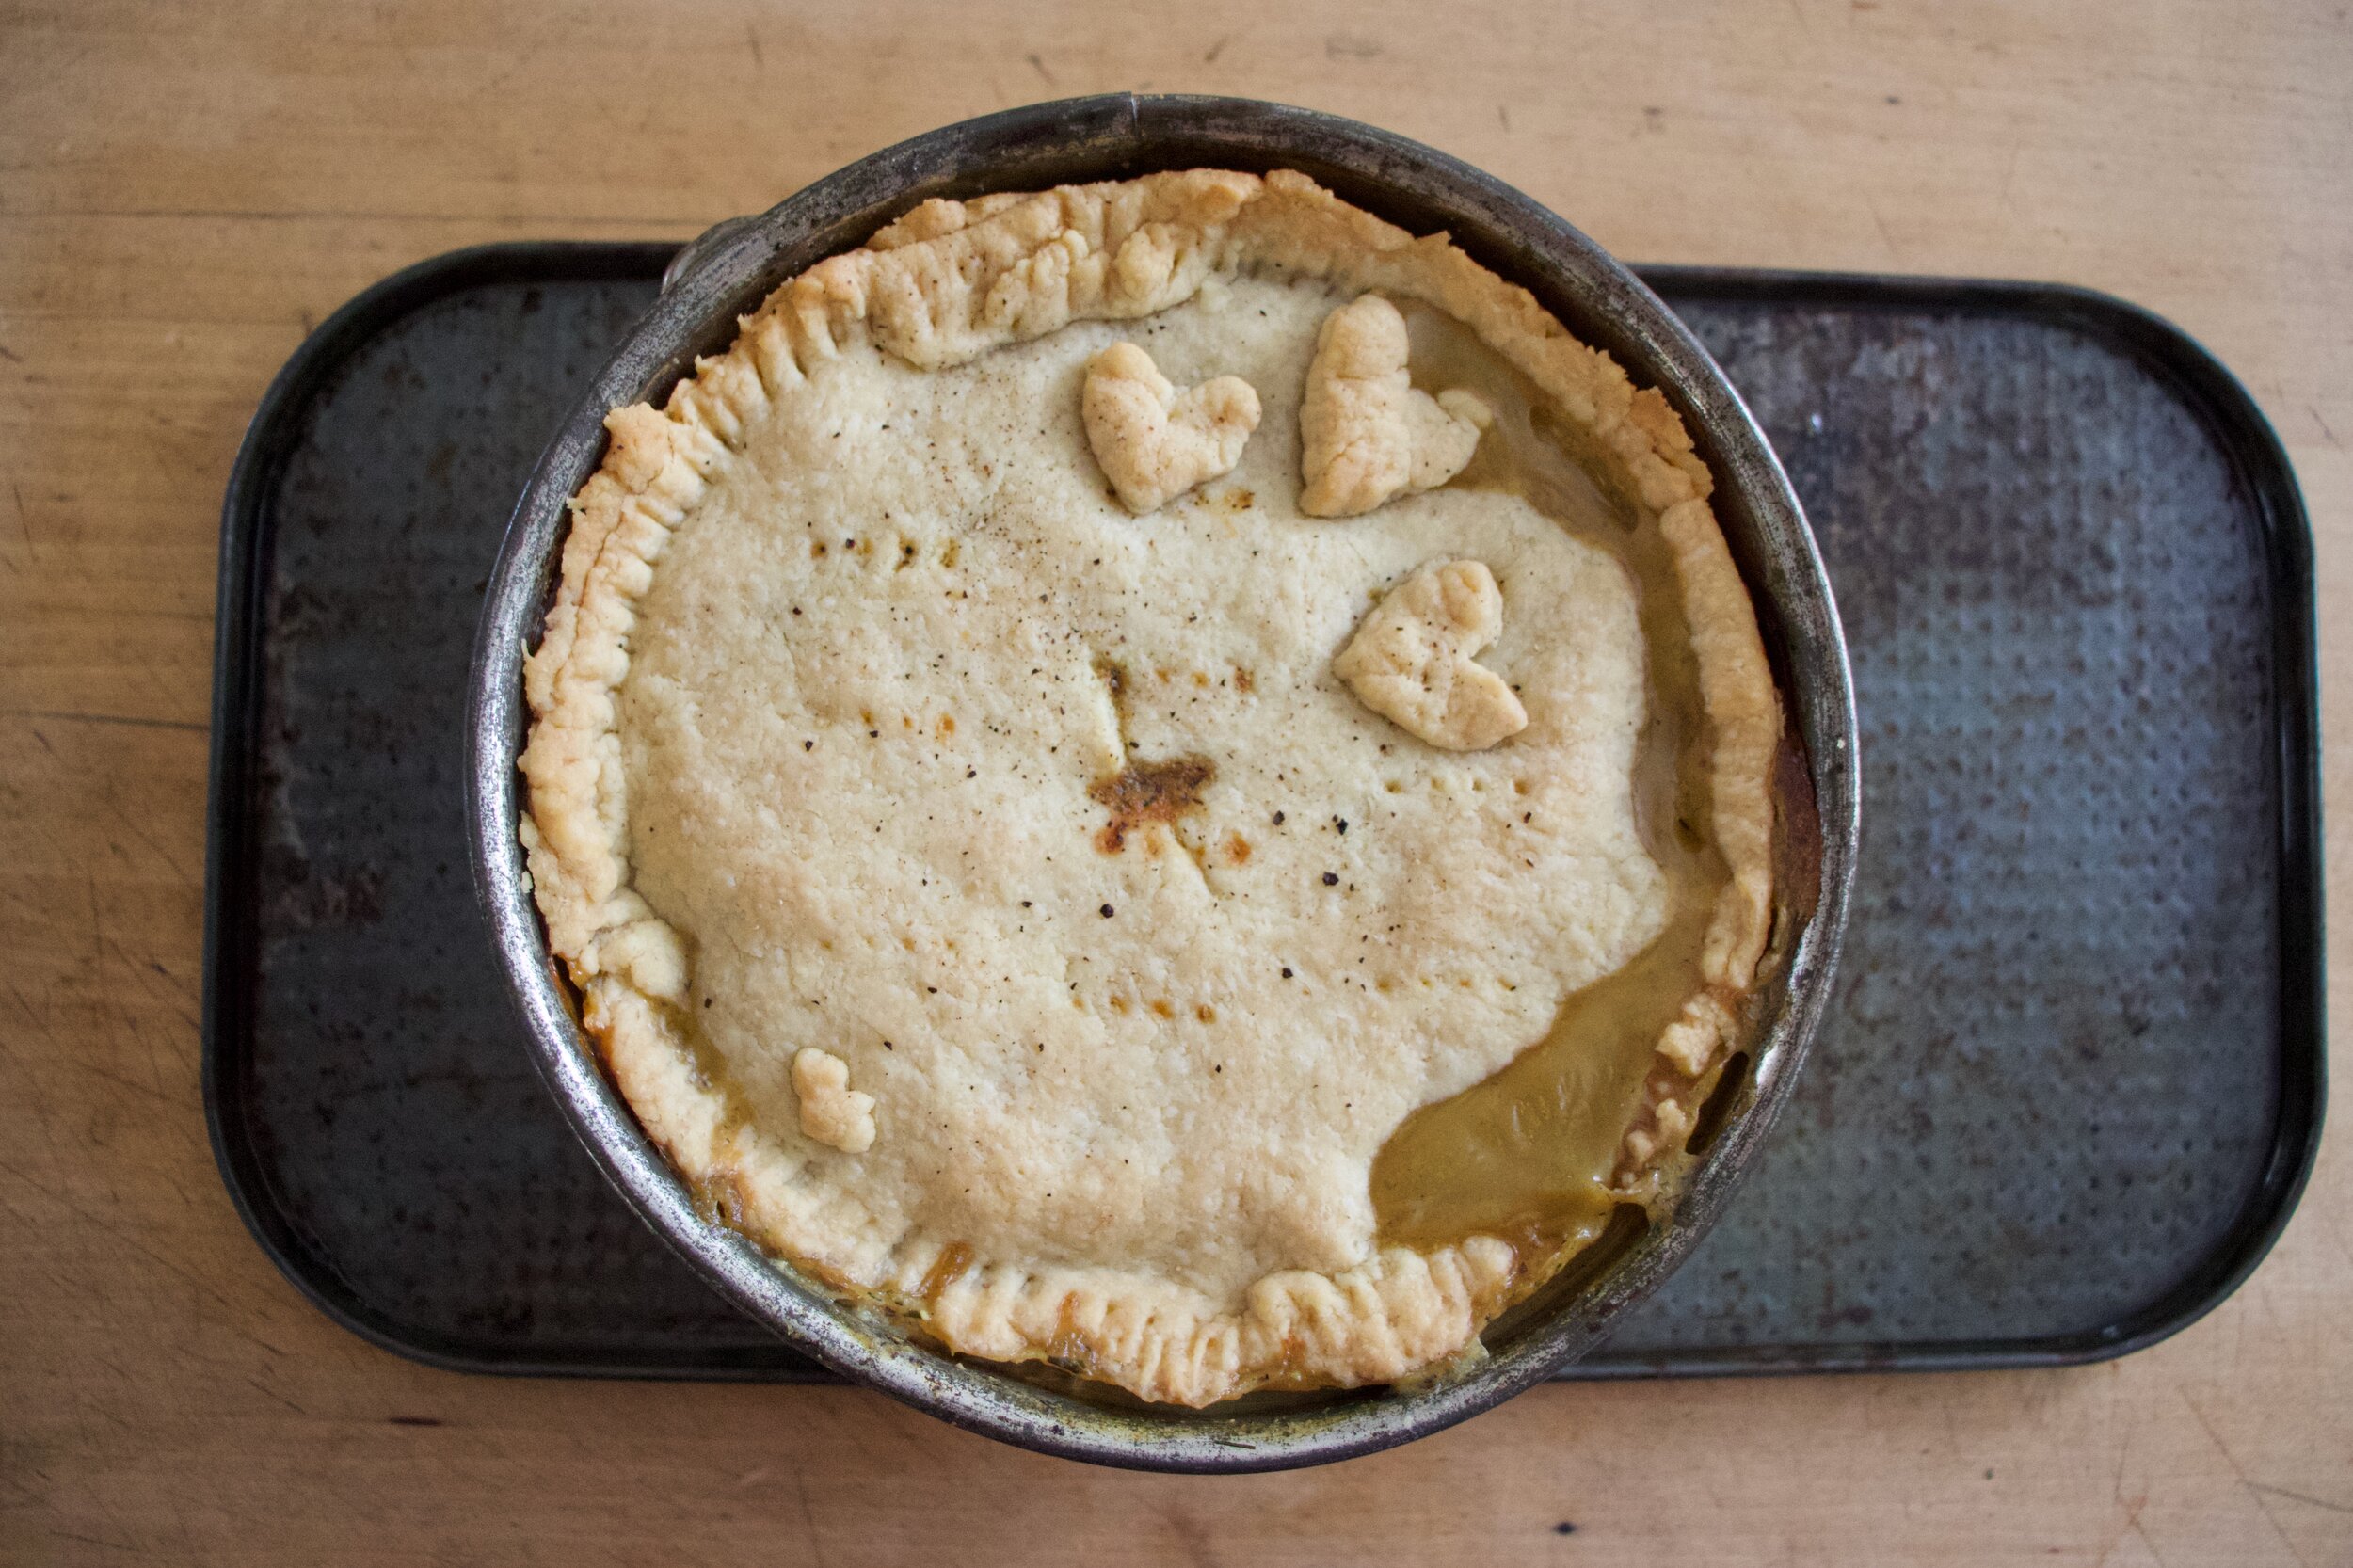
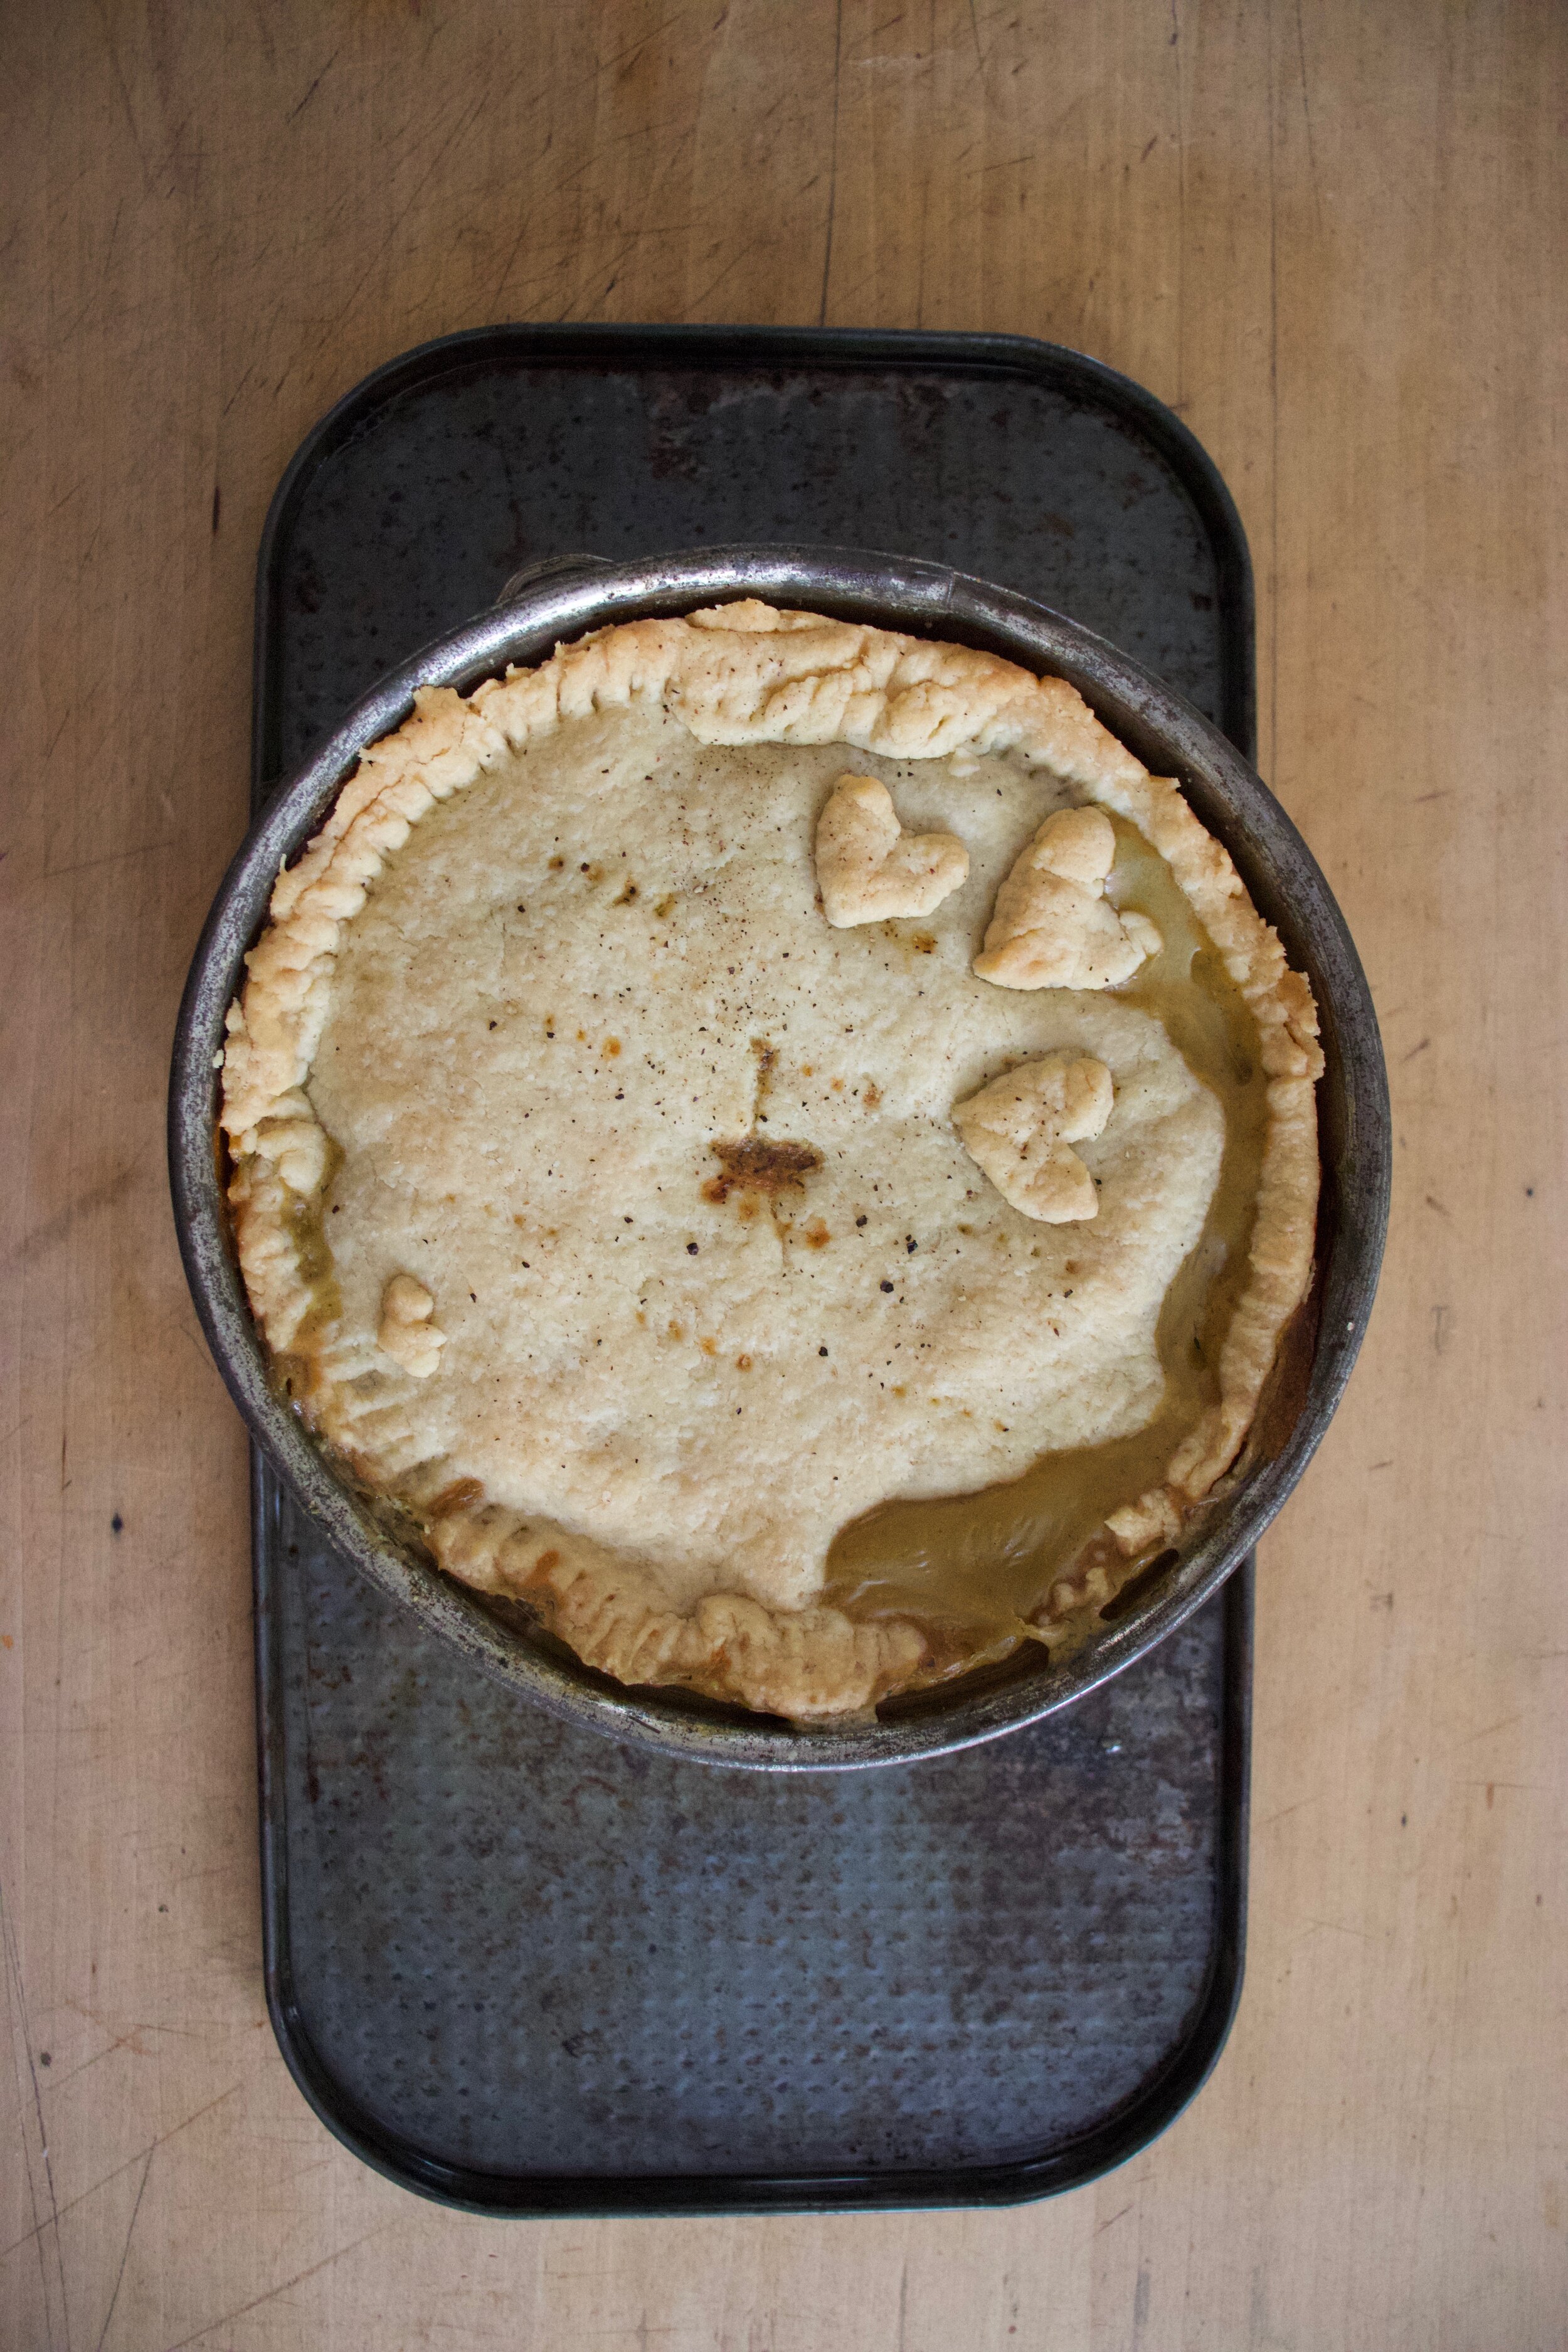
Done and beautiful and yeah, it sprang a little leak, but thats quite all right with me.

IMG_5688.jpg

Remove he spring form. And probably do it on a pan. Any little leaks will well, leak out a bit. But again, it’s all good.

And now all you heave to do is eat it.

A pot pie in all its glory!

-C


Tofu Veggie Pot Pie

makes one 8 inch, 2 inch deep, pie

For the filling

  • 1 medium sized yellow onion

  • a few white button mushrooms (about a 1/2 cup diced)

  • 1/2 cup frozen peas

  • 2 small carrots

  • 1/2 block (8oz) firm tofu

  • 1 teaspoon each thyme, dill, rosemary, and ground ginger

  • 2-3 cloves garlic

  • 2 heaping tablespoons spicy brown or dijon mustard

  • 1/4 cup old fashion oats

  • 1 1/2 cups water

  • salt and pepper

  • a splash of oil

For Hot Water Crust

  • 1 3/4 cups flour

  • 1/2 teaspoon salt

  • 1/3 cup coconut oil,warmed

  • 1/3 cup neutral oil,warmed

  • 1/3 cup boiling water

Before you start cooking know that you need to make the filling first and can even make it ahead of time. The crust needs to be used right away so don’t make that in advance!

Start with tofu. Cut into small 1/2 inch cubes then press as much liquid out as you can. Place a drop of oil into a large skillet and turn onto medium heat. Drop in cubed tofu and sprinkle with a pinch of salt. Cook until browned.

While tofu cooks, dice up carrots, onion, and mushrooms. Mince the garlic. Once the tofu is browned, dump it in a bowl then add the veggies and garlic to the skillet. Also add in all the spices and another good pinch of salt and lots of pepper. Stir and then cook until veggies are slightly tender.

While veggies cook, place the oats and 1 1/2 cups water into blender and blend until smooth.

And after the veggies are slightly soften, add the tofu back in, along with the mustard and the oat mixture. Stir it all around and keep on medium heat for another few minutes until the oat milk just starts to thicken. Add in the frozen peas, stir, then remove from heat. Give it a taste and season with more salt and pepper if needed.

Preheat oven to 375

Now for the crust. Place flour and salt in a big bowl and mix. Then add in warm oil (either heat on stove or in microwave) and boiling hot water. Mix unit it all comes together. Dump dough onto counter and knead for couple minutes until dough is uniform and smooth.

Cut 2/3 of the dough off and roll out in between parchment paper or on a splat mat to about 1/8 inch thick. Place into a spring form pan. It’s going to fall apart a bit but that is ok, just mush and patch up all the rips and tears so there are no holes. This dough is like play dough, very easy to manipulate. Once bottom crust is in, dump in the filling. Take the remaining dough and roll out the same way you did bottom and place on top. Seal the bottom and top crust by pinching it together. You want to try and avoid any holes so the filling doesn’t leak out. Once the crust is sealed, cut a little vent hole into the middle of the top then place pie into oven. Bake for an 60 -70 minutes or until crust is a nice golden brown.

Once baked, remove from oven and let cook for a few minutes. Then remove from pan by place pie on something like a bowl or cup that fits underneath the bottom of pan. Unlock the pan and slip ring down while the pie stays perched on cup. You can even pop the bottom of pan off if you feel like you can, but I say, why risk it. That is up to you. And sure, the pie might have sprung a little leak, but that is very much ok.

Now basically all you need to do is eat it so place pie on a big plate, grab a knife, and fork, and cut yourself a big ass piece of pot pie.

Leftovers store great in the fridge for a few days.

In dinner, entree, pie, tofu, Vegan, Vegetables Tags Tofu Veggie Pot Pie, Pot pie, vegan, tofu, plant based, hot water crust, oat milk, homemade, dairy free, veggies, healthy, crowd pleaser
Comment

Beet Chips

August 31, 2019 Colleen Stem
IMG_1570.jpg
IMG_1518 2.jpg

When your sister drops off 50 lbs of beets, on top of the 50 lbs that you have to harvest that are growing in your garden, what do you do?

Well chips of course.

Yeah, chips. That’s right. When I got home from camping on Monday and there was a humongous pile of beets sitting next to my front door, I am not going to lie, I was a little shocked. I mean there wasn't just a few little ones. These beets were freaking huge, like the size of my arm, and so many. But pretty much right after my initial shock I knew what needed to be done. First, eat a few roasted, second, roast extra to freeze for later, and lastly, make a few bunches of chips.

Have you ever had beet chip? They are amazing. Crispy, crunchy, tasty as all heck. If you like beets, even in the slightest, you will love these. If you hate beets, well maybe don’t? Either way, beet chips are the best chip. Wha't’s not to love? Pink, and chippy. Sweet, and salty. And then you add the fact that making beets into chips is a good way to get your veggies in and that you can eat a whole bowl full and feel zero guilt because you are just eating beets. Plus making beets into chips is a good way to use up any extra beets you might have laying around or that have been dropped off at your front door.

These chips, once they are made, will not last long. So when you do make them, know you will probably be making them again soon there after. Me, I have still have to harvest all my garden beets so beet chips are happening again soon. Real soon (like this afternoon!)

To the beets!

The stuff. Beets (these are Formanova beets but any variety works) salt and pepper ,and oil.

Ok so you need to cut these bad boys reallllllly thin. Like 1/15th a inch. So, what I am saying is, use a mandolin. If you don’t have one, a knife will do, but you are going to have a hard time getting them as thin as you need to and all of them consistent so baking is going to be a little more tricky so maybe you should just go borrow or invest in a mandolin.

Grab baking sheets, oil, and salt and pepper. You can either dump the oil directly onto the pile of sliced beets and really toss to make sure each one has been coasted or do what I did which was I drizzled oil into my hands and rubbed each sliced beet between my oiled hands before placing on the sheet.

After you get them on there, single layered with no overlapping, sprinkle tops with a pinch of salt and pepper.

On the way into the oven.

IMG_1552.jpg

After the oven. Baked for about 18 minutes. You really have to watch after the first 13 or so minutes to make sure you catch them at the perfect time. Crispy, but not burnt.

IMG_1550.jpg

A side by side shot. Crazy shrinking will happen!

IMG_1540.jpg

Oh man, so delicious. And so pretty!.

Let the chips cool before eating, you know, so you don’t burn your tongue. Plus they crisp up a wee bit more.

IMG_1600.jpg

Once cooled, pile them into bowl, and then eat them. And eat them all. They are only beets after all. And you won’t be able to stop yourself anyway. Ha

-C


Beet Chips

Makes enough for an evening of chip eating for 1-2 people

  • 2 Large beets (think softball sized)

  • a tablespoon or two of oil (I used grape seed but really any would work)

  • salt and pepper

Note. Making these without cutting with a mandolin will be a pain in the ass. It can be done, but if you have a mandolin, use it.

Preheat oven to 350

With a mandolin, slice the beets about 1/15 inch thick. (No need to peel the beets unless you want to.) Once beets are all sliced, either drizzle them all with a tablespoon or so of oil and toss until all are coated. OR what I did and found worked really well was drizzled oil into my hands and rubbed each beet between my oiled hands as I was placing them on the baking sheets. Either way.

Now place oiled beets, single layered, without overlapping, on baking sheets. Sprinkle with a pinch of salt and pepper and place into oven. Bake for about 13 minutes without worrying then start to check every minute or so until the beets are a deep golden brown and crispy ,which will be between 15-20 minutes. Also, even though you cut them all the exact same thickness, some might crisp up faster so you should remove done chips as they happen. Once they are done, place on a rack to cool. And then do another batch. And not, they do crisp up a tiny bit more as they cool.

Once chips are cool and crisp, eat.

Store uneaten (how did you not eat them all?) chips in an air tight container. If you notice that they turned a bit chew, just place them back into oven while preheating oven to 300 then turn oven off and let sit in there for a few minutes.

In 5 ingerdients or less, crackers and chips, quick and easy, snack, Vegan, Vegetables Tags Beets, Baked chips, Beet Chips, chips, veggie chips, veggies, plant based, vegan, food, recipe, gluten free, heathy, snack, baked, not fried, simple
Comment

Cajun Lentil and Rice Bake

April 13, 2019 Colleen Stem
IMG_7466.jpg
IMG_7419.jpg
IMG_7428.jpg

It is spring yes? I know it is officially spring but around here it has been more or less still winter which is to be expected but is, at this point, no longer welcomed. I, as well as everyone else I talk to, are over it. Enough snow. enough of the hats and jackets. Just enough.

But the bright side of the chilly, cold weather is that we can and still want to turn the oven on and cook things. And because I turned the heat off a little prematurely, I am cold so I really want the oven on.

One skillet, a little chop action, a stir, some good time in the oven and there you go, food for your belly. Not a ton of dishes to do, steps to fallow, thoughts to think (other then eating thoughts). A good old, hearty, simple to toss together, spicy, delicious skillet of goodness. Prepare it fast, pop into warm oven, sit in kitchen drawing up plans for the spring veggie garden, and then eat yourself warm. What more can we ask for?

We can ask for spring weather because seriously. But other then that.

To the goodness of cajun lentils and rice!

IMG_7328.jpg

The stuff. Lentils, brown rice, cajun seasoning, some crushed tomatoes, an onion, a carrot, a few cloves garlic, some cauliflower, water, oil, and salt and pepper.

First off, mince garlic and chop up the cauliflower, carrot, and onion into small pieces.

IMG_7343.jpg
IMG_7347.jpg

Toss it all into a good sized oven safe skillet with a splash of oil. Mix in the cajun seasoning too and stick o nth stove on medium heat for a few minutes.

IMG_7366 2.jpg

Cook until fragrant and slightly tender. Taste it, it is good.

IMG_7375.jpg
IMG_7382.jpg

Dump in the lentils and rice. Then dump I the tomatoes and the water. Give it all a mix.

Before oven…

IMG_7392.jpg

And after. All done. Now dinner.

IMG_7428.jpg

Grab some green thing to chop and toss on for some color.

Now grab some bowls, a few forks, and get to eating.

-C


Cajun Lentil and Rice Bake

Serves 4-6

  • 3/4 cup uncooked brown or white rice

  • 3/4 cup dried green lentils

  • 2 cups crushed tomatoes (preferably not salted)

  • 2 1/4 cups water

  • 3 tablespoons cajun seasoning (see note)

  • 1 large carrot

  • 1/4 head of cauliflower (about 2 cups chopped)

  • 1 large yellow onion

  • 2-3 cloves garlic

  • 1 tablespoon olive oil

  • salt and pepper

Note. Store bought cajun seasoning usually contains salt and pepper so when seasoning, be aware of the amount of salt (if any) you choose to use.

Preheat oven to 350

Start by chopping the carrot, onion, and cauliflower into small pieces. Mince the garlic and toss it all into the skillet with the olive oil. Stir in the cajun seasoning and sprinkle in salt and pepper if it needs it. Place skillet on medium high heat and cook veggies until fragrant and slightly tender which should take about 5 minutes then remove from heat. Dump in the lentils, rice, water and tomatoes. Stir until mixed then either place a lid or foil over the top. Place into preheated oven for about an hour, removing the lid or foil after 40ish minutes and giving it a stir when you do. The bake is done when the rice and lentils are fully cooked, but if you are into a crispy top and crunchy sides, by all means, cook a little longer.

Remove from oven when fully cooked and you are happy with crispness. Let cool for a few minutes, toss on some chopped green something or another if you want, and serve it up.

Left overs store great in the fridge for a few day and freeze well too.

In casserole, Dairy Free, dinner, entree, Gluten Free, pulses, Vegan, Vegetables Tags Cajun Lentil And Rice Bake, Rice, brown rice, lentils, pulses, vegan, vegetarian, veggies, skillet dinner, casserole, 1 pan dinner, easy, plant based, gluten free, dairy free, healthy, hearty, dinner, spicy
8 Comments

Fresh Dill and Veggie Quinoa Salad

September 15, 2018 Colleen Stem
IMG_0363.jpg
IMG_0399.jpg
IMG_0392 2.jpg

I feel like this salad is kind of a summery salad, or better yet, a salad that highlights all the best of what summer has to bring. All the fresh tender dill that is still growing (but not for long) , all the brightly colored and amazing veggies that are being harvested and are nearing the end (bye fresh cucumbers.) This salad might just be my little last hurrah of summer cooking before it is all root veggies and dried herbs and hot and hearty food. And not going to lie and say that I am sad to see summer go because I am so so ready for it to be over, but I will miss all the fresh fresh produce. And I will especially miss all the fresh dill because fresh dill is seriously the best.

Eat up what is left of summer now before it’s too late!

The stuff. Quinoa, a bunch of dill, a cucumber, a pepper, an onion, and some cherry tomatoes. Also a clove of garlic, some salt and pepper, and red wine vinegar.

IMG_0305.jpg
IMG_0308.jpg
IMG_0320.jpg

Mince the garlic, chop the onion, mince the pepper and the cucumber, half the tomatoes, and last but noblest, rough chop the dill.

All that goodness goes into. big bow, along with a sprinkle of salt and pepper, and the vinegar Tossed around and left to meld.

IMG_0299.jpg
IMG_0348.jpg

Uncooked quinoa with water turns to cooked quinoa

Quinoa meets the bowl of veggies

And after a good mix, viola!

You got yourself a yummers fresh dill and veggie quinoa salad.

-C


Fresh Dill and Veggie Quinoa Salad

serves 3-5 as a side or 2 as a meal

  • 1 cup uncooked quinoa

  • 2 cups water

  • I bunch fresh dill (like a 1/3 cup chopped… But use as much as you want)

  • 1/2 a small red onion

  • 1 clove garlic

  • 1 small Persian cucumer

  • 1/2 of a sweet red or yellow pepper

  • handful or two of cherry tomatoes

  • 4 tablespoons red wine vinegar

  • salt and pepper to taste

Start by cooking the quinoa. Place the water and the uncooked quinoa into a medium sized pot. Place on high heat until sorts to boil, then reduce heat to a simmer and place lid on the pot. Let cook for about 15 minutes, checking at 10 minutes, to see if all the water has absorbed. When it has, remove from heat and let sit for a few more minutes then fluff with a fork.

While the quinoa id cooking, mince the garlic and chop all the veggies into small little pieces. Place into a big bowl. Chop up the fresh dill and toss into bowl too, along with the vinegar and a good sprinkle of salt and pepper. Mix it all around and let sit on the counter for a little so the veggies get nice and vinegary. Once quinoa is cooked and fluffed, dump into the bowl and mix around. Season with more salt and pepper if needed. Eat warm or refrigerate and eat cold. It’s defiantly one of those salads that taste great right away but tastes even better the next day.

In Vegetables, Vegan, side dish, salad, grains, Gluten Free, dinner, Dairy Free Tags Fresh Dill and Veggie Quinoa Salad, fresh dill, veggies, vegan, vegetarian, quinoa, grain bowl, grain salad, plant based, gluten free, protein, fresh, fast, side dish
Comment

Slow Cooked Caraway Cabbage and Onions

March 2, 2017 Colleen Stem
IMG_4023.jpg
IMG_4042.jpg

 Cabbage is probably the number one eaten food in my house. It is not uncommon for us to go through a very large head a day. And I get that it may seem odd to you, but it's true. We are cabbage people, so much so that we will probably turn into cabbage patch people. I can see it now.

One of the reasons that we eat so much cabbage is that it is so versatile.. Raw, steamed, roasted, the possibilities are a plenty, not to mention that cabbage is pretty dang cheap. And not to far around the corner it is St Patrick's day when cabbage is basically given out for free. During this time I stock up, buy 100 lbs and ferment, roast, and peel my way through all of it. Is it sick that I am kind of excited about that ? (there are worse things to be excited about)

This cabbage dish is one of those dishes that can be eaten on it's own, as a side, or as a condiment. Topped on a salad, stuffed into a sandwich, or shoveled into the mouth. You really can't go wrong eating it anyway.

The stuff. Cabbage, onions, caraway seeds, salt and pepper, and some apple cider vinegar. (I accidentally grabbed the oil)

Shred up the cabbage and onions. Thin is good, but some bigger pieces are good too.

Into a big pot sprinkled with caraway, salt and pepper. A splash of water helps to get things started. Stickon a low heat topped with a lid.  And just let it be for a while butgive it a stir ever 10-15 minutes or so.

About an hour it's all cooked down and sweet and tasty as can be. A splash of vinegar finishes it off.

This batch was destined for the mr's open faced cheese sandwich. I thought I made enough to pack some for lunch, but
I ended up just eating the left overs for a snack. I don't know why I didn't make more.  Next batch I'll make it a double.

Happy day to you.

-C


Slow Cooked Caraway Cabbage and Onions

makes about 2 cups

  • 1 small or 1/2 a large head of cabbage
  • 2 yellow onions
  • 2 teaspoons caraway seeds
  • 1-2 tablespoons apple cider vinegar
  • olive oil for pot
  • salt and pepper

Thinly shred the cabbage and thinly slice the onions. Dump the now shredded cabbage and onion into a large dutch oven or heavy bottom pot that has a tiny drizzle of olive oil. Sprinkle with caraways seeds and about a teaspoon salt, a good splash or water then mix around. Place pot on a low heat and cover. Let cook down for about 45 minutes to an hour , stirringever 10 minutes or so, until the mixture has shrunk to about 1/3 it's original size and is soft and tender. When just about done, mix in a tablespoon of the vinegar . Taste and season with more vinegar, salt and pepper if you like.

Eat as is or is or on salads, sandwiches or wraps.


In Vegetables, Vegan, side dish, Savory, Gluten Free, 5 ingerdients or less Tags Slow Cooked Caraway Cabbage and Onions, Cabbage, onions, vegan, gluten free, plant based, side, condiment, veggies, caraway, dinner
Comment
← Newer Posts Older Posts →
 

https://thelovelycrazy.squarespace.com/config#/|/about/

Me. Food Maker.Food eater. Woo HOO!

STEM+NODE  SMALL BATCH AND ONE OF A KIND POTTERY

stem+node ceramics


____________________

Subscribe

GET NEW POSTS IN YO EMAIL

You are AWESOME!!!


@thelovelycrazy 2014-2021