• stem+node ceramics
  • HOME
  • Food Recipes
  • About
  • Contact
Menu

The Lovely Crazy

Street Address
City, State, Zip
Phone Number

Your Custom Text Here

The Lovely Crazy

  • stem+node ceramics
  • HOME
  • Food Recipes
  • About
  • Contact

Socca Beet and Onion Casserole

November 12, 2022 Colleen Stem
IMG_6207.jpg
IMG_6213.jpg

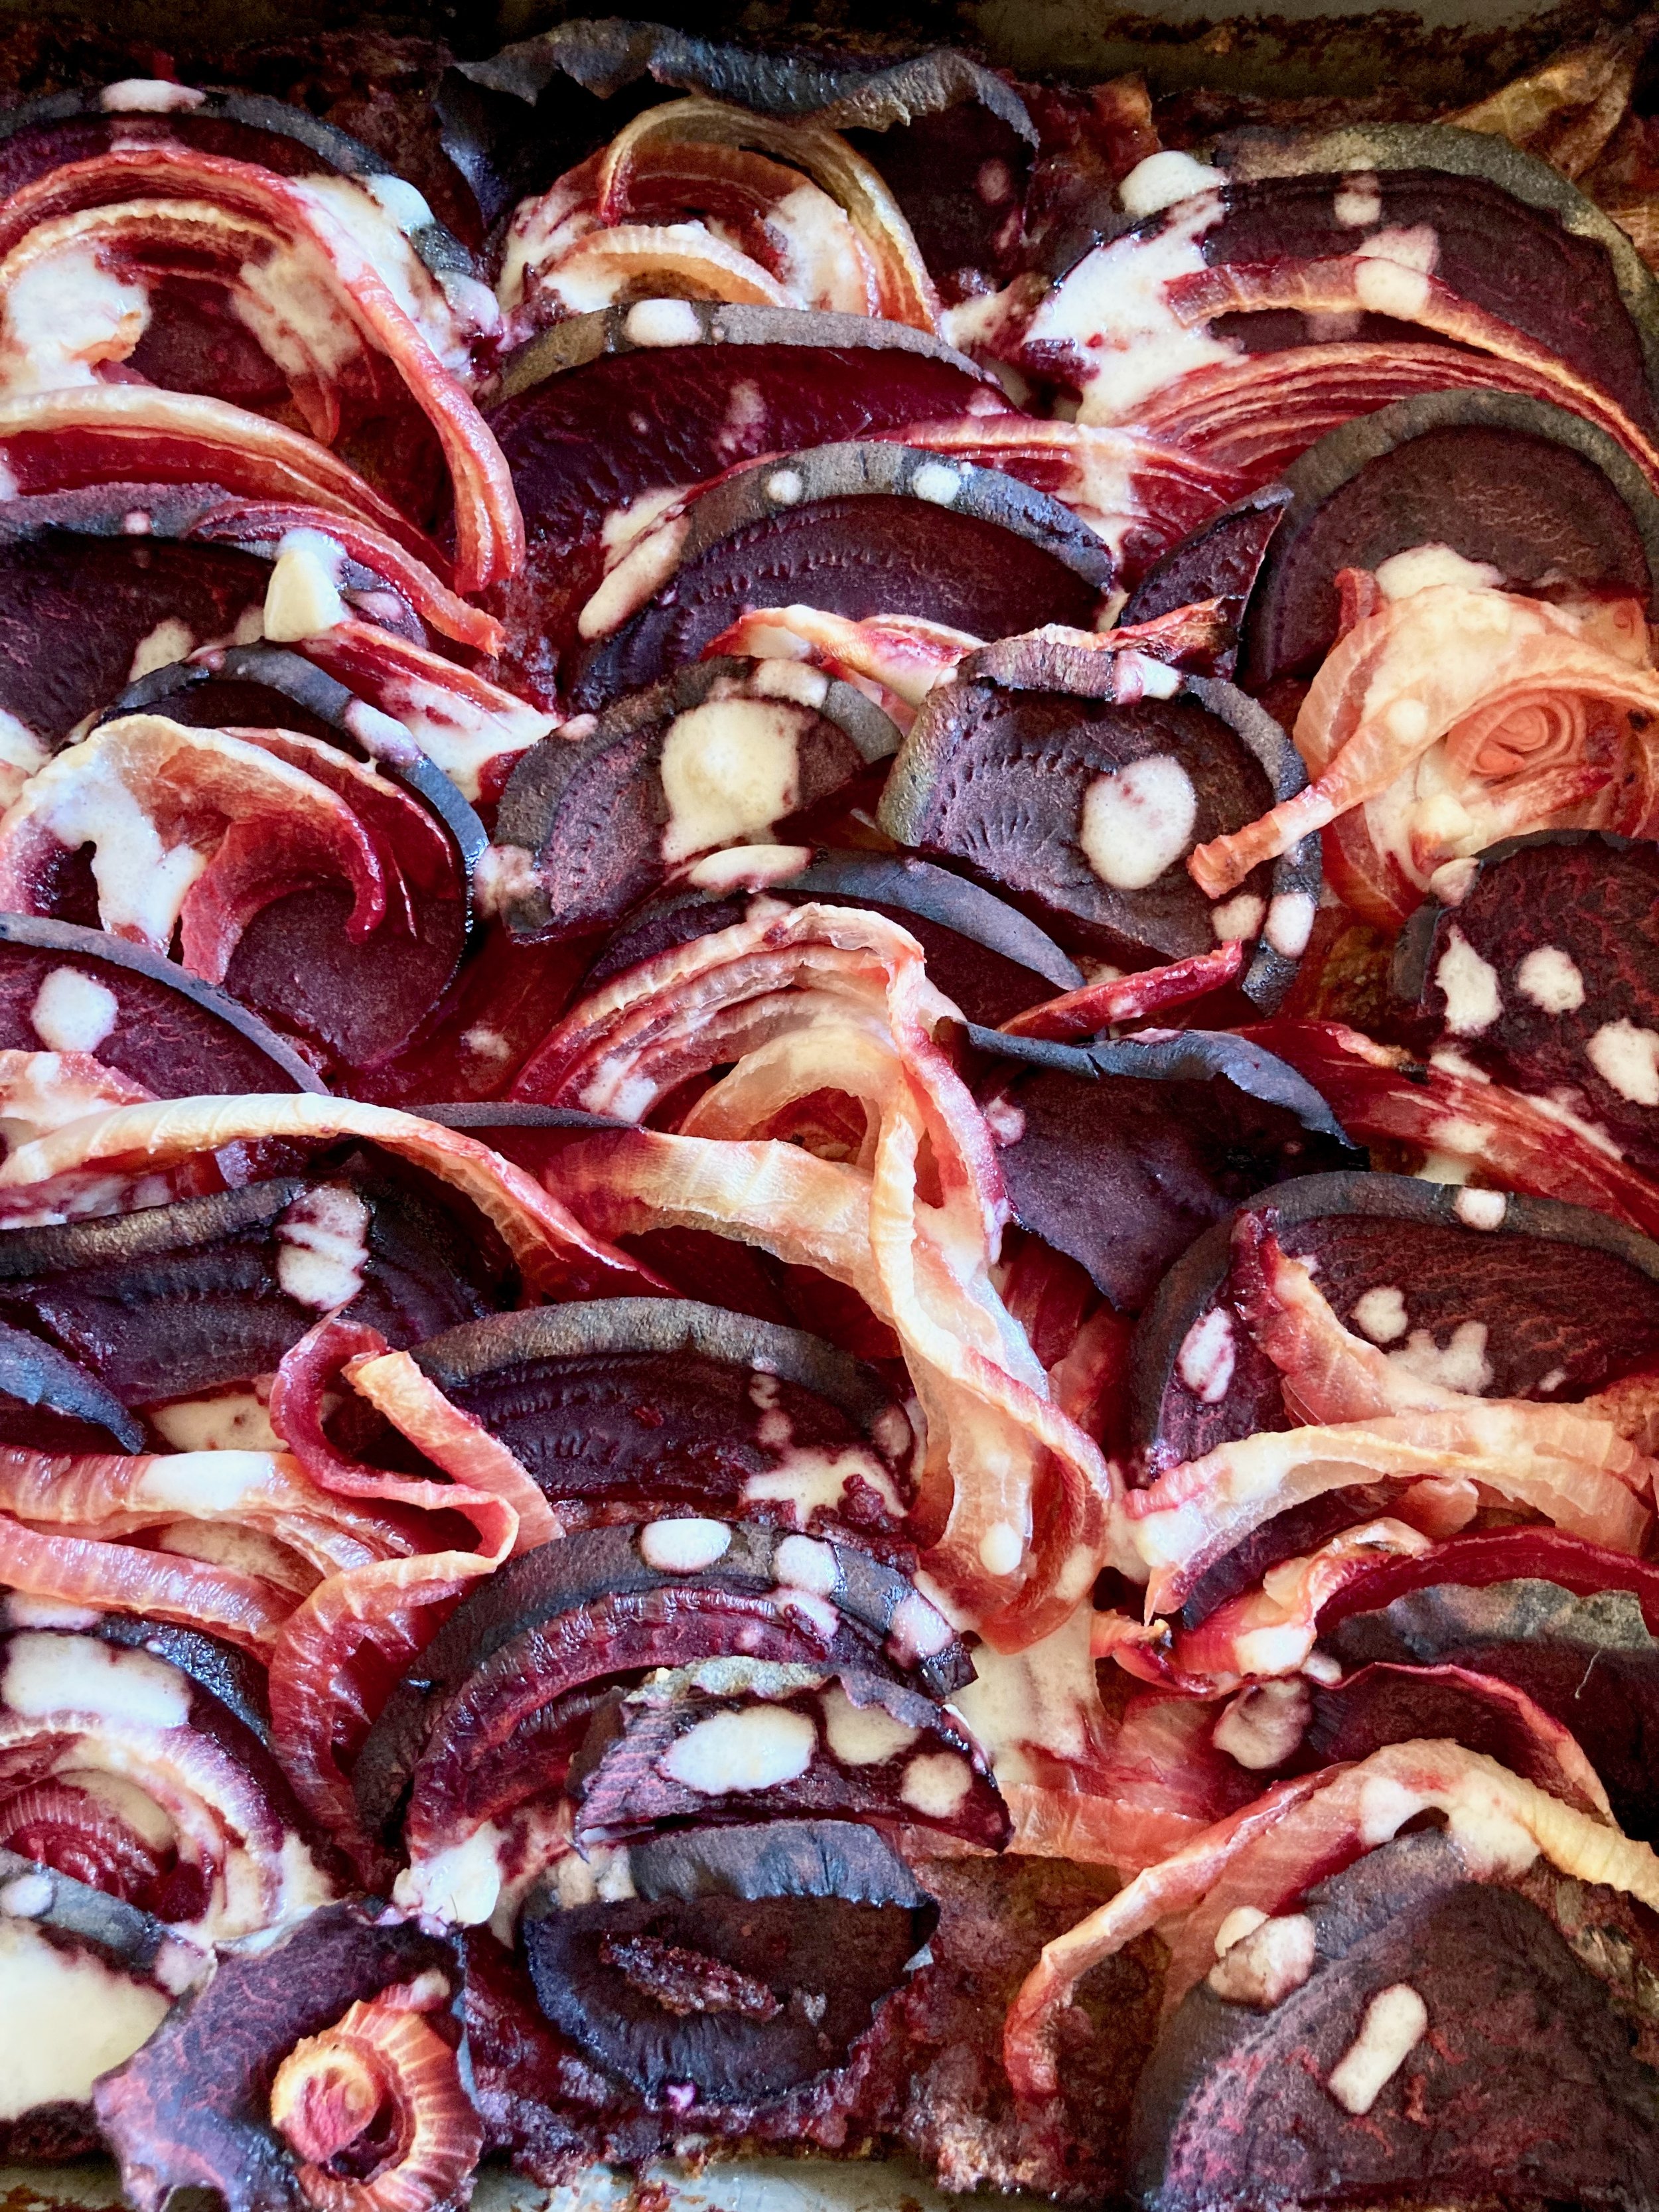
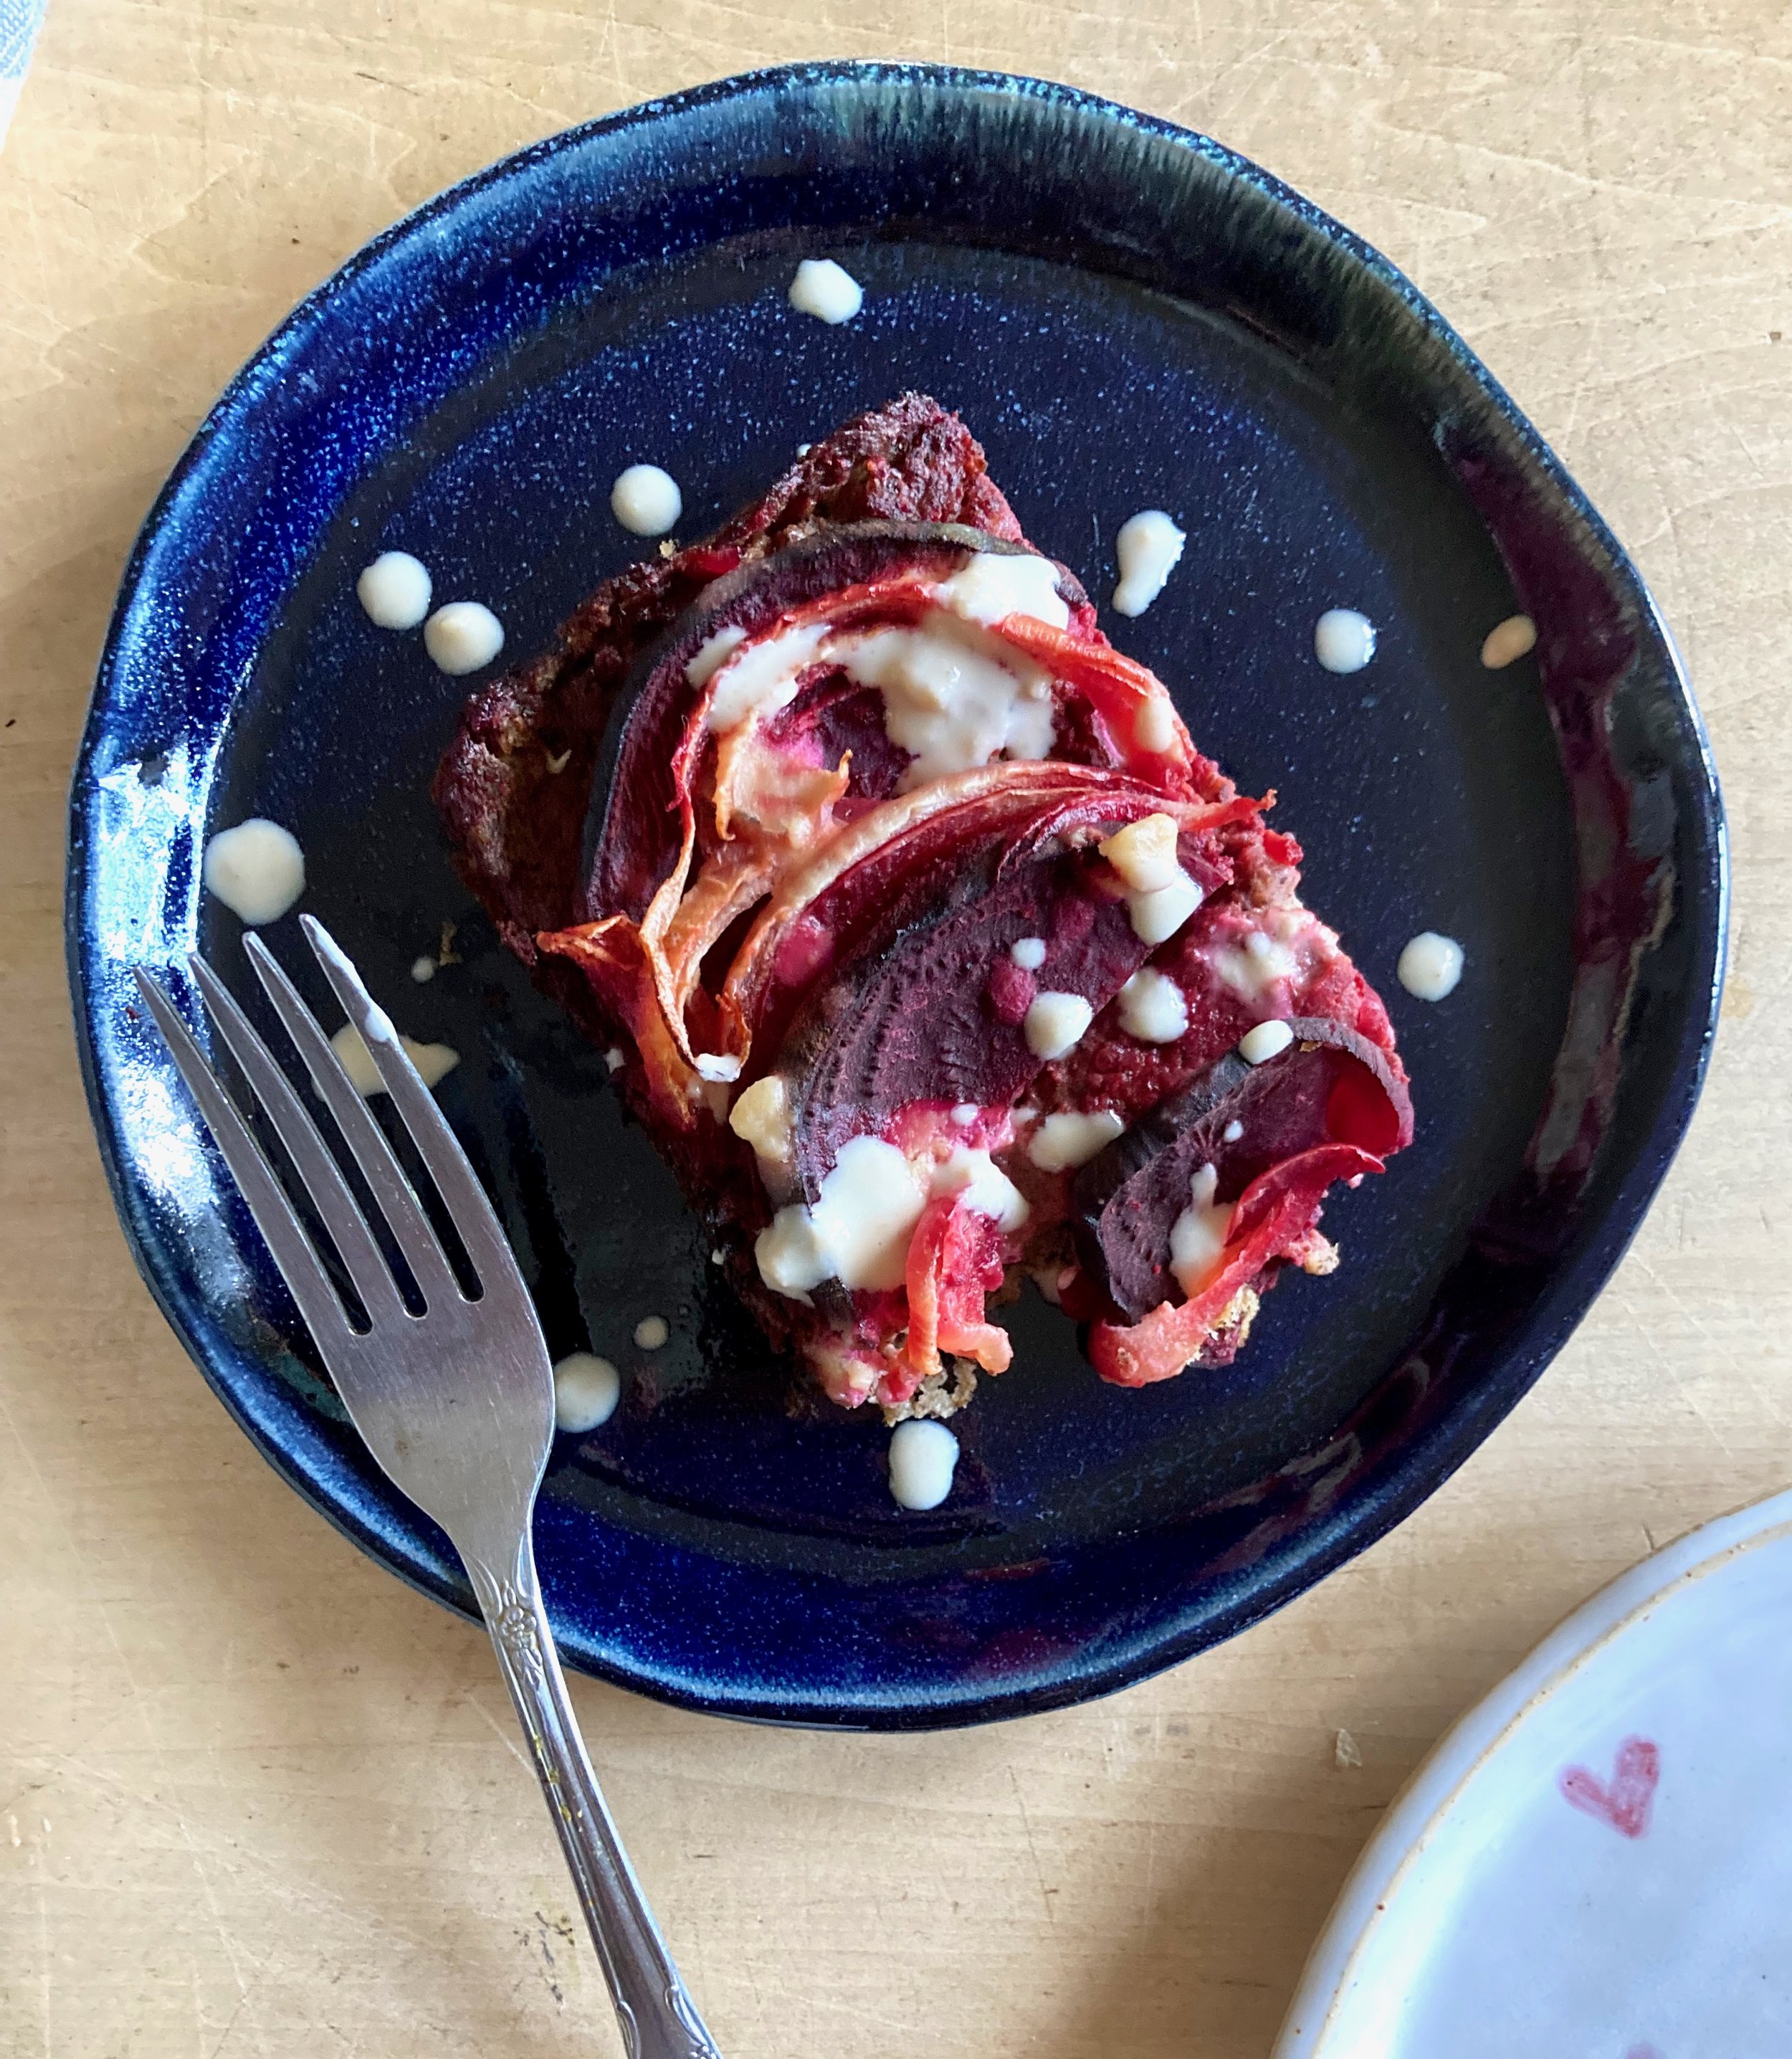
Whoa has It been a while since I have posted a recipe. Not that I haven’t wanted to or that I haven’t been making food, I just have been busy A.F. And truthfully I am as busy as ever but I happen to have my phone next to me when I was making this little casserole dish thing that I have made a few times now and I think it well worth a share.

What is it you ask? It is a creamy but dense chickpea base covered in tender roasted beets and onions with a lemon tahini drizzle. It is simple to make, super delicious, and can be tweaked in a million different ways to your liking.

Is it a fantastic dish to serve at say a Thanksgiving? Well yes, yes it is. You can serve it as a side or even make it bigger and have it as a sort of main dish. It’s a good protein that is naturally gluten and grain free, vegan, and blah blah blah. What really matters here though is that it is damn tasty and also bonus, it is so siimple to make and can even be prepared a day in advance so no stress. We will take all the wins here.

-C


Socca Beet and Onion Casserole

makes a 8x8 casserole

  • 1 cup chickpea flour

  • 2 cups boiling water

  • 1 teaspoon salt plus more to taste

  • ground black pepper

  • 2 teaspoons cumin (feel free to omit or use a different spice.Thyme or rosemary are equally delicious )

  • 2 medium beets

  • 1 large onion

  • a lemon

  • 1-2 tablespoons tahini

  • teaspoon or so olive oil.

Note. This dish is excellent made and eaten right away but also gets even better (in my opinion) cooled and reheated. Also you can change up the veggie situation and use whatever ones you like.

Place chickpea flour in a bowl and slowly whisk in boil water with a fork so that there are no lumps. Mix in cumin and a teaspoon of salt and a pepper. Scoop batter into a lightly oiled 8X8 casserole dish (you can use a round cake tin or a cast iron skillet as well) and set aside to rest for a few.

Preheat oven to 400.

Grab beets and onion and slice in about 1/8 thick slices. Layer slices on top of chickpea mixture, making it look pretty if you feel like it. Once the veggies are layered, lightly drizzle the top with a teaspoon olive oil and sprinkle with a good pinch of salt and pepper.

When the oven is preheated, covered the baking dish and place in oven,. Bake covered for 1/2 hour then remove covering and bake for another 20-30 minutes or until the beets are nice and tender and a tester poked into the center of the dish comes out clean. Remove from oven,

Once it’s out of the oven grab a little bowl and add the juice of the lemon to the tahini and mix. Season with salt to you liking.

Now serve. Drizzle the top with the tahini mixture and cut yourself a big old piece. Yes drizzle extra tahini on top. Sure squeeze on more lemon. You do you.

Store leftovers in fridge. Reheat in hot oven for 10 minutes..It gets crispy!

In Vegetables, Vegan, side dish, Savory, quick and easy, pulses, holiday, grain free, Gluten Free, entree, dinner, Dairy Free, casserole Tags vegan, gluten free, grain free, casserole, dinner, protein, pulses, beans, thanksgiving, holiday, main dish, food, easy, beets, onion, tahini
1 Comment

Chickpea Carrot Ginger Fried Rice

October 24, 2020 Colleen Stem
IMG_1309.jpg
IMG_1282.jpg

Rice is a hit or miss in this house. Whenever I make it fresh, I either make too much or not enough so I like to air on the side of too much because when there is too much, you just save for a later day and make fried rice, which to some, might be even better then fresh rice. So there you go.

Fried rice. Not really a complicated dish. Basically it is just reheating rice up in a skillet with some stuff. This version is carrot ginger with chickpeas because those flavors are on point and also I had just made a huge batch of chikepeas and always have carrots and ginger on hand. The rice was just waiting to be reheated and I was glad for it because fried rice take a quarter of the time to make then fresh rice (I use brown rice) and I was trying to get dinner done without having to make much of an effort. And because there is veggies and chickpeas in this rice, it is a complete meal and did not need to make anything else. One pot dinner and done. Good things.

Now to the fried rice!

The stuff. Cooked rice, chick peas, carrots, fresh ginger, garlic, soy, red wine vinegar, olive oil, scallions, cabbage, and cilantro (optional). Also going to need a little water. And black pepper.

IMG_1129.jpg
IMG_1121.jpg
IMG_1122 2.jpg
IMG_1138.jpg

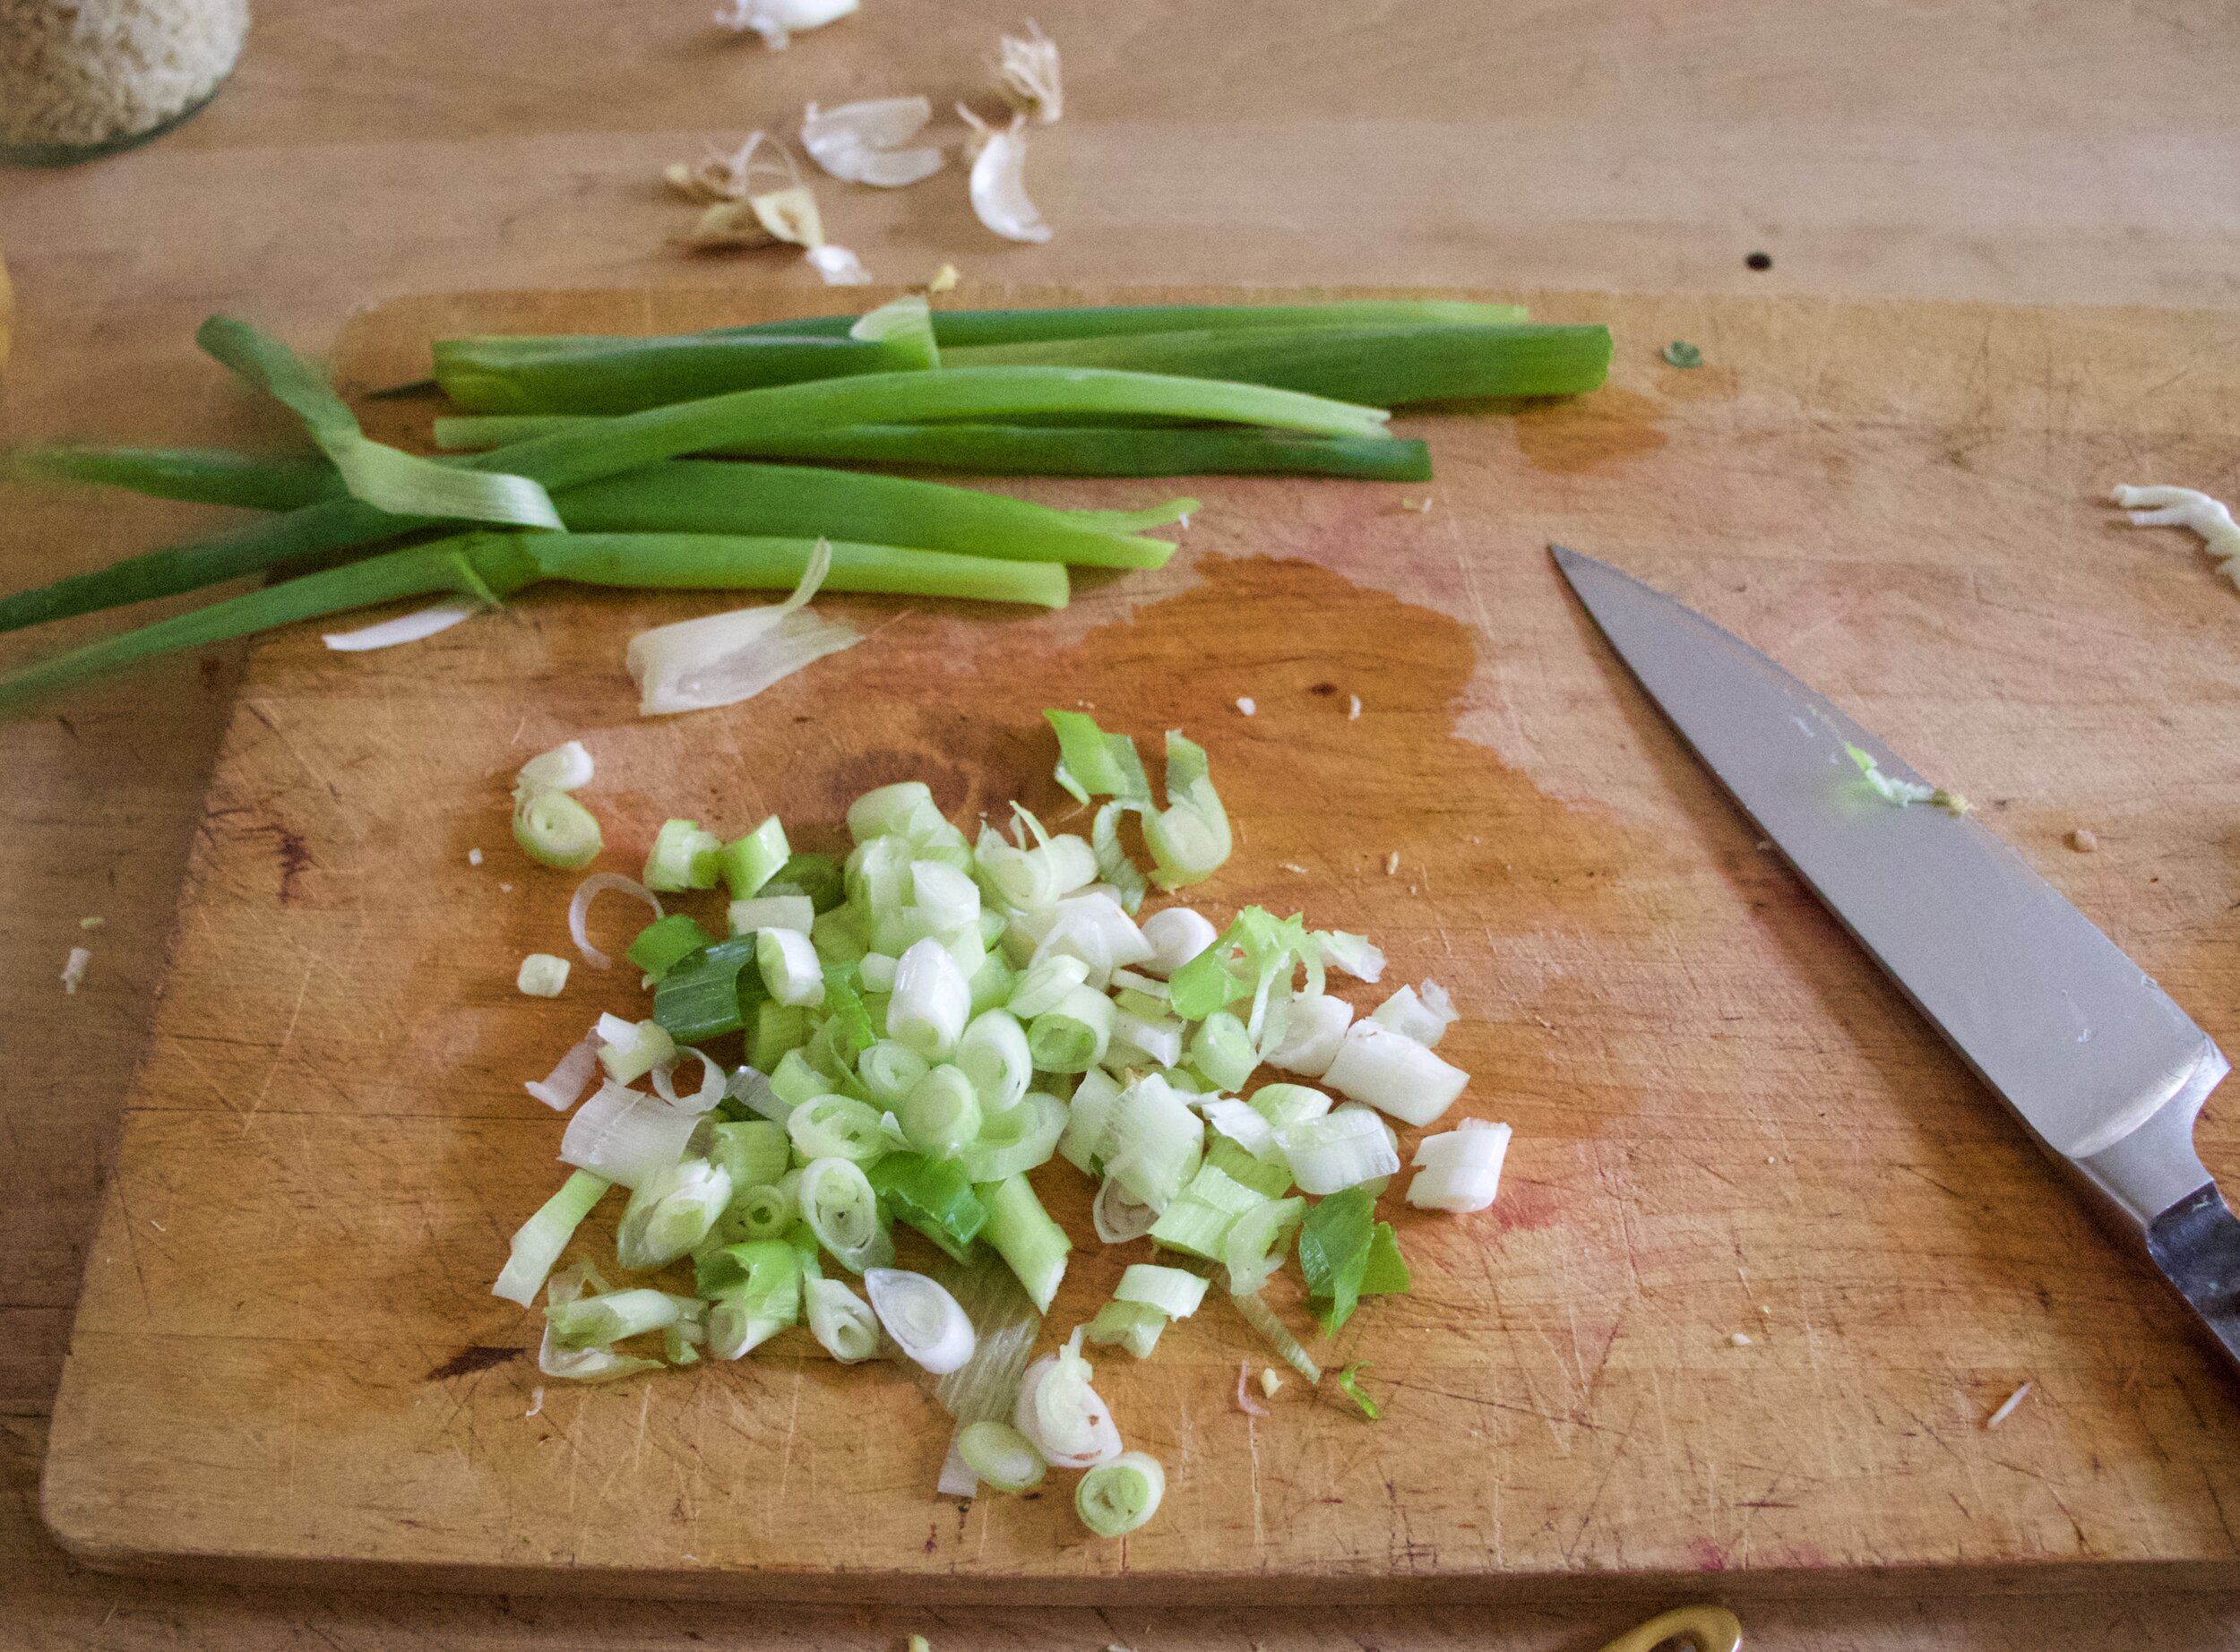
Start with veggies. Dice the carrots into very small little pieces. Toss into lightly oiled skillet with a splash of water and set on low heat. Then start mincing garlic and the fresh ginger. Toss that into skillet with carrots. Grab scallions and cut the thick white parts from he green and slice thinly and toss into skillet. And lastly shredded cabbage and thinly slice the greens of the scallions and set that aside.

IMG_1152.jpg

Carrot, ginger, garlic, and scallions are in skillet getting a little heat. Turn heat up to medium, add a splash or two of water, and cook until the carrots are just starting to get a little soft and the ginger and garlic are fragrant. If the

Add in the chick peas, the soy, and the vinegar and cook away.

Once chick peas are warm through, add in the rice and another splash of water and mix around.

And when the rice is warm, add in he cabbage and greens of the scallion and mix until incorporated.

Done and ready.

IMG_1304.jpg

Now scoop into bowls, toss some cilantro and black pepper on for good measure then grab a eating utensil.

And eat.

-C


Chickpea Carrot Ginger Fried Rice

serves 2-3 as a meals or 5-6 as a side

  • 3 cups already cooked rice (white or brown, I used brown)

  • 2 cups cooked chick peas

  • 2 carrots

  • 2 inches fresh ginger root

  • 2 gloves garlic

  • 3-4 teaspoon soy or liquid aminos

  • 1 tablespoon red or white wine vinegar

  • 1-2 teaspoons olive oil

  • 2-3 large scallions

  • small hunk of cabbage

  • black pepper

  • Few tablespoons water

  • fresh cilantro (optional)

Start by prepping the veggies. Cut the carrots into very small little pieces and toss into a large, lightly oiled skillet Place on stove on low heat with a splash of water. Now mince the garlic and ginger and toss it into the skillet was well. Shredded the hunk of cabbage and set aside Grab the scallion, cut the green parts from the white, then thinly slice the the white, thicker part and toss into the skillet and thinly slice the green and add to the pile with the shredded cabbage. Mix all the veggies around, add another tablespoon or two of water, turn heat up to medium, and cook until carrots are slightly soft and the garlic and ginger are fragrant.

Once it is all starting to cook, toss in the drained chickpeas and add in the vinegar and 2-3 teaspoons of soy. Mix and cook until chickpeas are warm all the way through.

Now for the rice. Toss that in and mix around. Once rice is warm, toss in the greens of the scallions and the shredded cabbage. Cook until the rice is hot. Taste, and if you need more soy, add in in another teaspoon.

Once its all hot, it ready to eat and that is what you do. So scoop into bowls, add some chopped cilantro and black pepper and eat.

In beans, dinner, entree, Gluten Free, grains, side dish, Vegetables, Vegan Tags fried rice, vegan, vegan fried rice, carrot ginger fried rice, carrot ginger, chick peas, beans, pulses, plant based, gluten free, dairy free, healthy, complete protein, meal, dinner, easy, rice
Comment

Eggplant Rolls

August 1, 2020 Colleen Stem
IMG_9511.jpg
IMG_9535 2.jpg

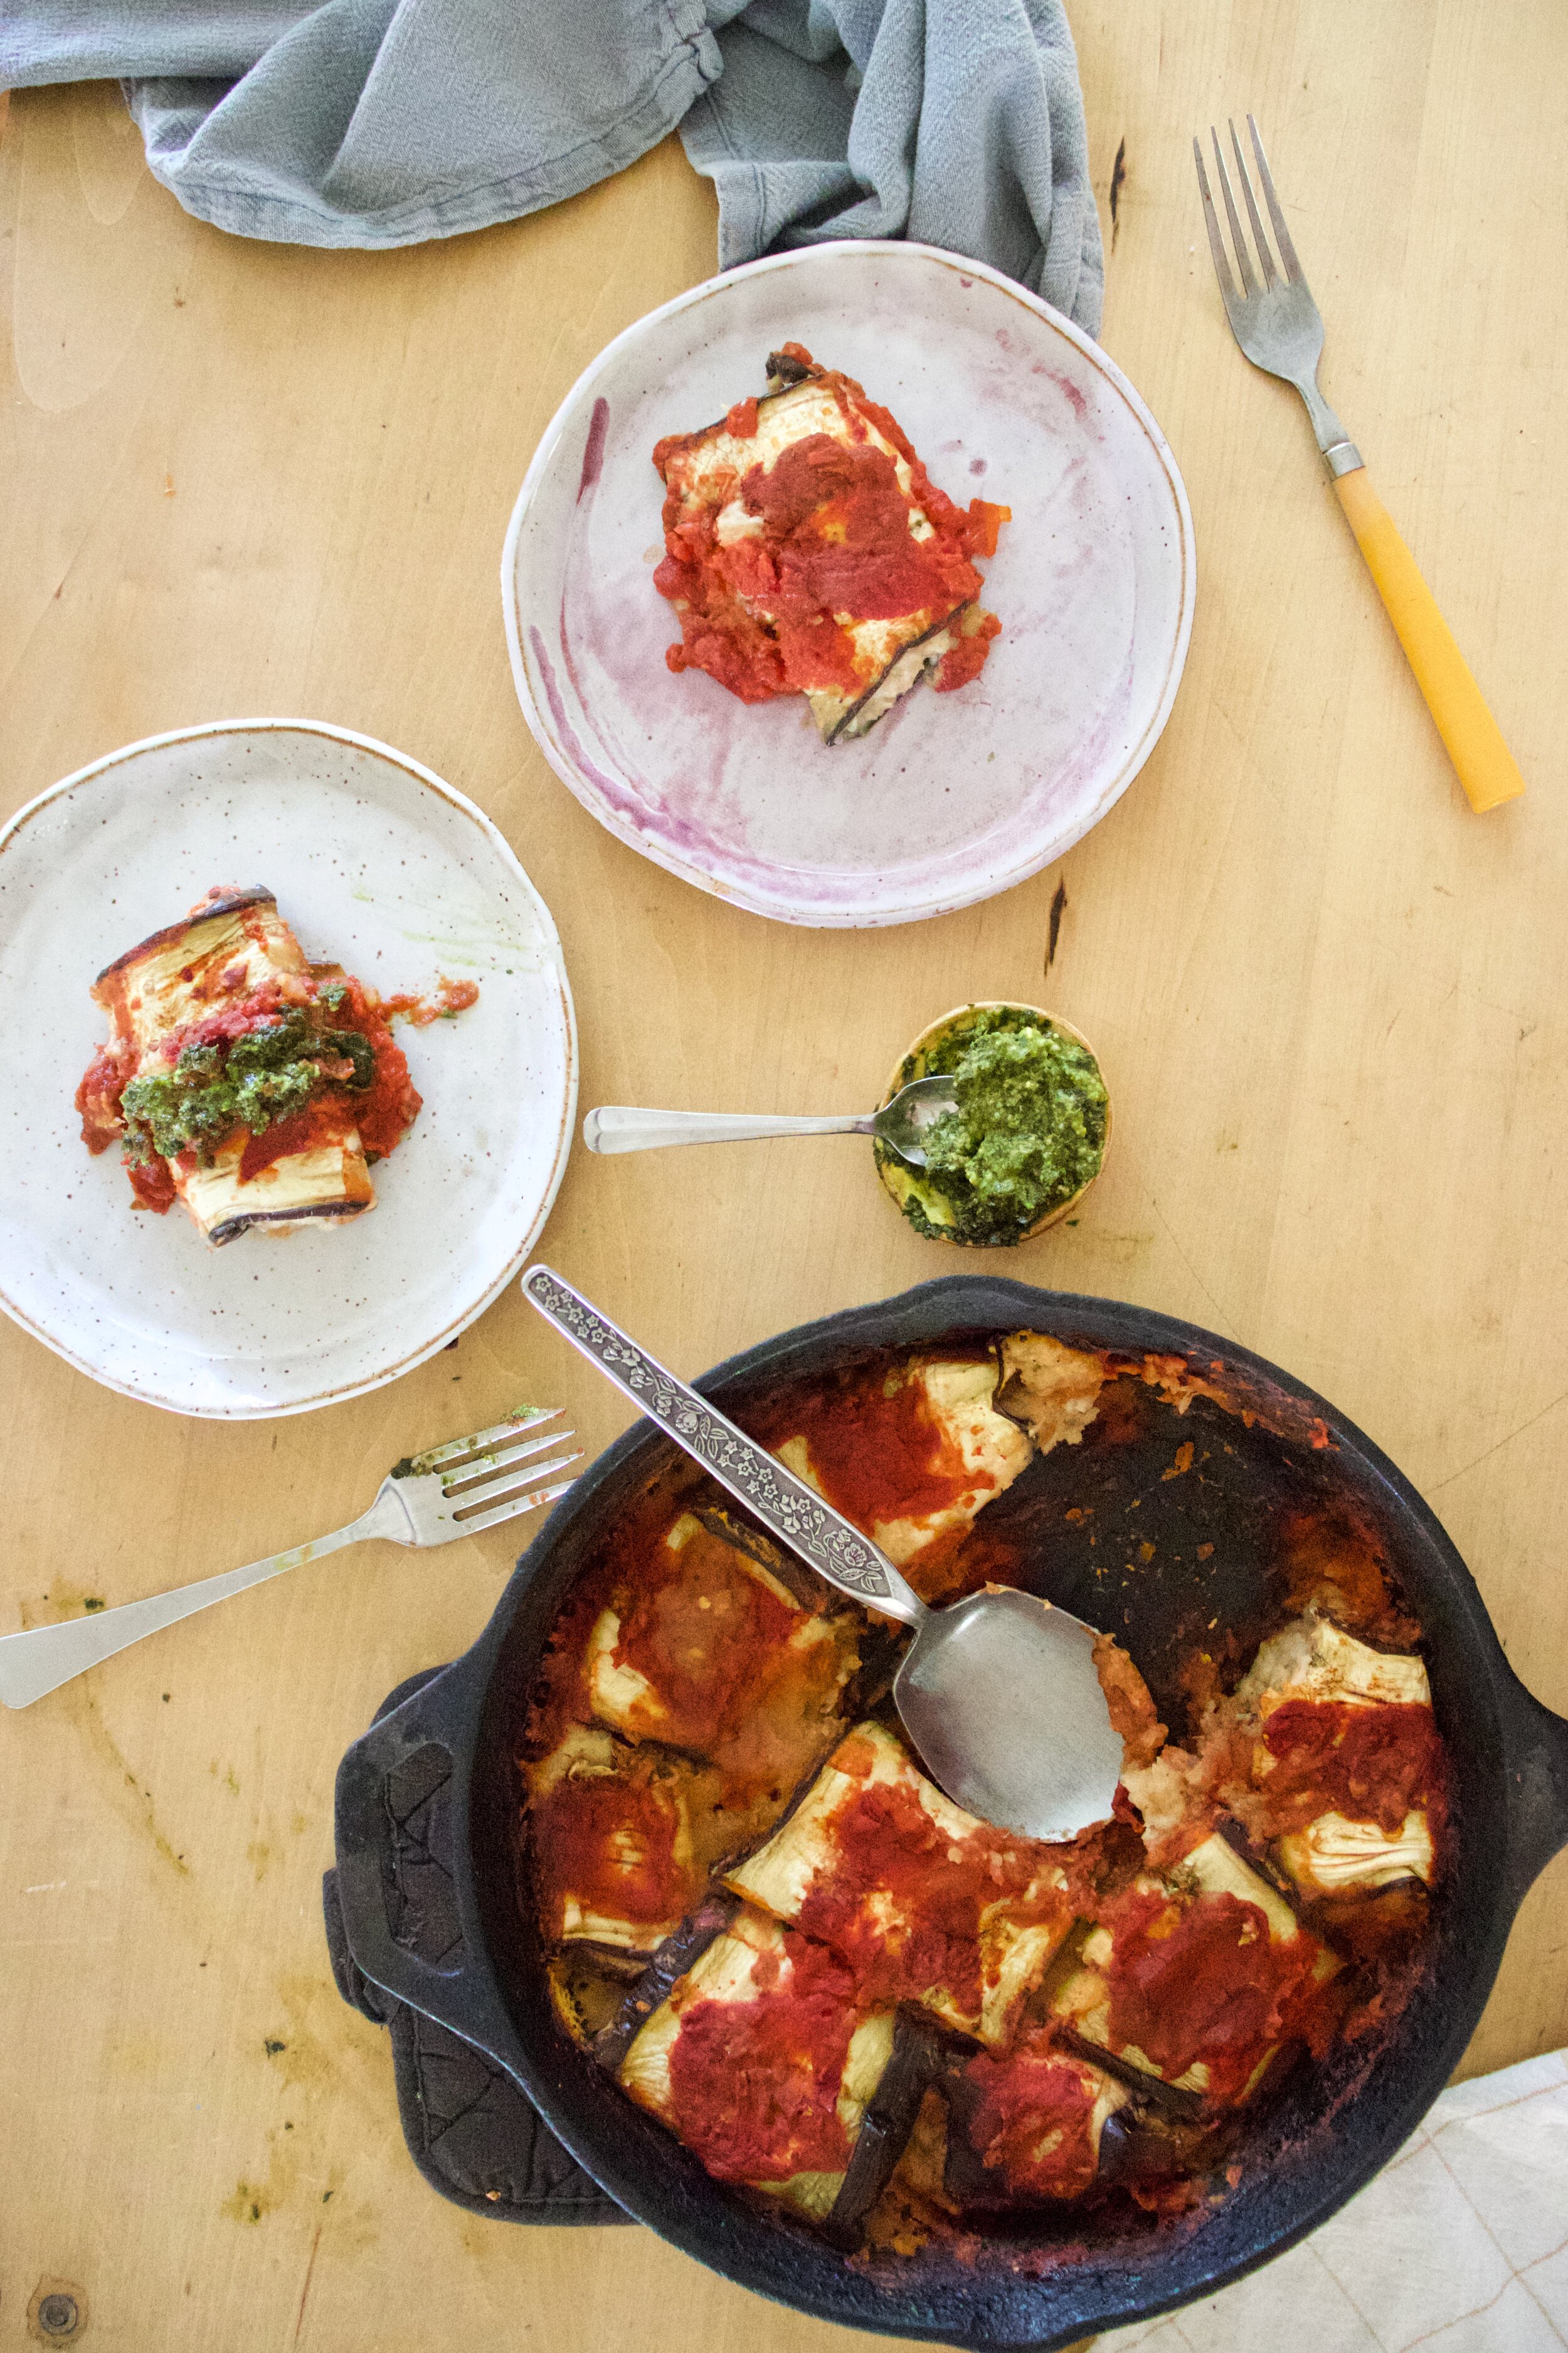
Eggplant and I are having real moment right now. I honestly think I have been eating one, in some way or another, just about every day for the last week or so. And no, I am not sick of them at all. But yes, I have been lazy about doing much other roasting or braising the old plant and just eating it straight into my mouth hole. But I guess sometimes my lazy ass wants more substance and also, it is nice to feed the mr something good too. I figured I should maybe do something a little more classy, more meal like, and might actually require a fork to eat it with. (I have a real tendency to eat with my hands, even the things that most people would probably say could not be eaten with hands. You should see me eat soup! Ha!) And so I prepared for us a feat of greatness (not really a feat, but great for sure). Eggplant roll ups.

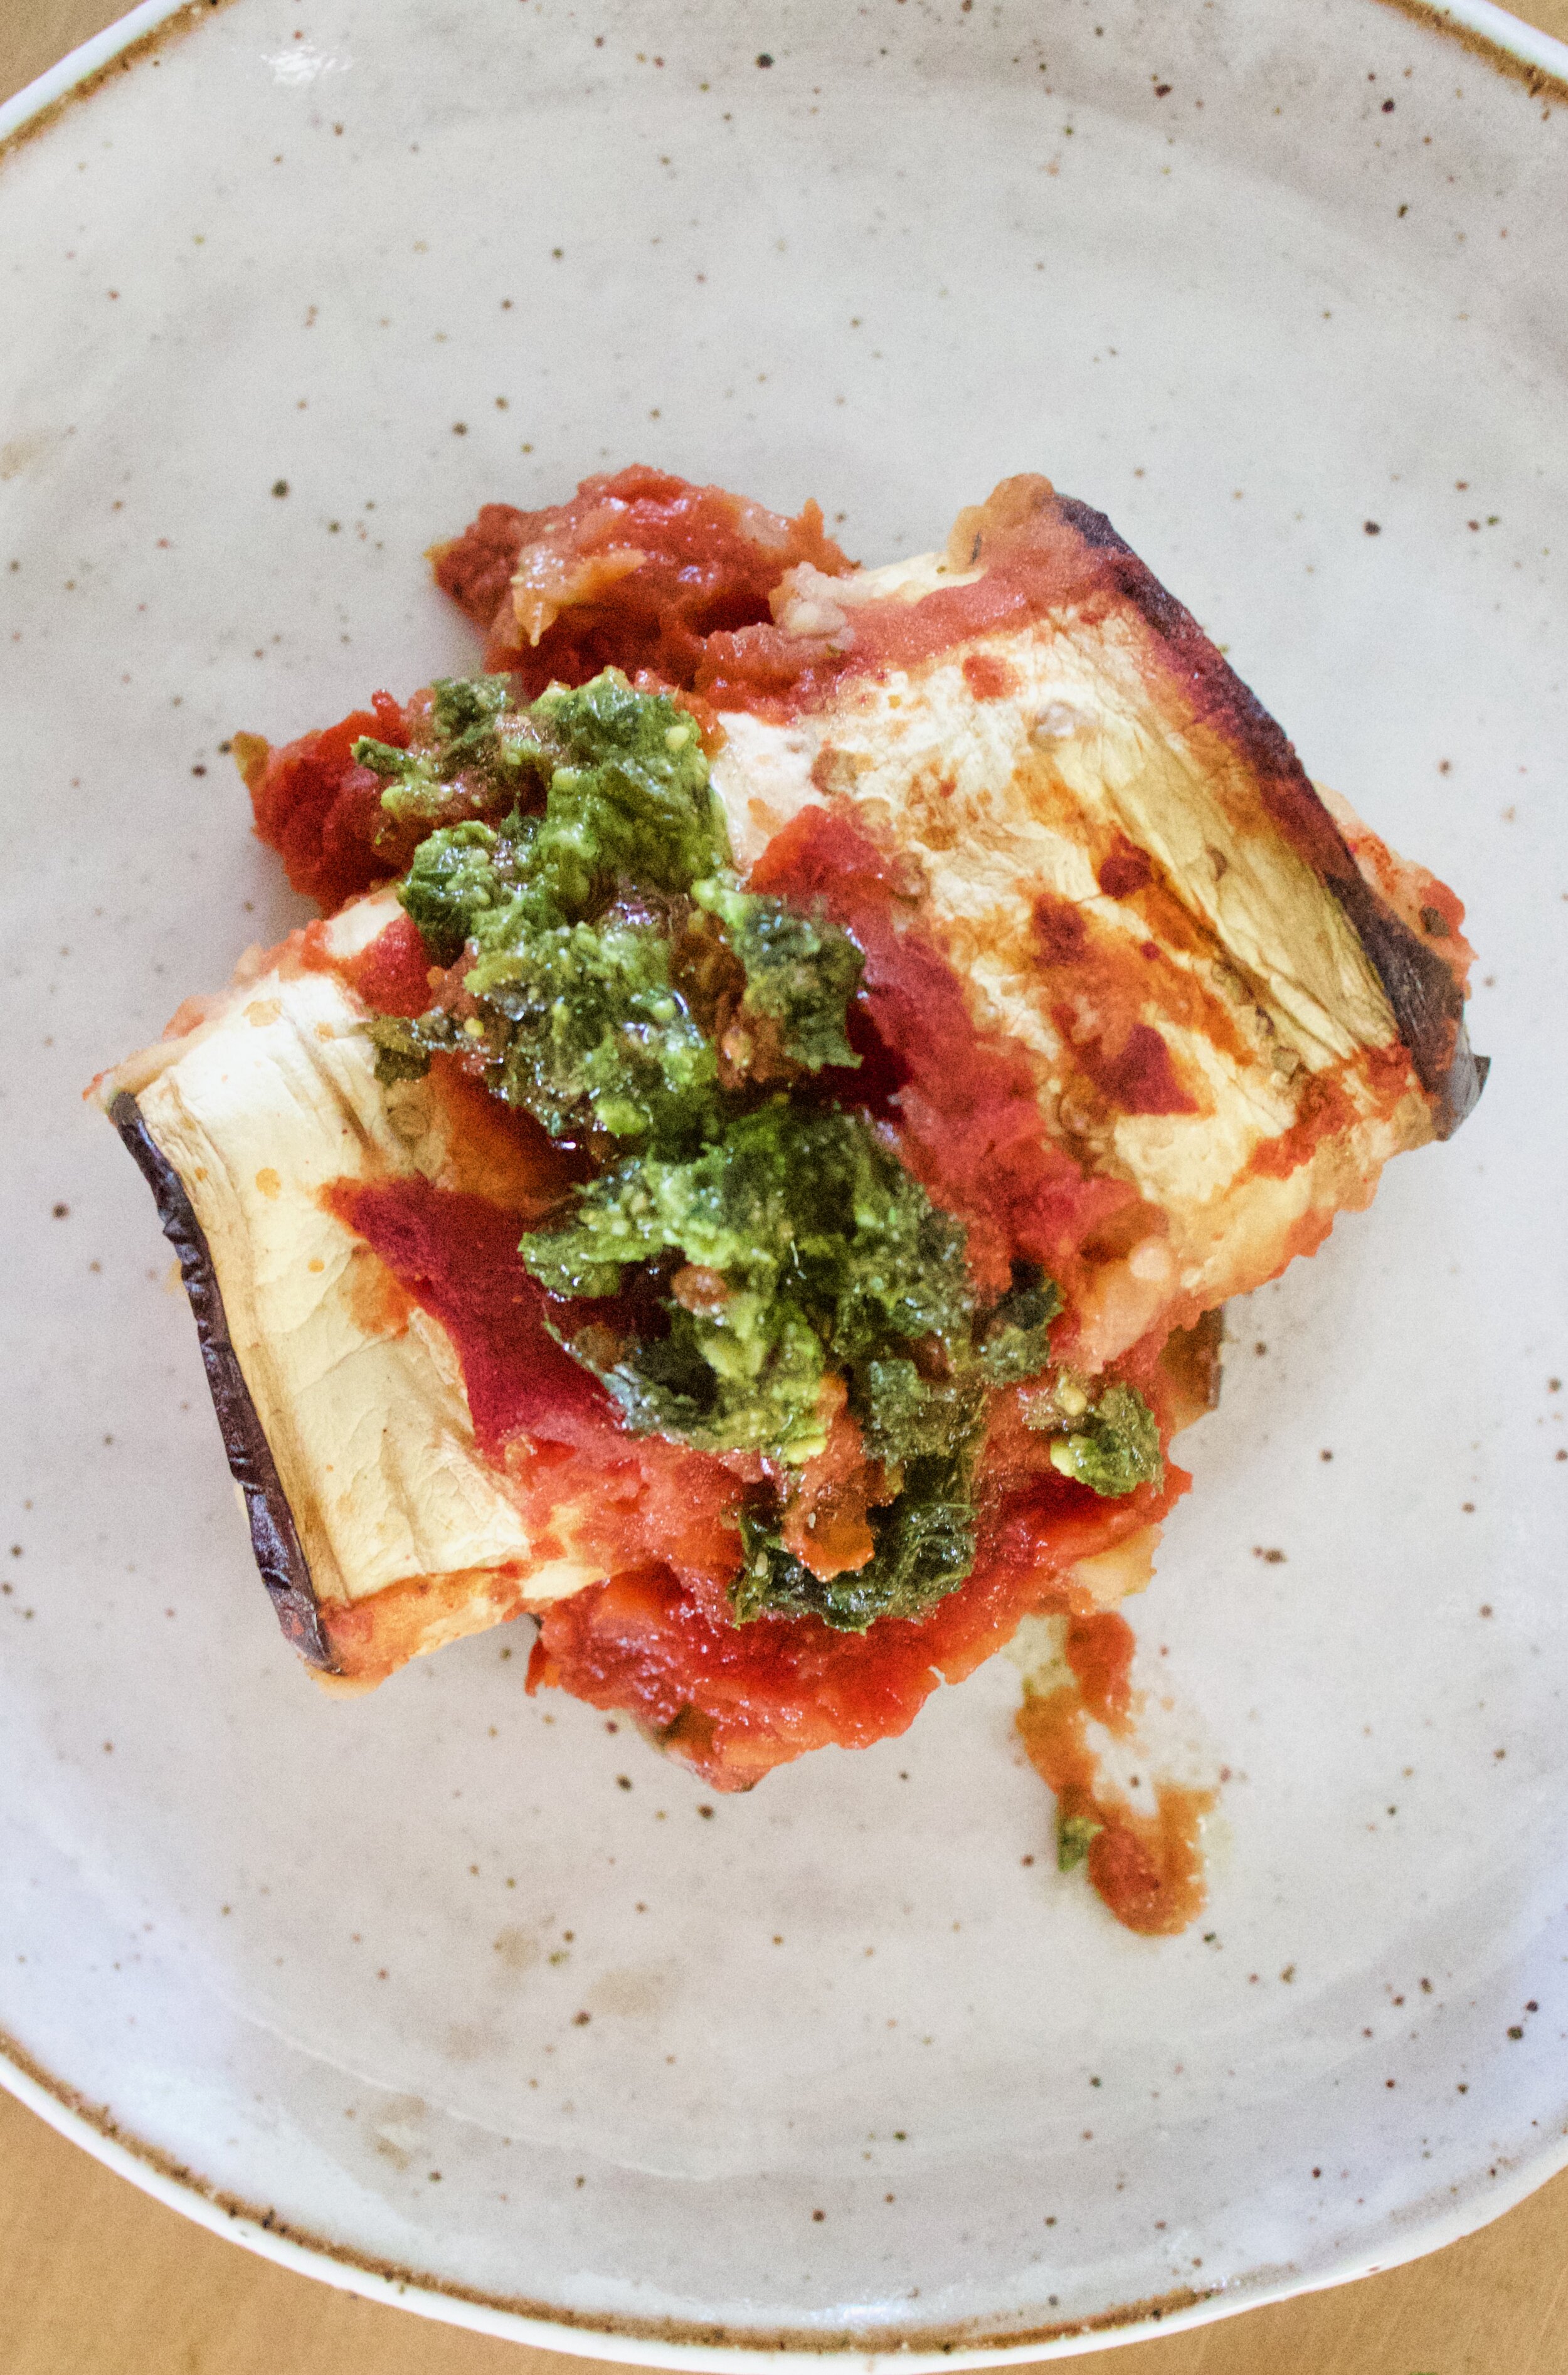
These rolls are way more tasty and delicious then the effort it takes to make them. Really, they are super simple to make. Just a thick herby bean filling rolled up in eggplant and roasted in tomatoes. Sounds so good right? Well then taste even better. And then you can top that whole shebang with some fresh basil and everyone is all good to go.

So ok, I feed some to the mr for dinner because the goal was to fee us both with one dish, but I sure did eat more then half (like 3/4 of it) to myself. Without a fork.

There is no shame in my game.

Now to the eggplant rolls!

The stuff. An eggplant, an onion, some white beans, crushed tomatoes, a lemon, some thyme, oregano,and garlic powder, salt and pepper, oil, and basil. (I just pureed all my fresh basil into a paste so yeah).

First up, slice the eggplant lengthwise into 1/2 inch thick pieces.

Place the pieces on a baking sheet and sprinkle with a pinch of salt. It is ok if they overlap a little, we are just trying to soften them a bit. Stick into a hot oven.

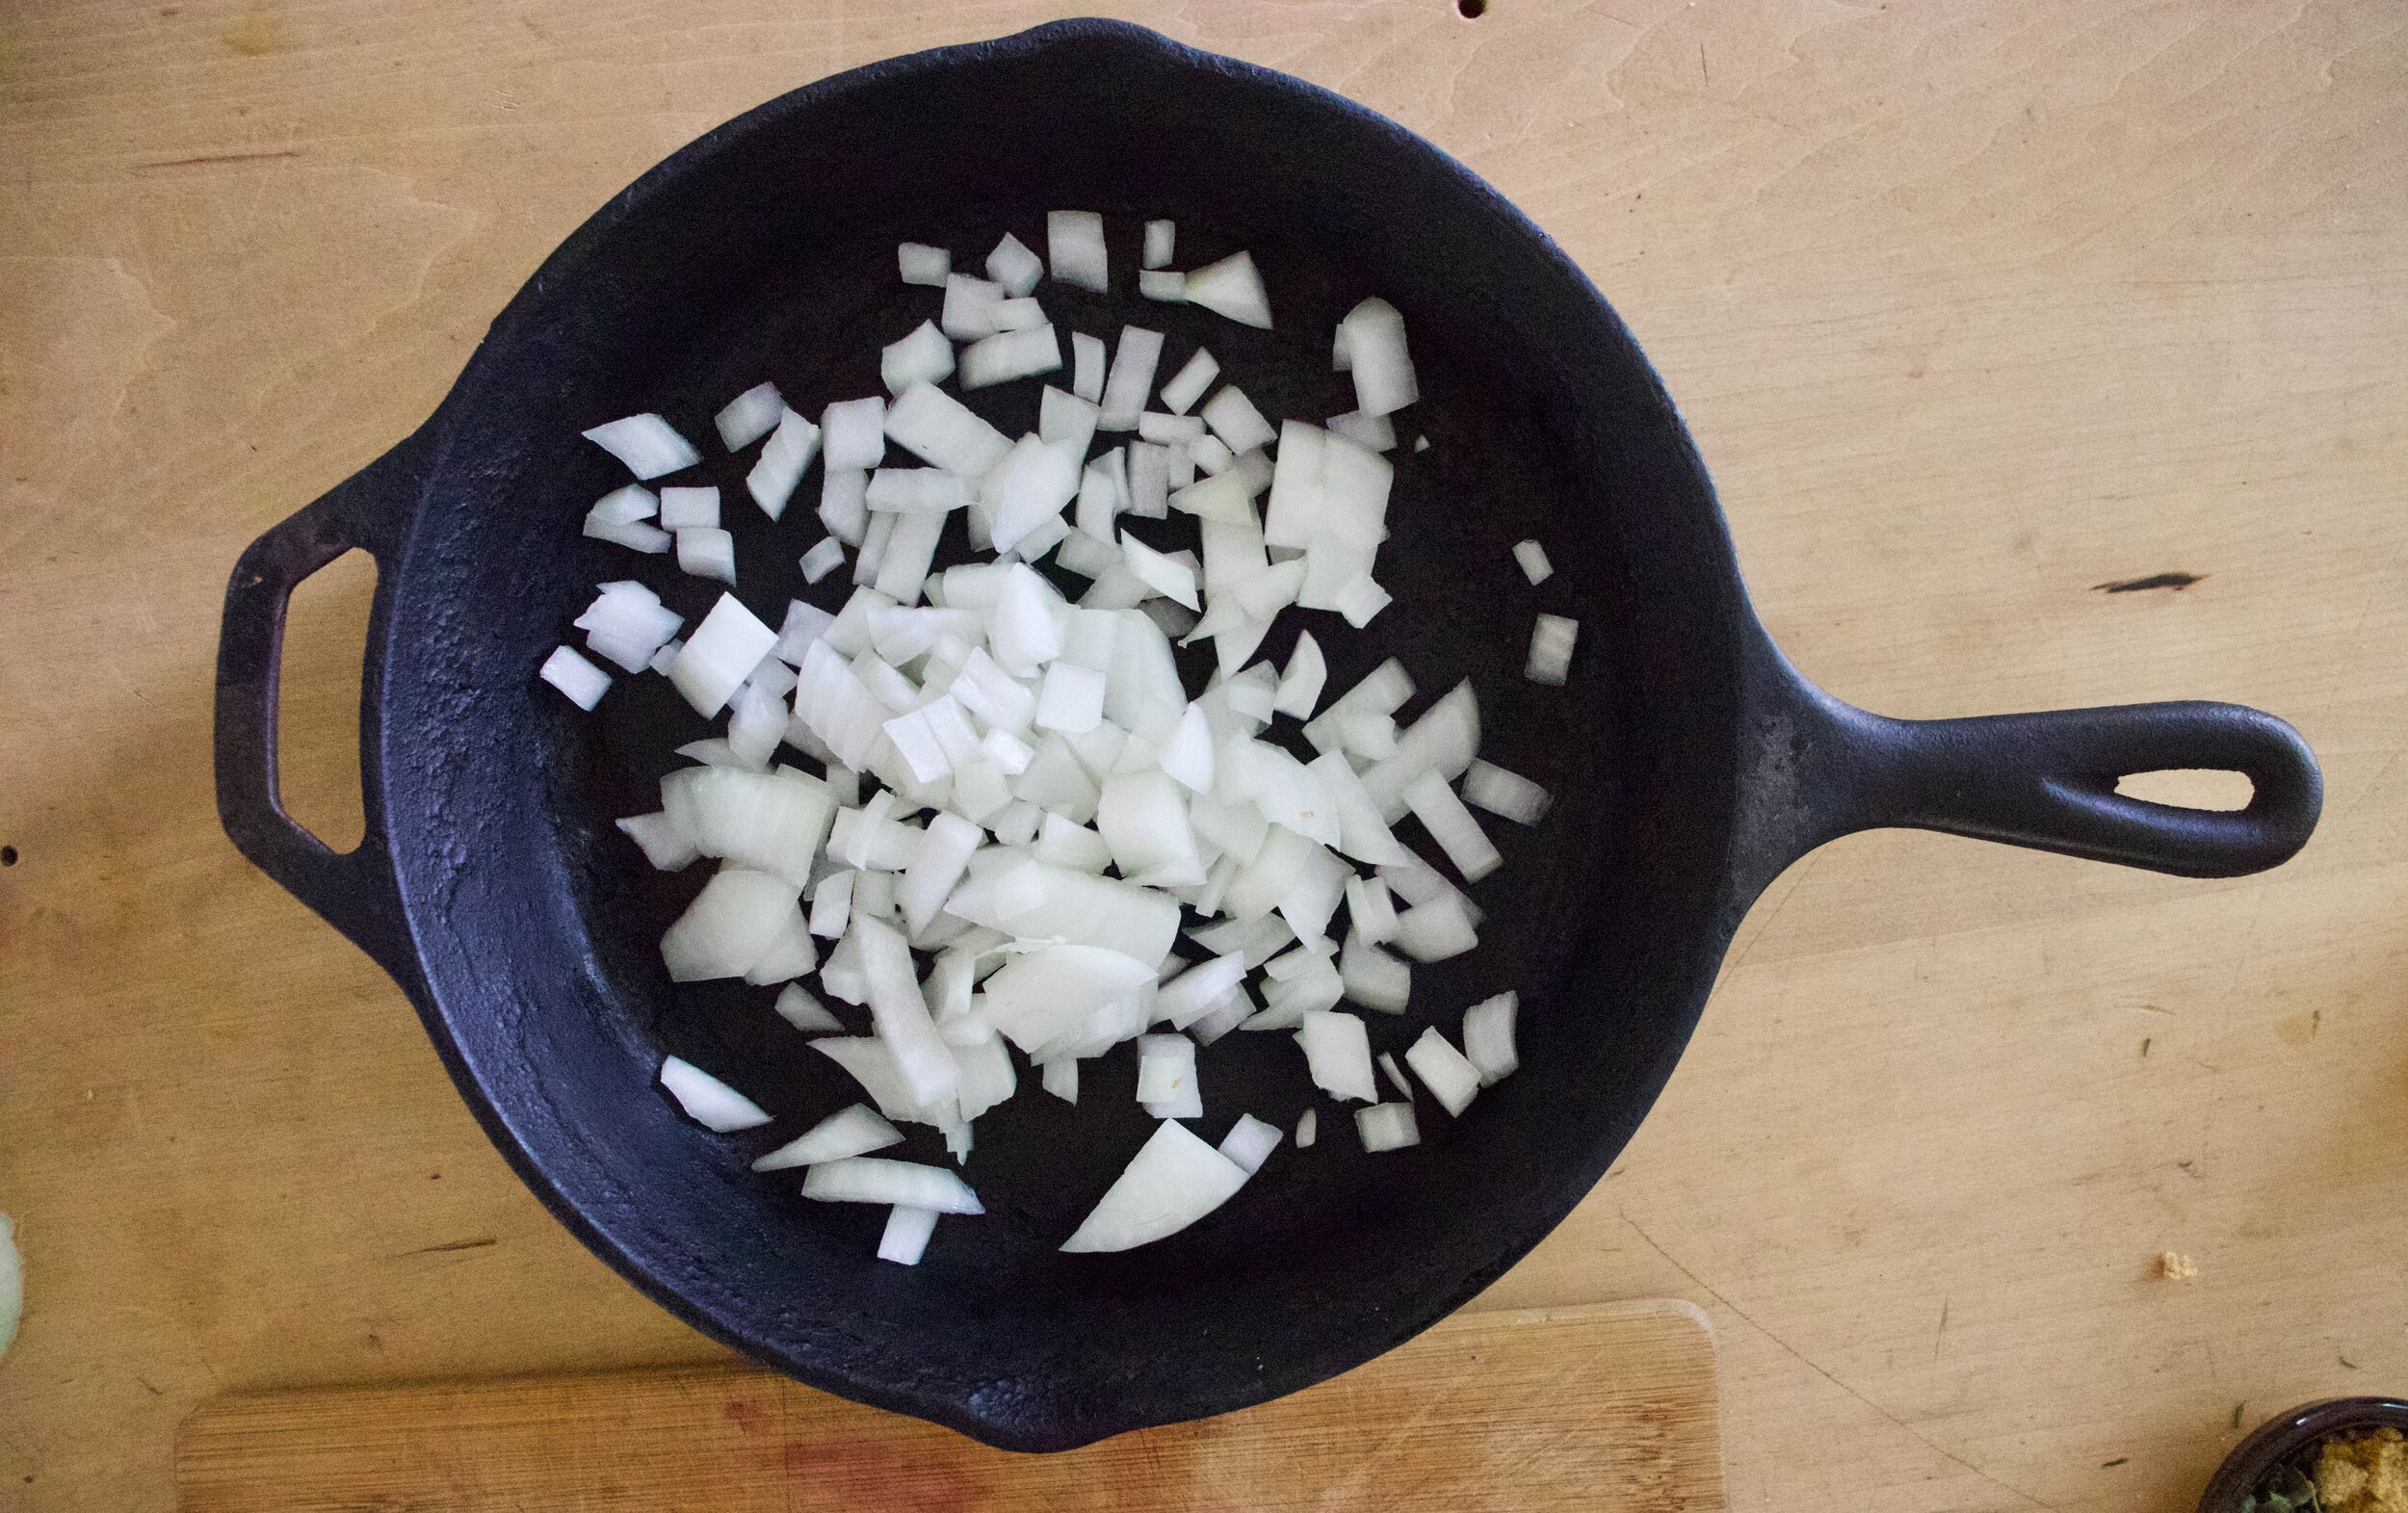
Now chop up the onion.

IMG_9410.jpg
IMG_9412.jpg

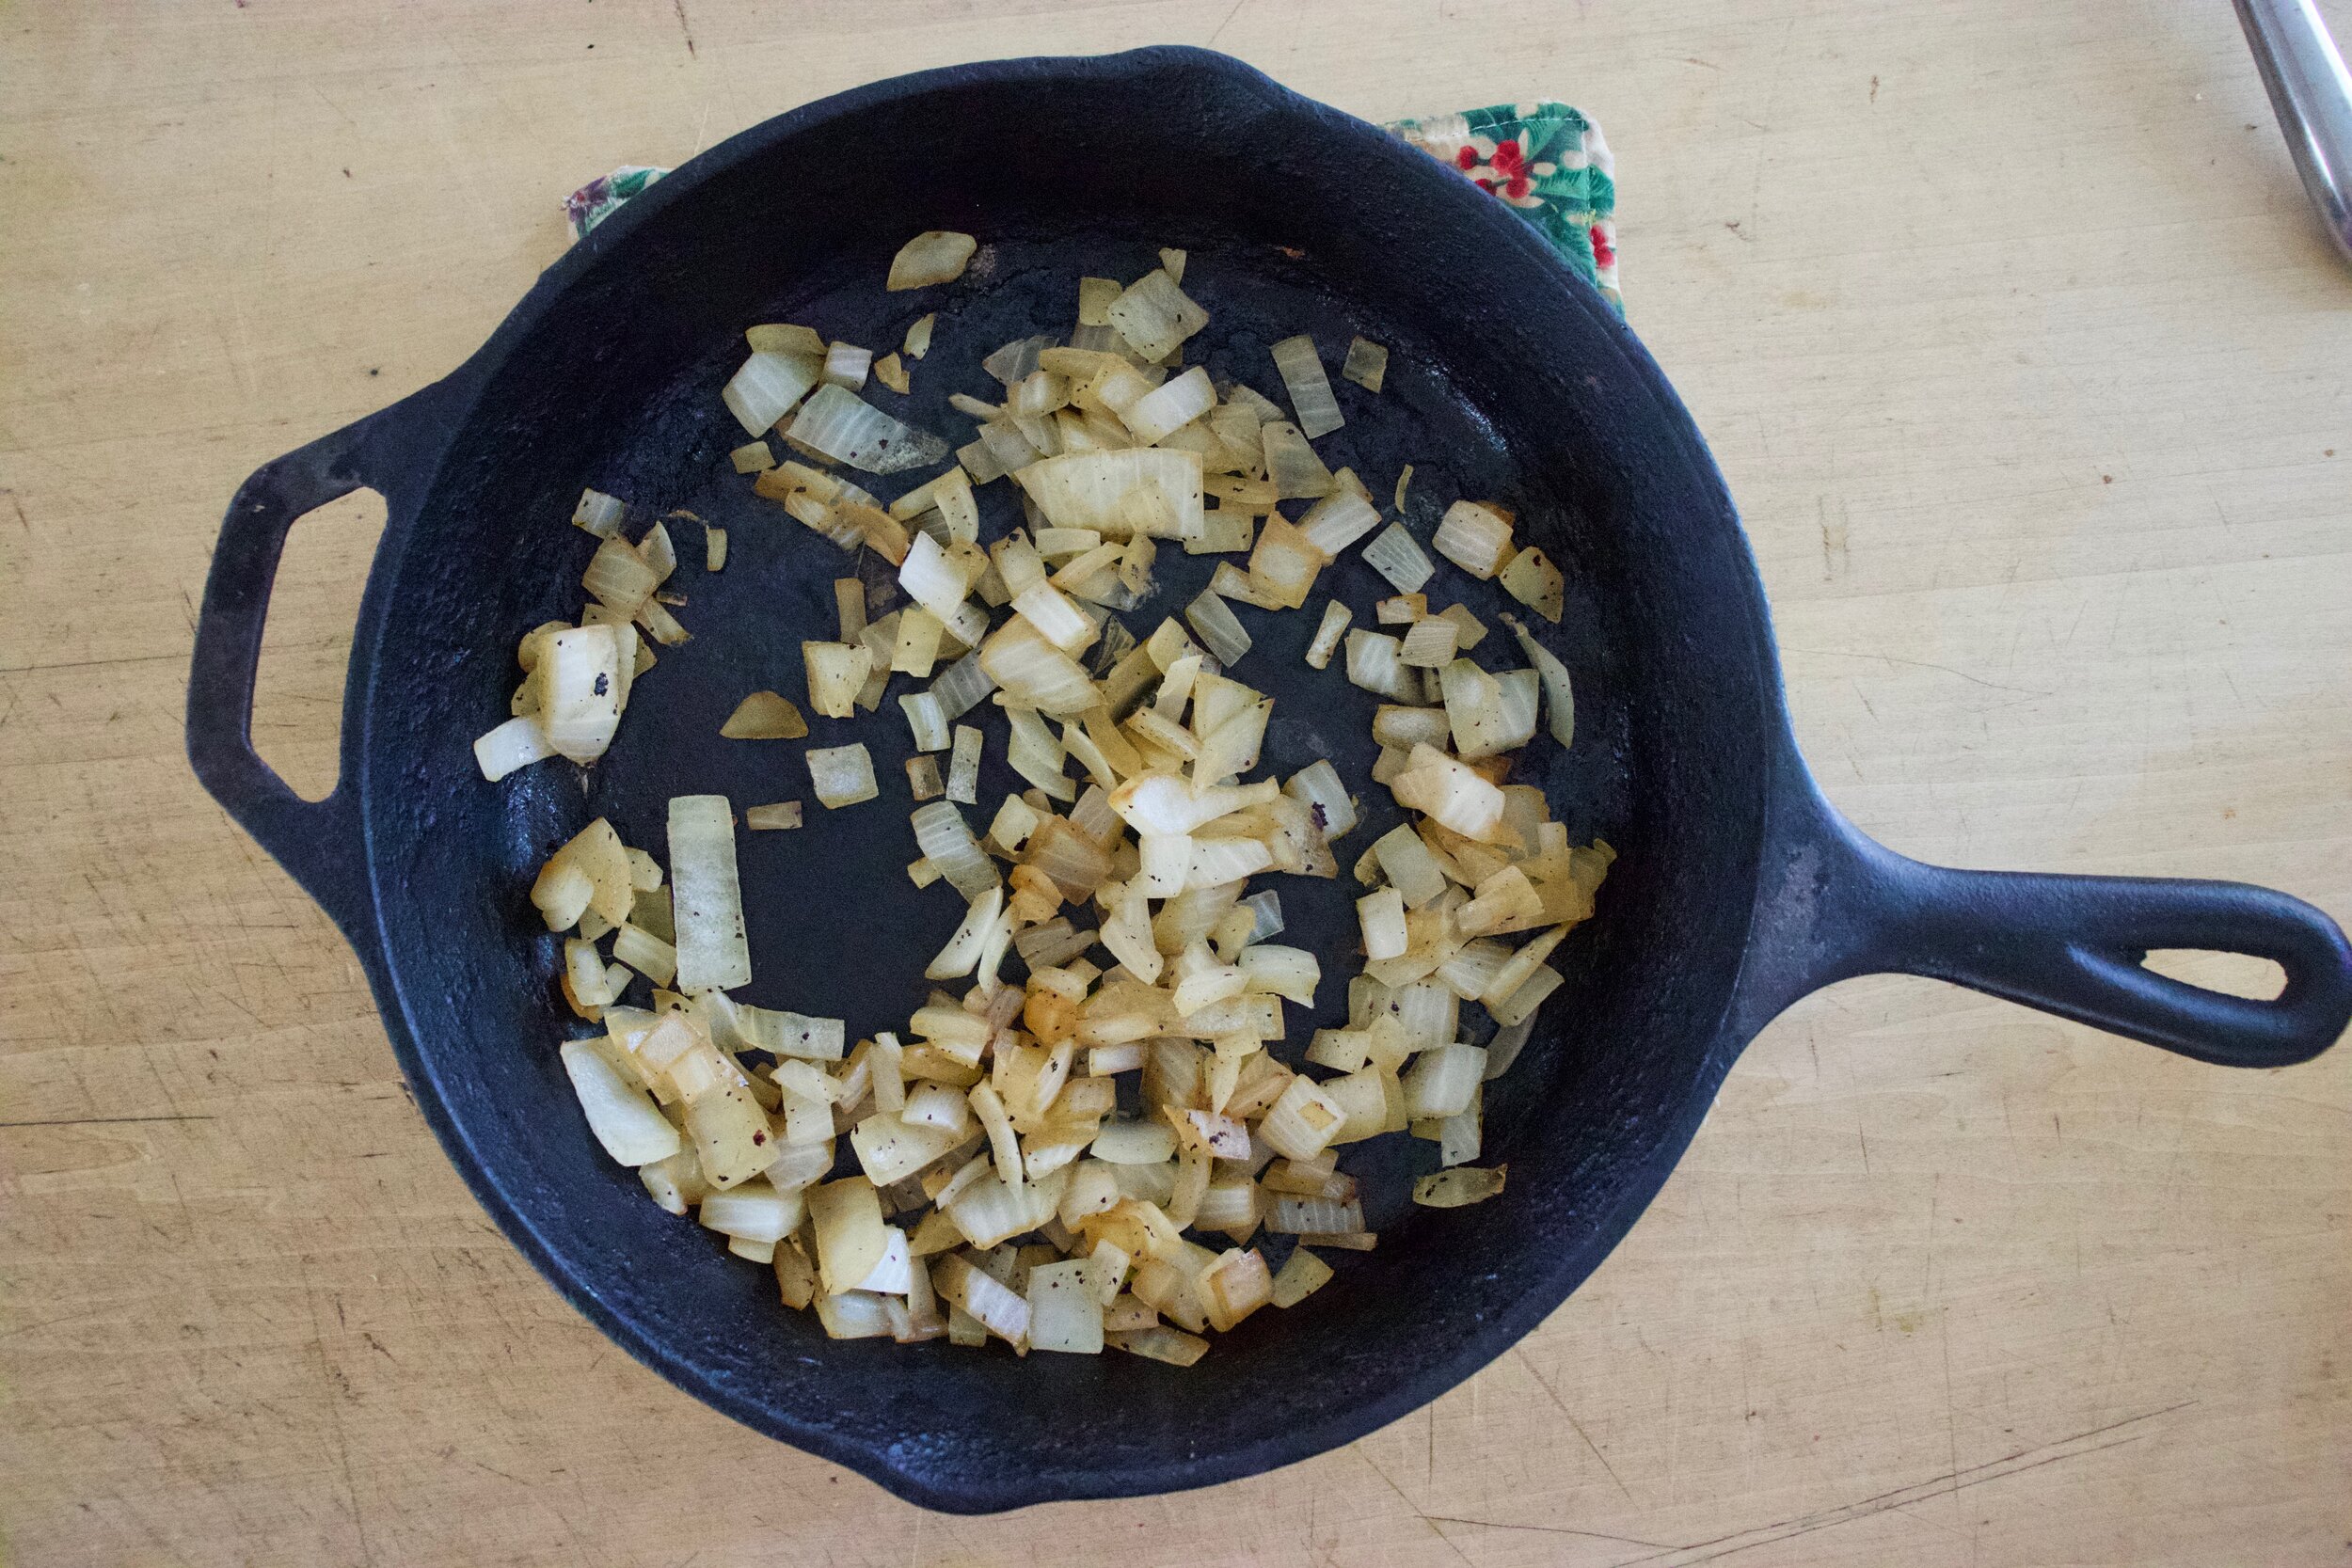
Into a skillet it goes to cook up until soft and fragrant.

Eggplant, comes out of the oven all nice a pliable.

IMG_9430.jpg
IMG_9431.jpg

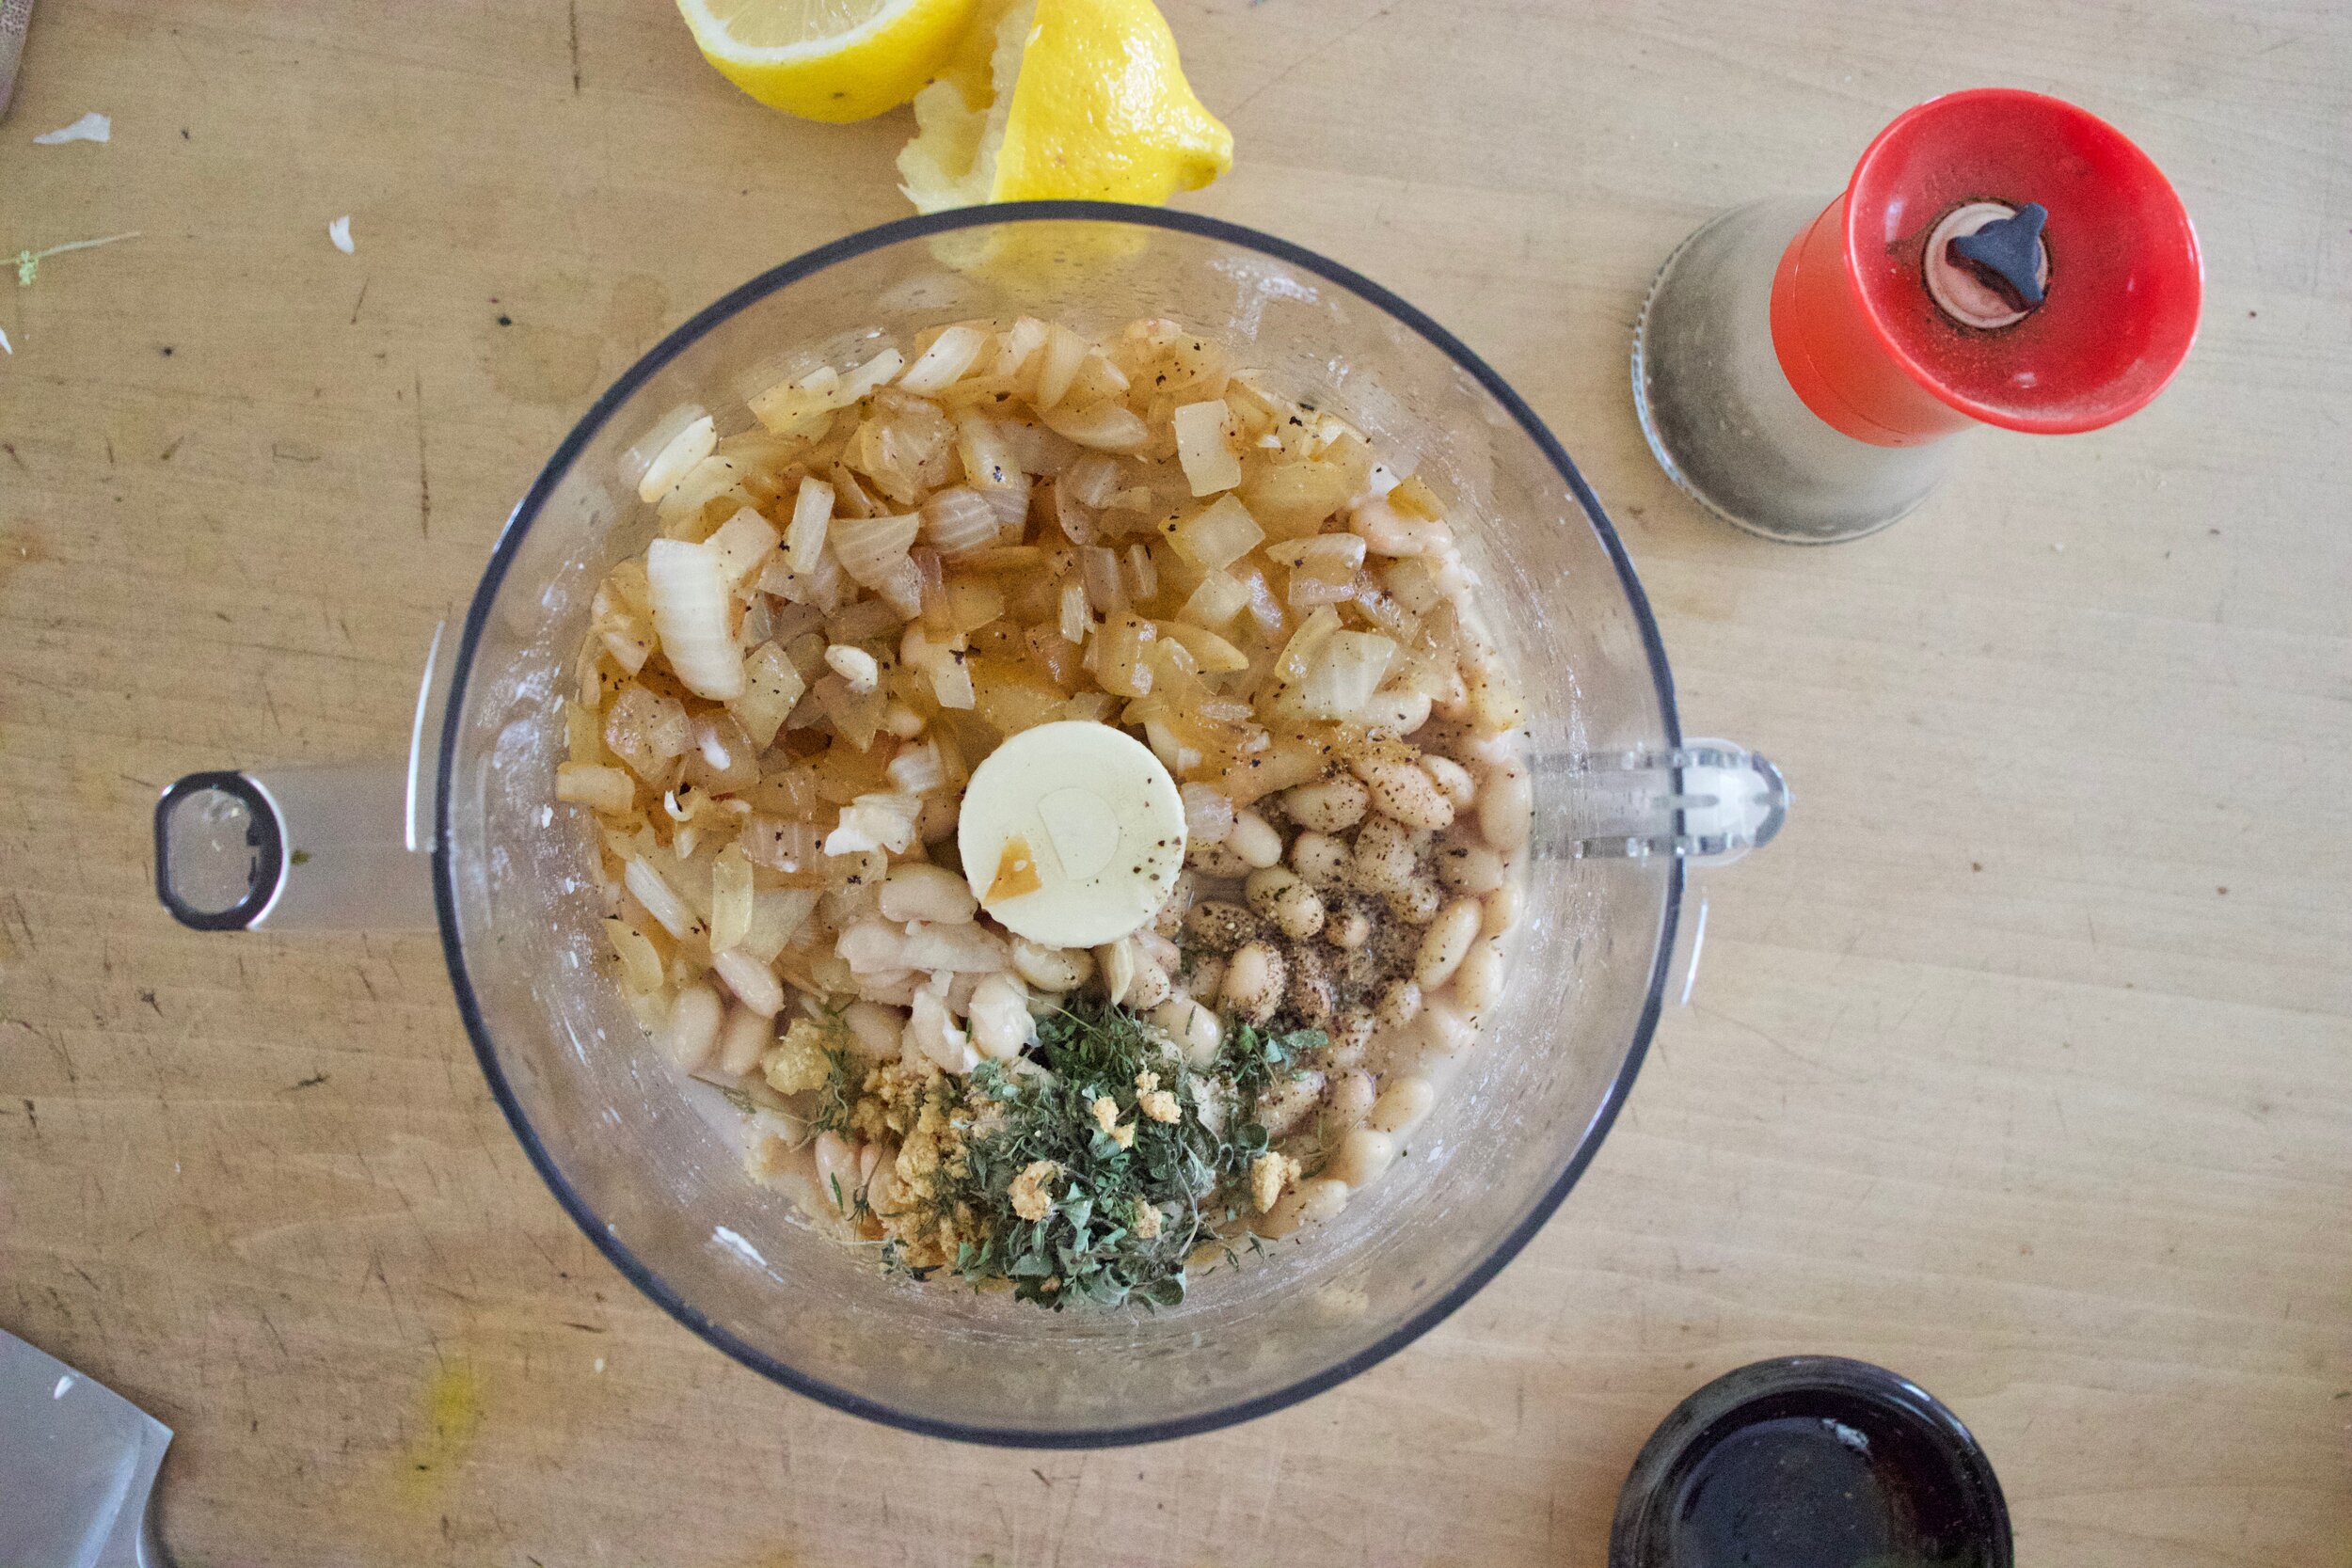
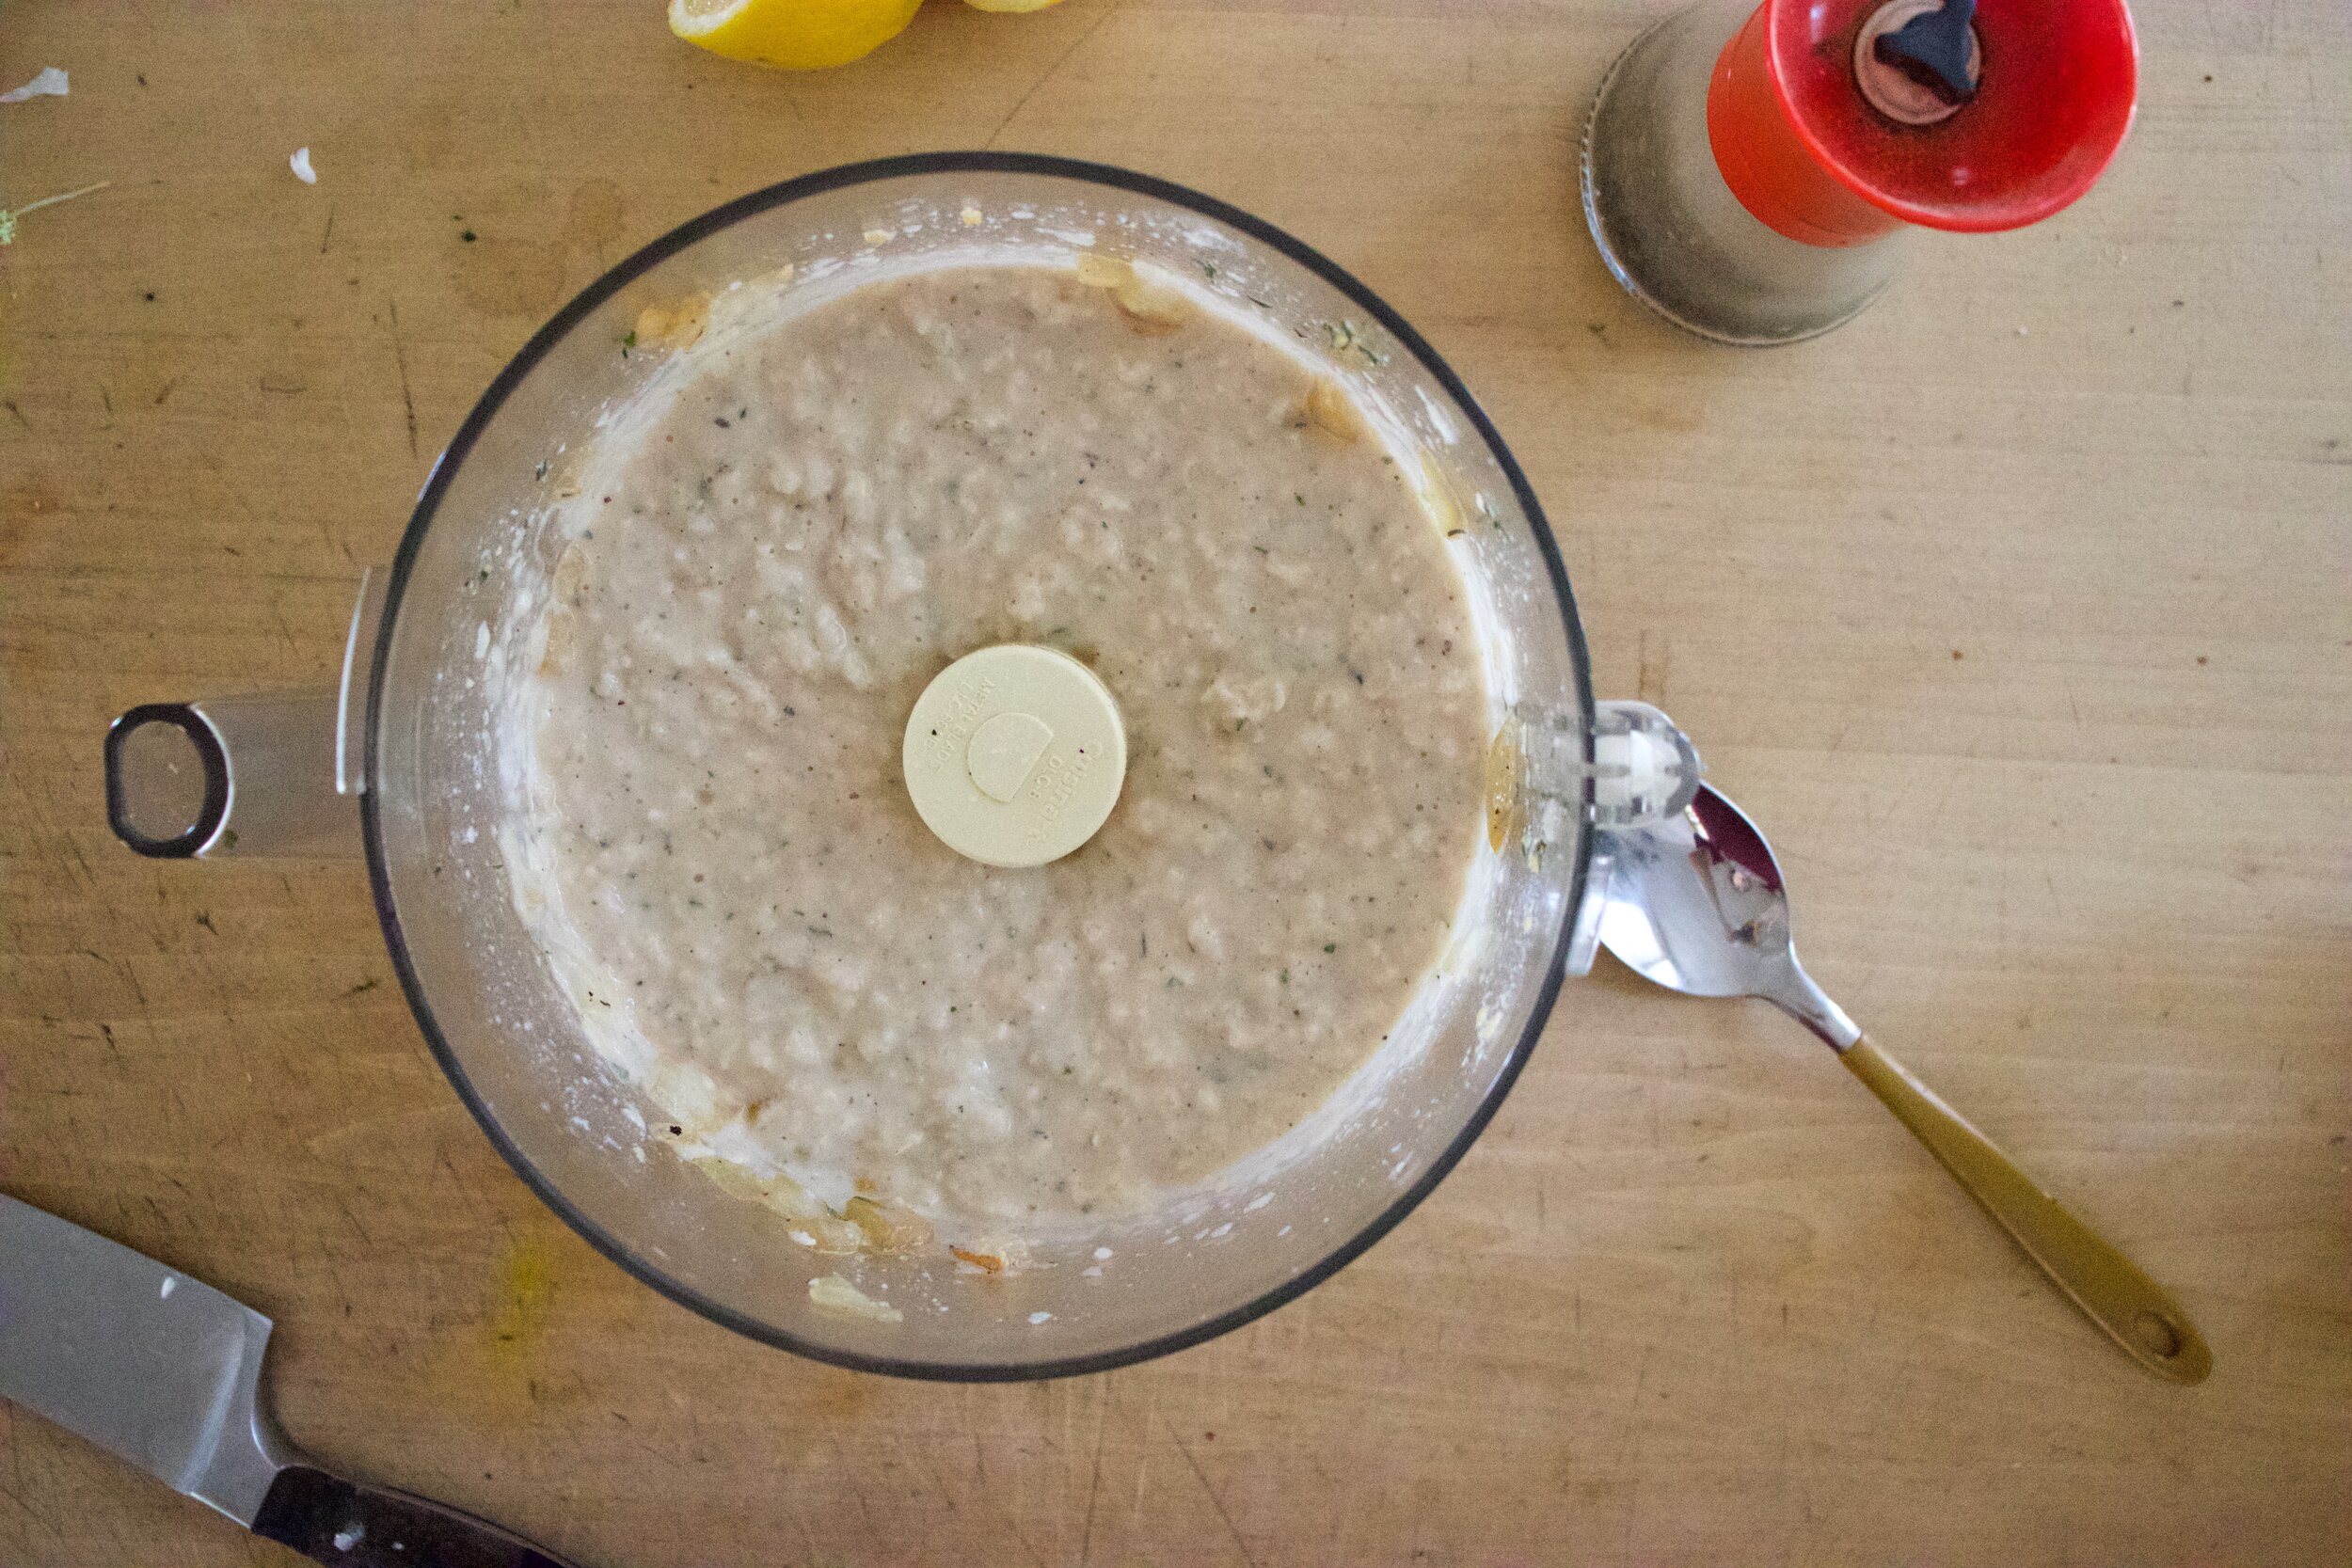
Now make the bean filling. Beans, onions, spices, juice of lemon, and a good crank of pepper and a pinch of salt go into food processor. Blend until smooth.

Gently grab an eggplant cut and cover one side with the bean mixture. Don’t skimp our but don’t add ore then you can roll up. And then roll it up.

Add a cup or so of sauce to a skillet or casserole dish, then place the rolls on in. Once all the rolls are in, cover with the remaining crushed tomato or marinara sauce.

Pop into hot oven to bake.

And then when the eggplant is tender and the sauce is all bubbly, pop it out.

Add some fresh basil (or basil puree) and grab that fork.

Nothing left for you to do beside eat it.

-C


Eggplant Rolls

serves 3-5

  • a medium to large eggplant

  • 1 yellow onion

  • 2 1/2 cups white beans (or one can)

  • a lemon

  • teaspoon each of thyme, garlic powder and oregano

  • 3 cups crushed tomato or a simple marinara sauce

  • salt and pepper

  • splash of oil

  • fresh basil (optional)

Preheat oven to 400 degrees

Grab the eggplant and cut the very top off then cut slices lengthwise about 1/2 inch thick. You should get about 10-12 slices. Place the slices onto a baking sheet, overlapping a little if necessary, sprinkle with a pinch of salt, and place into oven. Cook for about 10 minutes or until the eggplant is just barely starting to soften and becomes pliable. Remove from oven and let cool a bit.

Meanwhile chop up the onion and place into a lightly oiled skillet. Cook for 5-8 minutes or until the onion starts to become translucent and fragrant. Once cooked, place into a food processor along with the beans (drained but keep the liquid),the spices, and the juice of the lemon. Pulse until smooth and if needed, add a few tablespoons of the bean liquid to loosen it up enough to blend. Taste and season with salt and pepper.

Now to make the rolls. Grab cooled off piece of eggplant, lay it flat, and cover with the bean mixture. Not too much or too little, probably a bit less then 1/4 cup. Then roll the eggplant up. Either grab a skillet or baking dish and add about 1 cup of the crushed tomato or marinara sauce to the bottom. Place rolls as they are being made into the dish. Once you have filled the dish with the rolls, cover with the remaining sauce.

Place the rolls into the oven and bake for 30ish minutes or until eggplant is nice and fork tender.

Once baked, remove from oven, left cool for a few minute and then serve. Top with fresh basil (or basil puree) if you want.

Eat with a fork.

In Vegetables, Vegan, summer, entree, beans Tags Eggplant Rolls, eggplant, lasagna, vegan, grain free, gluten free, dairy free, food, plant based, dinner, delicious, dinner ideas, healthy, beans, pulses, easy, summer, rolls
Comment

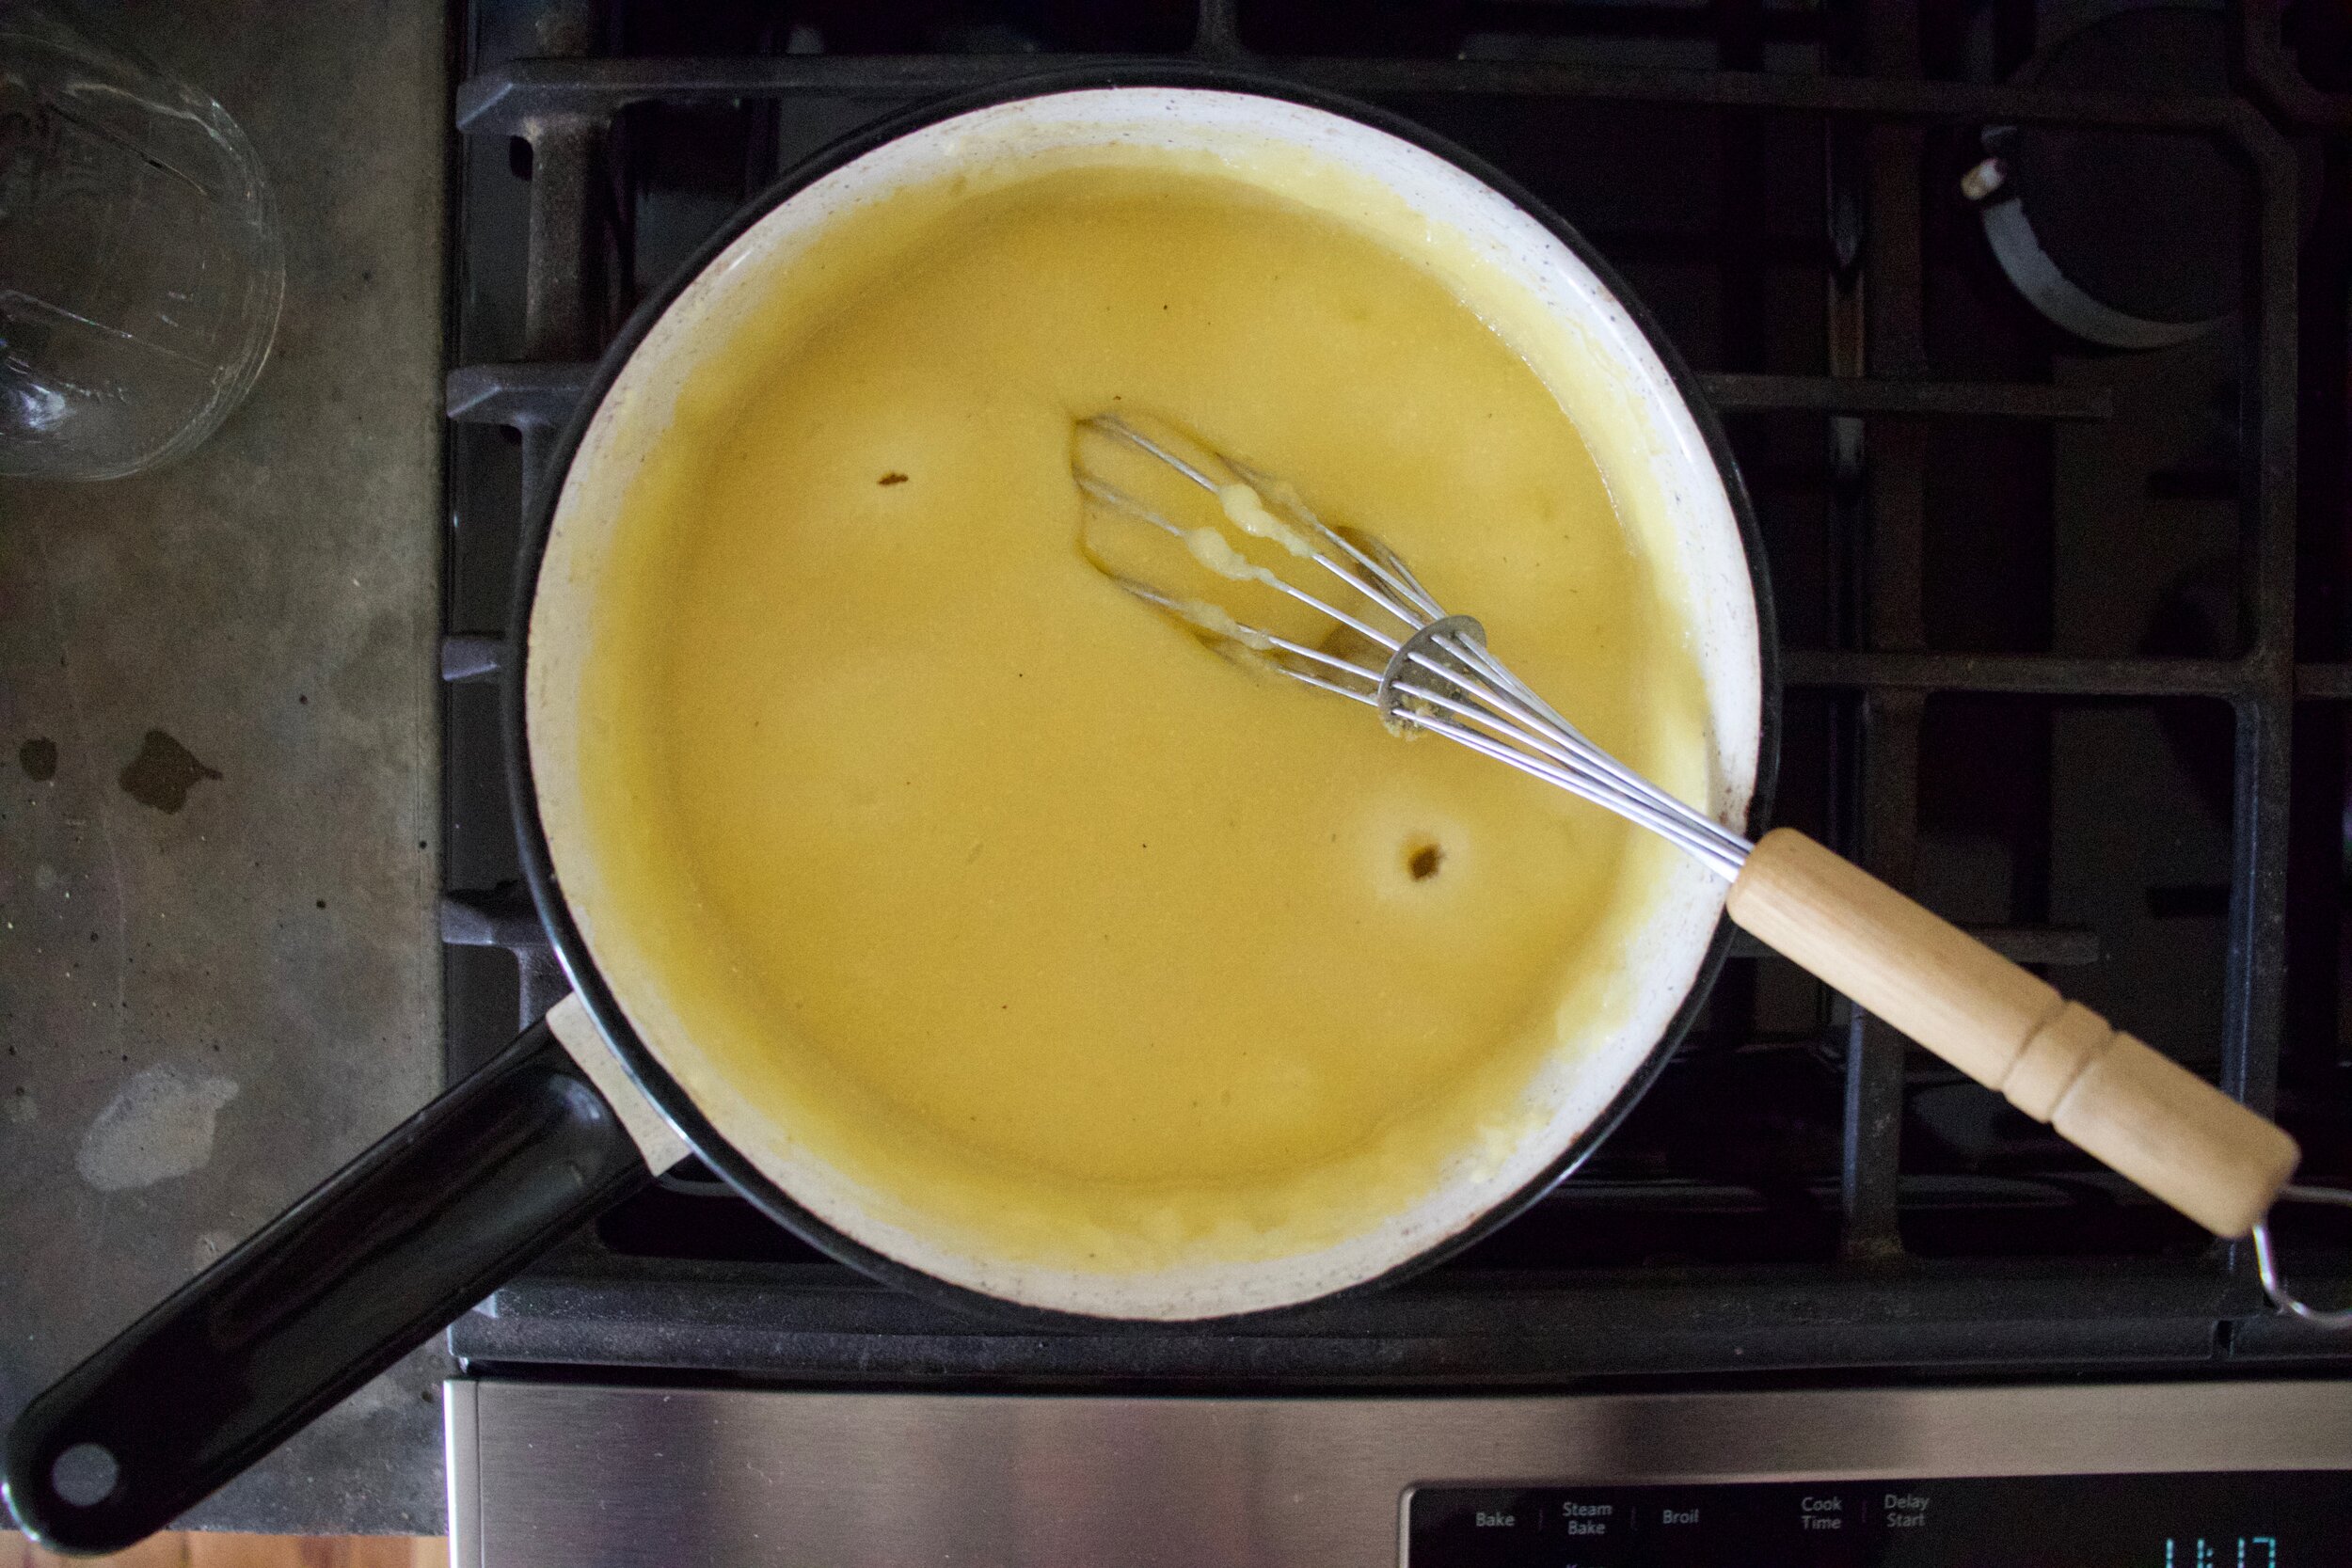
Baked Polenta with Black Beans and Fixins

April 4, 2020 Colleen Stem
IMG_7087.jpg
IMG_7081 2.jpg

I know that everyone in the world right now is making bread. And that is great, that is awesome, and I am (although I always have been) one of those people making bread. But I was thinking about all those that are not bread eaters, or people that can’t find a freaking bag of flour because the world has gone crazy and all we do now is bake. Well I got you. Polenta friends. Basically all you need for polenta is cornmeal and water and you are good to go. No flour needed.

This polenta situation is a little more then just make polenta and eat. No, it has been cooled, seared, baked, then topped with basically anything you would throw into a burrito because why the heck not. And really, that is what you really should do with polenta because it is like a big crispy, yet soft and creamy corn tortilla (I know right.) Plus you can show pictures to all of your friends of this amazing meal you whipped up and made look all nicey nice and shit. You will say “What bread, no, you should see this polenta!” And then soon after the internet will be ablaze with polenta cakes with beans. Seriously. It’s gonna happen., and think, it could be you who makes it so. Haha!

To the polenta a fixins!

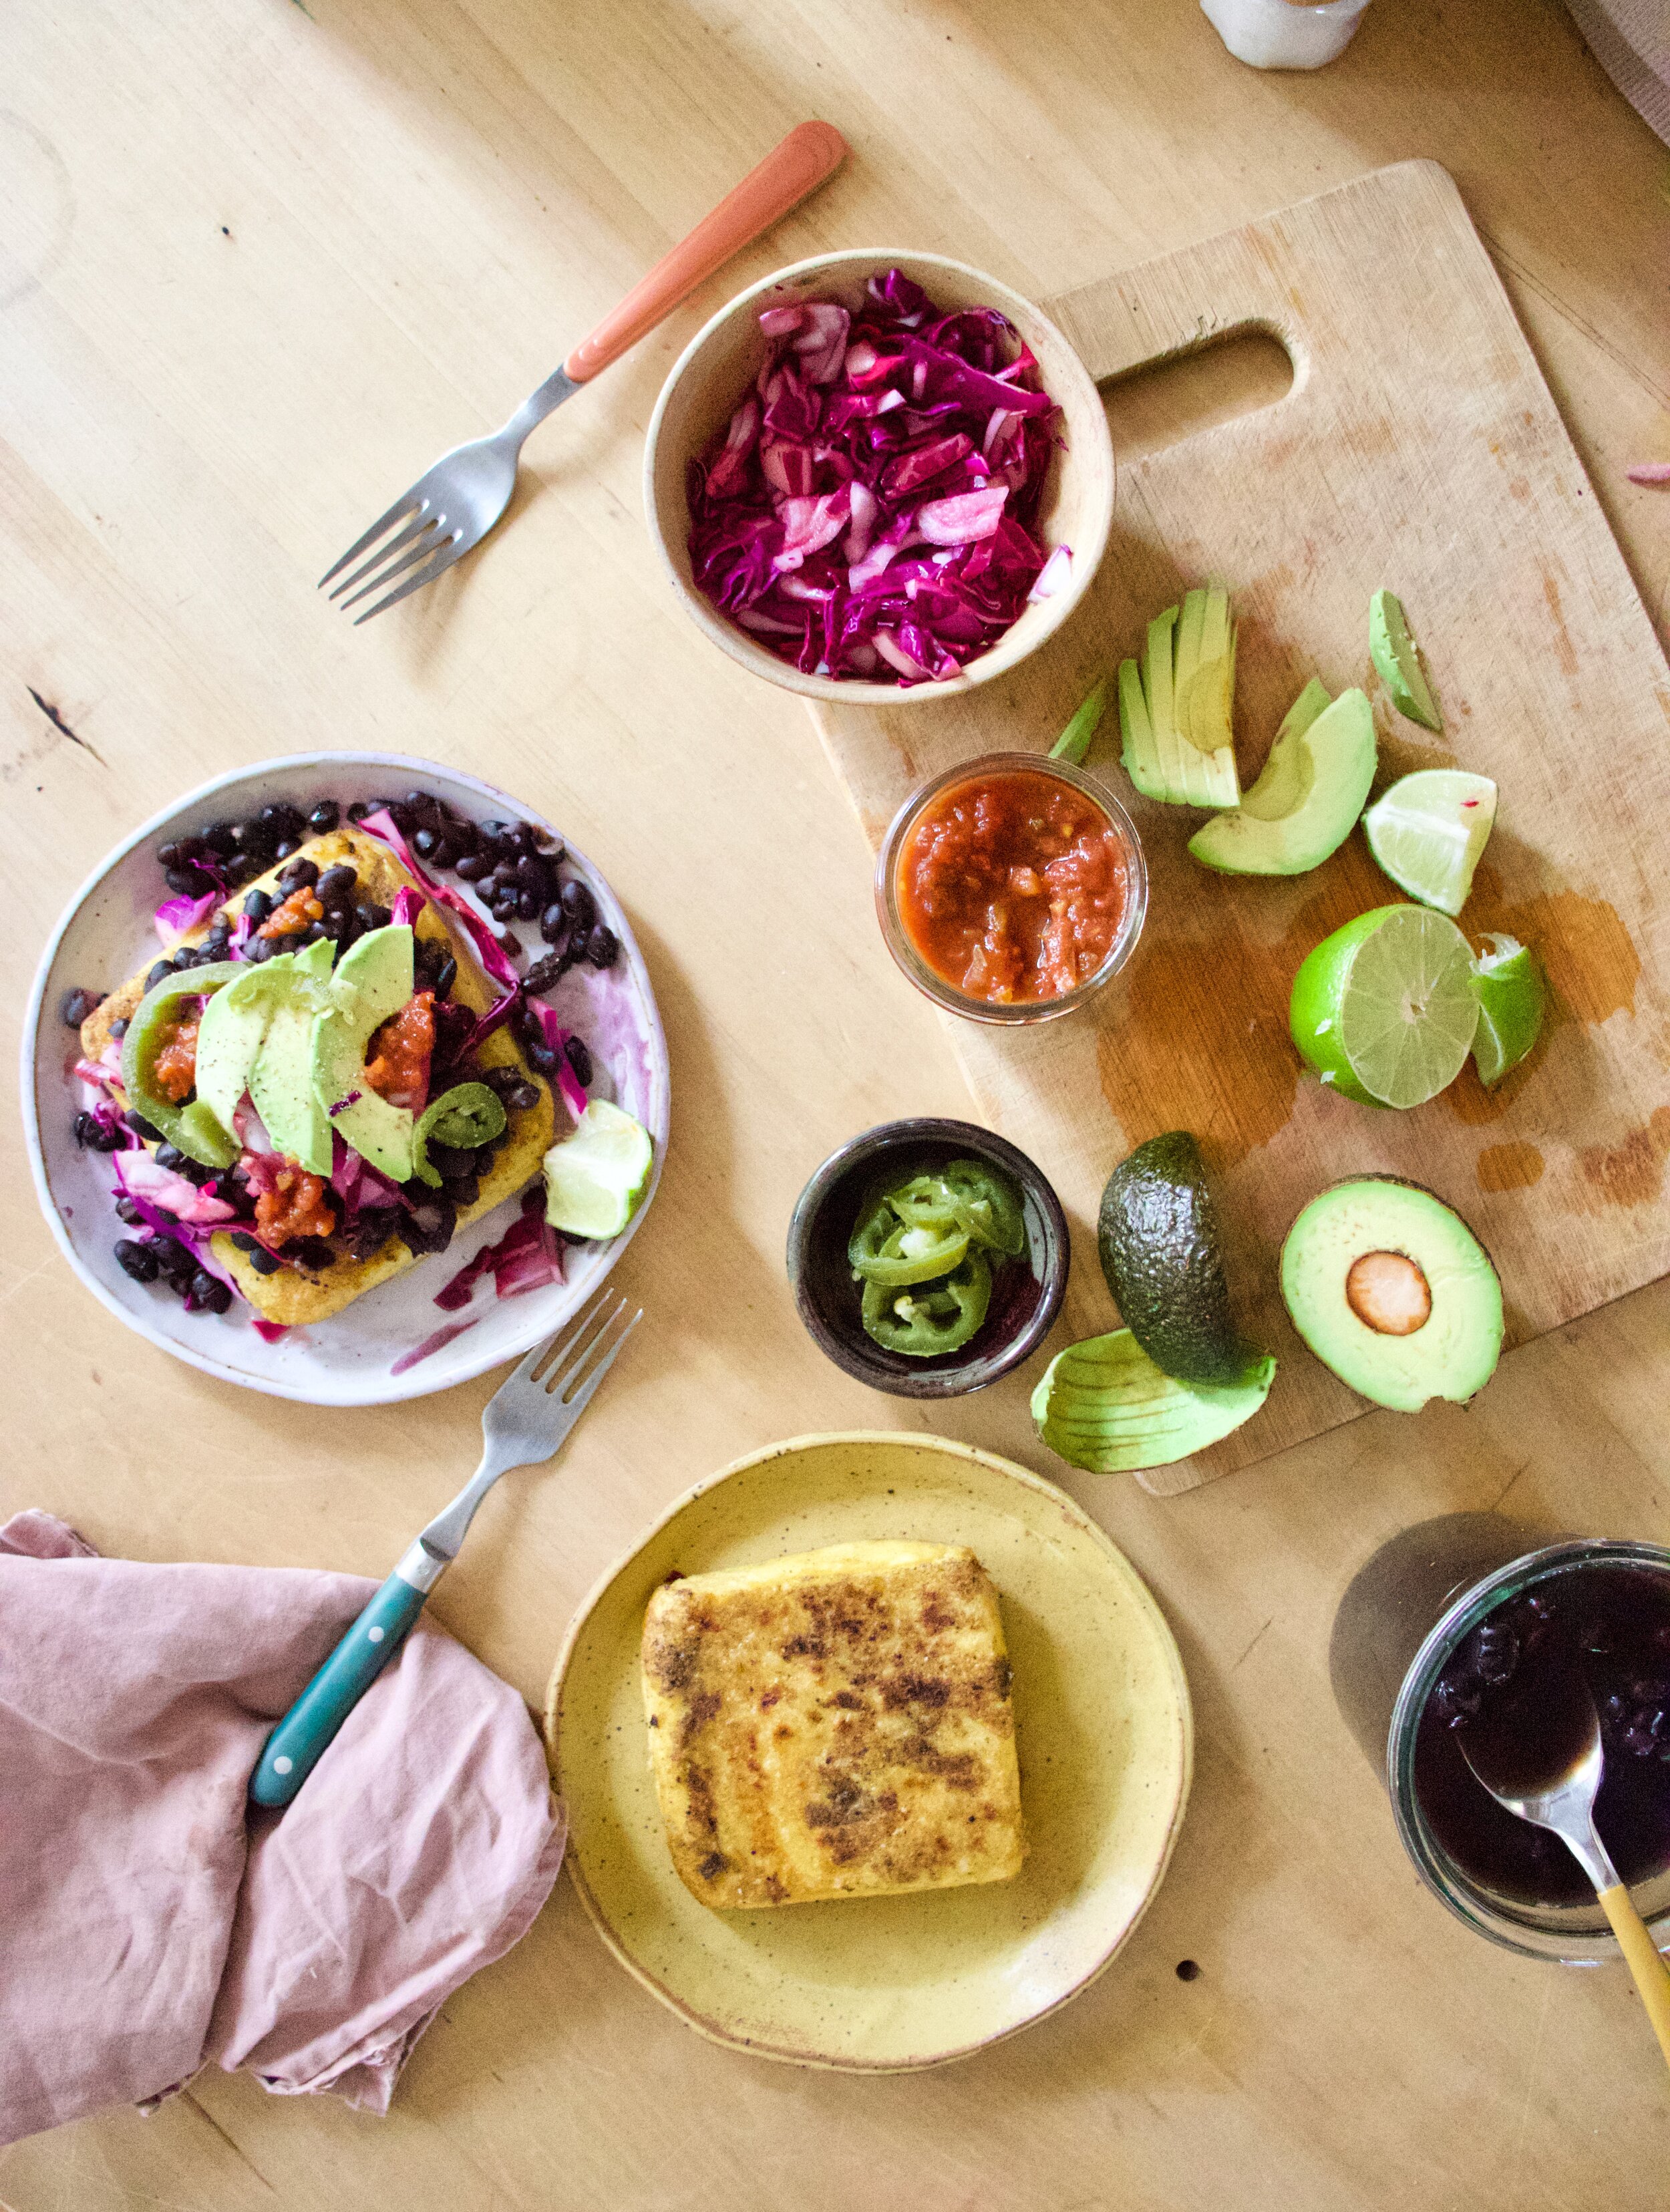
The stuff. Cornemal, water, salt and pepper, cumin, and olive oil. Then fixing of cooked black beans, salsa, some shredded cabbage, 1/2 a big onion, avocado, a lime, and some pickled jalapeño.

Note that you can use all these fixings or none of these. Use what you have!

IMG_6989 2.jpg
IMG_6998.jpg
IMG_7001.jpg
IMG_7006 2.jpg

The polenta. First off, you need to make this at least an hour before you start to bake it because it needs time to set so factor that into your time.

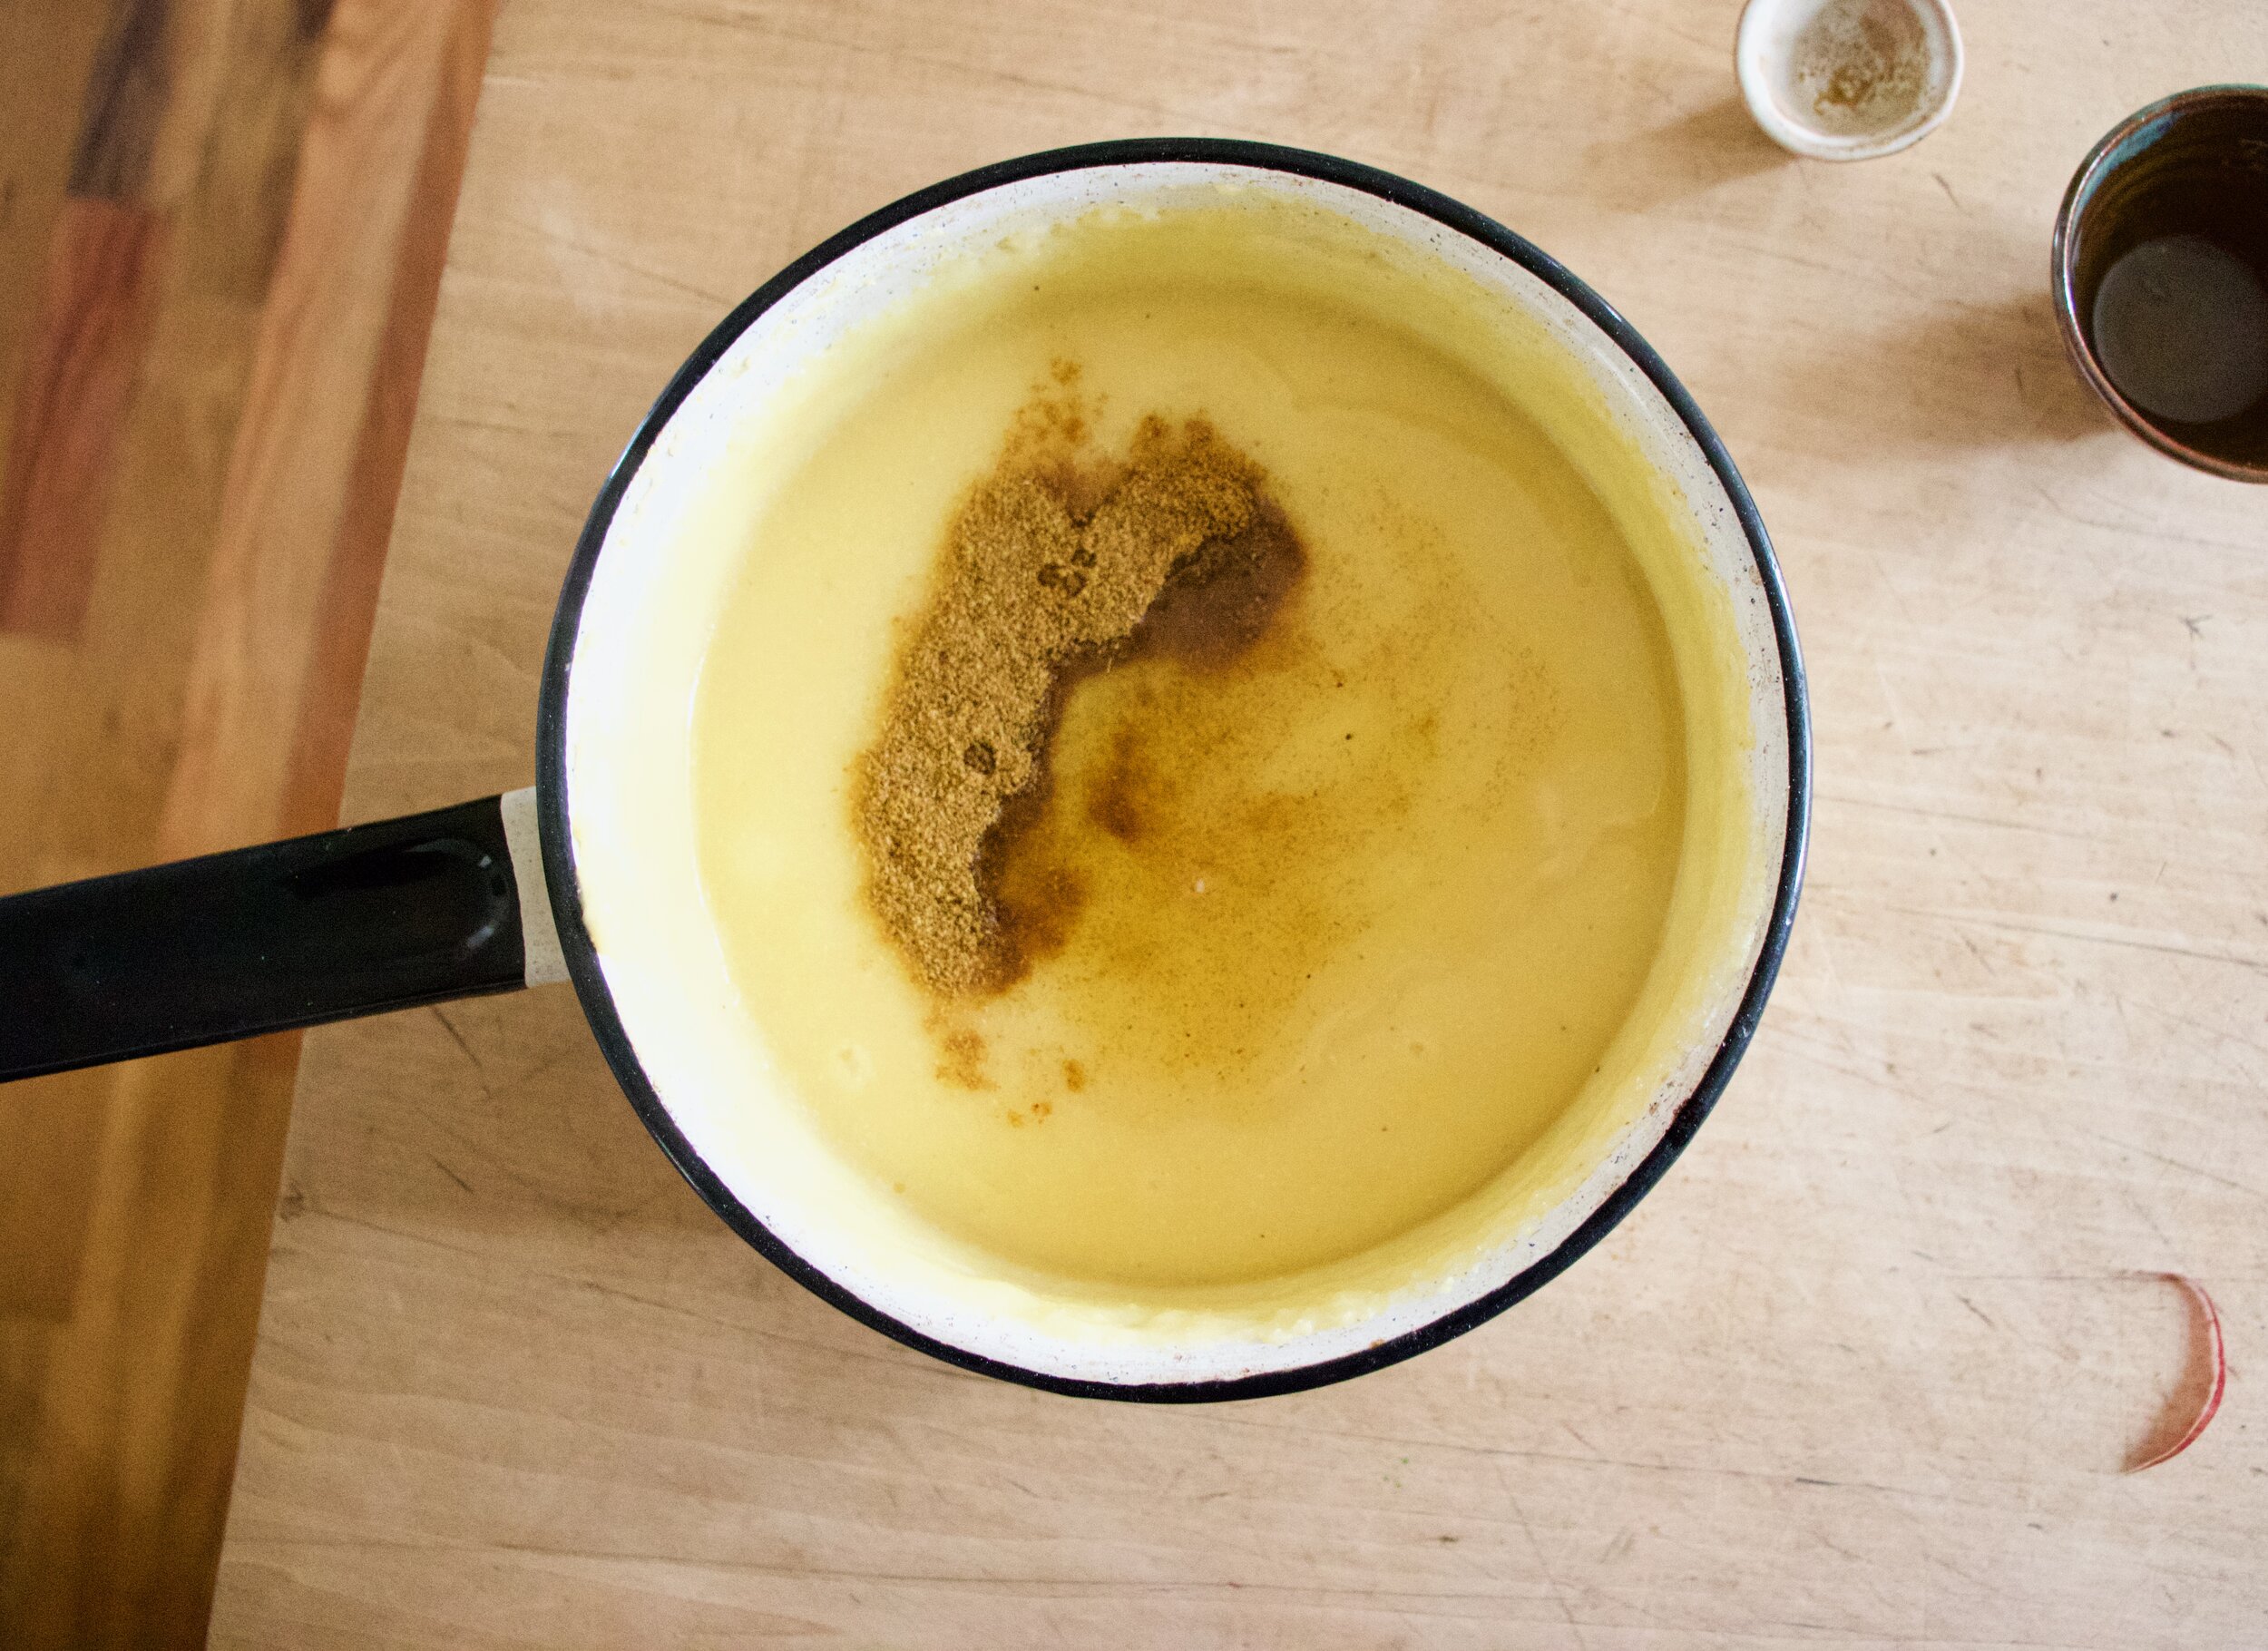
To make polenta, water goes into a big pot and placed on stove to boil. Once water is boiling, slowly pour cornmeal into water while continuously whisking. Once all in, turn heat to medium low and keep whisking, for about 15 minute, until polenta is nice and thick and creamy. Remove from heat, dump in cumin and olive oil, mix and mix until incorporated.

Quickly pour polenta into an oiled baking pan and pop that pan into the fridge for the polenta to set.

IMG_6984.jpg
IMG_6988.jpg

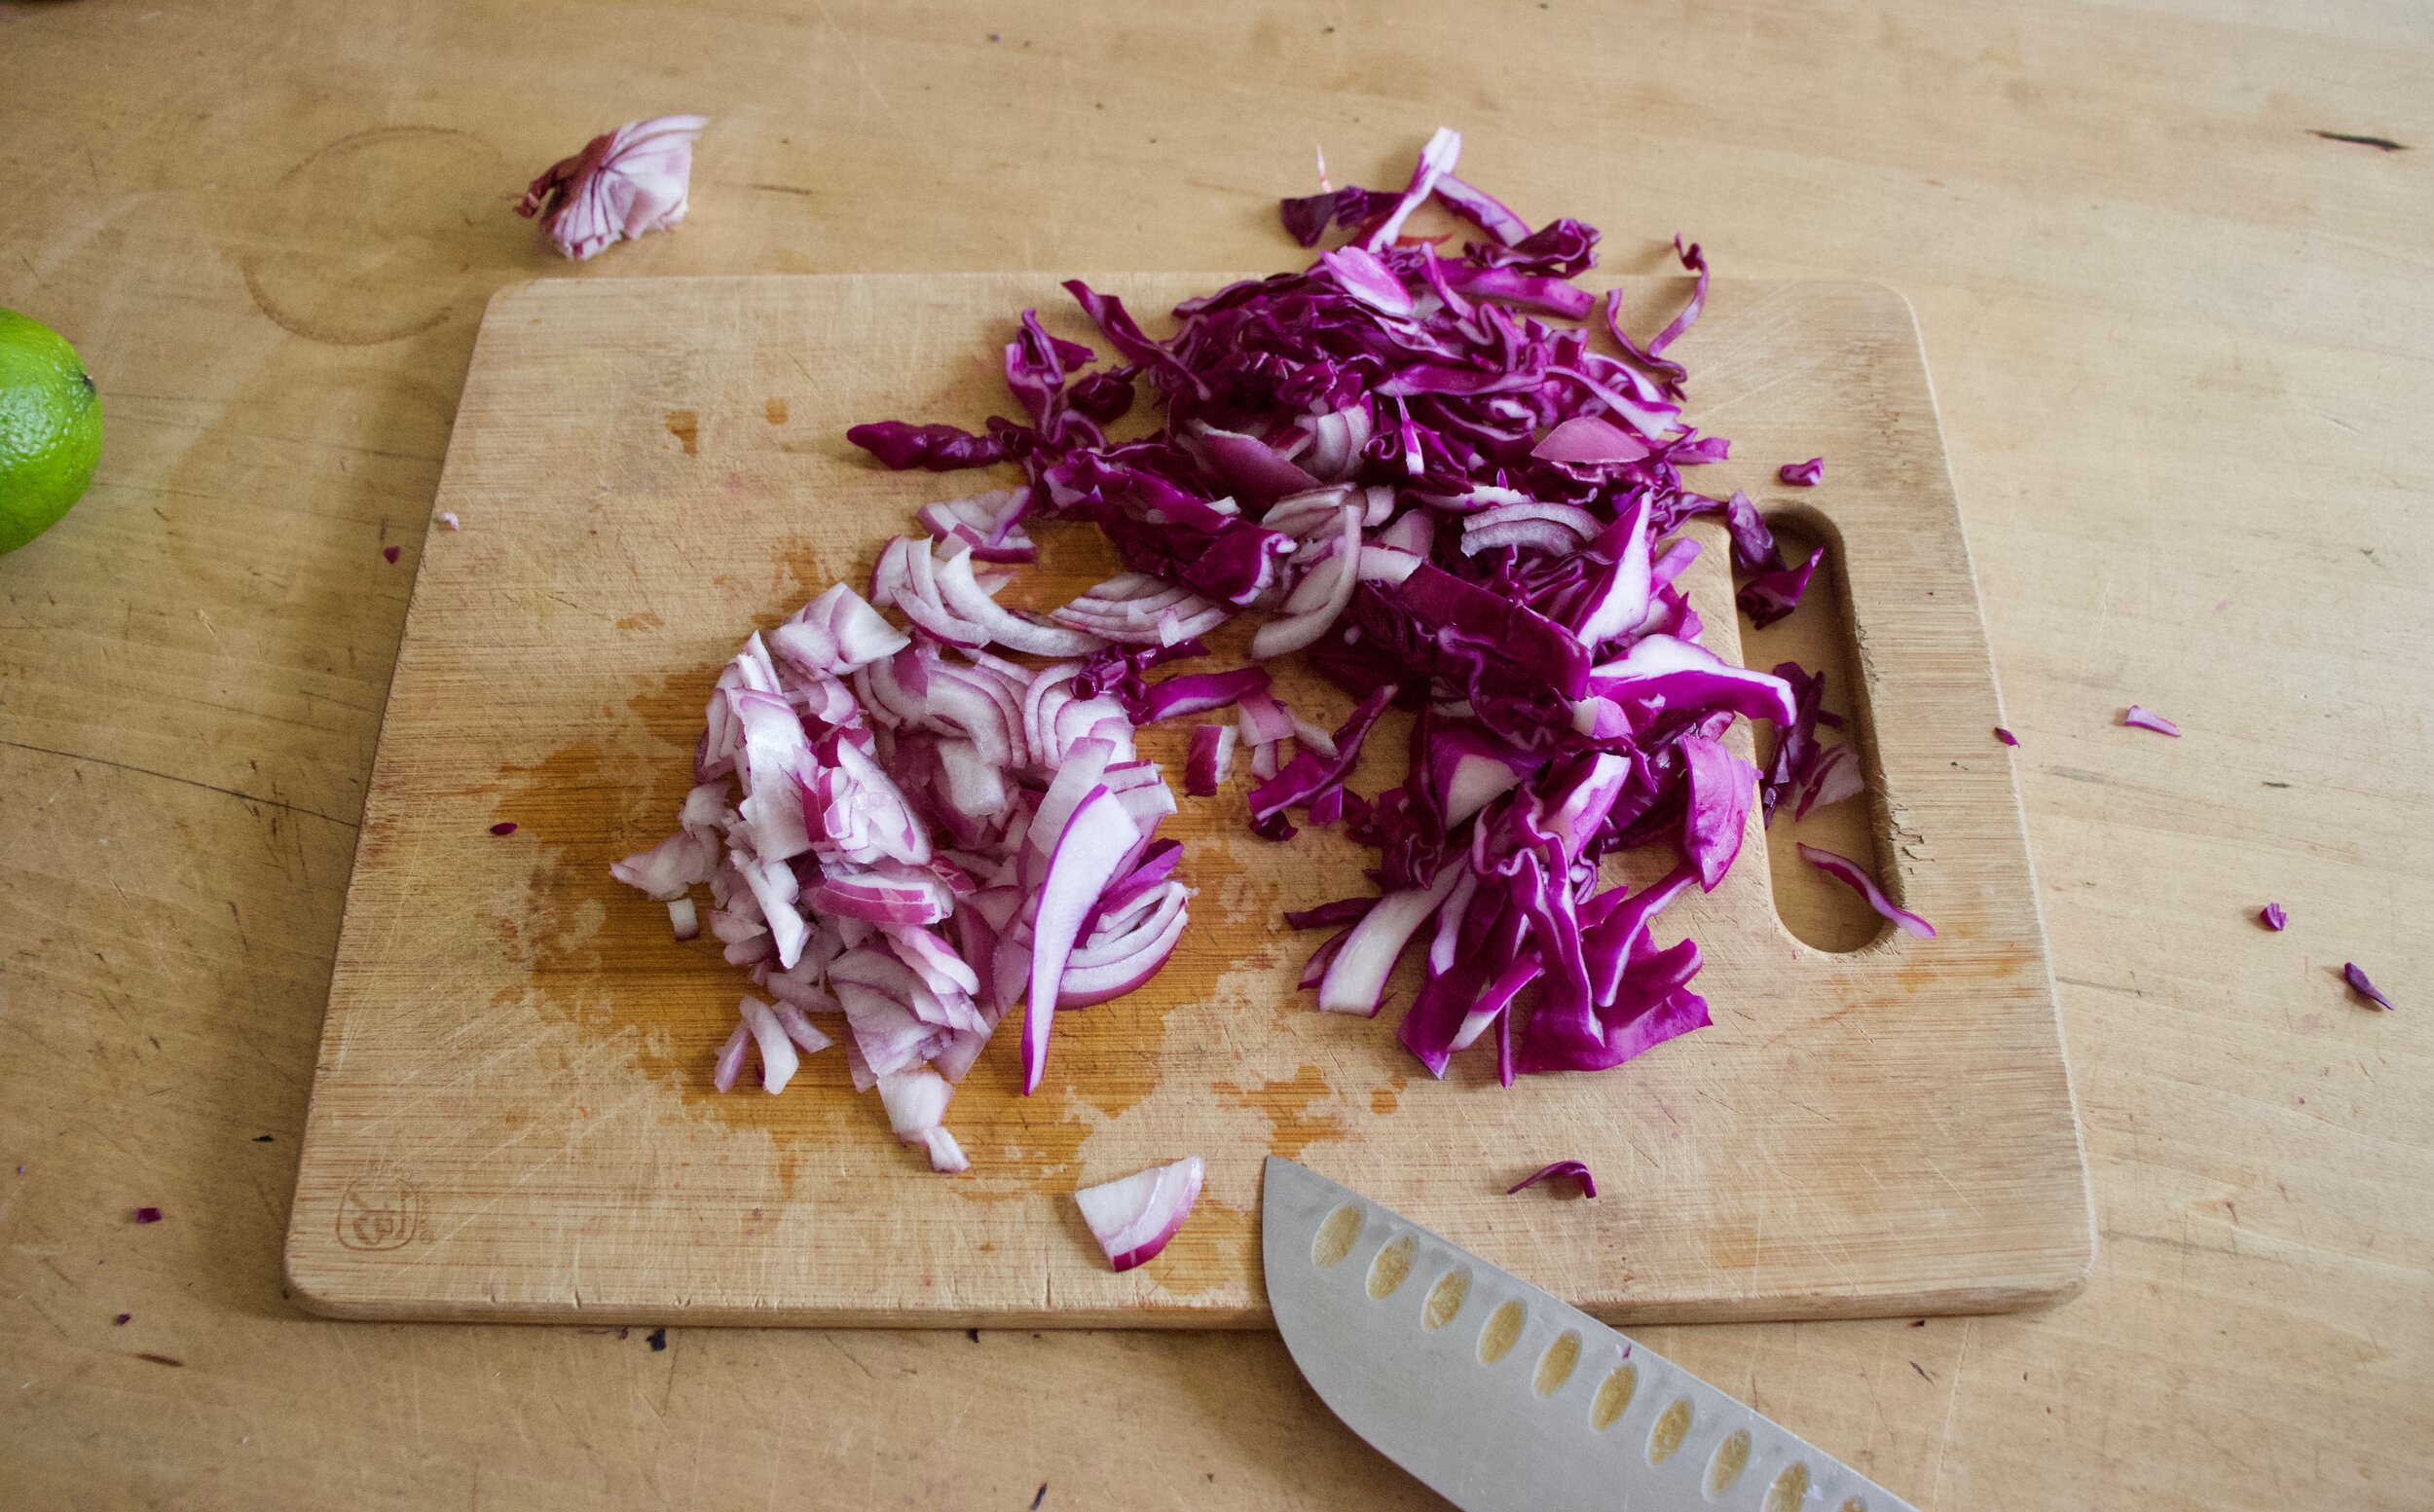
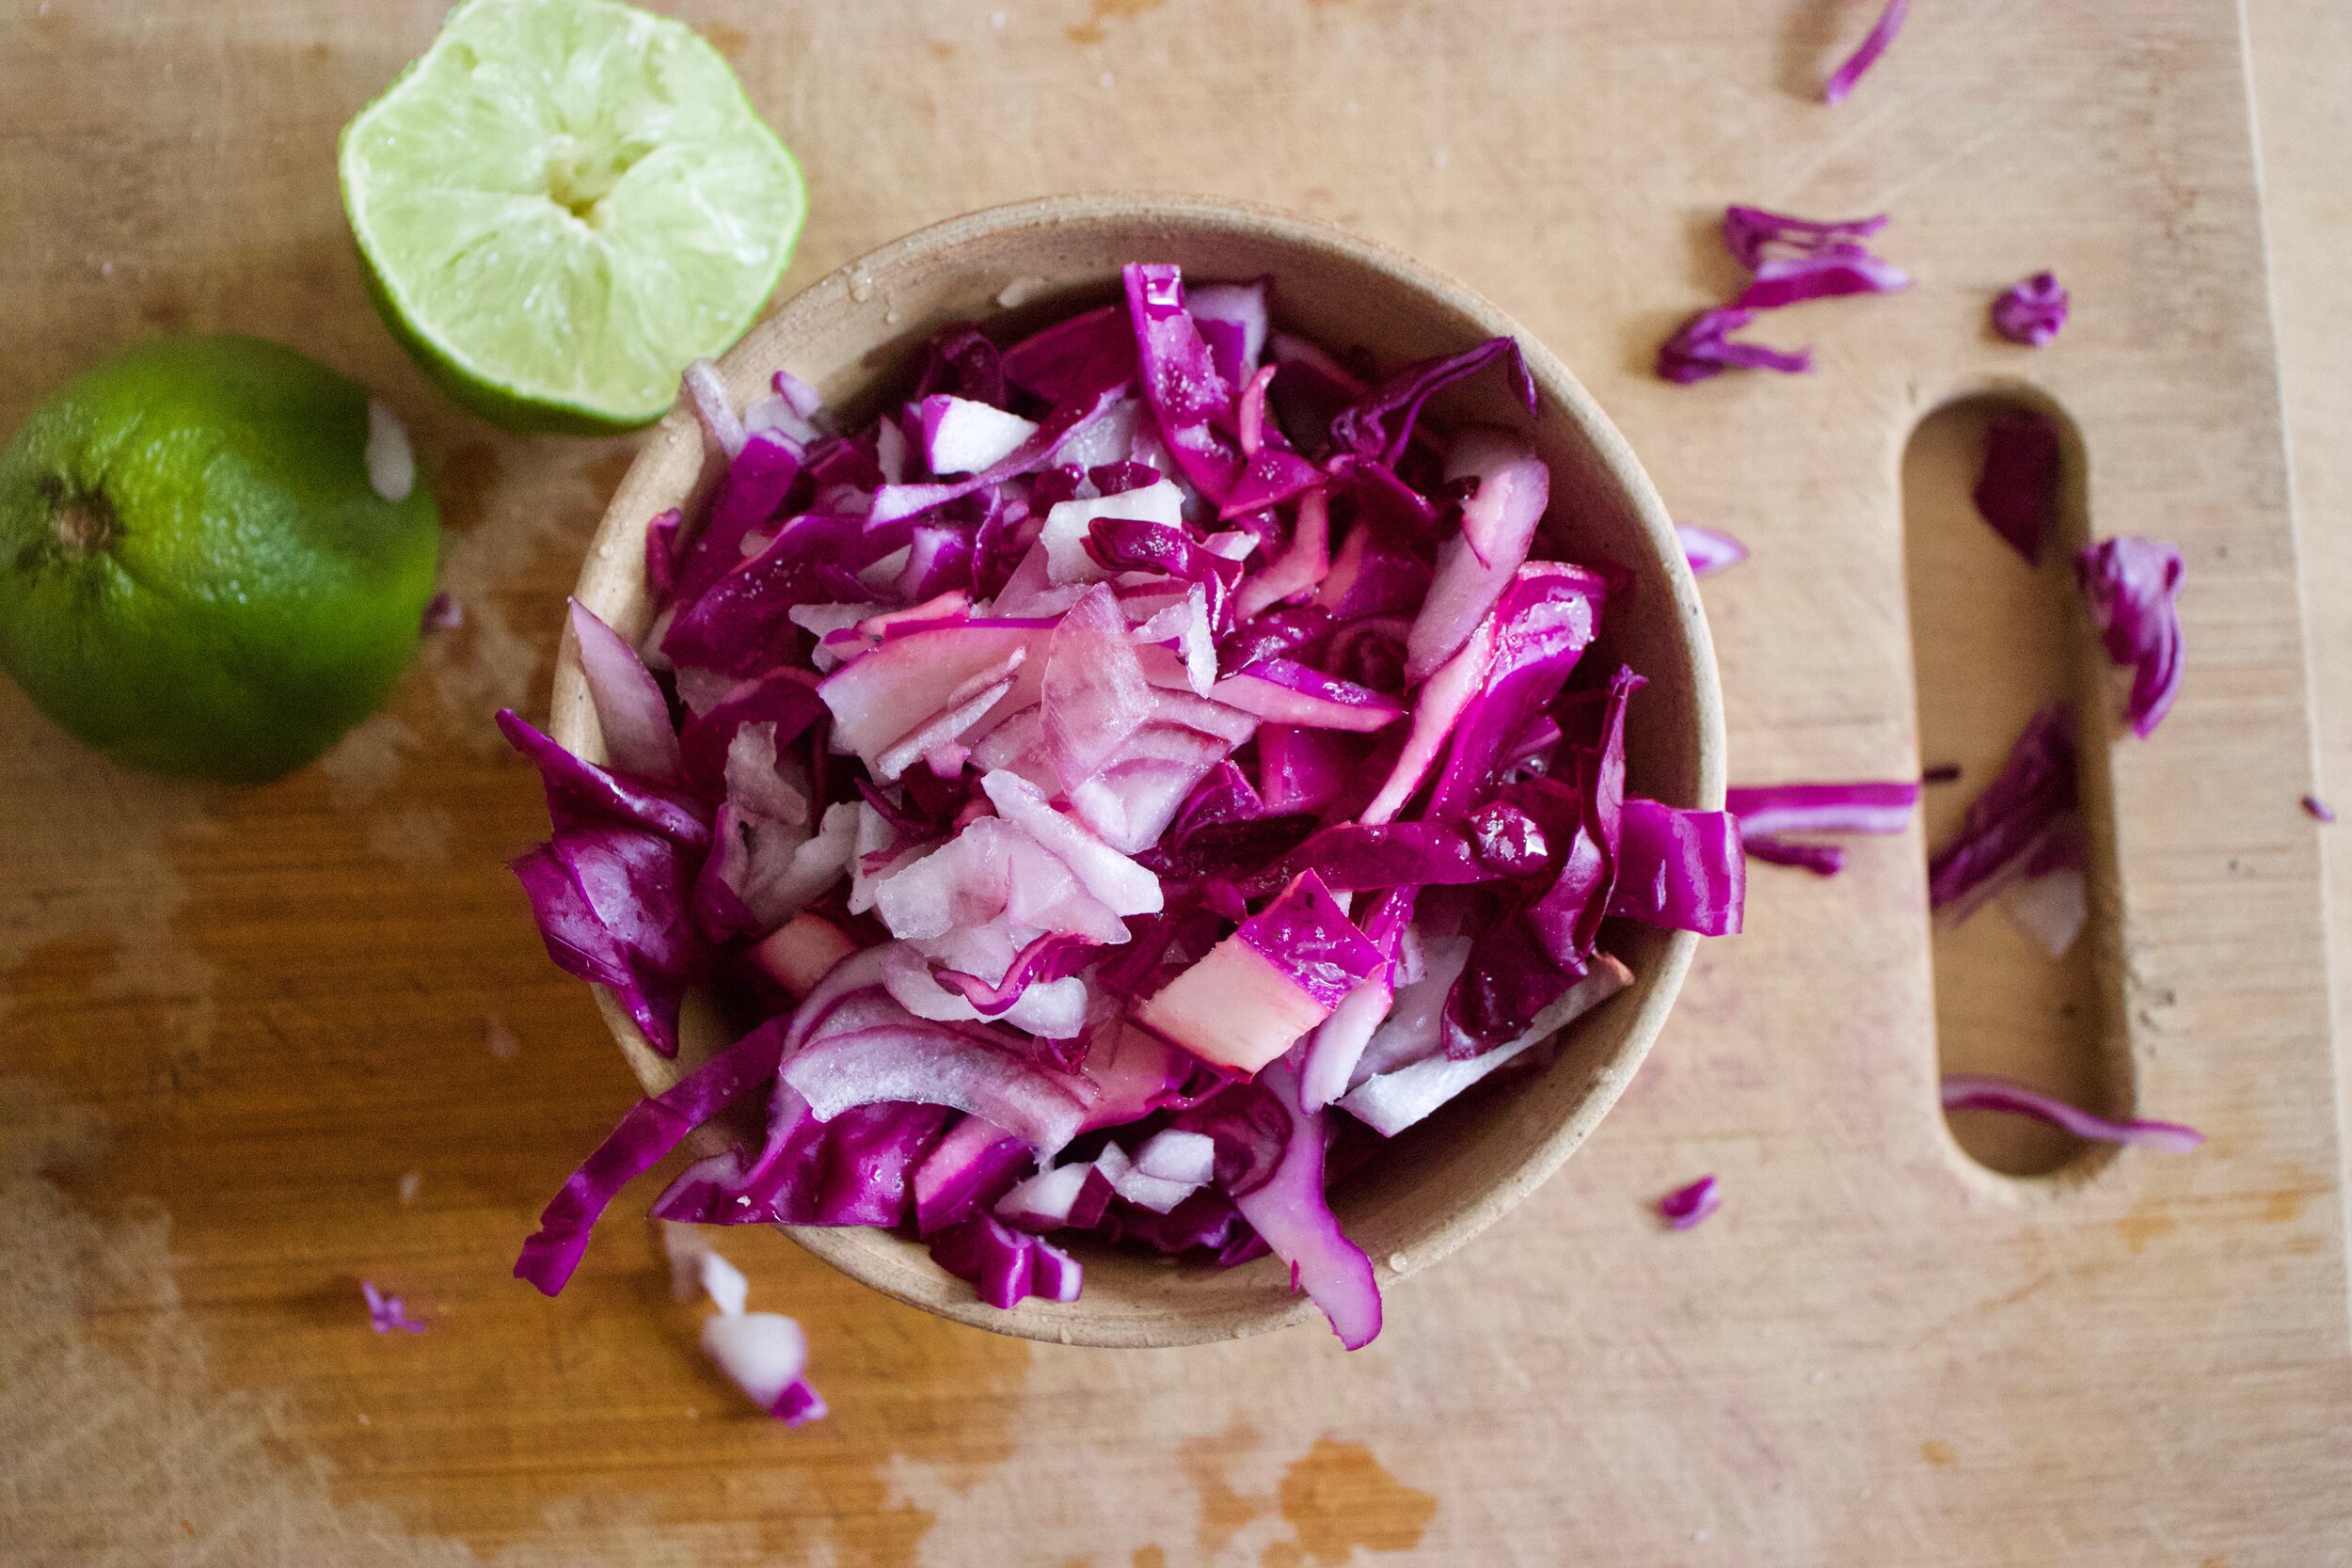
In the meantime, slice and dice up onion and toss it around with cabbage, a pinch of salt, and juice of lime.

Once polenta is set, turn it out of pan onto a cutting board. Cut into 4-6 equal sized pieces.

Another note. You can for sure only cook a serving or two and save some for a later time. Just place unbaked polenta in a airtight container and it should be good in fridge for up to a week.

Sear polena. Get a skillet oiled and nice and hot and cook each side for about 5 minutes or until golden crispy. Then either place on a baking sheet or keep in skillet if it’s oven safe and pop into oven to bake for about 1/2 and hour.

IMG_7065.jpg

Done polenta. DONE!

Now for the fixins. I won’t go to into details, I trust you know what to do.

IMG_7123.jpg

What are you waiting for? EAT!

-C


Baked Polenta with Black Beans and Fixins

serves 4-6

For the polenta

  • 1 cup cornmeal

  • 4 cups water

  • 2 tablespoons olive oil

  • salt and pepper

  • 1 tablespoon cumin

FIxins

  • 3 cups cooked black beans (about a 3/4 cup per serving )

  • 3 cups shredded cabbage

  • 1 small or 1/2 a large red onion

  • A lime

  • Salsa

  • An avocado

  • fresh or pickled jalapeño

  • And anything else you want (Greens, cheese, yogurt, sour cream…. )

Start off by making polenta. Add water ro a medium sized pot and bring to a boil. Once boiling, grab a whisk and the cornmeal and slowly add cornmeal into water while whisking. Once all cornmeal is in, turn heat to low and pretty much continuously whisk for about 15 minutes. Careful to really whisk all around the bottom of the pot so you don’t burn the bottom of pot. Once the polenta is nice and thick and creamy, remove from heat and dump in the cumin, a good pinch of salt and pepper, and oil olive. Mix until completely incorporated then pour mixture into a oiled 9x9 or 10x10 baking pan. Place pan in fridge to let the polenta to set, which should take about an hour but can stay all day if you want.

In the meantime, slice onion up and place into a bowl with shredded cabbage. Add juice of 1/2 the lime and a pinch of salt and toss. Set aside.

Once polenta has set, preheat oven to 400.

Take pan and invert it onto a cutting board then cut into 4-6 equal sized pieces (any size and or shape works). Grab a skillet and drizzle a in a little oil. Get it nice and hot on the stove then sear the polenta, both sides for about 5 minutes or until nice and crispy. Once the polenta is seared, place either on a baking sheet or keep in the skillet (if it is oven safe) and place in oven to bake for about 1/2 or until nice and firm and crispy. Warm up the black beans while you are waiting.

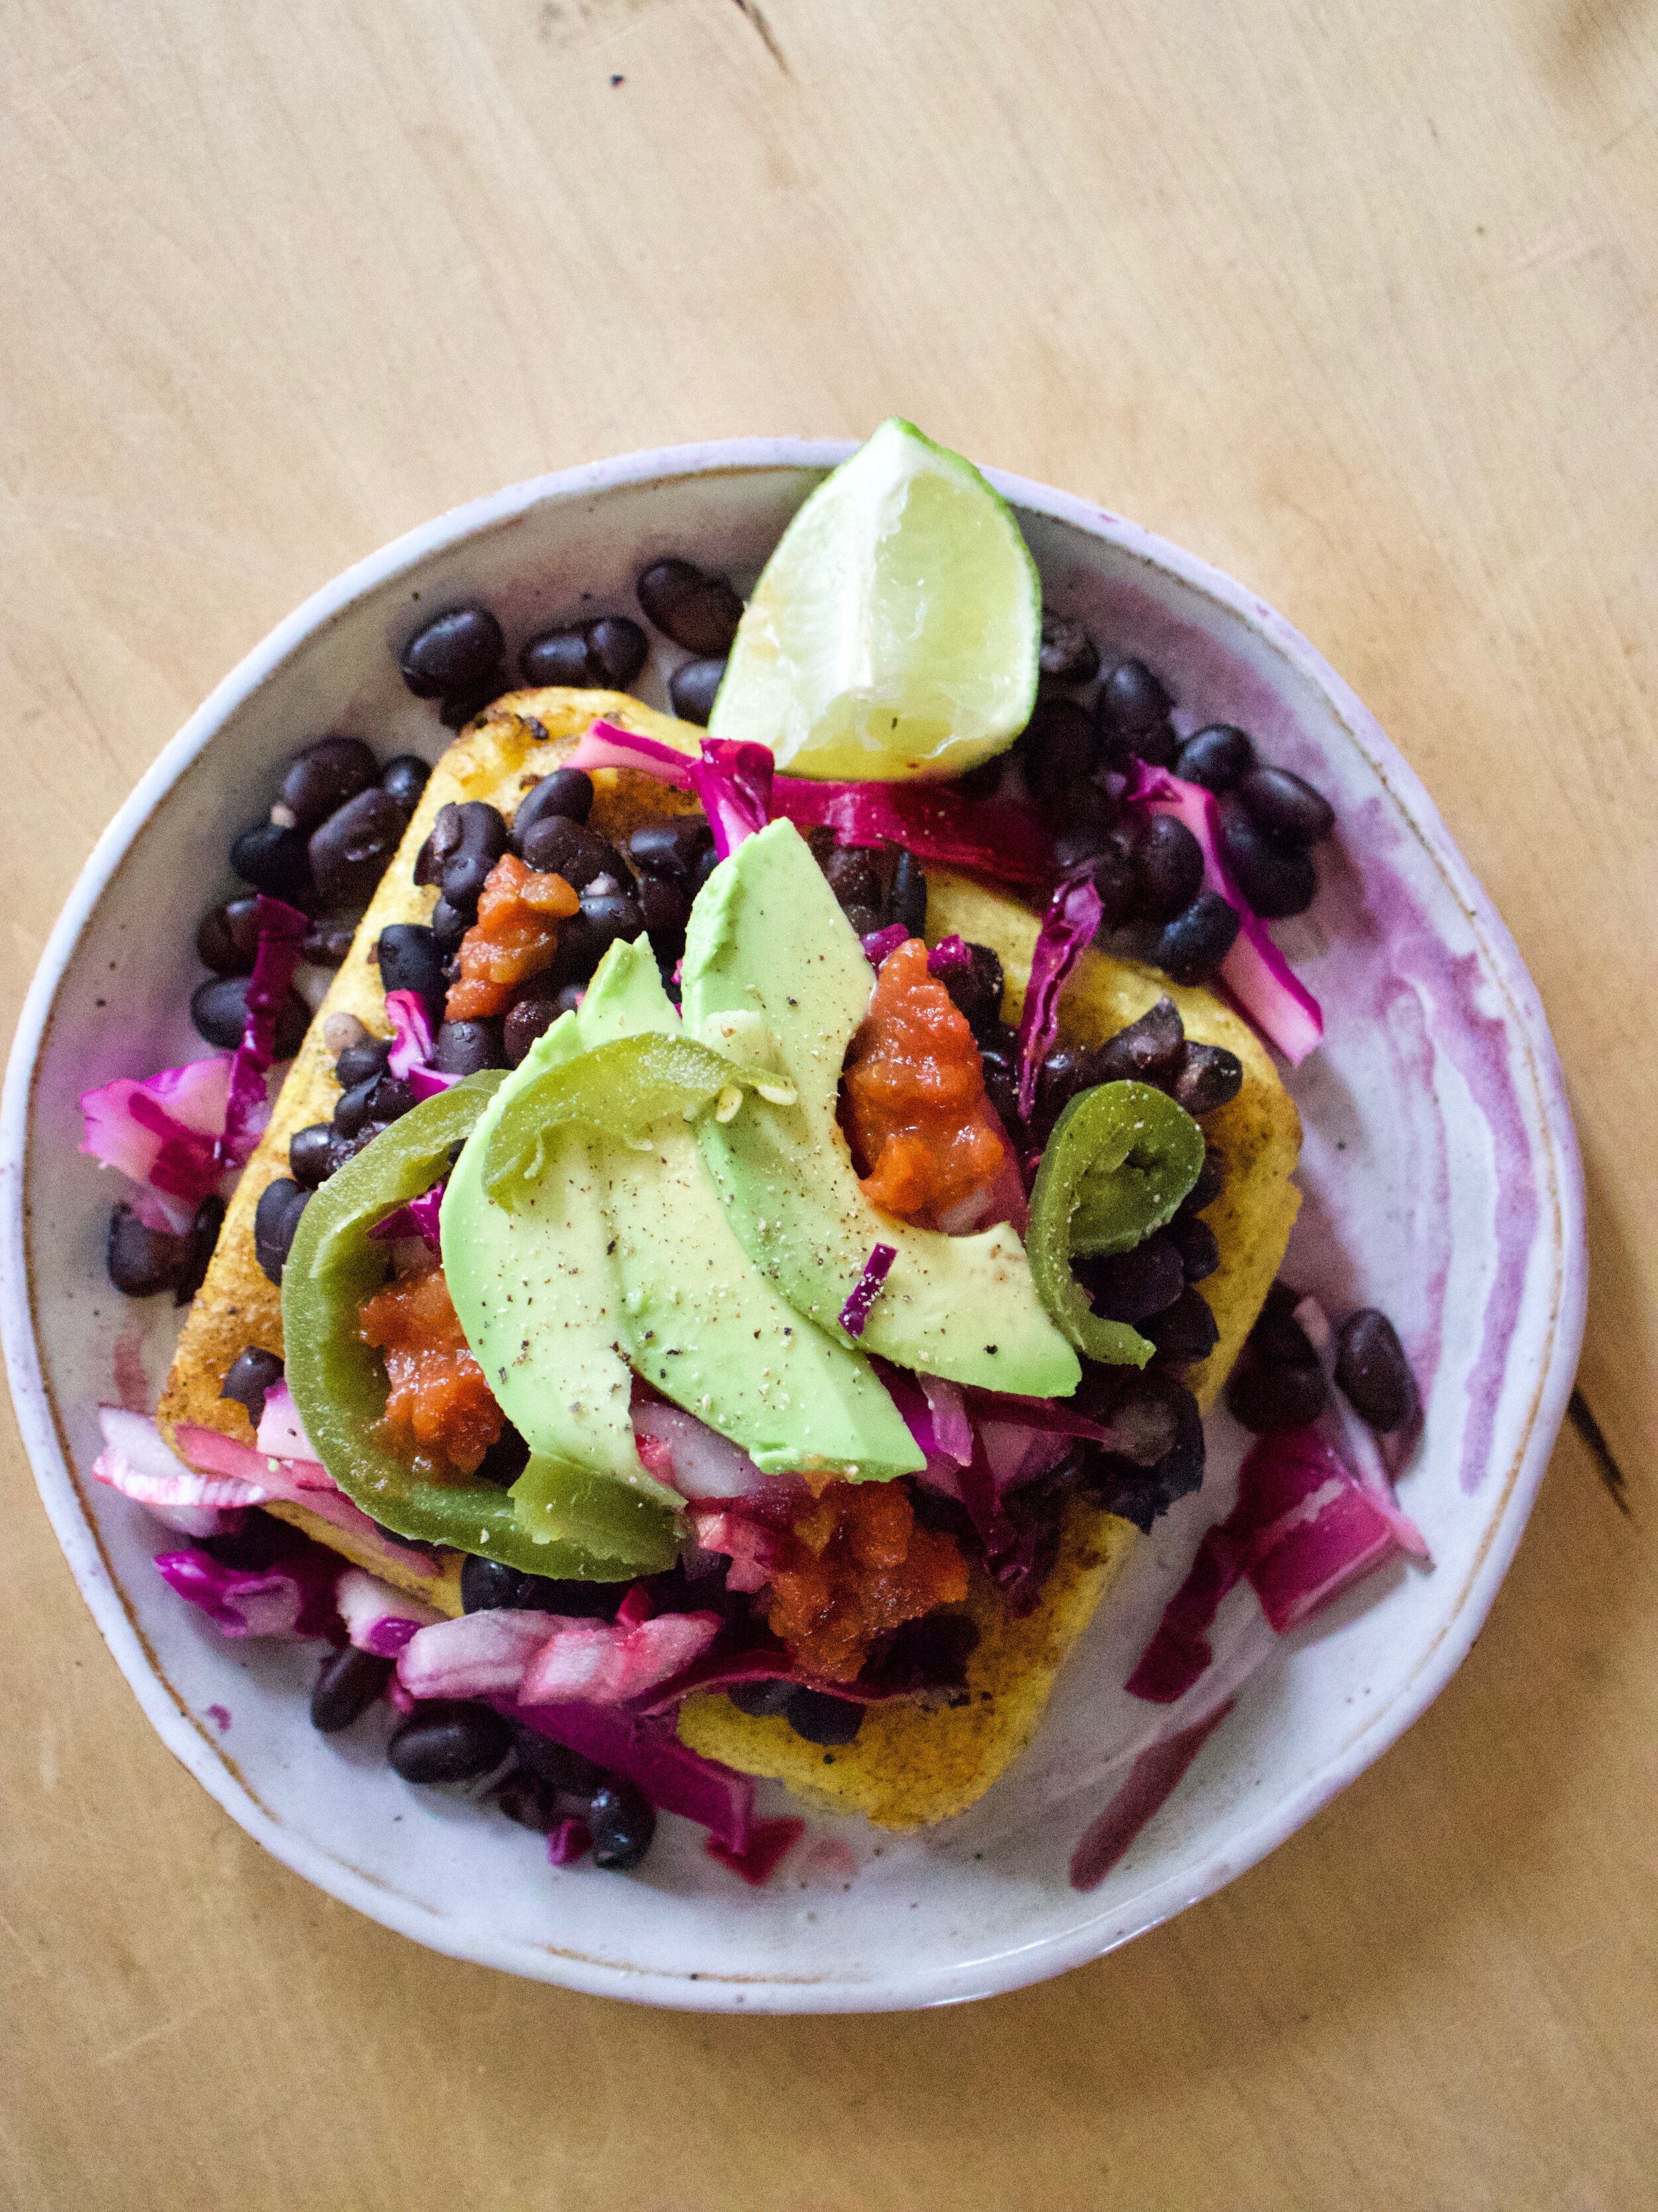
When the polenta is baked to your liking, remove from oven and place on plates. Scoop on black beans, grab a handful of cabbage onion slaw, top with salsa, jalapeños , avocado , and anything else you want.

Eat.

Left over polenta is great to have in the fridge. Just store in an airtight canters for up to a week. Sear it or bake it up whenever you are in the need.

In Vegan, pulses, Gluten Free, entree, Dairy Free, biscuits and such, beans Tags Baked Polenta With Black Beans And Fixins, vegan, gluten free, dairy free, quarantine food, dried beans, canned beans, pulses, healthy, plant based, mexican, polenta, baked polenta, dinner, cornmeal, no flour, substitutions
Comment

Butternut and Beet Tacos

March 7, 2020 Colleen Stem
IMG_6533.jpg
IMG_6527.jpg

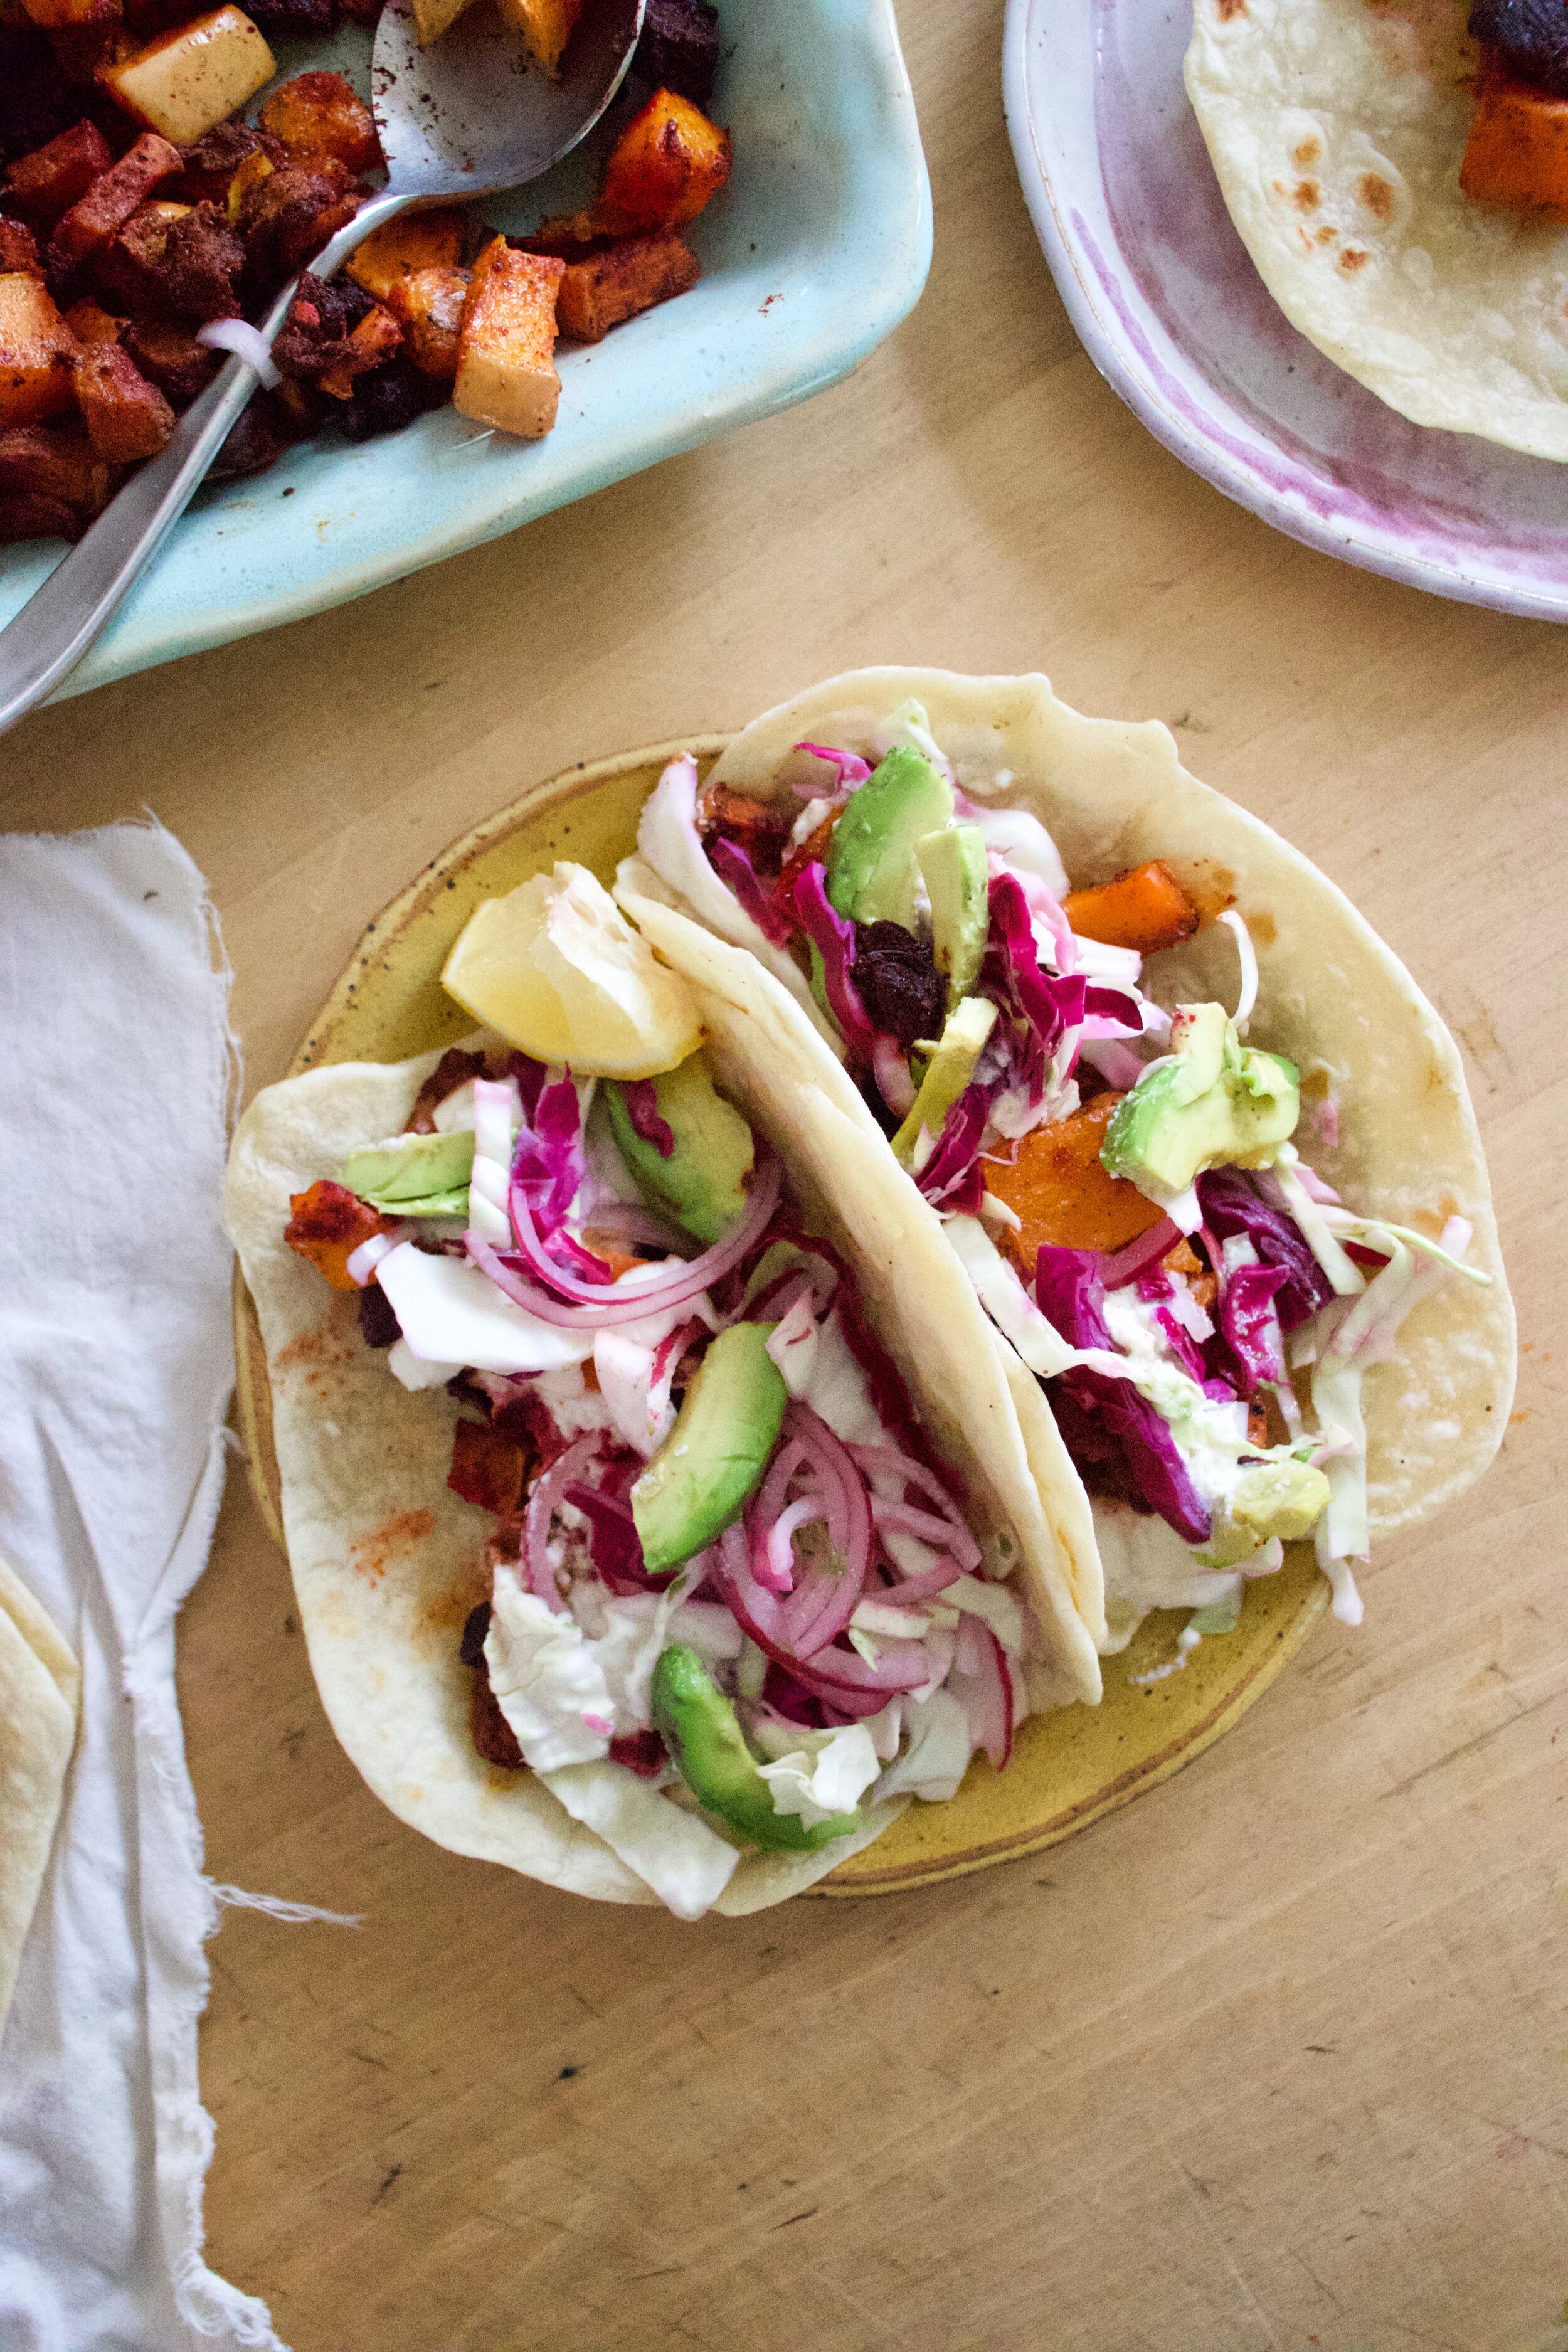
There come a point every year, about this time actually, when all of a sudden I am not exactly sick of, but maybe a little bored with the same roasted root situation. Don’t get me wrong, I love root veggies. I deeply love them all and will gladly keep on eating them for a few more months (it is only March after all so I am looking at at least 2 more good months of roots) but again, a little bored. So instead of just the usually roasted situation, we still roast but then, THEN, we taco them!. And we are not mad about it.

These tacos. Super easy and they bring out the best in roasted beets and butternut squash. Pilled in a tortilla (corn or flour, or not tortilla at all. Your choice) with some almond cream and topped with a crispy, crunchy, cabbage and onion slaw. A meal worth making any night or saving for a fun mid winter taco party. Or both because let face it, if you have a fridge like mine, it is packed with beets (and rutabagas, and turnips, and parsnips). And you probably have 4 butternut squash in your pantry too right? (Again, not mad about it.)

Now to the tacos!

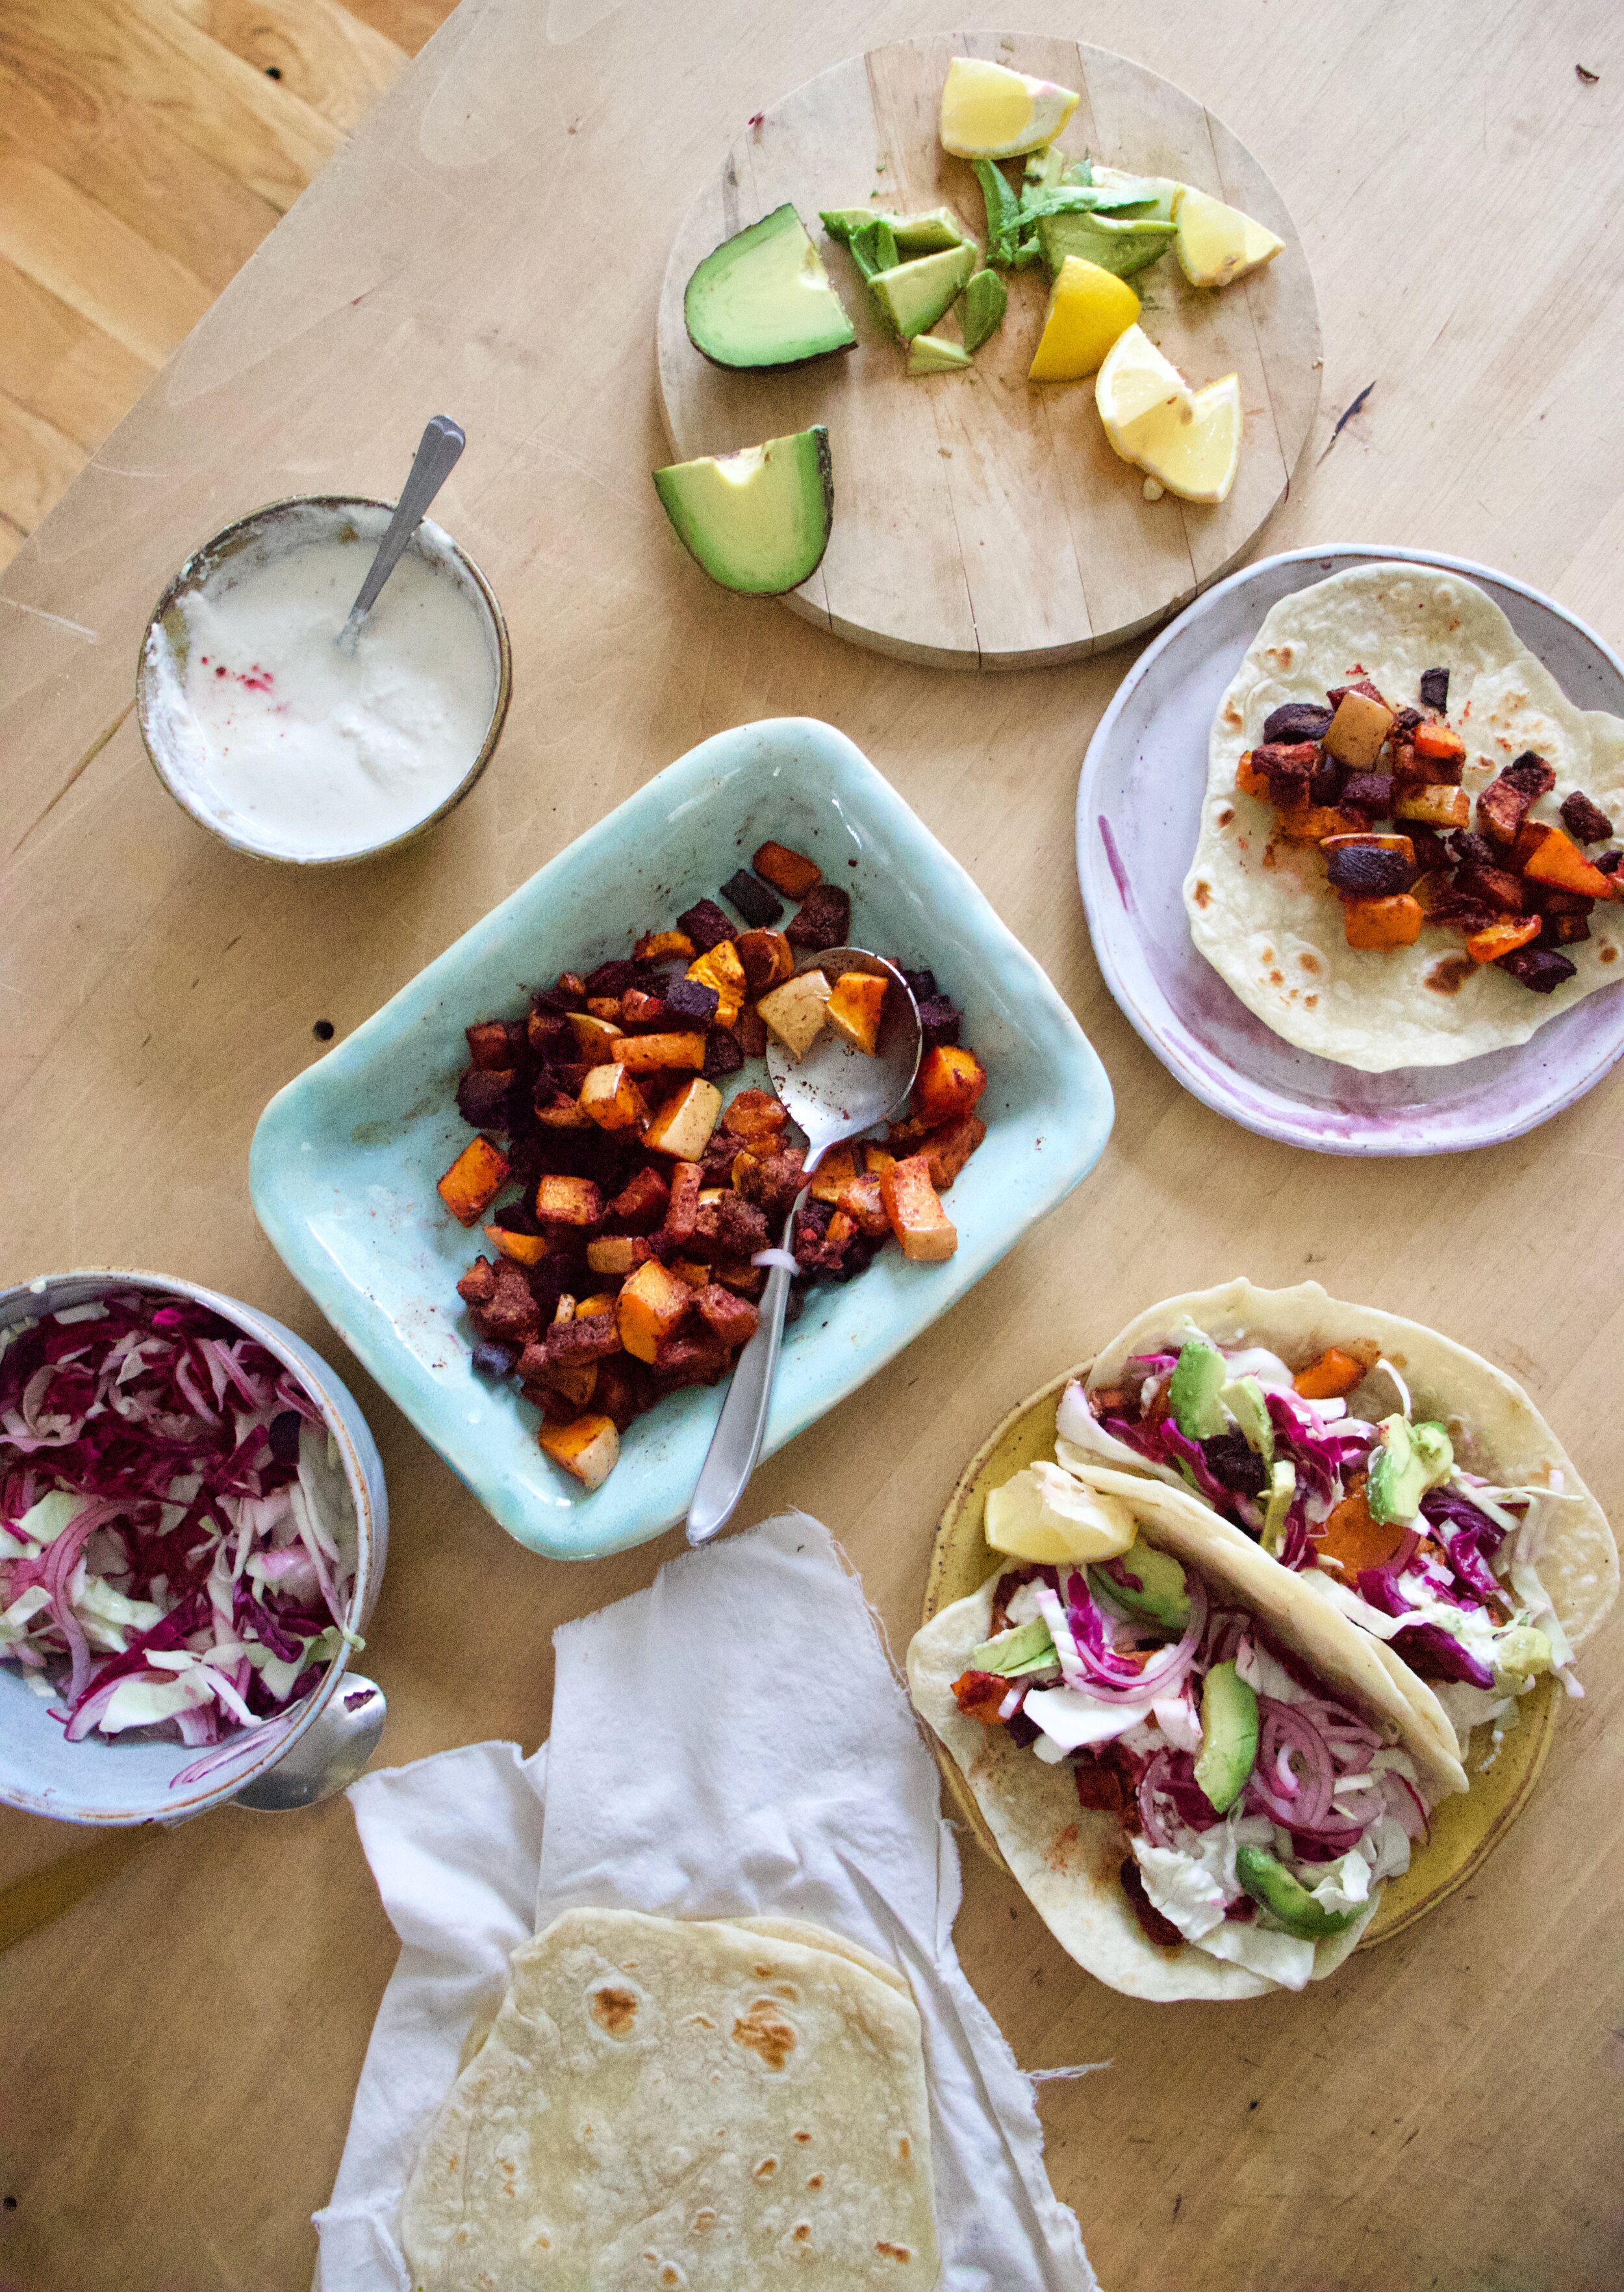
The stuff. Some butternut squash, a few beets, shredded cabbage, half an onion, red wine vinegar, blanched and soaked almonds, a couple cloves of garlic, a little water, a lemon, salt and pepper, taco seasoning, an avocado, and tortillas.

IMG_6363.jpg
IMG_6368.jpg

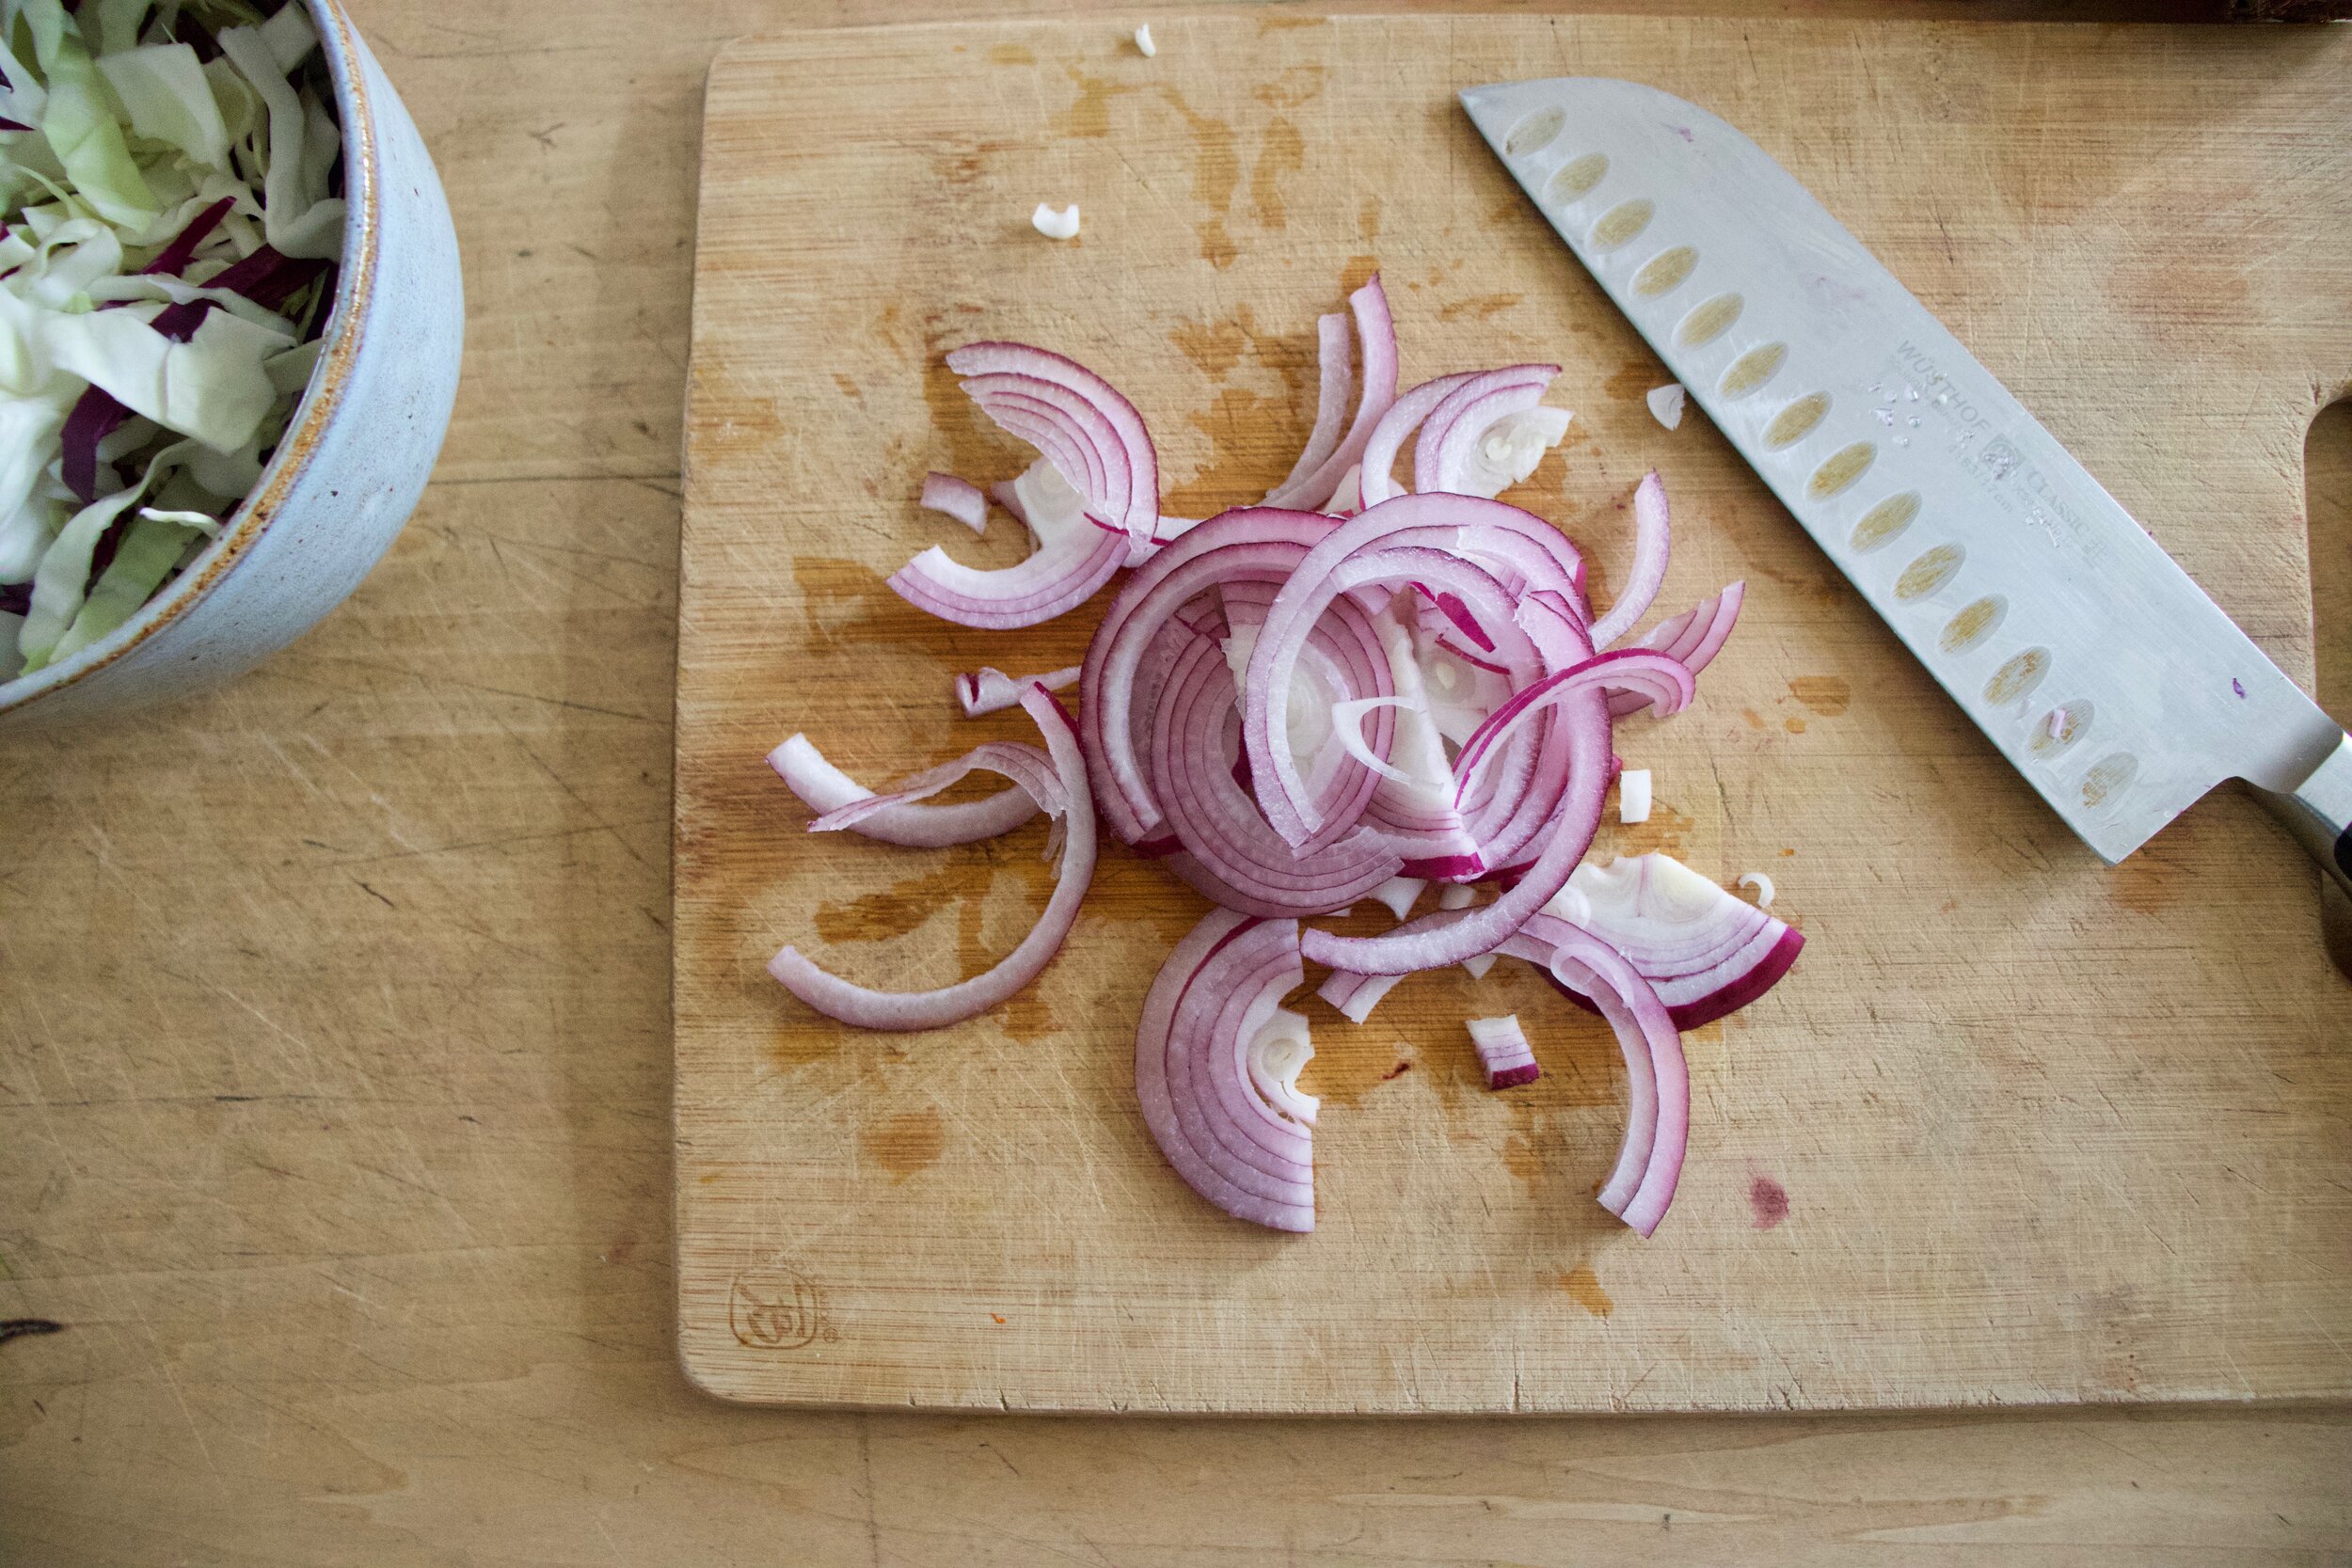
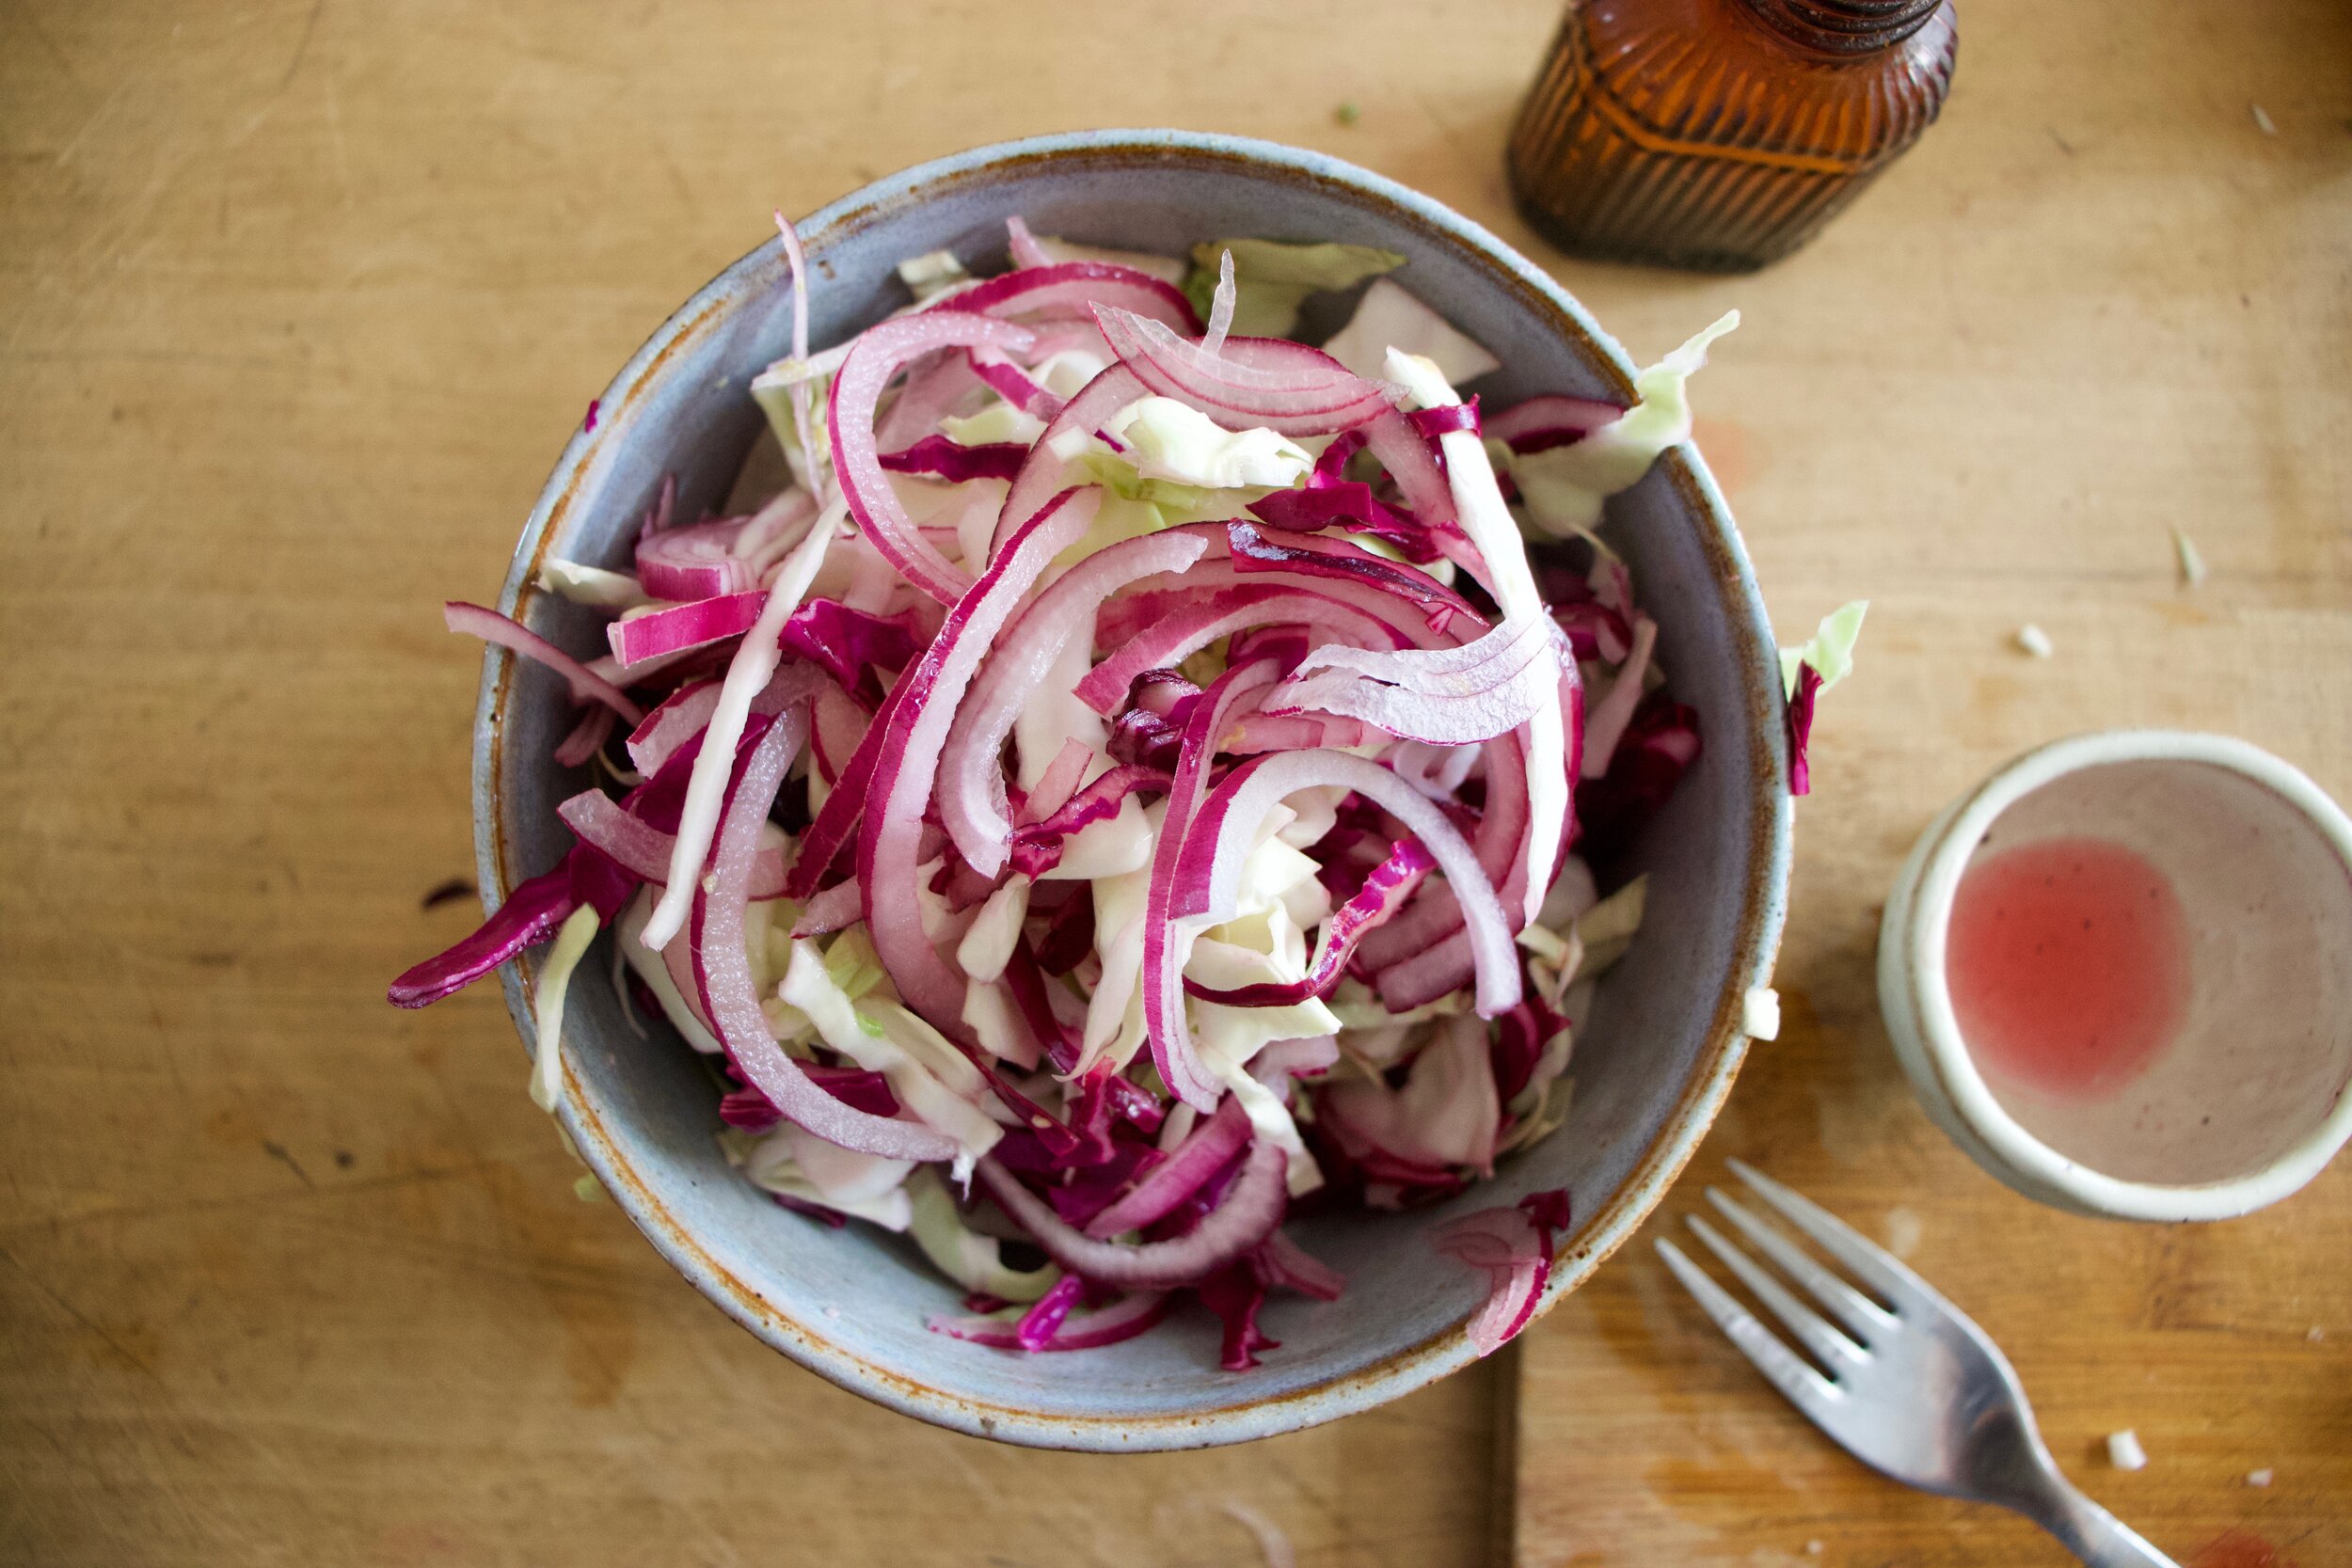
Thinly slice the onion and toss it into a bowl along with the shredded cabbage, a pinch of salt, and the red wine vinegar. Really mix it up and then set aside.

Cut up the squash and the beets. 1/2 inch cubes are a good size.

Place the cut up squash and beets on a baking sheet. Drizzle with a touch of oil then really toss around with all the tacos seasoning.

Now into the oven to roast.

IMG_6397.jpg
IMG_6403.jpg

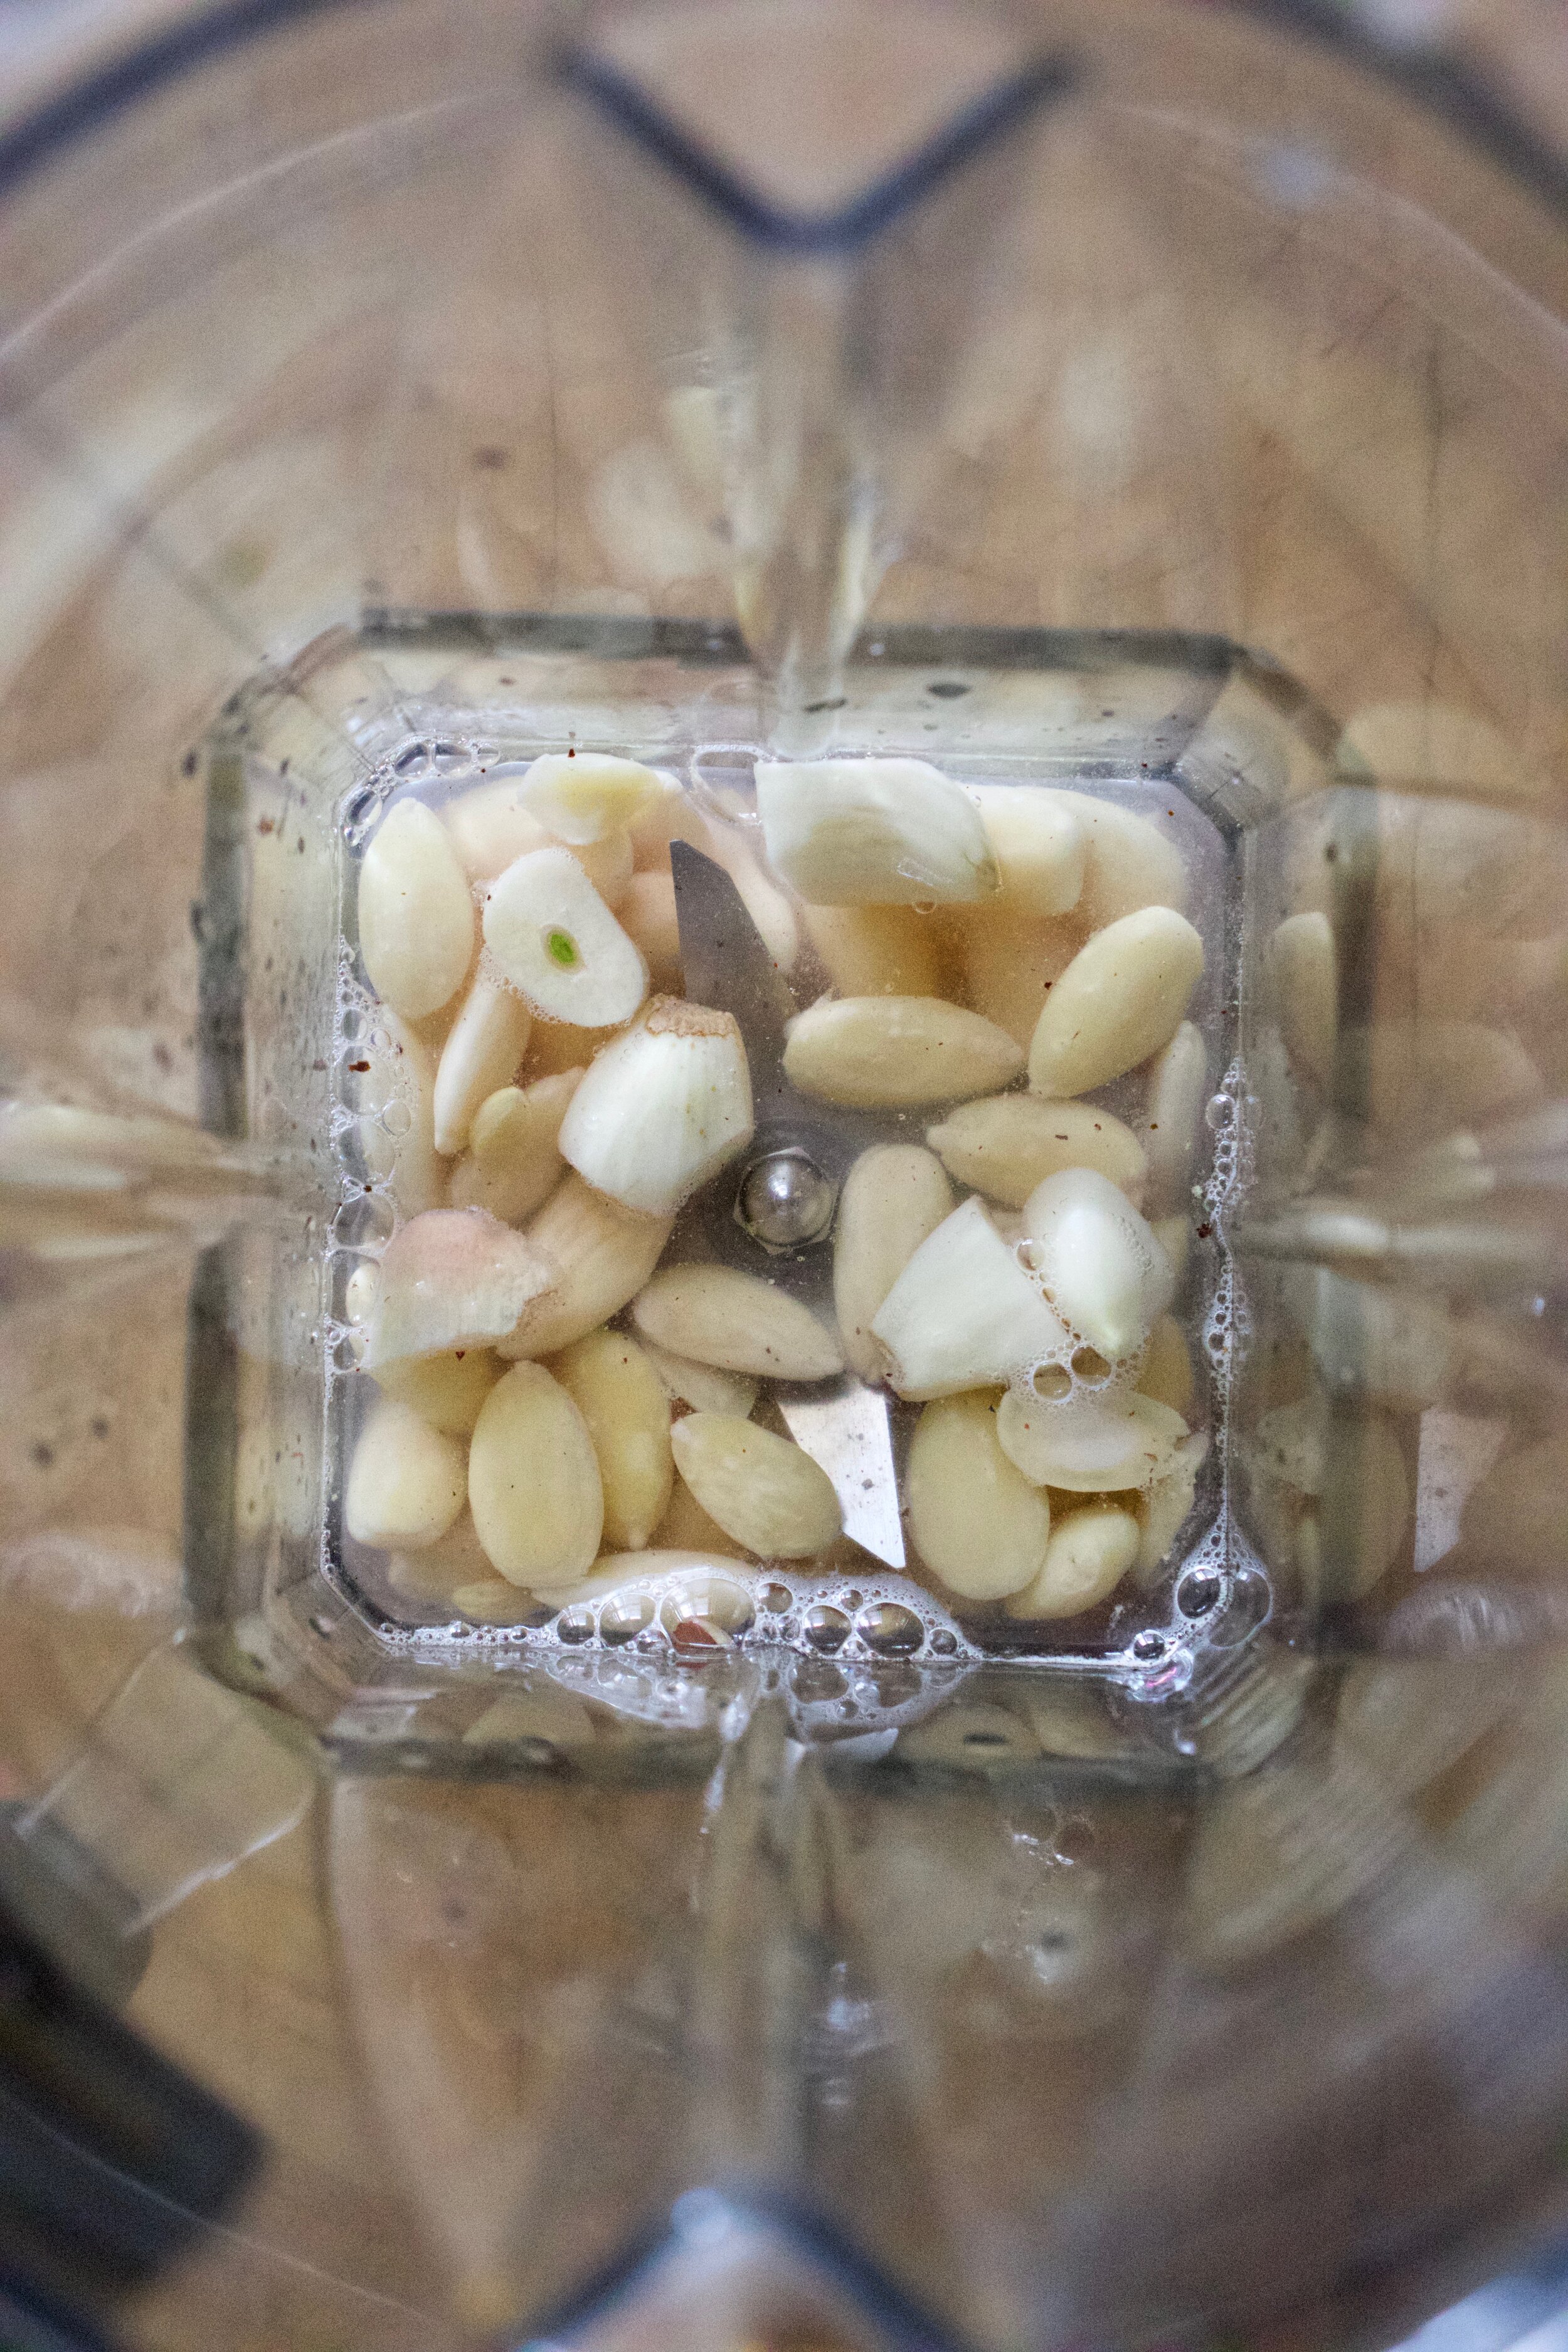
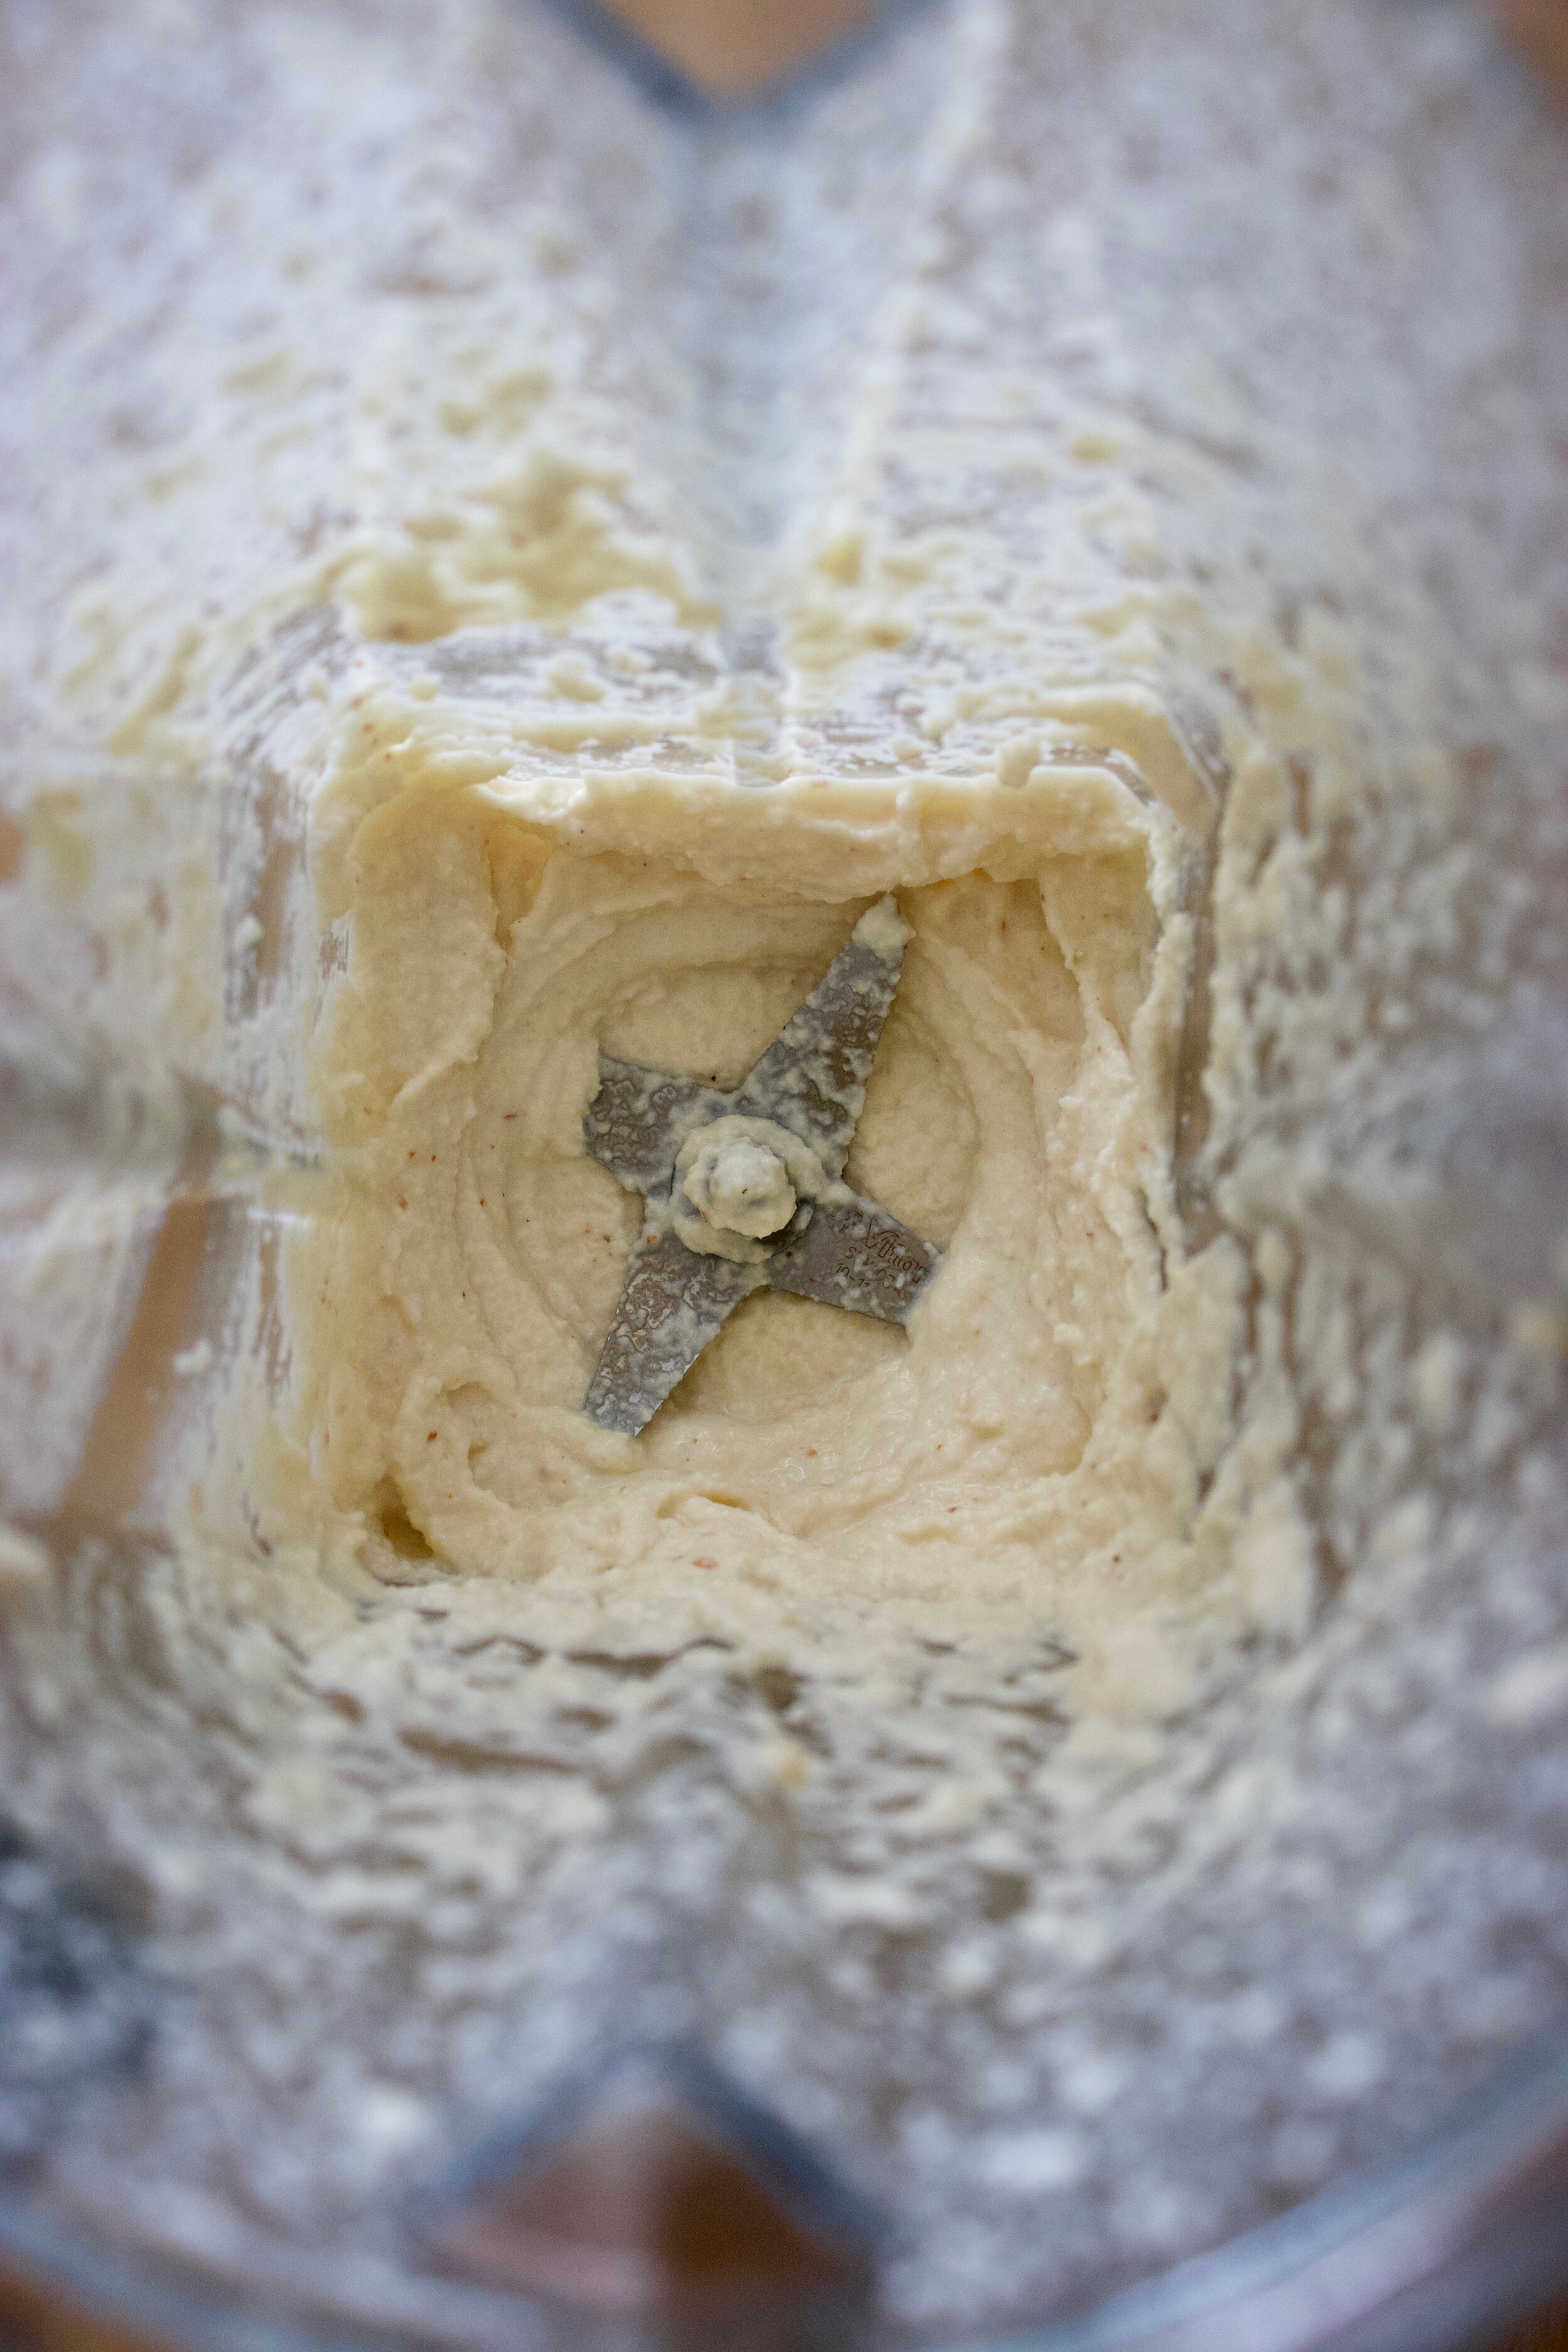
Almonds, garlic, salt and pepper, a little water, and juice of lemon, go into blender and blended until nice and smooth.

Oh almond cream. I could eat this entire bowl just like this, but don’t do that. You need it for the tacos.

IMG_6410.jpg

Roasted and ready.

IMG_6419.jpg

Now it’s taco time. You have your roasted squash and beets, almond cream, quick pickled crispy cabbage and onion slaw, tortillas (store bought or hand made), and avocado. Lemon or lime wedges are also a plus.

And then you make a taco. Roosts first, almond cream next, slaw on top of that, finished off with avocado. Squeeze on the lemon and into you mouth it goes.

-C


Butternut and Beet Tacos

makes 6-8 tacos

  • 2 1/2 cups diced beets (2-3 large beets should do it)

  • 2 1/2 cups diced butternut squash (peeled or not, up to you)

  • 3 tablespoons taco seasoning or (1 tablespoon each cumin and chili power plus 1 teaspoon each paprika, garlic powder, and onion powder. And a pinch or red pepper flakes)

  • 1/2 cup blanched almonds (soaked in hot water for an hour or so)

  • a lemon

  • 1/2 cup - 3/4 cup warm water

  • 2 cloves garlic

  • salt and pepper

  • Splash of oil

  • 3 cups shredded cabbage (red, green, or a mixture of both)

  • 1/2 an onion

  • 3 tablespoons red wine vinegar

  • avocado for serving

  • at least 6 small or medium sized flour or corn tortillas

Preheat oven to 450

Grab cabbage and onion. Thinly slice the onion and toss into a bowl with the shredded cabbage. Add a good sprinkle of salt and toss along with the red wine vinegar. Set aside but give it a good toss again before serving.

Dice up butternut squash and beets into 1/2 inch cube pieces. Place on baking sheet with a drizzle of oil and toss around along with the spice blend. Place into oven to bake for about 30 minutes.

While that’s roasting, strain almonds of soaking water and place into blender along with the 2 cloves garlic, the juice of the lemon, and 1/2 cup water. Blend until smooth. Add in a pinch of salt and pepper and blend. If the mixture is to thick, add in more water to thin it out. You want it to be like a sour cream consistency.

And when the squash and beets are nice and tender, remove from oven.

To assemble tacos.

Scoop some of the roasted beet and squash mixture onto a tortilla, add a good dollop or two of the almond cream, then top with some of the cabbage and onion slaw. Top it of with some sliced avocado and serve with a wedge of lemon or lime.

In dinner, entree, grain free, Nuts, Vegan, Vegetables, winter squash, taco Tags Butternut and Beet Tacos, vegan, tacos, squash, almond cream, cabbage, avocado, dinner, grain free, gluten free, healthy, plant based, taco seasoning, food, recipe
3 Comments
← Newer Posts Older Posts →
 

https://thelovelycrazy.squarespace.com/config#/|/about/

Me. Food Maker.Food eater. Woo HOO!

STEM+NODE  SMALL BATCH AND ONE OF A KIND POTTERY

stem+node ceramics


____________________

Subscribe

GET NEW POSTS IN YO EMAIL

You are AWESOME!!!


@thelovelycrazy 2014-2021