• stem+node ceramics
  • HOME
  • Food Recipes
  • About
  • Contact
Menu

The Lovely Crazy

Street Address
City, State, Zip
Phone Number

Your Custom Text Here

The Lovely Crazy

  • stem+node ceramics
  • HOME
  • Food Recipes
  • About
  • Contact

Socca Beet and Onion Casserole

November 12, 2022 Colleen Stem
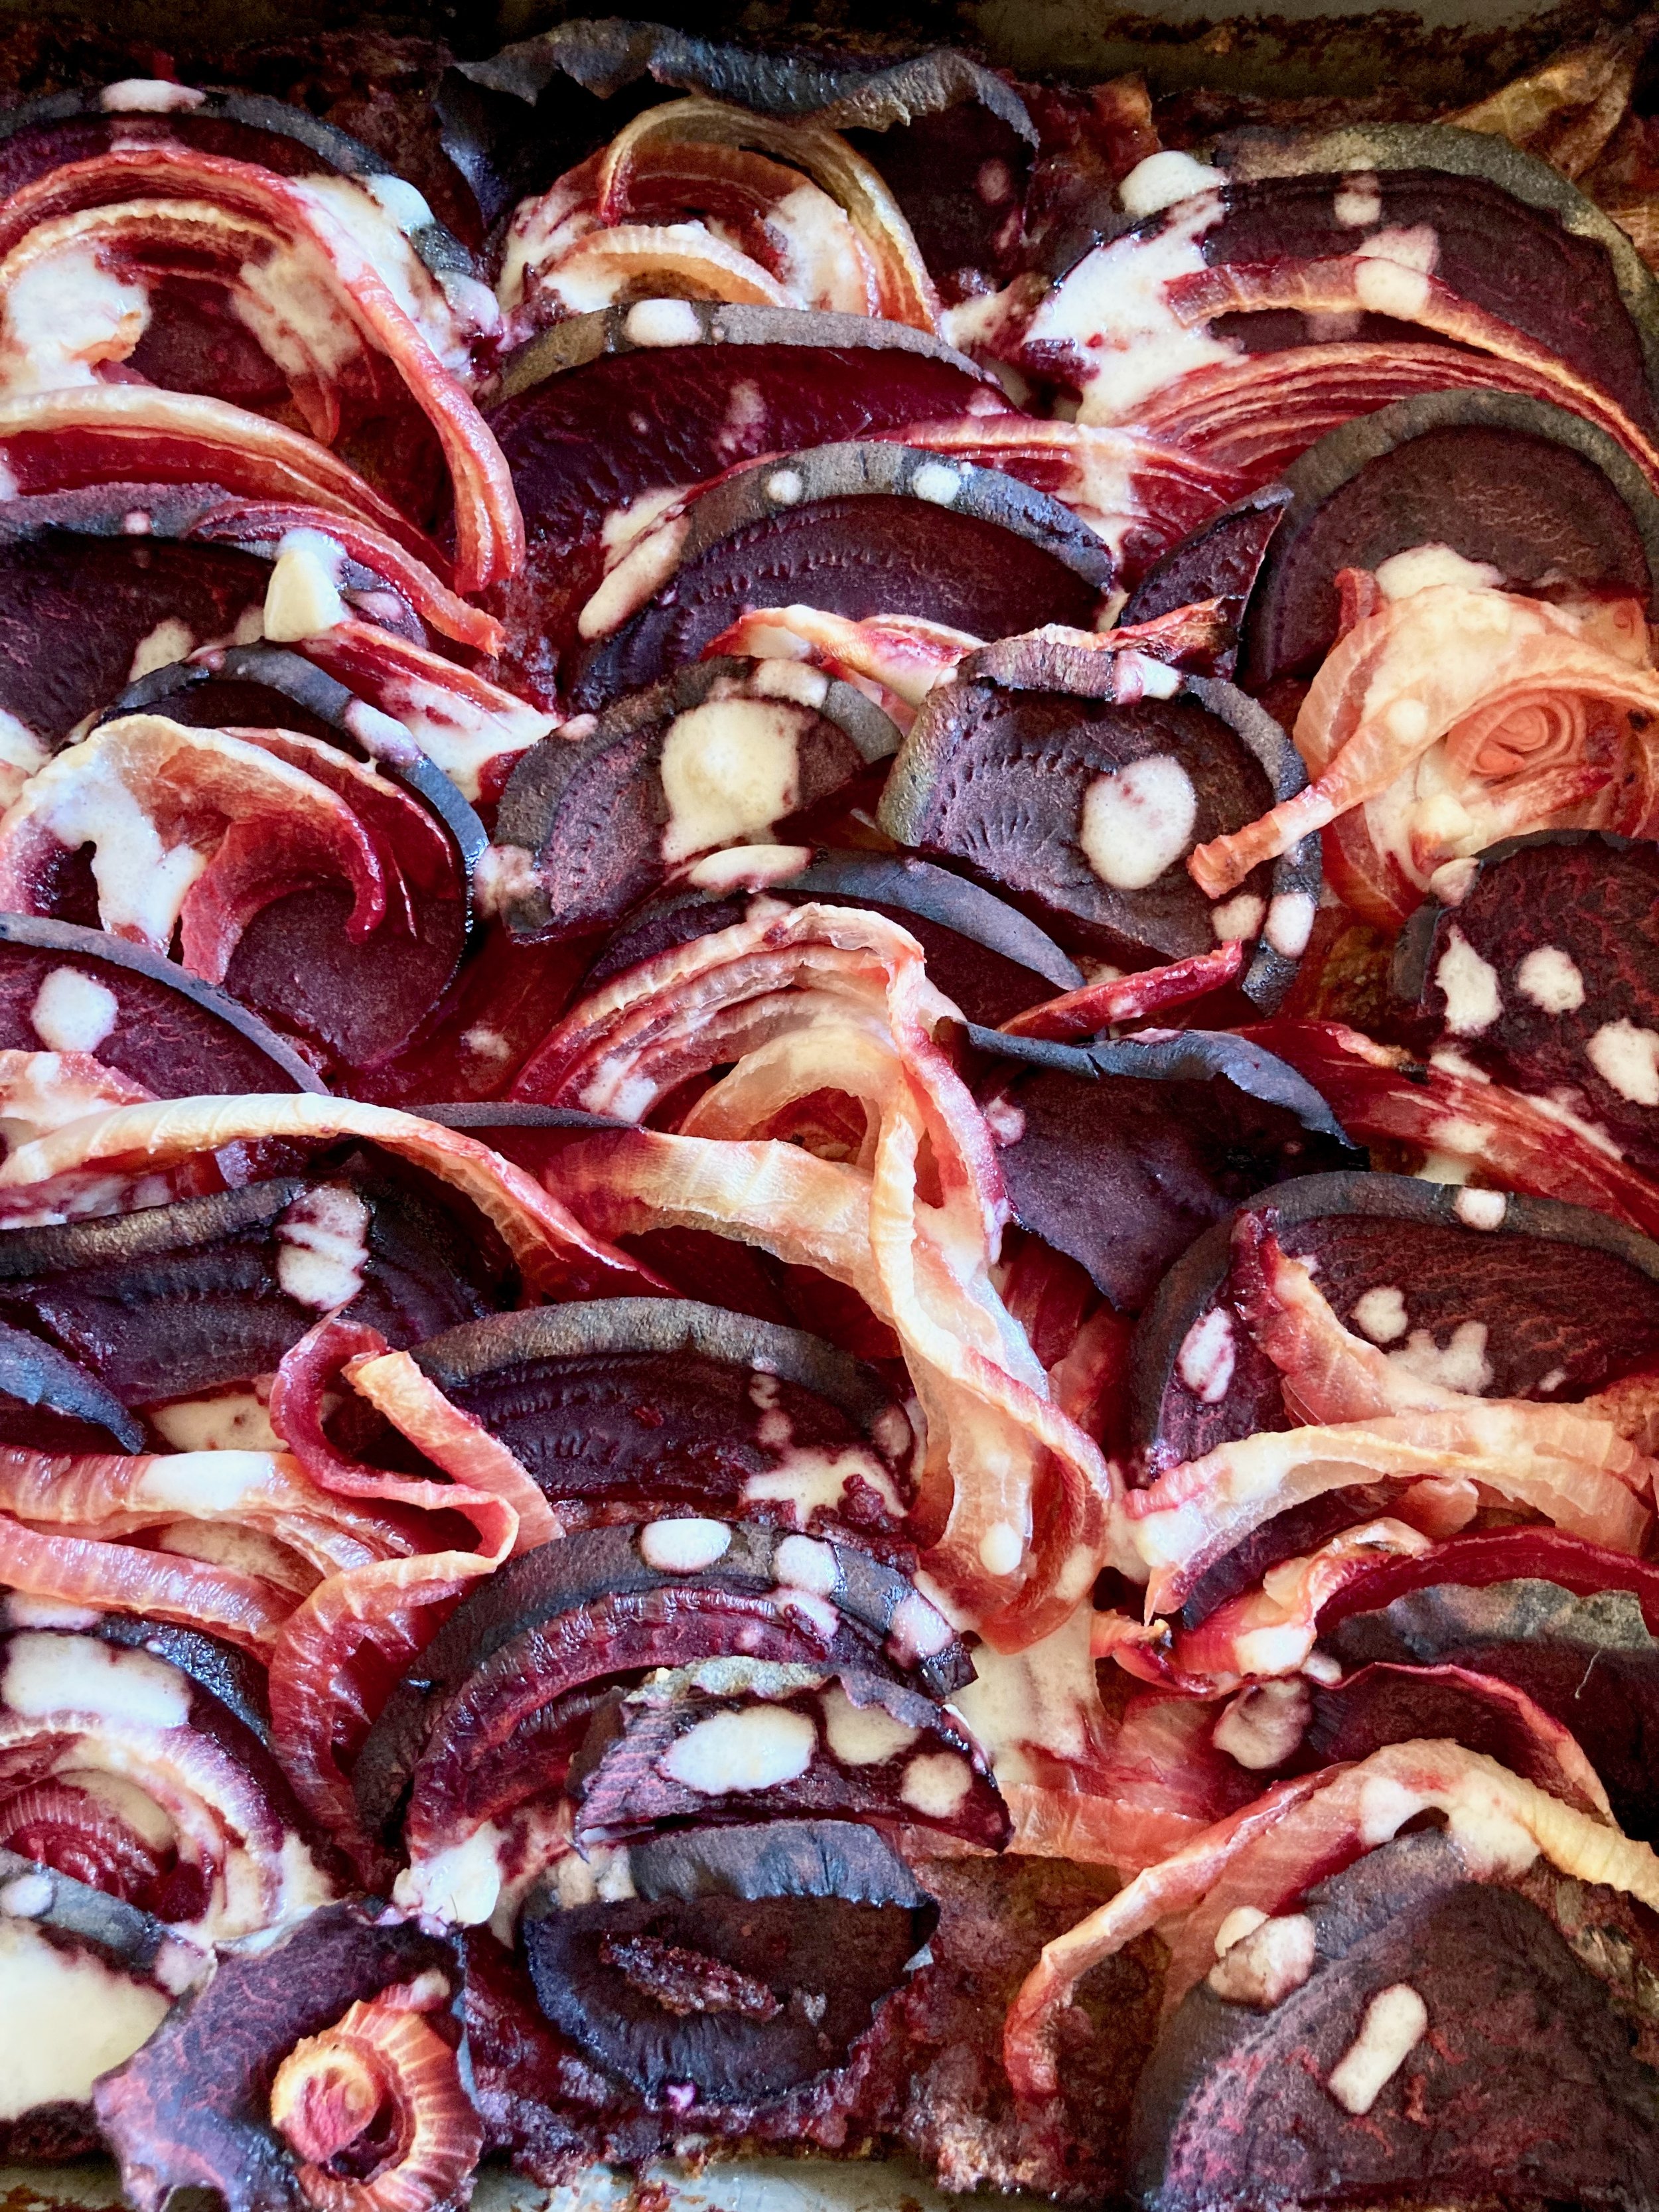
IMG_6207.jpg
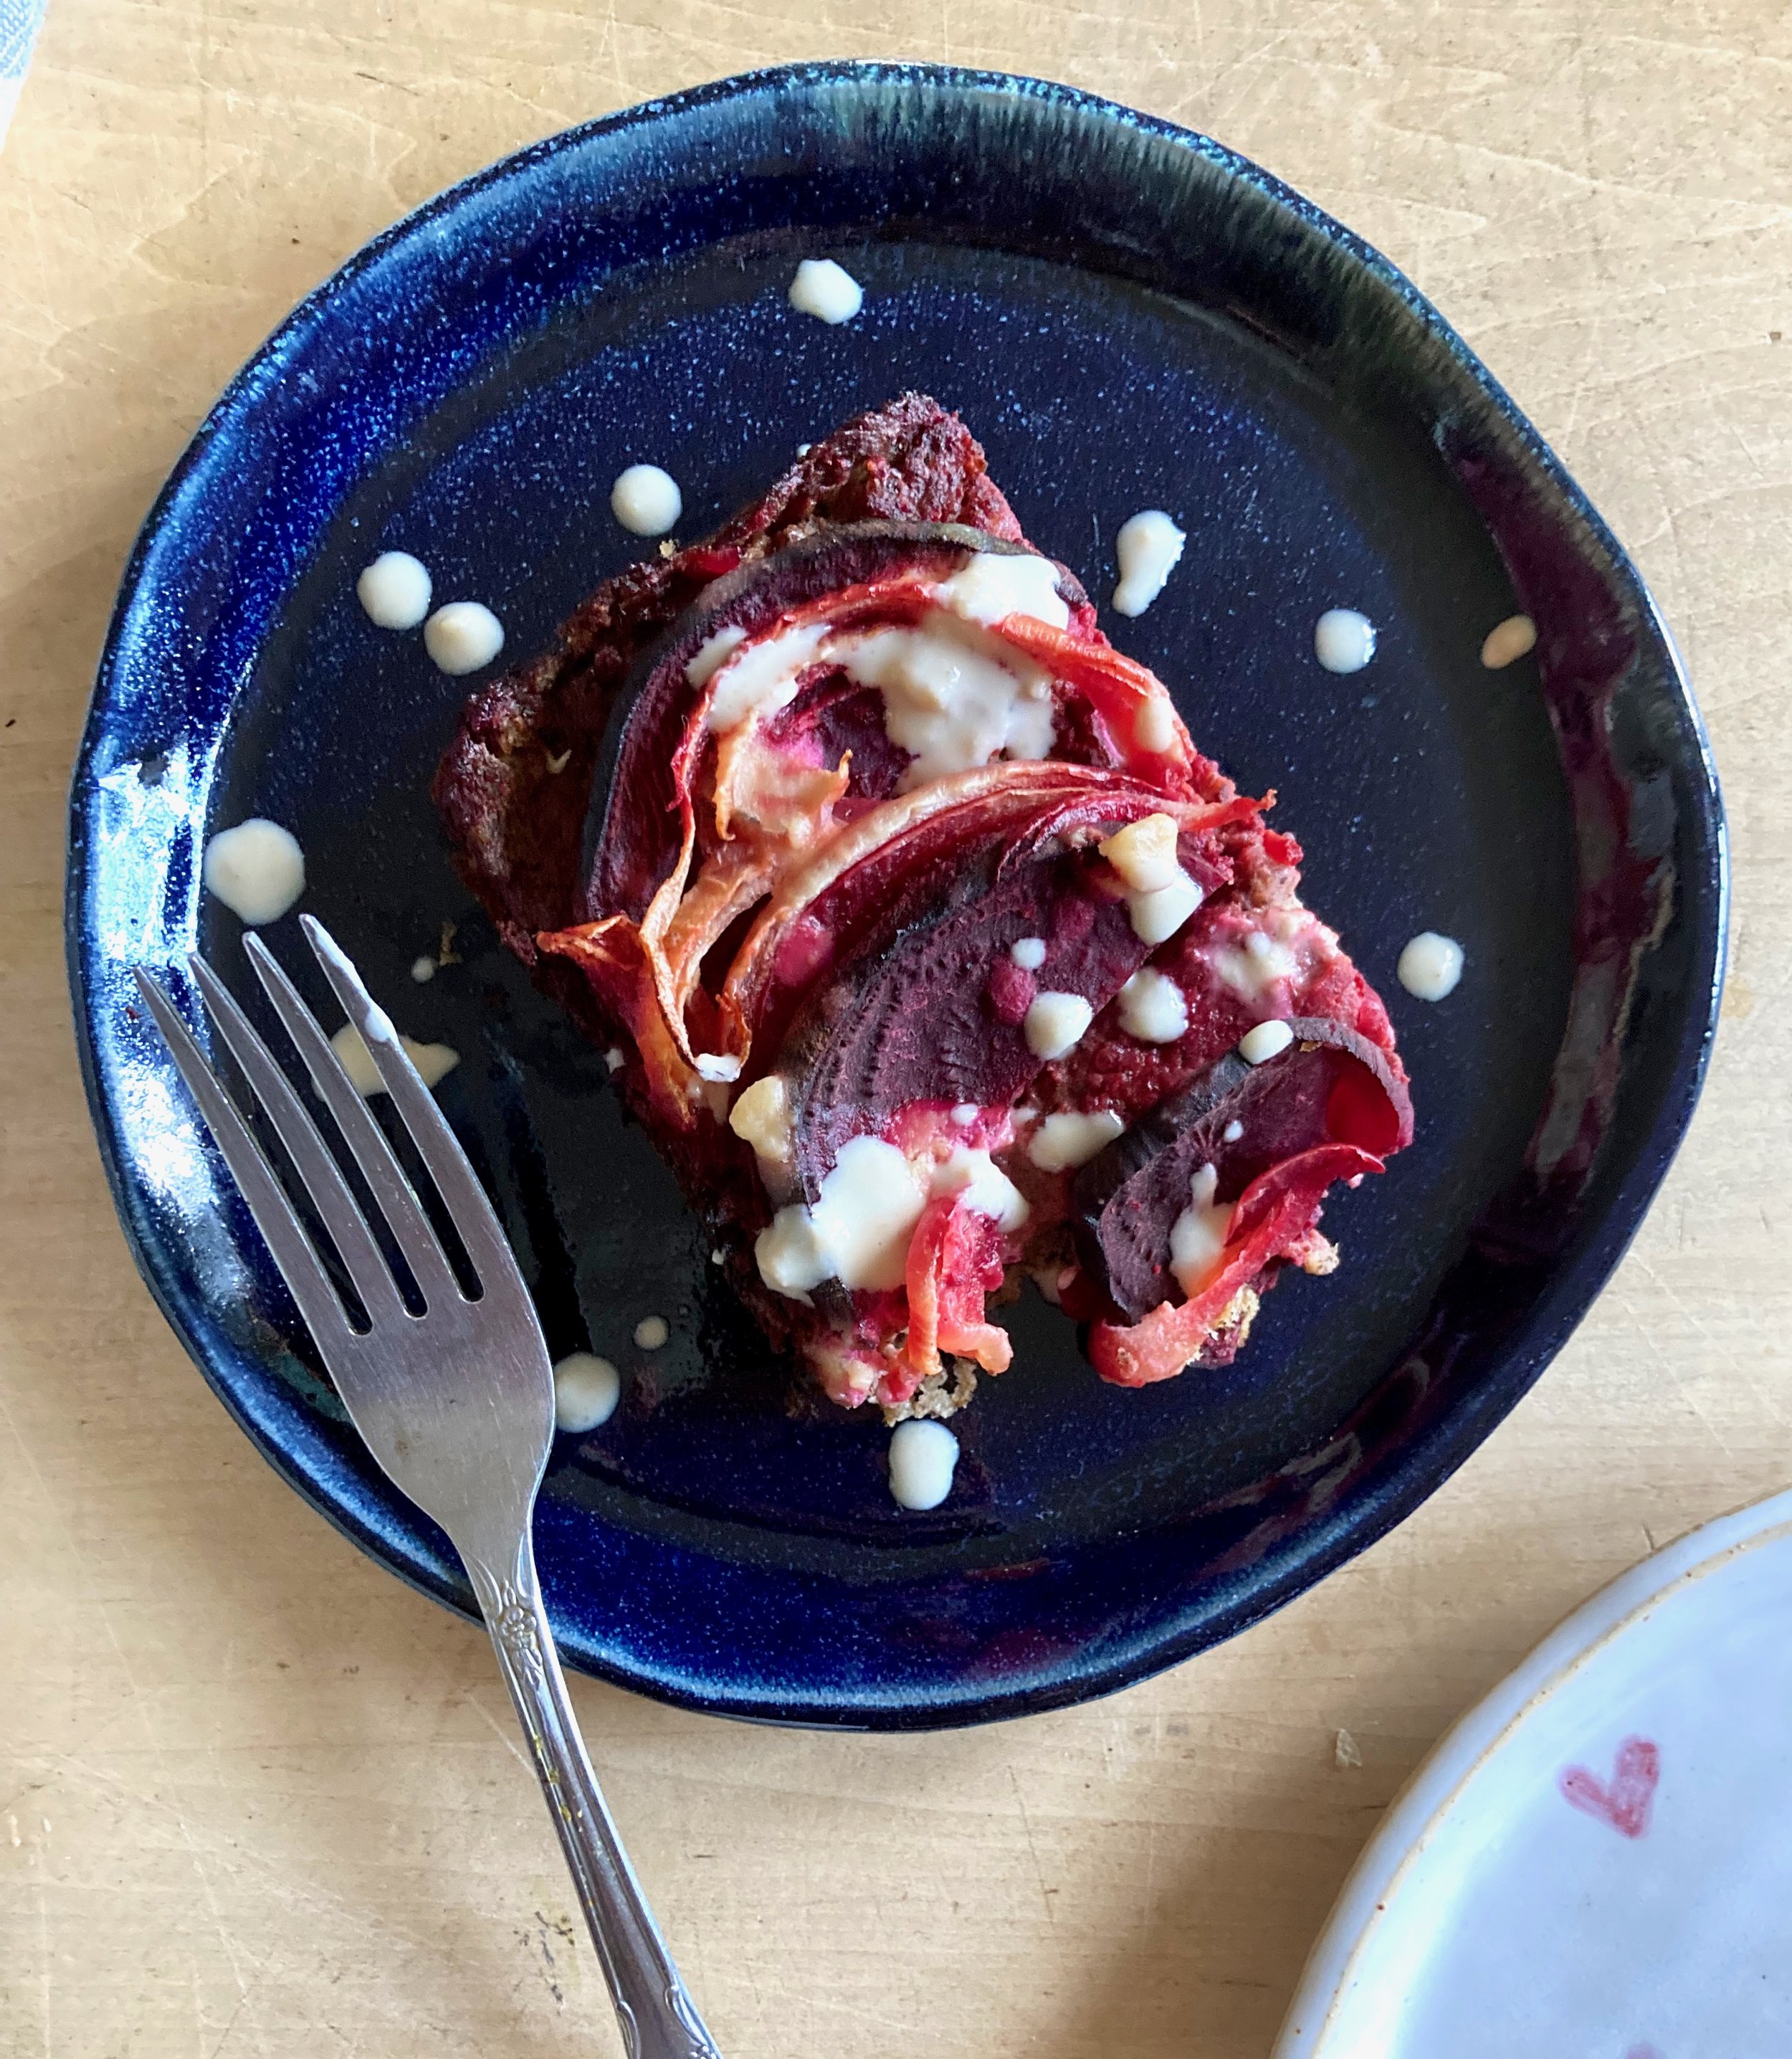
IMG_6213.jpg

Whoa has It been a while since I have posted a recipe. Not that I haven’t wanted to or that I haven’t been making food, I just have been busy A.F. And truthfully I am as busy as ever but I happen to have my phone next to me when I was making this little casserole dish thing that I have made a few times now and I think it well worth a share.

What is it you ask? It is a creamy but dense chickpea base covered in tender roasted beets and onions with a lemon tahini drizzle. It is simple to make, super delicious, and can be tweaked in a million different ways to your liking.

Is it a fantastic dish to serve at say a Thanksgiving? Well yes, yes it is. You can serve it as a side or even make it bigger and have it as a sort of main dish. It’s a good protein that is naturally gluten and grain free, vegan, and blah blah blah. What really matters here though is that it is damn tasty and also bonus, it is so siimple to make and can even be prepared a day in advance so no stress. We will take all the wins here.

-C


Socca Beet and Onion Casserole

makes a 8x8 casserole

  • 1 cup chickpea flour

  • 2 cups boiling water

  • 1 teaspoon salt plus more to taste

  • ground black pepper

  • 2 teaspoons cumin (feel free to omit or use a different spice.Thyme or rosemary are equally delicious )

  • 2 medium beets

  • 1 large onion

  • a lemon

  • 1-2 tablespoons tahini

  • teaspoon or so olive oil.

Note. This dish is excellent made and eaten right away but also gets even better (in my opinion) cooled and reheated. Also you can change up the veggie situation and use whatever ones you like.

Place chickpea flour in a bowl and slowly whisk in boil water with a fork so that there are no lumps. Mix in cumin and a teaspoon of salt and a pepper. Scoop batter into a lightly oiled 8X8 casserole dish (you can use a round cake tin or a cast iron skillet as well) and set aside to rest for a few.

Preheat oven to 400.

Grab beets and onion and slice in about 1/8 thick slices. Layer slices on top of chickpea mixture, making it look pretty if you feel like it. Once the veggies are layered, lightly drizzle the top with a teaspoon olive oil and sprinkle with a good pinch of salt and pepper.

When the oven is preheated, covered the baking dish and place in oven,. Bake covered for 1/2 hour then remove covering and bake for another 20-30 minutes or until the beets are nice and tender and a tester poked into the center of the dish comes out clean. Remove from oven,

Once it’s out of the oven grab a little bowl and add the juice of the lemon to the tahini and mix. Season with salt to you liking.

Now serve. Drizzle the top with the tahini mixture and cut yourself a big old piece. Yes drizzle extra tahini on top. Sure squeeze on more lemon. You do you.

Store leftovers in fridge. Reheat in hot oven for 10 minutes..It gets crispy!

In Vegetables, Vegan, side dish, Savory, quick and easy, pulses, holiday, grain free, Gluten Free, entree, dinner, Dairy Free, casserole Tags vegan, gluten free, grain free, casserole, dinner, protein, pulses, beans, thanksgiving, holiday, main dish, food, easy, beets, onion, tahini
1 Comment

Chocolate Chocolate Chip Carrot Muffins

March 26, 2022 Colleen Stem
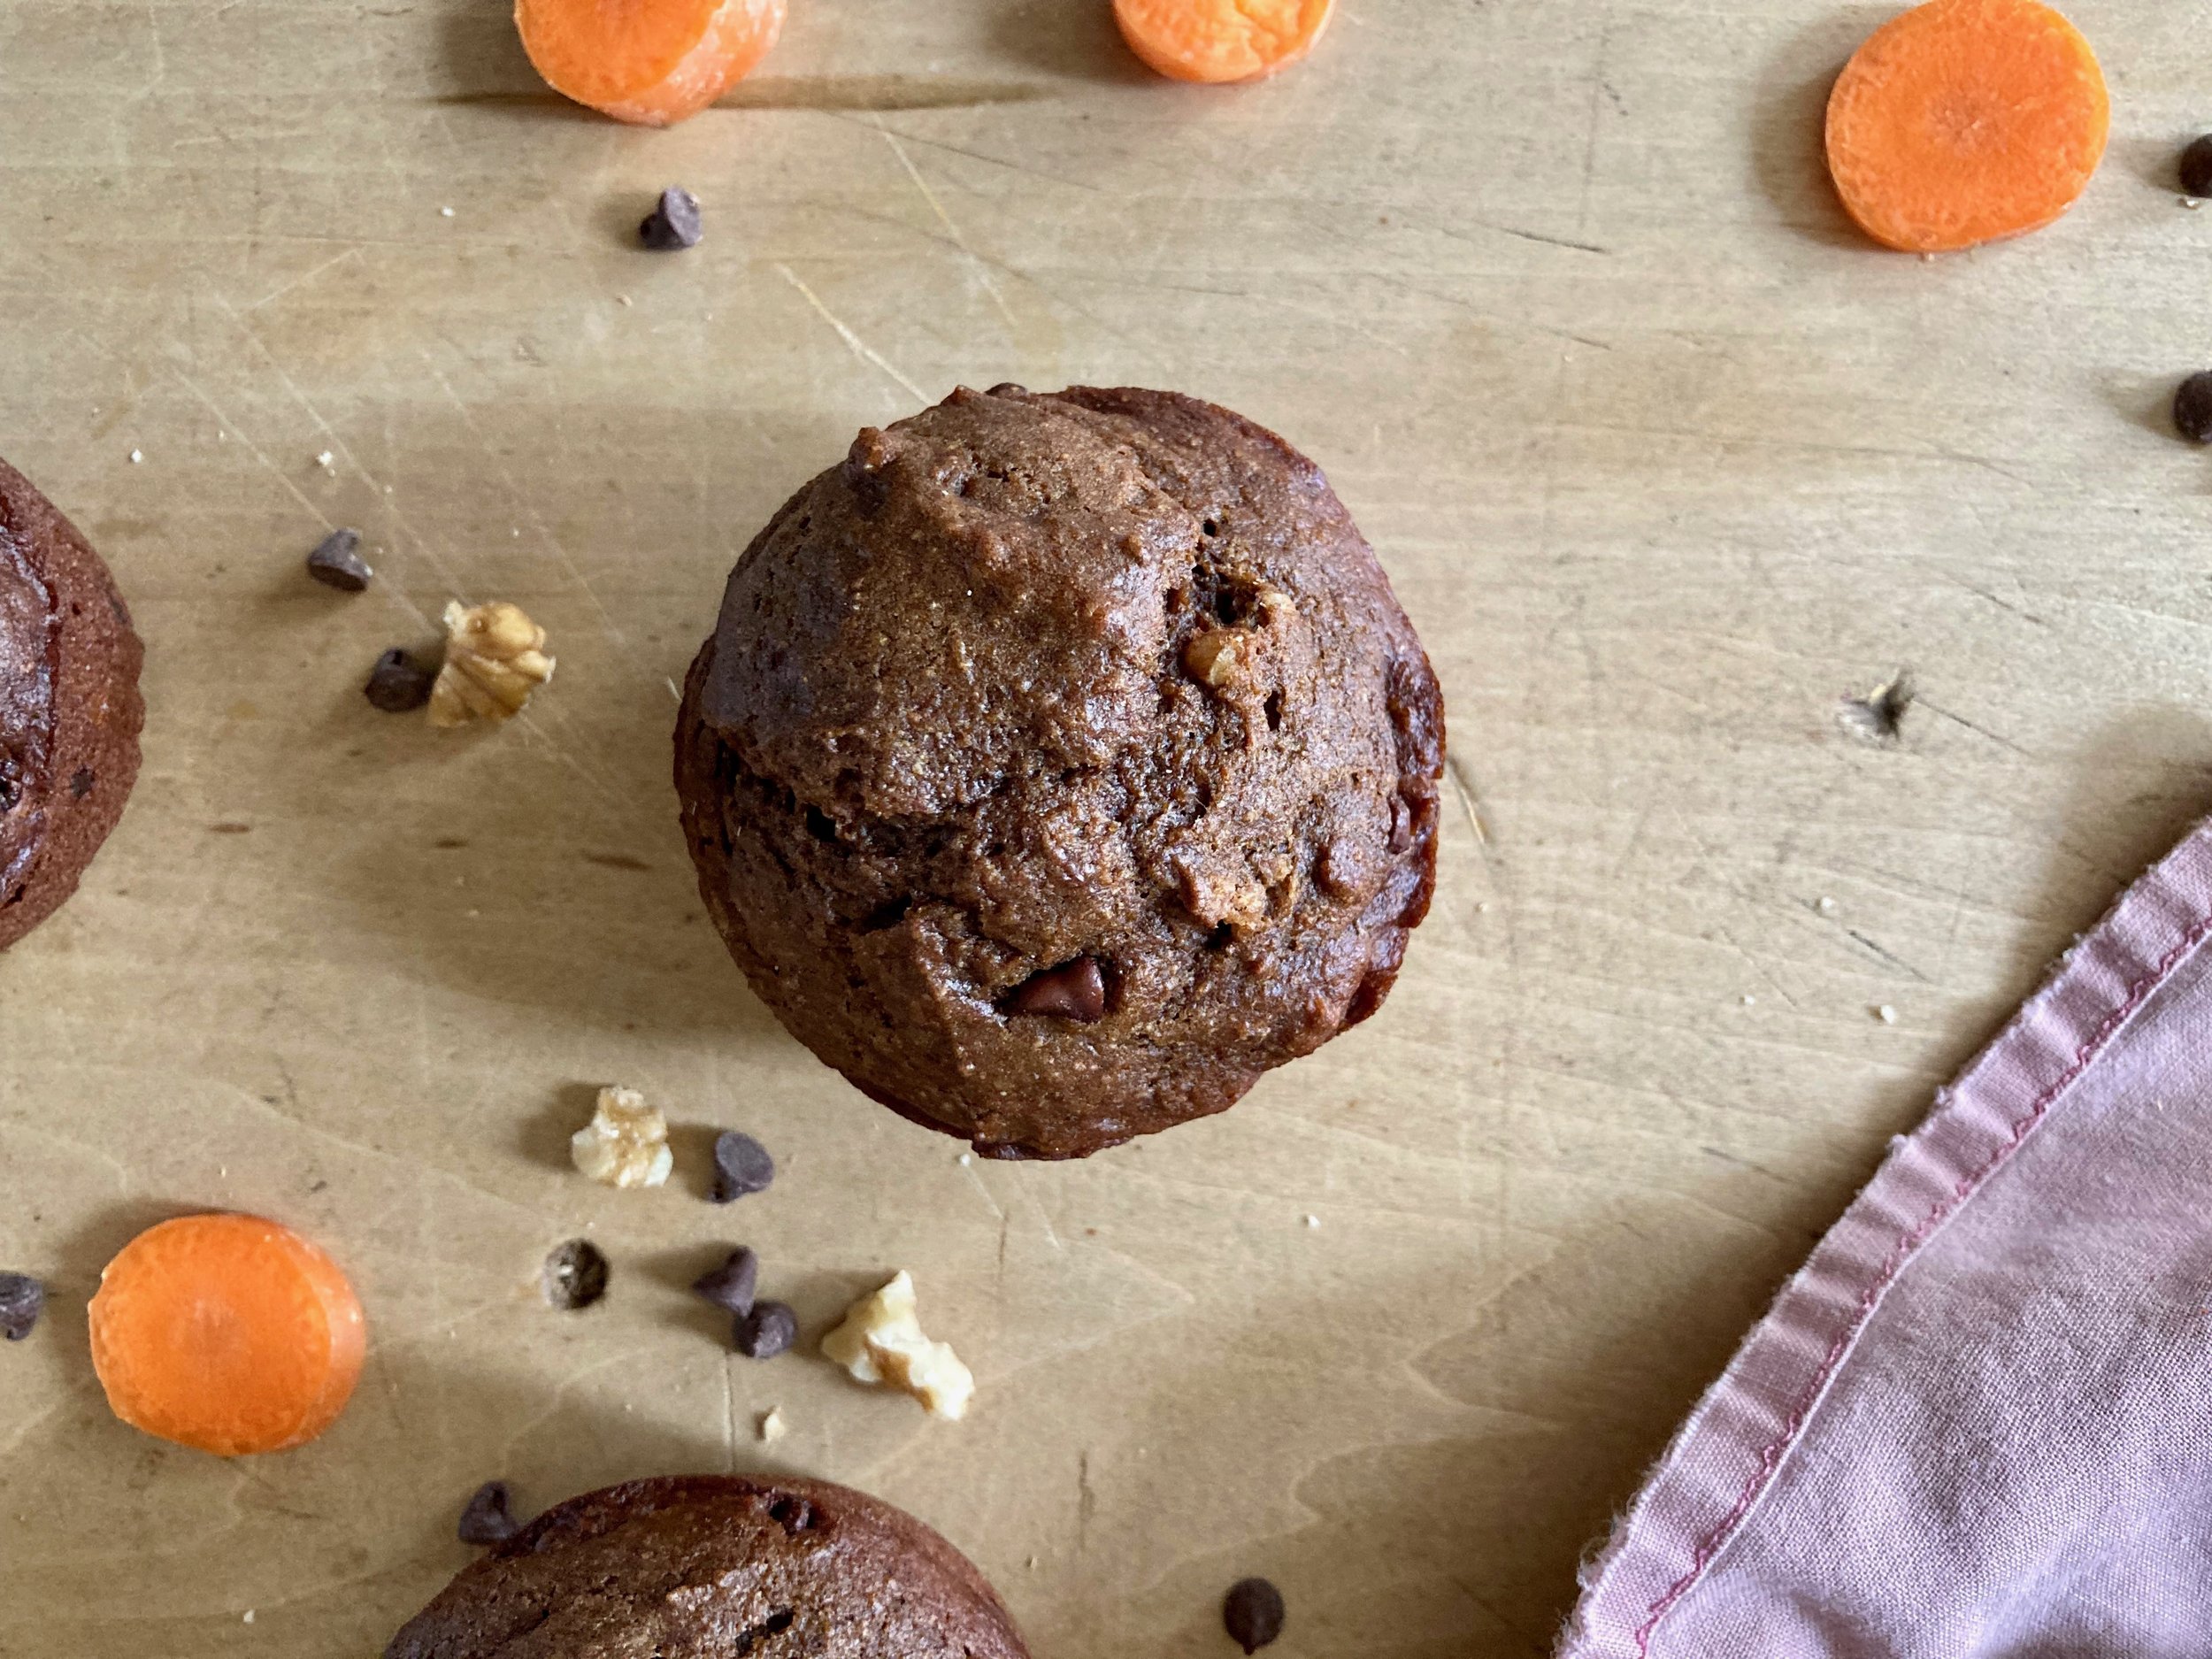
IMG_2177.jpg
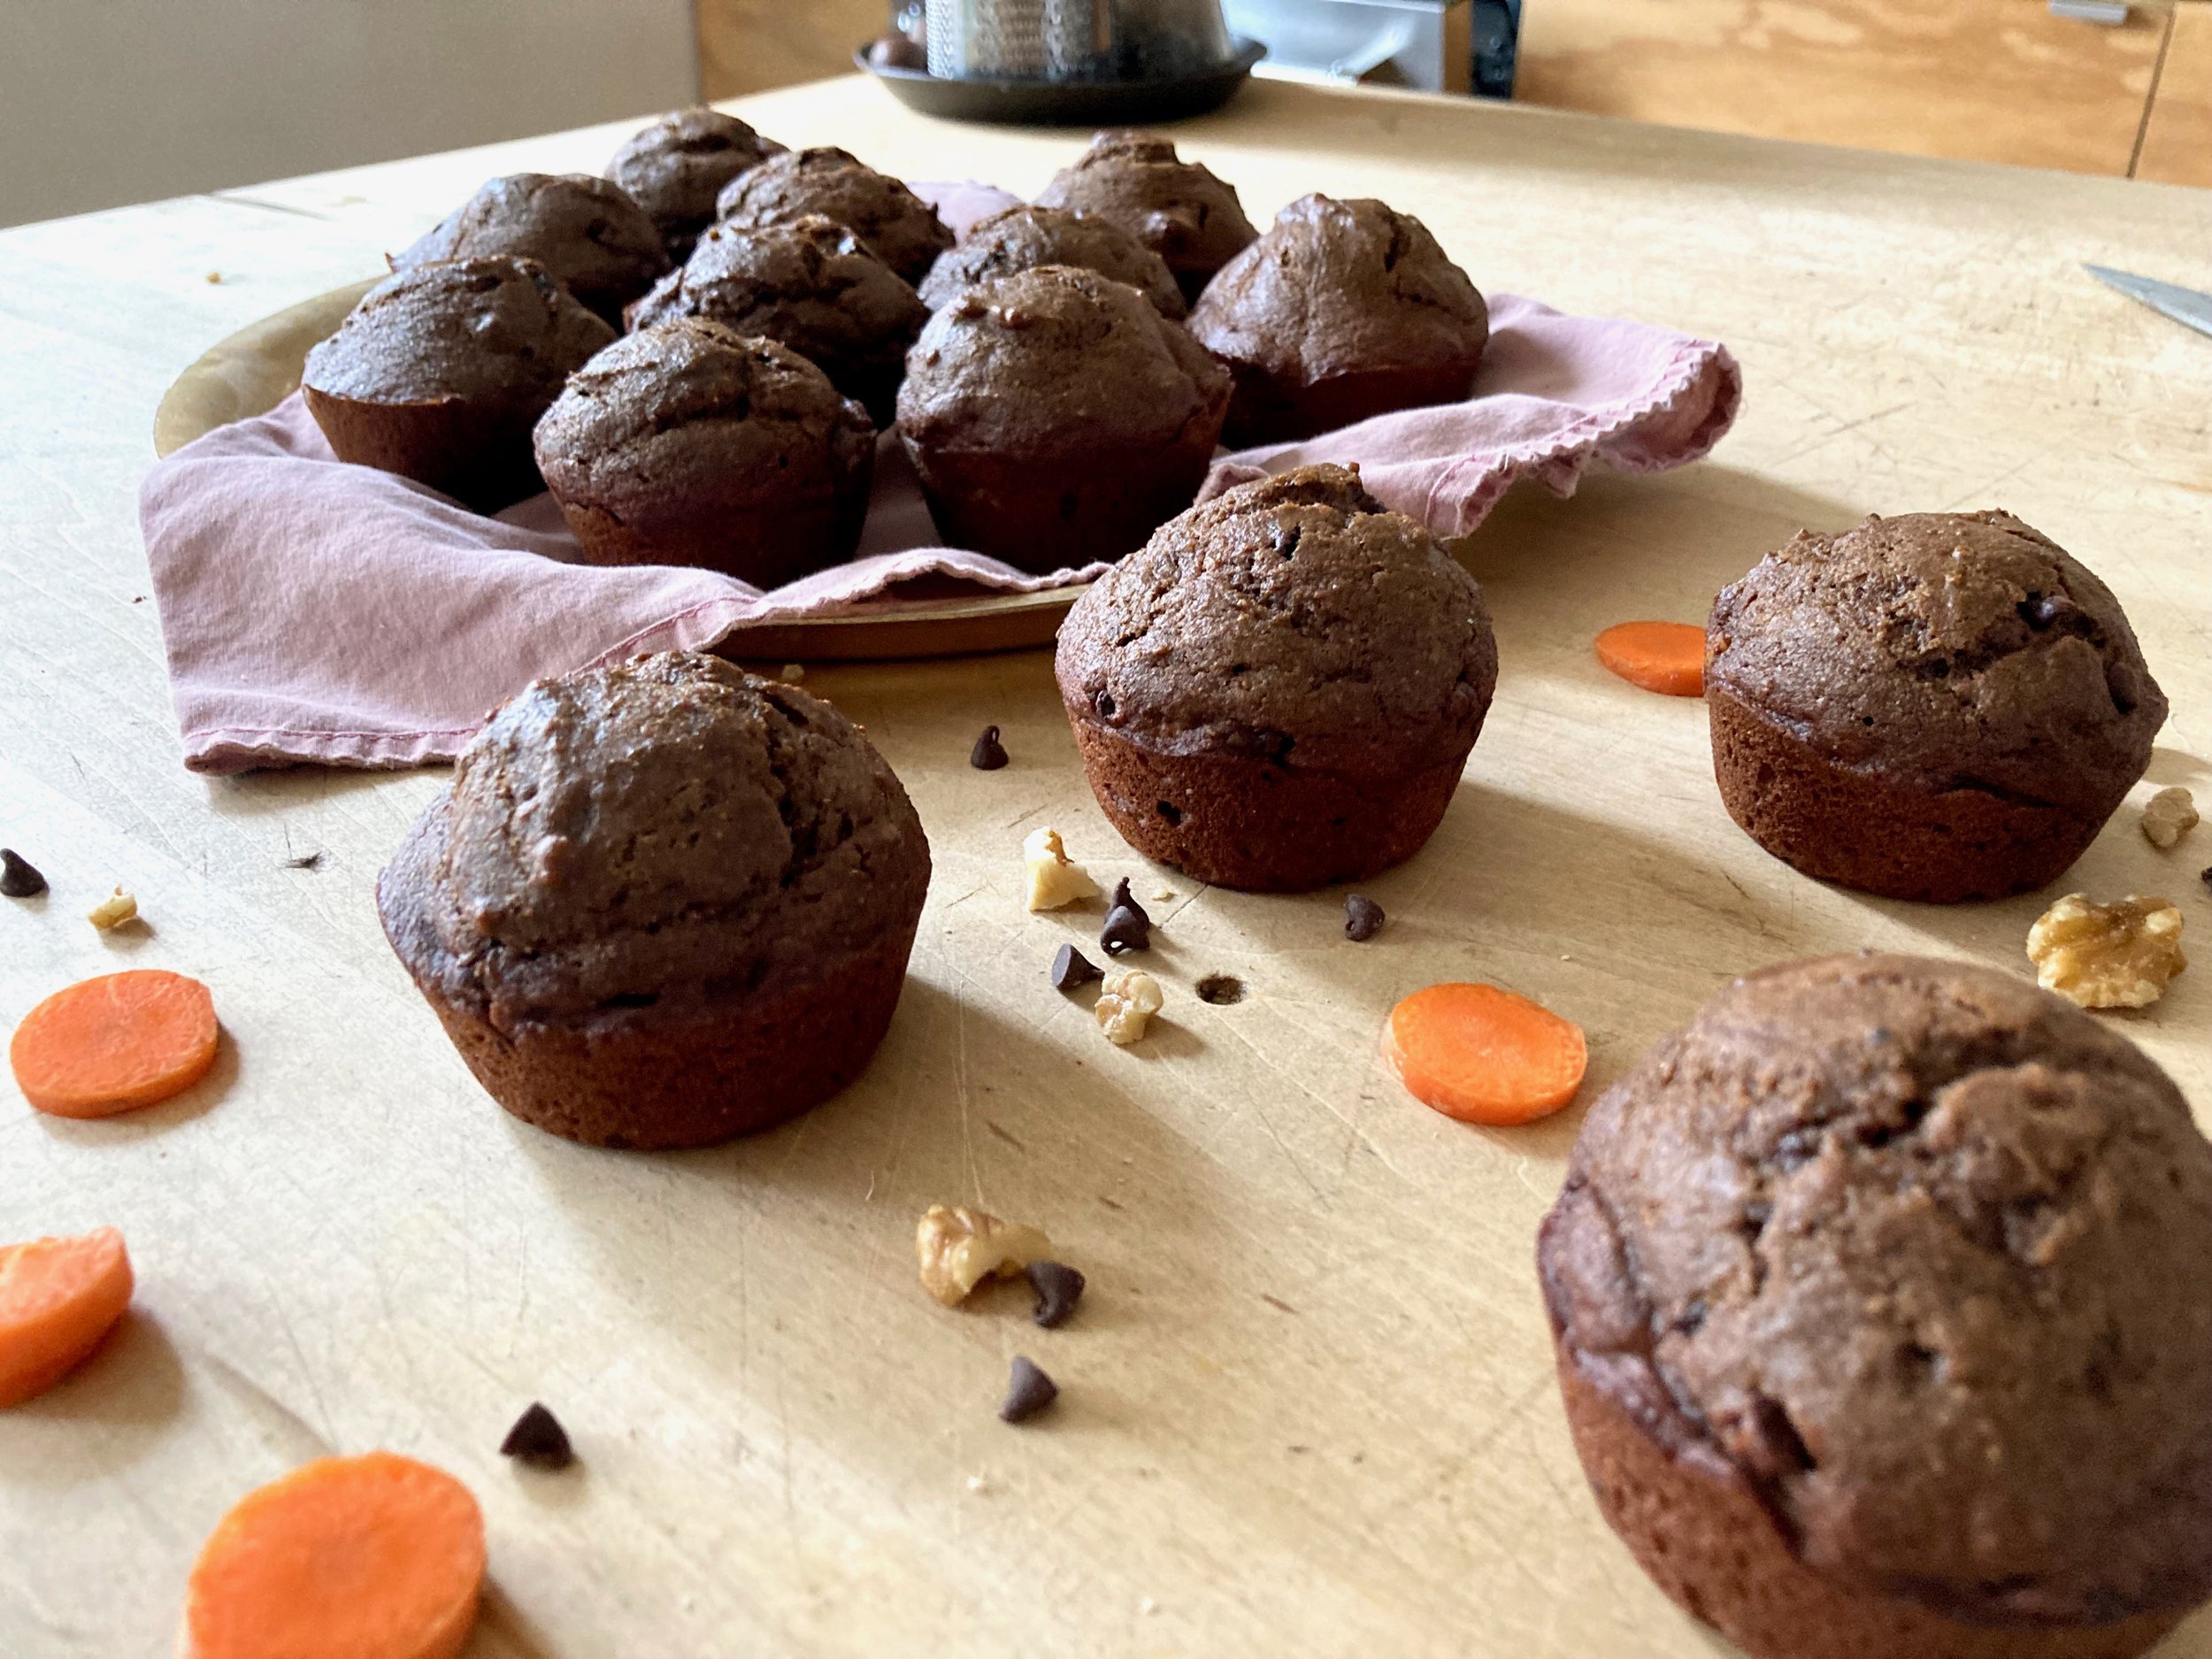
IMG_2181 2.jpg

The people in my family, they really enjoy a muffin, so I find myself making muffins more often then any other baked good. This is fine by me because muffins are pretty easy to whip up and the flavor choices are endless.

This past batch of muffins were for the purpose of a dessert like treat so I made them chocolate and because it’s spring and carrots go hand in hand (right?) they needed to have carrots too. And sure some might question the flavor combination of chocolate and carrot but let me just stop you right there and say that nothing but good things happen when you pair the flavors. Would a 15 year old girl stuff her face with these muffins otherwise?

No, no she would not.

And so I declare this another winner for delicious muffins that the people in my family will now bug me to make them. Oh the burden of being an awesome baker. It is hard sometimes. 😂. But for real.

Now to the muffins!

The stuff. Carrots, cocoa, flour, baking powder and soda. Salt, cinnamon, brown and white sugar, plant milk, oil, chocolate chips, and some walnuts,

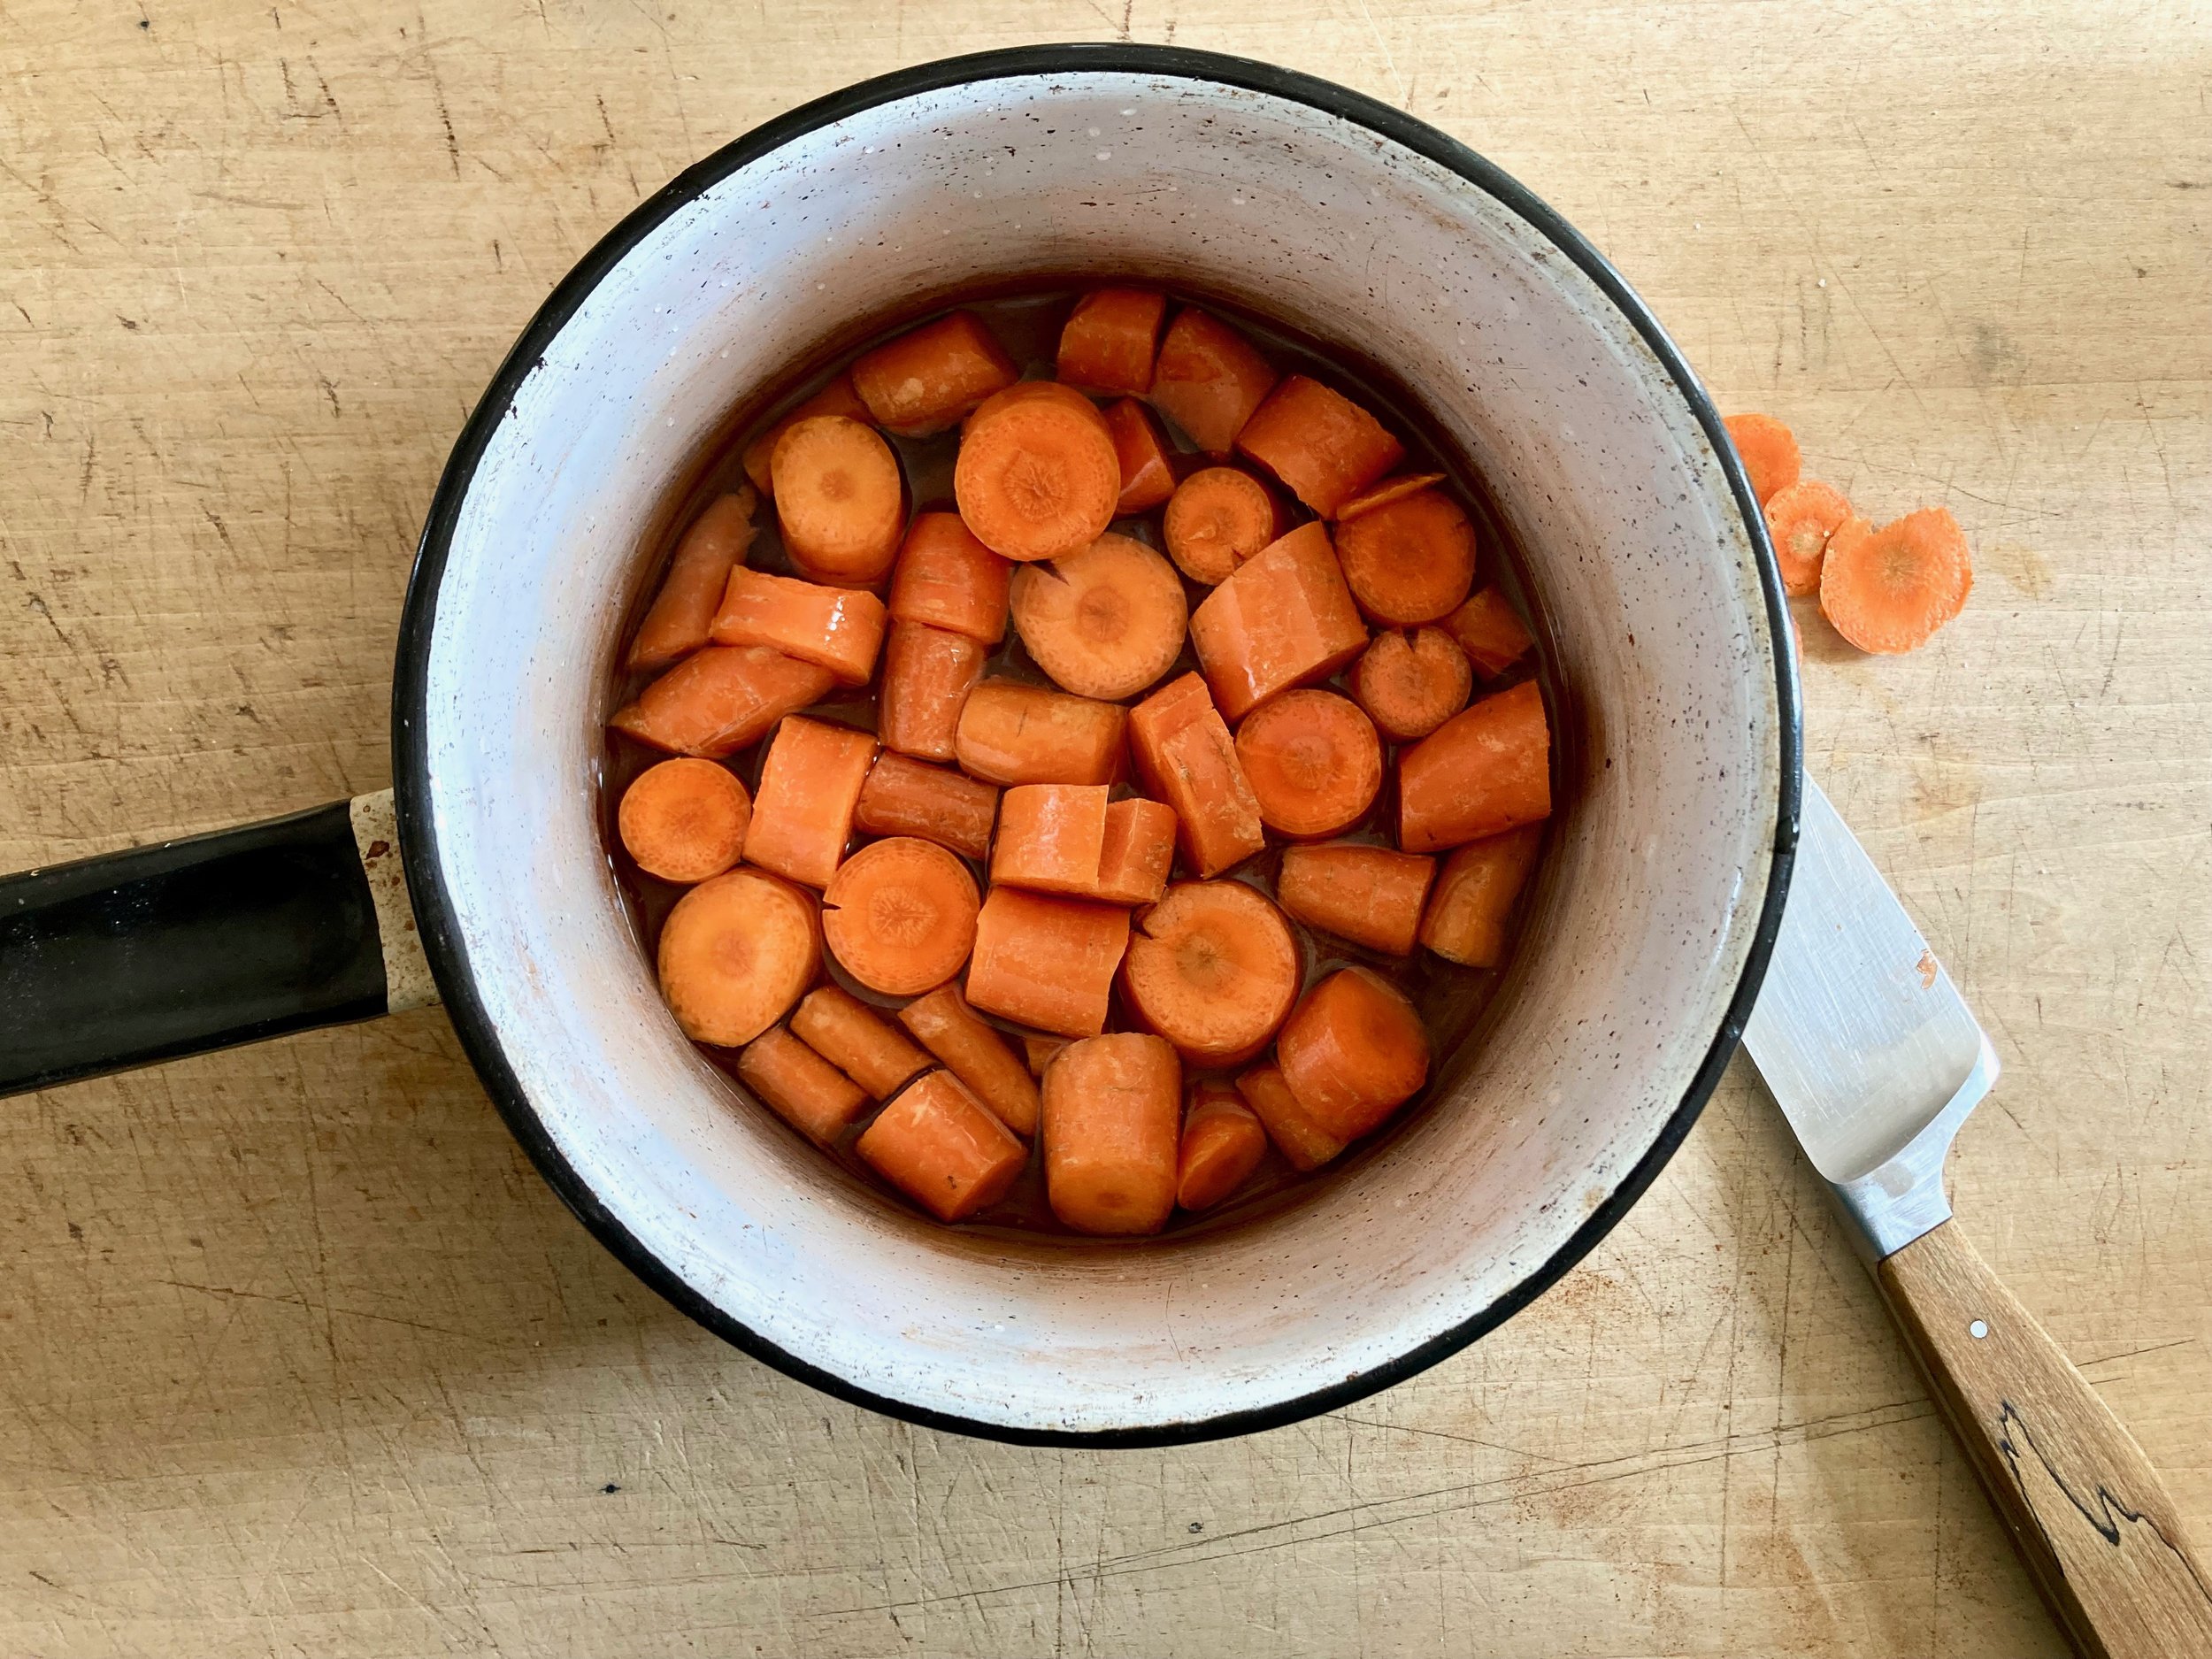
First you need to prepare the carrots so chop them up into chunks.

IMG_2046.jpg
IMG_2061.jpg
IMG_2067.jpg
IMG_2078.jpg

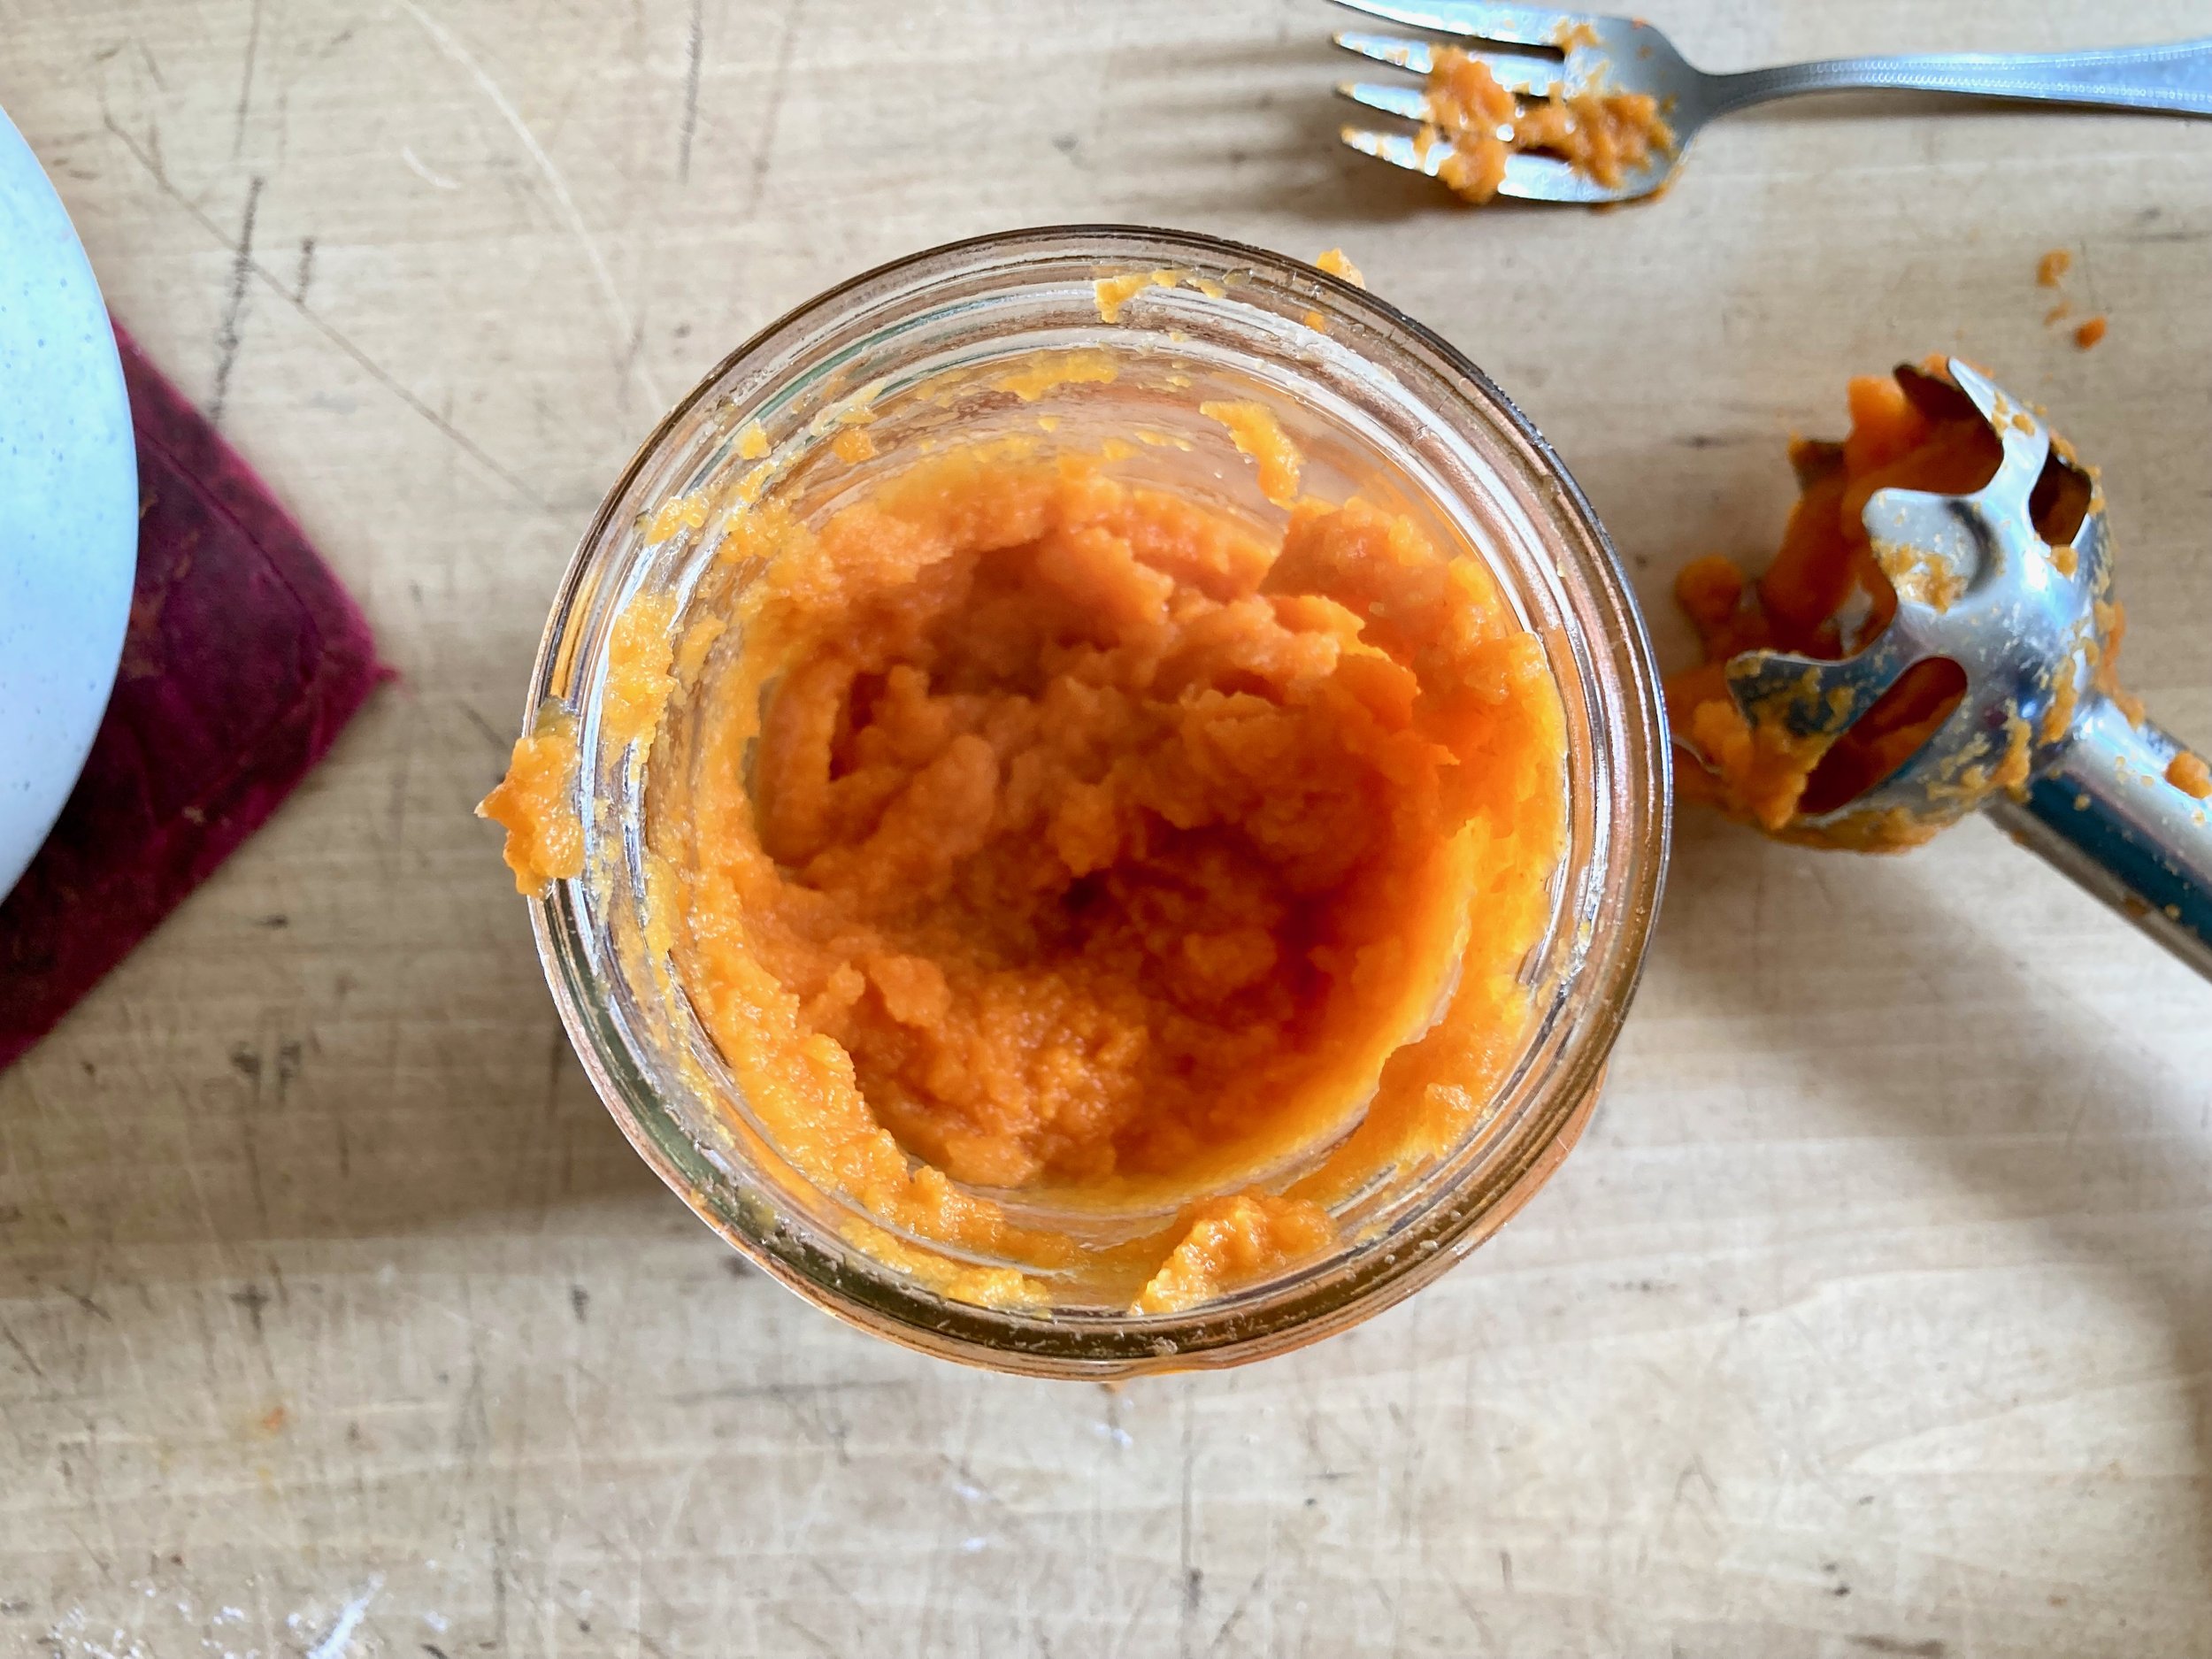
Place the chopped carrots into a pot with some water and steam until tender. Once tender, blend them up into a smooth puree.

Mix all the dry ingredients together.

IMG_2079.jpg
IMG_2087.jpg
IMG_2093.jpg
IMG_2098.jpg

And dump the carrot puree, milk, sugars, and oil into a big bowl and mix until completely combined. Add in the dry ingredients and mix until the dry is incorporated into the wet then fold in the chopped walnuts and chocolate chips.

Scoop batter into greased or lined muffin tins and pop into preheated oven.

Baked muffins.

When baked and all nice pop them out if the pan and place on a wire rack to cool.

Then you got yourself muffins to eat at your pleasure. Share if you want. No pressure.

-C


Chocolate Chocolate Chip Carrot Muffins

makes 16 muffins

  • 1 1/4 all purpose flour

  • 2/3 whole wheat flour

  • 1 teaspoon baking soda

  • 1 1/2 baking powder

  • 1 teaspoon salt

  • 1/3 cup cocoa powder

  • 1/2 cup neutral oil

  • 1 cup plant milk

  • 1/2 cup white sugar

  • 1/3 cup brown sugar

  • 1 cup carrot puree (about 4 large carrots and 1/3-1/2 cup water)

  • 1 teaspoon cinnamon

  • 1/3 cup mini chocolate chips

  • 1/2 cup chopped walnuts (optional)

preheat oven 350

Take whole carrots and cut into small chunks. Place into a pot with enough water to just cover them and place on medium heat and cover. Cook for about 8 minutes, checking after 4 or 5 minutes, unitl tender. If water completely evaporates before, just add more.

Once carrots are tender, place in a blender with about 1/3 cup cool water and blend until smooth. Add a little more water if needed to get the carrots to a smooth puree.

In a medium bowl mix together the flours, baking powder and soda, salt, cinnamon, and cocoa powder. In a large bowl mix together the oil, carrot puree, milk, and sugars until completely combined. Add in the dry and minx until everything is just incorporated (don’t over mix), then fold in the chocolate chips and chopped walnuts.

Scoop batter into well greased or line muffins pans, filling each well up about 3/4 of the way, then pop the pans into preheated oven. Bake for about 17 -20 minutes or until a poke test comes out clean.

Once baked remove from oven and pop muffins from pan. Place on a wire rack to cool.

Eat. Store muffins in a airtight container at room temapture for up to 5 days. They also freeze great as well.

In Vegetables, Vegan, sweet breads and muffins, chocolate Tags Chocolate Chocolate Chip Carrot Muffins, vegan, plant based, dairy free, egg free, whole wheat, dessert, breakfast, carrot, chocolate, easter, brunch, food
Comment

Miso Almond Cabbage Slaw

March 12, 2022 Colleen Stem

I see cabbage in your future. Why is that? Because cabbage is amazing and delicious but also because it is St. Patricks Day this coming up week and every single food store is having a massive cabbage sale. Word of advice. Buy as much of that cabbage as you can. It will last for weeks and really is super versatile, can be eaten is sooo many different ways, but basically because it is tasty as all hell.

This is just one yummy and simple way to prepare and enjoy the cabbage. Shredded up nice and fine, roasted until tender and slightly chard, then coated with a creamy miso dressing. Topped with almonds for crunch and goodness, a simple dish with all the complexity of a complex thing.

Get that cabbage.

Now to the slaw!

The stuff. You need cabbage( red and or green) plus tahini, soy, miso paste, minced garlic, powdered ginger, maple syrup, a lime, some black pepper and lastly, some almonds.

First thing first. Finely shredded up the cabbage.

Palce cabbage on a baking sheet and pop into a hot oven.

IMG_1727 2.jpg
IMG_1734.jpg

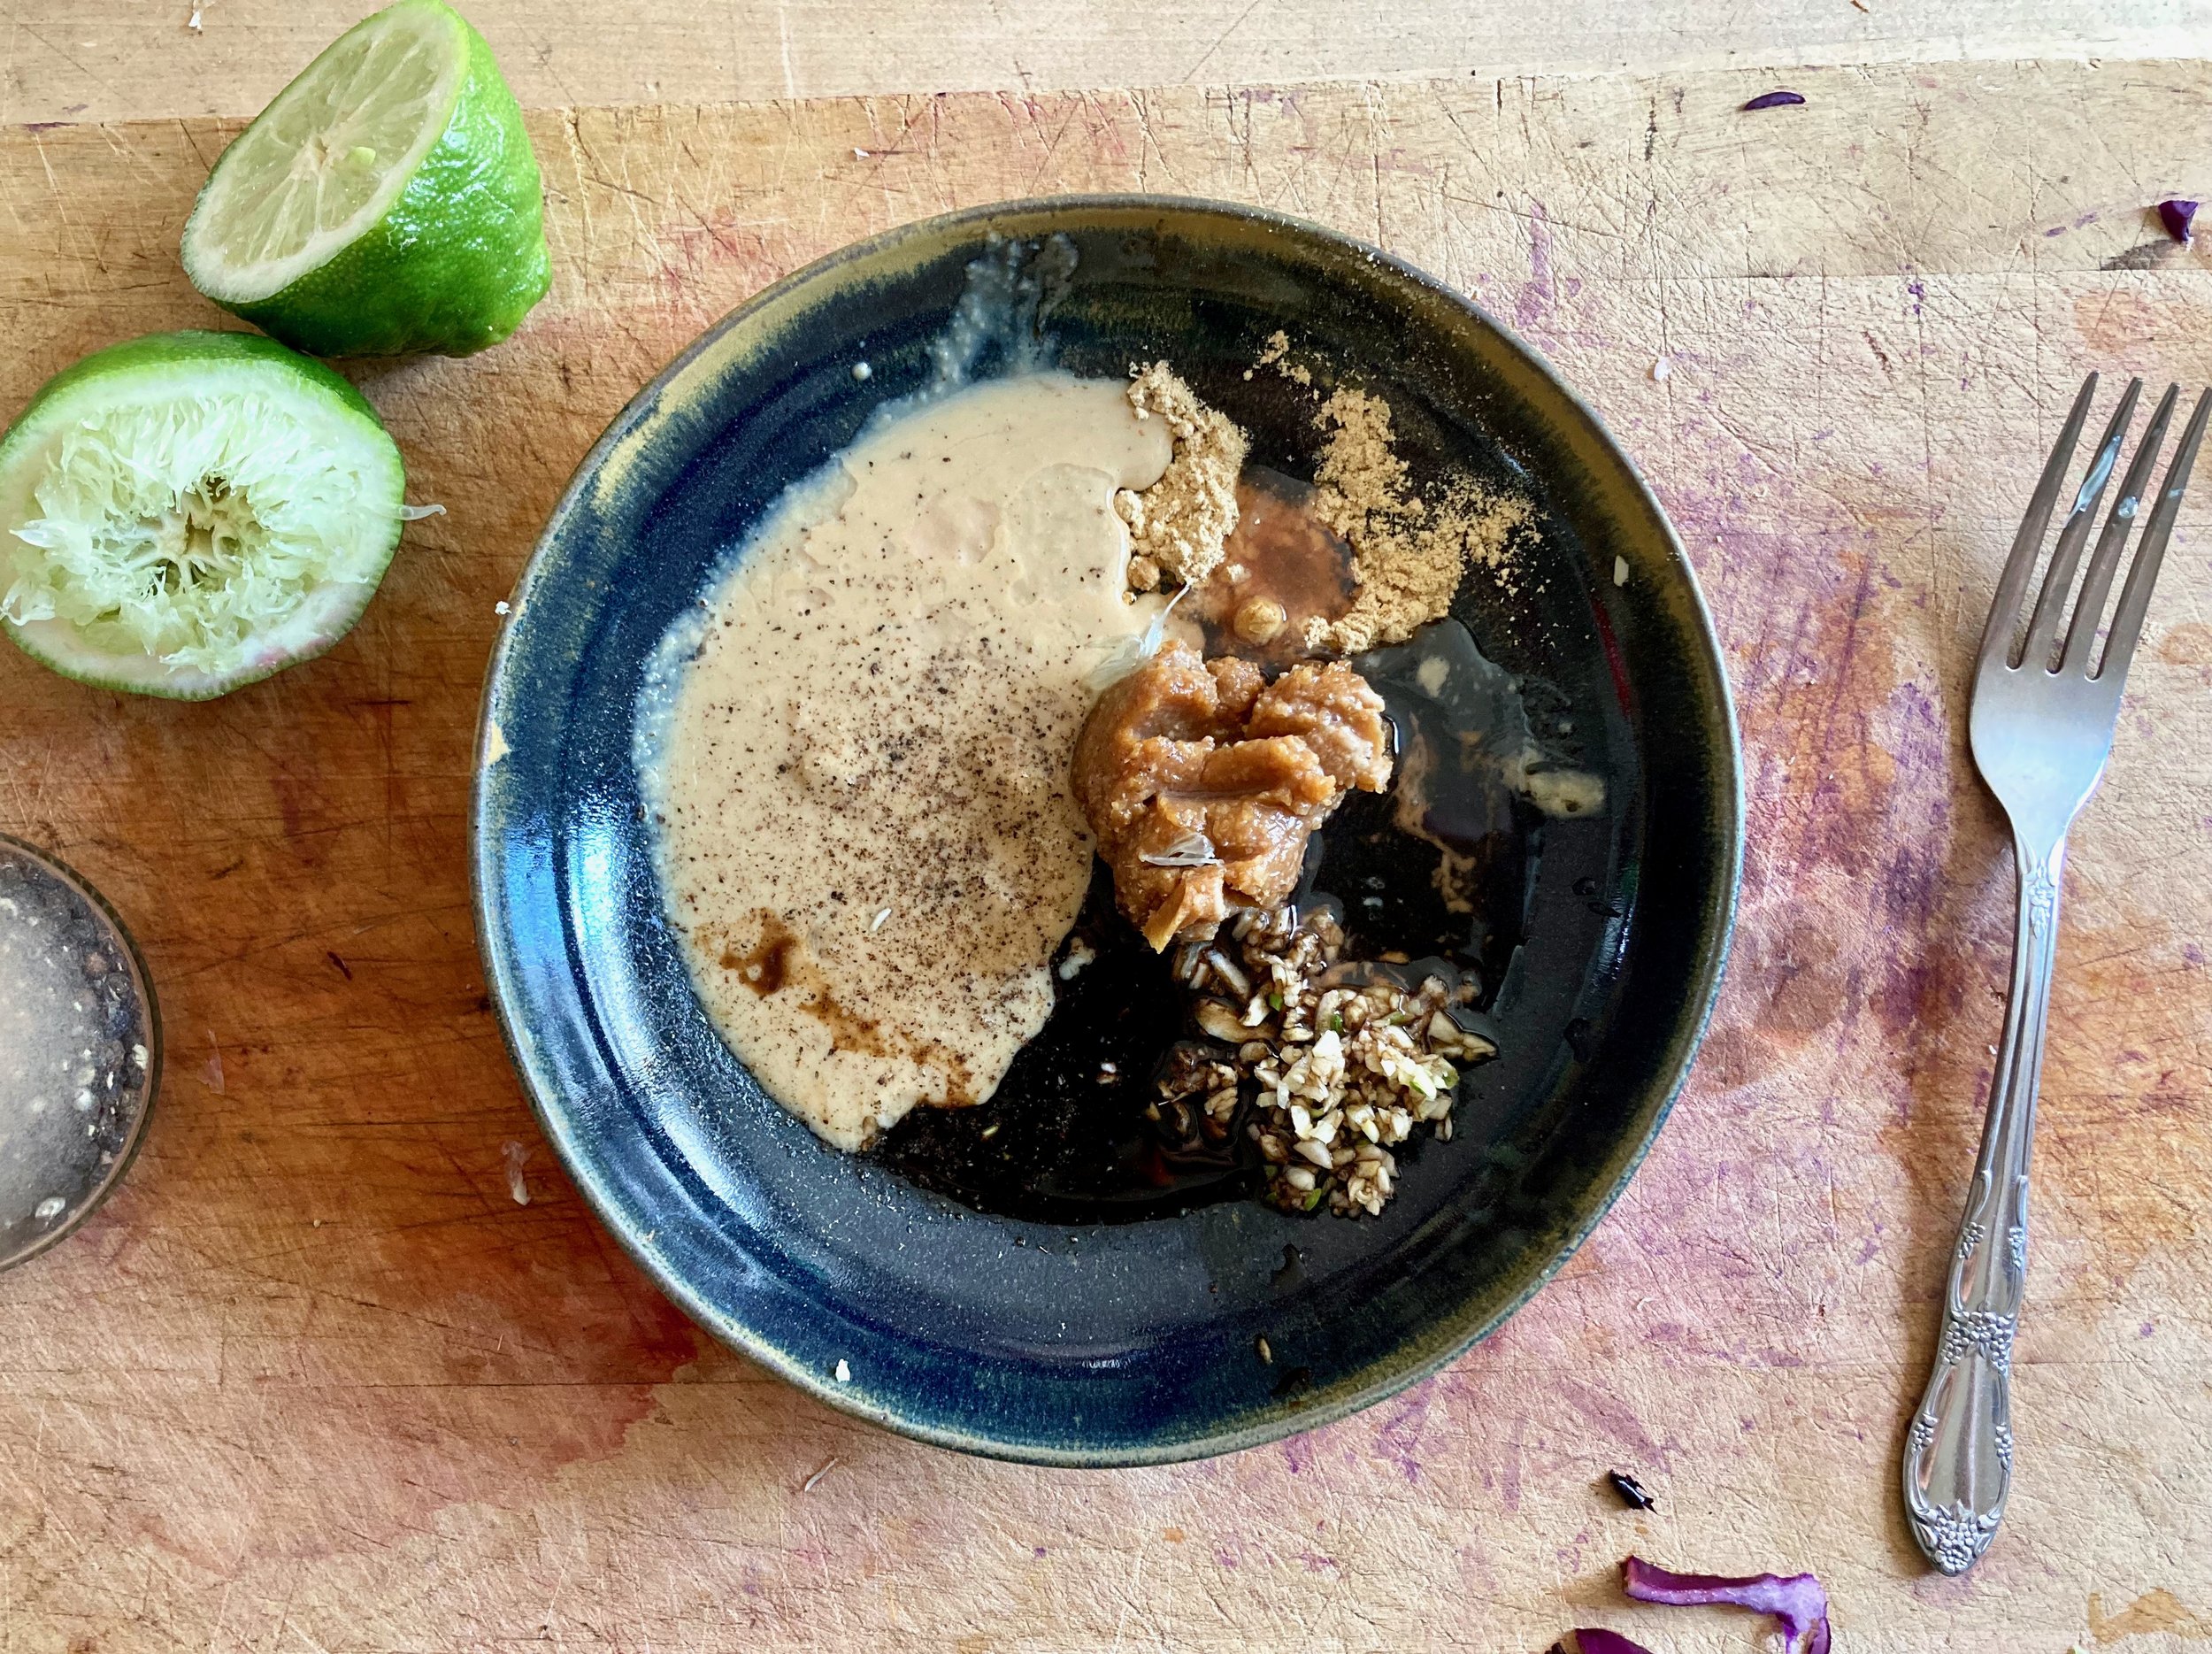
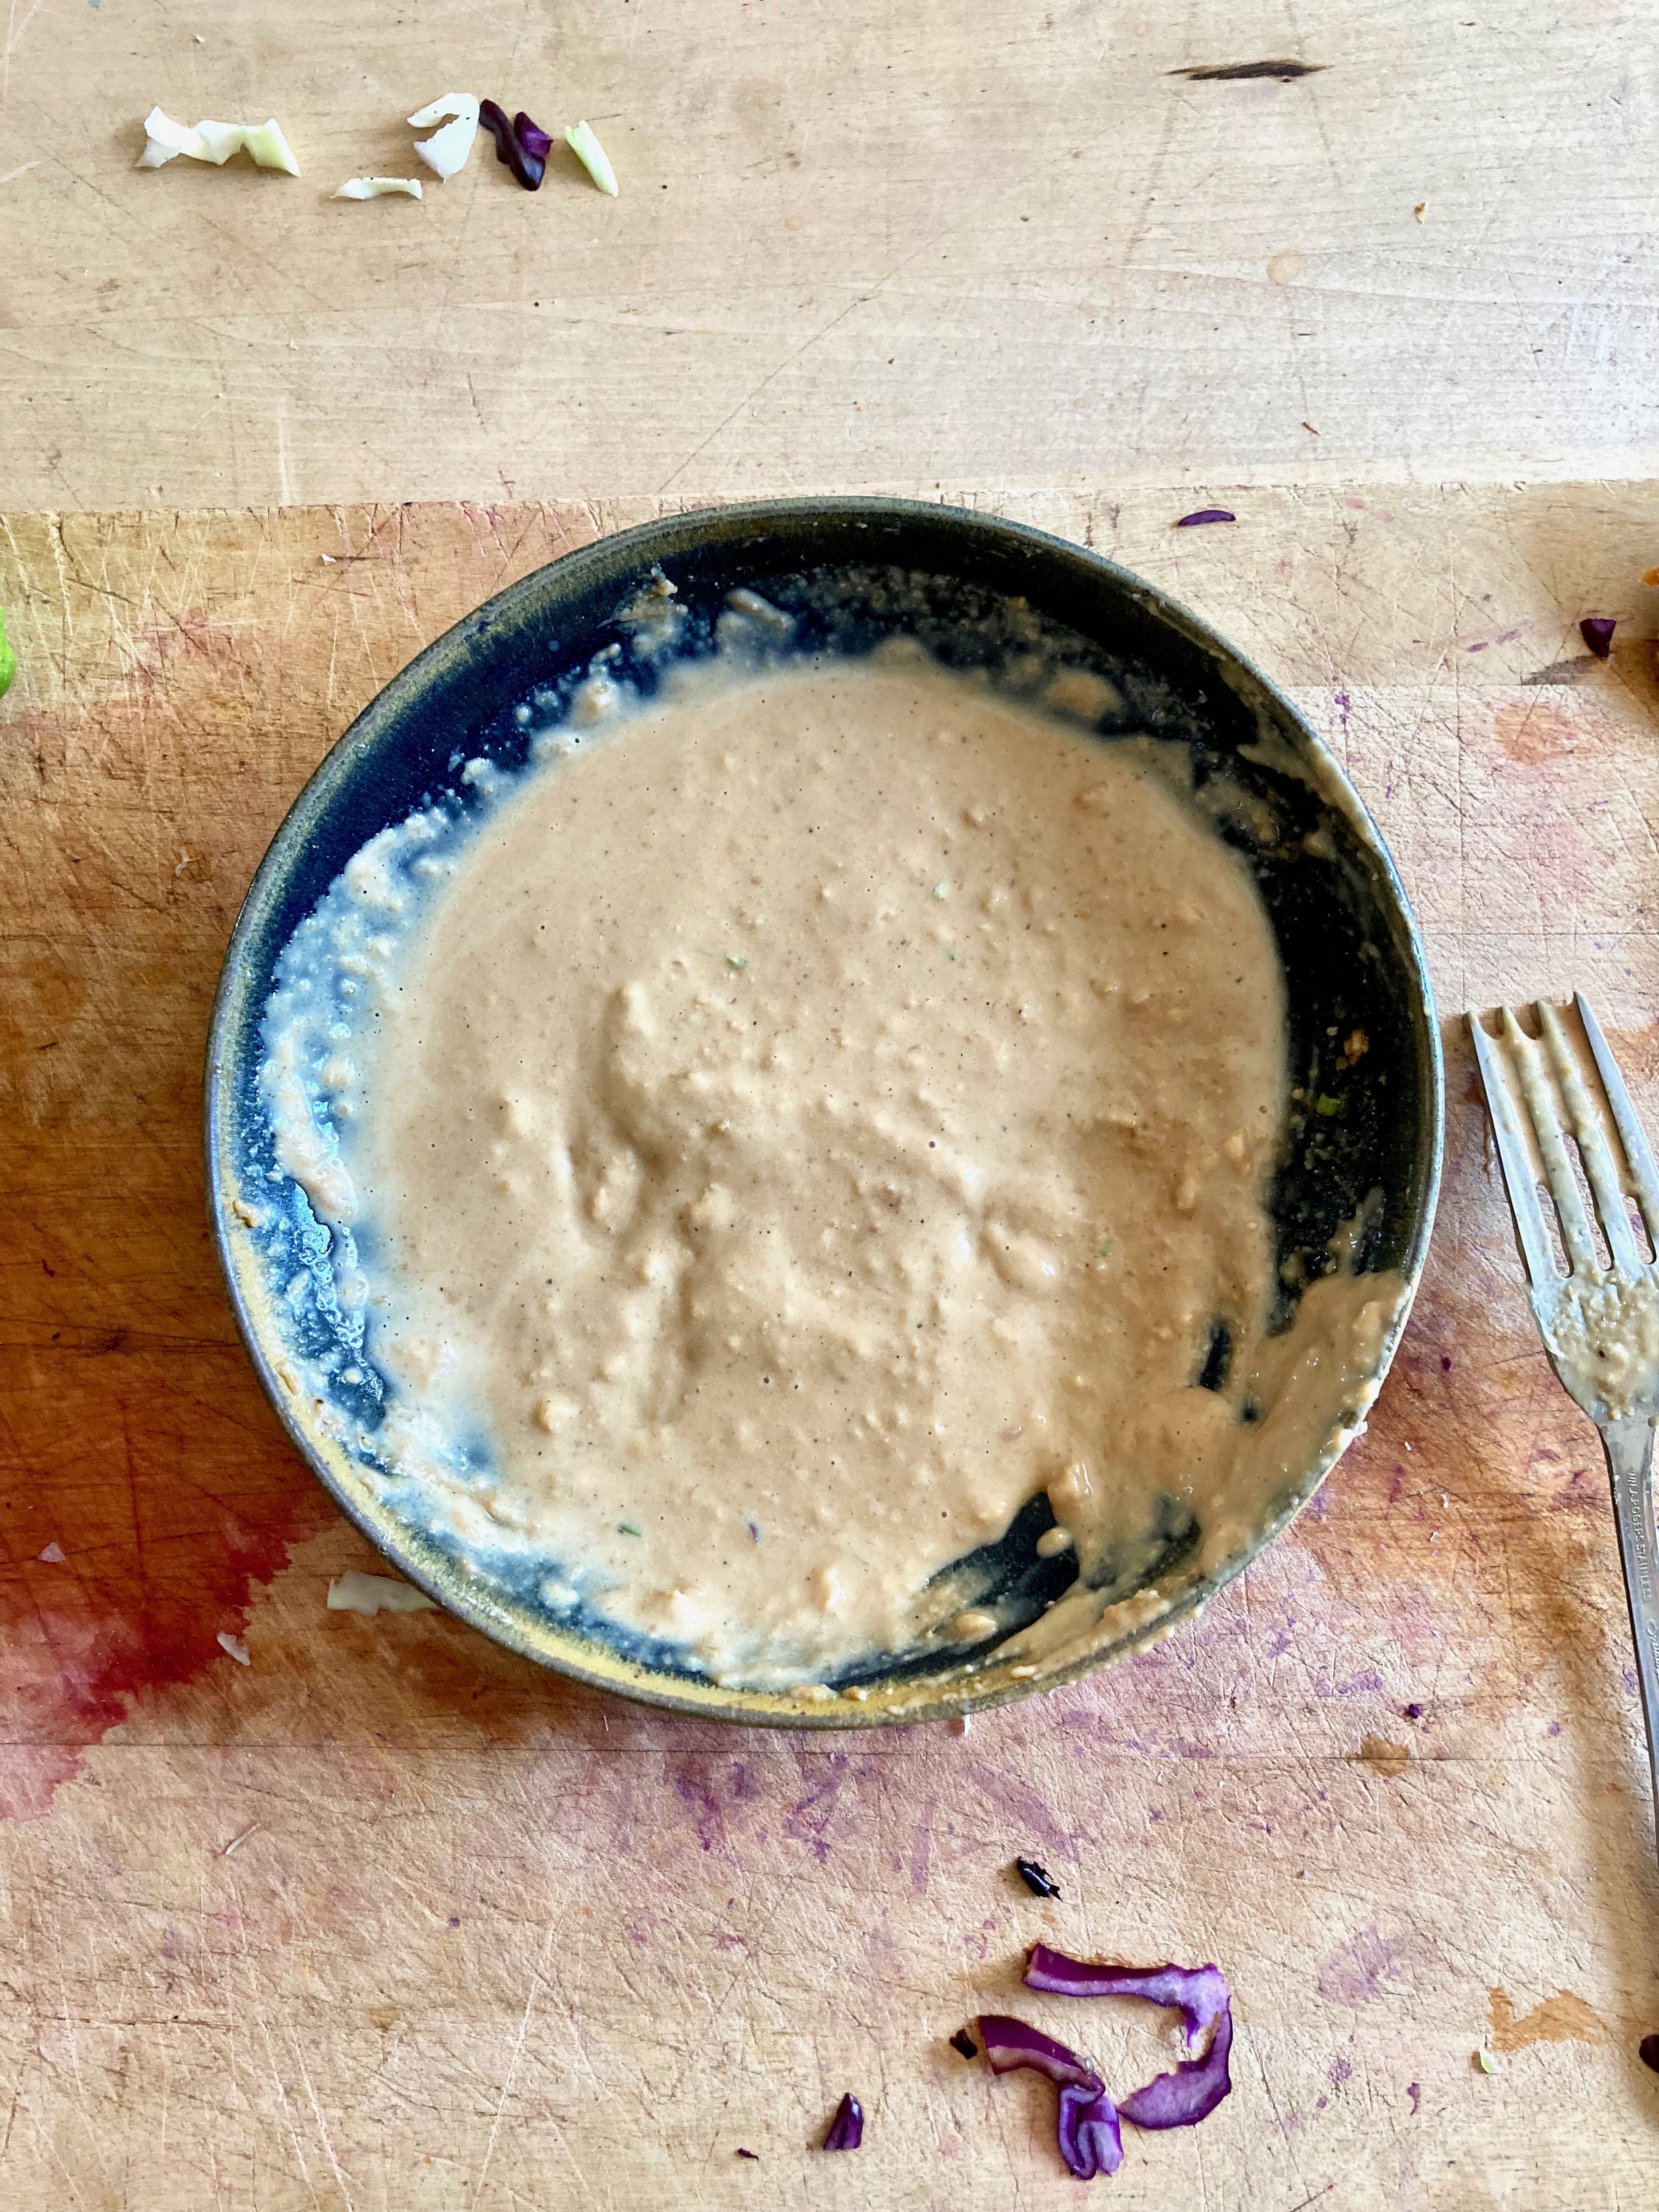
While the cabbage is roasting, mix up the miso dressing. Place everything in a bowl, mix together with a little hot water until creamy and not to thick, and that’s it.

Pulled from the oven you have tender and chard cabbage. So good.

Dump cabbage into a big bowl and pour on the dressing.

Toss it all around, then toss in the almonds.

And there you have it. The goods. All ready for eating so you should do that .

Enjoy all the cabbage!

-C


Miso Almond Cabbage Slaw

side for 3-4 people

  • 5 cups shredded cabbage (red and or green)

  • 1/3 cup toasted almonds

  • 2 teaspoons tahini

  • 3 teaspoons miso ( I used red miso but any of your favorite miso paste will do)

  • 1 teaspoon soy or tamari

  • 1 teaspoon maple syrup (more to taste)

  • 1/2 teaspoon ground ginger

  • 2 cloves garlic minced

  • 1 lime or 2 tablespoons red wine vinegar

  • 2 tablespoons warm water

  • black pepper

Preheat oven to 425.

Grab cabbage and shred with a knife or mandolin, super finely until you have 5-6 cups of shredded cabbage. Place on a lined of very lightly oiled baking sheet and spread around so the cabbage is evenly distributed . Now pop into hot oven.

In the meantime make miso dressing. Add miso, maple, soy, garlic, ginger, and the juice of the lime (or the vinegar) to a bowl and whisk until combined. Add in the hot water to thin out a bit.

Once cabbage starts to wilt and char on places, around 20-25 minutes, remove from oven. Dump cabbage into a big bowl, pour on the dressing ans toss until the cabbage evenly coated. Rough chop up the almonds and toss in. Top with black pepper to taste.

Eat.

In salad, Vegan, Vegetables, Nuts Tags Miso Almond Cabbage Slaw, vegan, food, dinner, salad, side dish, cabbage, easy, fast, almonds, plant based, healthy
Comment

Green pea and Watermelon Radish Salad

March 5, 2022 Colleen Stem

We are getting closer and closer to spring (2 weeks!) and with spring comes color, in the form of all things, food included. (I am so ready for all the greens!!!!)

Speaking of color. Have you ever cut open a watermelon radish? It is pure joy. You have this creamy white and slightly green bulb, nothing much out of the ordinary but when you slice it open the inside is the brightest purplish pink. So freaking pretty! But better then pretty, watermelon radishes taste so freaking good! And then we have peas. They are just the best bright green and creamy little gems which pair perfectly prefect with the radish.

Bright purple radish and green peas tossed together with some onion and tahini. Yes and yes. On freaking tasty as all heck salad. A true spring delight!

Now to the pretty as all heck salad!

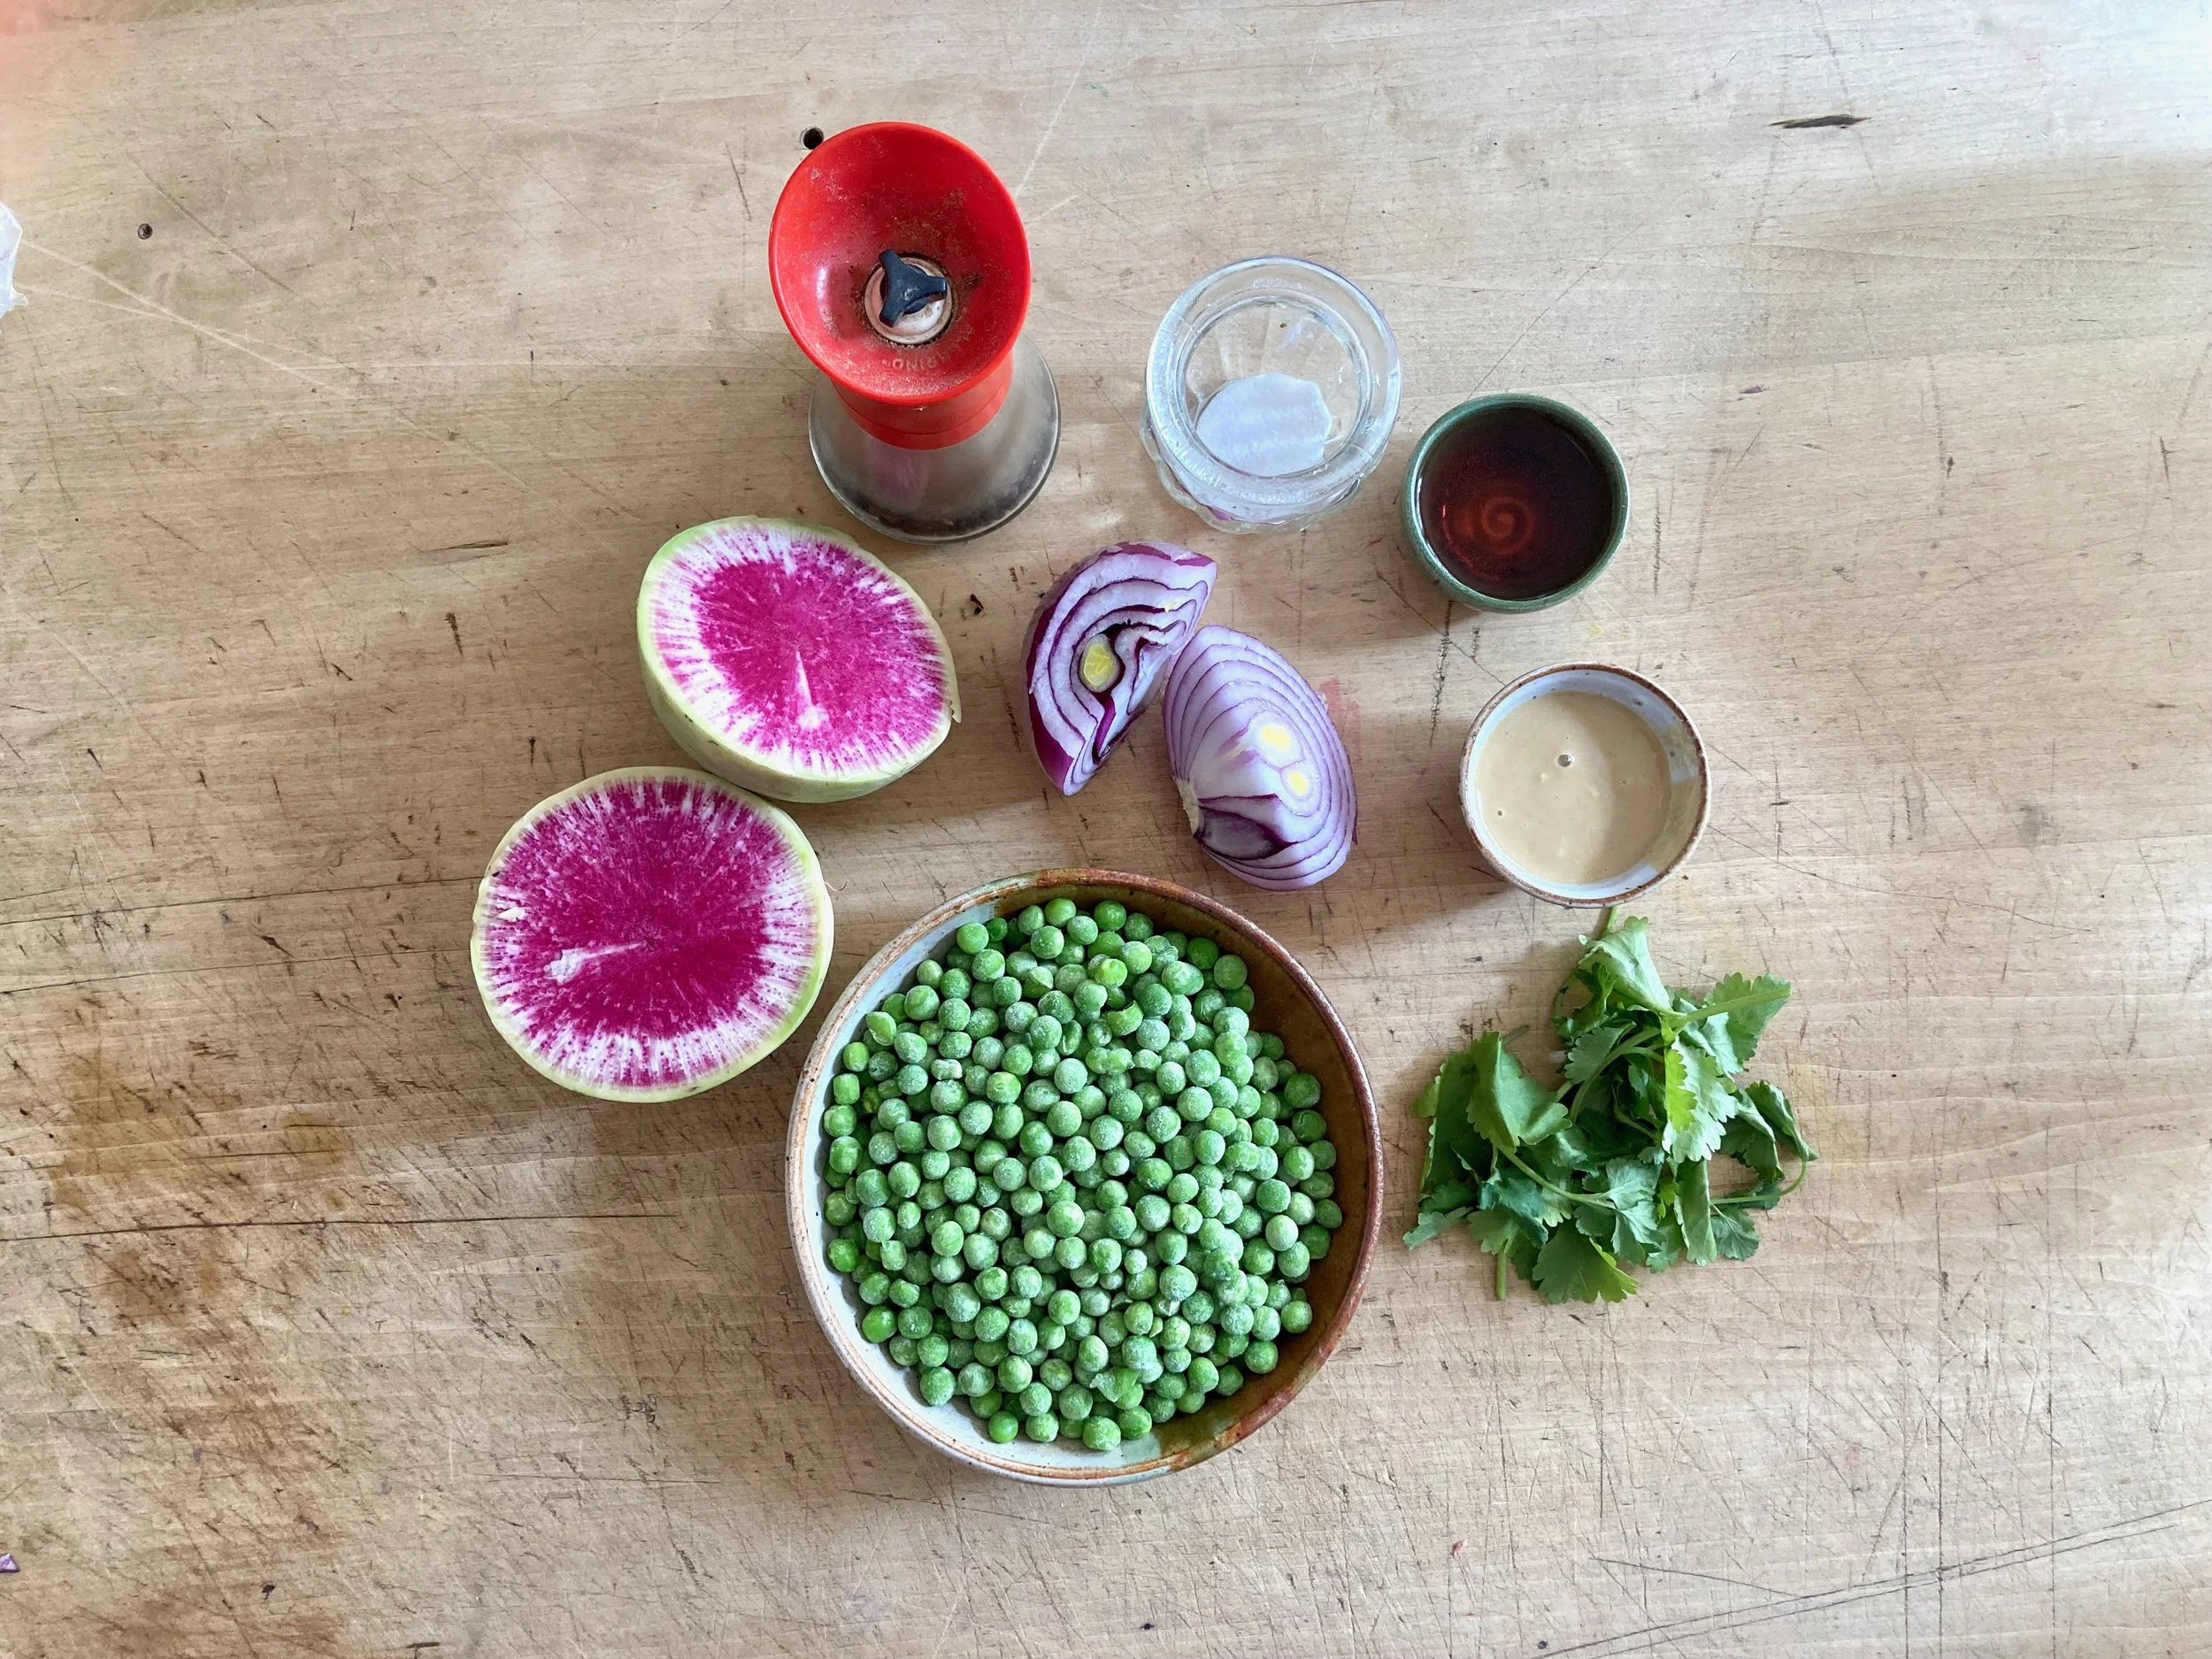
The stuff. A large watermelon radish, frozen and thawed green peas, red onion, tahini, red wine vinegar, salt and pepper, and aa small handful of cilantro.

First thing is to dice up radish. Cut into cubes about twice the size of a pea.

Place diced rashes on a lined baking sheet and pop into a hot oven.

In the mean time cut up the onion nice an thin.

IMG_1586.jpg
IMG_1592.jpg
IMG_1598.jpg

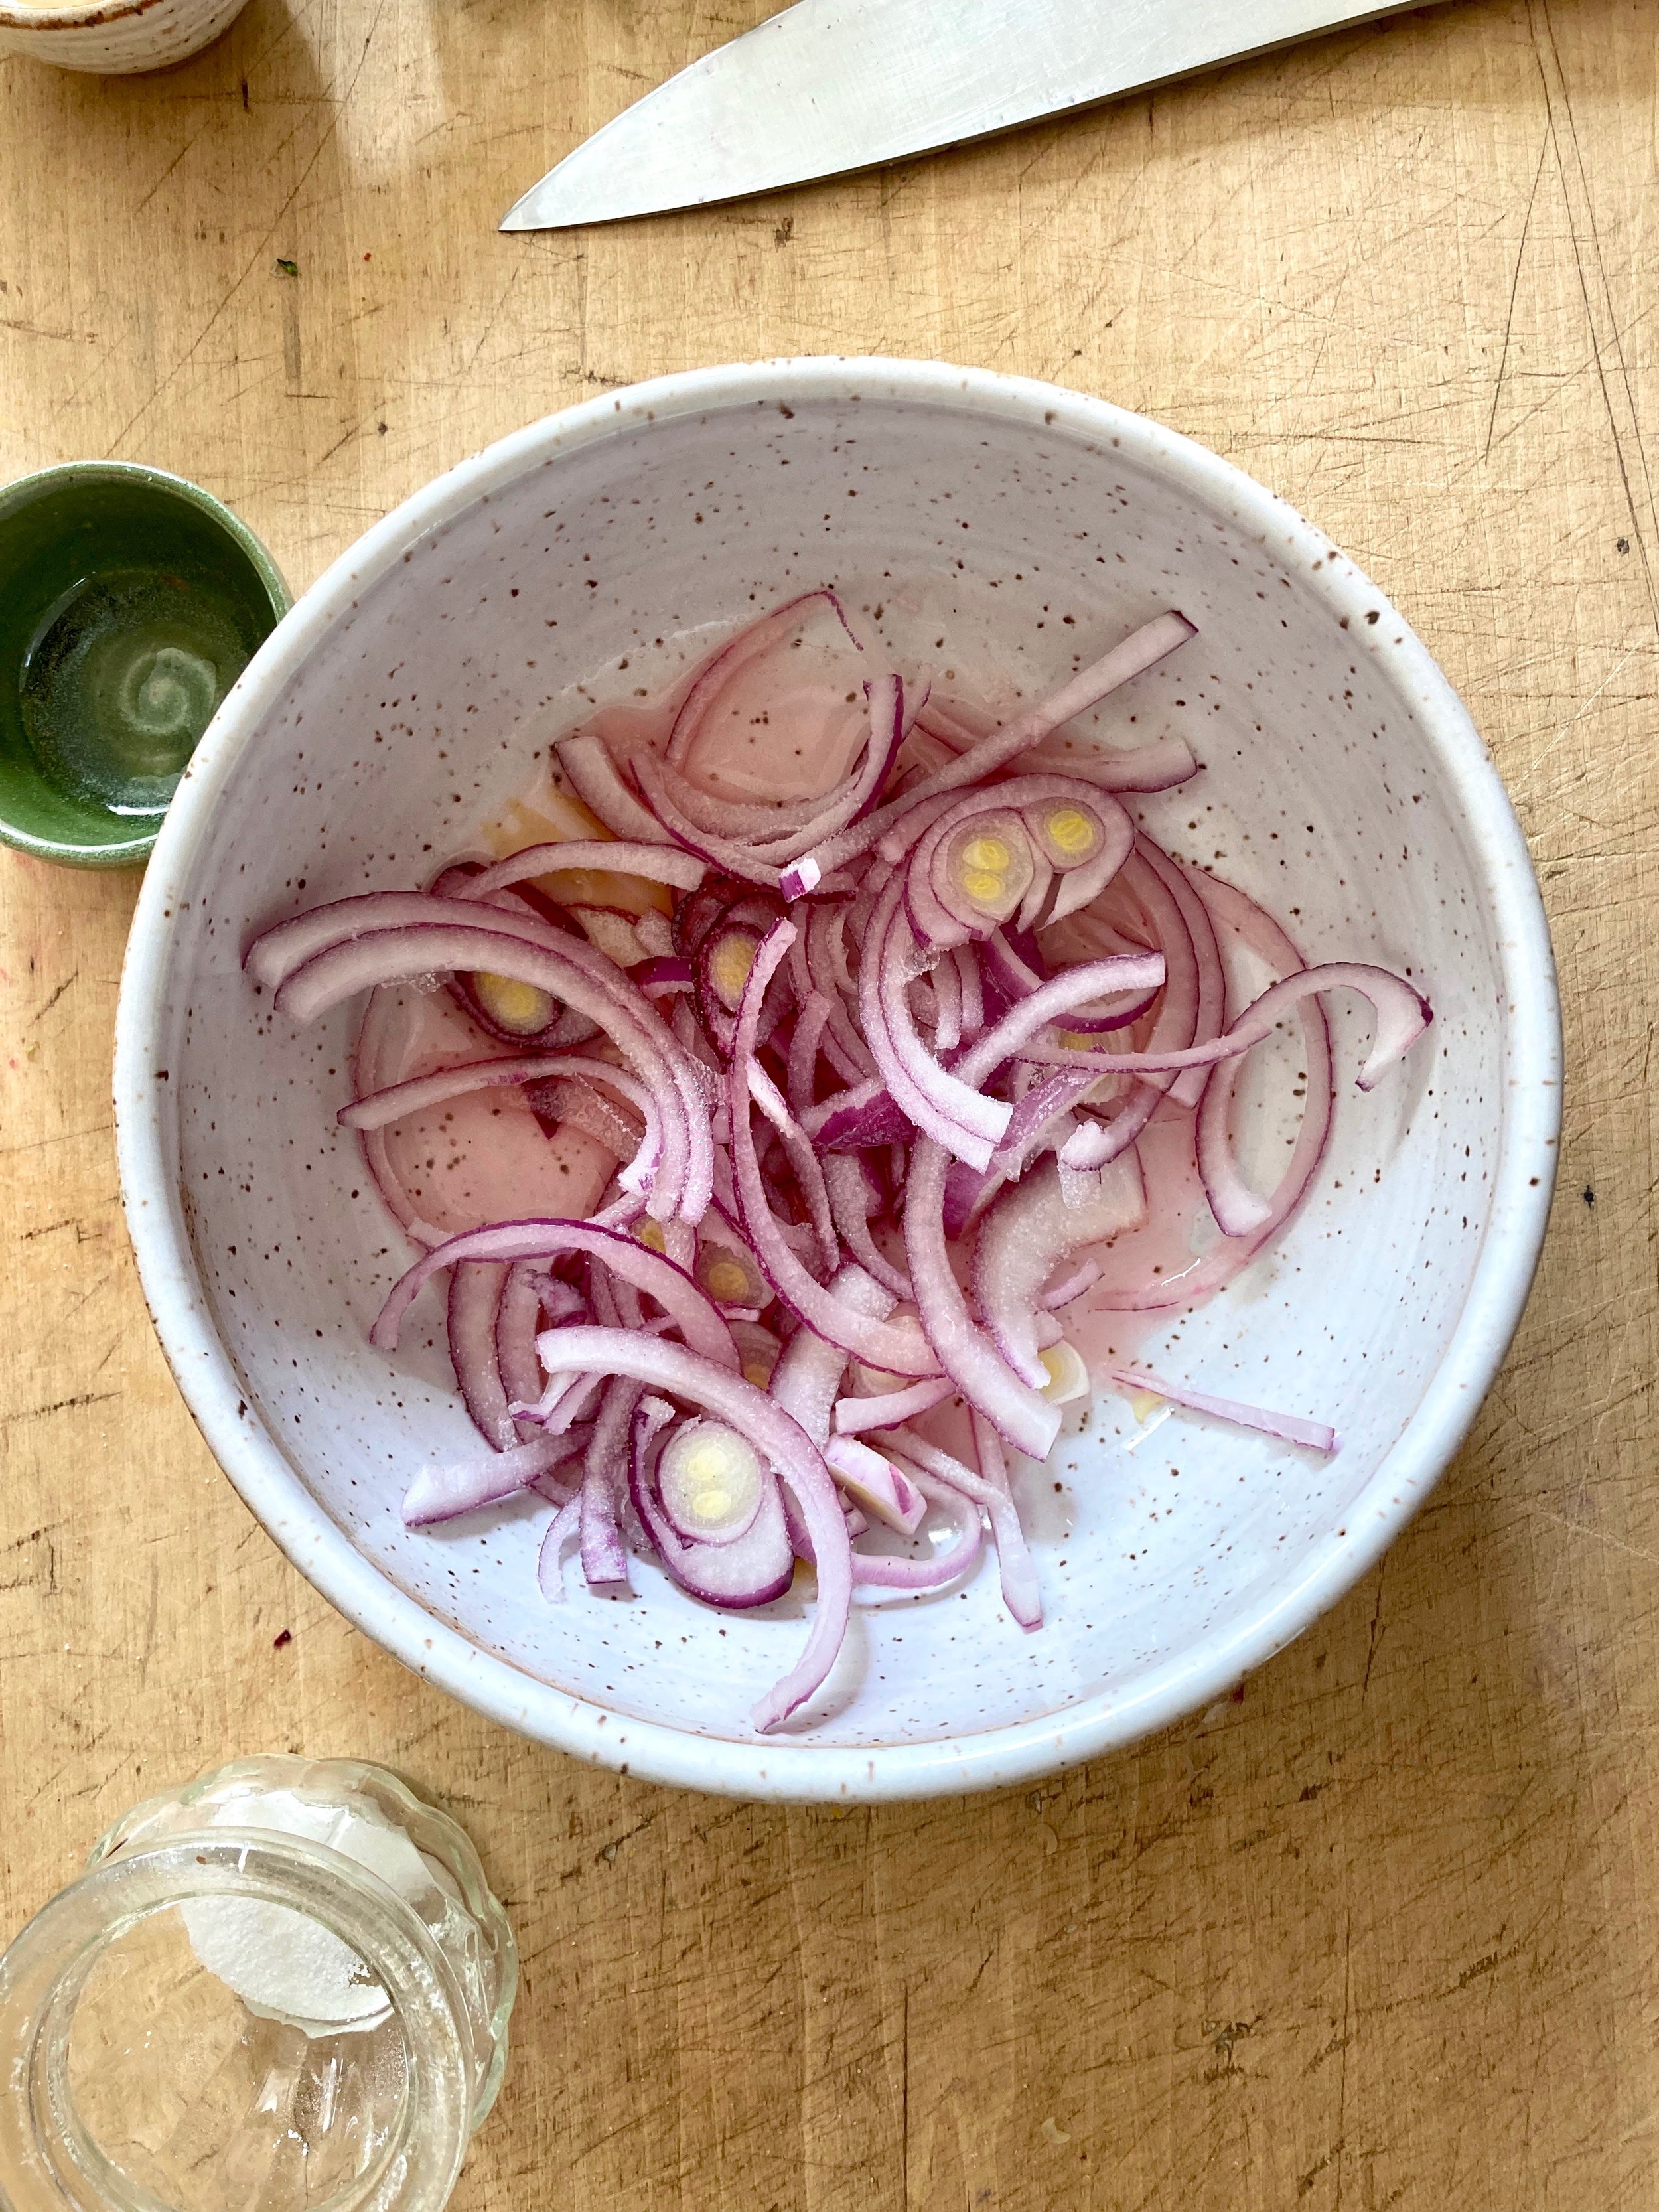
Place cut onion into a big bowl, add a sprinkle of salt, and add in the vinegar. Toss around and let sit for 5 minutes or so then add in the tahini and toss around until creamy.

Slightly roasted radishes. You can roast them more but I find a good 20 minutes so they are slightly tender and haven’t lost have much color to e the best.

Toss the peas onto the hot sheet pan with the radishes and let them sit for a fe minutes just slightly warm up.

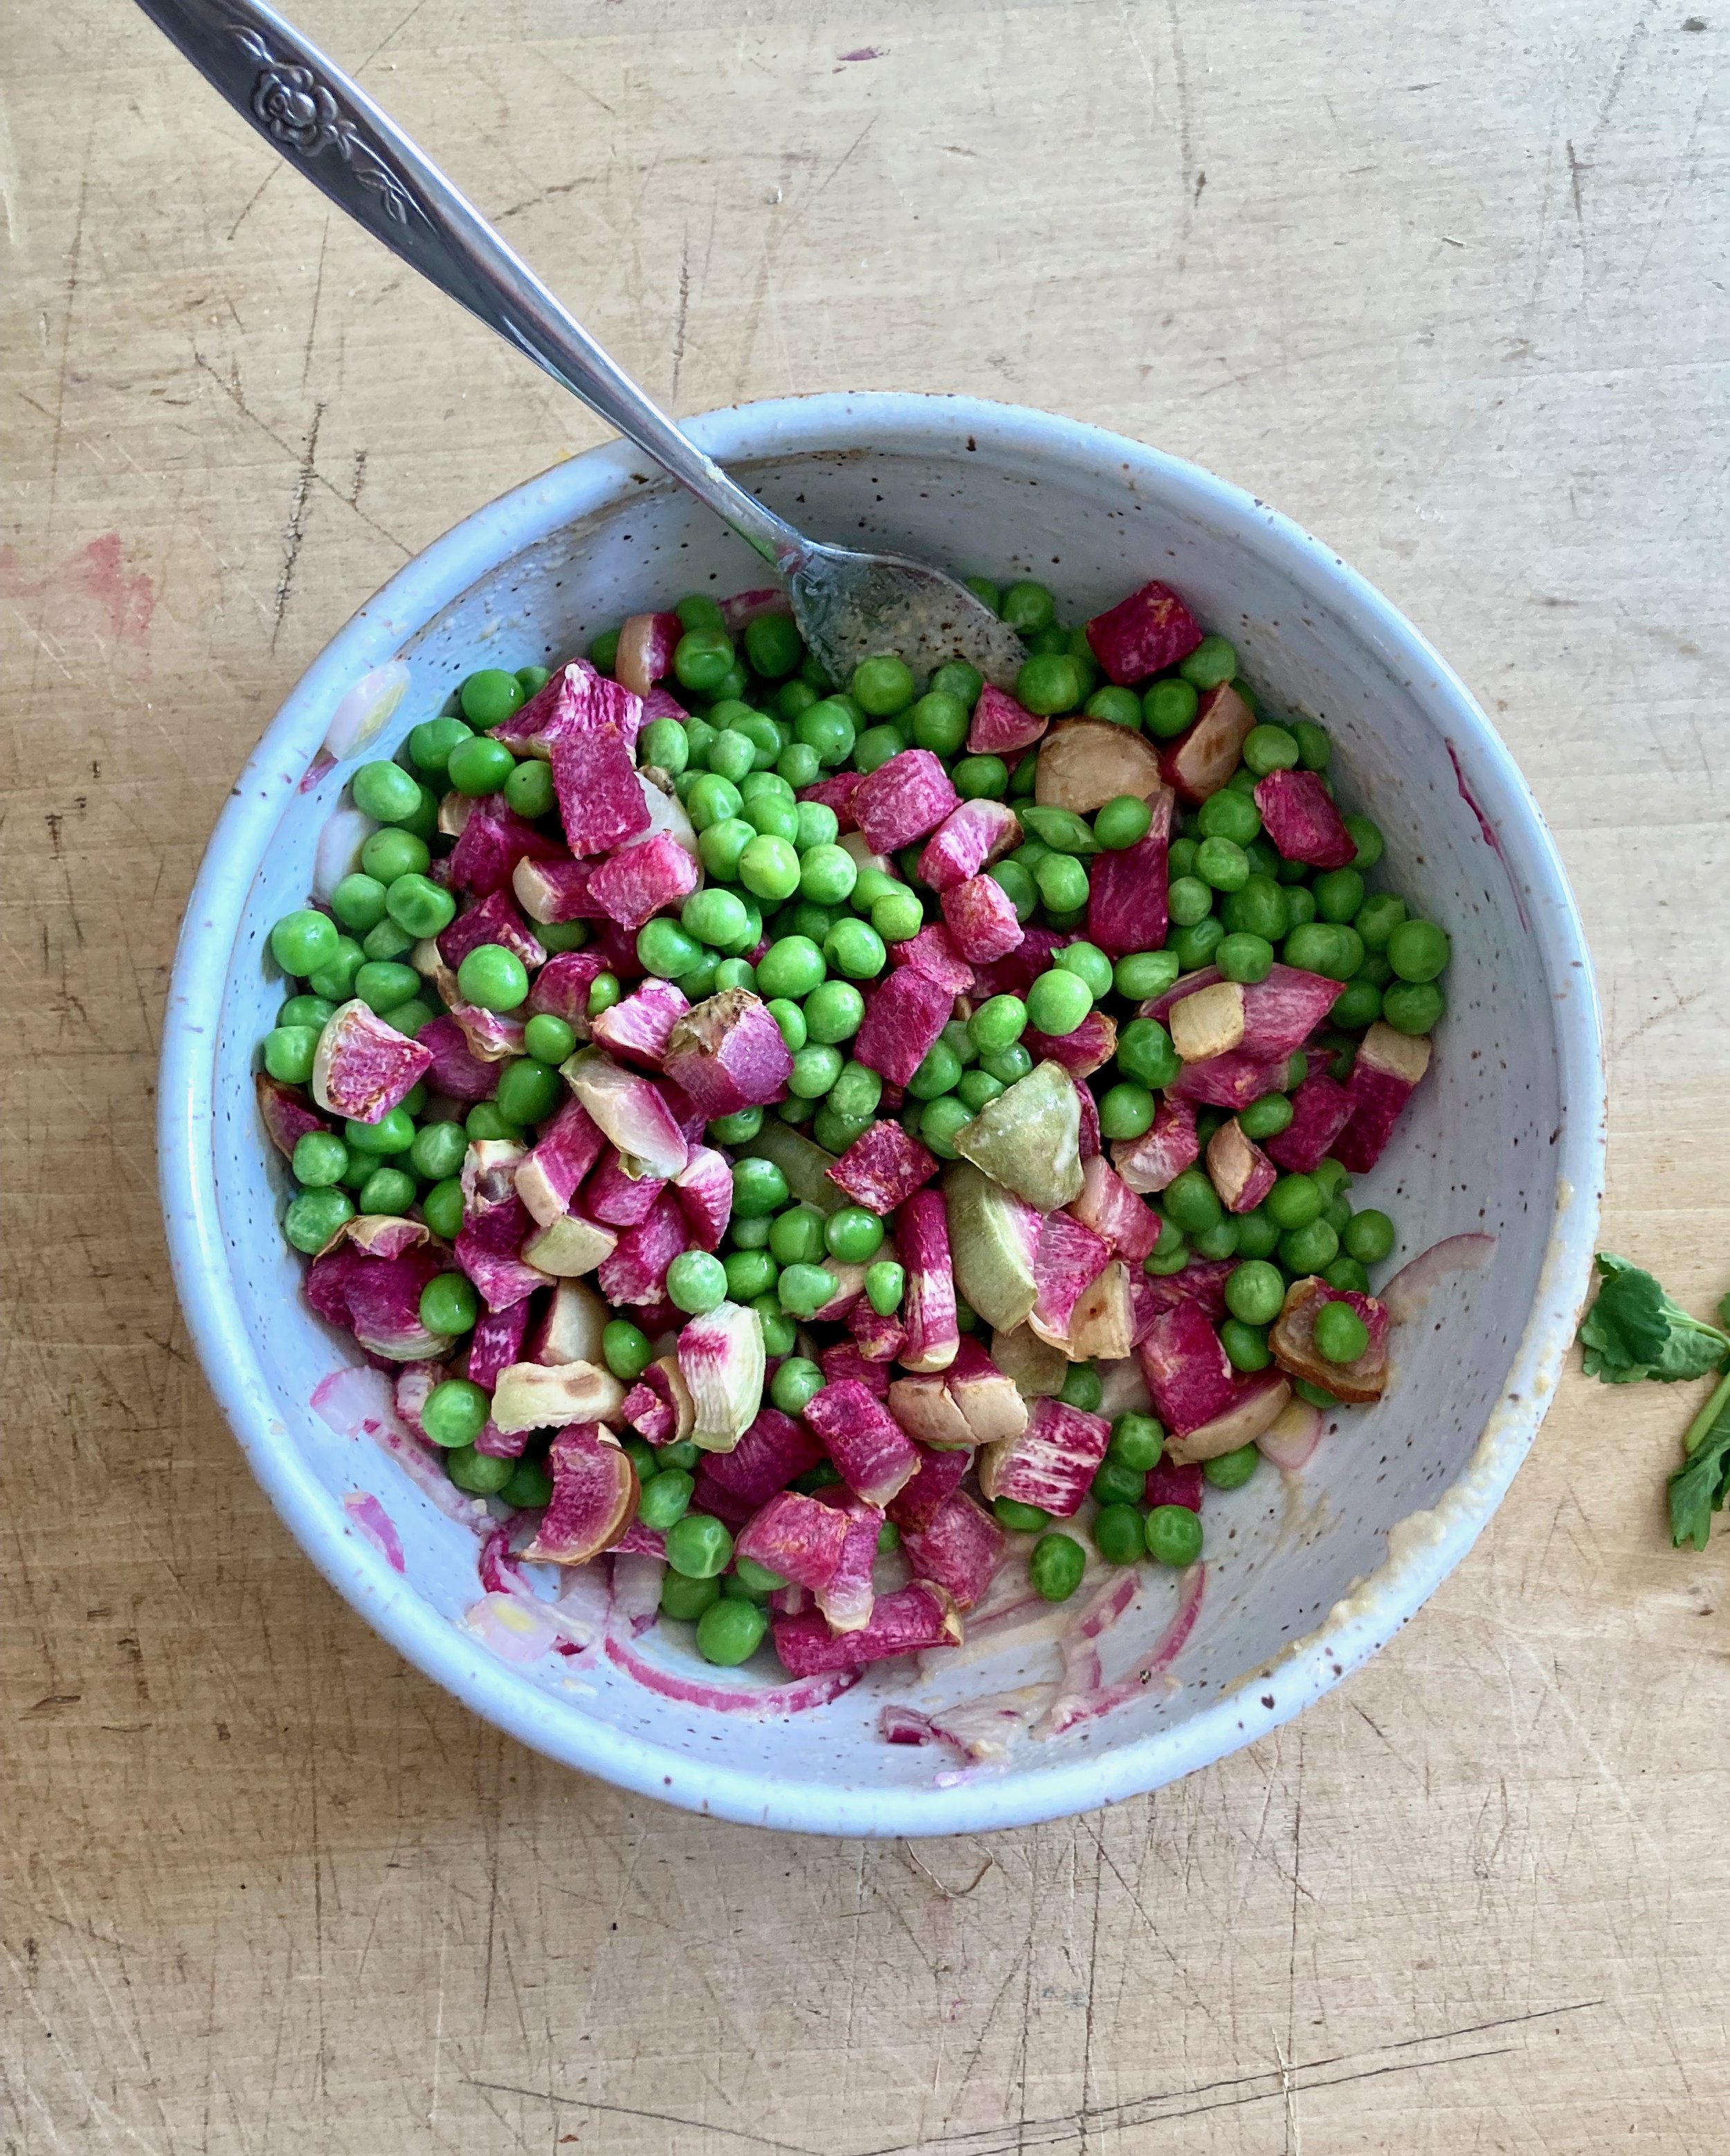
Then dump the peas and radishes into the bowl with the tahini onions. Sprinkle with pepper and toss around.

Look at that. Gorgeous right? And if you have and want, toss some fresh cilantro or parsley onto top because why not.

No stop starting at the how pretty it is and you know, eat it.

-C


Green pea and Watermelon Radish Salad

serve 2-4 as a side

  • 2 cups green peas (fresh or frozen andthawed)

  • 1 large (softball sized) watermelon radish

  • 1 small red onion

  • 3 tablespoons tahini

  • 2 tablespoons red wine vinegar

  • salt and pwpper

  • handful of fresh cilantro or parsley (optional)

Preheat oven to 425.

Grab radish and cut into small cubes about twice the size of a pea. Place on a lined baking sheet and pop into hot oven.

While radishes are roasting, grab onion and slice as thin as you can Place sliced onion along with the vinegar into a big bowl and toss around with a pinch of salt. Let sit for a few minutes then add in the tahini. Toss around until creamy.

After about 20 minutes pull the radishes form oven They should be slightly tender. Dump peas onto baking sheet with radishes and let them warm up for a few minutes.

Dump the peas and radishes into the bowl with the tahini onions. Add black pepper and another small pinch of salt. Toss around until evenly coasted. Top with sm ripped up fresh herbs (if using).

Eat.

Store any leftovers (there will be none) in an airtight container for 4-5 days.

In Vegetables, Vegan, salad Tags Green pea and Watermelon Radish Salad, tahini, plant based, vegan, raw, fresh, spring, side dish, color, vegetables, peas, grain free, oil free, salad, simple, dairy free, food, recipe
Comment

Roasted Roots Snack Plate

February 5, 2022 Colleen Stem

Did I make a roasted roots charcuterie of sorts? Yeah maybe I did, but I don’t know about calling it a charcuterie. I like to think of it more as a snack plate. And I say snack plate only because I placed everything on a plater which is, in fact, a very large plate. I could have showed you how I usually eat this, directly off a baking sheet, but that wouldn’t be as fun. And a snack plate looks a heck of a lot nicer when/if you want to share. Think of it. All your people around, snacking away in some dank ass roasted veggie. (No I did not share or even intend to share any. This was my lunch thank you very much.) Well not exactly something to day dream about but your people, if choosing to share, will really enjoy themselves while eating. Plus it works for any occasion where there are like people withl food allergies and easy to make all the people with all the different diets happy. Everyone can eat it. And it is really pretty. That counts as another plus.

This snack plate. Well it is basic. Just a bunch of the most delicious roots roasted up and served with dips. It is so simple and can be made with pretty much any veggies you like and then served with whatever dips you want. It is a choose your own adventure snack plate. You can even get fancy with it and serve it with nuts and olives and maybe some fruit or whatever but it is not necessary. And also I a want to make it clear, just because I called it a snack plate does not mean it needs to be a snack or that you have to share (see previous paragraph.) Eat is all to your face. I applaud you.

Now to the roasted roots!

The stuff. A bulb of celeriac, a big watermelon radish, a couple carrots and ac couple of beets. A big parsnip, some beets, vinegar and water, and salt and pepper.

Wash all the roots then cut them up. IF you want to peel go for it, but I don’t because I prefer not to.

Anyway, cut them all into wedges, shtik and or rounds. A variety of shapes is nice, just make sure that they are all roughly the same thickness.

Arrange all the cut roots on a baking sheet, trying not to overlap much. Sprinkle with water and vinegar then toss on a good pinch of salt and pepper.

Place in hot oven and roast.

40 fish minutes later, all tender and ready.

Place all your roasted roots on a large plate or plater, grab some dips of your choice (Mustard, hummus, and guacamole are excellent choices) and eat away. Or wait and serve whenever cause these snack situation is delicious eaten at any temperature.

-c


Roasted Roots Snack Plate

Note. The following is more of a suggestion then a recipe. Use as many roots as you like or stick with a just one or two.

  • a bulb of celeriac

  • 2 carrots

  • a large watermelon radish

  • 2 parsnips

  • 2 medium turnips

  • 2 medium beets

  • a couple teaspoons white vinegar and water

  • salt and pepper

  • Hummus, mustard, guacamole.. anything you like to dip veggies in. (optional)

Preheat oven to 425.

Prepare roots. Wash and cut them all into sticks, rounds, and or wedges, just make sure they are roughly the same thickness. Once all cut, place them on a baking sheet, trying not to overlap much, and sprinkle with a little water and a few teaspoons of vinegar (you can use a spray bottle or just flick the the water and vinegar with your fingers) Sprinkle with a good pinch of salt and black pepper.

Place in oven and bake for about 40 minutes or until all veggies are tender.

Remove from oven and let cool enough to handle them arrange on a large plate or plater along with at least one, if not many dips that you like.

Serve hot. Or warm. Room temperature is good or you can pre roasted refrigerate, then serve cold. Whatever temperature it’s fantastic!

In Vegan, Vegetables, snack Tags charcuterie, vegan, roasted roots, fresh, winter roots, dips, plant based, oil free, easy, snack plate, snack, lunch, dinner, gluten free, party, food, simpe
Comment
← Newer Posts Older Posts →
 

https://thelovelycrazy.squarespace.com/config#/|/about/

Me. Food Maker.Food eater. Woo HOO!

STEM+NODE  SMALL BATCH AND ONE OF A KIND POTTERY

stem+node ceramics


____________________

Subscribe

GET NEW POSTS IN YO EMAIL

You are AWESOME!!!


@thelovelycrazy 2014-2021