• stem+node ceramics
  • HOME
  • Food Recipes
  • About
  • Contact
Menu

The Lovely Crazy

Street Address
City, State, Zip
Phone Number

Your Custom Text Here

The Lovely Crazy

  • stem+node ceramics
  • HOME
  • Food Recipes
  • About
  • Contact

Carrot Ginger Orange Popsicles

June 24, 2016 Colleen Stem
IMG_5553.jpg
IMG_5623.jpg

Not only is it the first week of summer, it's also popsicle week! Billy over at the sweet ass blog Wit and Vinegar hosts a little (actually quite large) bloggers party that share all sorts of fun and fantastic popsicle recipes and presents that list to the world. There are popsicle flavors up the wazoo...Pretty stinkin cool right.

So my contribution to the world of popsicle eaters is one of my all time favorites (maybe the absolute best one yet).. Carrot Ginger Orange.

For those who know me, this flavor combination should come as no surprise. Carrots are my thing. I eat them all day, every day. Sure I eat a shit ton of other stuff, but always carrots. Carrots are in my breakfast,lunch, and dinner. If I need a snack, I grab a carrot. There is just something so satisfying not to mention so easy about carrots. Eaten alone, with mustard or hummus, or dipped in peanut butter of cinnamon..Carrots can do just about anything. I mean I eat so many carrots that no shit, my skin is a slight tint of orange (seriously for reals. Something about an abundance of carotene) Crazy I know, but what can I say. I really like carrots.         (that's what I say when people ask me why I am glowing orange)

So naturally the carrot made it's way into my popscile mold. And now it's for real. Carrots really can do anything.

Another win for carrots everywhere.

And popsicles.. Just in time for that hot as shit weekend we are about to have.

GO POPSICLES CO!

The stuff. Carrots, an orange, some fresh ginger, and some water. Simple simple and no, I didn't forget the sweetener... these pops have no need (although if you want, go ahead and add a smidge or splash of something sweet)

Start by chopping up the carrots and sticking them into a pot with some water. Not a lot, just enough that it almost cover the carrots, and stick that pot onto the stove, cover and cook on medium heat until tender. Make sure to check that the water doesn't completely evaporate or you will have burnt carrots which taste just fine, but not as a sweet popsicle

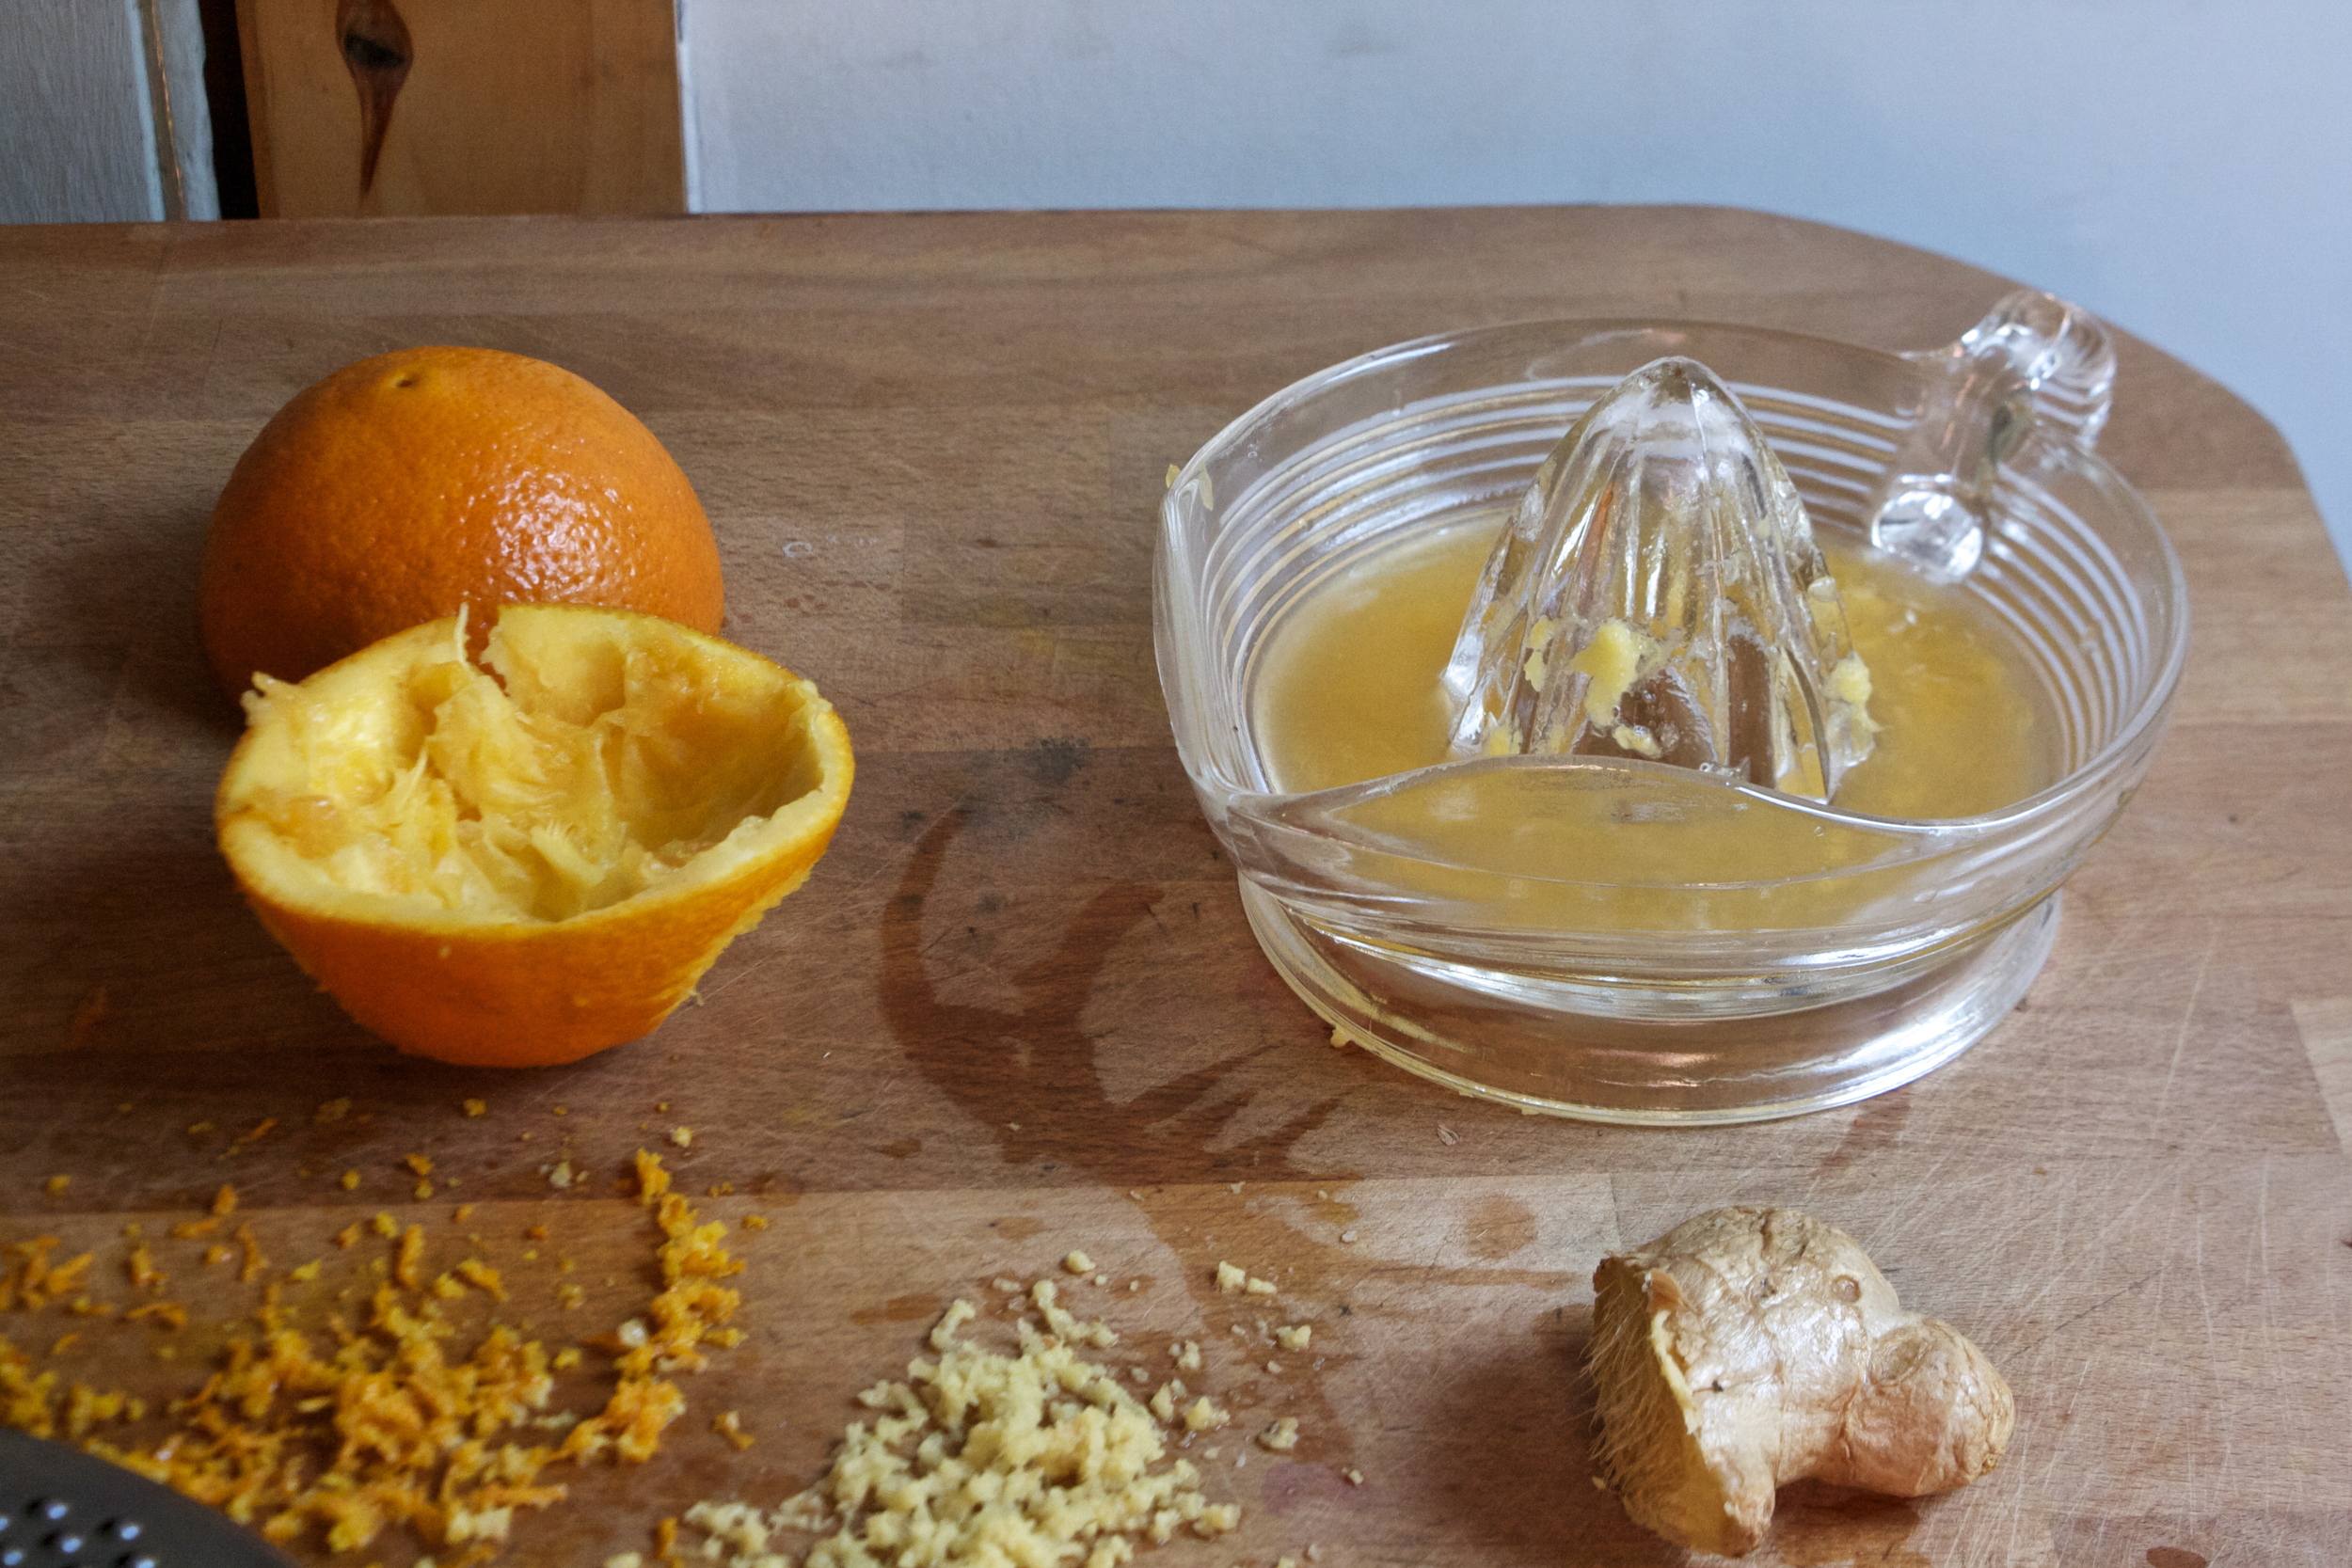
While the carrots are tenderizing, zest the orange then juice it and grate up some fresh ginger.

Once the carrots are fork tender, dump in the juice, the zest, and the ginger. Stick pot back on heat for just a few more minutes to meld the flavor together.

IMG_5435.jpg
IMG_5439.jpg

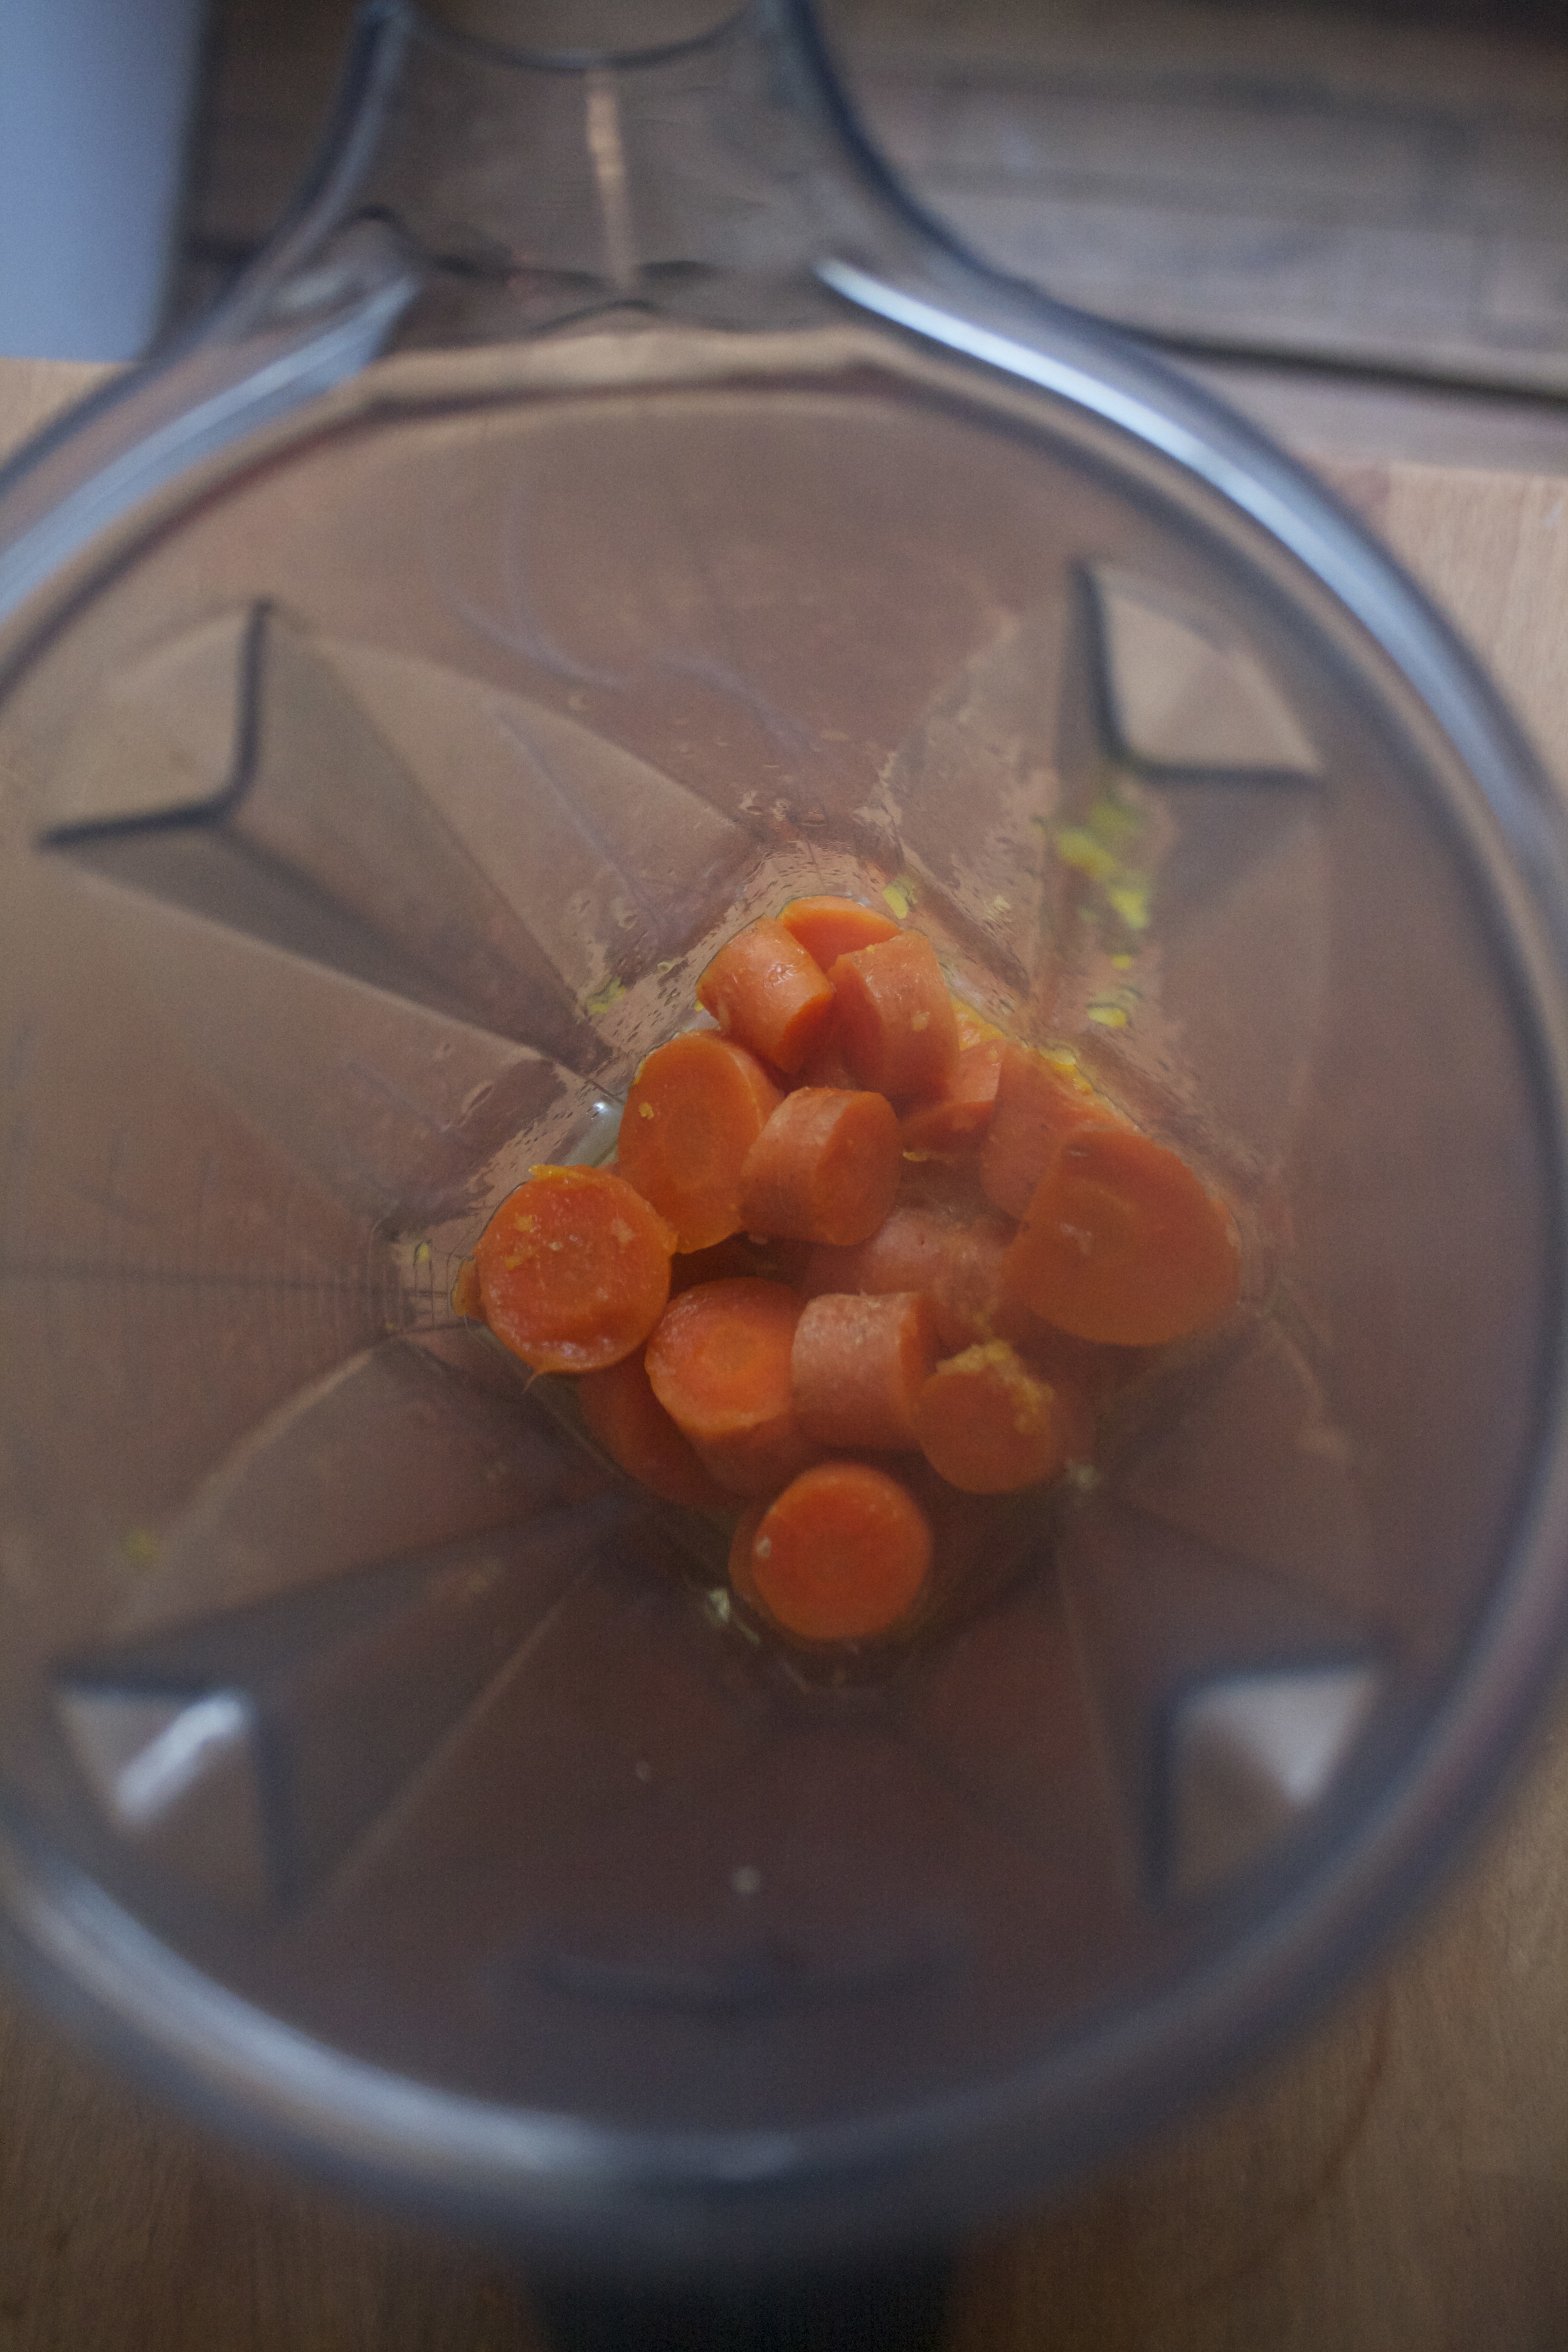
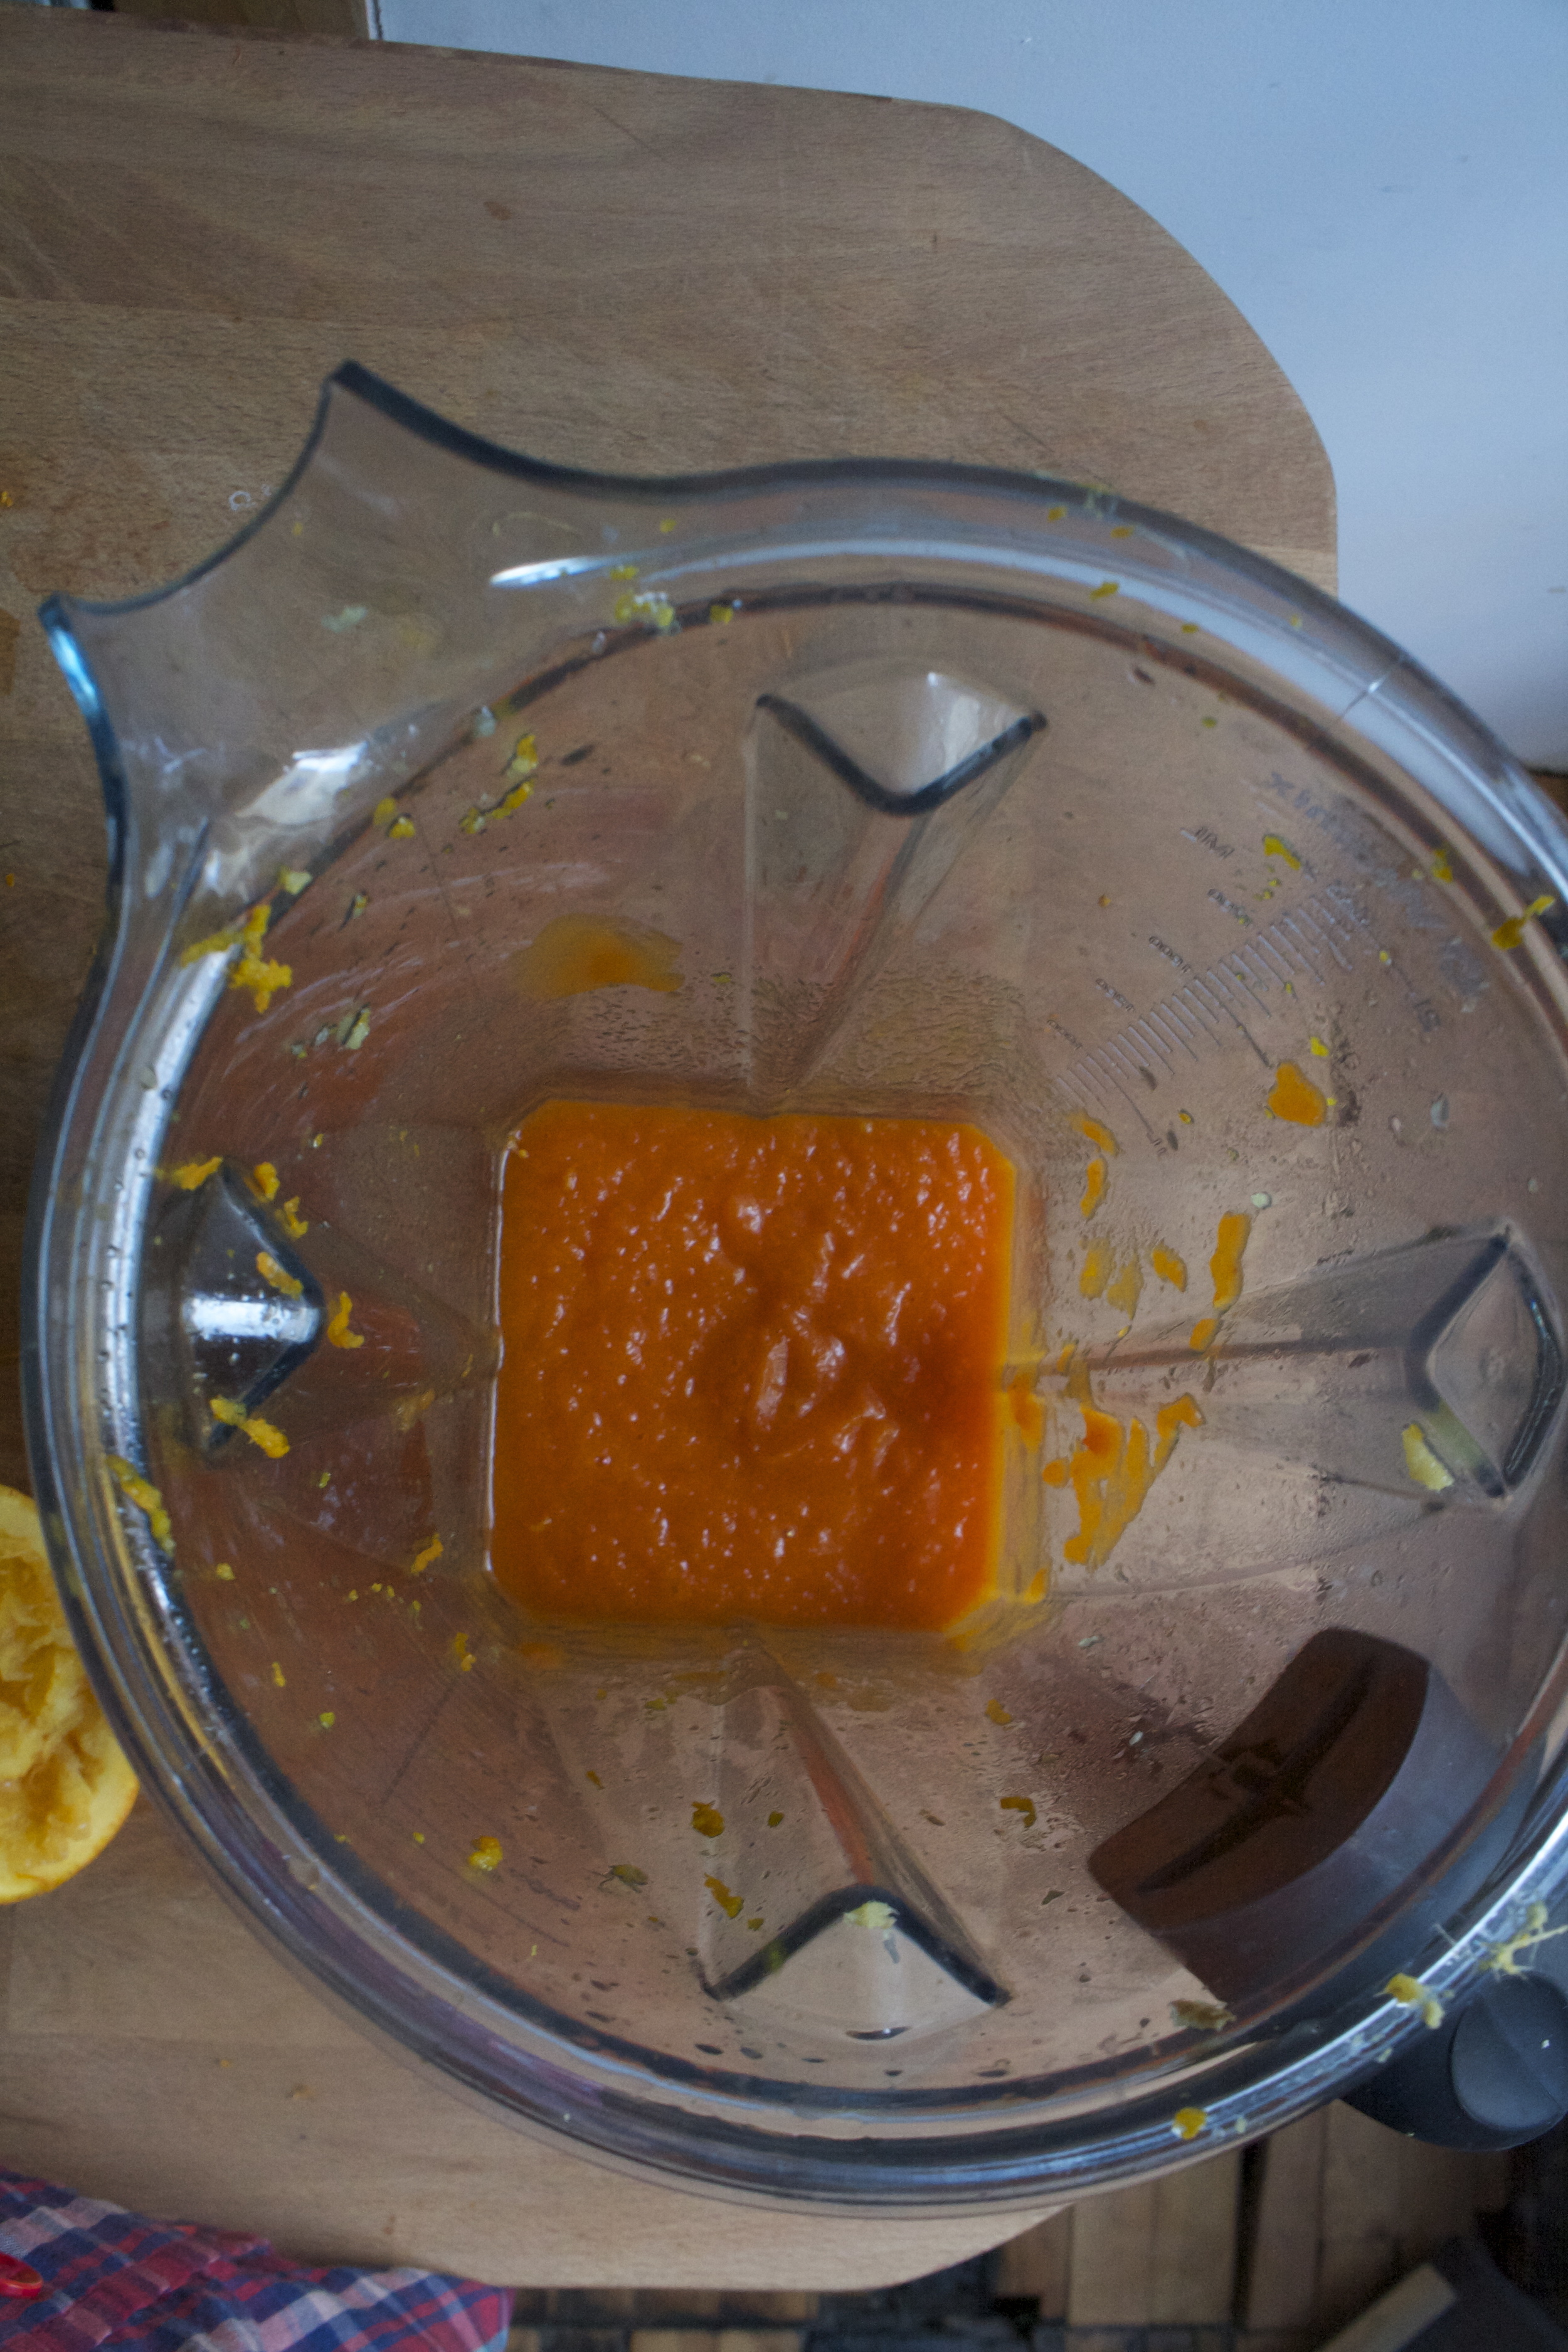
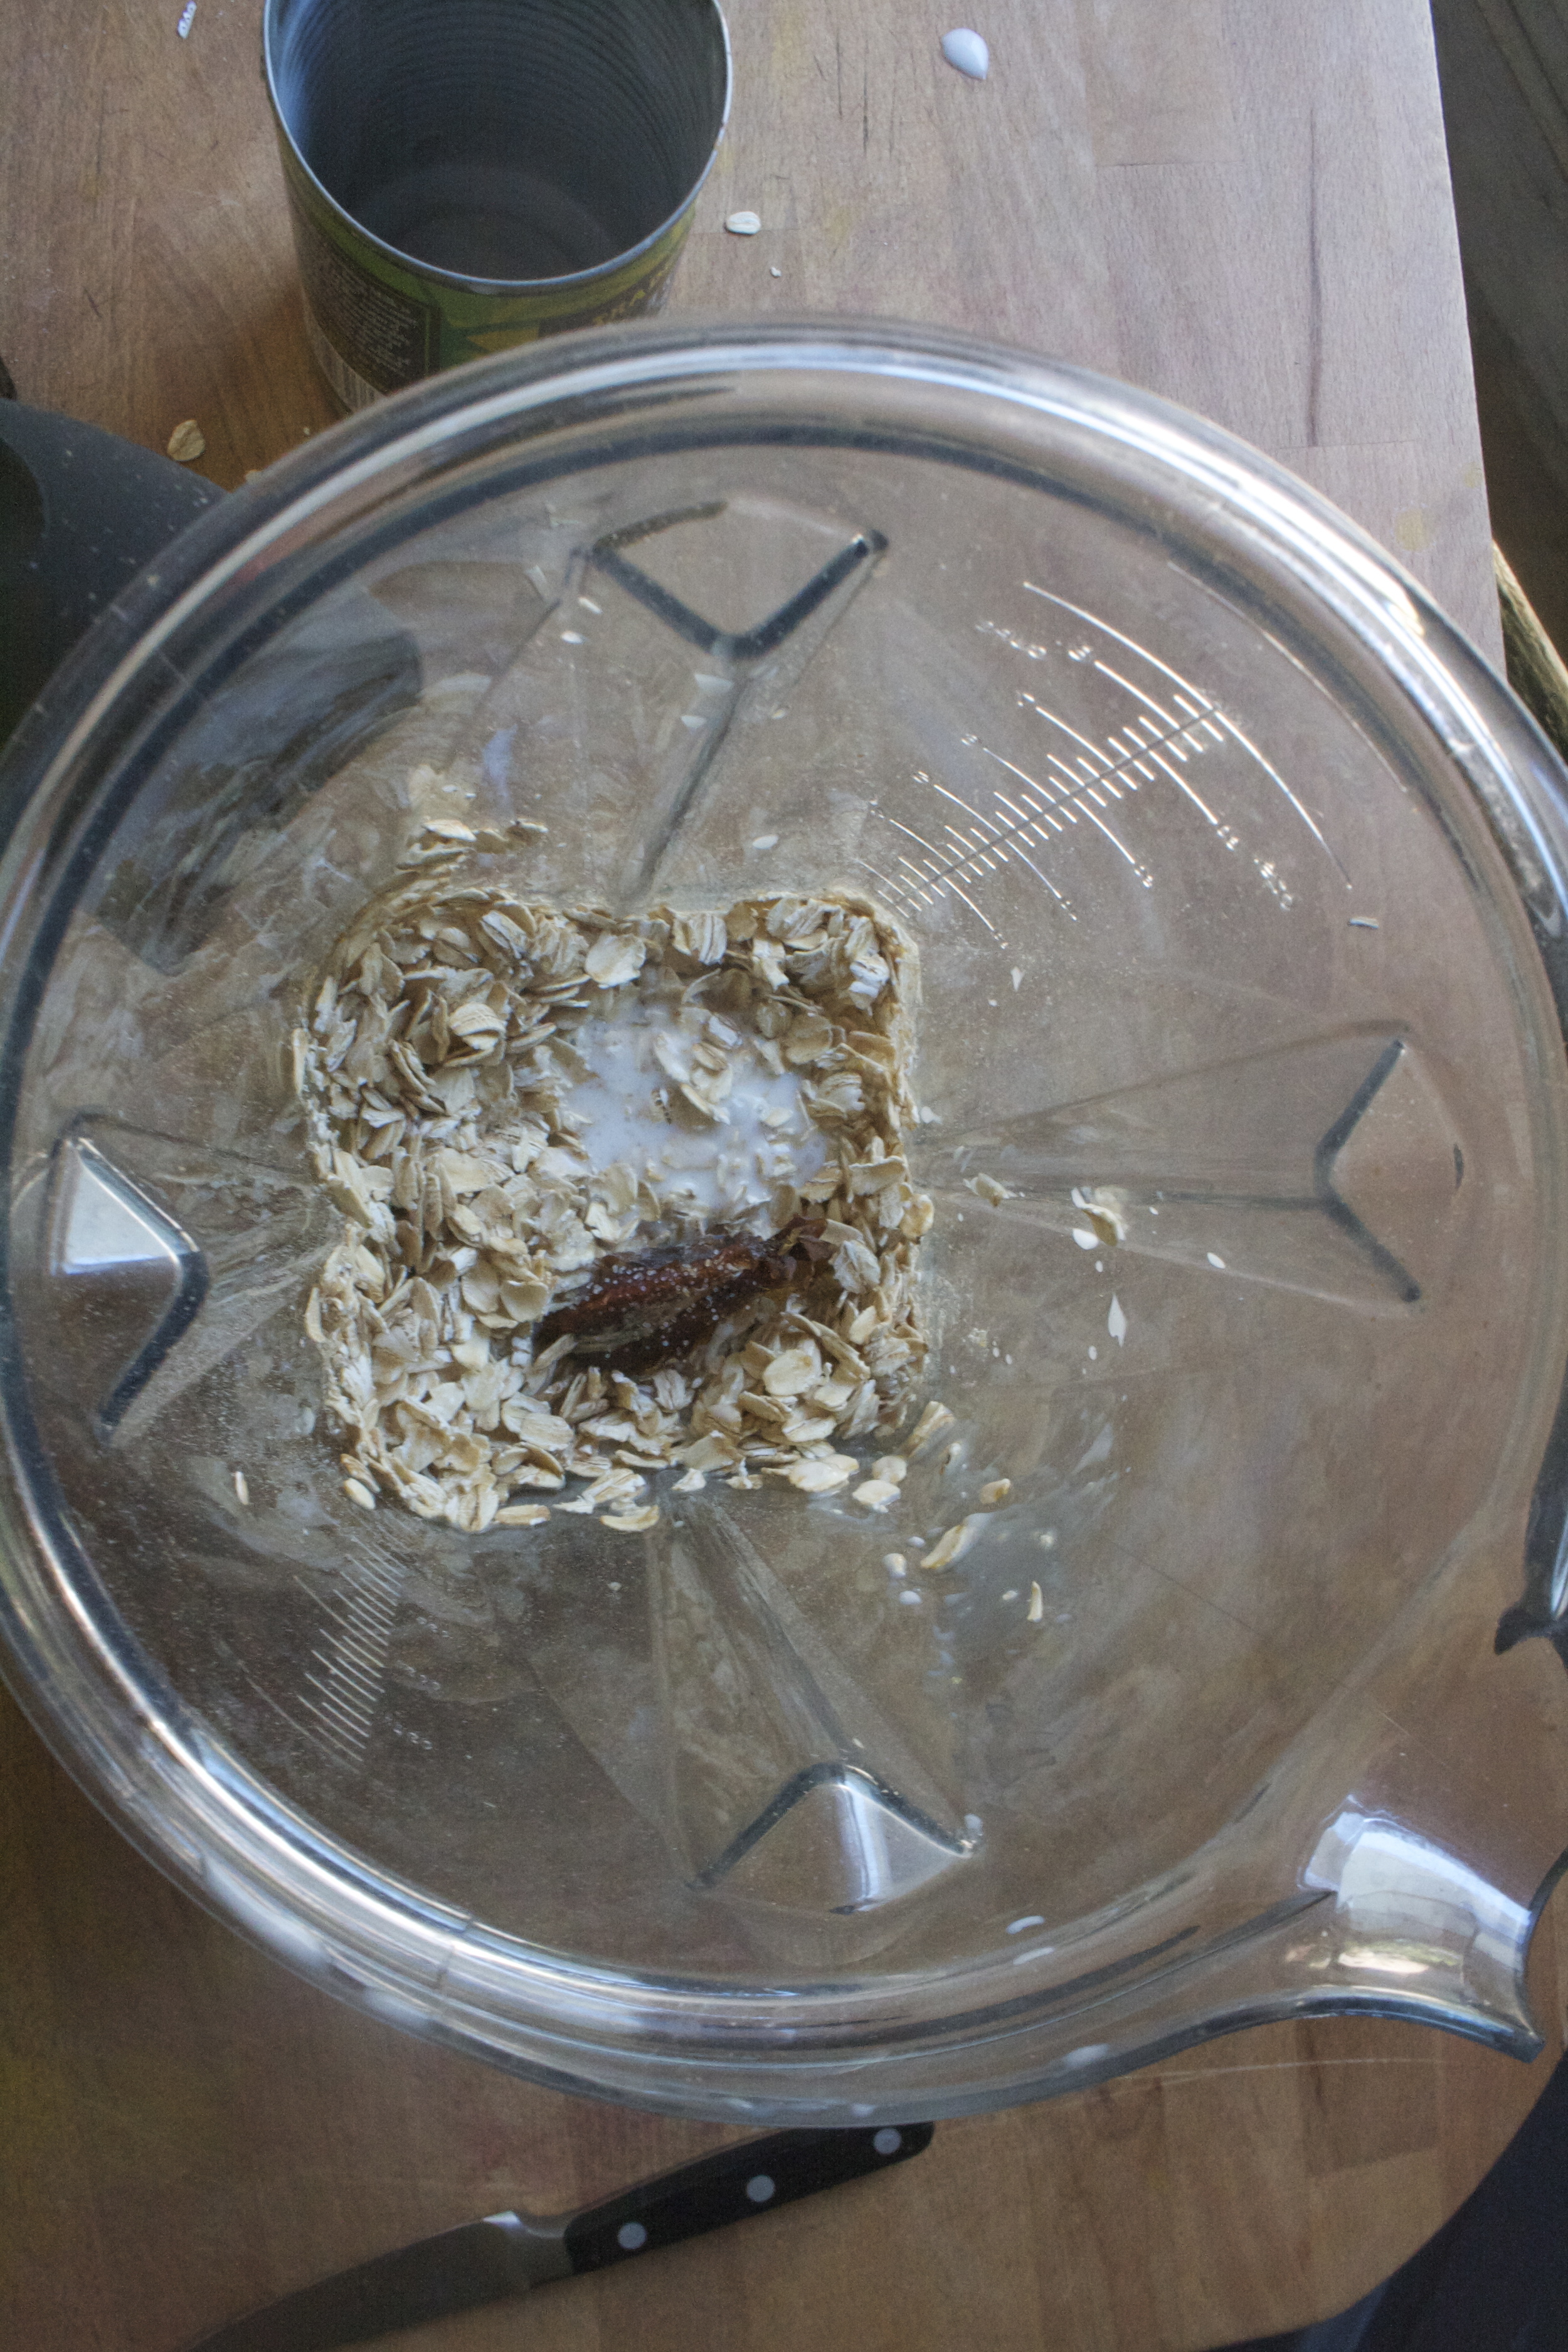
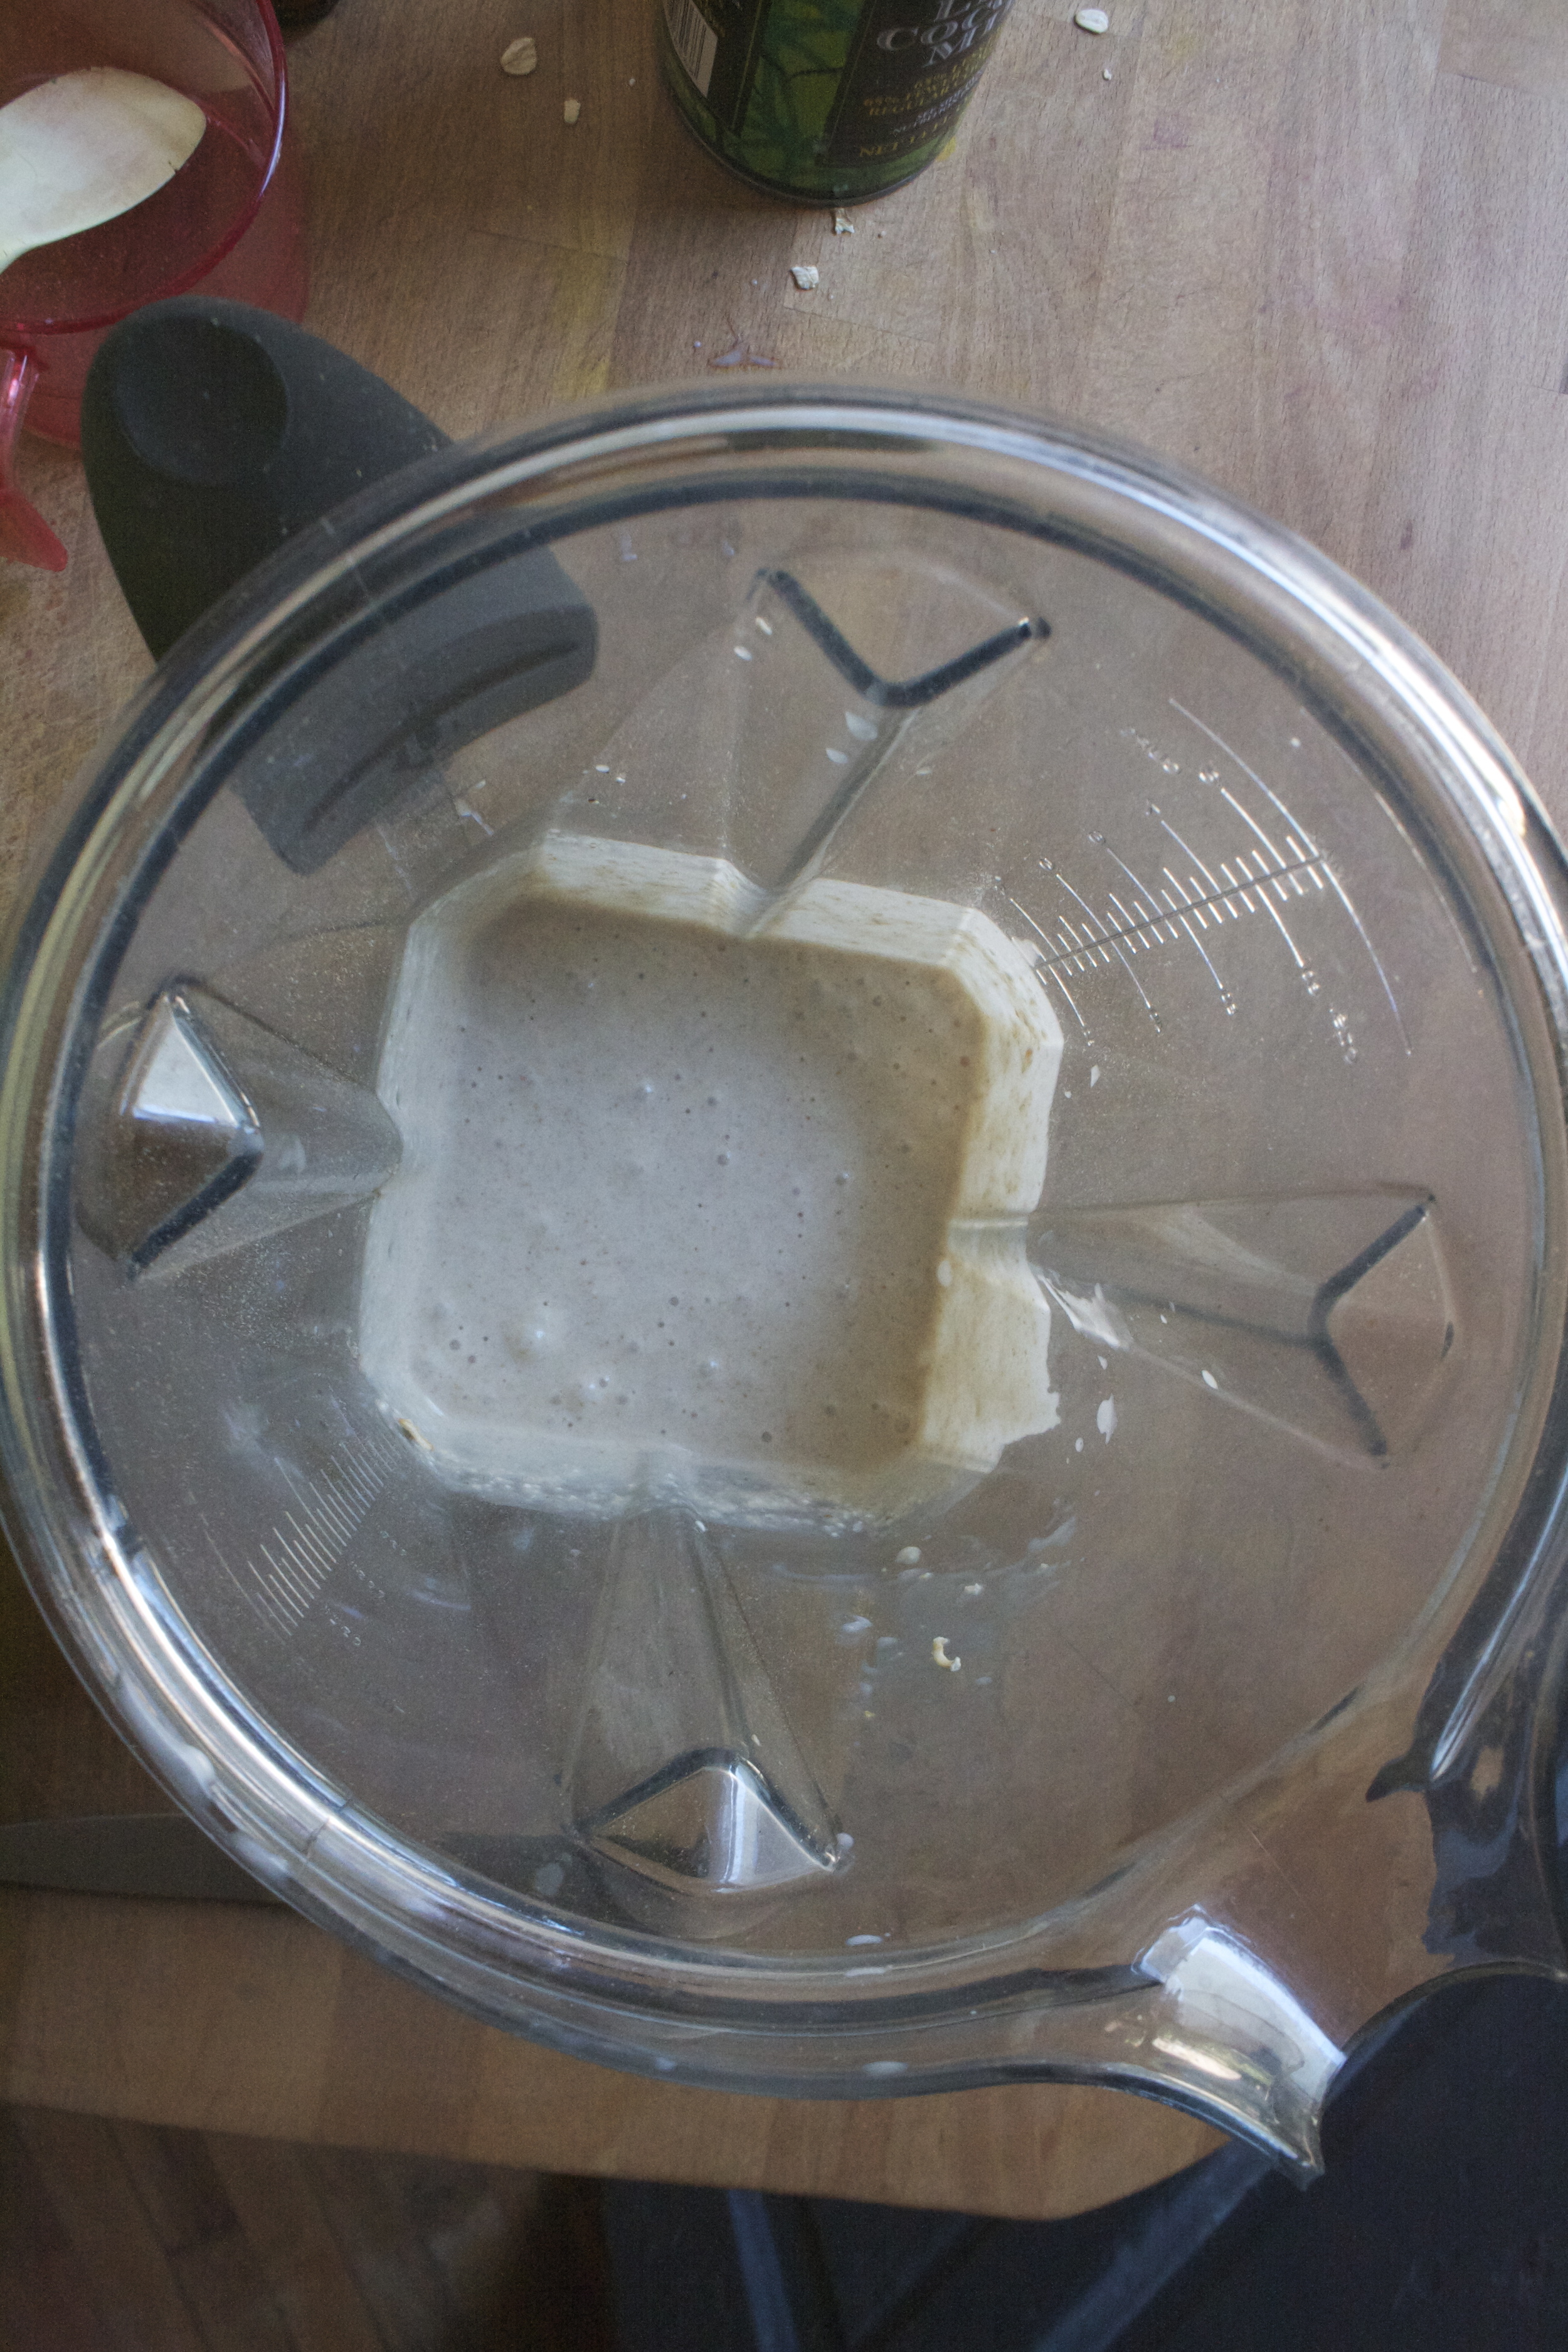
Dump the contents of the pot into the blender and blend blend blend until smooth.

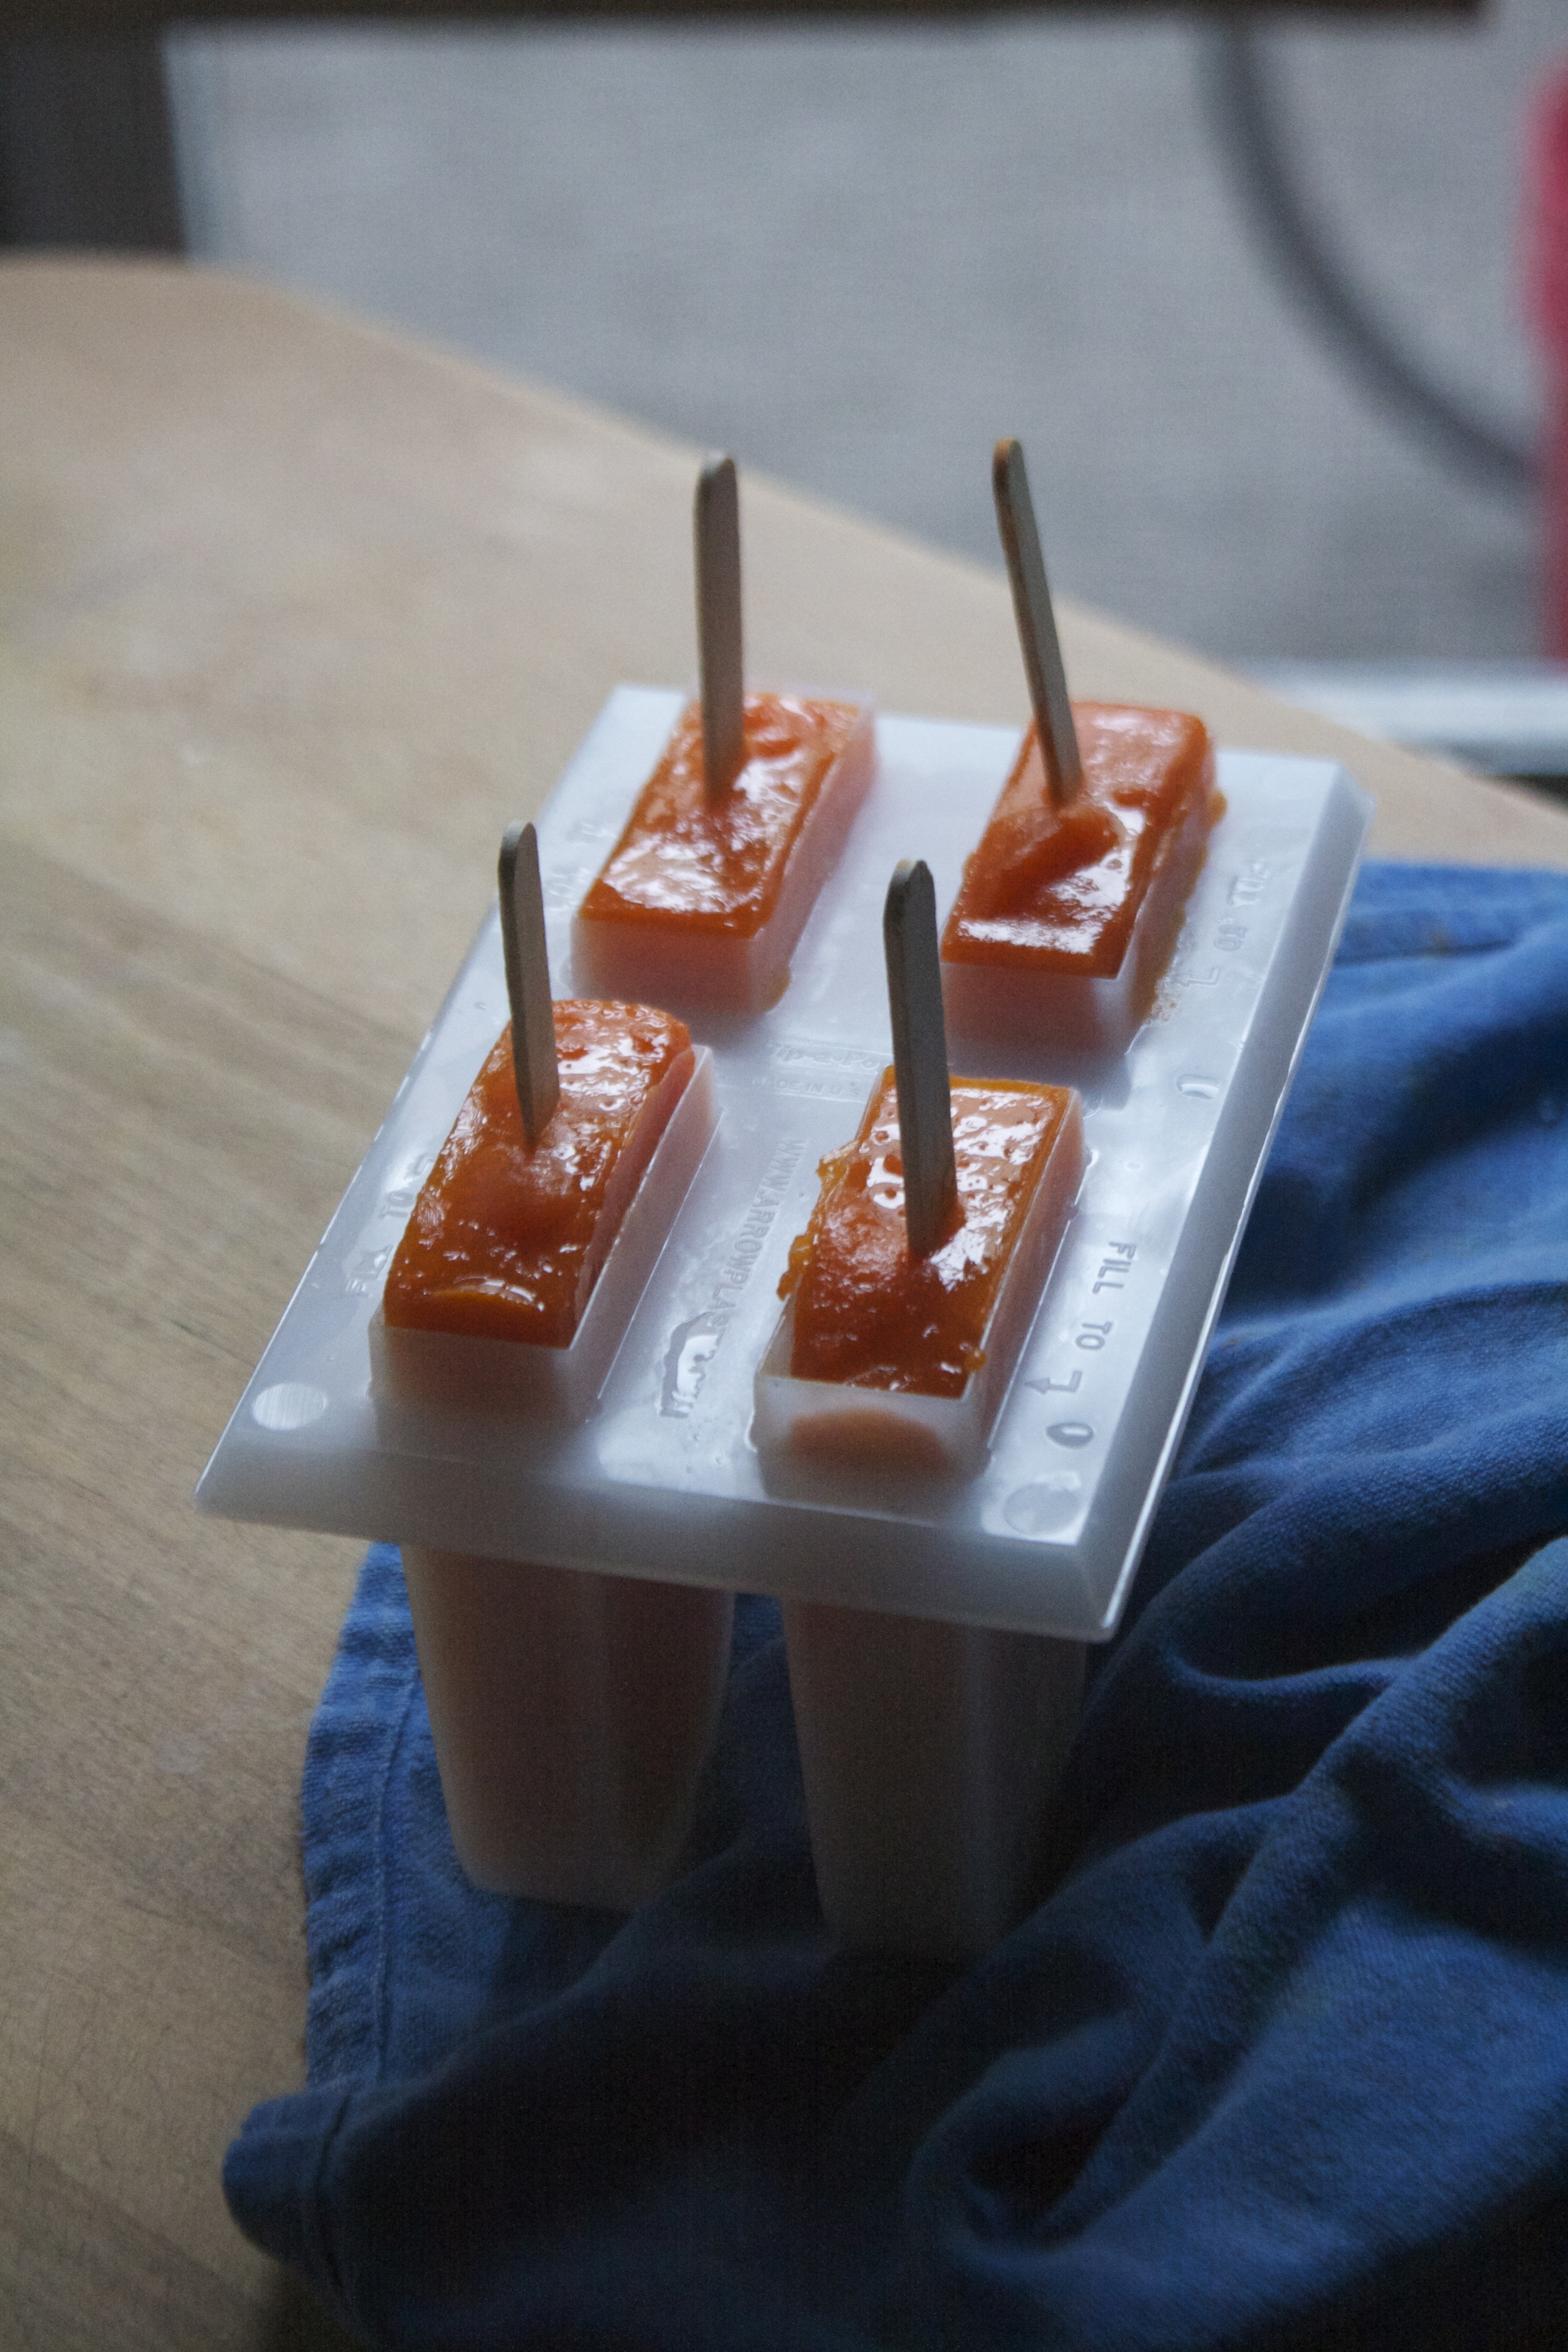
Grab your mold and pour blended mixture into it.. Because the mixture is thick, you don't have to wait to stick the sticks in so go ahead and do that now.

And into the freezer they go!

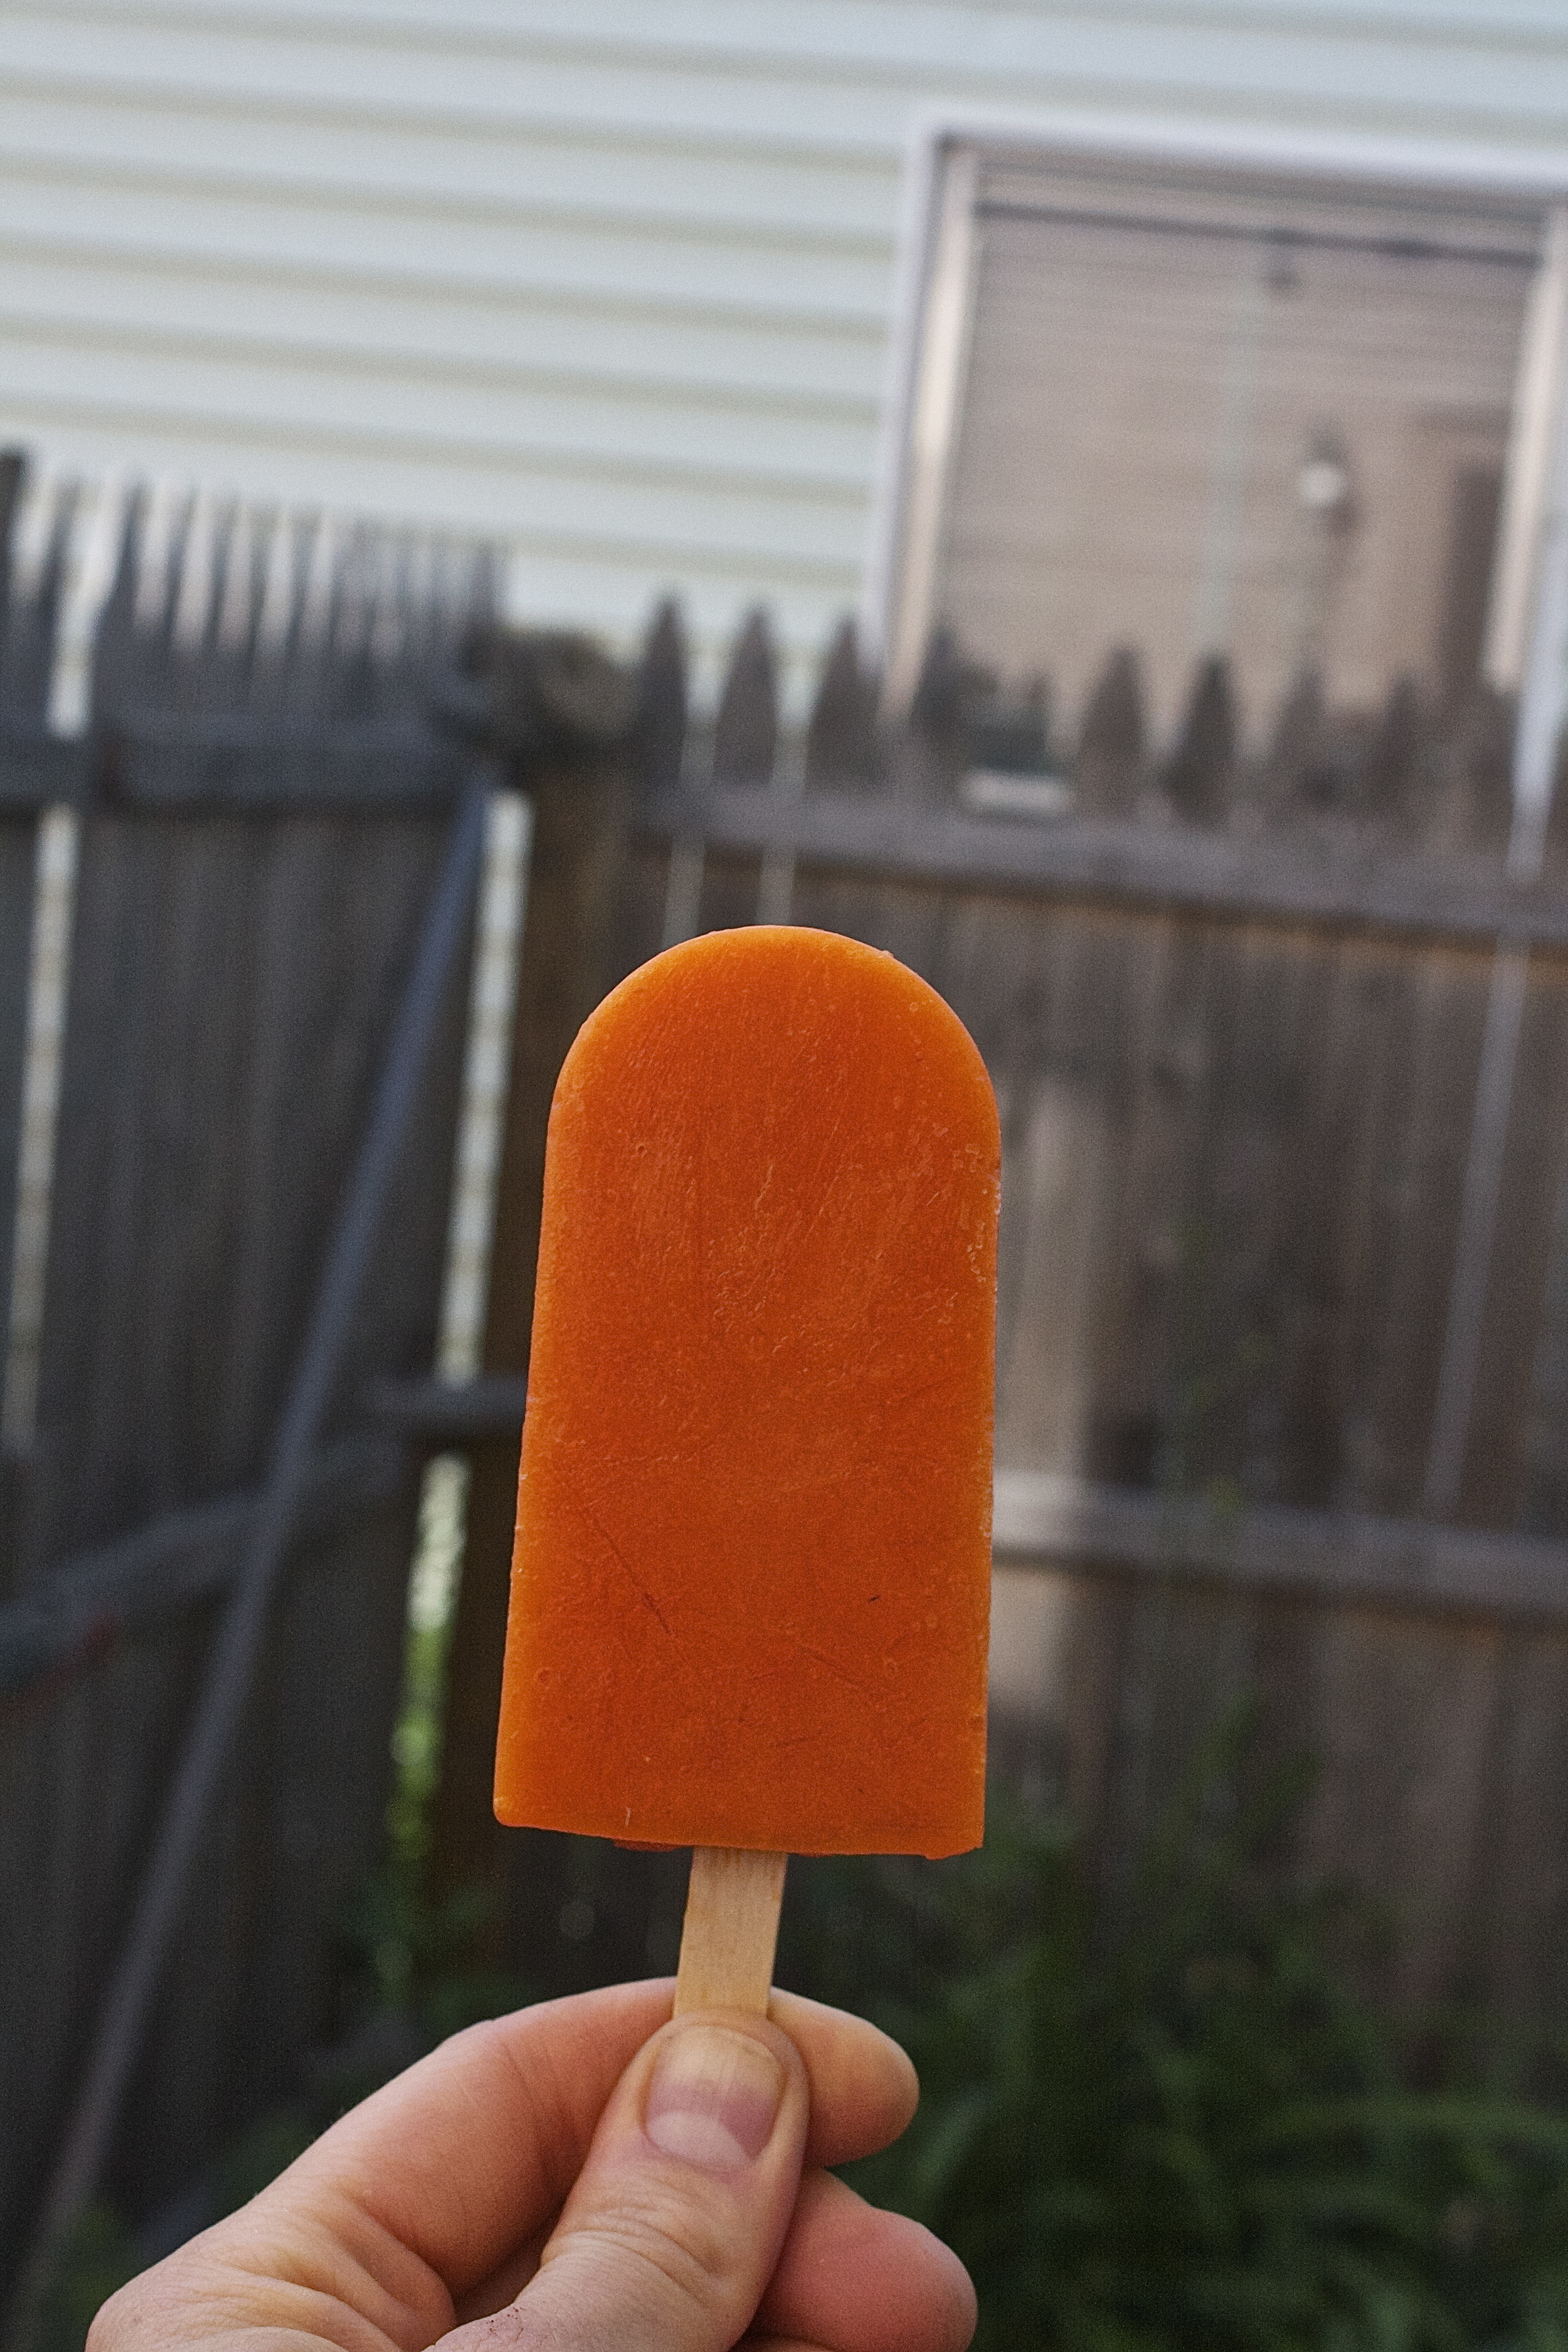
Frozen and ready to go.

Serious popsicle goodness right there.

Happy Popsicle Week. Go ahead and make them all!

-C


Carrot Ginger Orange Popsicles

Makes about four or five 3.5 oz popsicles

  • 3 medium sized carrots
  • 1 orange (zest and juice)
  • 1-2 teaspoons fresh ginger
  • water

Note. I did not use and sweetener and did not miss it but if you really think you need it, add a little bit of honey or sugar. But really, they are sweet enough so maybe give them a chance without it.

Start by chopping the carrots up into coins and stick them into a pot with enough water to just about cover the carrots. Stick on stove on medium heat and place a lid on the pot. Cook carrots until tender.

While that's happening, zest and juice orange and grate up the fresh ginger. (I used 1 teaspoon of ginger at first, but after I blended it, I decided that I wanted a little more so I added another teaspoon)  Once the carrots are soft, dump in all the juice, zest and ginger. keep on heat for a few more minutes to let the flavors all meld together.

 And now dump the pot of carrot goods into the blender and blend the crap out of it until smooth. (add in a splash or two of water if needed. Taste your puree and if you want more ginger, add it it.( can also decide now if you want any sweetener..

Now pour the mixture into you popsicle molds and follow the mold directions on how to use it (add popsicle sticks and stick it in the freezer)

Freeze until frozen.

Remove from freezer and let sit until pops slip from mold.

Eat until gone.

Make more popsicle.


In 5 ingerdients or less, appetizers, breakfast, Dairy Free, desserts, frozen, snack, Sweets, Vegan, Vegetables, Popsicles Tags Carrot Ginger Orange Popsicles, Popsicle Week, Carrot popsicles, veggie popsicles, frozen treats, vegan, gluten free, sugar free, healthy, palnt based, clean eating, amazing, dessert, summer, wit and vinegar
5 Comments

Coconut Oatmeal Ice Cream

June 22, 2016 Colleen Stem
IMG_5328.jpg
IMG_5338.jpg

Whats summer without some ice cream?  That is no summer, that just sounds like Hell. And this past weekend I was pretty sure I was in hell because it was so mother f*ing hot and for a while, I had no ice cream (and no air conditioner)

We used to have an air conditioner. My mom gave us one a few years back because she was worried about washer (so nice she was worried about the dog and not me, but that's cool) And we used it, not often, but when the temps got above 90, we would bust that mother out, hang blankets from the ceiling and create a little frozen ice box. Washers bed, the couch, and the tv were the only things in the box and it was fantastic.We would spend all day hanging out in the dark little ice box, cuddled on the couch watching tv. Washer would just lay there and I am pretty sure that he loved it just as much. But a couple years ago that air conditioner broke so now we don't have one. So now when it's mother f*ing hot, we are just really fucking hot. As for Washer, I send him over to my moms house. She has like 10 air conditioners. And the mr and I.. we bitch and complain and sweat and eat ice cream.

So I made this is my ice cream, a Colleen approved, oh so good I want to eat it for ever meal, type of ice cream. Nice and creamy with nice coconut oatiness. Its really pretty great.

And if there was ever a time when you woke up so hot that all you for wanted for breakfast was ice cream, well that's completely cool, especially with this kind cause it's kinda really healthy and made with oats and so it it definitely ok.

Here's to ice cream all day, every day.

The stuff. We got a can of coconut milk, some old fashion oats, a few dates and salt. ( we need just a pinch) Also need a little water.

IMG_5170.jpg
IMG_5179.jpg

Pretty simple here, just dump the coconut milk, oats,the dates(make sure they are pitted) and a pinch of salt to a blender and blend the crap out of it. And keep blending until its all creamy smooth and oh so nice then stick the blender in the fridge.

After about an hour or so the mixture becomes super thick. Stick it back on the blender stand and give it one last swirl to make sure it's all mixed up.

Pour/scrap mixture into a freezer safe container and stick it into the freezer... lick blender clean, watch you tongue and fingers.

After a hour or so, remove the kinda frozen ice cream and give it a good whip with a stick blender or if you don't have, scrap the ice cream back into the blender, and give it a swirl, stick back into freezer container hen back into the freezer until frozen.

And when you are ready to eat, remove from freezer, let sit out for 5-10 minutes to soften enough to scoop and do what needs to be done.

Look at that. So good.

And not only dessert, but this could be your breakfast tomorrow....and every day from now on.

-C


Coconut Oatmeal Ice Cream

  • 1 can coconut milk
  • 1/2 cup water
  • 1 1/2 cups oats (gluten free if needed)
  • 3-5 dates*
  • pinch of salt

*Note. I used 3 dates and found it sweet enough but I don't like things too sweet. If you know you like things sweet, do 5. Also, if the dates are not super soft, soak them water for a little bit.

Grab your blender and place all the ingredients in it. Start blending and blend and blend and blend until all smooth and creamy. (It might take a few minutes.) And once it's all blended up, stick the blender into the fridge .

After about an hour or so the mixture should have gotten nice and thick .Remove and blend the whole thing up once again and transfer the mixture to a freezer safe container. Place said container into the freezer. Let the mixture set up and get pretty close to frozen and remove from fridge and give it another good blend (I use my hand blender, but you can always scoop back into the regular blender to do it) Place back into freezer until frozen.

When you are ready for ice cream, remove for freezer and let sit out for 5-10 minutes until soft enough to scoop.  It might be super hard at first but don't worry, it soften up quick enough. I find scooping it easier with a ice cream scooper dipped in hot water....

Scoop it, add any toppings you want (toasted coconut and toasted oats are great) and then eat it.

Store left overs in freezer (duh) but place a piece of wax paper over the top to keep from freezer burn.

In 5 ingerdients or less, breakfast, brunch, Dairy Free, desserts, frozen, Raw, snack, Sweets, Vegan, ice cream Tags Coconut Oatmeal Ice Cream, Ice Cream, Vegan, Healthy, No refined sugars, breakfast ice cream, healthy ice cream, dessert, home made ice cream, clean eating, plant based
4 Comments

Upside-down Rhubarb Maple Cornbread Cake

June 7, 2016 Colleen Stem
IMG_4732.jpg
IMG_4591.jpg

My rhubarb patch has turned into a rhubarb jungle and I couldn't be happier. At the beginning of the spring I moved like 10 of the plants to the new patch location and was wondering if I would even get a small crop this year. Guess my soil is premo cause those plants be ginormous.

And now I am harvesting the stalks from that jungle and I have rhubarb coming out of my ears. (I will be eating rhubarb all summer long) It's not really a problem per say, but there is so much, so it's time to get a little crafty with the tangy sour veggie stalk.(rhubarb sword fight anyone?)  One of the first things I made with some of it was a salad that consisted of roasted and slightly charred zucchini, onions, corn and rhubarb. I made it for the mr thinking that he was going to love it because he loves rhubarb so much. Well he didn't love it because of all the corn. (Such a weird egg that boy) But me,I loved it, like ate it all and then some. Corn and rhubarb are such a good combination and if the mr wasn't being such a weirdo, he should have liked that salad too. But it gave me the inspiration for the cake . A cornbread cake ( he loves cornbread) sweetened just the right amount with maple. Not exactly a rhubarb corn salad, but you get the idea. And this cake is totally multi purpose. Made as dessert and would go extremely well with a scoop of your favorite vanilla ice cream but would work equally as well served with a bowl of baked beans. I mean, can cake for dinner get any better?

The stuff. A bowl with cornmeal, flour, baking soda, baking powder, along with a little salt. Also need some maple syrup, soy milk, earth balance and apple cider vinegar.And of course we have a few rhubarb stocks,

Start with melting the earth balance and maple syrup together on the stove and letting it thicken up a bit. While it's thickening, think about the shape of you skillet and haw you want to layer you rhubarb, like the design of it.

Then when the maple is thickened and you know how you want to layer it, chop up your rhubarb and start placing in into the bottom of the skillet. Any way you do it, just make sure that the bottom is pretty much covered in rhubarb and that its only on stalk deep.

Rhubarb so pretty

Now for the batter. Easy easy. Just whisk together the dry and combine all of the wet into a bowl.

Wet and dried mixed together.

Pour the batter gently onto the rhubarb and smooth the batter out.

And into the oven it goes.

IMG_4693.jpg
IMG_4702.jpg

Pulled from the oven when the cornbread is golden brown and a tester stuck into it comes out clean. Let it cool just as it is for about 10 minutes... (give the maple time to cool and set up so it doesn't just get sucked into the cake) then flip in. I flipped mine onto a piece of parchment and a cutting board . You could try to go directly onto a cake stand or plate, but It might get a little messy. I like to play it safe when flipping things and just use a big cutting board. Now get ready to cross your fingers.....

Ta da!. Ain't it a beaut? And don't worry if a little piece or two get stuck in the pan. Either scrape it out and place it back on the cake or consider it a little snack.

There you have it. A cake good to go for all your meal eating needs.

Go rhubarb GO!

-C


Upside-down Rhubarb Maple Cornbread Cake

  • 1 1/4 cup flour
  • 1 1/4 cup cornmeal
  • 1 teaspoon baking soda
  • 1 tablespoon baking powder
  • 1 teaspoon salt
  • 1/3 cup melted earth balance + 2 tablespoons
  • 1/3 cup maple syrup + 2-3 tablespoons
  • 1 1/2 cups soy milk (or any plant based milk)
  • 1 tablespoon apple cider vinegar
  • 2-3 stalks rhubarb (enough to cover bottom of skillet)

Note. I baked this in a 10 inch cast iron skillet. If you don't have one, a 9 inch circle or square pan will do the trick, you are just going to have to simmer the maple in a pot ans pour in into the pan you are using...and maker sure to grease it!

Preheat oven to 350.

Place the 2 tablespoons of earth balance and the 1/3 cup of maple into a 10 inch skillet and place on medium heat. Stir around until earth balance is melted and the maple starts to thicken. Remove from heat. Now grab rhubarb cut into pieces and layer it any way you see fit, making sure to cover the bottom of the skillet but not layering it in to thick.

In a large bowl mix together the flour corn meal, salt, baking soda and powder. Then In a separate bowl, mix together the apple cider vinegar, soy, melted and cooled earth balance and the remaining maple. Pour wet into dry ans mix until even;y incorporated.

Pour batter gently on top of rhubarb, leveling out if need be, then slide it on into the oven to bake for 25-30 minutes or until the cake is golden brown and a tester stuck into the middle come out clean.

Remove cake ans let cool for for about 10 minutes. This is really important,because flipping to soon and all the rhubarb maple will just absorb and soggy up the cake and if you wait to long, all that goodness willl harden up and get stuck. SO 10 minutes.

Now when your ready yo flip, think about size. I used a big cutting board that , but a plate would work to, just make sure it;s slightly bigger then the skillet. Then just do it flip and lift the skillet away. Any pieces that might have gotten stuck can be scraped off and placed back where they belong.

Now your cake is ready and waiting for you to eat. Sweet enough for dessert, not to sweet that you couldn't serve it with dinner. Multi purpose cake.. the best kind!


In bread, breakfast, brunch, cake, Dairy Free, desserts, dinner, recipes, Sweets, Vegan, Vegetables Tags Upside-down Rhubarb Maple Cornbread Cake, corn bread, vegan, cake, maple, rhubarb, plant based, clean eating, sno sugar added, upside down cake, local
Comment

Carob Covered Rice Cakes

June 1, 2016 Colleen Stem
IMG_4572.jpg
IMG_4474.jpg

 I remember long ago, when I was just a little, my mom would take me to the health food store with her to get whatever new fancy snack that she was obsessed with or to stock up on way to expensive jams and her very specific boxes of teas that she could not find anywhere else. Those were the days (when mom was buying the groceries) And I loved going to the store with here because well, bulk bins! Oh the bulk section, it had all the best stuff like sesame sticks and granola chunks.  It was a free for all,, grabbing a piece dried mango here or a handful of almonds there. (don't judge, I as just a sweet little little, I don't do that anymore...often)   This store had a pretty impressive bulk section and includedtwo bins of carob covered rice cakes. One was plain, one was mint, both freaking delicious. Up until the first time I ate one of those rice cakes I had no clue what carob was or that those rice cakes were not chocolate. I just remember that they were super tasty and that my mom always got one for me.  She wold buy a dozen and I might have gotten to eat another one of those too.  I loved those rice cakes.

I haven't seen a carob covered rice cake in years.  I think that they stopped carrying them or maybe it's because the store has changed a lot and I don't often go there anymore, but either way, it's been a while. So anyway, last week I spur of the moment bought a package of (unsalted plain) rice cakes, then realized that the mr wasn't to into rice cakes anymore (there was a long period of time where I made him peanut butter banana rice cakes for lunch everyday). But I bought them and they need to be eaten, and that's when it came to me.. Make the carob covered rice cakes from the old days. Something new and different for the mr and something super nostalgic for me.

And it helped that it has been way to freakin deakin hot and all the things that I have been wanting to bake (cherry pie, rhubarb cake, food in general) just wasn't happening. . But these sweet treats take 2 minutes to make and require no heat whatsoever (my coconut was already melted.) Can you really ask for more?

The stuff. Carob powder, coconut oil and rice cakes. I should have stuck the sea salt in the picture, but it is kind of optional..

Simple as can be. Th oil and carob powder get combined in a bowl of some kind.

Mixed together until silky smooth and BLING BLING shiny.

Rice cakes all ready to get decked out ( doing this on wax paper to make life much easier)

Smothered with the carob all over. You can do one side at a time, sticking it into the freezer to set for a minute or just get a little messy and do it all at once. Up to you. But wither way, it need to go in the freezer for just a few minute to get hard.

And right before you stick them in the freezer, sprinkled with sea salt.

Uh huh.. Looking good. And taste ever better then I remembered. (it's the salt. Salt makes everything better)

-C


Carob Covered Rice cakes

Makes 2 (why make only 1)

  • 2 tablespoons coconut oil
  • 4 heaping tablespoons carob powder
  • 2 plain rice cakes
  • Sea salt

In a bowl mix together melted coconut oil with the carob powder until a smooth and shinny consistency. With a spatula, smother the top and the sides of the rice cakes with the mixture. Place on wax wax paper, un-carobed bottom down, and stick in freezer for a few minutes until carob has harden. Remove, flip, and smother remaining side. (you can do both sided at once, but it's a little messier) Sprinkle salt on now and back into freezer until hard. Remove and eat.

Note. If you make two and have one left over for late, keep it in an air tight container in the fridge or freezer. It will melt just like chocolate.

In Vegan, Sweets, snack, Gluten Free, desserts, Dairy Free, breakfast, 5 ingerdients or less Tags Salted Carob Covered Rice Cakes, rice cakes, carob, snack, healthy, plant based, clean eating, caffeine free, sugar free, coconut oil
12 Comments

Maple Banana Walnut Oat Squares

May 10, 2016 Colleen Stem
IMG_3451.jpg
IMG_3417.jpg

Every year I play this game with myself.. Is it allergies or am I sick. The past few days I have been feeling kinda crappy, waking up with itchy, gunky eyes. My throat hurts, my head is like a balloon, and I am just feeling beat.. 

I think it's that I am sick (because I don't want to have allergies) but whatever it is, it sucks, but usually goes away after a week (like every year because its really allergies). Blah.

But enough about my balloon head, lets talk these maple banana walnut oat squares. These yummy gems of the oat square world are just what you need in your life. Healthy, protein packed, nutty, and a touch sweet. No junk, just good stuff all made with little to no effort. If you like banana bread, you will be all into them. I was inspired to make these by the extremely ripe bananas that need to be eaten asap and the mr's lack of eating a healthy breakfast (I want him to eat, and I want it be oatmeal). I know him well enough that if I make a snack like thing and leave it out to eat, that he will eat it. For breakfast.

So weather or not you are looking for a good way to get in some good stuff into your tummy or just want some good tasting stuff in your mouth, this is the breakfast/dessert for you.

The stuff. A couple of ripe bananas, a bunch of rolled oats, some yummy walnuts, real maple syrup, cinnamon, baking soda and a wee bit of water.

Start with the walnuts in a food processor. Turn it on and process until....

You got this walnut butter. Do not eat it, it's for the squares (it is so good).

IMG_3355.jpg
IMG_3358.jpg

Add in the oats, cinnamon and baking soda and turn the processor back on until you get a nice unified crumbly mixture.

Now in goes the bananas and the maple syrup. And you guessed it, blend some more. While you are blending, if the mixture seems to dry, add in a splash of water, to wet, just toss in another handful of oat. The mixture should be like a muffin batter consistency.

And that's it. If you want some nut chunks, add in a handful more of walnuts (do it) and pulse just to get them mixed into batter.

Then pourthe mixture into a well greased 9x9 baking pan and spread out evenly. Toss those suckers into the oven to bake.

Oh so good bananas give off the best smell when baking. After about a 1/2hour, these bars are nice and golden brown and a fork stuck in the center comes out clean, which means, they are done.

Cut into square , eat one or two, and save the rest. Eat for breakfast, as a snack, or for dessert. And a smear of peanut butter on top is aces too!

Later dudes.

-C


Maple Banana Walnut Oat Squares


  • 3 cups old fashion rolled oats (gluten free ones to keep in GF)
  • 1 cup plus a a small handful walnuts
  • 1/2 cup maple syrup
  • 2 rip bananas
  • 1 /2 teaspoon baking soda
  • 1 teaspoon cinnamon (optional)

Place 1 cup of walnuts into a food processor and blend until it turns into walnut butter.. about 3 minutes. Add in the oats and blend together until it becomes a crumbly mixture. Add in the maple, baking soda, cinnamon and the bananas (break into chunks) and blend until incorporated. If the mixture seems lie its too dry, add in a splash of water, and if to wet, add in another handful of oats. The batter should resemble a muffin batter.  Once blended, mix in the remaining walnuts and pulse just to mix them in.

Pour mixture into a well greased 9x9 baking pan and stick into the fridge for 10ish minutes and preheat oven 350

And after the time in the fridge, remove the pan and slide them into the oven. Bake until golden brown and a tester stuck into te middle comes out clean. (about 30 minutes)

Remove and let cool. Pop out of pan, cut into square, and eat to you face.

Squares will last 3-4 days in a airtight container or freeze them and they will last until you eat them.


In breakfast, bread, Vegan, Sweets, snack, recipes, Gluten Free, desserts, Dairy Free, brunch Tags Maple Banana Walnut Oat Squares, vegan, Gluten free, oatmeal, oat squares, breakfast bars, healthy, clean eating, plant based, bananas, maple, walnut, nuts, protein
Comment
← Newer Posts Older Posts →
 

https://thelovelycrazy.squarespace.com/config#/|/about/

Me. Food Maker.Food eater. Woo HOO!

STEM+NODE  SMALL BATCH AND ONE OF A KIND POTTERY

stem+node ceramics


____________________

Subscribe

GET NEW POSTS IN YO EMAIL

You are AWESOME!!!


@thelovelycrazy 2014-2021