• stem+node ceramics
  • HOME
  • Food Recipes
  • About
  • Contact
Menu

The Lovely Crazy

Street Address
City, State, Zip
Phone Number

Your Custom Text Here

The Lovely Crazy

  • stem+node ceramics
  • HOME
  • Food Recipes
  • About
  • Contact

Roasted Celeriac and Squash with Apples and Onions

November 13, 2021 Colleen Stem

One of my most favorite root veggie has arrived in the farm share…Celeriac, also know as celery root and nothing has made me happier (with like food stuff)!. I know a lot of people do not know the deliciousness of the root and that makes me a little sad for them, but hopefully this simple little recipe inspires you to go get some and try it. Yeah sure it looks a little crazy, a little gnarly, but what do looks got to do with t? Celeriac taste like the best celery/apple/potato all mixed together but only better. And when it is roasted it gets nice a soft and just so freaking tasty. When I pick up my share, I make sure to get enough celeriac to eat a whole bulb a day.

So now that we all know how amazing celeriac is, we can roast it with some other amazing stuff. Squash, apples, and onions. All tossed together. All roasted til tender. All super delicious on their own but maybe even better together. A easy little dish that is perfect to make for a quiet evening at home, a mid day snack, breakfast, or to place on the table at any holiday meal. It is that versatile and really, you don’t need to have a specific reason to make it, just do. You won’t be sorry.

Now to all the roasted things!

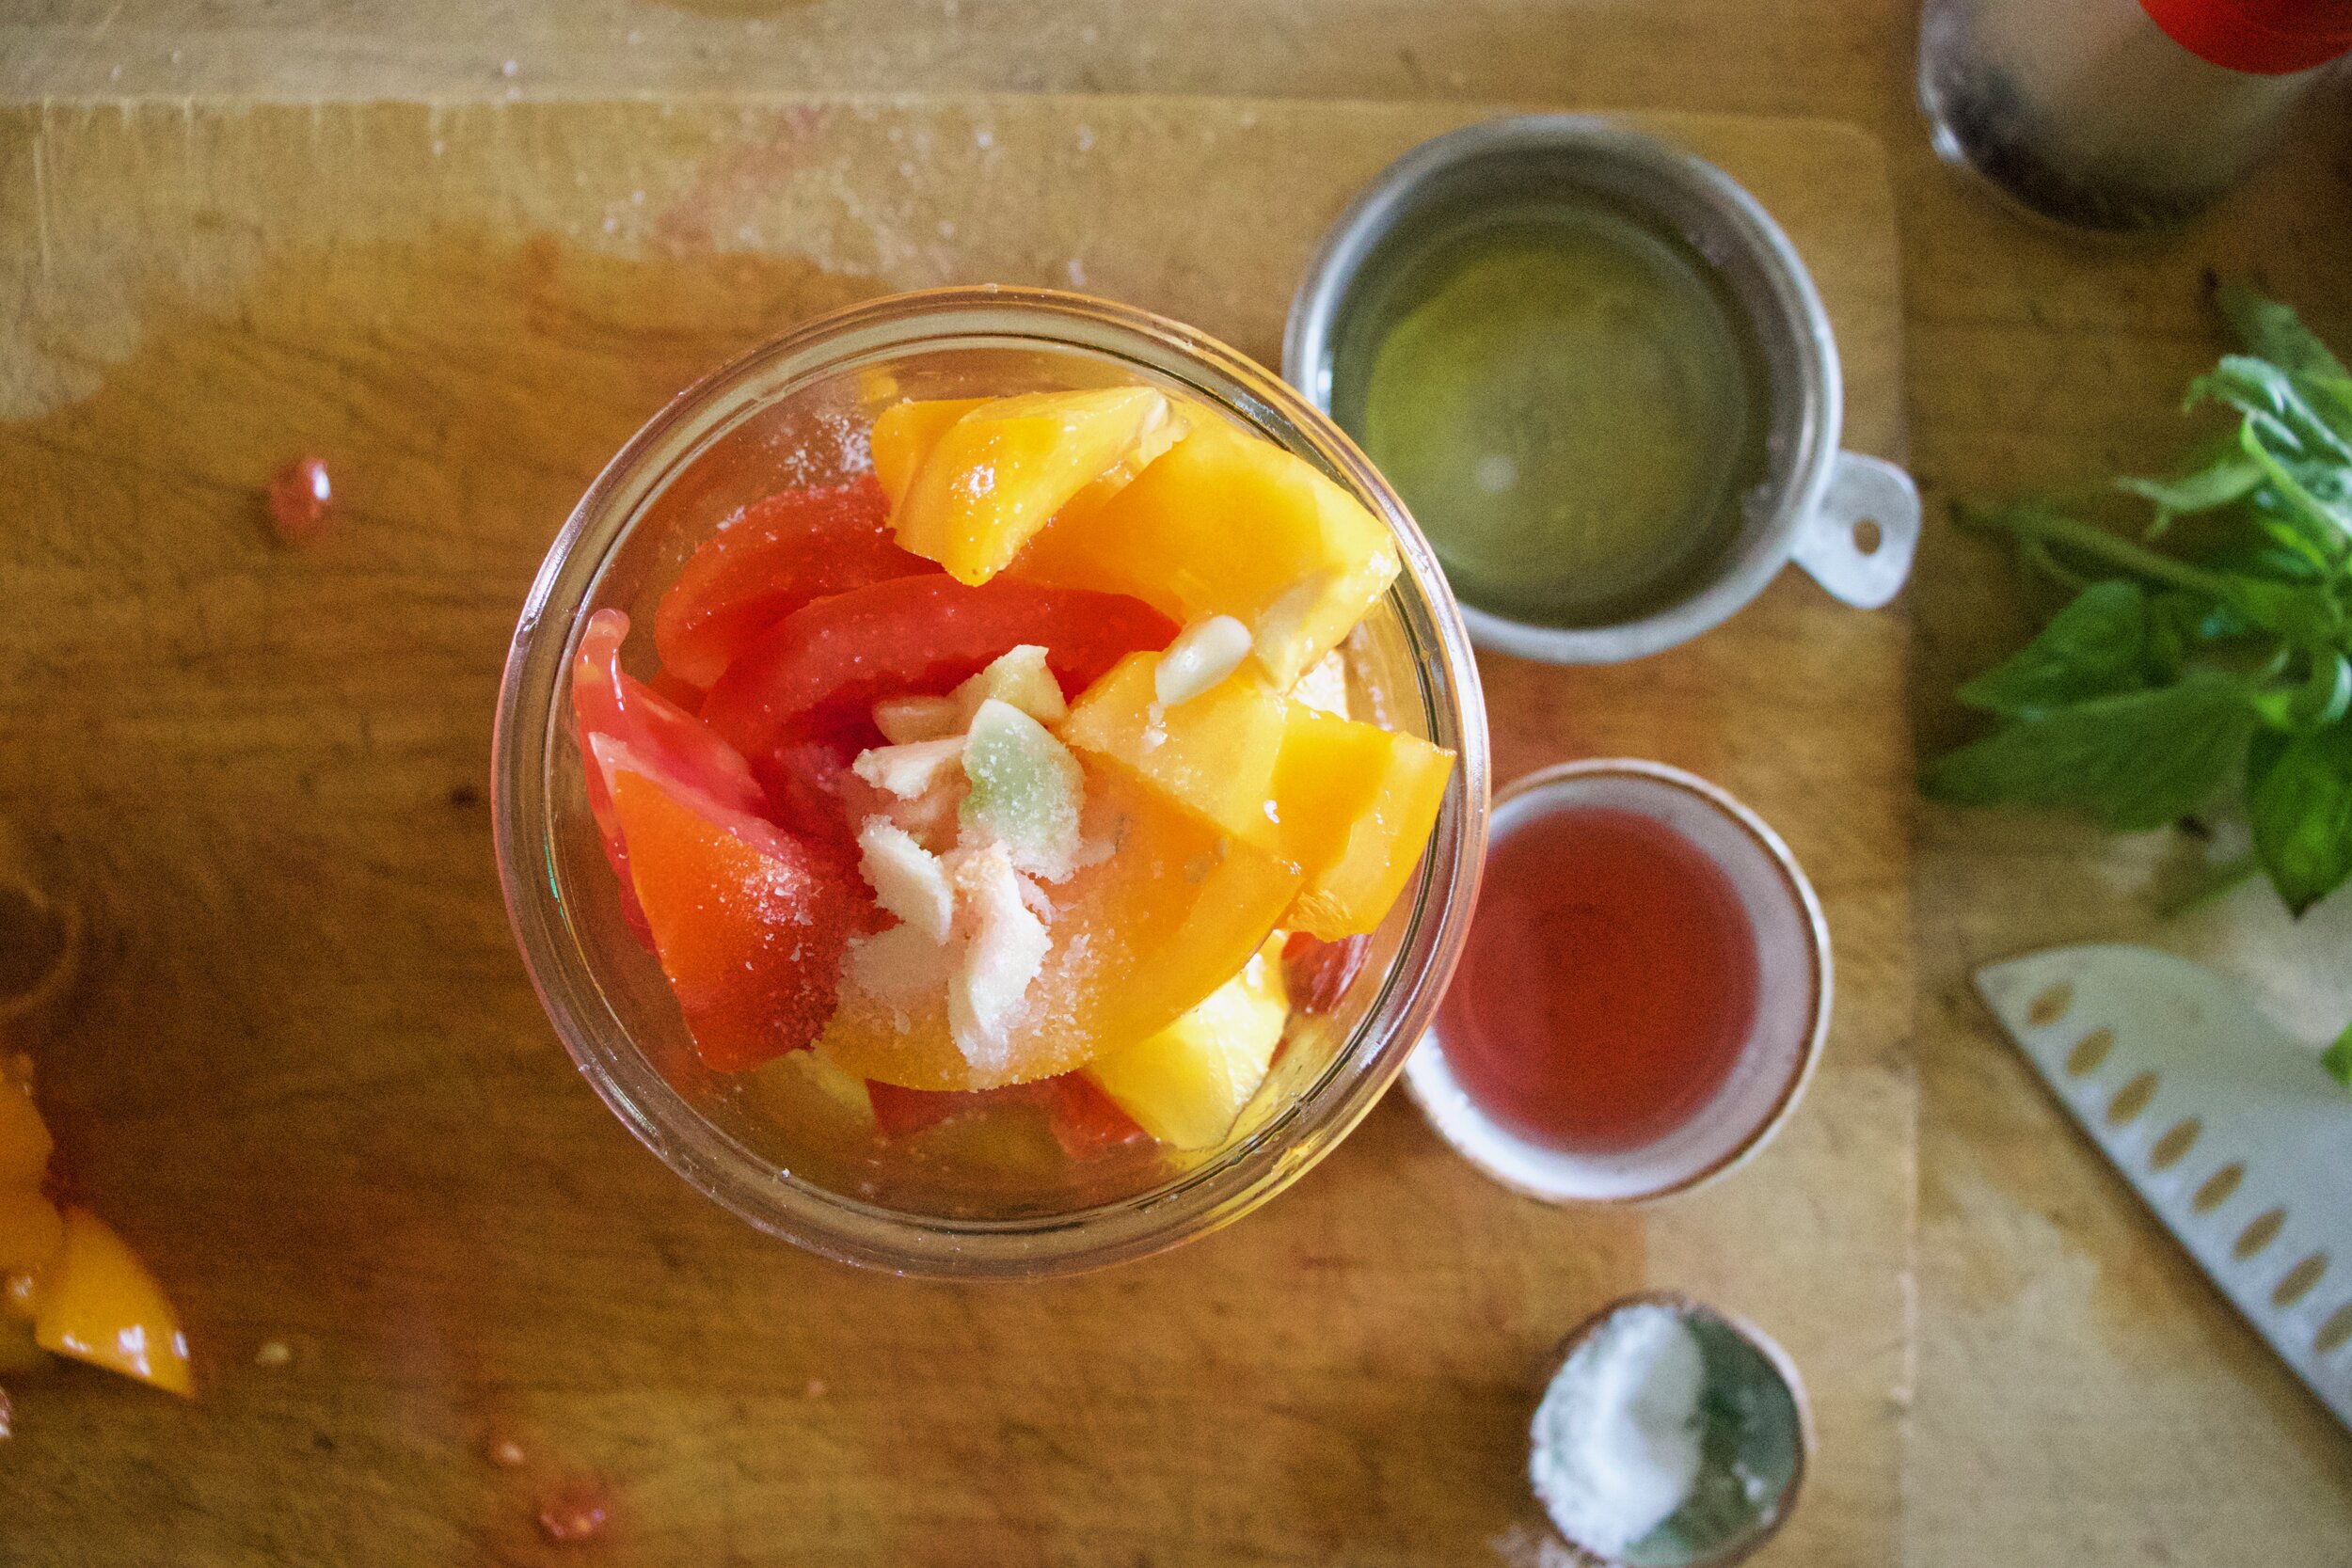
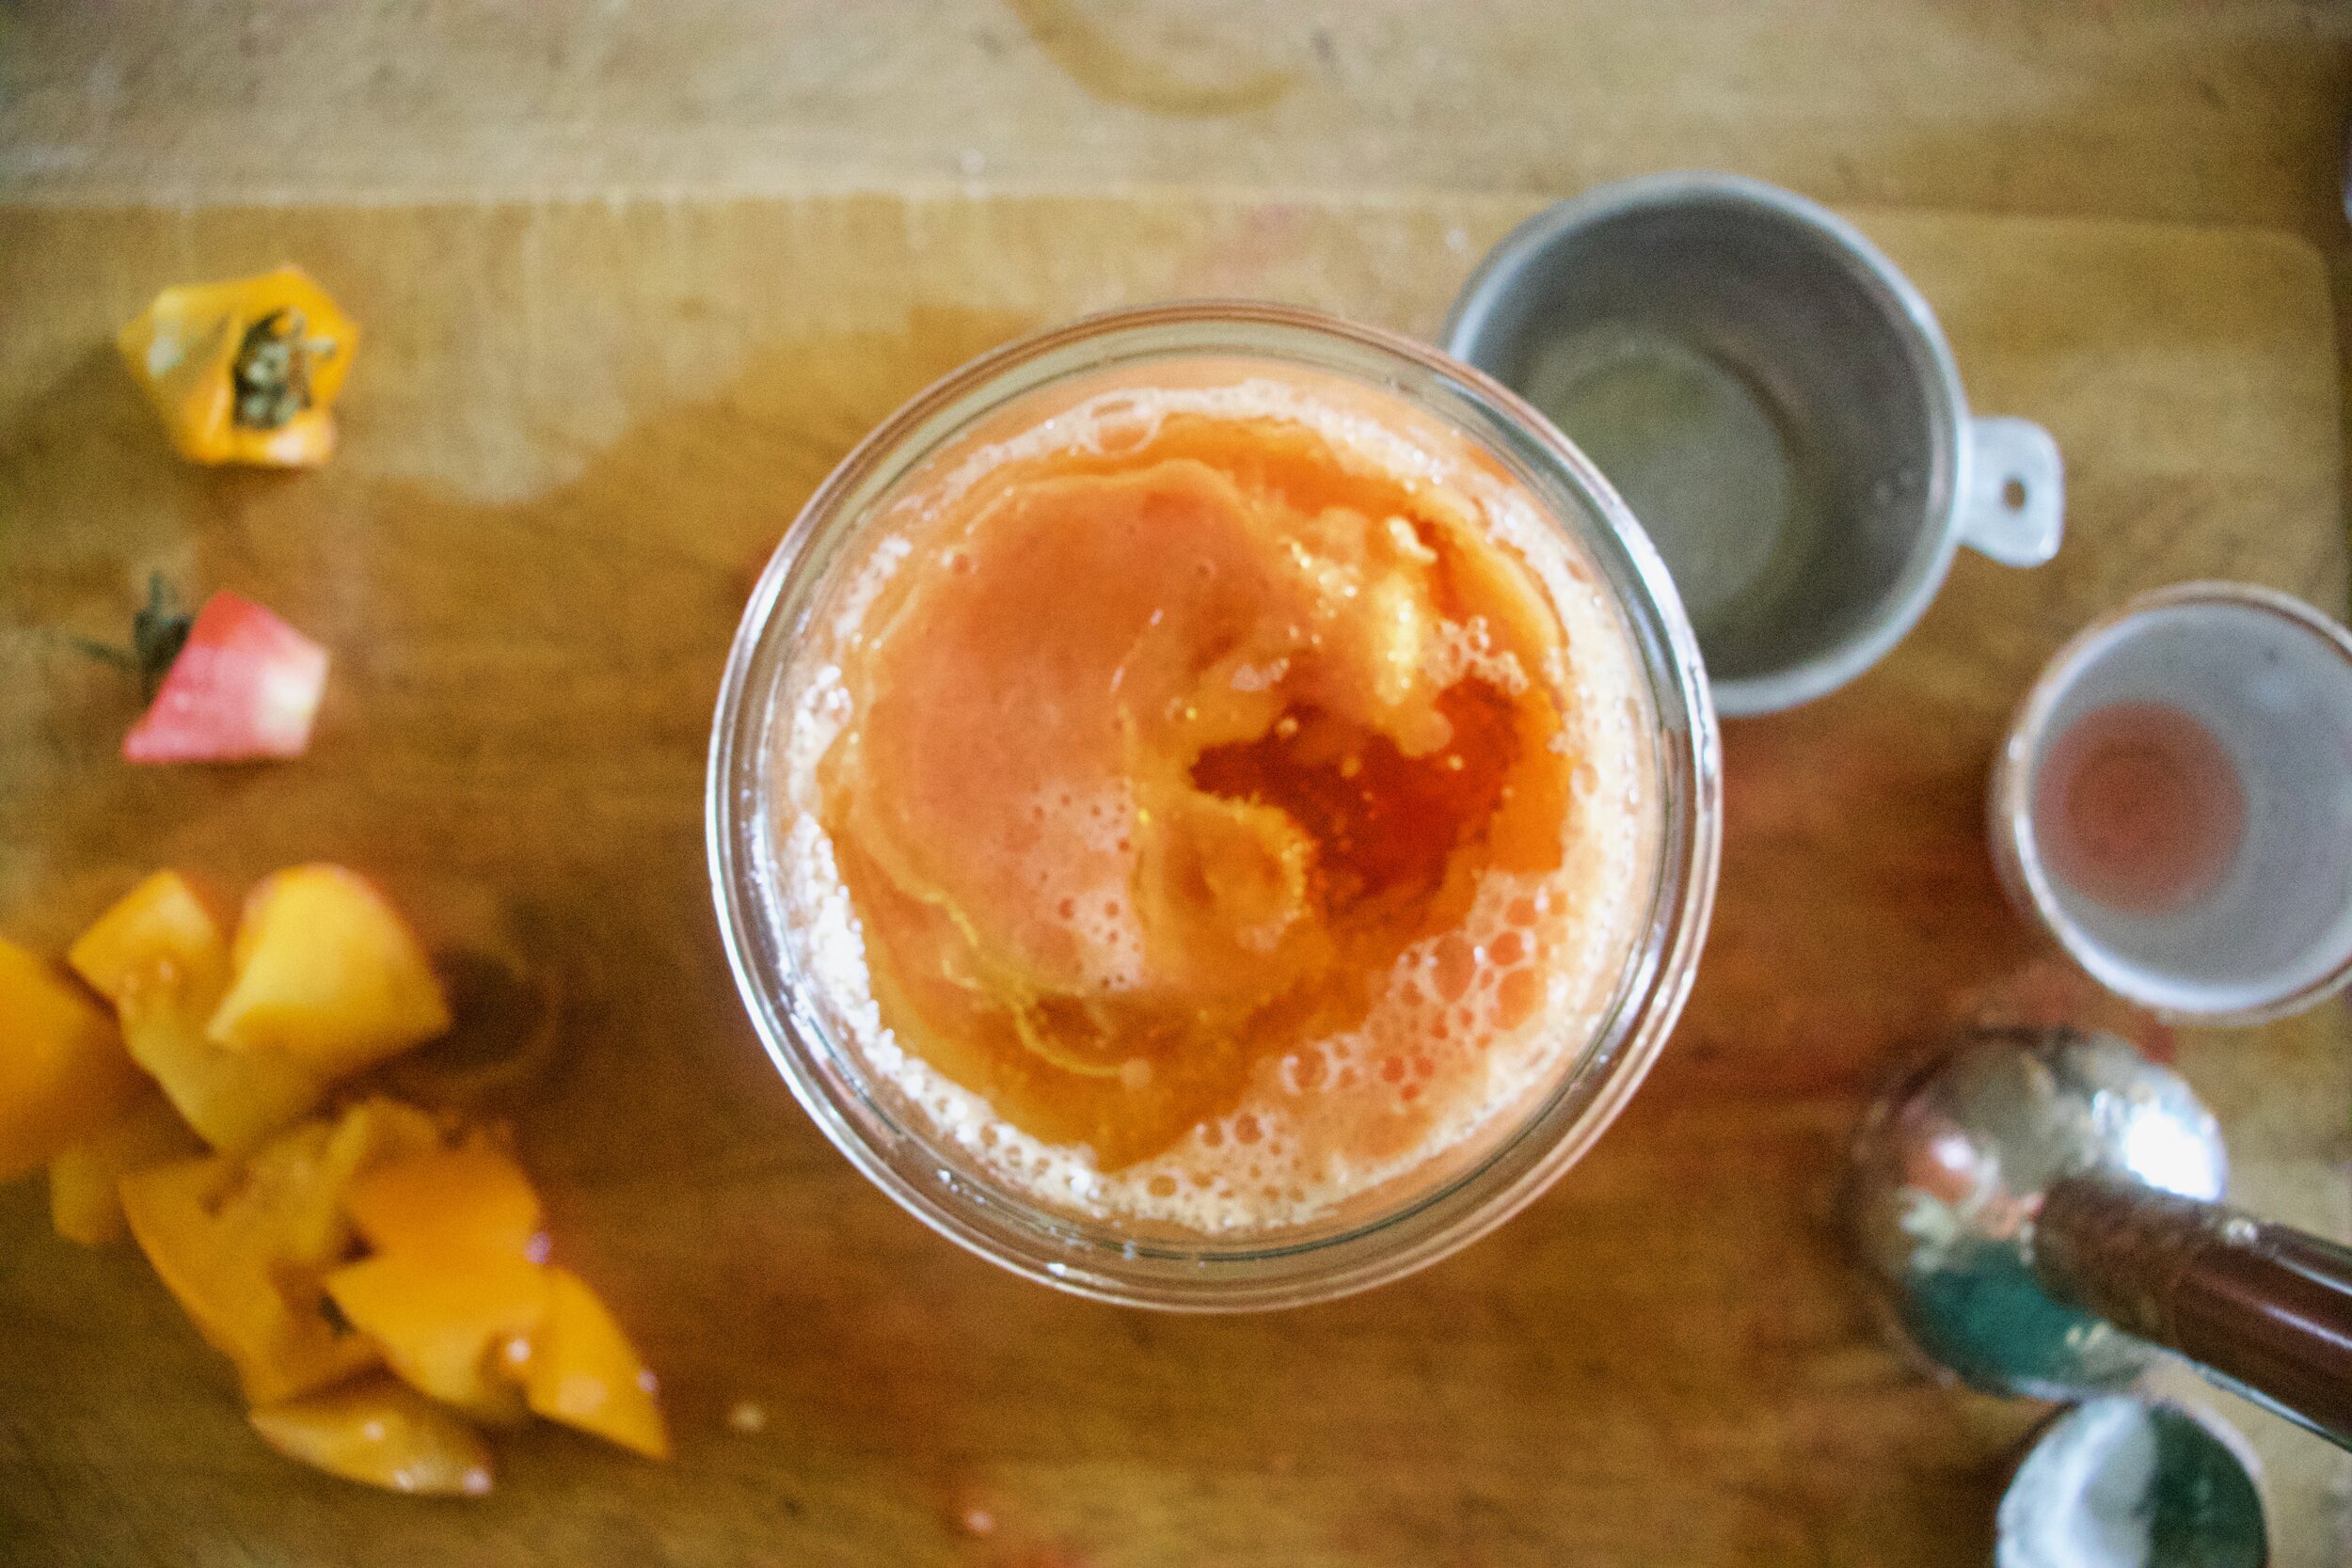
The stuff. A large celeriac bulb, a small kobocha squash, a couple apples, a couple onions, apple cider vinegar, and salt and pepper.

IMG_7804.jpg
IMG_7805.jpg
IMG_7810.jpg
IMG_7823 2.jpg

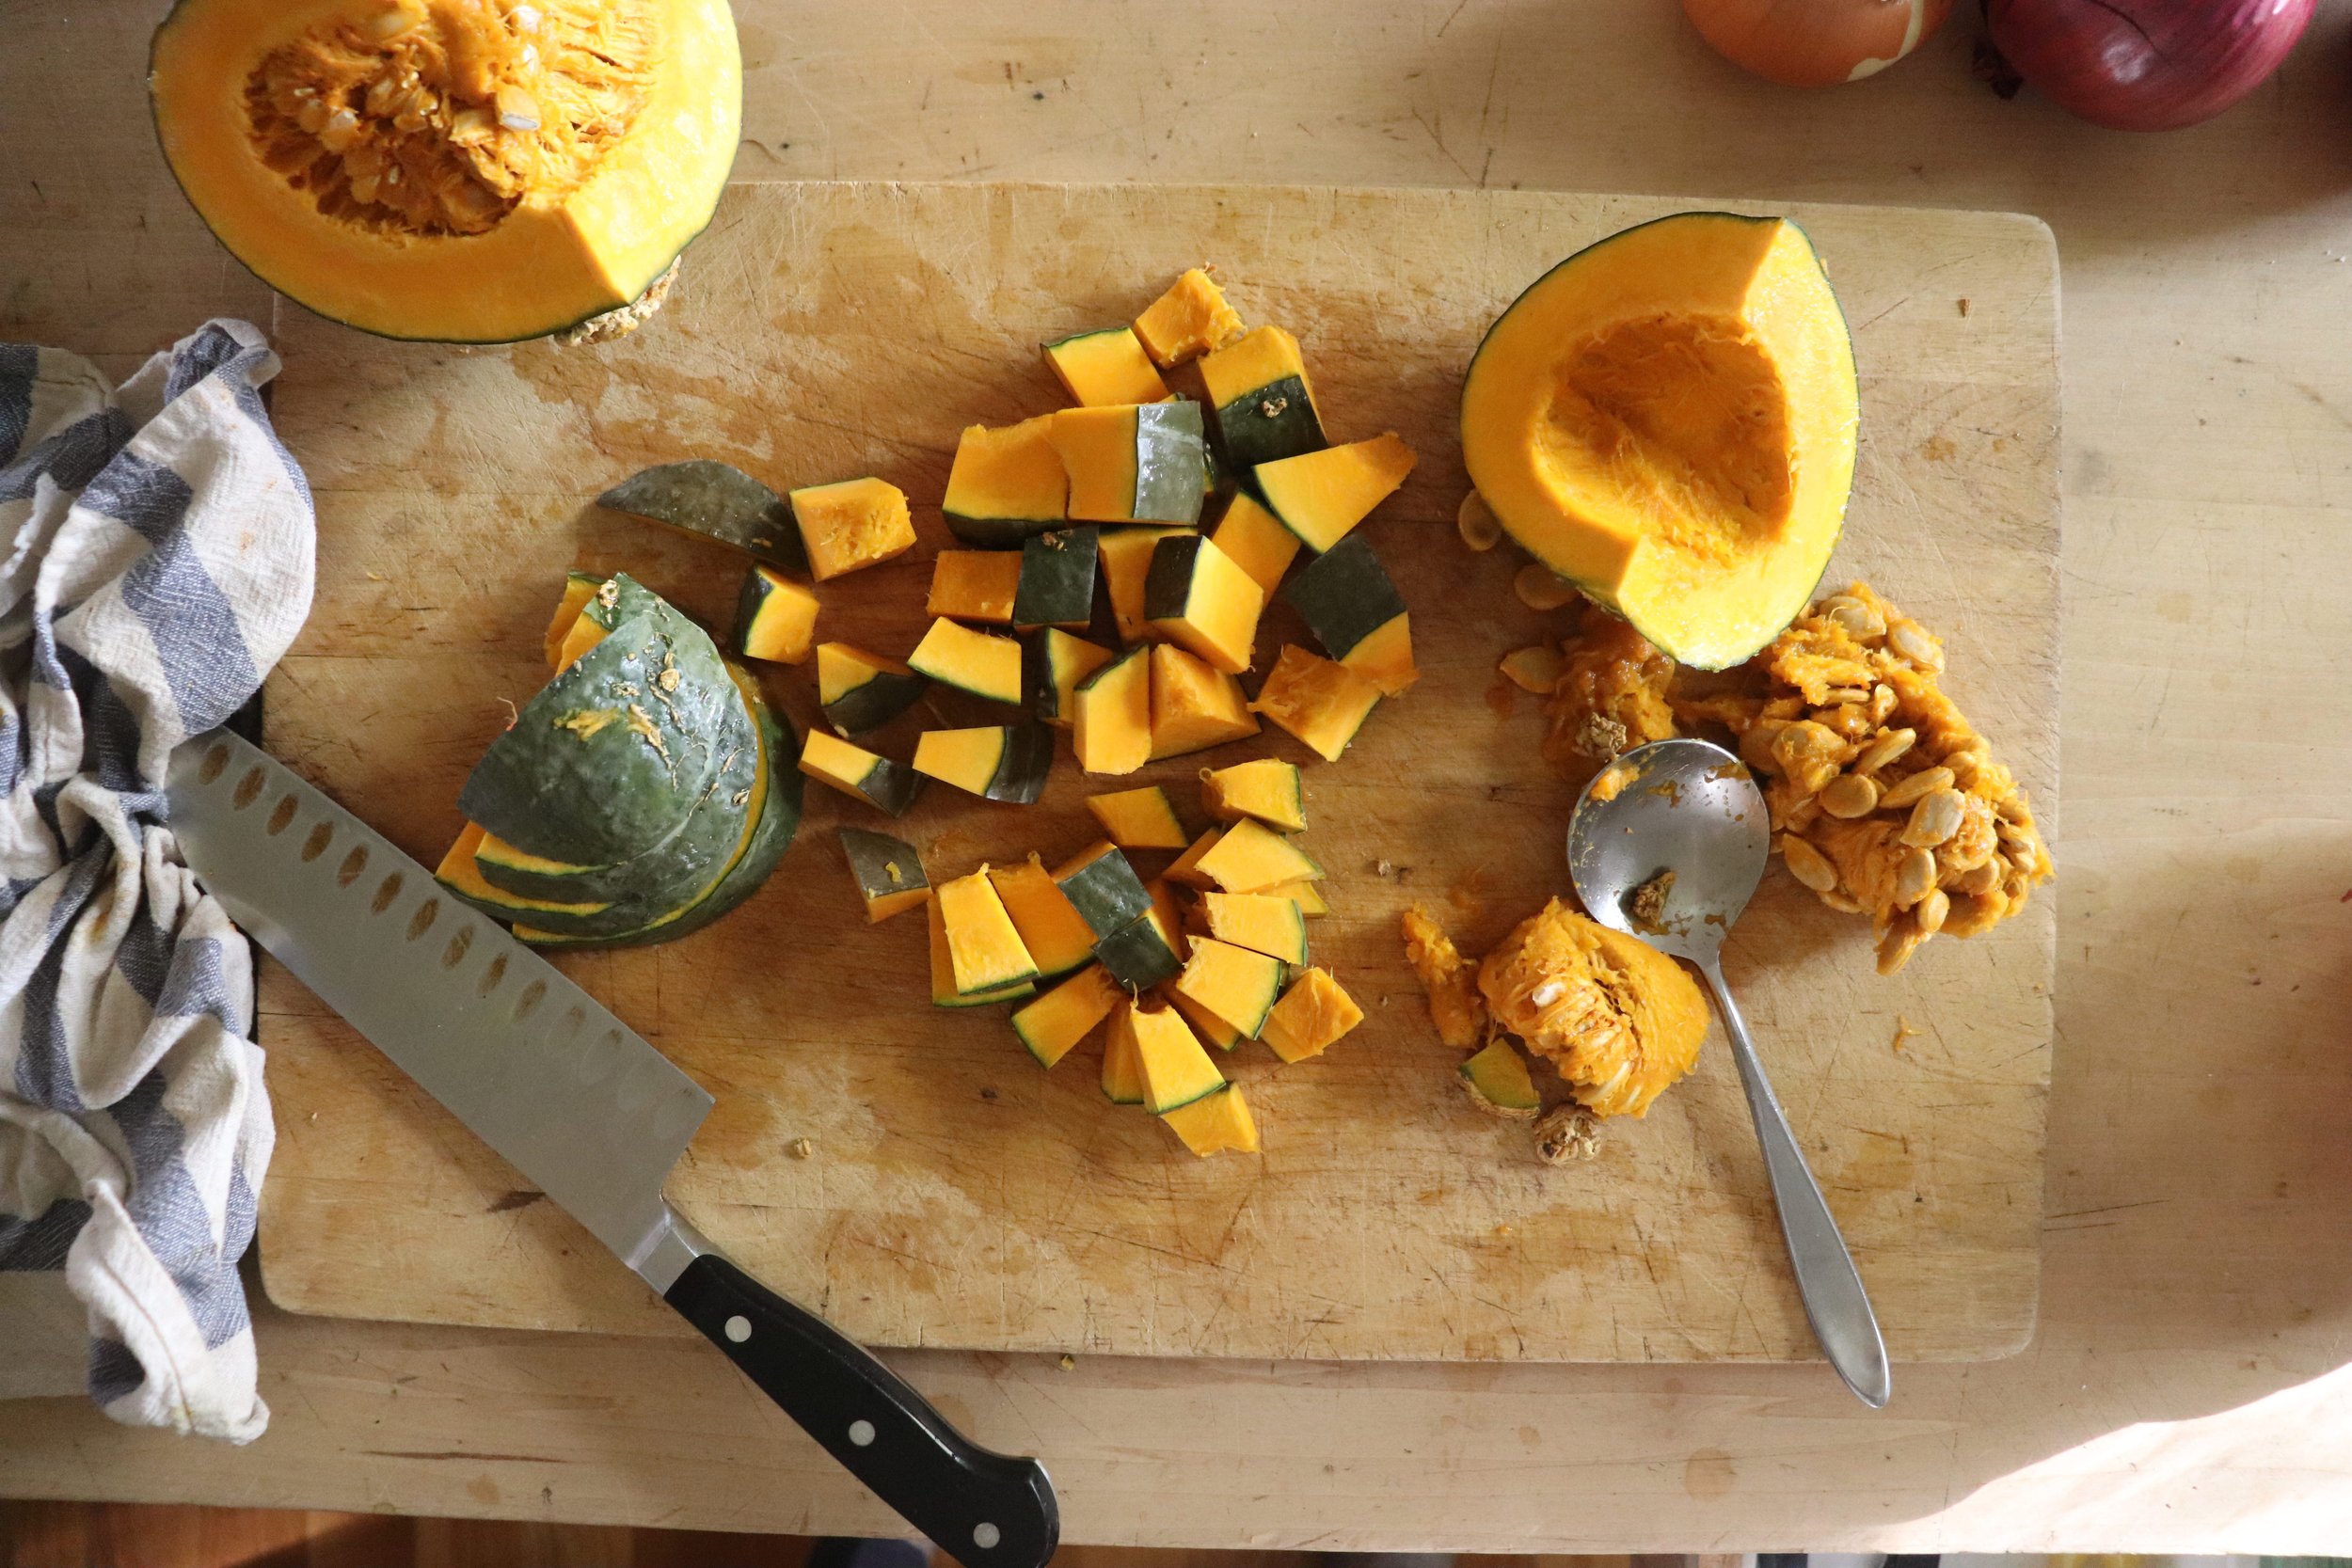
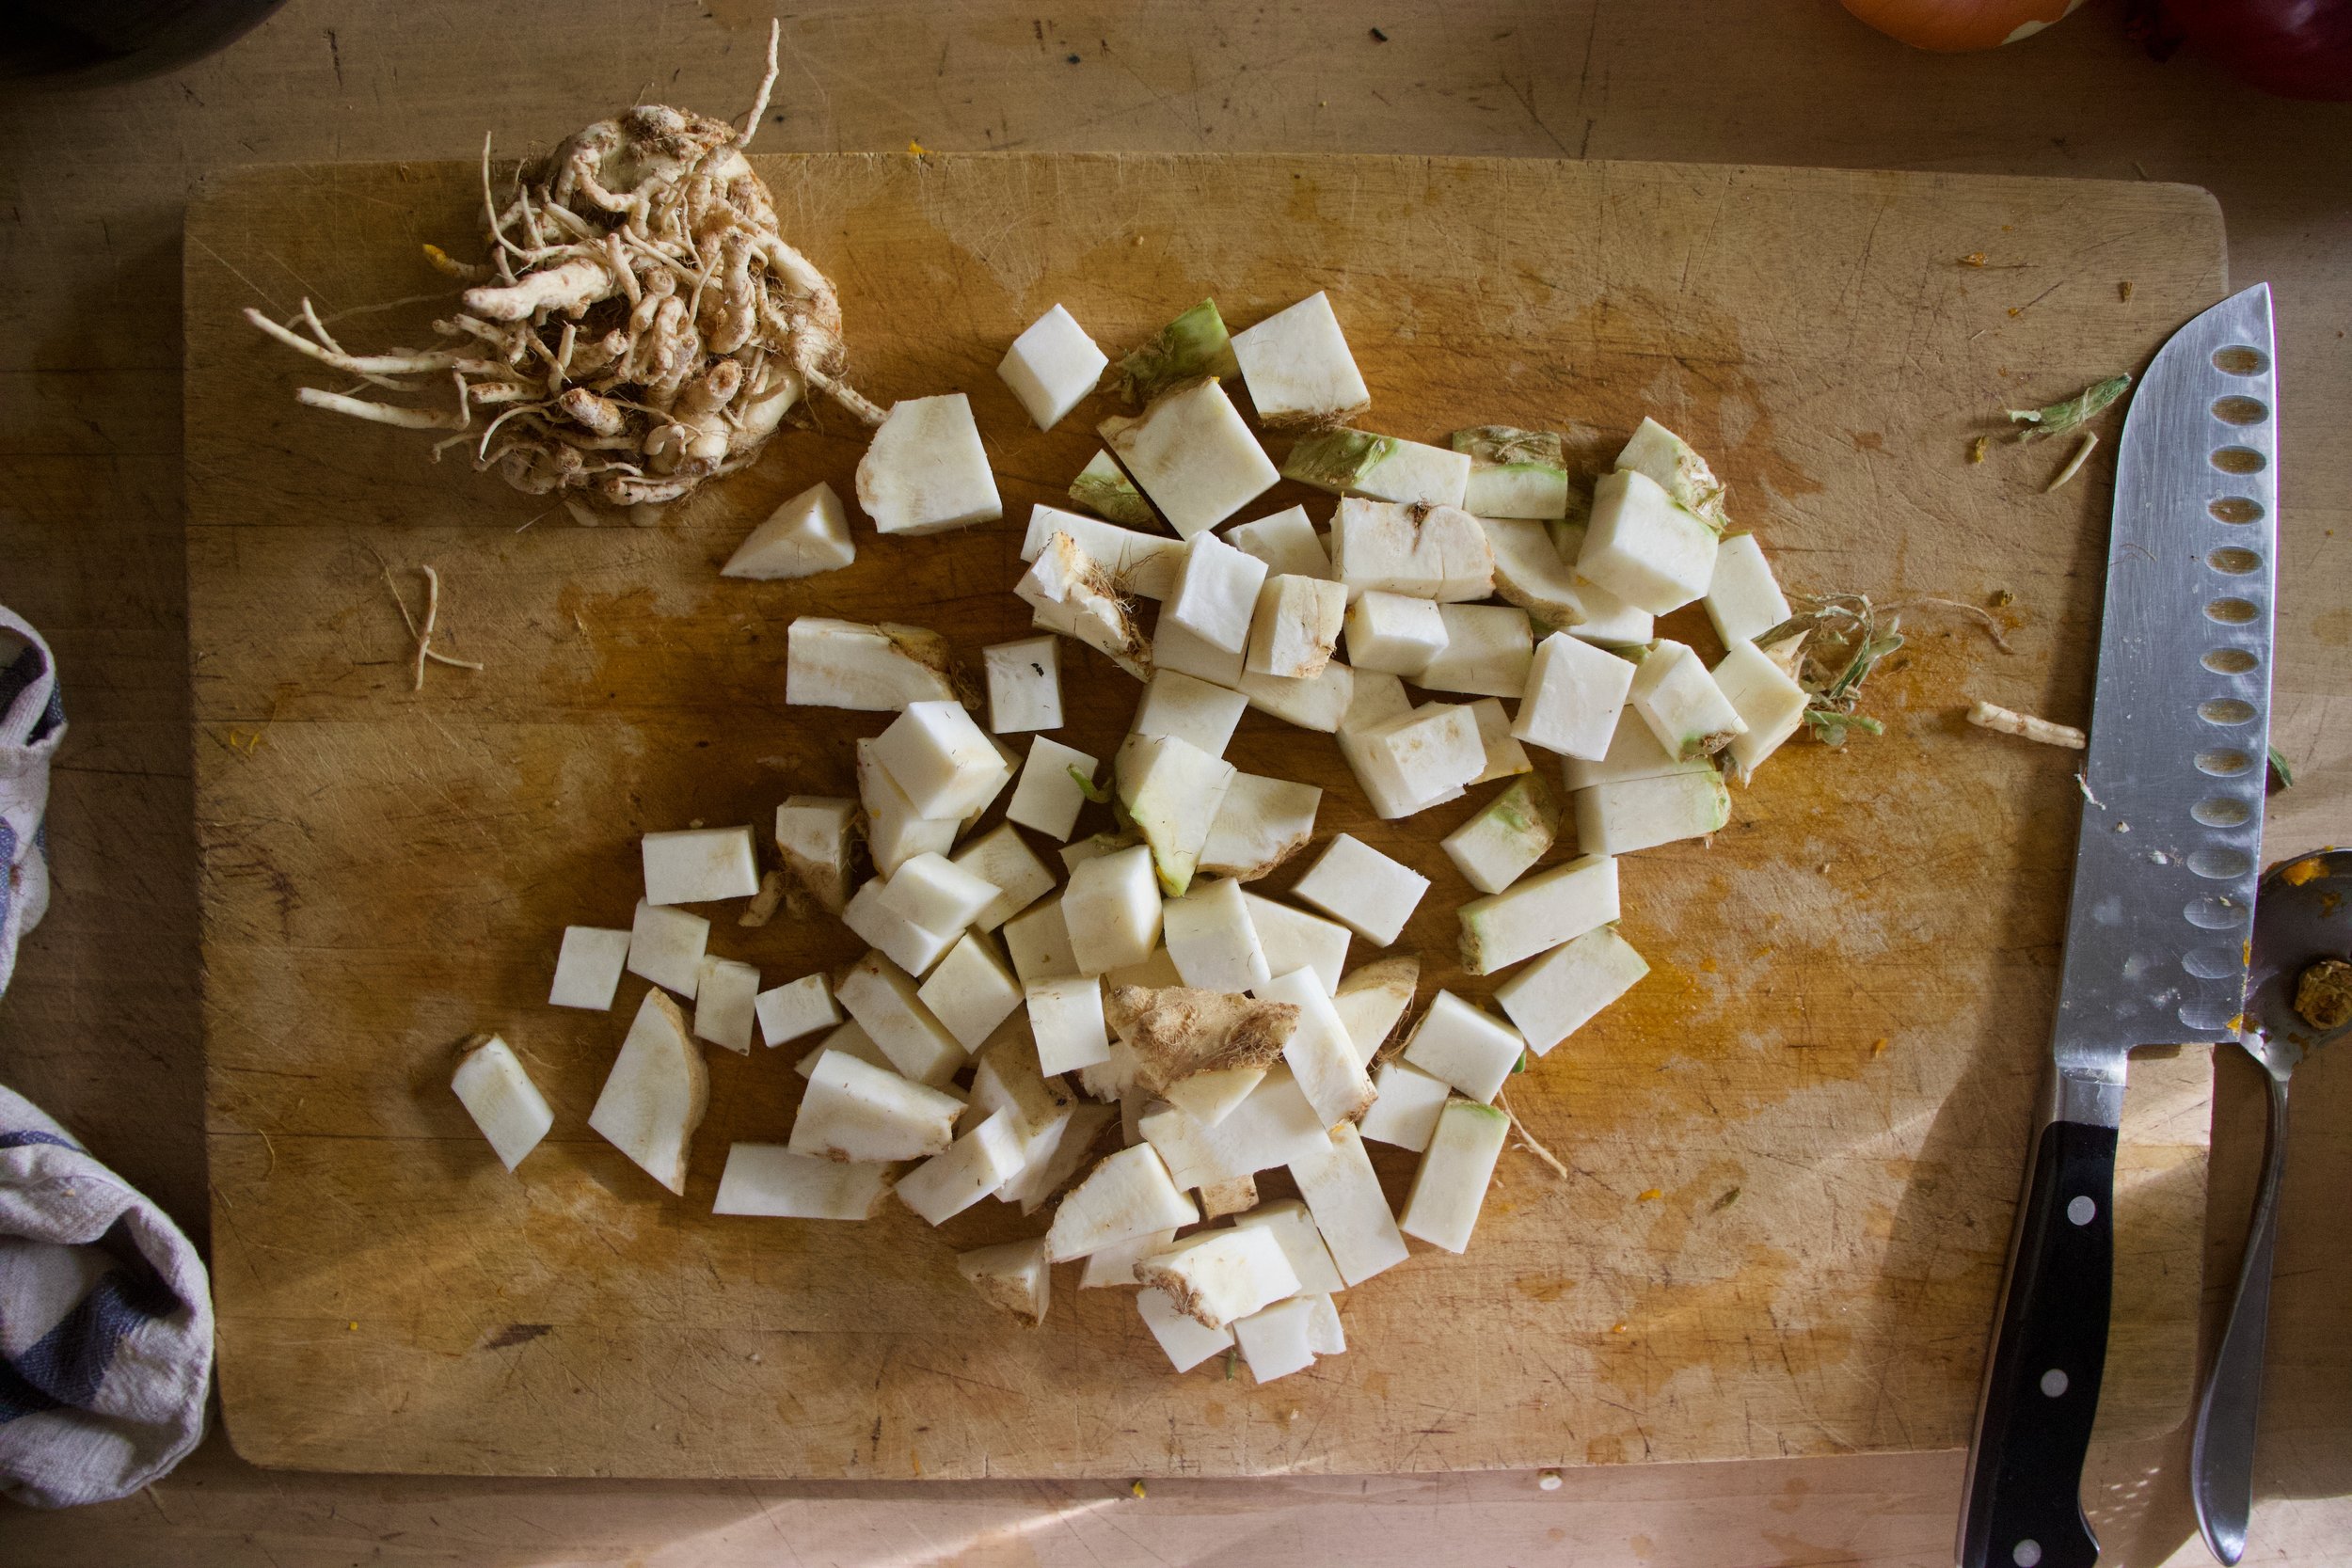
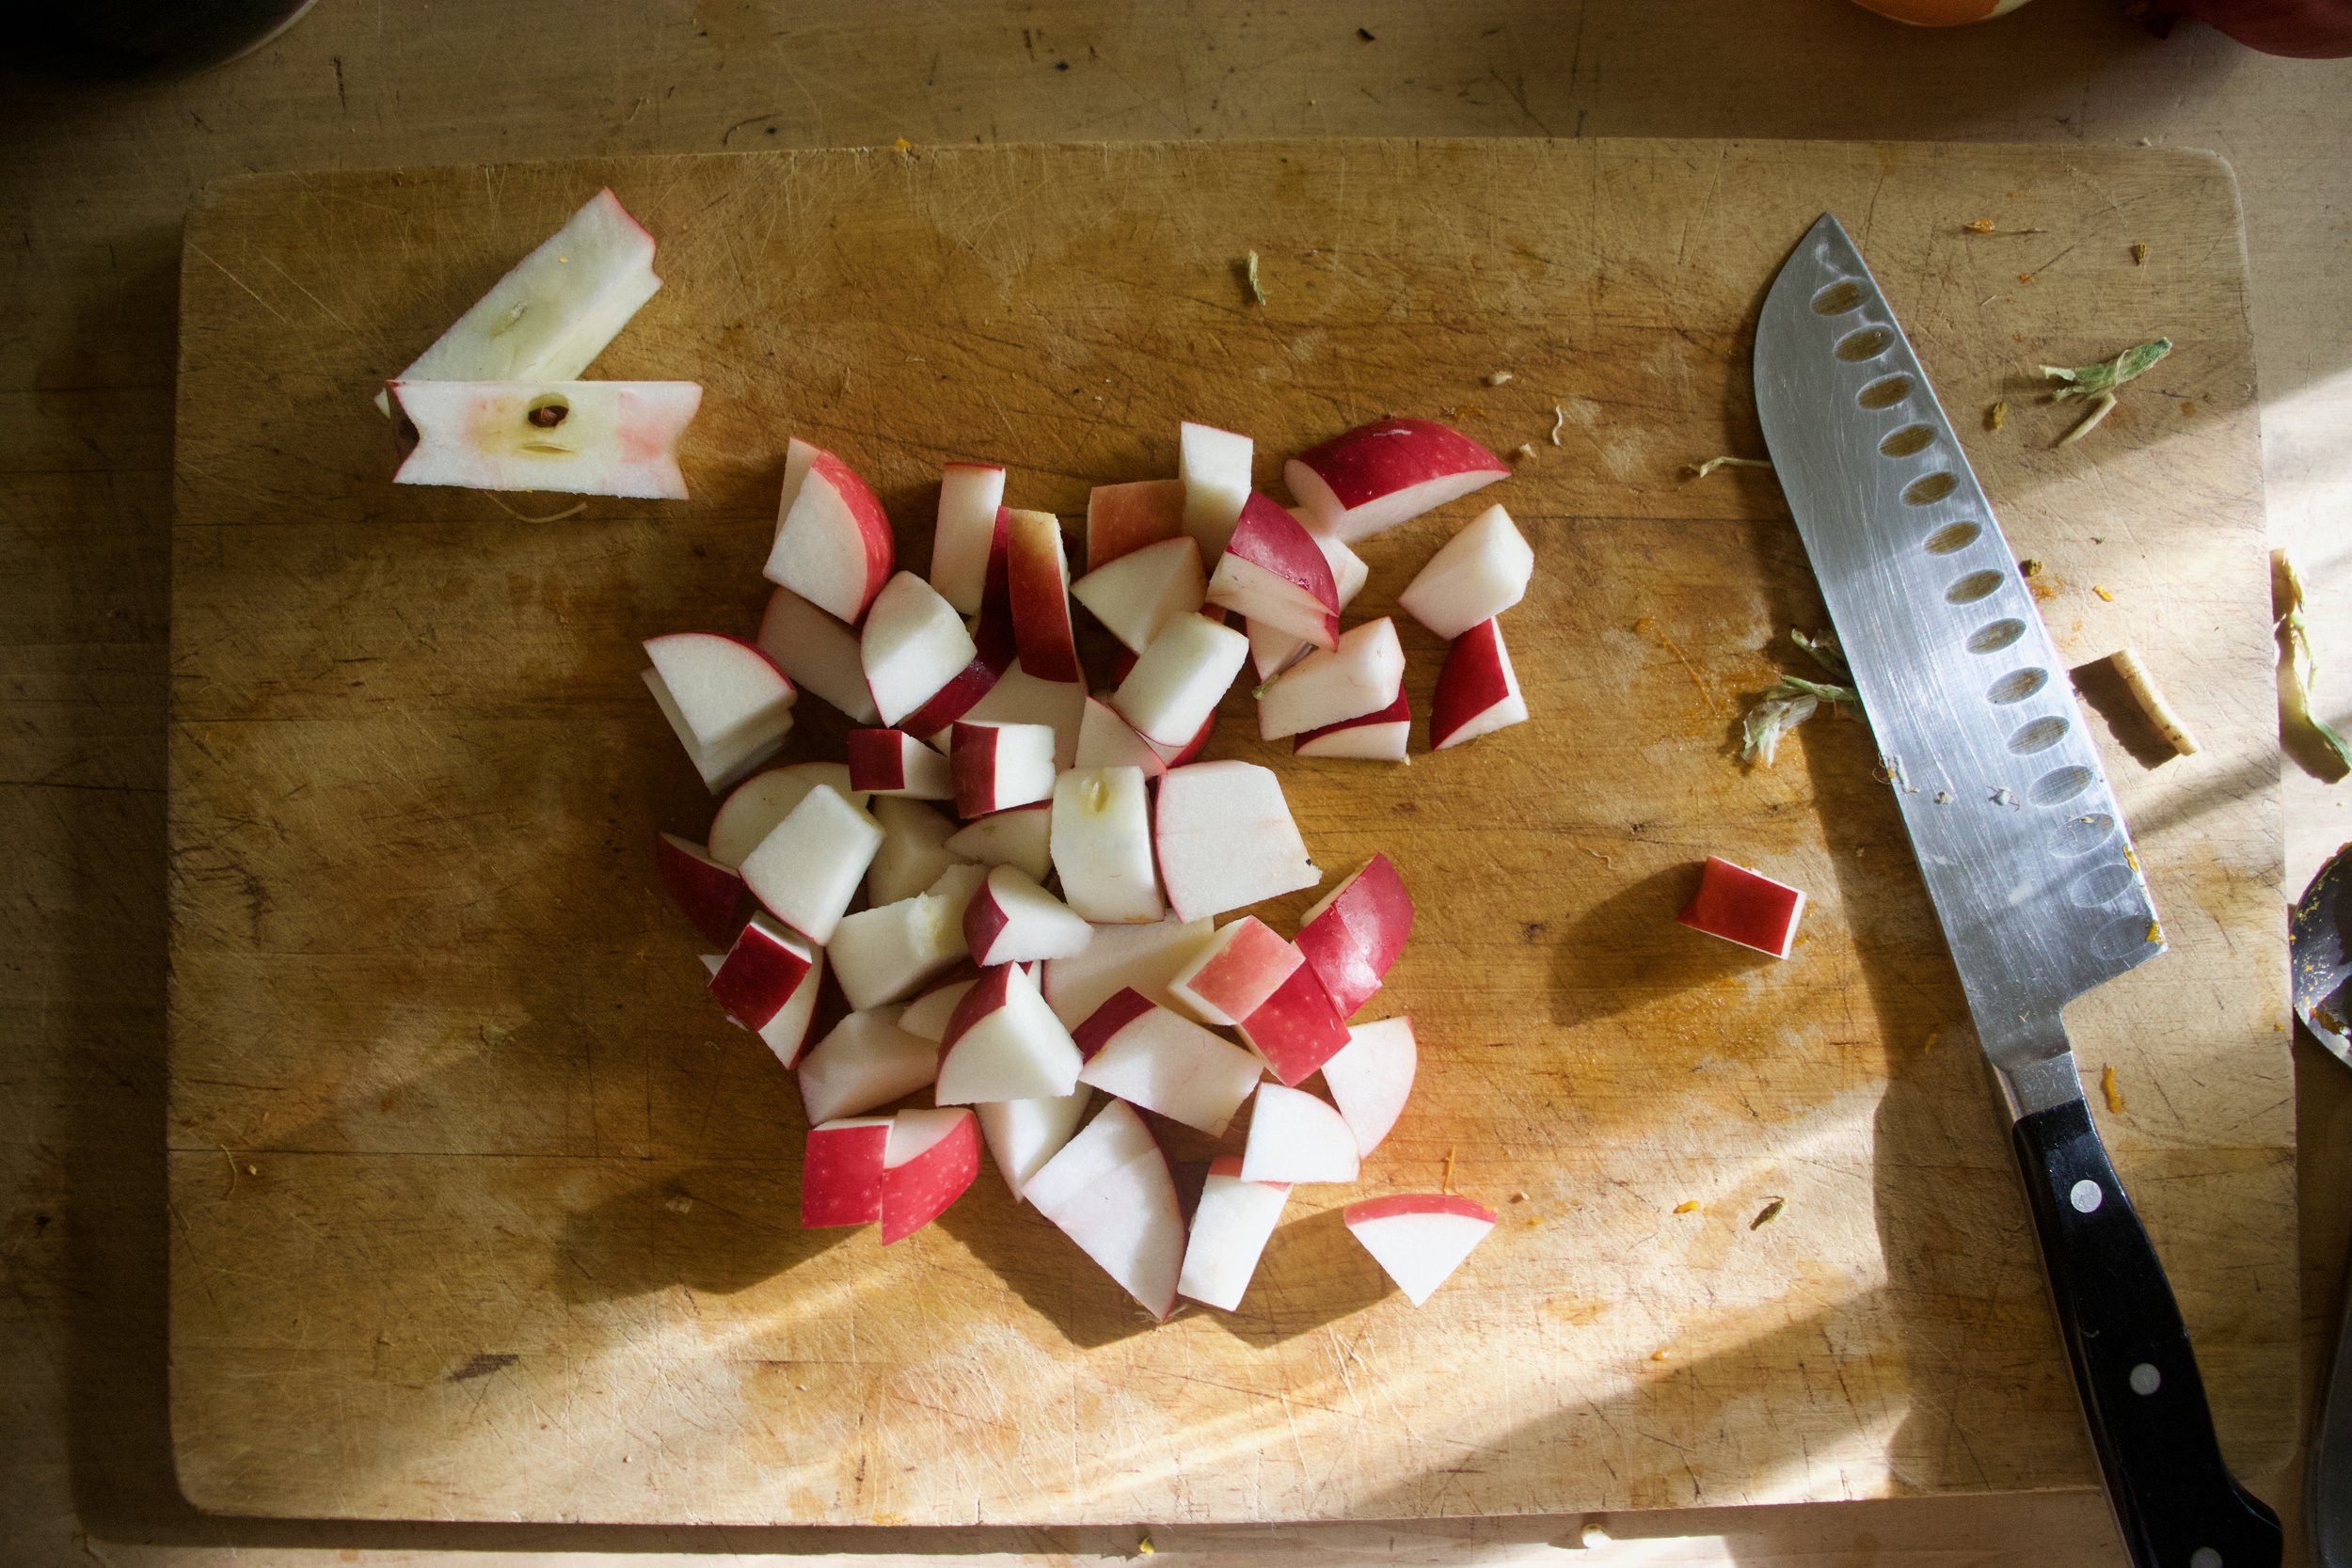
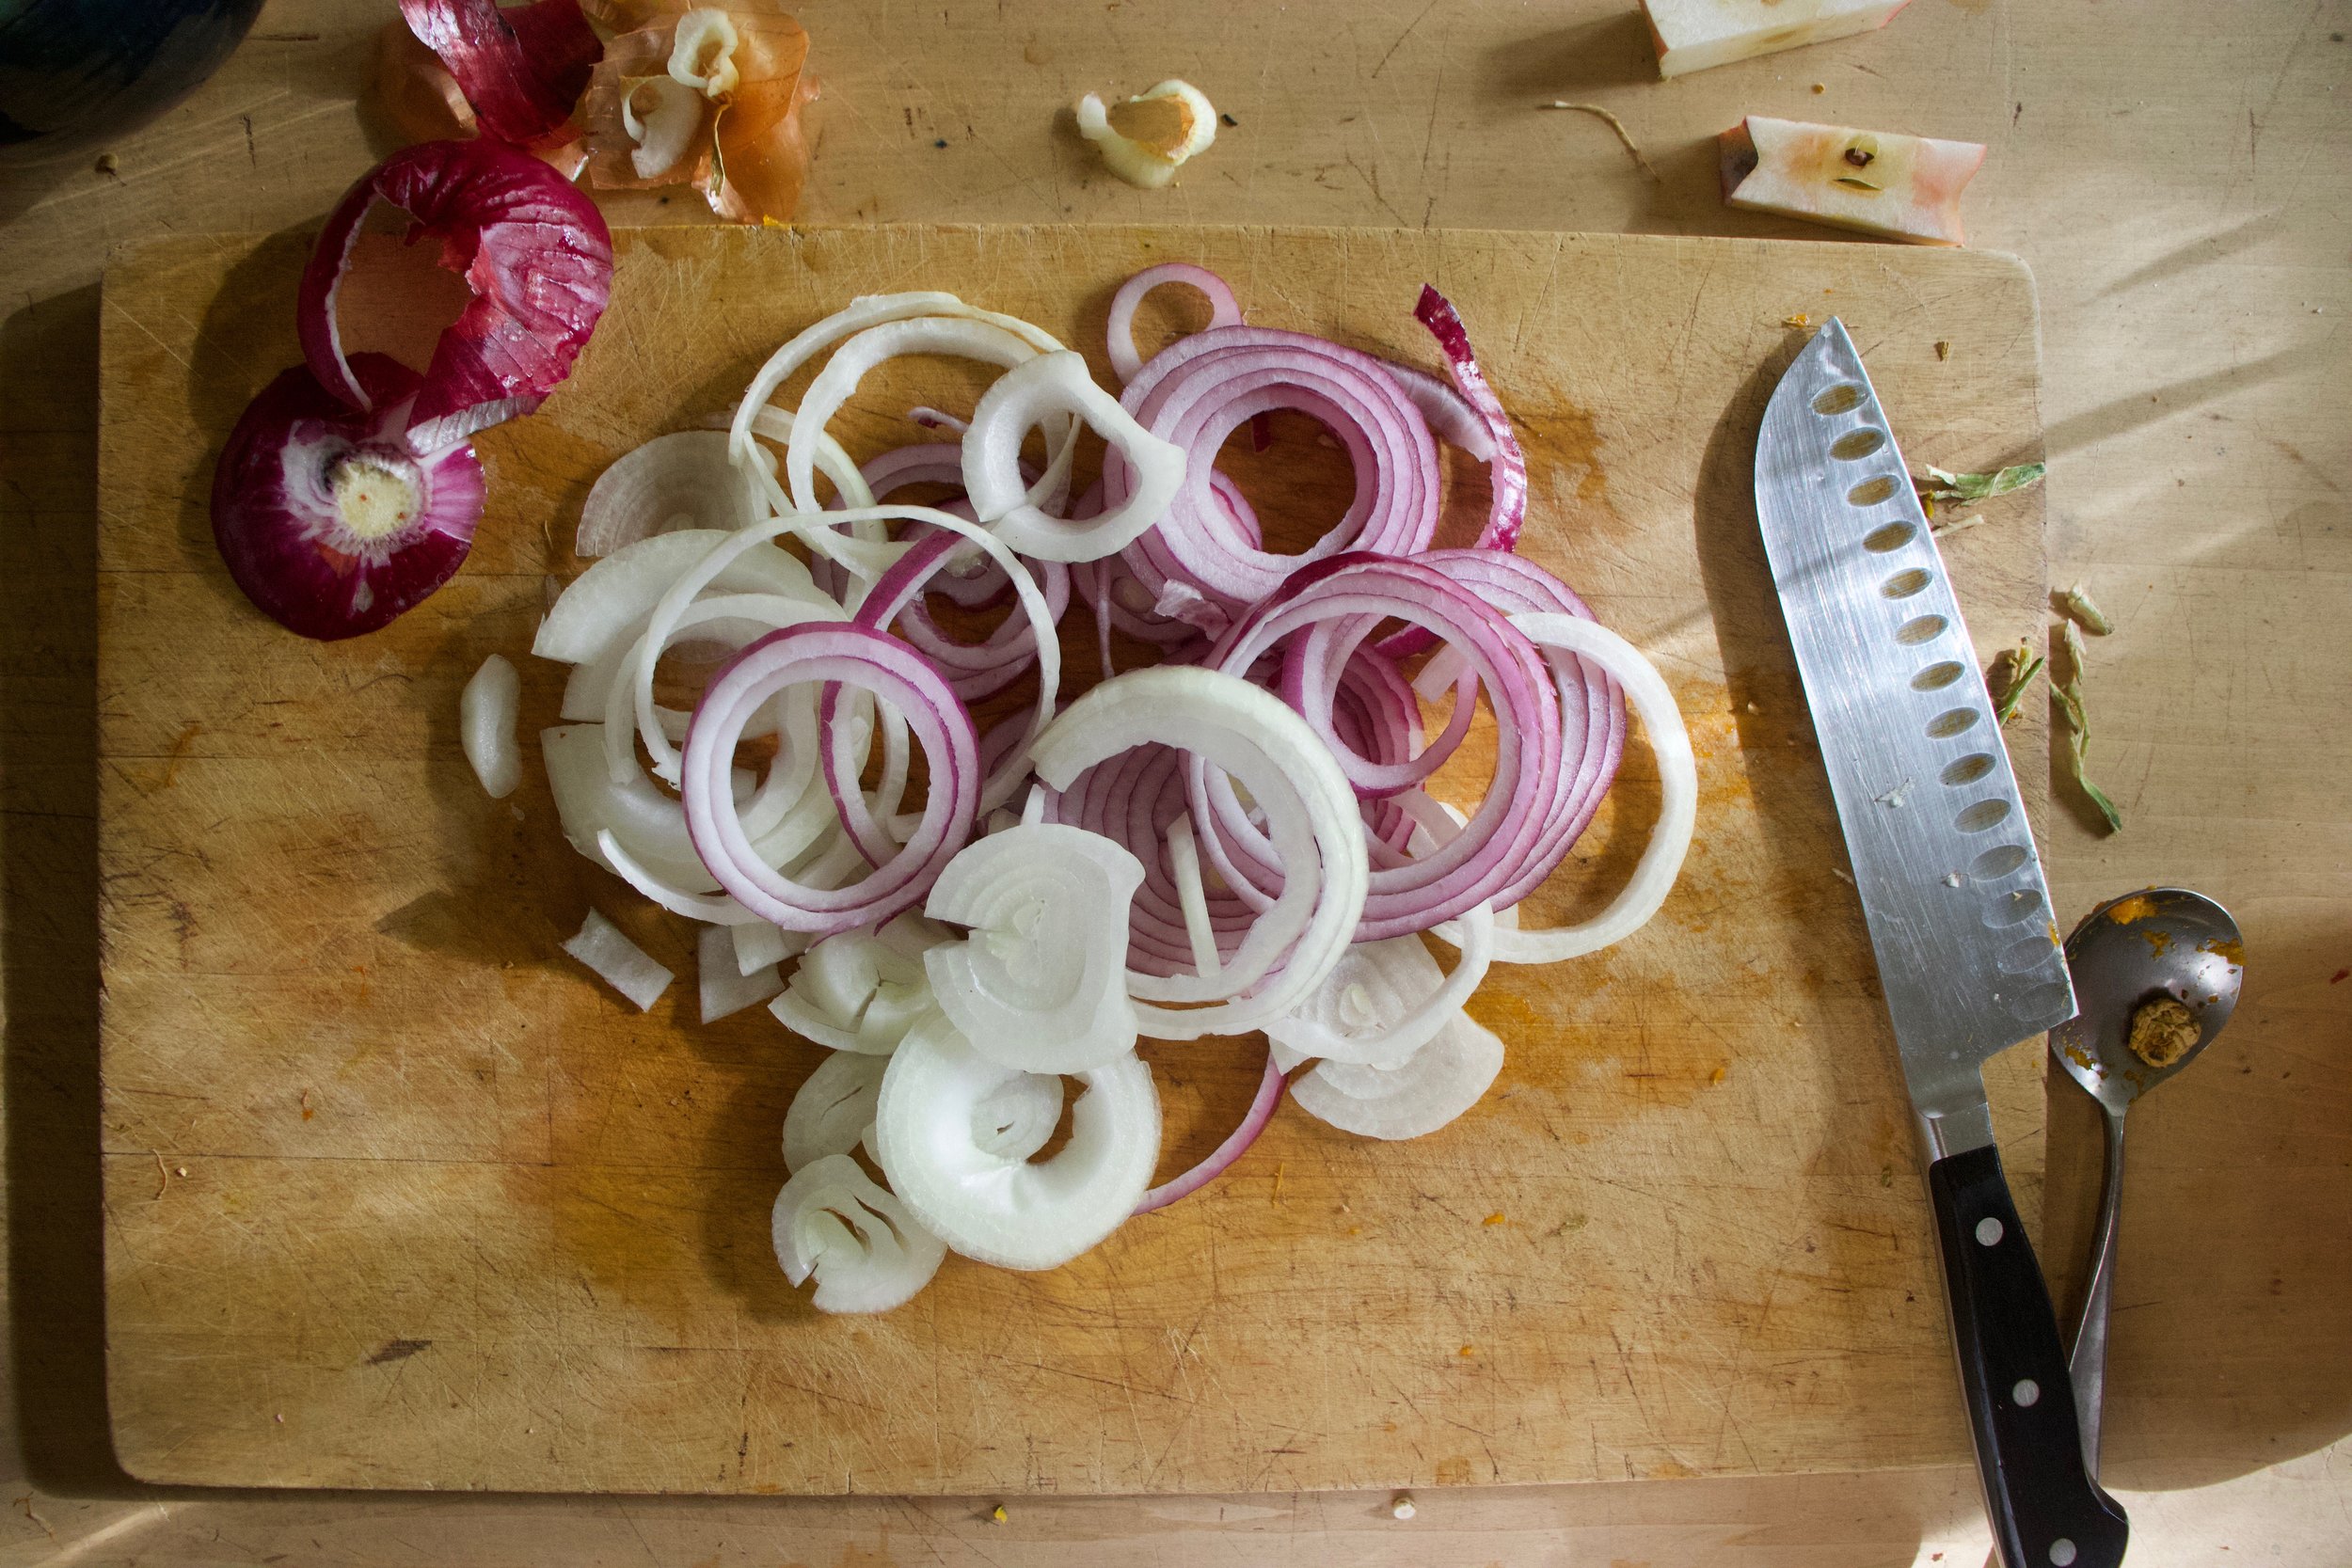
First thing is to cut everything up. Cube the squash, celeriac, and apple to about the same size and the onion just cut into rings.

Toss all the cut up stuff onto a lightly oiled sheet pan, toss with a tablespoon or so vinegar and sprinkle a pinch of salt and pepper and place in the oven. Roast for about 1/2 hour, but flipping and drizzling another tablespoon or so of vinegar all over about 20 minutes in.

Roasted and done. Taste and season with more salt and pepper if needed.

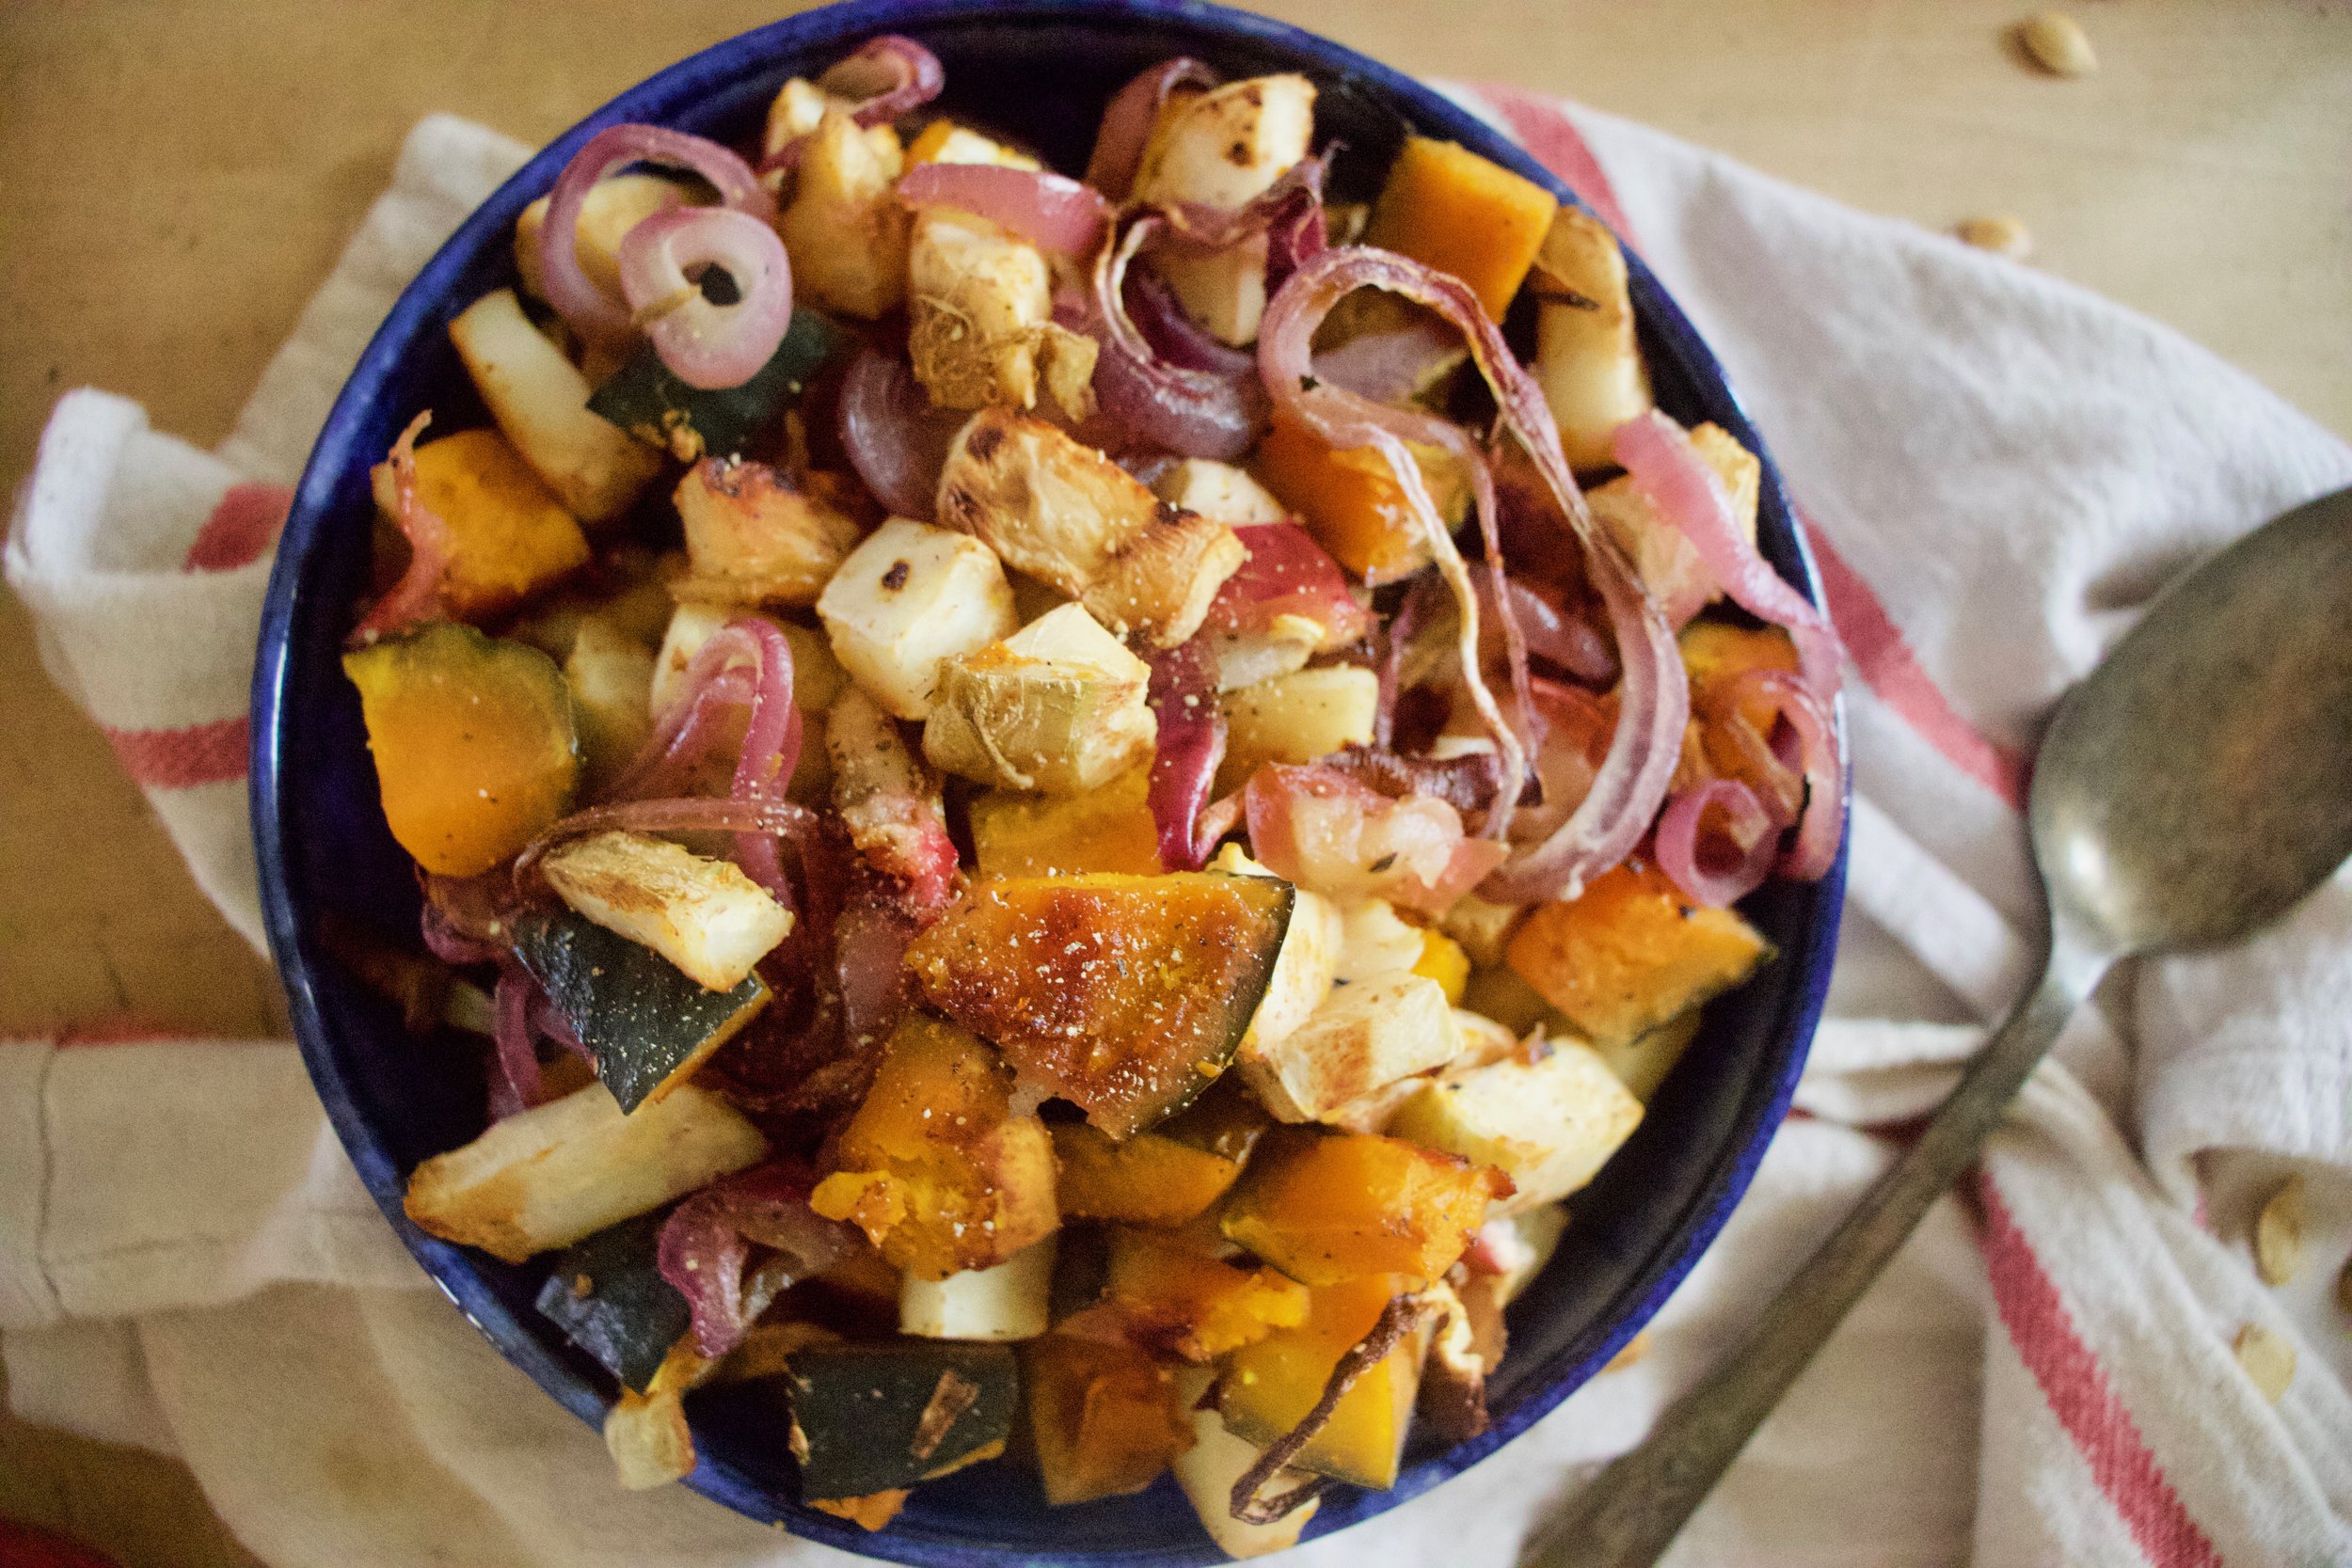
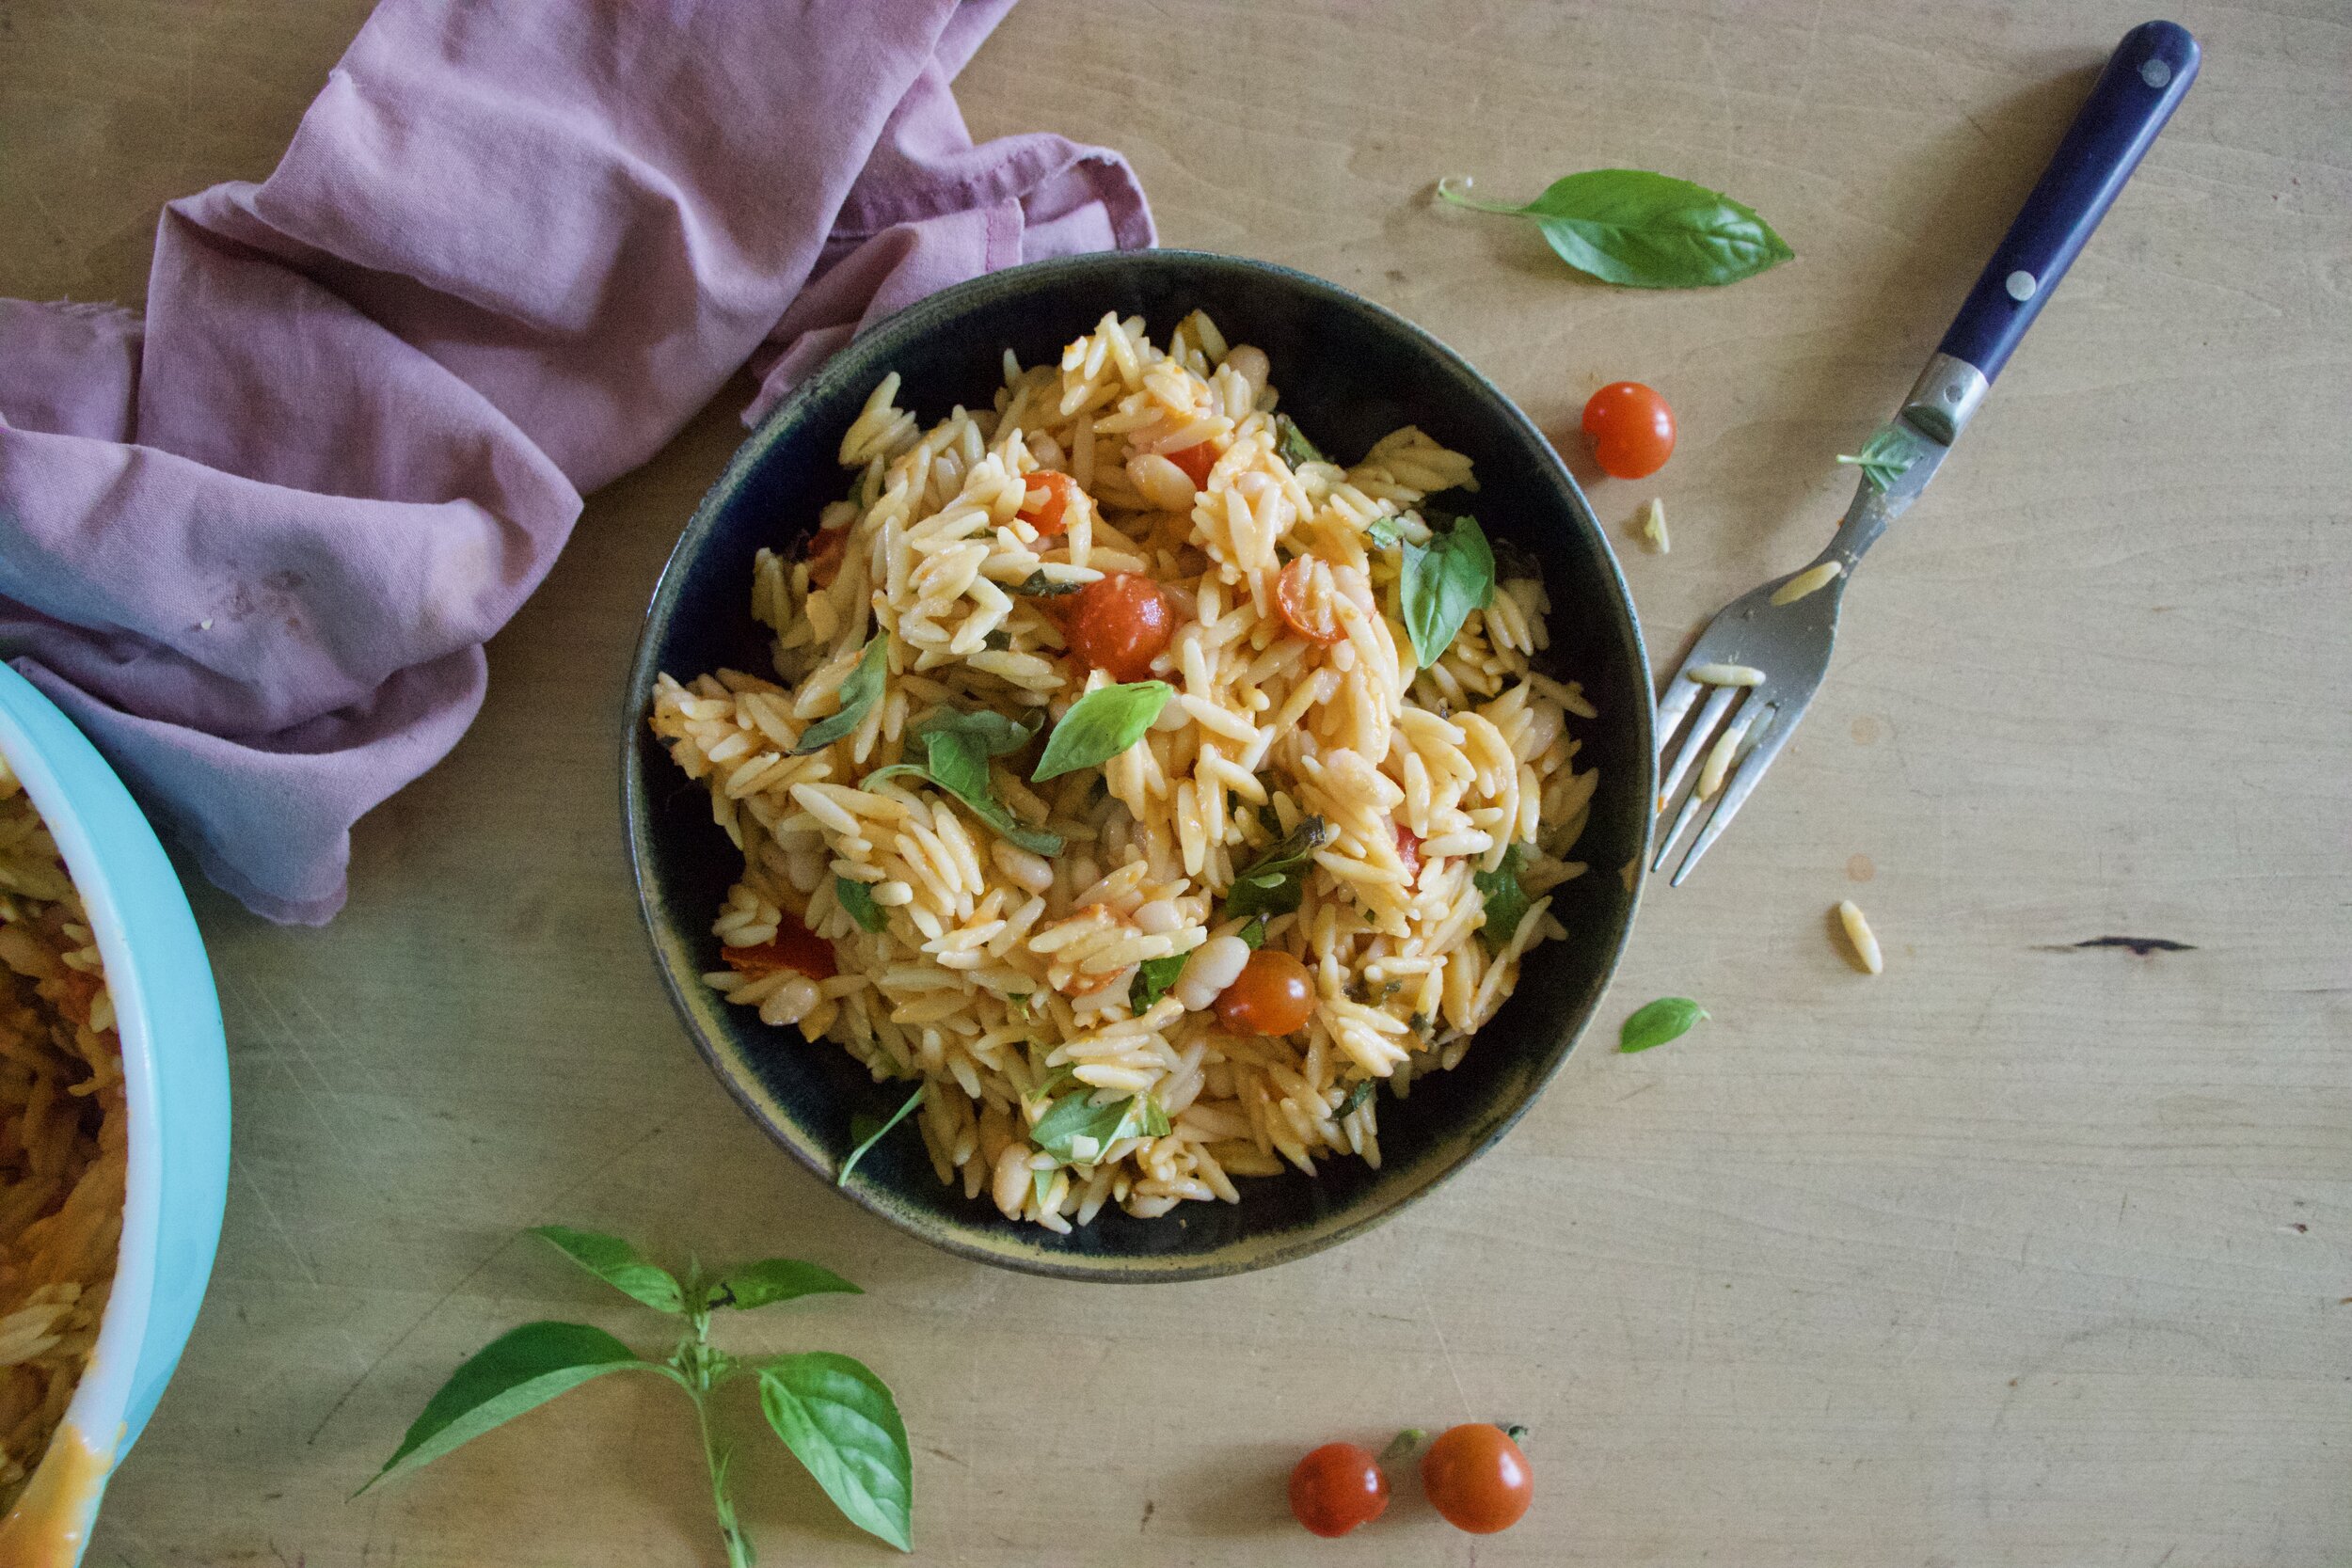
Now scoop it all into big bowl and serve it or just eat it all to your very own face like I did. No shade in that.

-C


Roasted Celeriac and Squash with Apples and Onions

  • 1 large bulb (softball sized) of celeriac

  • a small winter squash (can use any variety. I used kabocha)

  • 2 medium apples (I used Macs)

  • 2 onions. Red, yellow, or one of each

  • salt and pepper

  • A couple tablespoons of apple cider vinegar

Preheat oven to 425

Grab squash and cut in half. Remove seeds then cut into cubes about 1/2 and inch thick. Grab celeriac and peel it if you want (I do not peel it) then cut into cubes the same size ad the squash. Now the apples. Cut in half, remove seeds, and cube. And lastly grab onions and slice into 1/2 thick rings.

Toss together all the cut up stuff and place onto a lightly oiled baking sheet and sprinkle with a couple tablespoons of vinegar and a pinch of salt and pepper. Stick the pan into the hot oven and roast for around 20 minutes, removing to give everything a flip and drizzle on another tablespoon of vinegar, then place back in oven for about another 10 minutes or so or until everything is lightly browned and fork tender.

Remove form oven and transfer into a big bowl. Serve right away or at room temperature or heck, it taste freaking awesome cold too.

Tags celeriac, celery root, vegan, vegetable, thanksgiving, fall, side, side dish, snack, healthy, plant based, dairy free, gluten free, squash, winter, apple, onion, easy, simple, fast, food52, bon appetite
Comment

Camp Soup

September 25, 2021 Colleen Stem
IMG_6254.jpg

We camp a lot. Every weekend from early summer to late fall or as long as the weather is tolerable. But once the light goes and the cold damp rainy days come (a little snow is fine) we pack it in for. the season.

The most common question I get asked about when talking about our camping life is what I eat. And the answer is always and will always be soup.

I make soup every single time I go camping. And yes, even in the hot ass summer. Why? Well because soup is versatile, hearty, easy, delicious, adaptable, great on a cold night. It is just all around amazing and not just for camping but for all food consuming meals. That is fact.

So maybe you are going to do a little camping in the next few weeks and are in need of a little inspiration or direction when it comes to camp soup. I made a little list of tips for you.

Tips for making a camp soup.

  • First off, assemble a kitchen that fits your soup needs. A stove and a pot. Have a good sharp knife, a cutting board, and a container to collect any compost (don’t just toss any food into the trees…animals ya know ) plus, you know, a spoon. Also, don;t bring your favorite pot of best knife. You would probably be pretty pissed if you dung it or ruined it. Camping can get rough!

  • When at the camp site, set up a nice little zone to prepare you food. Trying to cut up veggies on the ground is a pain in the ass.

  • If you are making soup for just yourself or you and another person, eat out of the pot(s) that you make your soup in. The mr and I each have out own pots which is nice because I can customize our soups (I always add way more spice and usually more veggies to mine) and we don’t have to bring bowls. The less dishes the better!

  • Don’t bother with stock or brother, just use water.

  • Red lentils are the best. You don’t have to soak them, they cook really fast, and they get creamy and bothy and taste just delicious. Green lentils are also good, and if you have the time, split peas (they need more cooking time). Avoid dried beans because they take way too long. If you want beans, bring precooked or canned beans.

  • Most veggies are good without refrigeration for a few days if not cut up so you really have a good pick of what you want to use. Bring veggies that are on the small side so you use it all up.

  • Whole tomatoes are great to cut up and add, just pack them (or any easily bruised veggie) in a plastic container so they don’t get squashed.

  • For multiple day camp trips, bring sturdier roots like onions, turnips, and beets. Also cabbage and carrots last for days without refrigeration.

  • Greens are great but don’t bring tender greens like lettuce or spinach. Instead go for greens like chard or kale.

  • Winter squash or sweet potatoes are very much encouraged. Sugar pumpkins or delicata cut up really easy and cook super fast, You don’t have to remove the skin (just the seeds) and you can always find small ones.

  • Bring a preblended spice mix. I always just bring a curry mixture I make at home so it is all the spices in one jar. Having a bunch of jars of different spices may seem nice but keeping things simple (and having less stuff) is usually better. Oh and add salt to taste last.

  • When the soup is cooking, don’t walk away for more then a minute of two. You want to watch to make sure the soup doesn't boil over and also watch out for critters. We have encountered a few wily chipmunks in our days. They will come up and steal your food if you are not careful.

  • Have left over soup? Pour it into a jar and save it or breakfast or lunch the next day. No joke, we do it all the time. (The mr does, I never have left overs. I eat it ALL)

Here are some pictures of my soups from the past few weeks.

IMG_5311.jpg
IMG_5728.jpg
IMG_5544.jpg
IMG_5310.jpg
IMG_6693.jpg
IMG_6246 2.jpg

And lastly, remember that making soup at a campsite is suppose to be fun and is pretty much guaranteed to taste amazing, especially if you have spent the day running around in the woods or being really active. There is nothing better then eating a big ol’ pot of hot soup after climbing up and down a mountain!

-C

Tags soup, vegan, camping, food, outdoor cooking, vegetables, tips, stew, plant based, home made, healthy
Comment

Tomato Basil and White Bean Orzo Pasta Salad

August 28, 2021 Colleen Stem
IMG_7155.jpg
IMG_7160.jpg

Another heatwave. I tell you what, If I never live through another 90 + degree day, it will be too soon.

What to eat during a heat wave? Well maybe you don’t care and have air conditioning in your kitchen so you cook whatever. I don’t have air conditioning and after a few days of boiling temps, there is no freaking way I am turning on the oven. I can barely turn on the stove top to boil water, but I did, I boiled water, I just did it early in the morning before the temperatures starting rising again. (A pro tip for you.) That is one of the great things about pasta salad, you can make the pasta ahead of time. You can even make the whole salad in the morning and then you don’t have to do a damn thing when it comes to dinner besides lifting a fork to your face, which I know can be a feat when all you want to do is melt, or slap at something, but still.

This pasta salad, well it is not you everyday pasta salad. It has beans, fresh basil, and a dressing that is made by blending up the most delicious seasonal tomatoes until rich and creamy and dumped all over the orzos. . It is probably going to be the best tasting pasta salad you will ever eat. The thing is, you really need to make it soon because sure you can get tomatoes all year round but don’t do that. Do yourself a favor and make it now while the tomatoes are plentiful and at their peak of deliciousness. And also you don’t have wait for a heatwave to make it. This is a good meal to have at the ready all throughout tomato season, and just in case, a heat wave.

Now to the pasta salad!

IMG_7072.jpg

The stuff. Just picked tomatoes, some fresh basil, cooked navy beans, orzo pasta, olive oil, red wine vinegar, garlic, and salt and pepper.

IMG_7078.jpg

Rough chop tomatoes into small pieces. Also peel and dice garlic into small pieces.

IMG_7082.jpg
IMG_7083.jpg

Place the tomatoes, garlic, and a good pinch of salt into a blender (I used a hand blender) and blend unit smooth. Add in the vinegar and oil and bend until the mixture starts to emulsify and becomes smooth and creamy.

IMG_7098.jpg
IMG_7106 2.jpg

Cook and strain pasta as instructed. Keep in on the al dente side.

Chop up basil into thin ribbons or whatever.

IMG_7115.jpg
IMG_7116.jpg
IMG_7124.jpg

Then dump pasta into a large bowl. Add in cherry tomatoes ( I cut mine in half) and beans. Dump in half the sauce and mix around then mix in the chopped basil.

If you are eating it right away, add in the rest of the sauce. If you are keeping it for later, place pasta and sauce in fridge and a before you are planning on serving it mix in the remaining sauce.

IMG_7134.jpg

Looks so good right! Season with salt and pepper to taste and then you know…

IMG_7168.jpg

Grab a bowl and eat it. Probably should grab a from too, eating this with your hands might get messy.

Stay cool friends!

-C


Tomato Basil and White Bean Orzo Pasta Salad

serves 2-3 as a meal or more as a side

  • 2 cups dried orzo pasta (12 oz)

  • 2 large heirloom tomatoes (about 2 cups chopped)

  • 1 1/2 cups cherry tomatoes (or chopped tomatoes)

  • 1/3 cup olive oil

  • 2 tablespoons red wine vinegar

  • 1 1/2 cups cooked and drained white beans ( I used navy but any white bean will do)

  • 1 cup packed basil leaves

  • 2 cloves garlic

  • salt and pepper

Start with making the tomato dressing. Rough chop the 2 large tomatoes into smaller pieces and peel and chop garlic. Place the tomatoes in a blender (or a large jar if using a hand blender) with the garlic and a good pinch of salt and a little pepper. Blend until smooth. Add in the vinegar and oil and continue to blend until the mixture becomes thick and creamy. Taste and add more salt and pepper if needed .

Prepare orzo pasta as instructed on package (make it al dente)

Grab basil and chop into smaller pieces.

Once orzo is cooked and drained, dump it into a large bowl. Add in the beans and cherry tomatoes (slice in half if they are on the large size) and pour in half if the tomato sauce. Mix unit incorporated. Toss in the basil.

Now if you are going to eat right away mix in remaining sauce. If you plan on refrigerating and eating later, save the remaining half of the sauce and mix it in right before serving.

Store left overs in fridge for up to 5 days.

In beans, dinner, quick and easy, salad, side dish, summer, Vegan Tags Tomato Basil and White Bean Orzo Pasta Salad, tomatoes, summer, heirloom, vegan, salad, pasta, easy, make ahead, heat wave, fresh, basil, no bake, beans, plant based, pulses, healthy, bbq, orzo
Comment

Sweet and Spicy Trail Mix

July 31, 2021 Colleen Stem
IMG_6689.jpg
IMG_6675.jpg
IMG_6714.jpg

The other morning I made a big patch of trail mix. Basically for the mr for when we go camping, but that didn’t stop him from eating some, not camping, but watching tv. So you see trail mix is not just for the trail! HA

A big batch of snack for any snack related needs. This trail mix is a mixture of Chex and Cherrios, pretzels, walnuts and seeds, and dried cranberries all seasoned up with some maple and smokey and spicy chili. Sweet, savory, crispy, deliciousness. What else can you ask for when snacking on a trail mix? Nothing.

To the trail mix!

The stuff. A big ass bowl of cereal. I used Cherrios, and wheat and rice Chex. Also have pretzels. walnuts, sunflower seeds, dried cranberries, maple suyrup, chili powder, melted vegan butter, and salt.

Mix together the melted butter, maple, an chili powder.

IMG_6651.jpg

Drizzle the wet mixture all over the cereal and nuts (not the cranberries) and toss until evenly coated.

IMG_6658.jpg

Dump the mixture onto a lined baking sheet and spread it out evenly and sprinkle with salt. Pop into hot oven and bake for 3ish minutes, removing and toss after 15. After 30 minutes, keep in oven but turn oven off and crack door. Let mixture cool in oven for 15 more minutes.

IMG_6678.jpg

And once you pull it from the oven, toss in the cranberries .

That is it.

Now it is time for you to trail mix it up.

-C


Sweet and Spicy Trail Mix

makes about 10 cups ( a good amount to share or have on hand for a week)

  • 5 cups plain Chex cereal (wheat (if not gluten free) rice, and or corn)

  • 2 cups plain Cherrios

  • 2 cups pretzels (any shape will do and use gluten free if you need to)

  • 1 cup raw walnuts

  • 1/2 cup sunflower seeds

  • 1 cup dried cranberries

  • 1/3 cup real maple syrup

  • 1 tablespoon chili powder

  • 1/2 teaspoon cayenne powder (Optional. Adds a little more heat)

  • 2 tablespoon vegan butter melted

  • 1-2 teaspoons flakey sea salt

Preheat oven to 325.

In a large bowl, mix together all the cereals, the pretzels, the walnuts and sunflower seeds. In a smaller bowl mix together the melted butter, maple, and chili powder. Drizzle the wet mixture all over the cereal mixture and toss with a spatula until everything is evenly coated. Dump and evenly disputemixture onto a lined baking sheet. Sprinkle with salt.

Place mix into preheated oven and bake for 30 minutes, carefully removing from the oven at 15 minutes and mixing it around. At 30 minutes, keep in oven but turn heat off. Crack oven door and let mixture cool for another 15 minutes then remove and let cool completely. Once cooled, toss in the cranberries.

Eat however much you want and then store the rest on a airtight container. Should be good and crisp for a week.

In Gluten Free, seeds, snack Tags Sweet And Spicy Trail Mix, vegan, gluten free, savory, sweet, maple, chili, healthy, snack, party mix, Chex, cheerios, easy
Comment

It’s Hot Out. Make some Popsicles.

July 10, 2021 Colleen Stem
image-asset-4.jpeg
image-asset-3.jpeg
image-asset-1.jpeg
image-asset.jpeg
image-asset-5.jpeg
image-asset-2.jpeg

It is hot out Dumb hot. What do you do to stay cool? Me? Well besides spending my time splayed out on the kitchen floor (it’s the coolest spot in the house), I like to eat frozen food, sometimes in the form of popsicles. And it has been freaking stupid hot way too much already this year and I haven’t made nearly enough popsicles. That ends now. Dealing with the heat sucks and I deserve a freaking popsicles and so do you.

Here are a few of my favorites.

  • Roasted Banana Strawberry Popsicles

  • Avocado Mango Popsicles

  • Carrot Ginger Orange Popsicles

  • Toasted Coconut And Corn Popsicles

  • Rhubarb Popsicles

  • Pineapple Cucumber Spinach Popsicles

Next week I’ll share one of my new favorite, a sweet potato fudgesicle. I was going to share it this week but I ended up eating the frozen sweet potatoes that I had intended to use. Oops.

Stay cool. Eat popsicles!.

-C

In frozen, Popsicles, Vegan Tags popsicles, summer, stay cool, heat wave, vegan, frozen, healthy, plant based, fruit, homemade, vegetable, roundup, recipes
Comment
← Newer Posts Older Posts →
 

https://thelovelycrazy.squarespace.com/config#/|/about/

Me. Food Maker.Food eater. Woo HOO!

STEM+NODE  SMALL BATCH AND ONE OF A KIND POTTERY

stem+node ceramics


____________________

Subscribe

GET NEW POSTS IN YO EMAIL

You are AWESOME!!!


@thelovelycrazy 2014-2021