• stem+node ceramics
  • HOME
  • Food Recipes
  • About
  • Contact
Menu

The Lovely Crazy

Street Address
City, State, Zip
Phone Number

Your Custom Text Here

The Lovely Crazy

  • stem+node ceramics
  • HOME
  • Food Recipes
  • About
  • Contact

Rhubarb Bundt Cake

April 23, 2022 Colleen Stem
IMG_3048.jpg
IMG_3146.jpg
IMG_3151.jpg

Rhubarb time is fast approaching. All of my rhubarb is already popping out of the ground, mostly just the leaves (don’t eat those, they are poisonous) but it will only be a week or two before the stalks are big and juicy so I can now safety use up the rest of the rhubarb that I had stashed in the freezer. And for that a cake was in order. Nothing super fancy, just a straight up rhubarb situation, with a little lemon drizzle. No strawberry. No nuts. Just a lot of rhubarb because sometimes that is all you need. (Plus the cake was for the mr and he doesn’t like other things to encroach on his rhubarb). A big delicious rhubarb bundt cake.

It is a spring time essential. You need this.

Now to the rhubarb bundt cake!

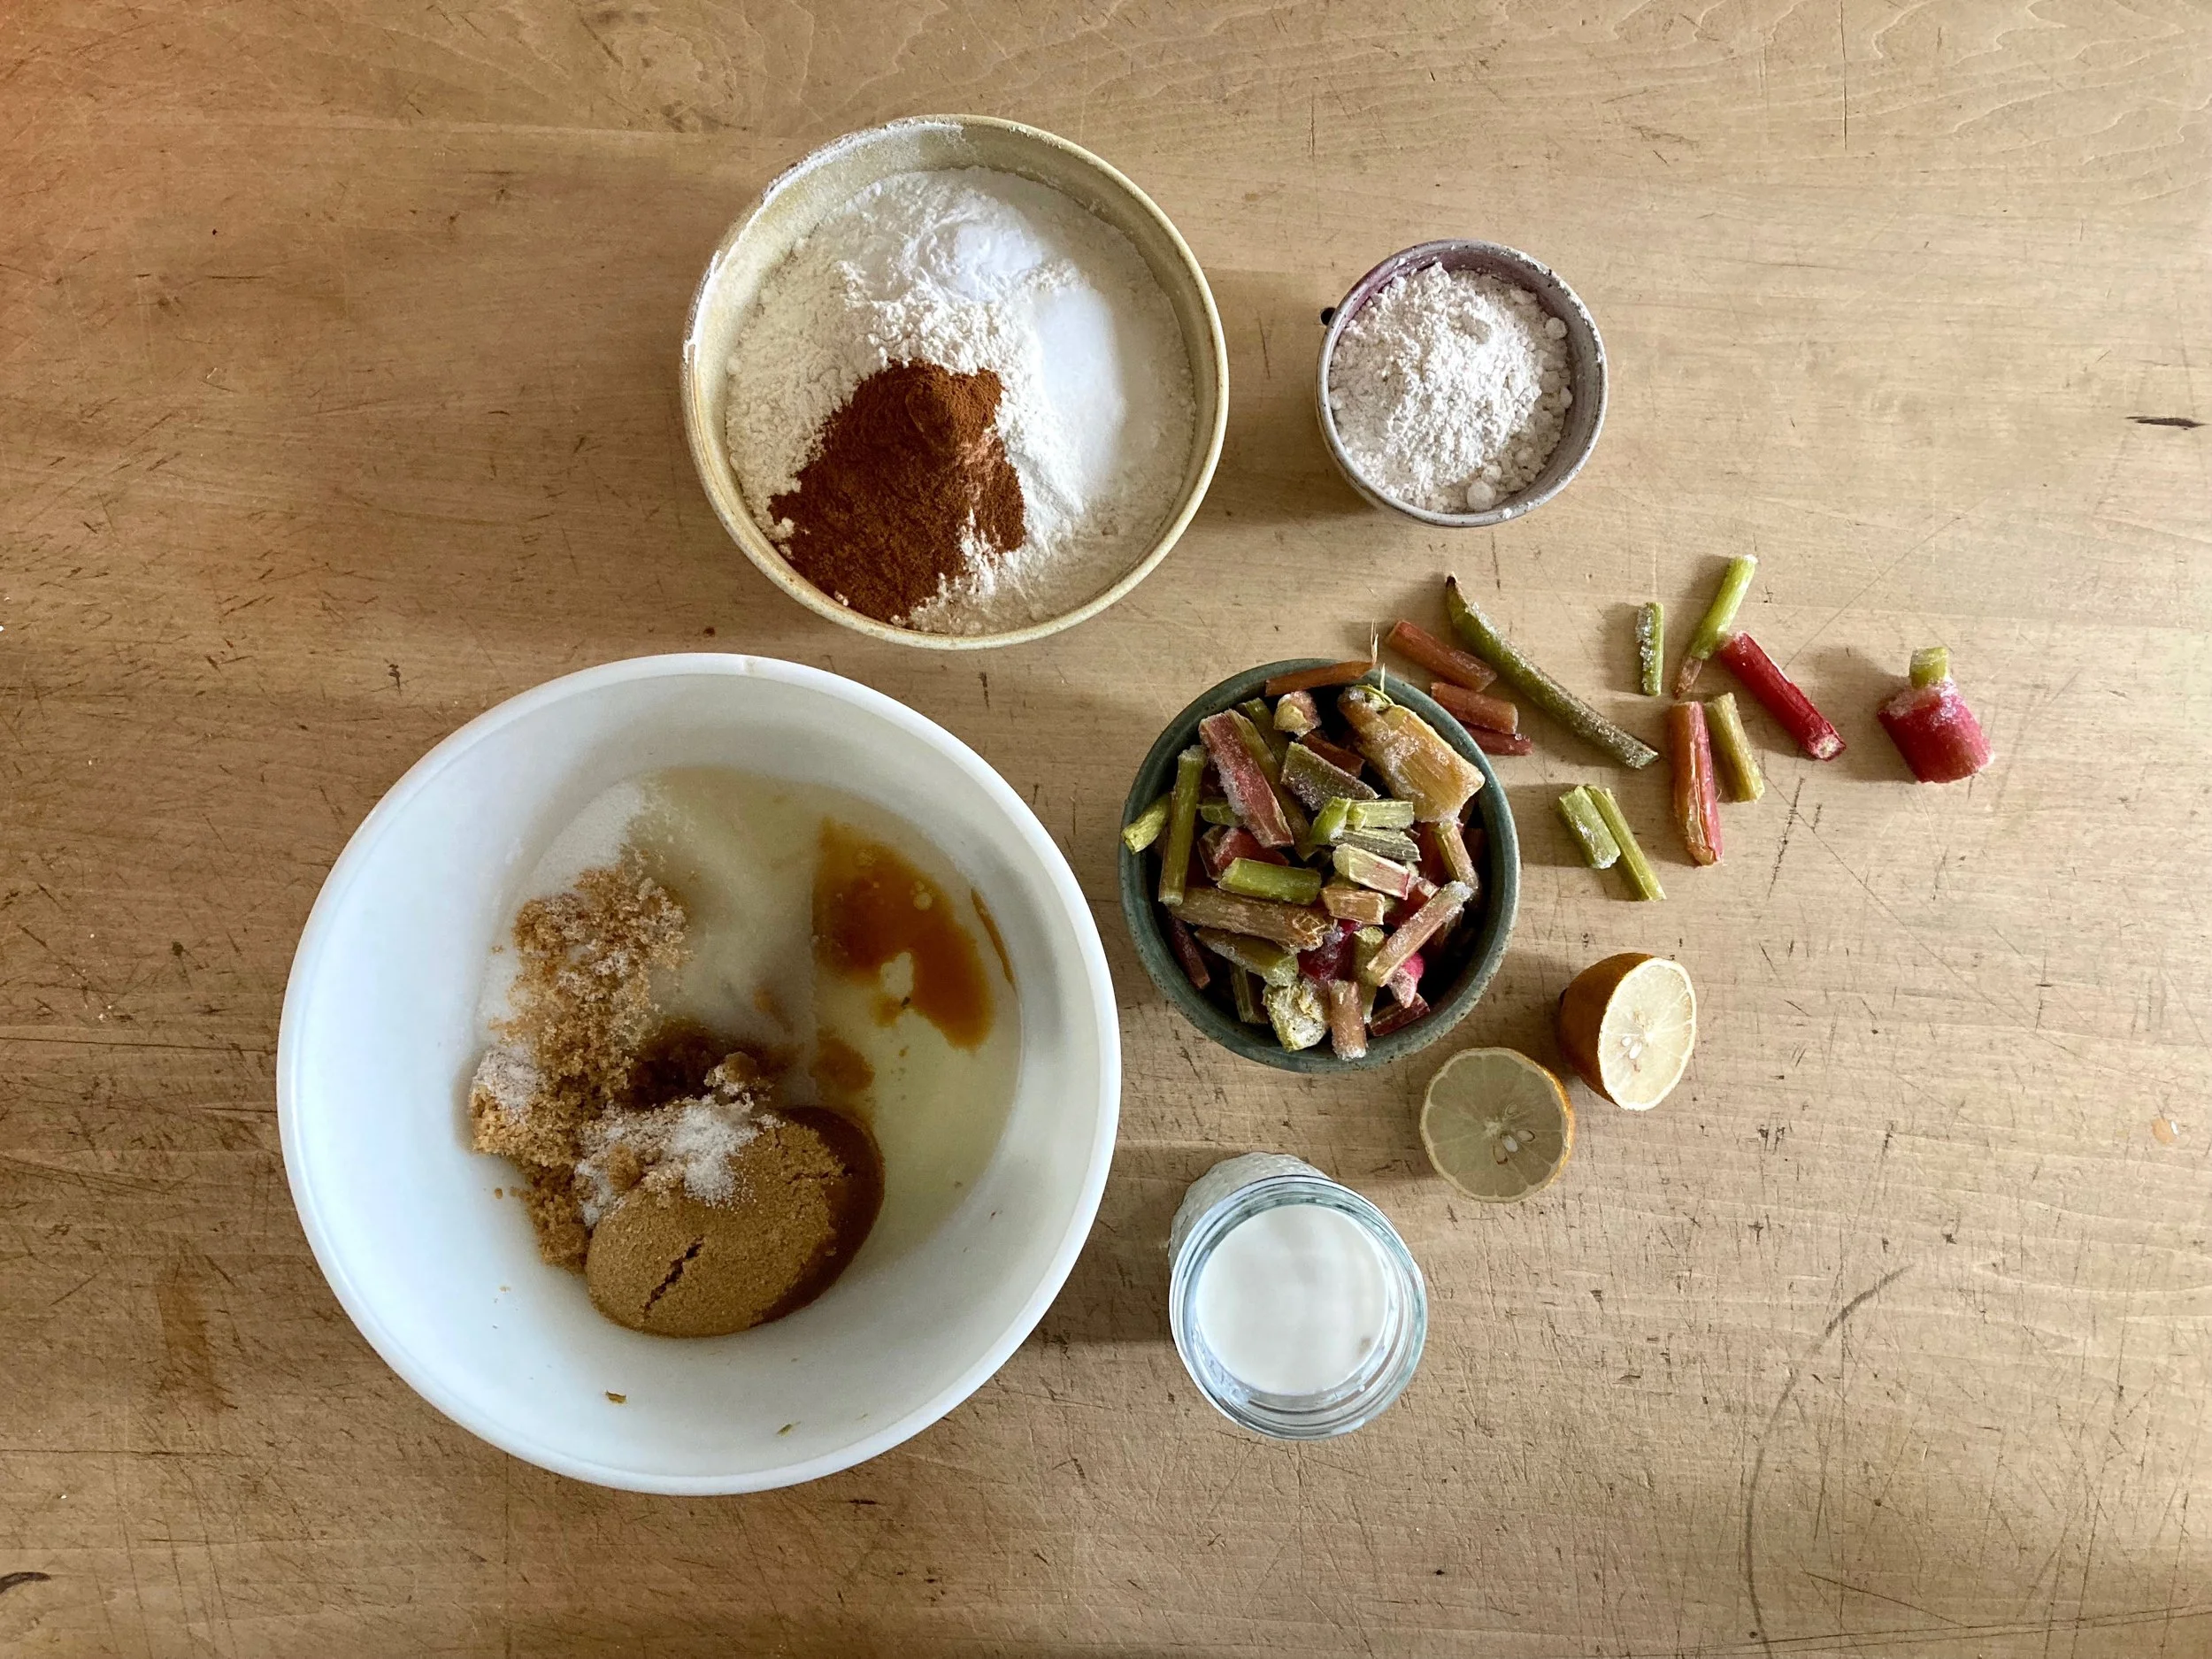
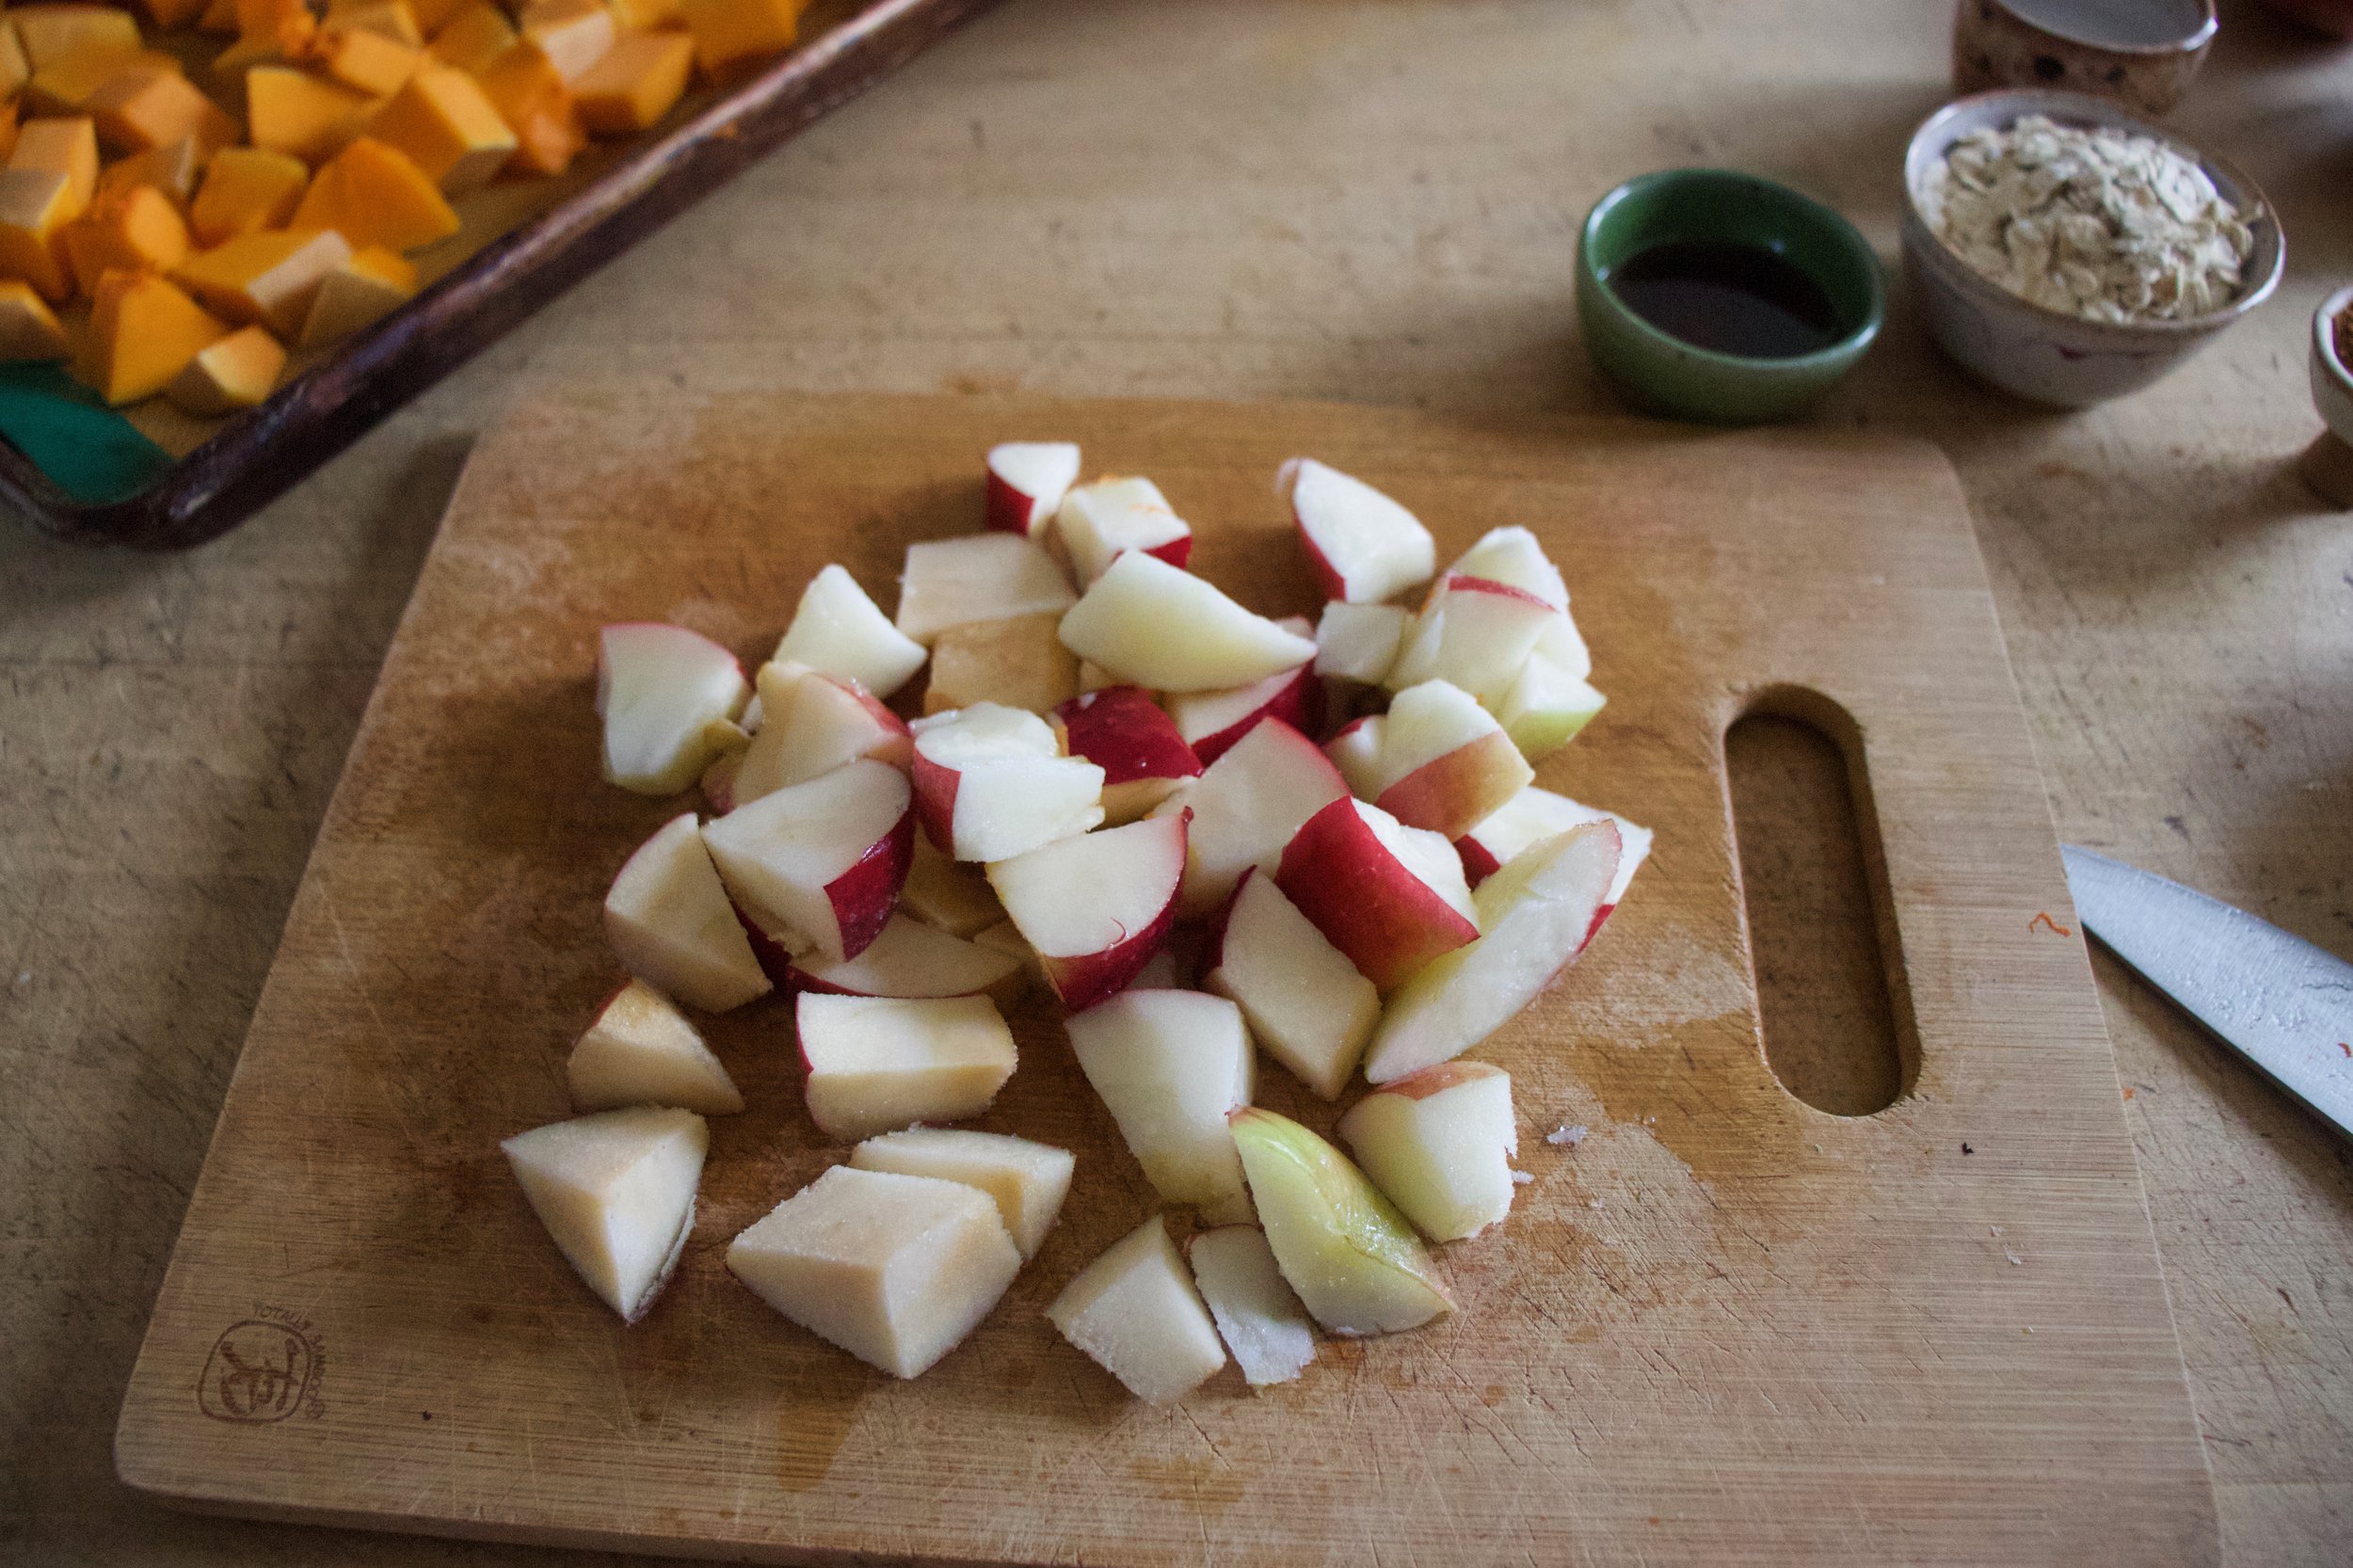
The stuff. Flour, baking powder and soda, salt, and cinnamon. Chopped rhubarb (frozen and thawed), plant milk, oil, brown and white sugar, vanilla ,applce cider vinegar, powdered sugar, and a lemon.

IMG_2993.jpg
IMG_2998.jpg

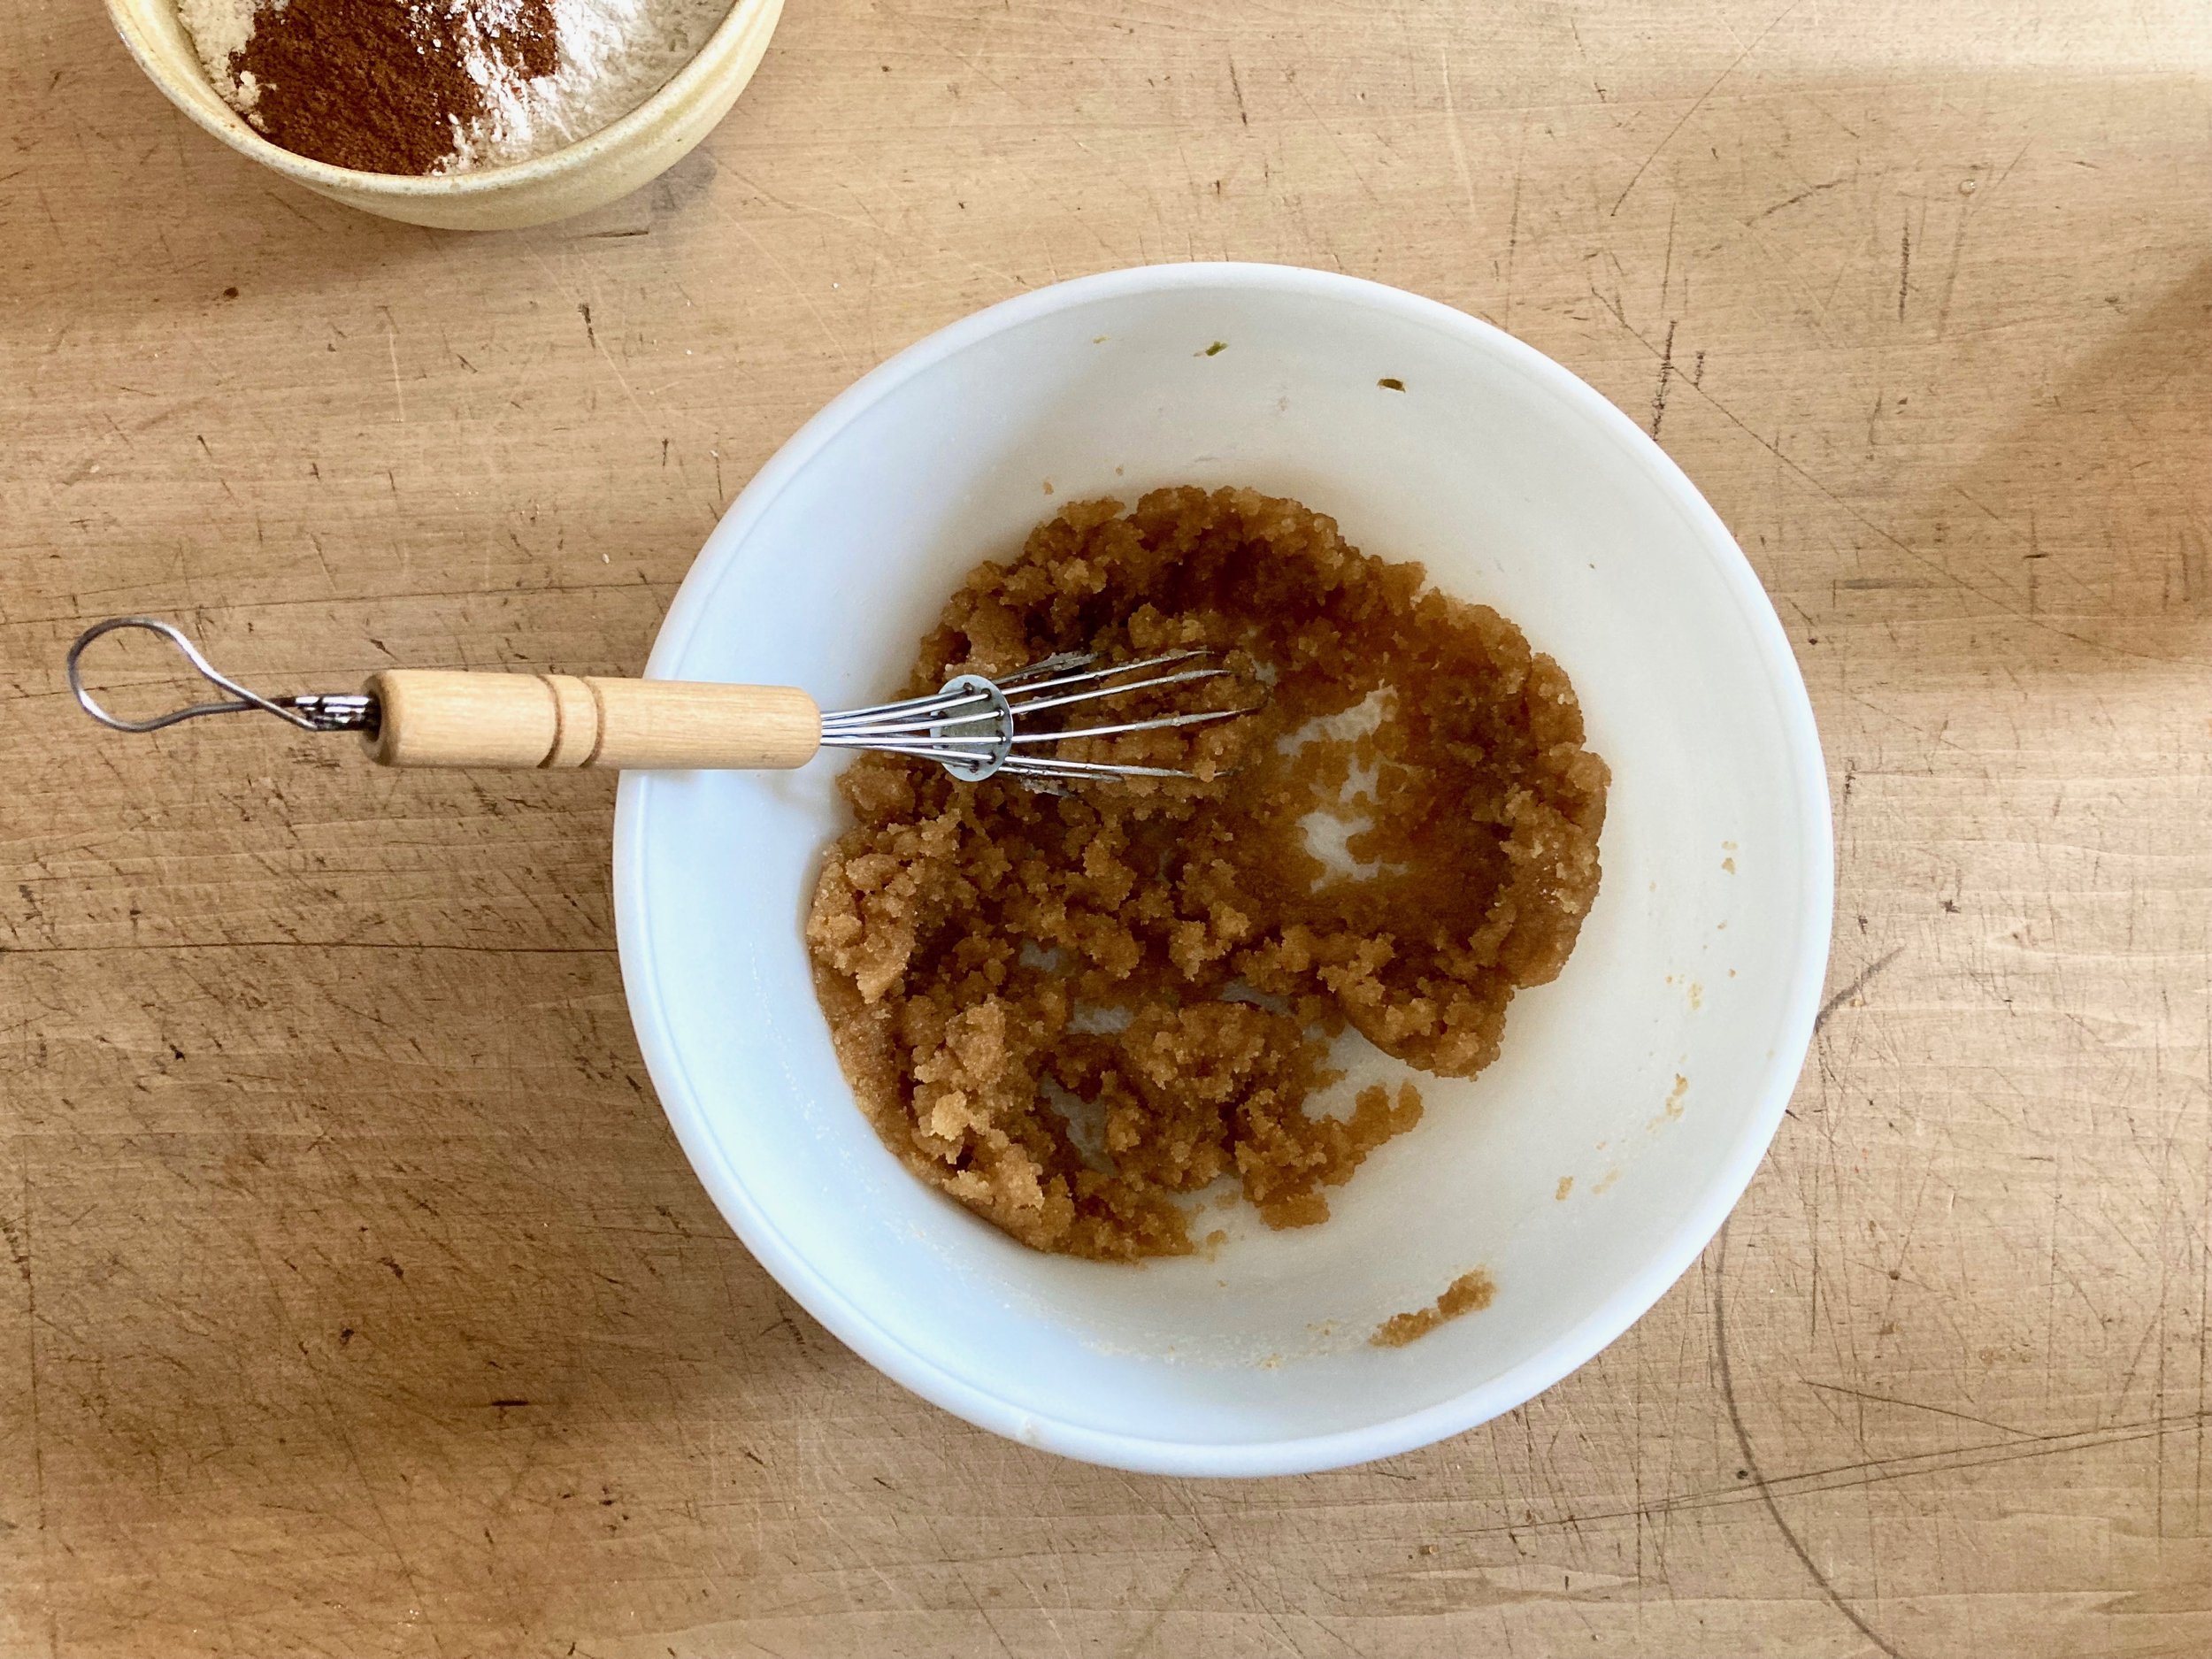
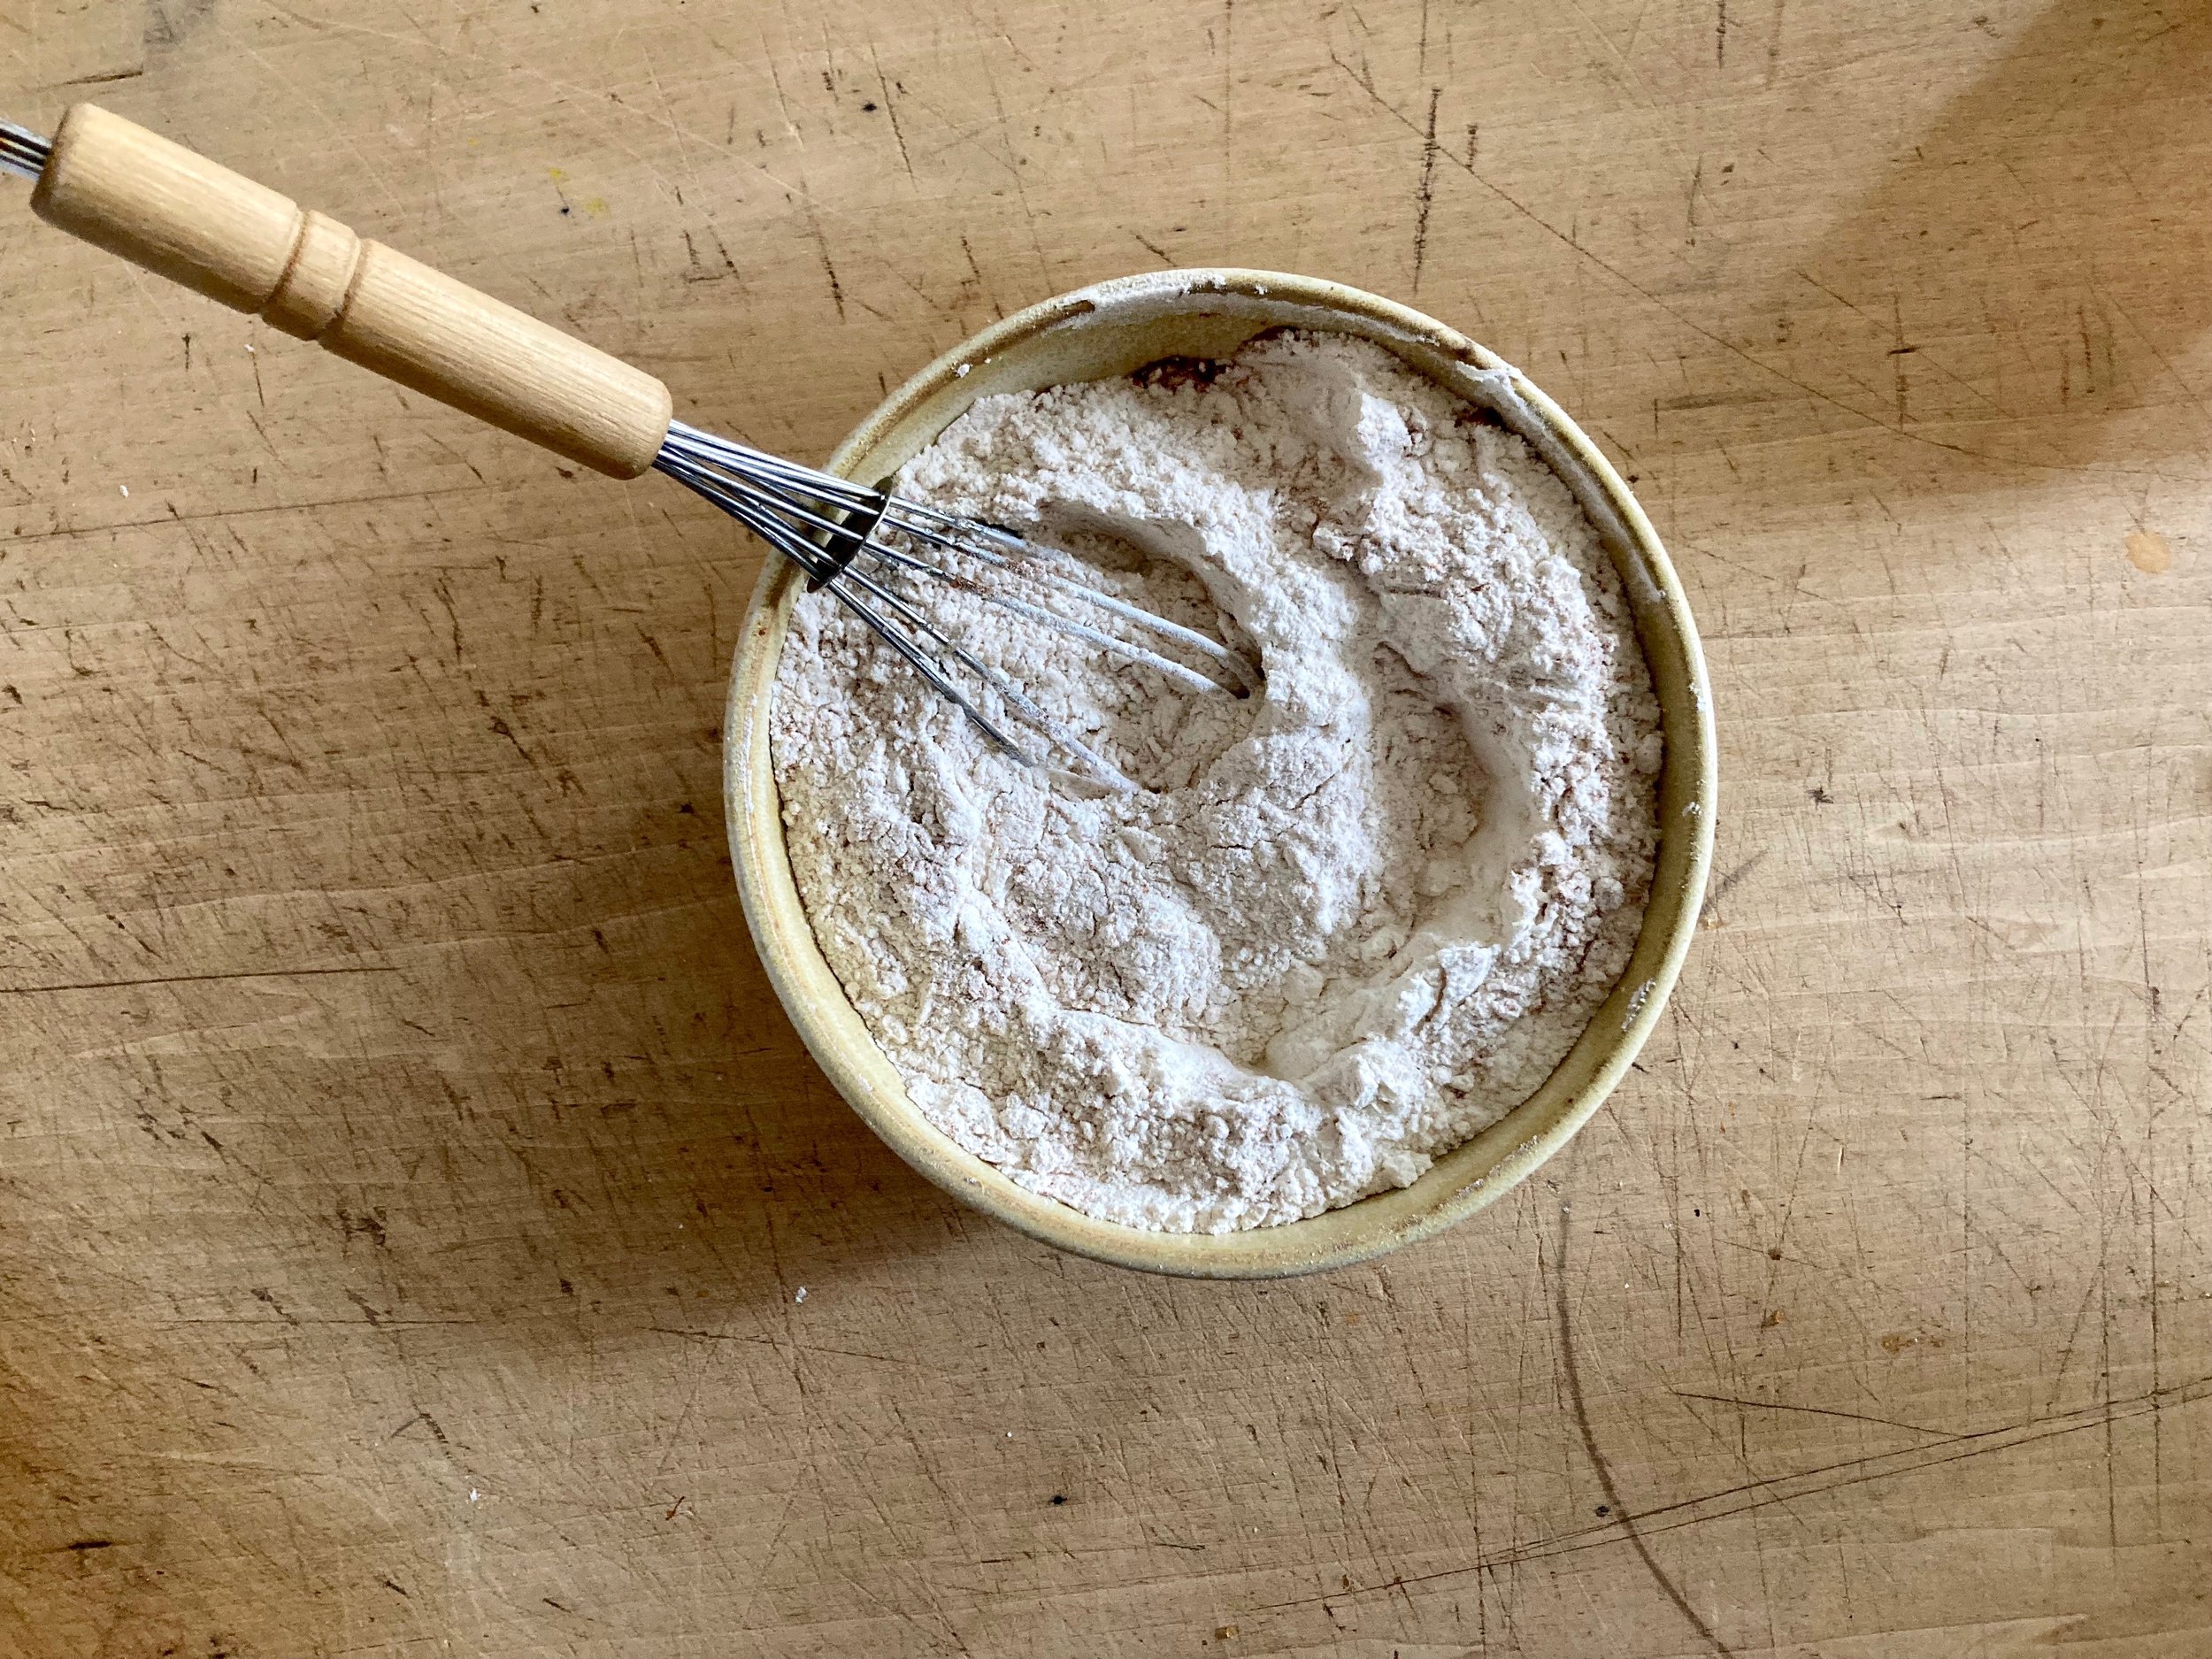
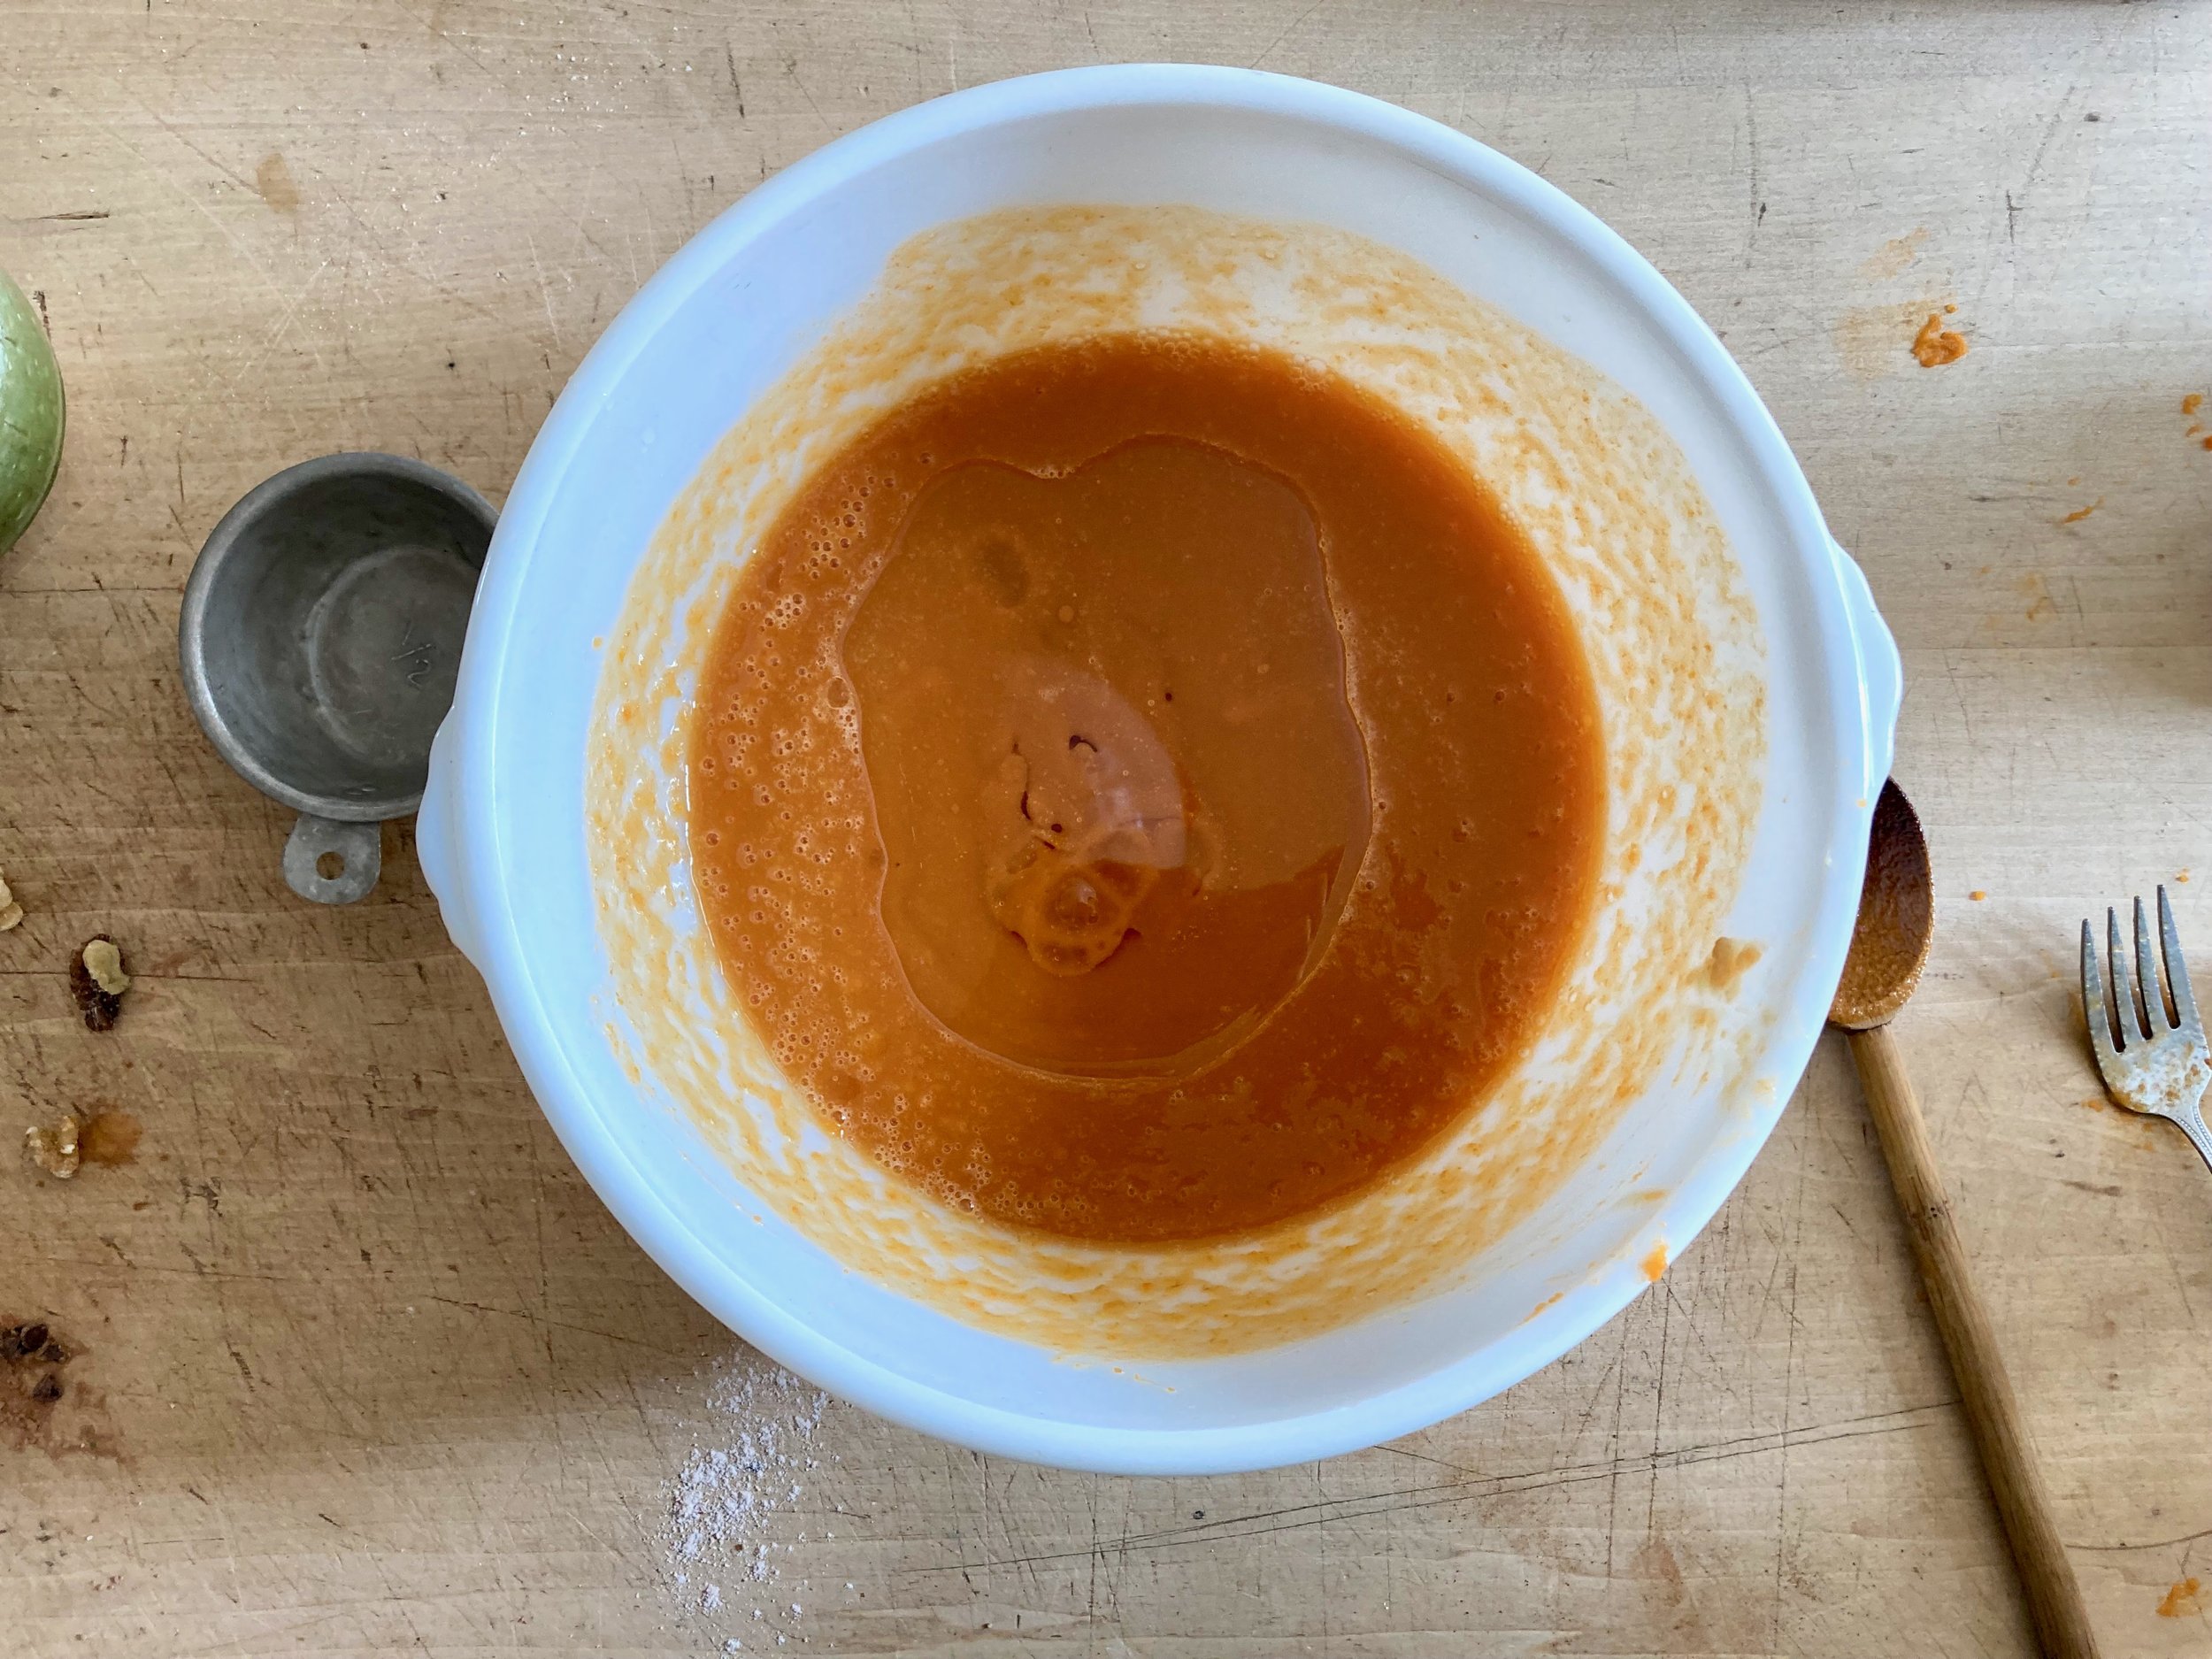
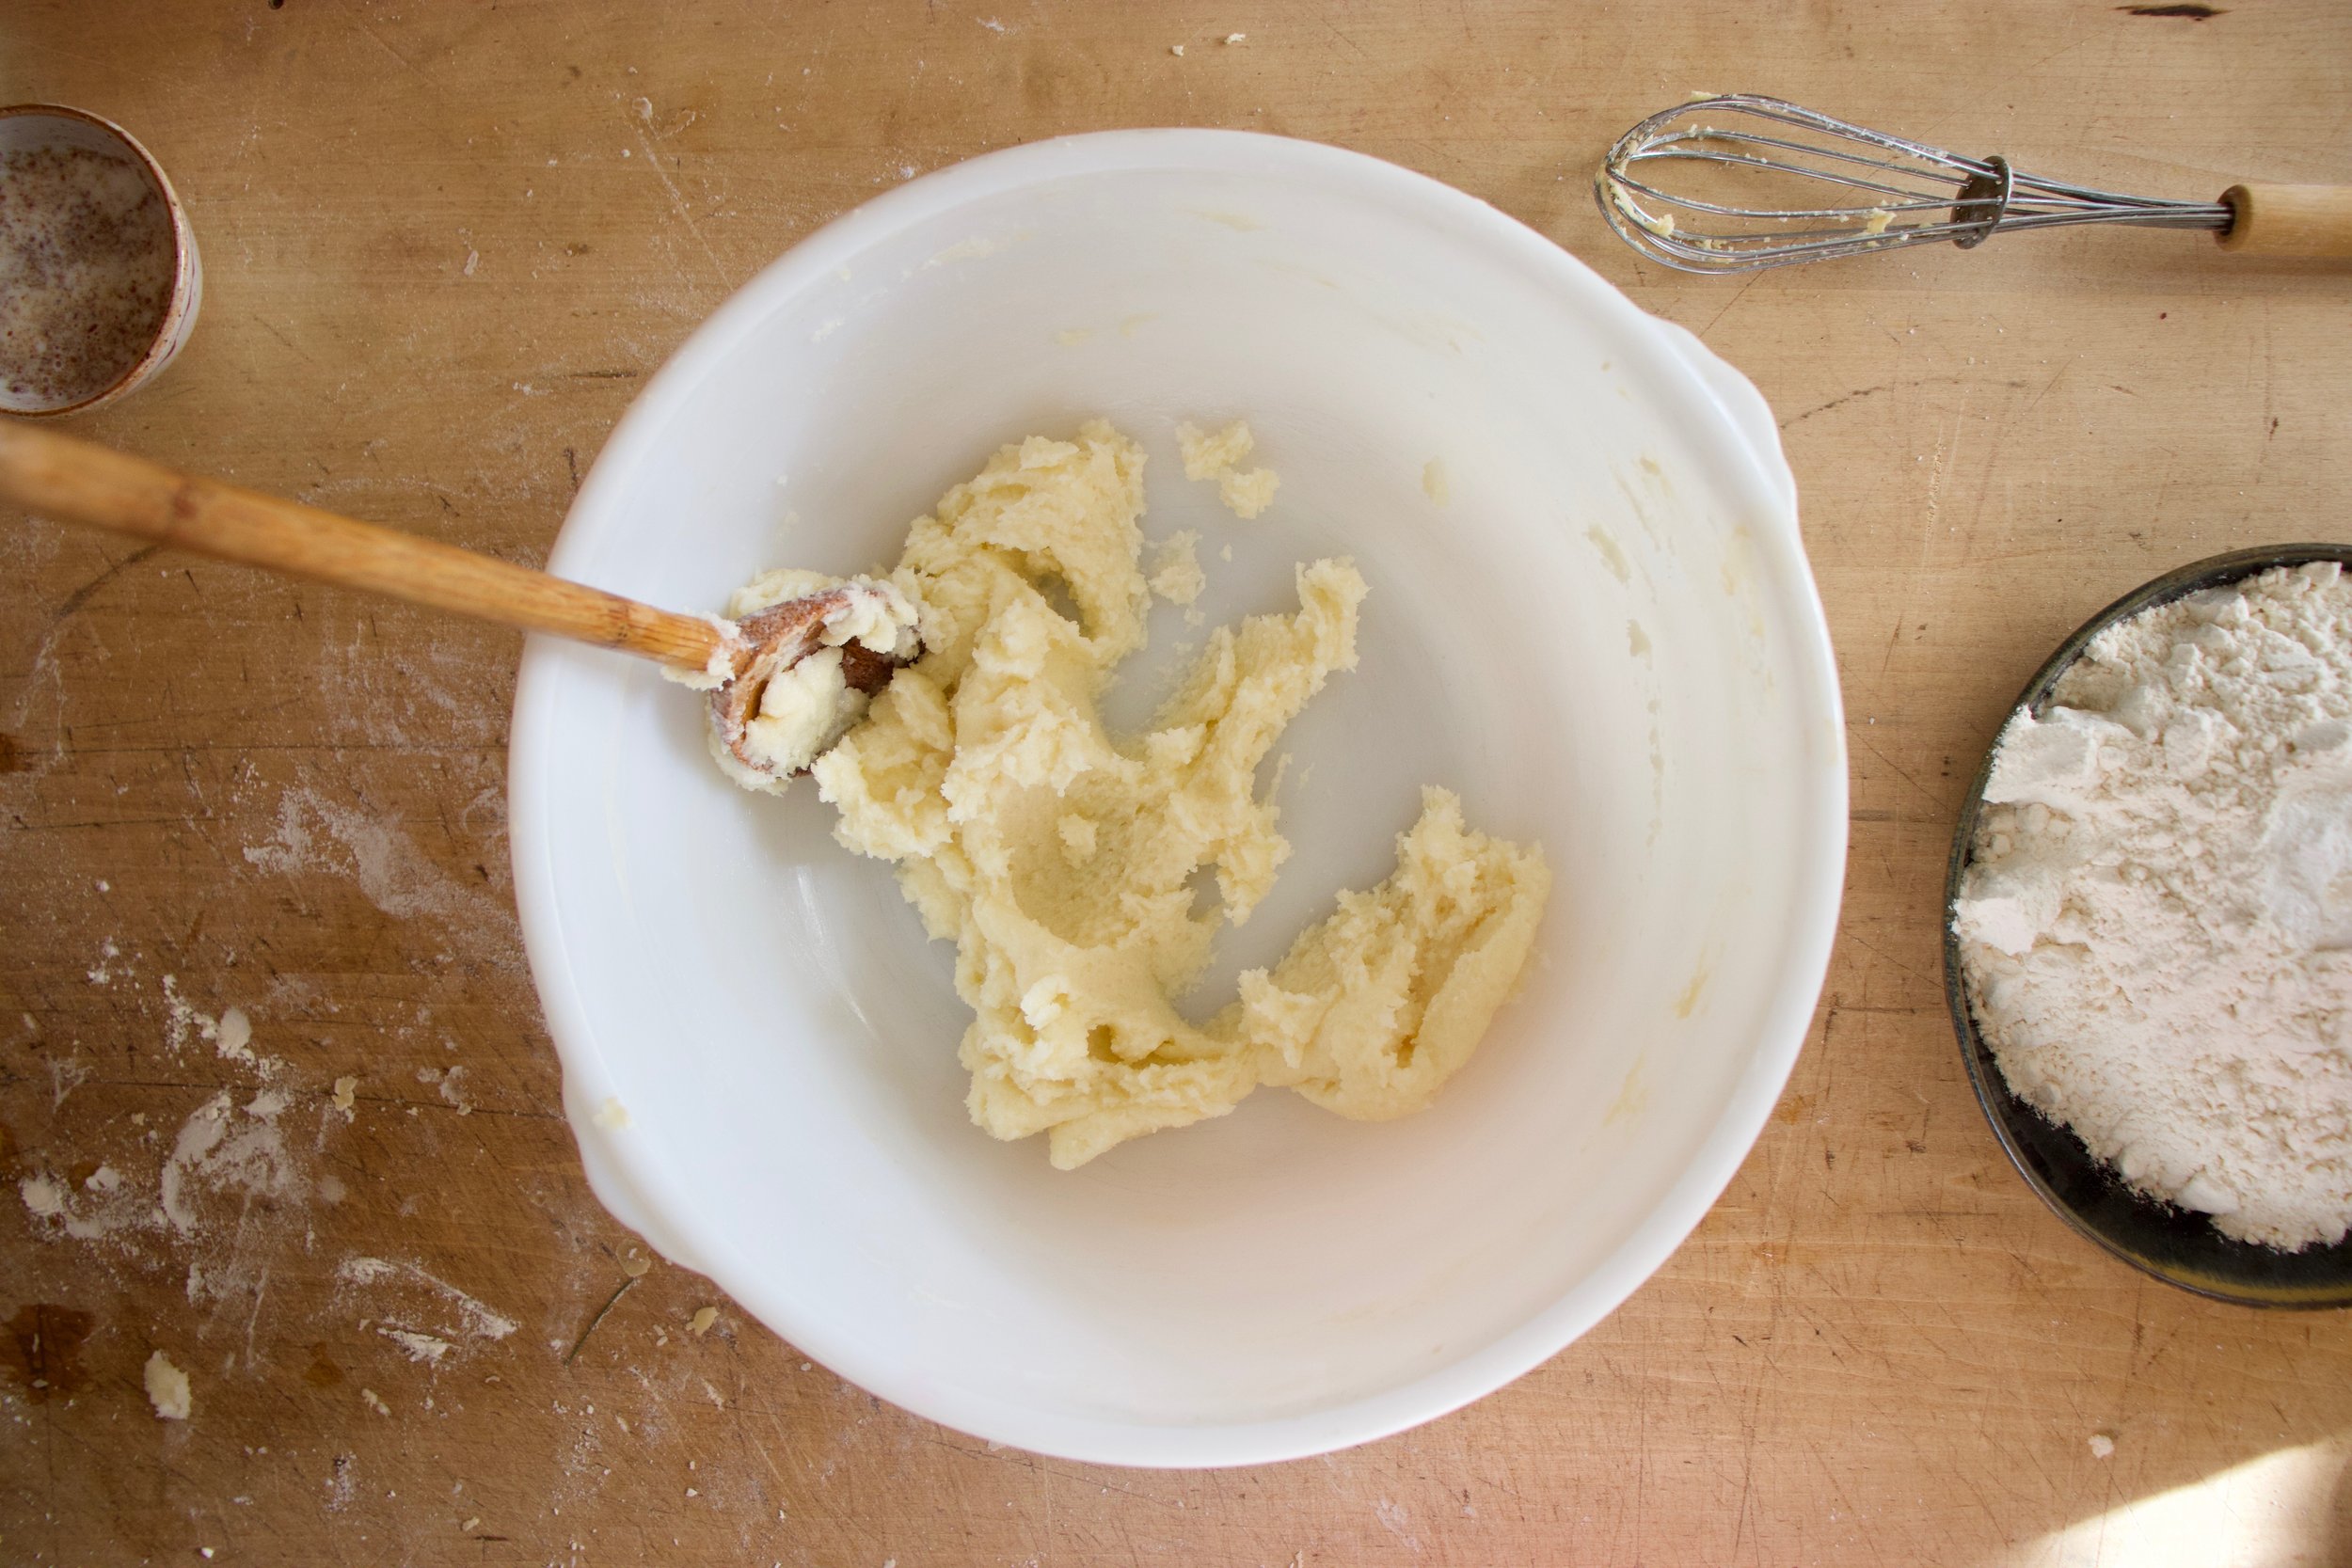
In a large bowl miix the oil, vanilla and sugars together until completely combined, In a smaller bowl whisk all the dry ingredients together.

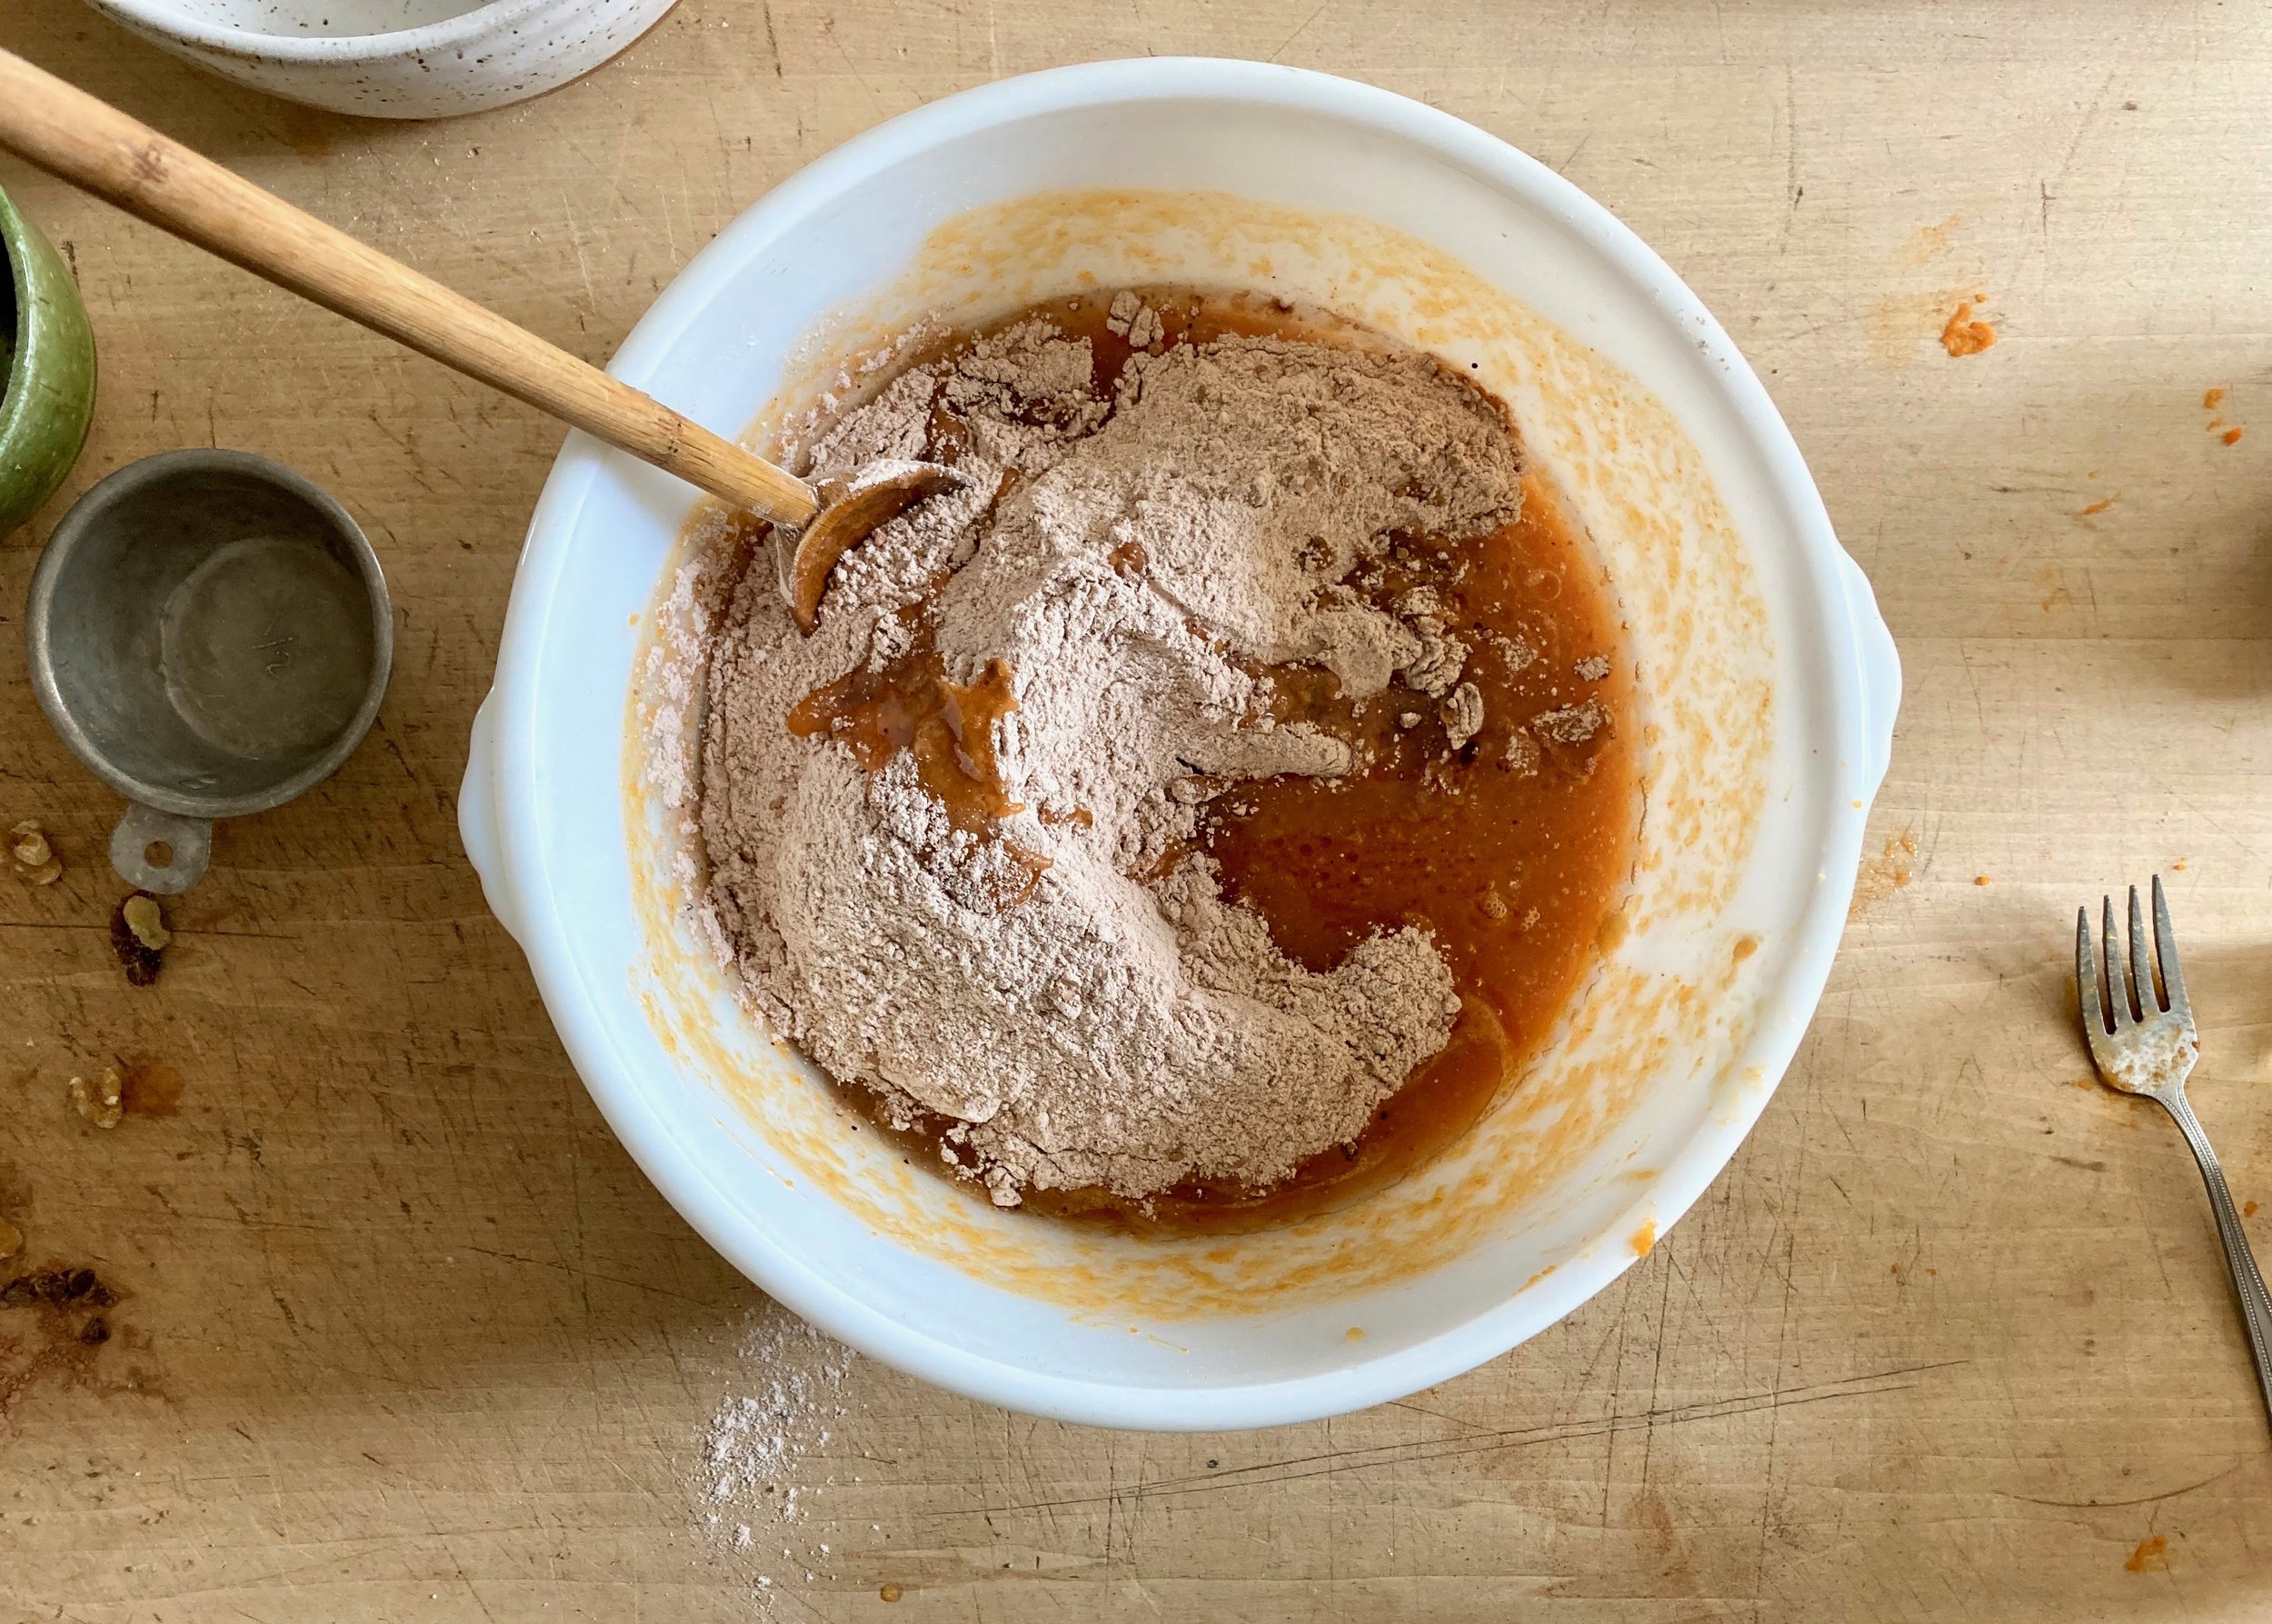
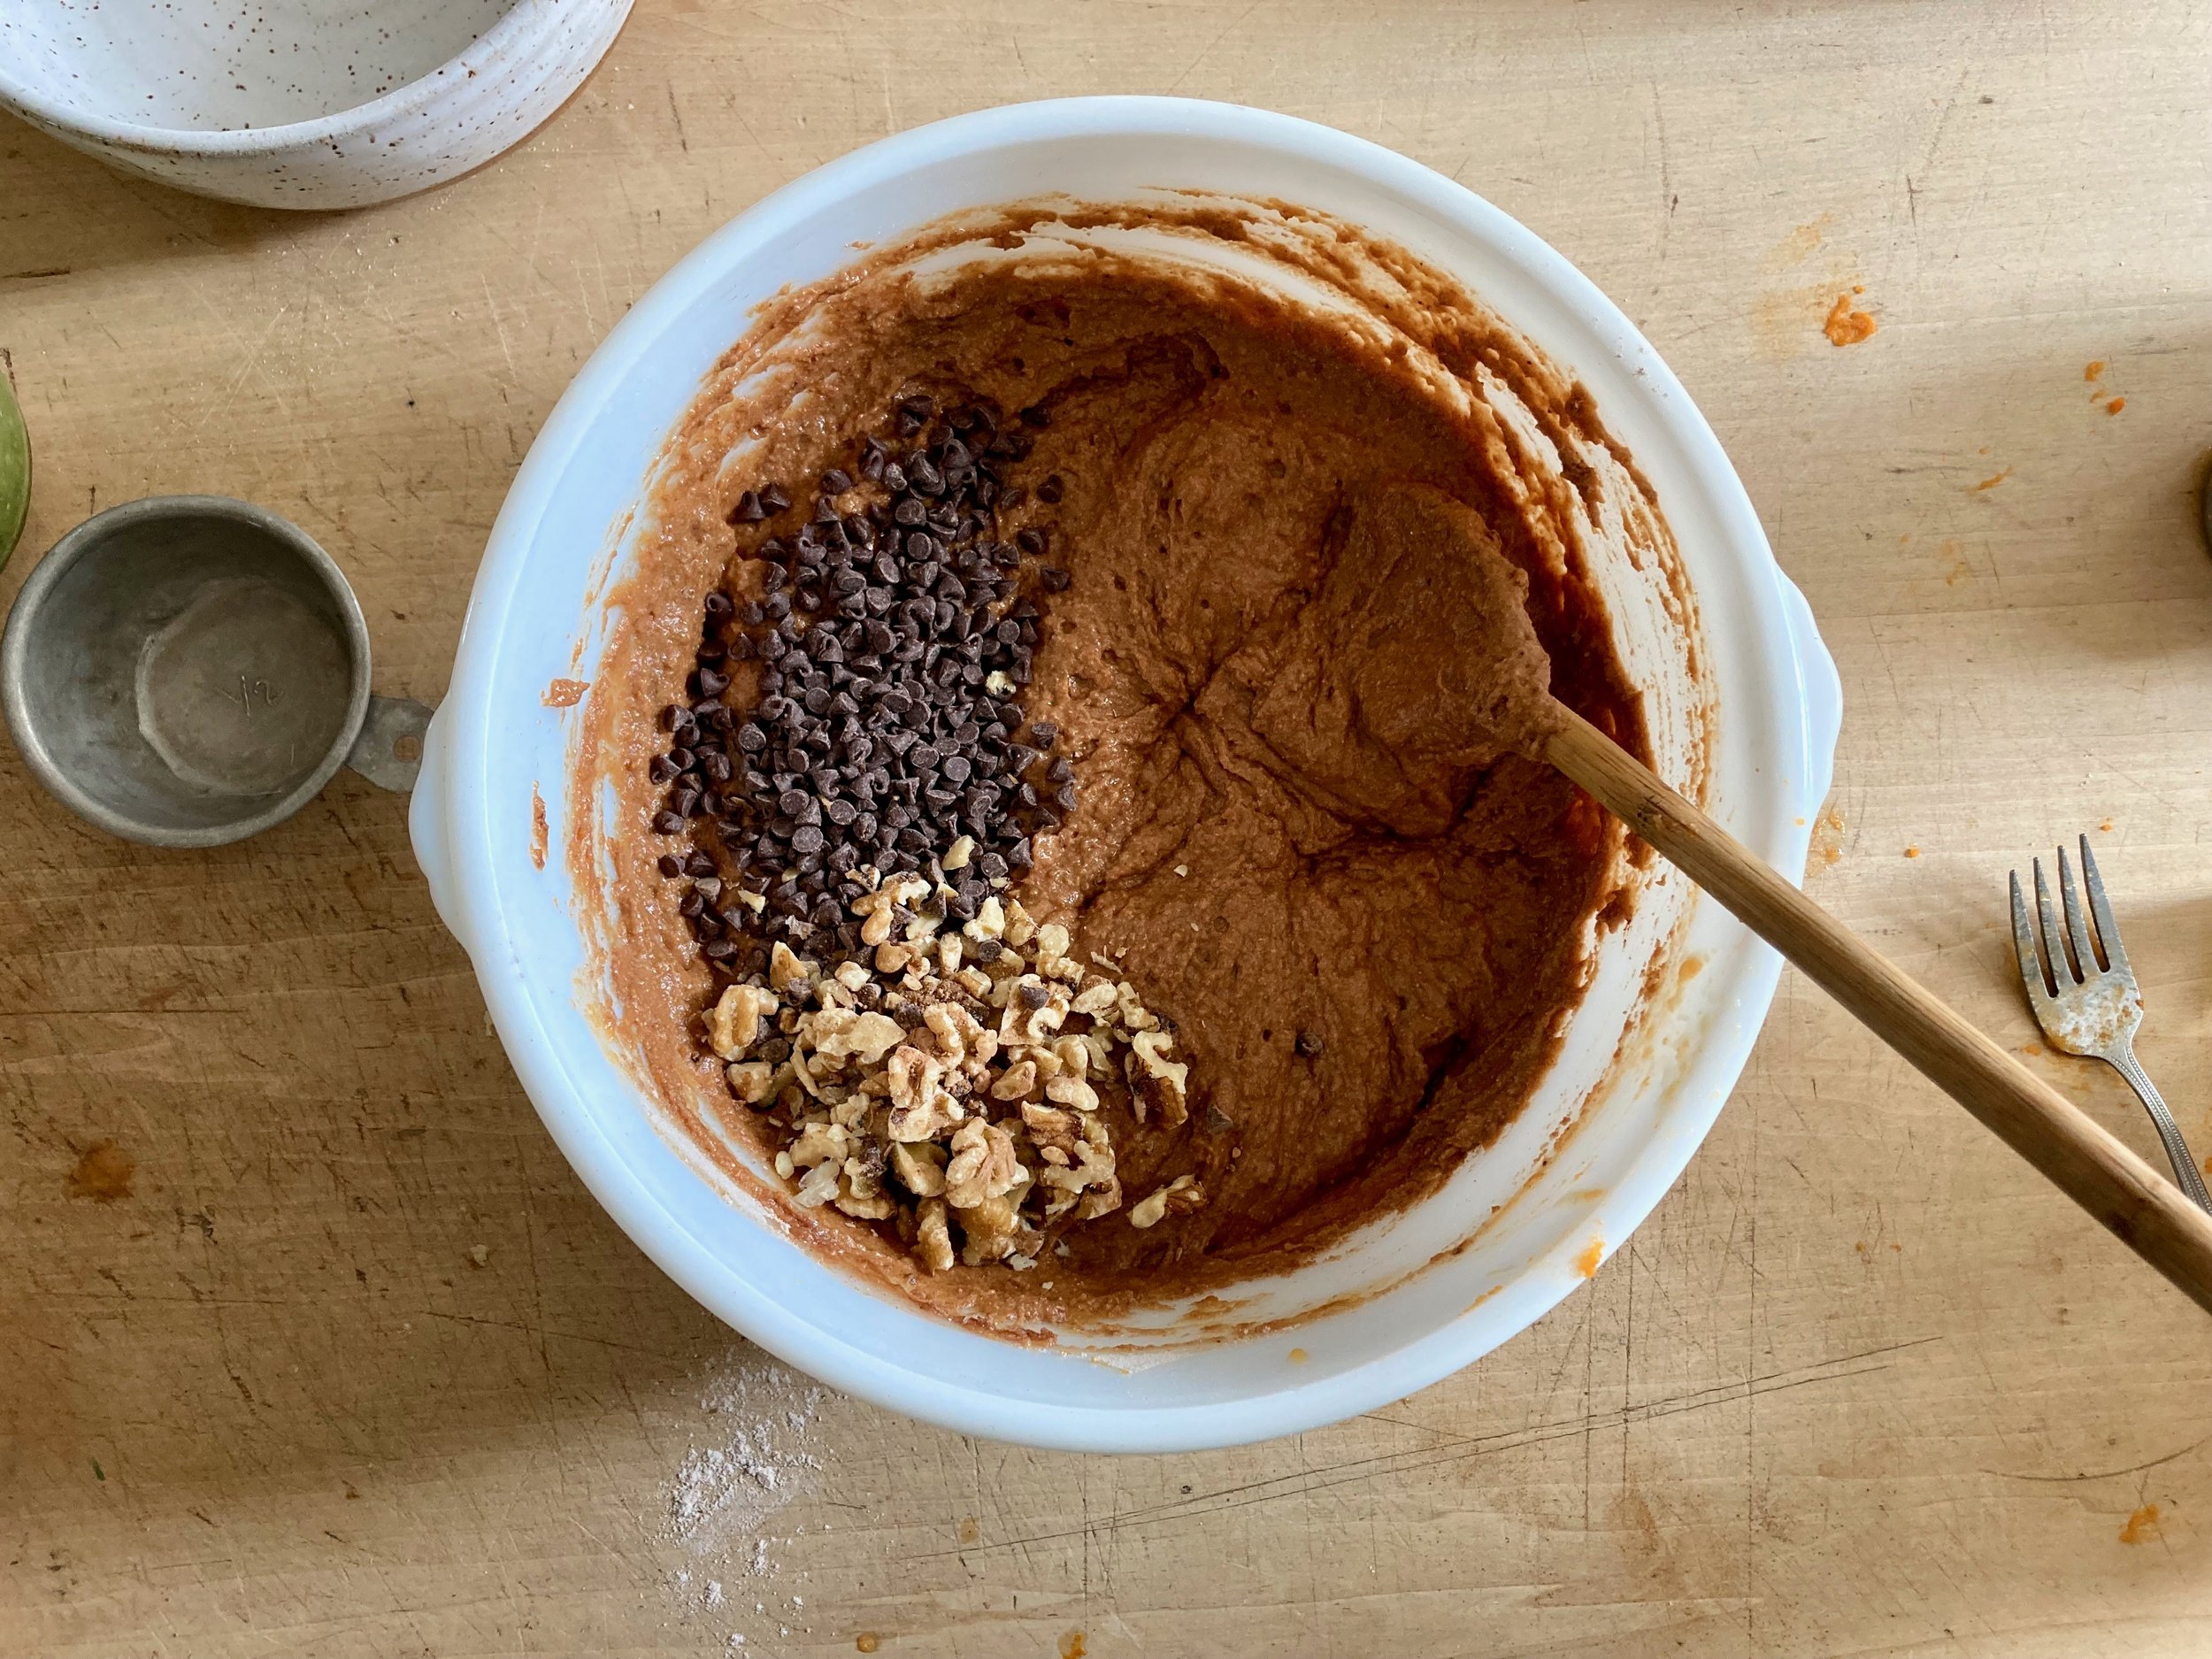
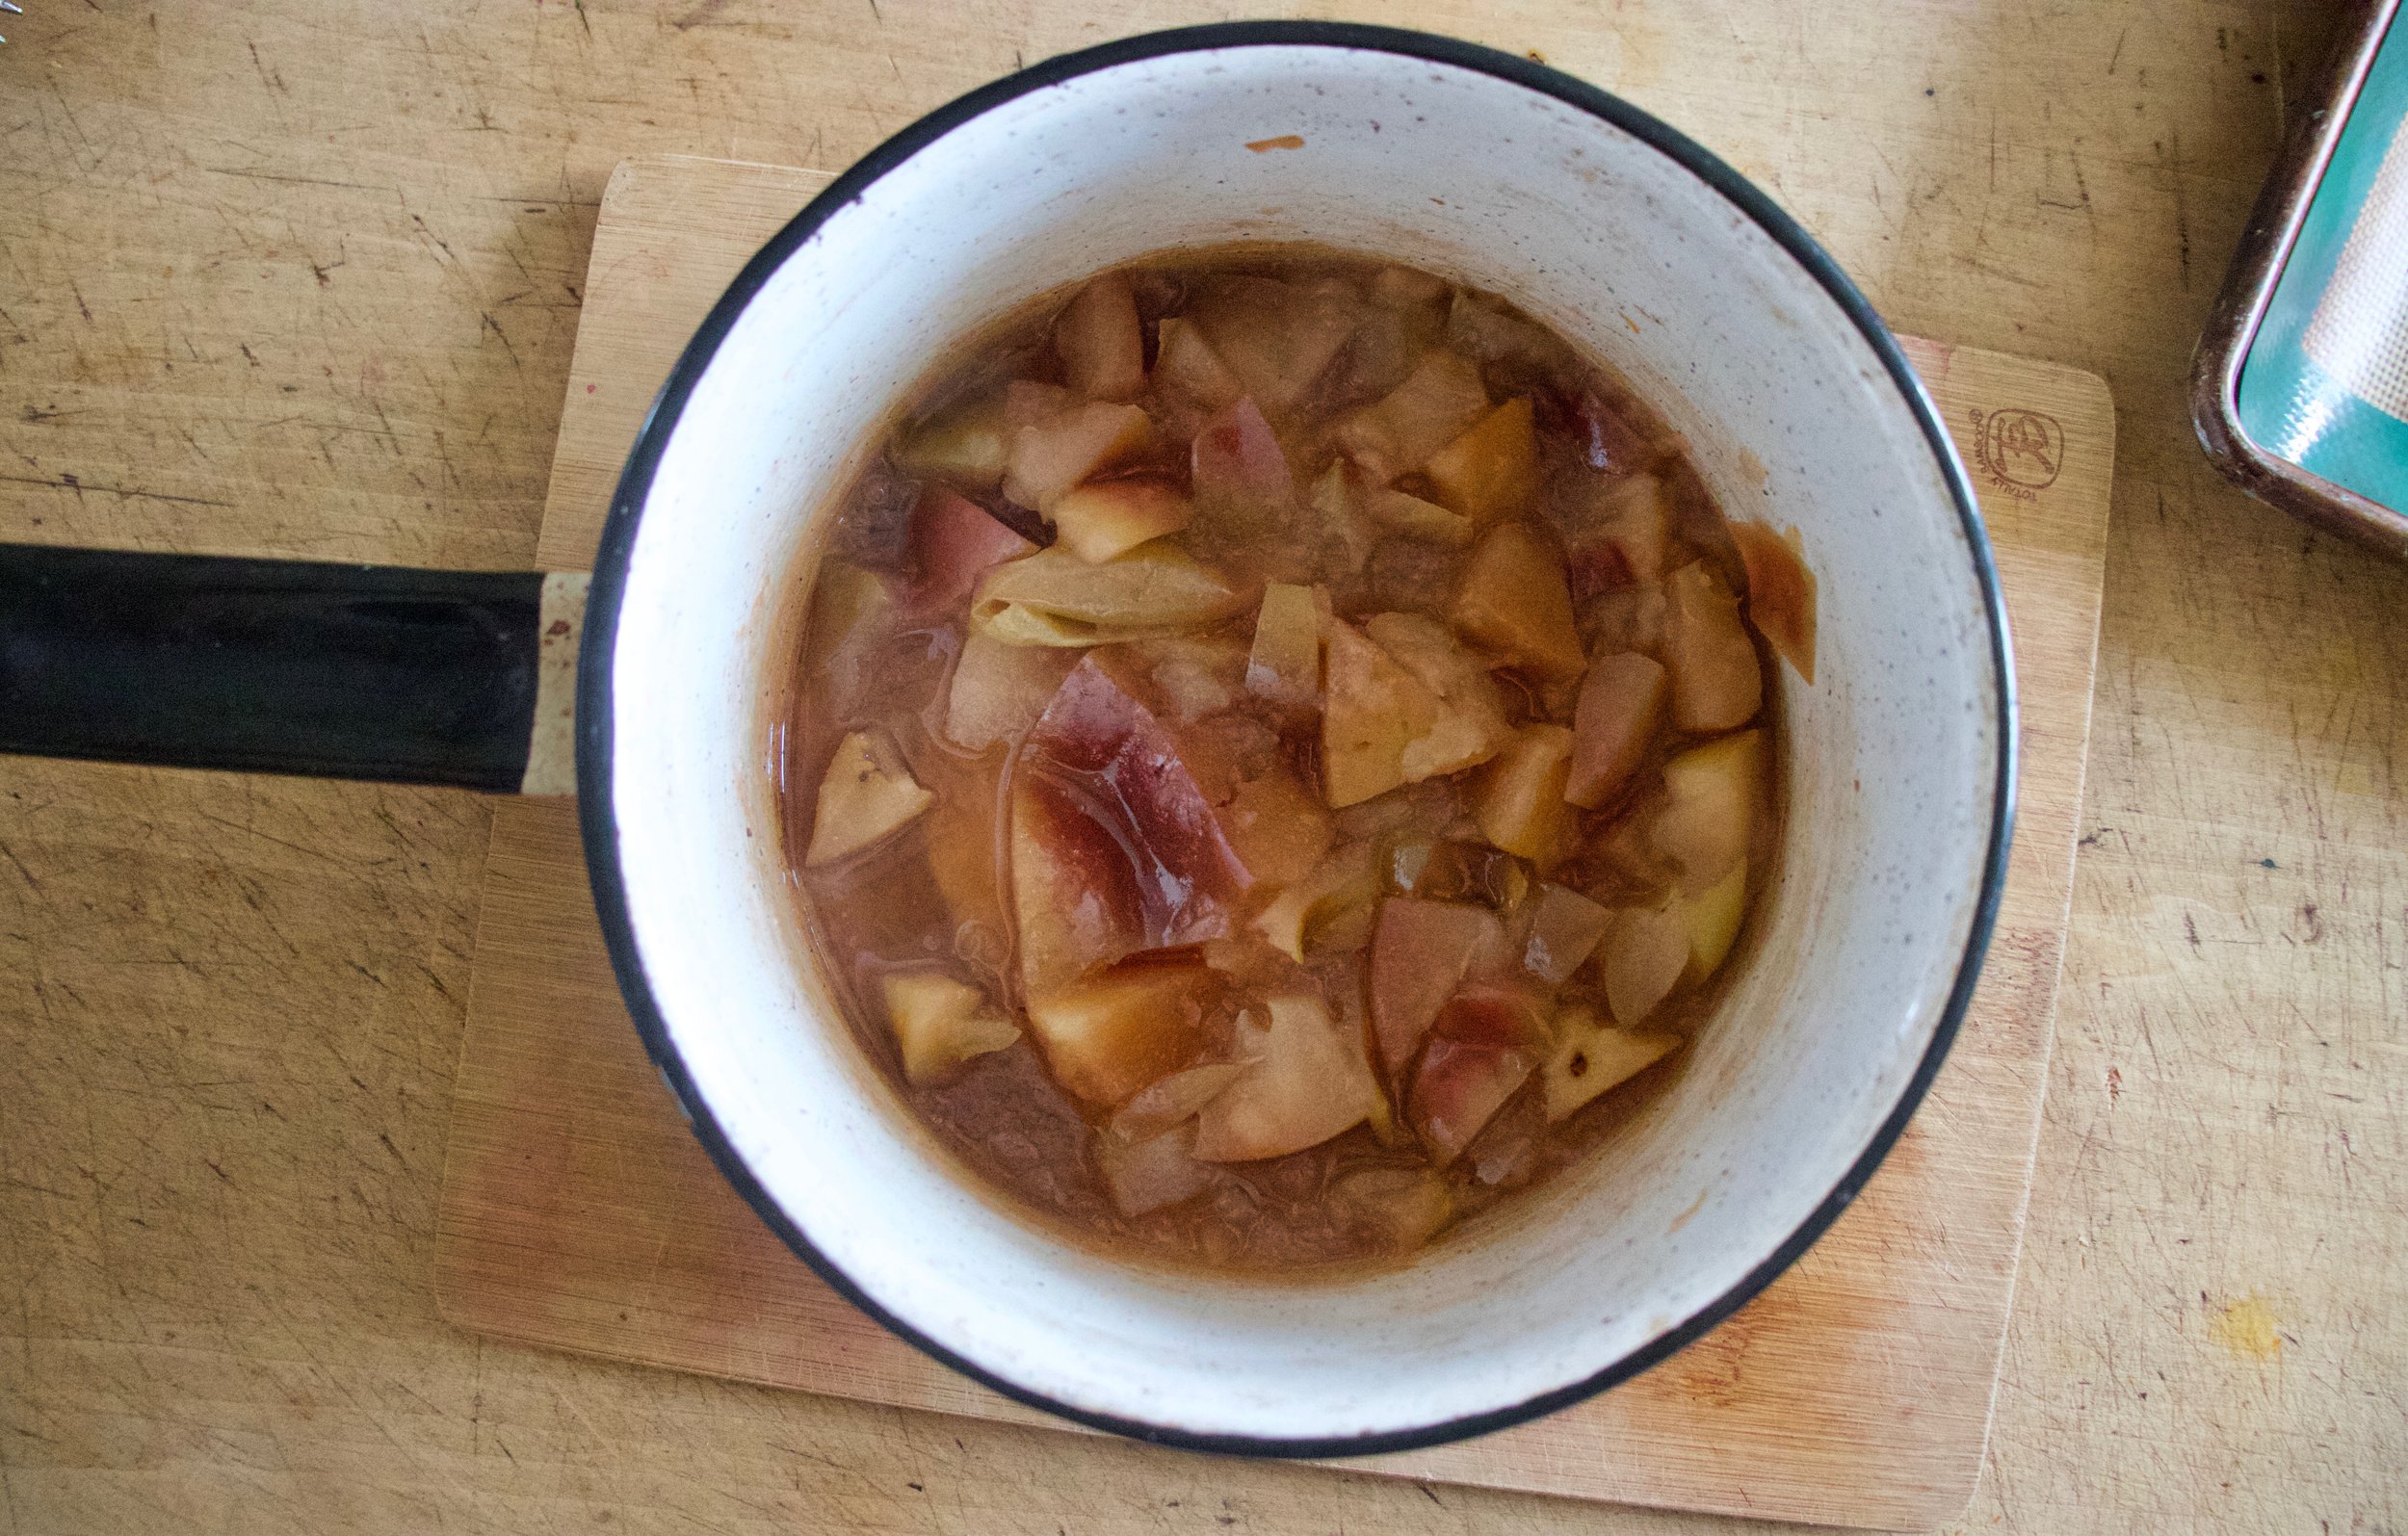
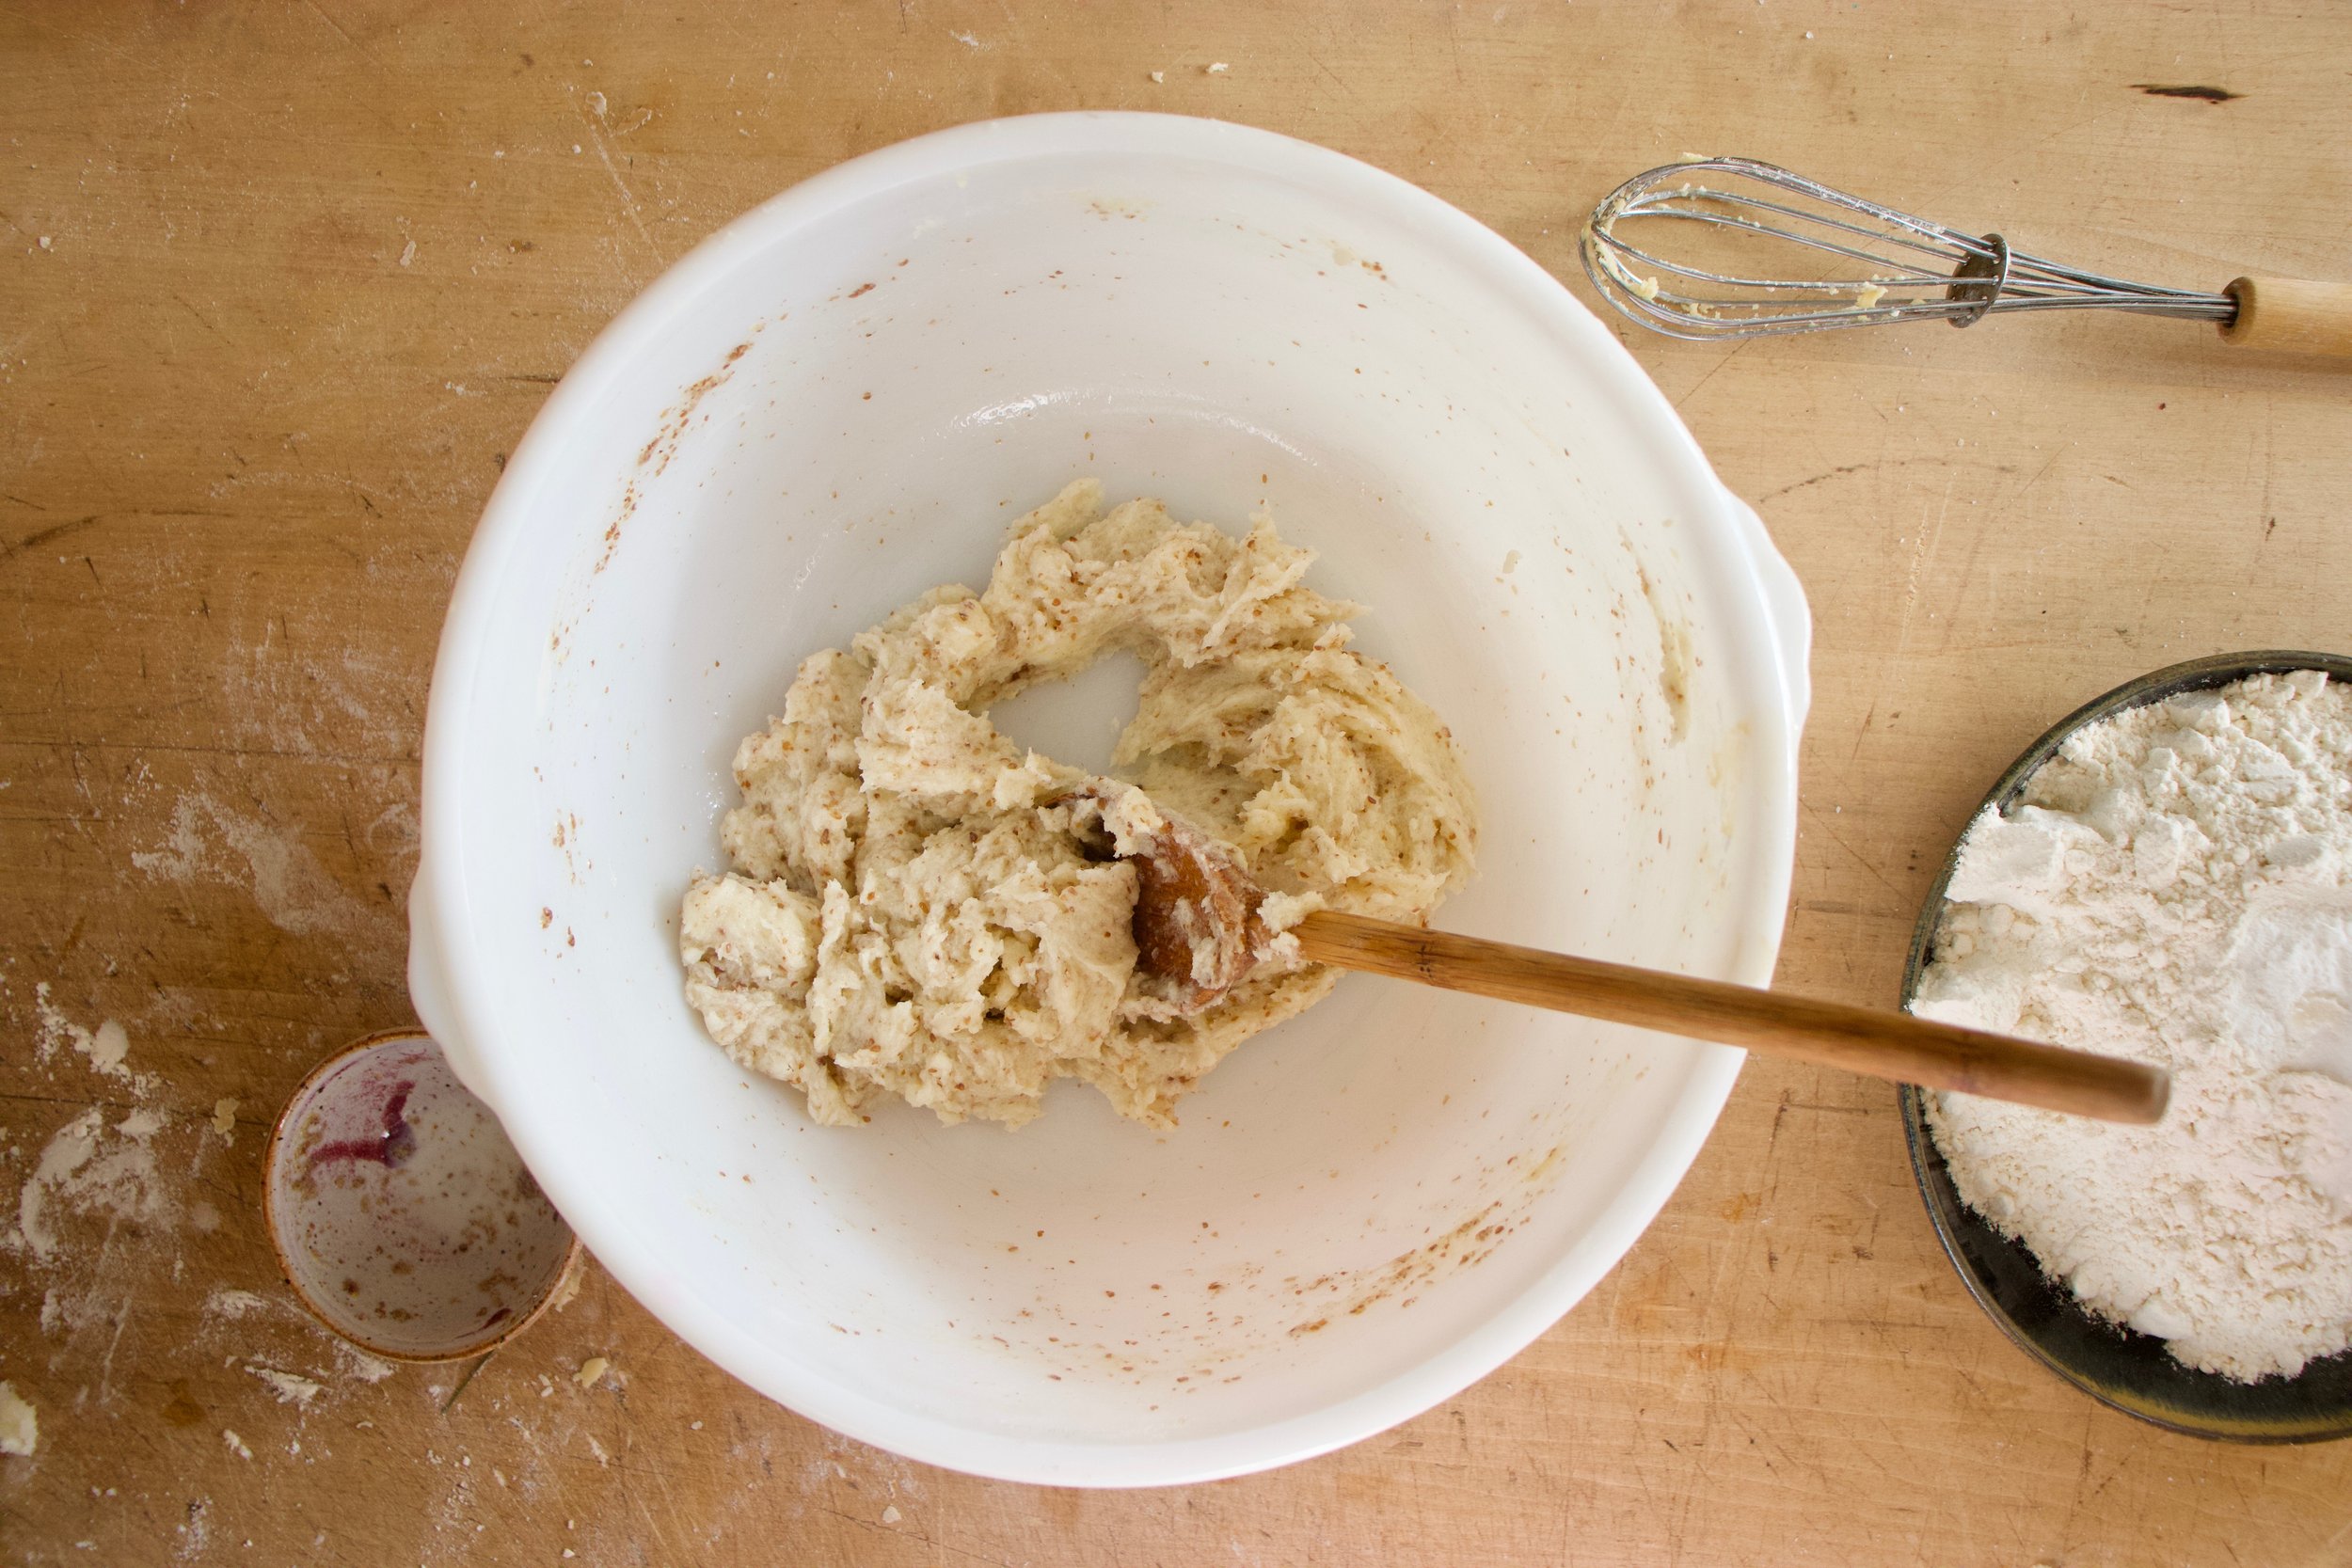
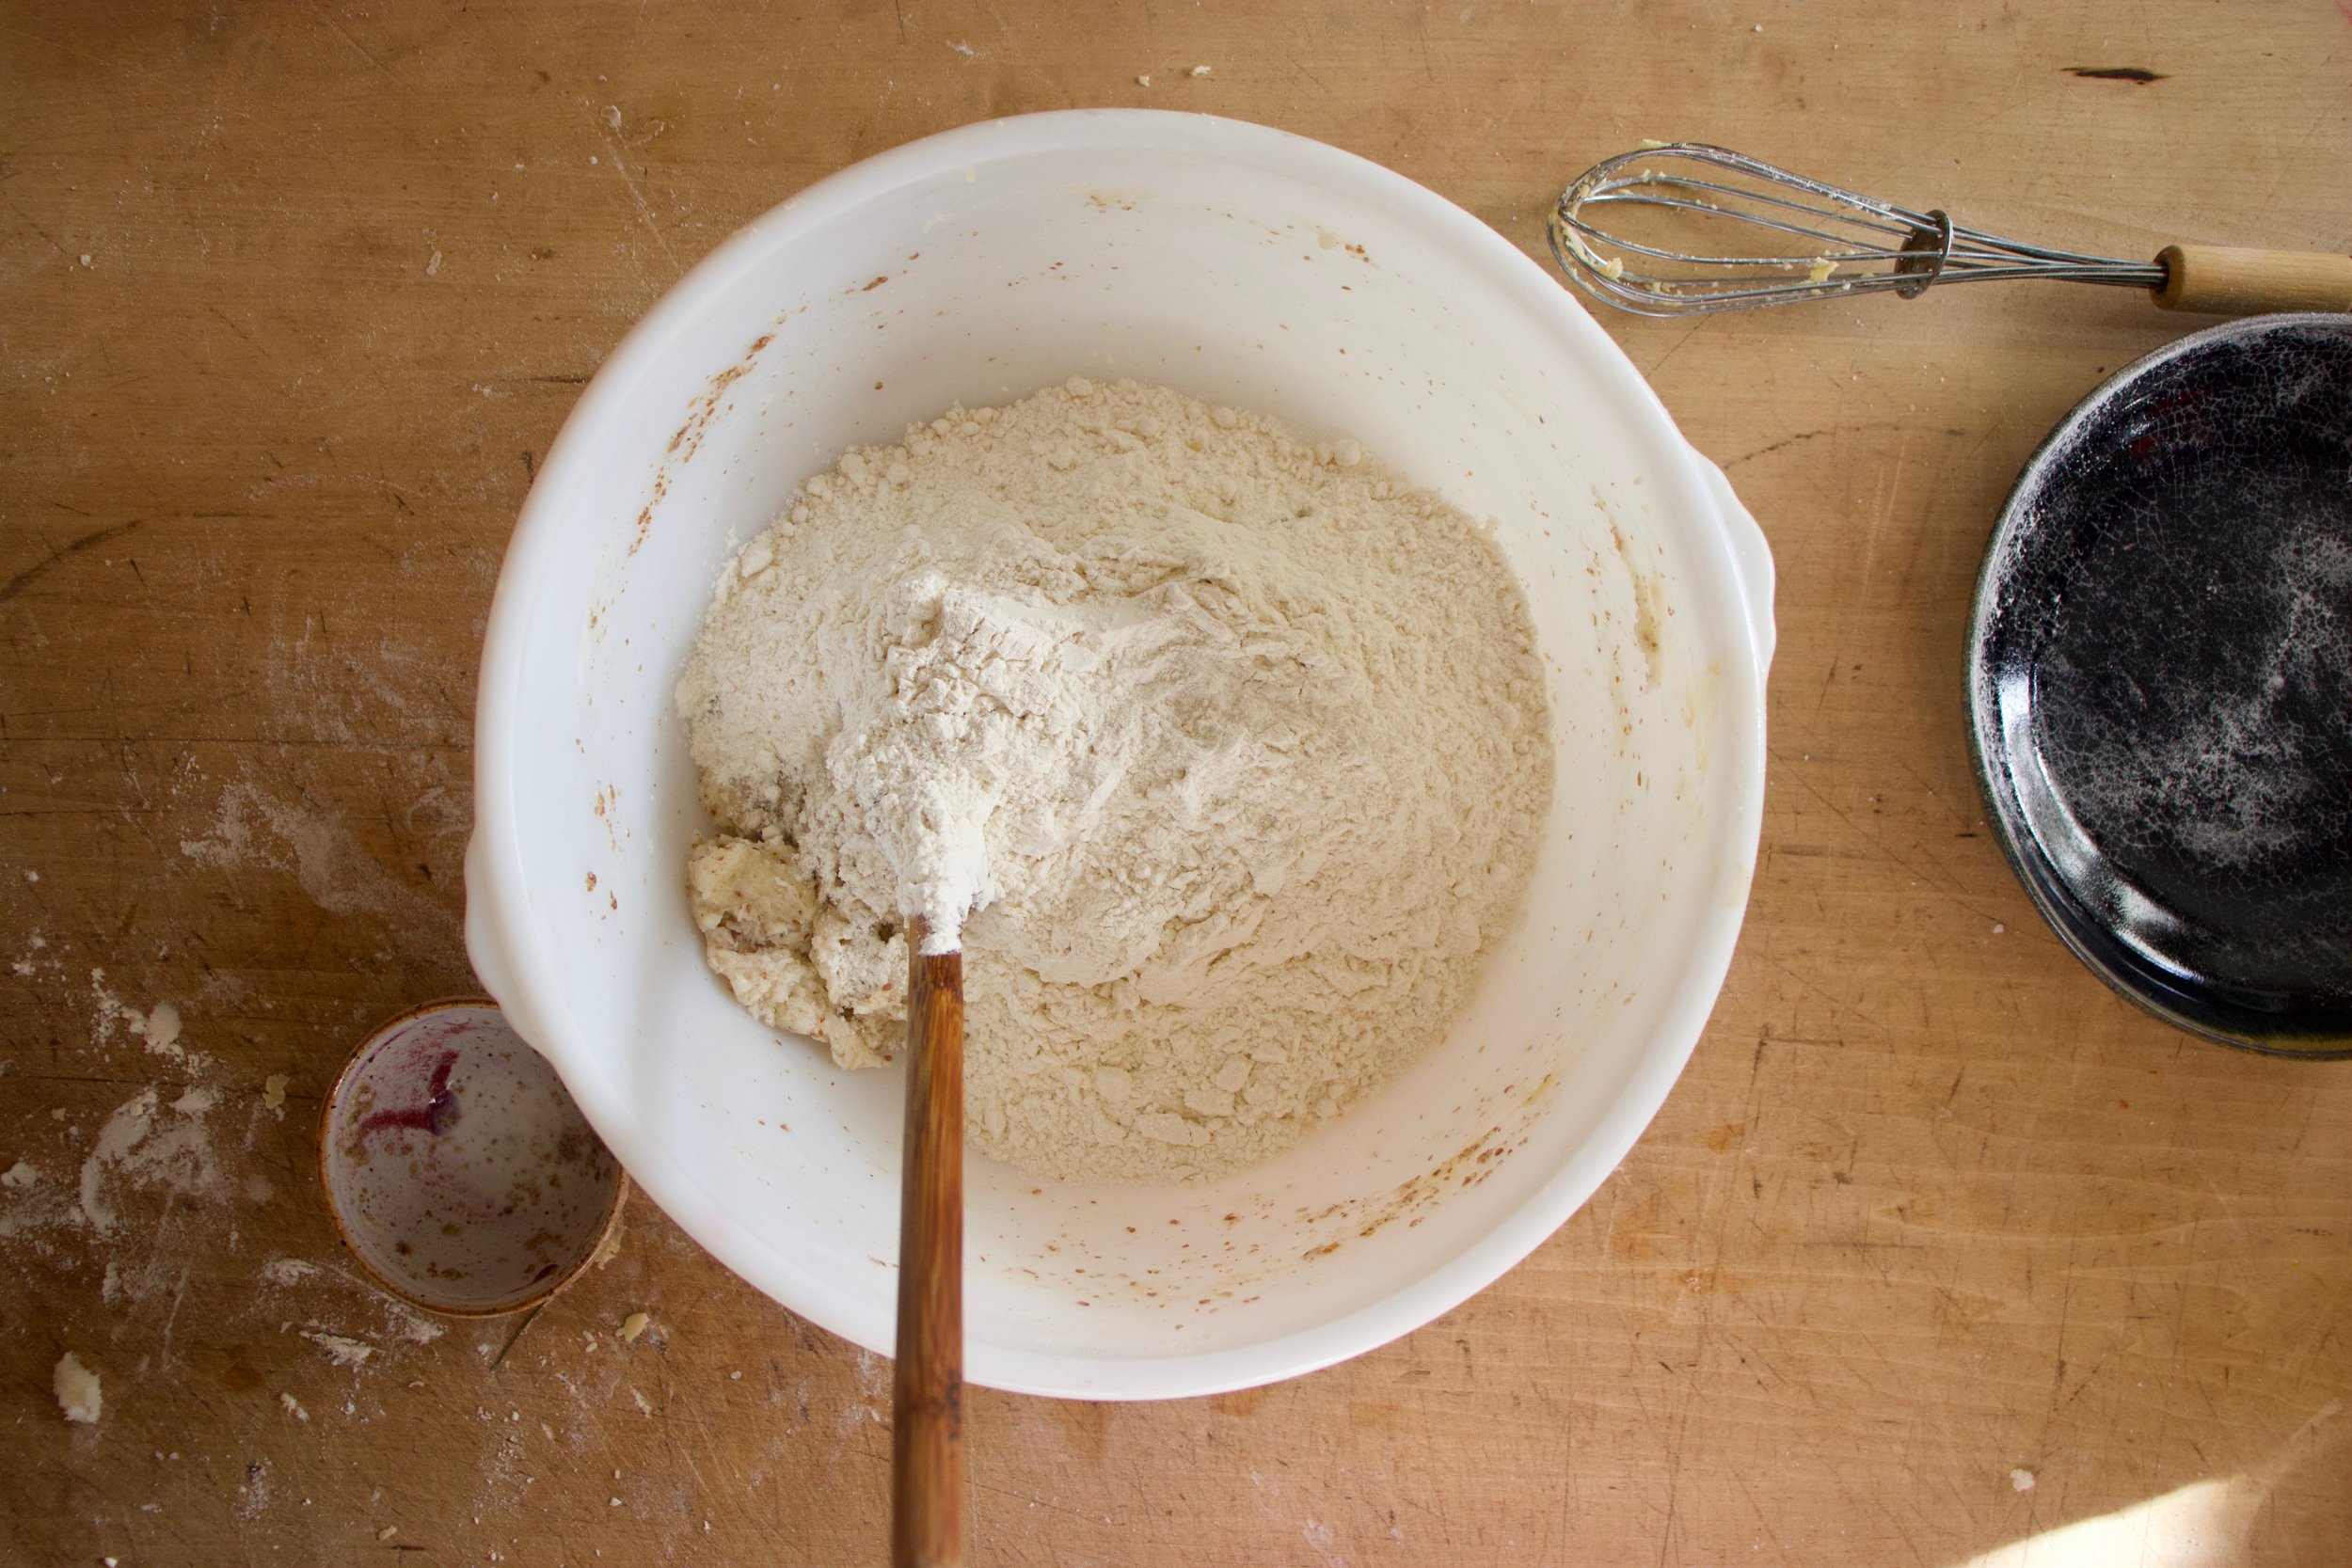
Add the dry to the wet along with the zest of the lemon and the gently mix while pouring in the vinegar and milk. Fold in chopped rhubarb.
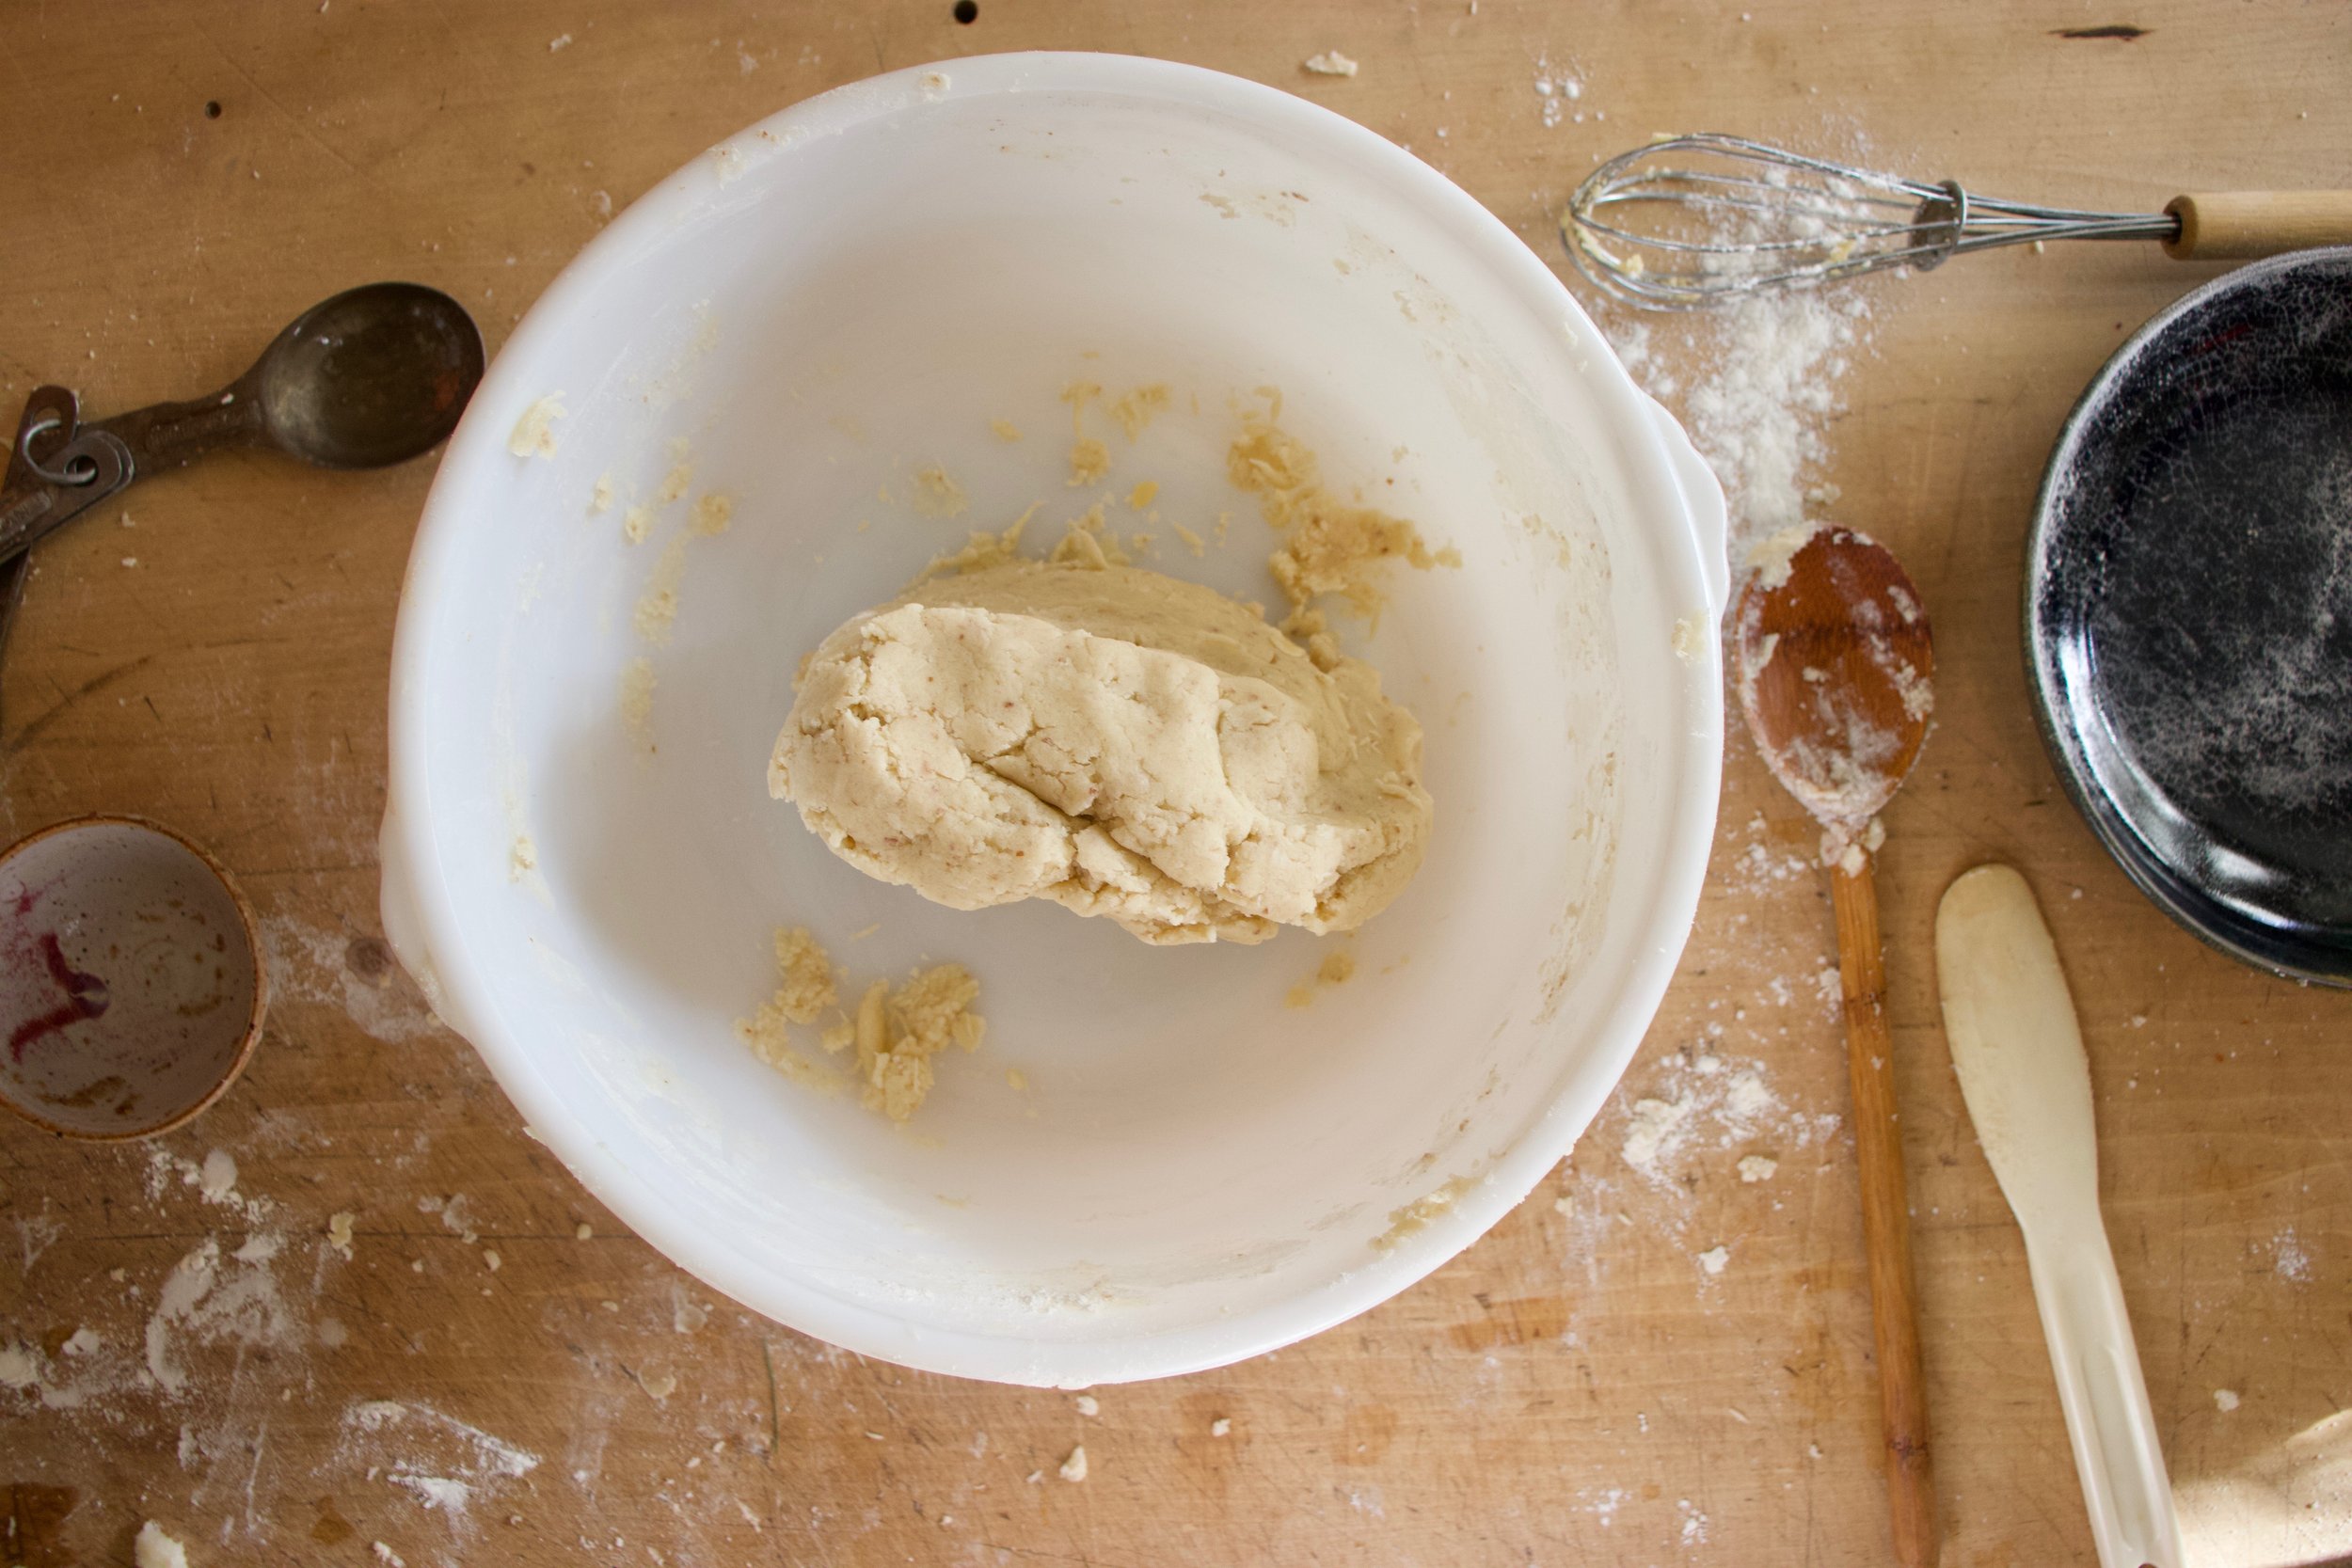
Cake batter.

Pour batter into a WELL greased and floured bundt pan. Trust me, don’t forget to get all the nooks with grease. A stuck bundt sucks.

And pop that bundt into the oven and bake.

A little over an hour later you got yourself a gorgeous golden brown cake.

And ever so gently get that bundt out of pan. If your top gets stuck like mine did, all is well, just repair as best as you can. The cake will still taste amazing..

Once cake is out of pan, let cool on a wire rack.

IMG_3034.jpg
IMG_3038.jpg

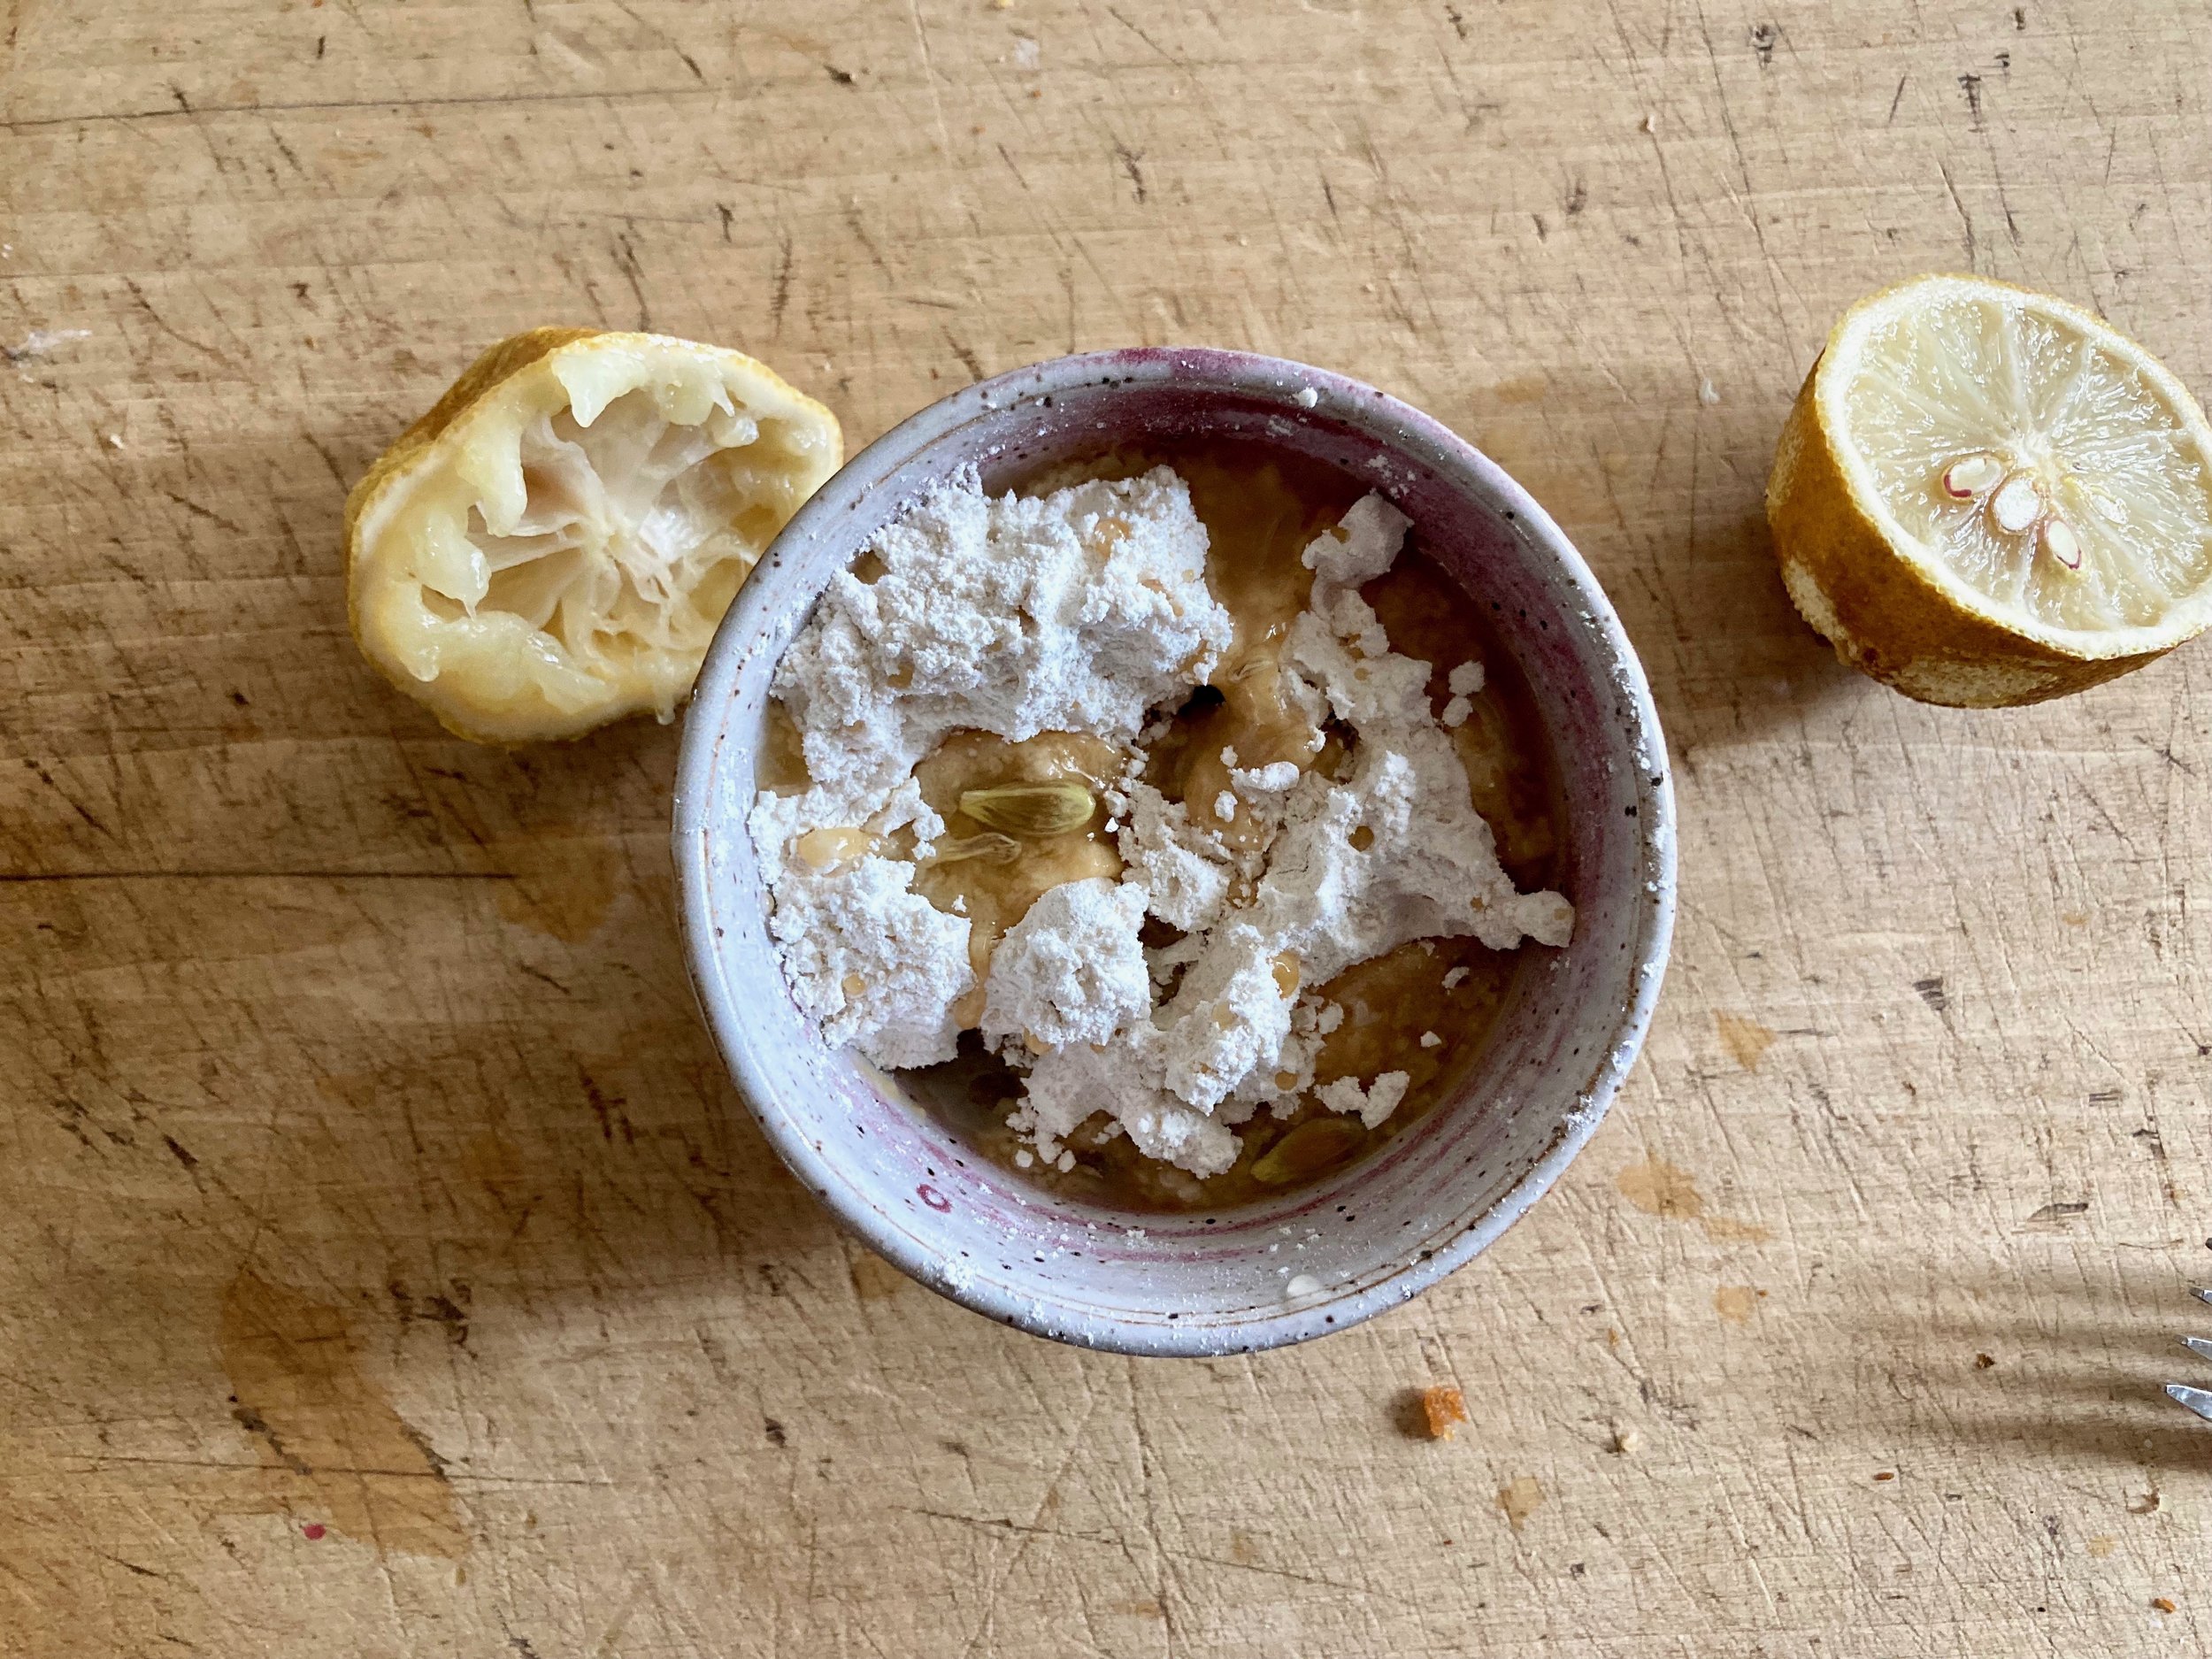
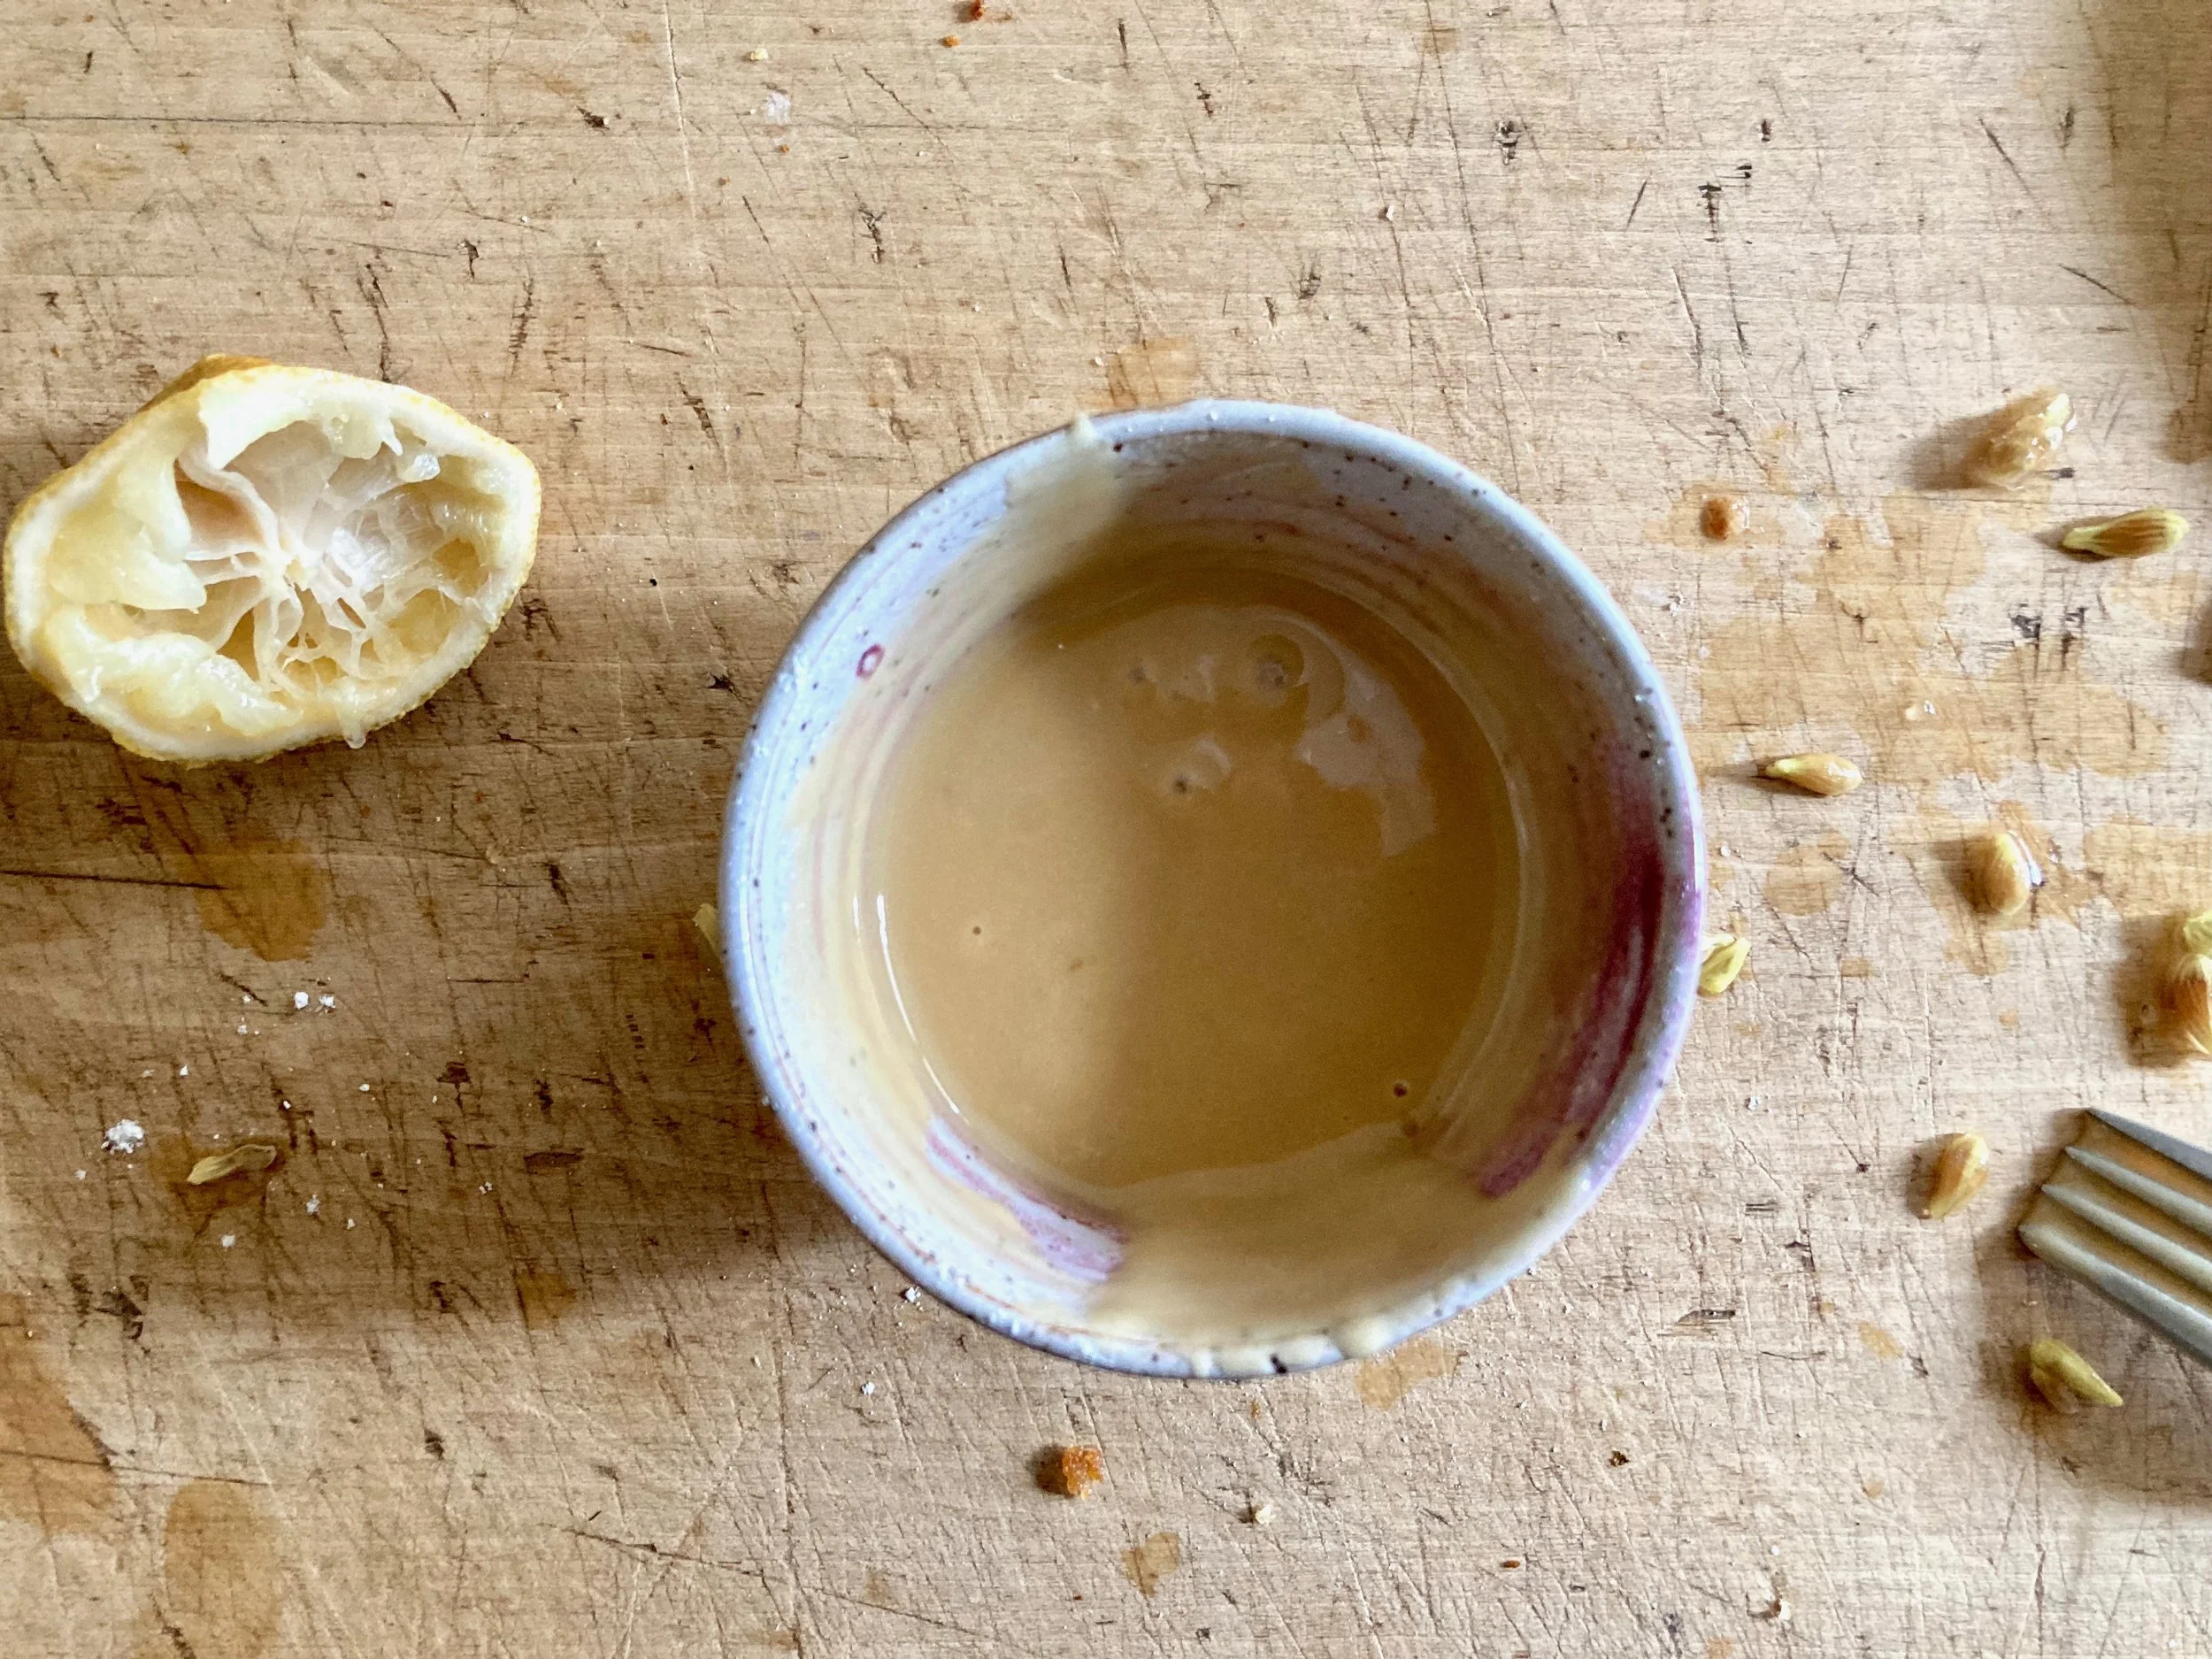
Make a little lemon glaze while its cooling. Just powdered sugar and lemon juice. Mix until a thick but drizzle -able consistency,

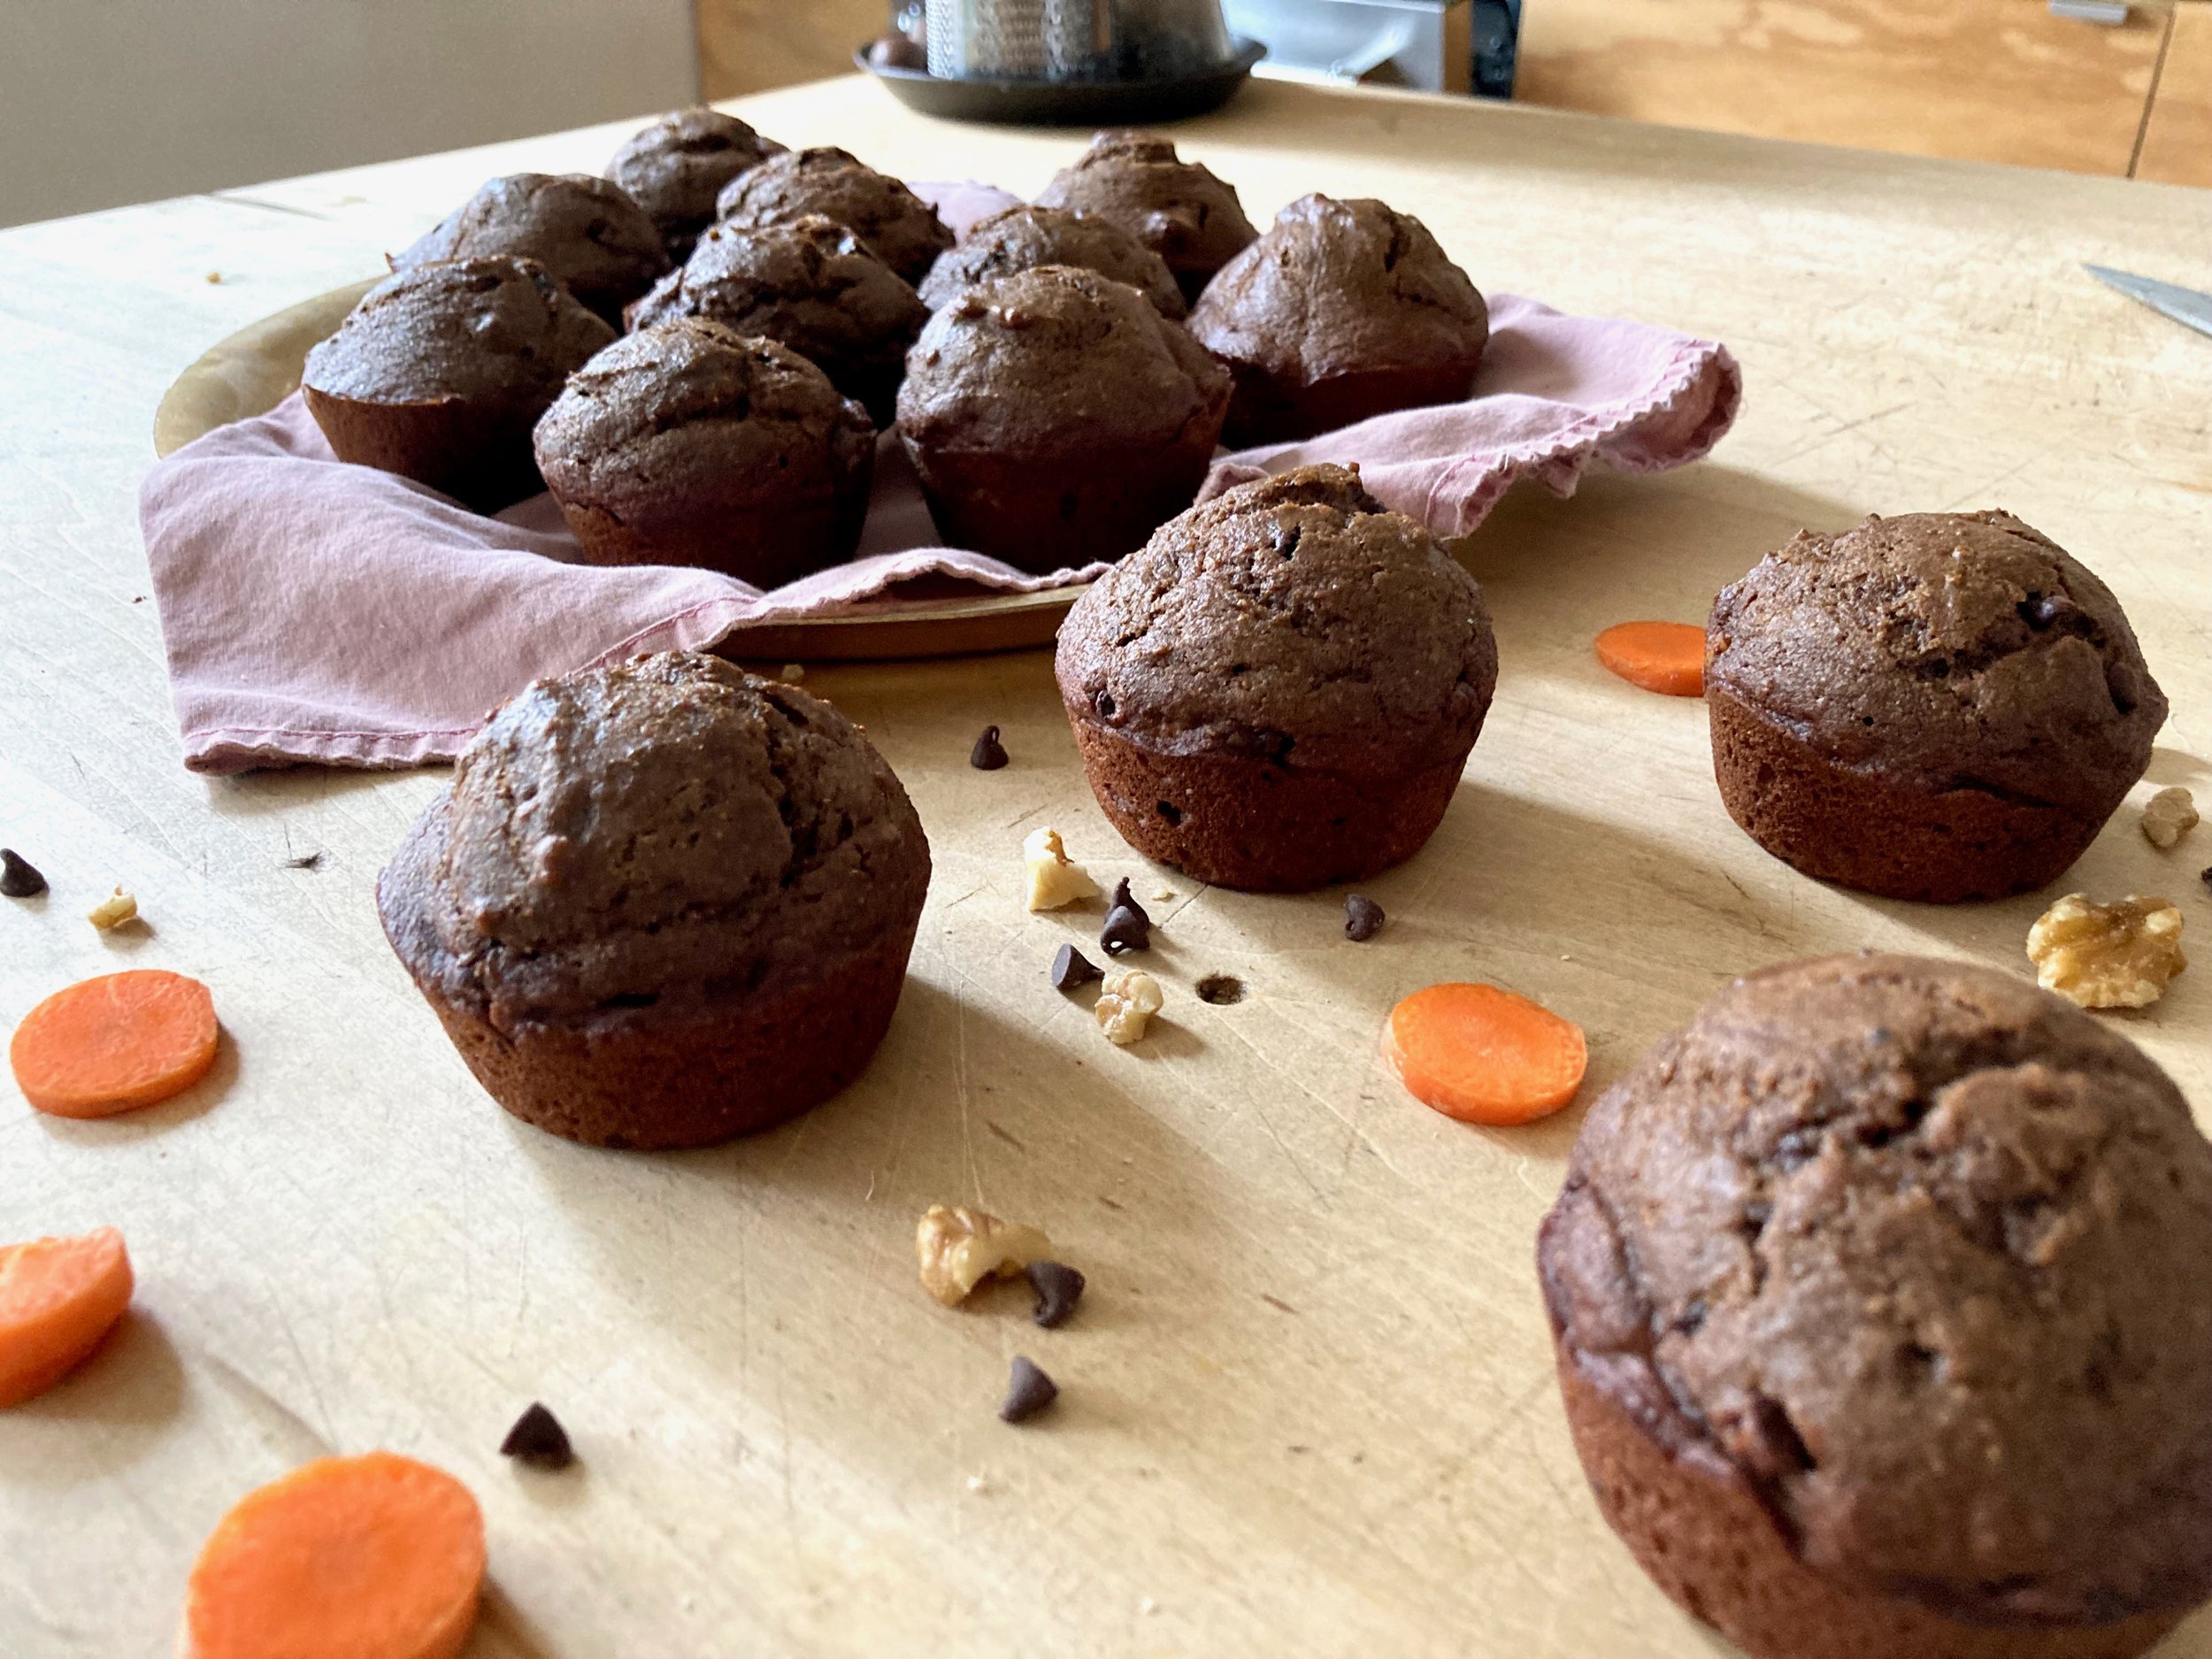
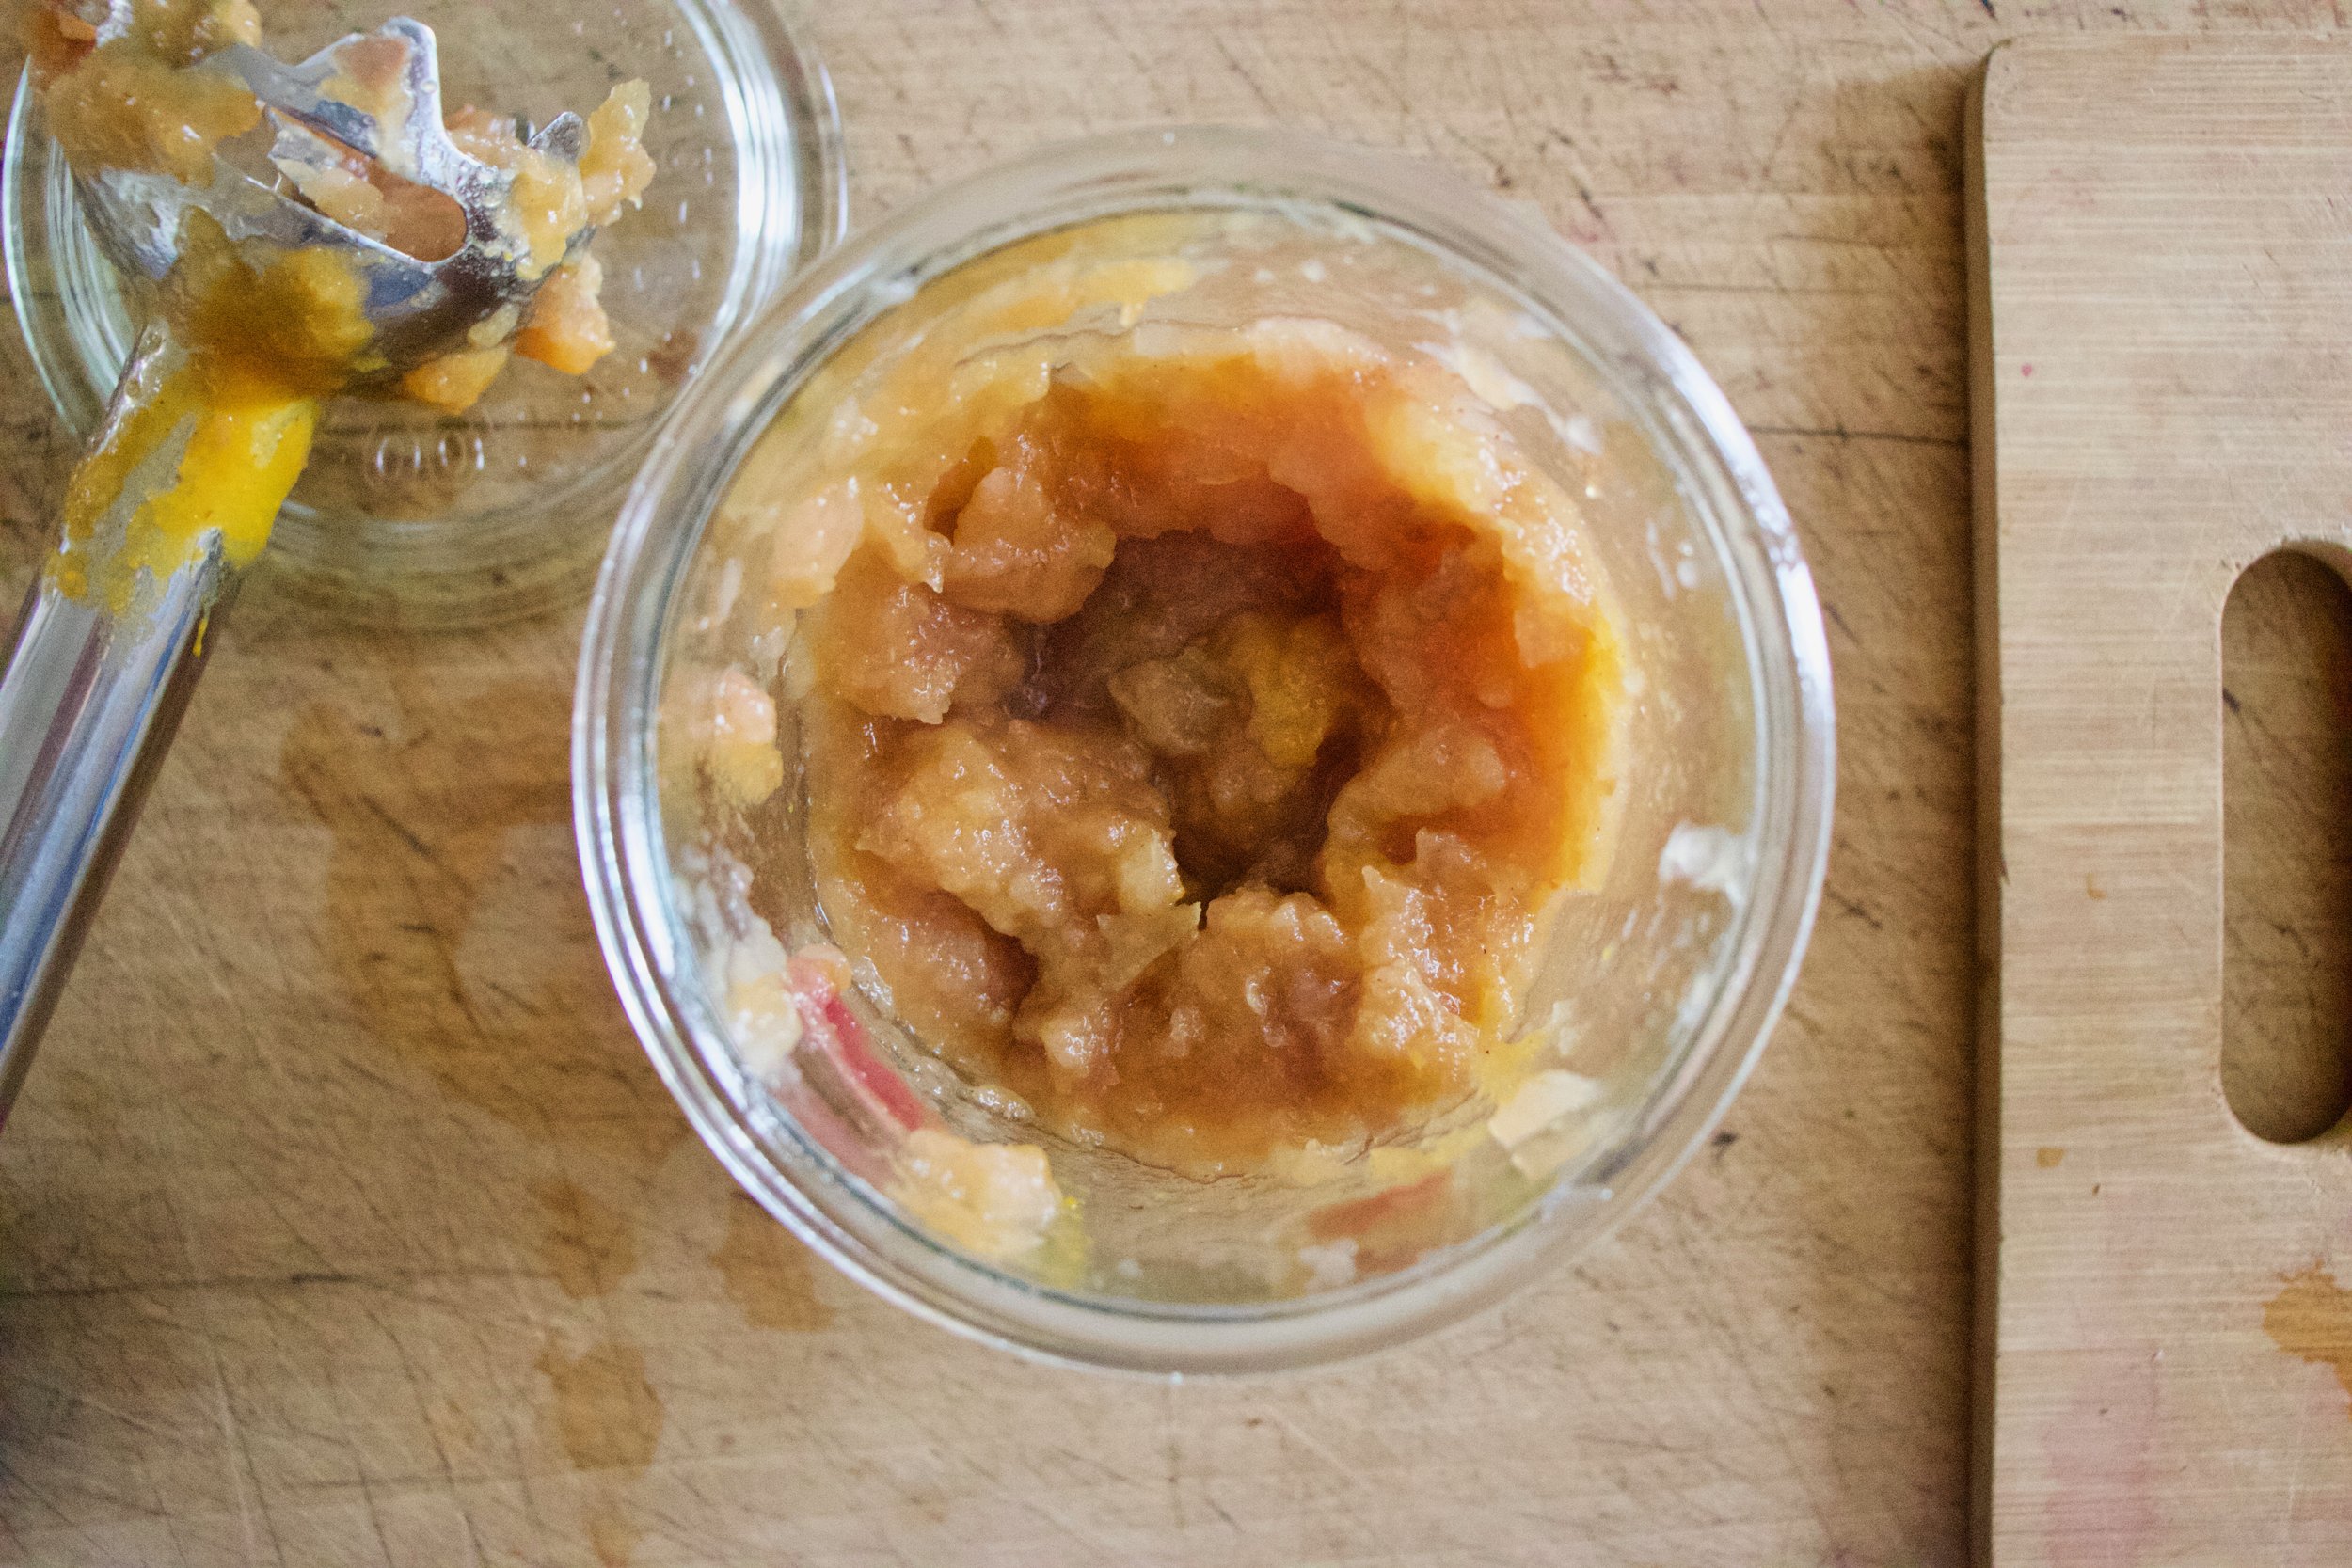
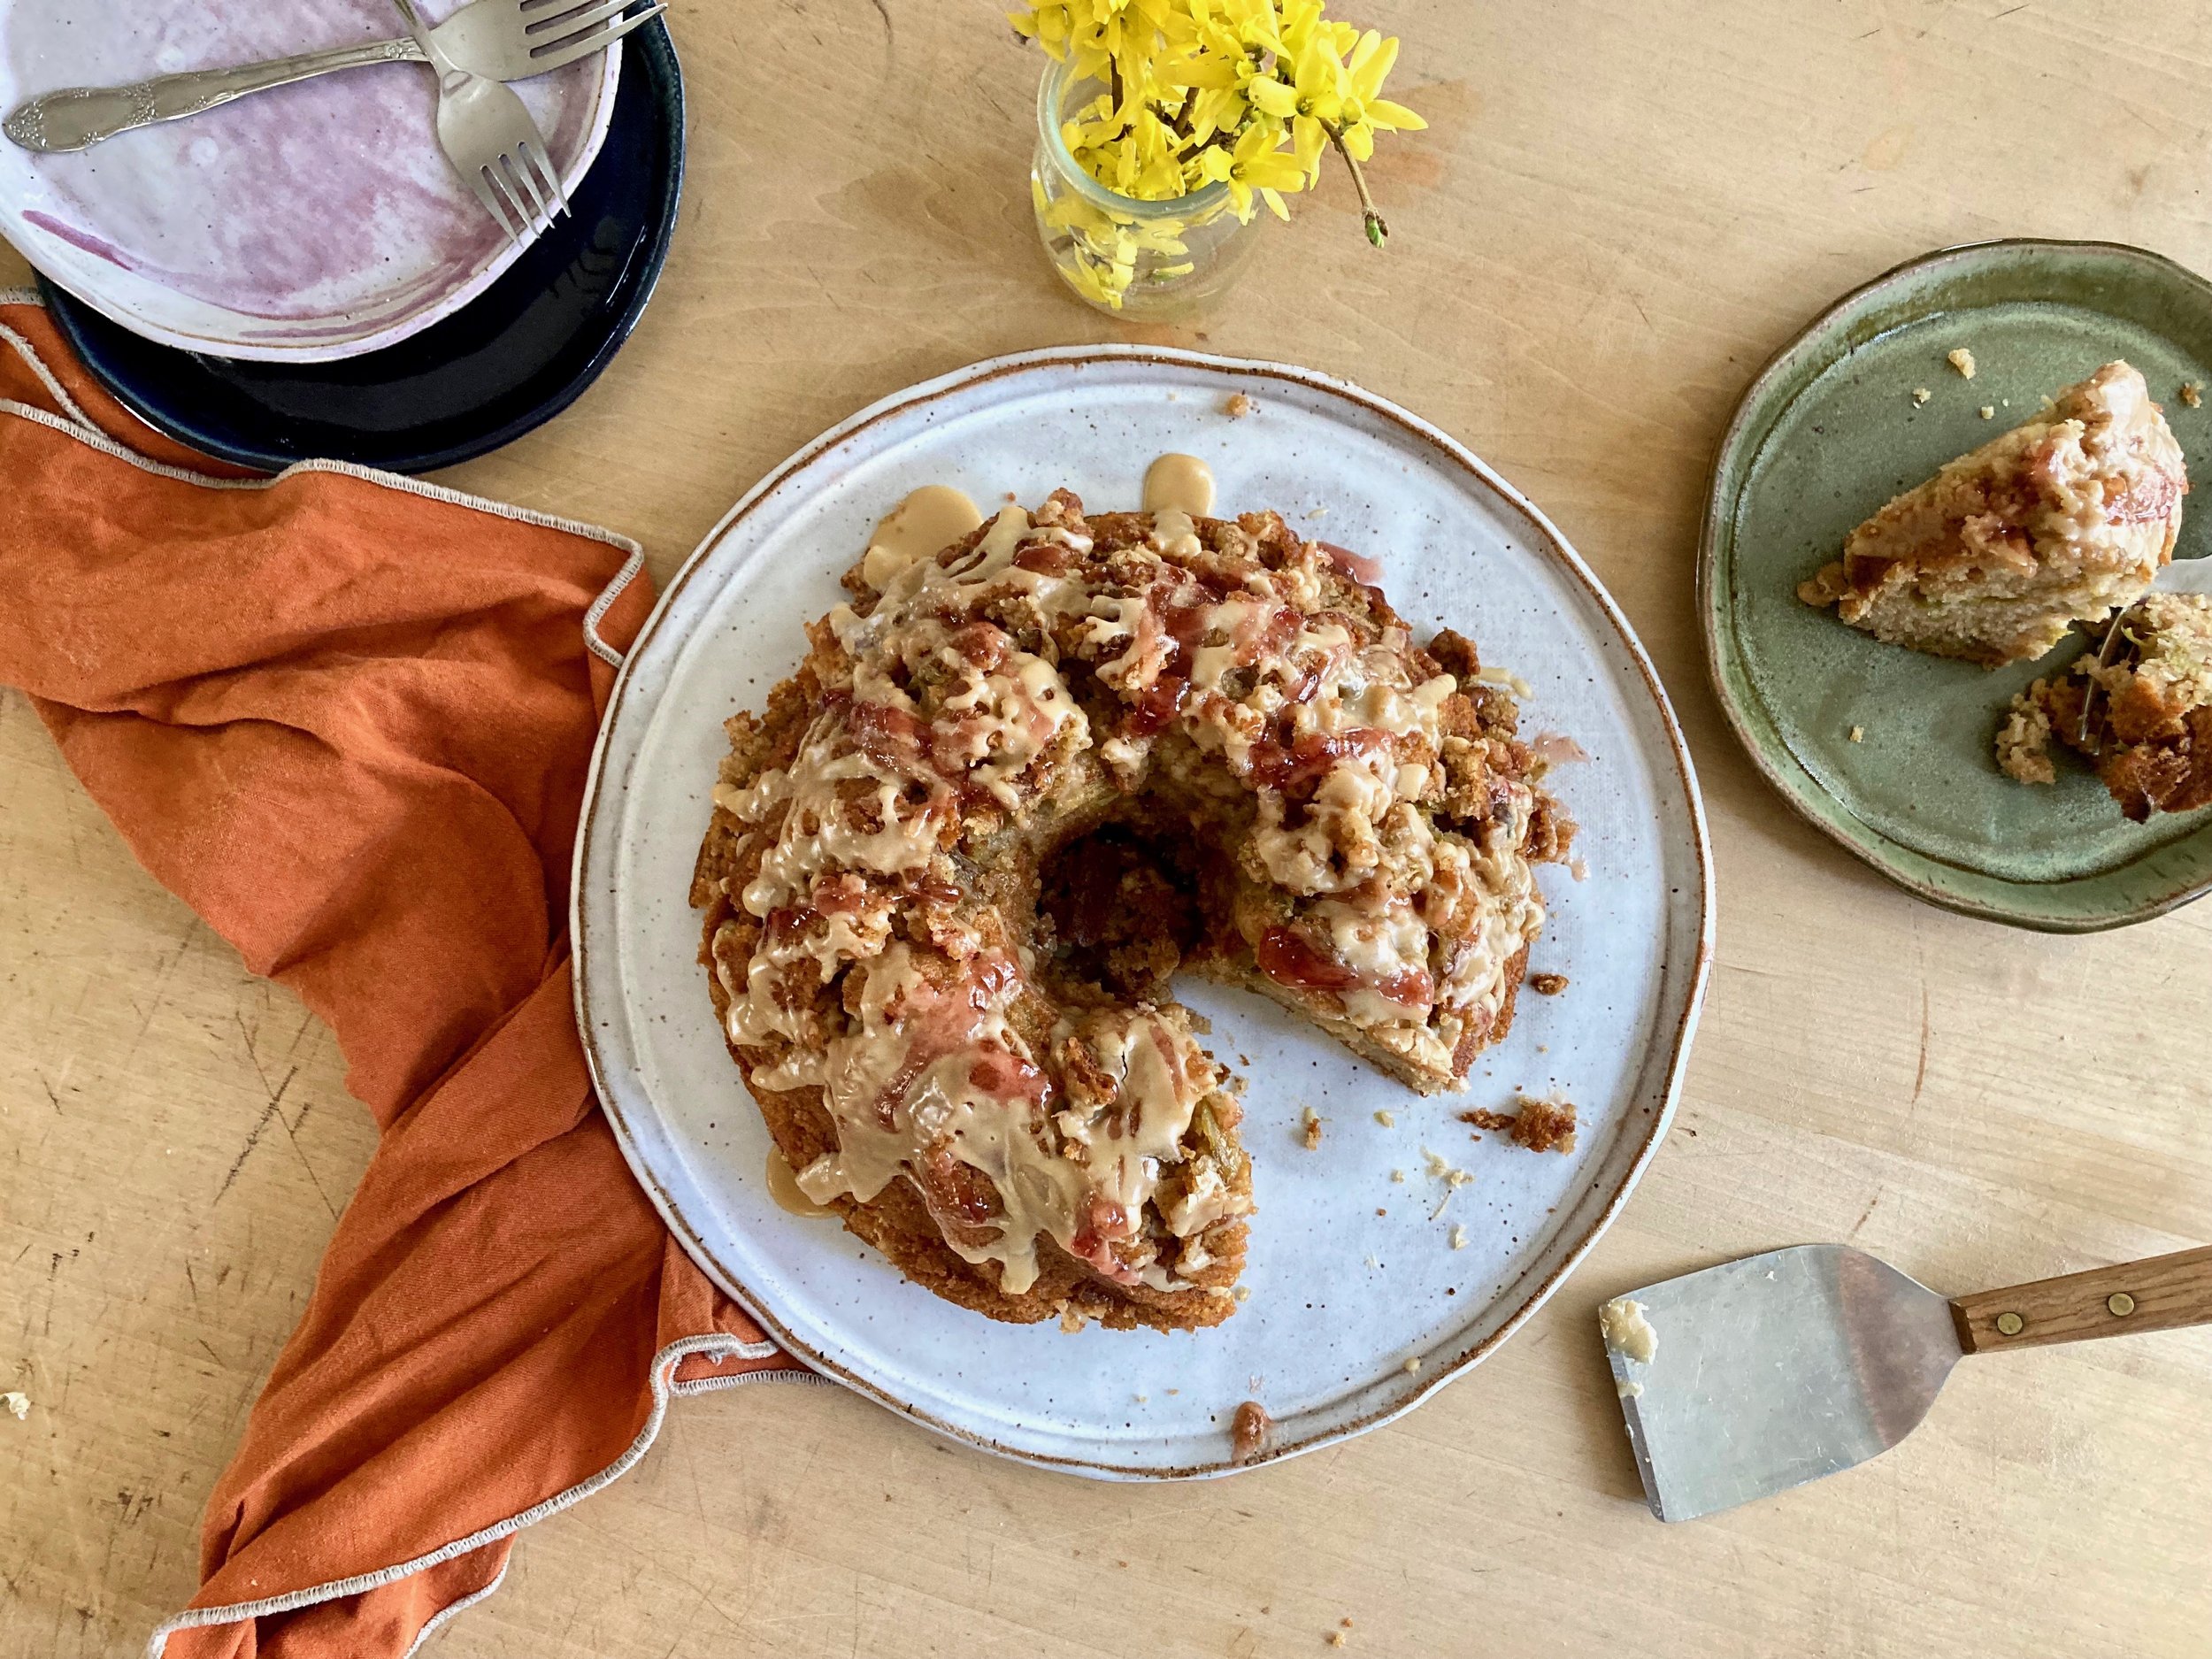
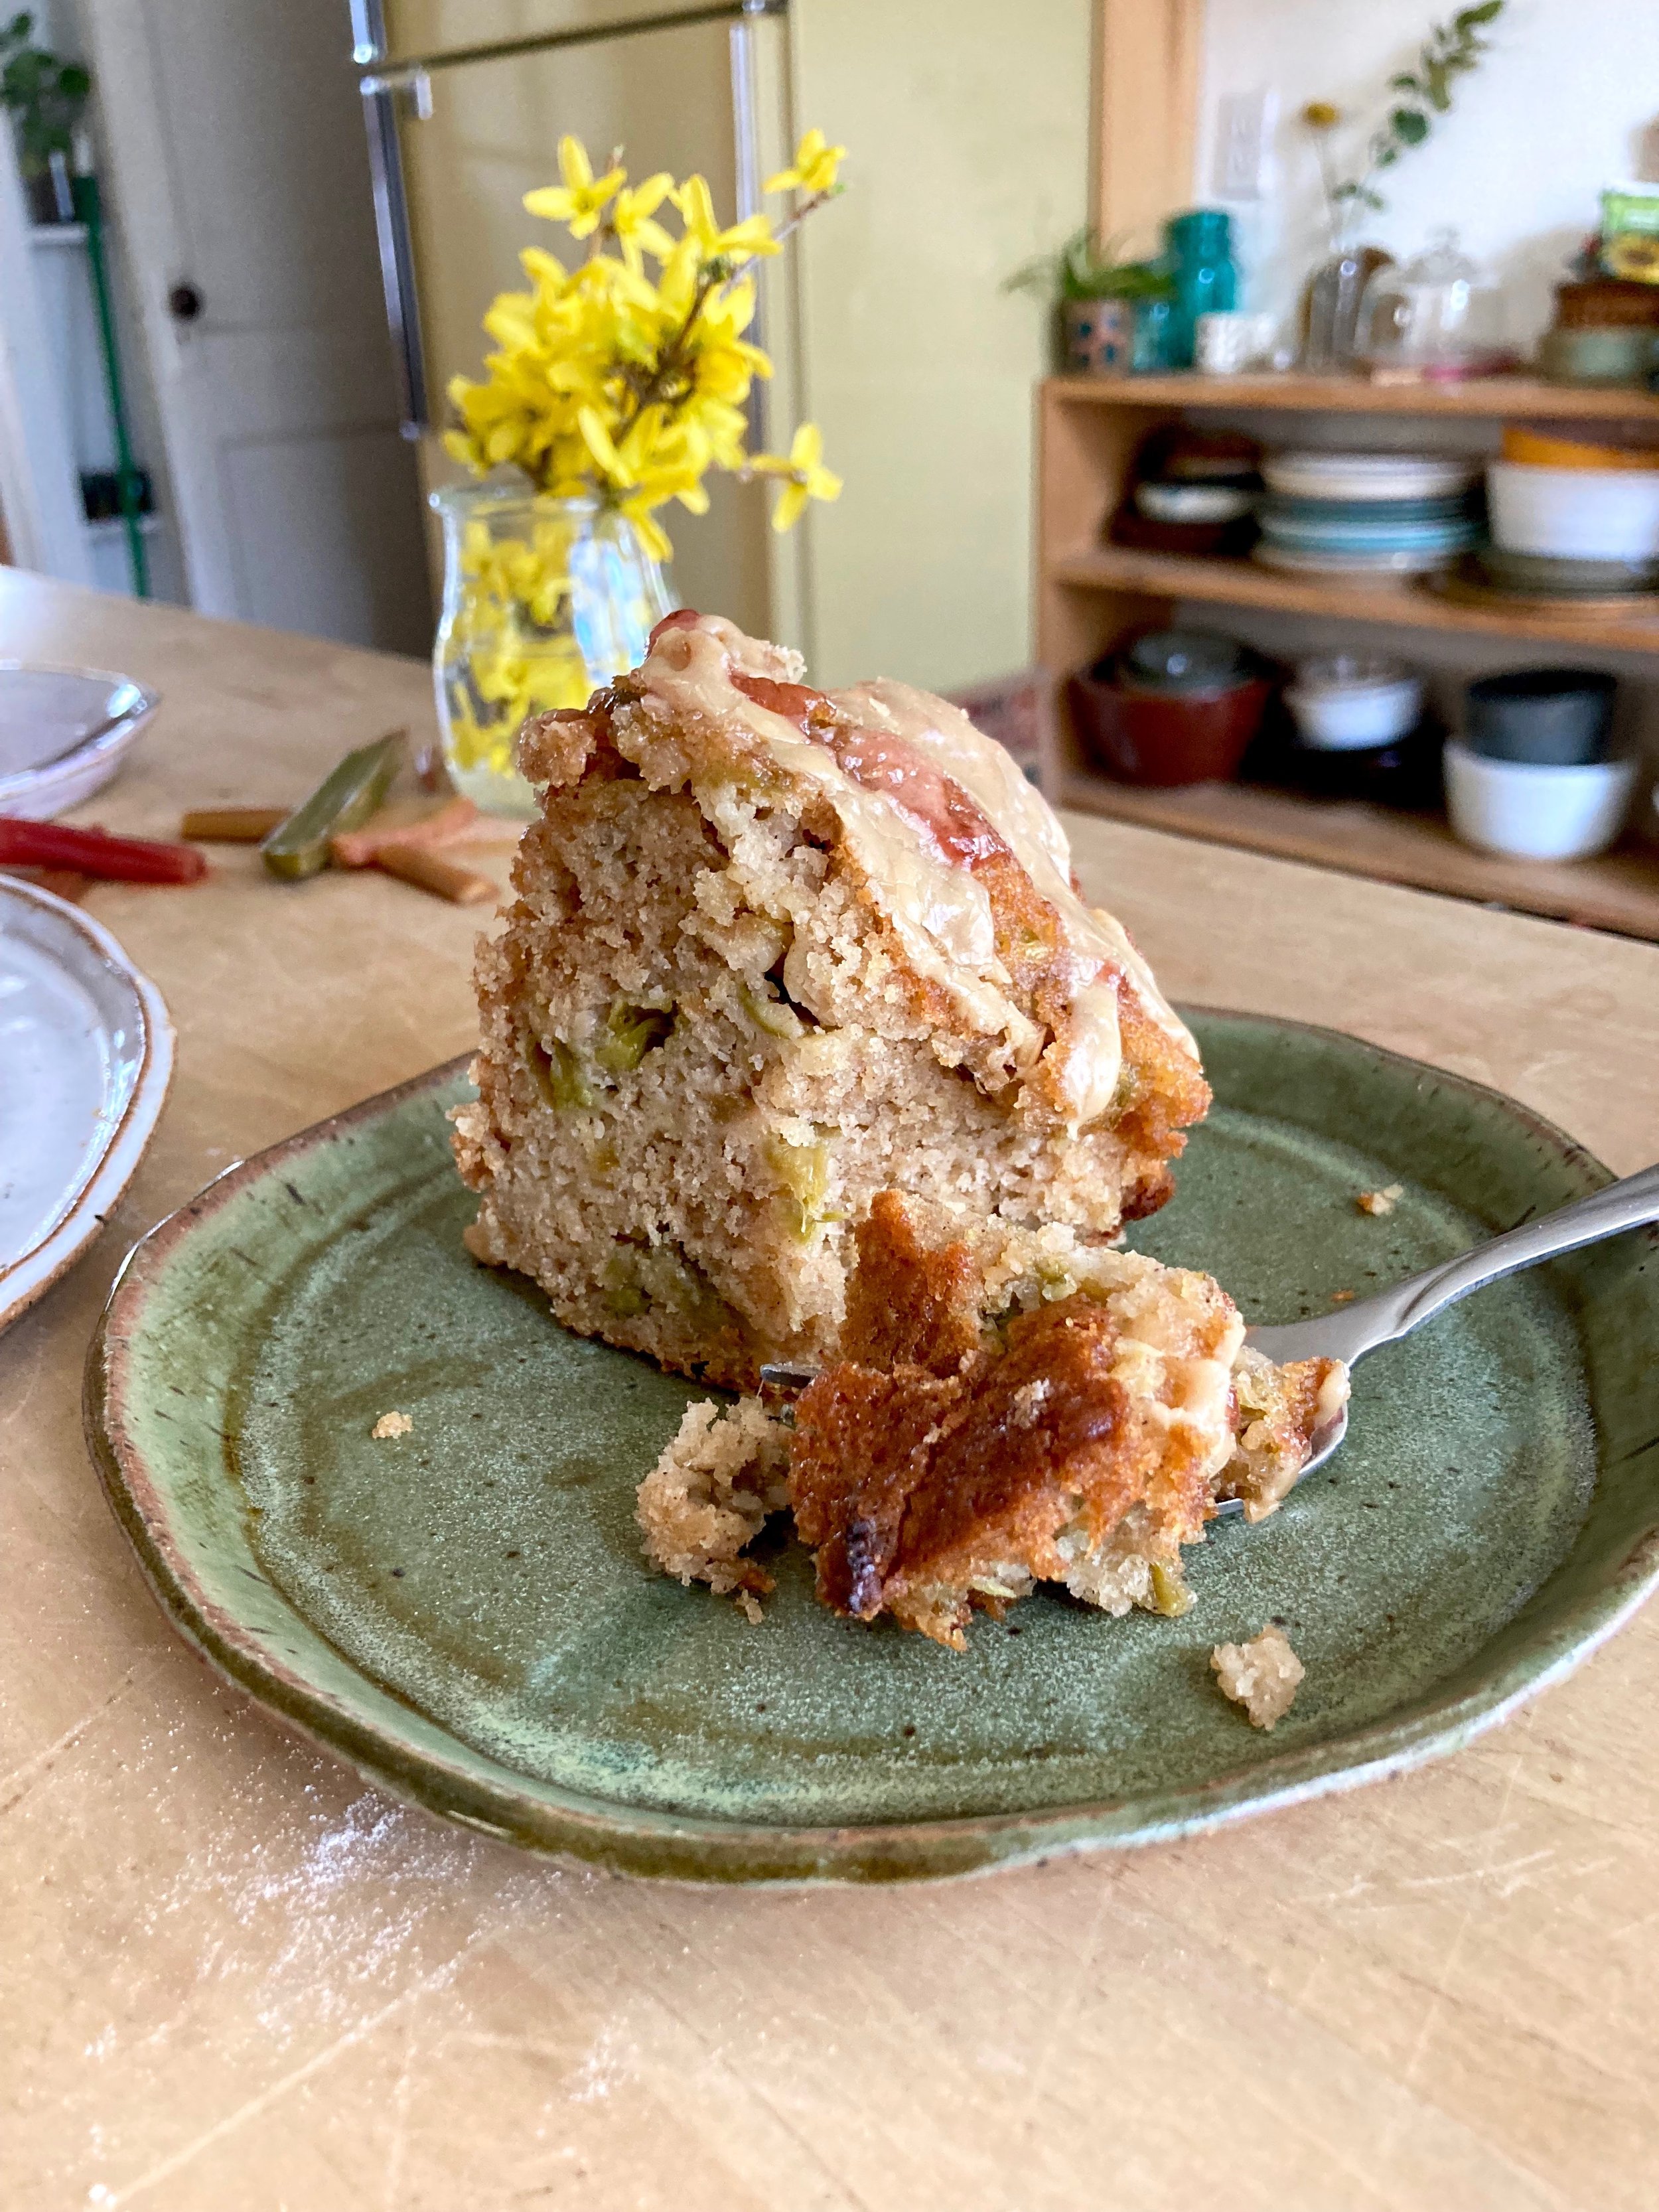
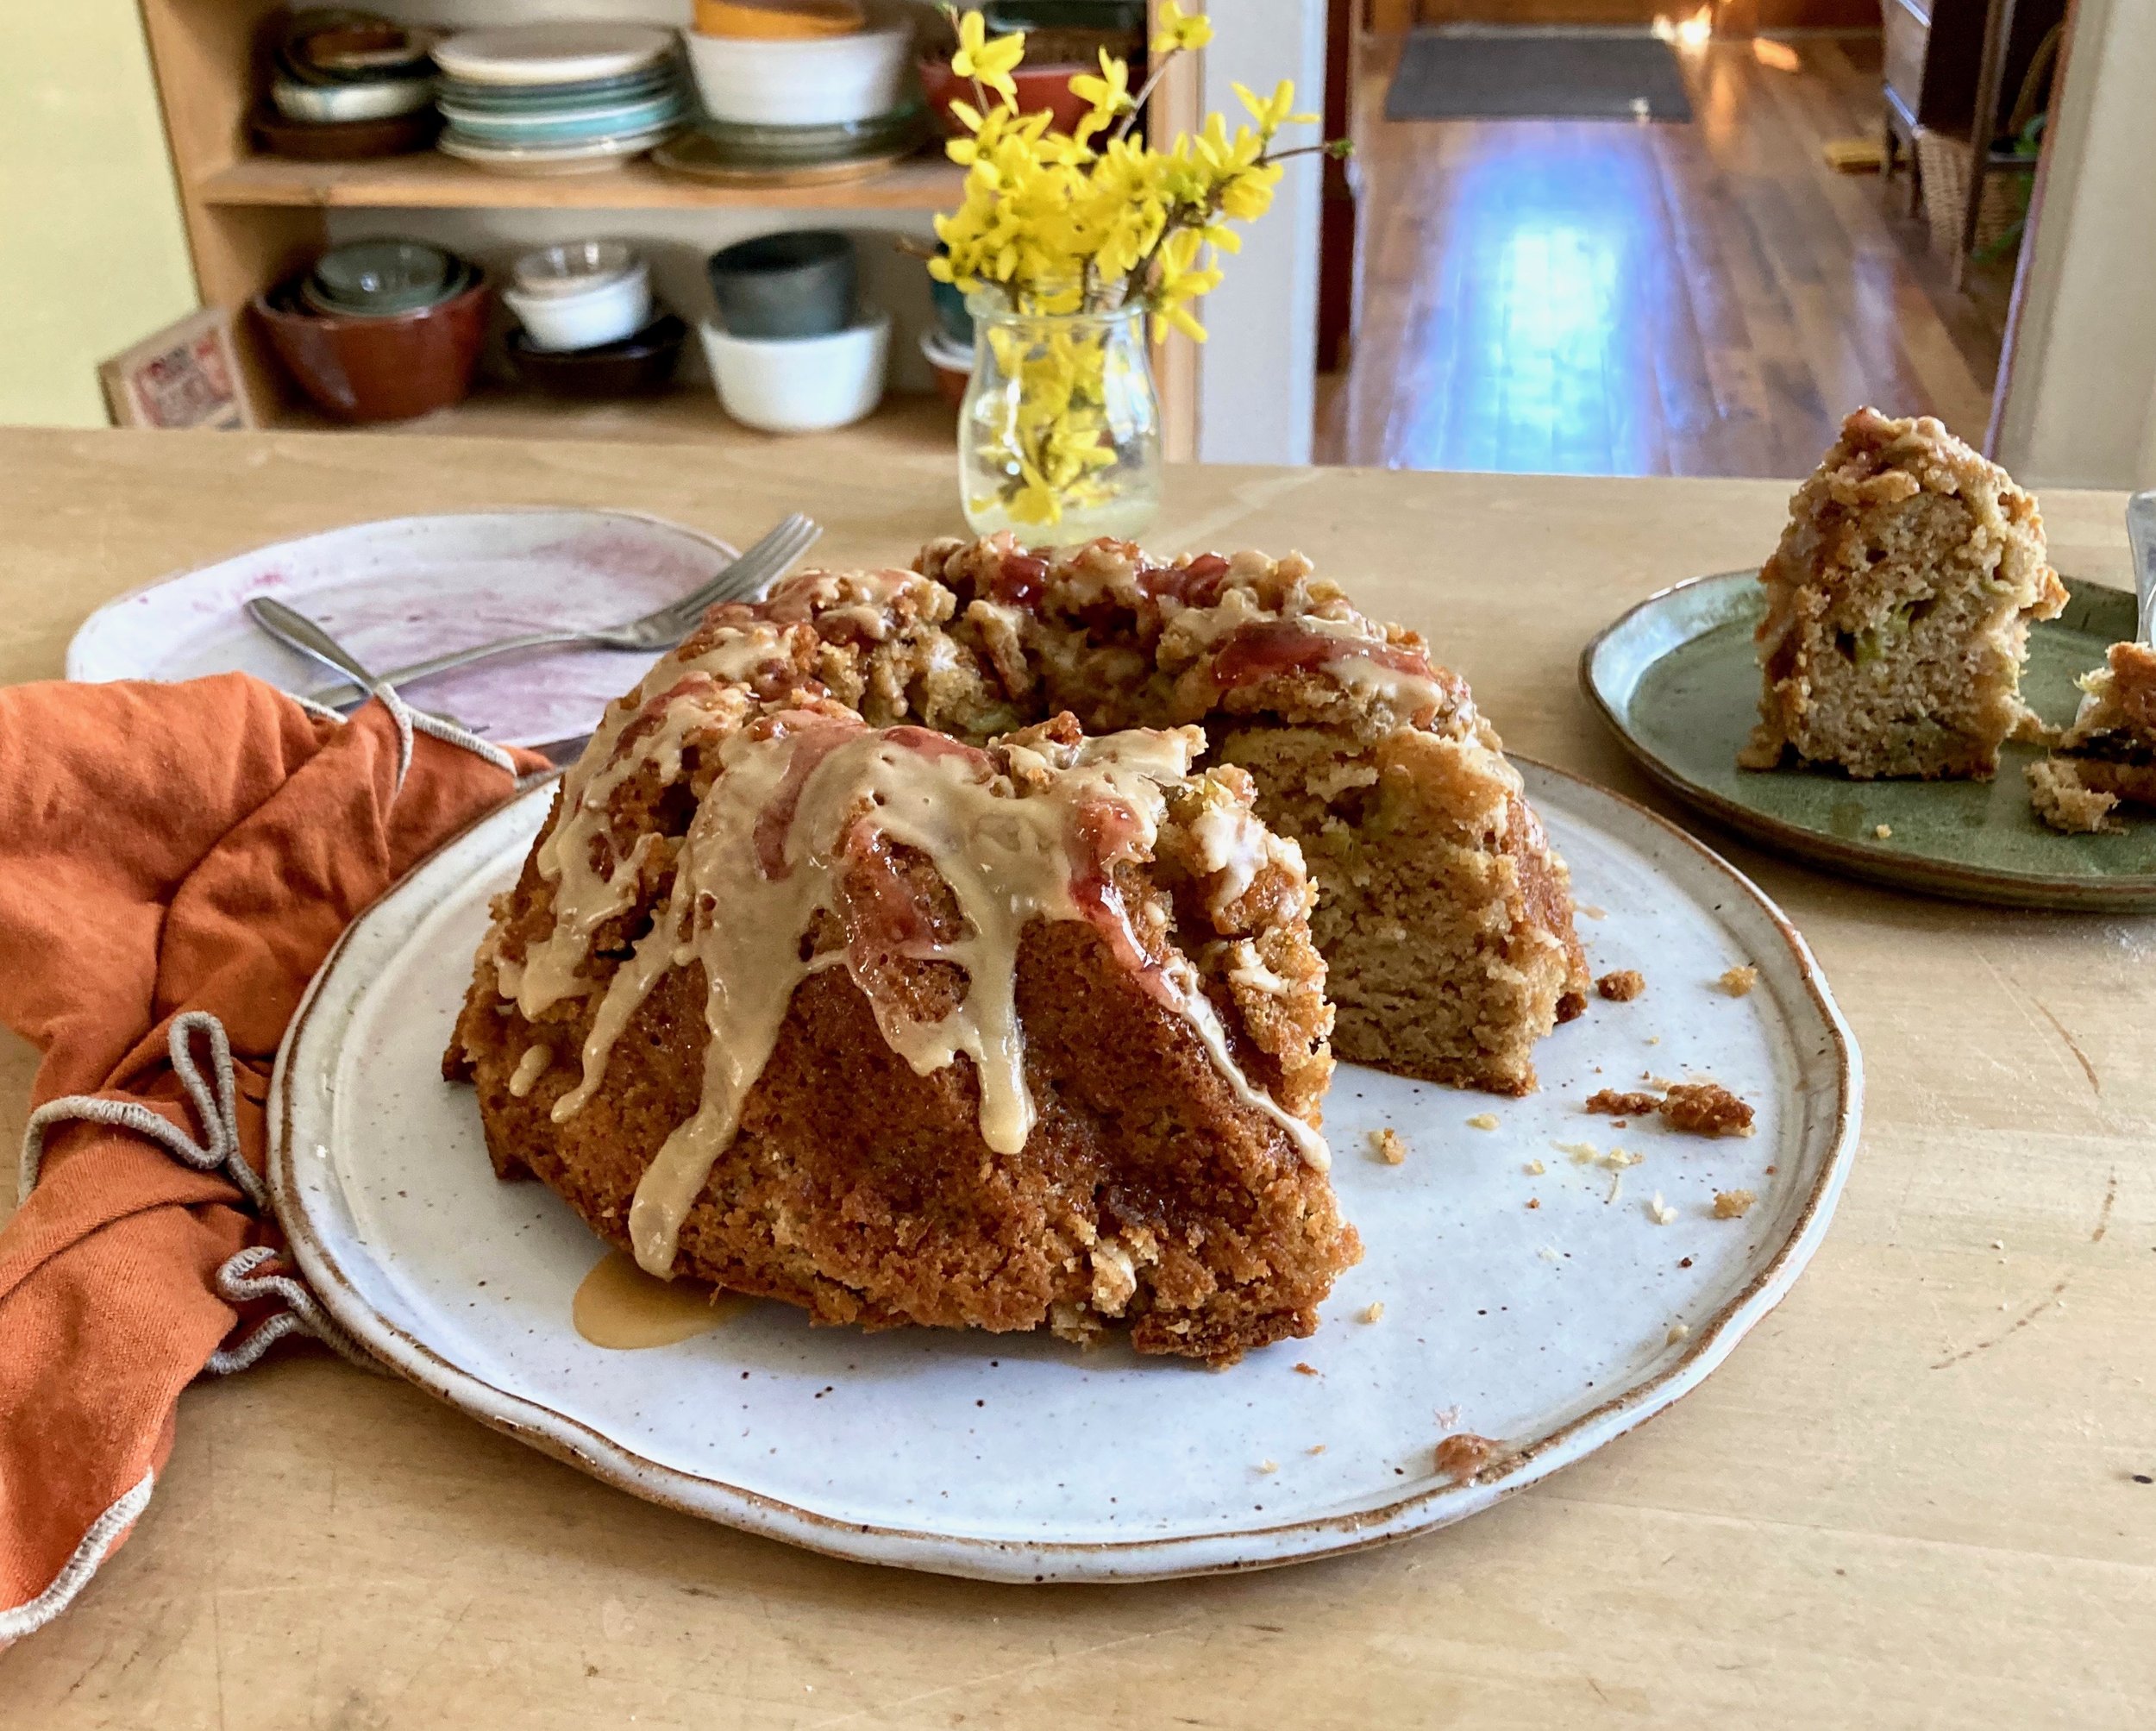
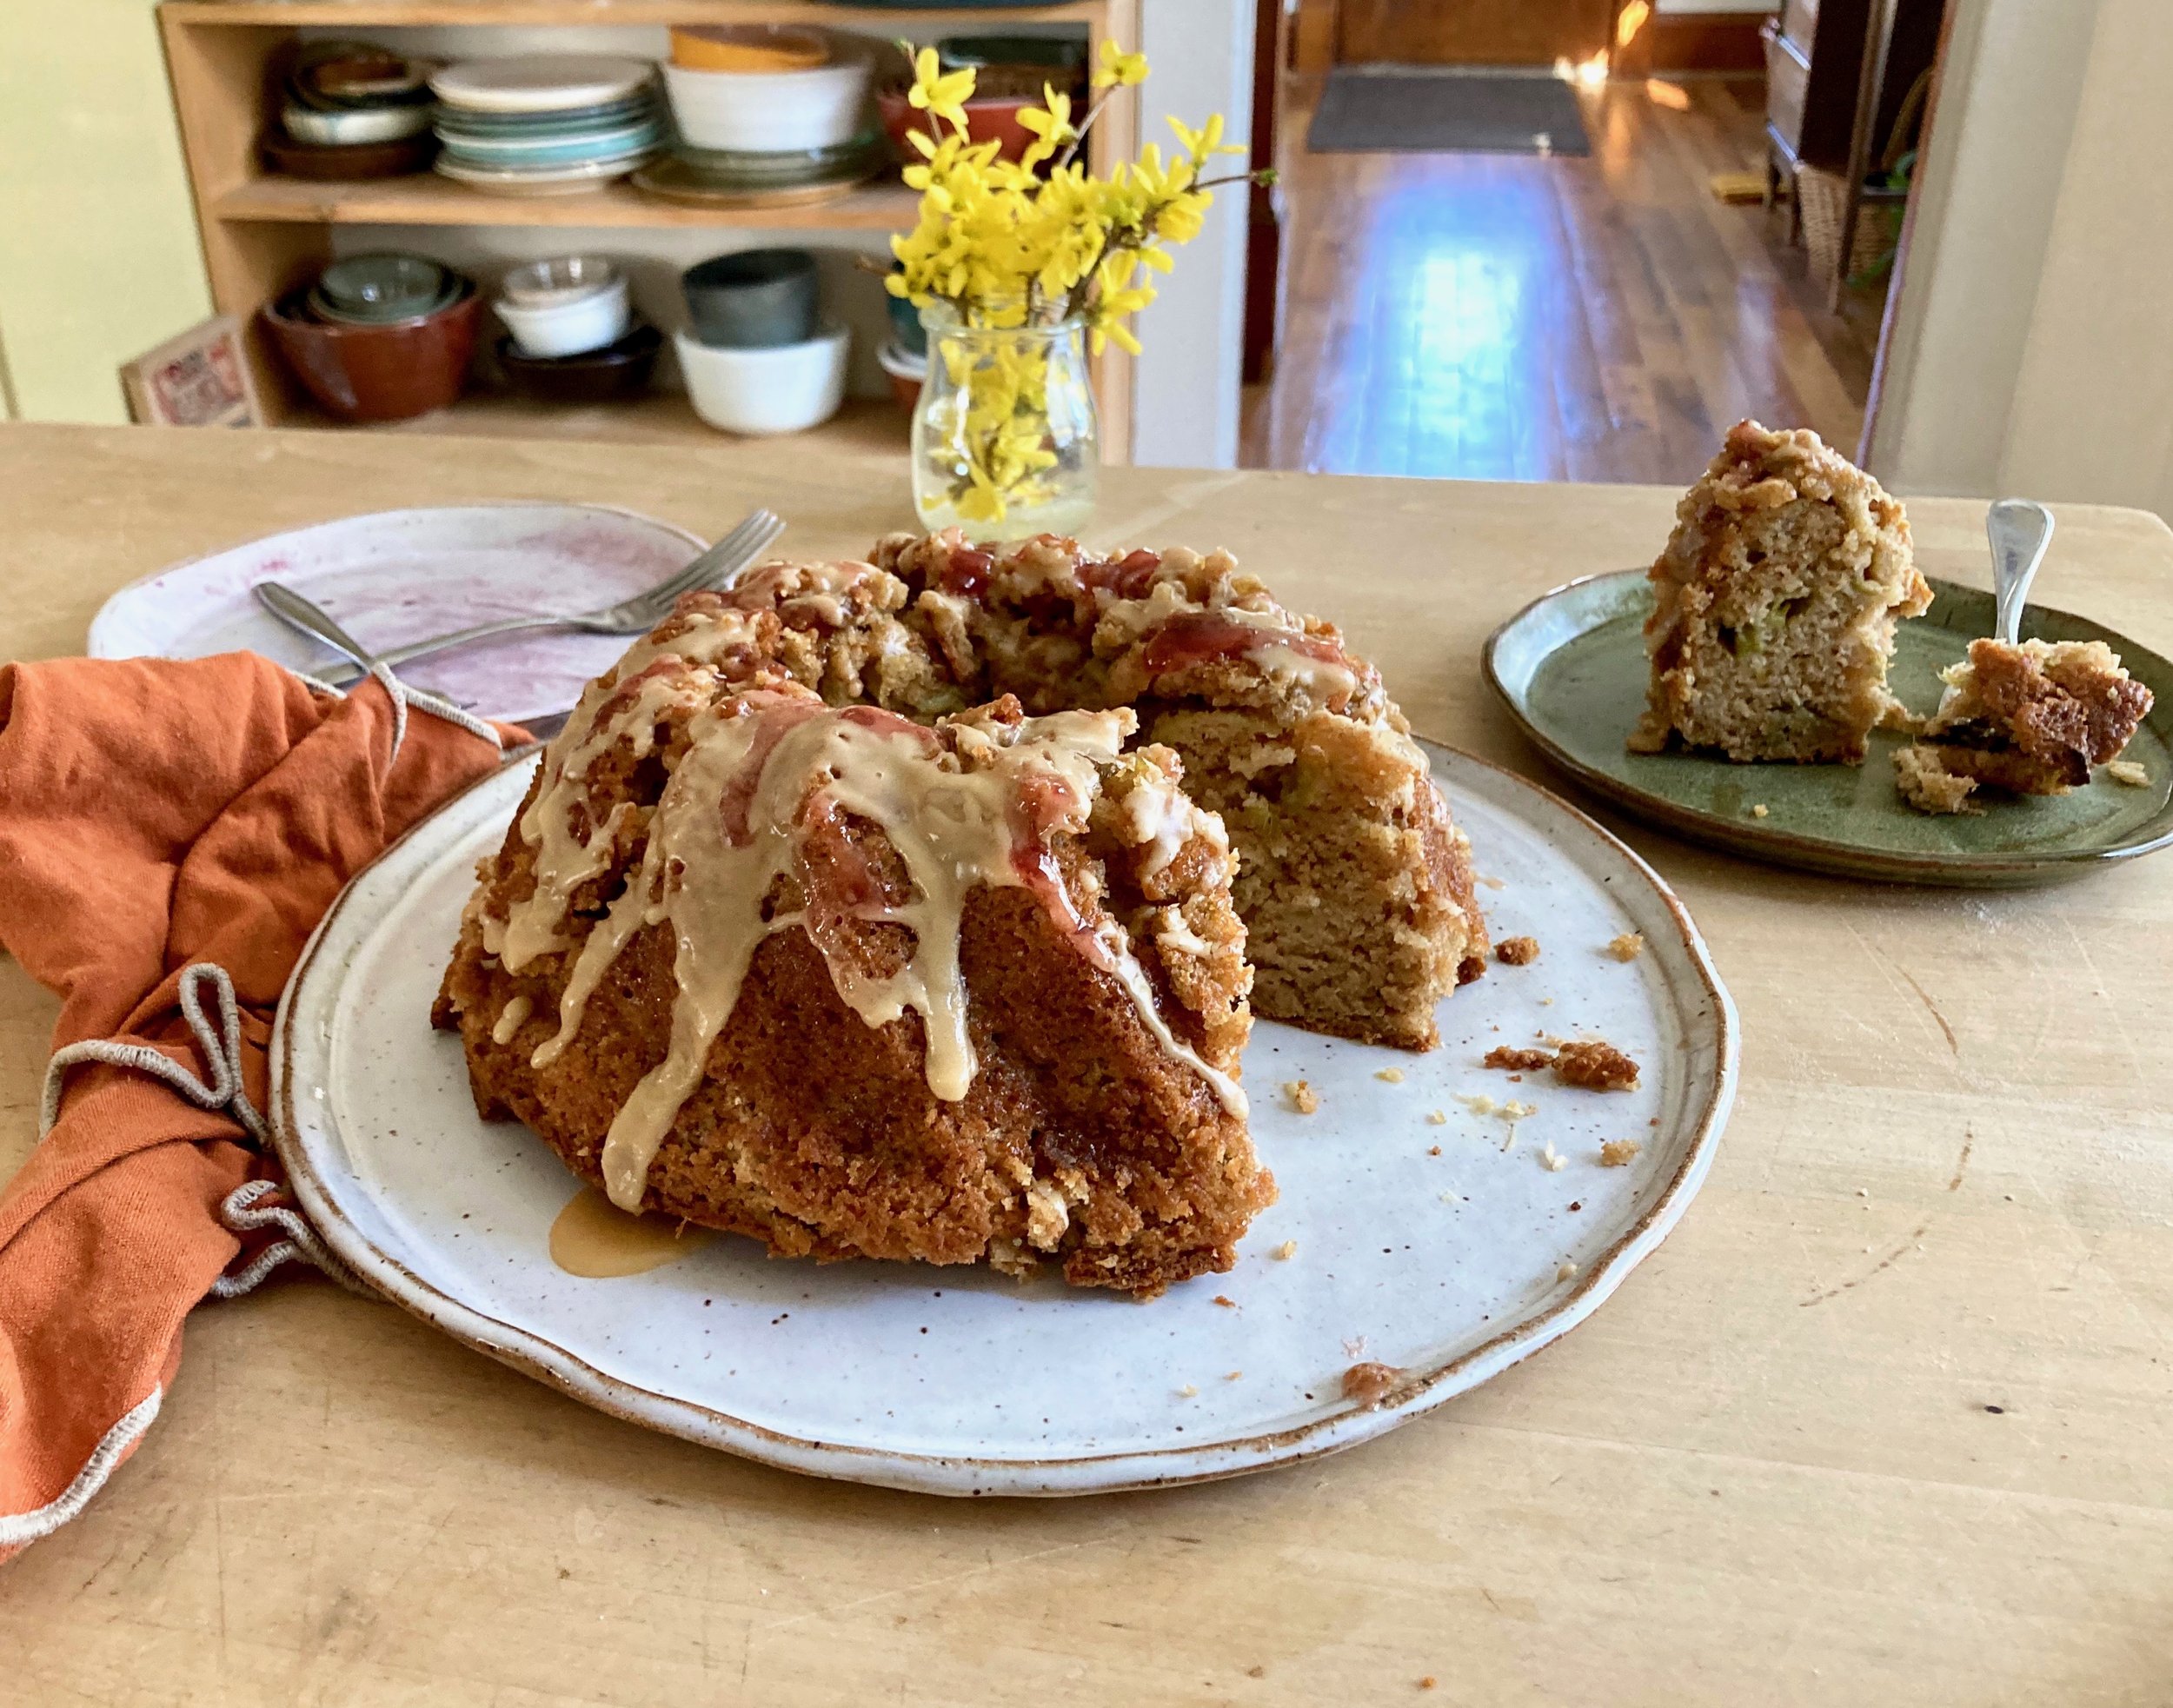
Drizzle on the glaze. And because I screwed up the top when taking it out of the pan I wanted to gussy it up a little so I added a few plops of strawberry jam.

I think is looked nice, not better, but nice. Ha!

Then you eat cake. Simple as that.

-C


Rhubarb Bundt Cake

makes a bundt cake

  • 2 1/2 cups flour

  • 1 teaspoon baking soda

  • 1 1/2 teaspoon baking powder

  • 1 teaspoon salt

  • 1 tablepoon cinnamon

  • 1/2 cup neutral oil like canola

  • 1 1/8 cup plant milk

  • 3/4 cup packed brown sugar

  • 1/2 cup white sugar

  • 1 teaspoon vanilla

  • 2 tablespoons apple cider vinegar

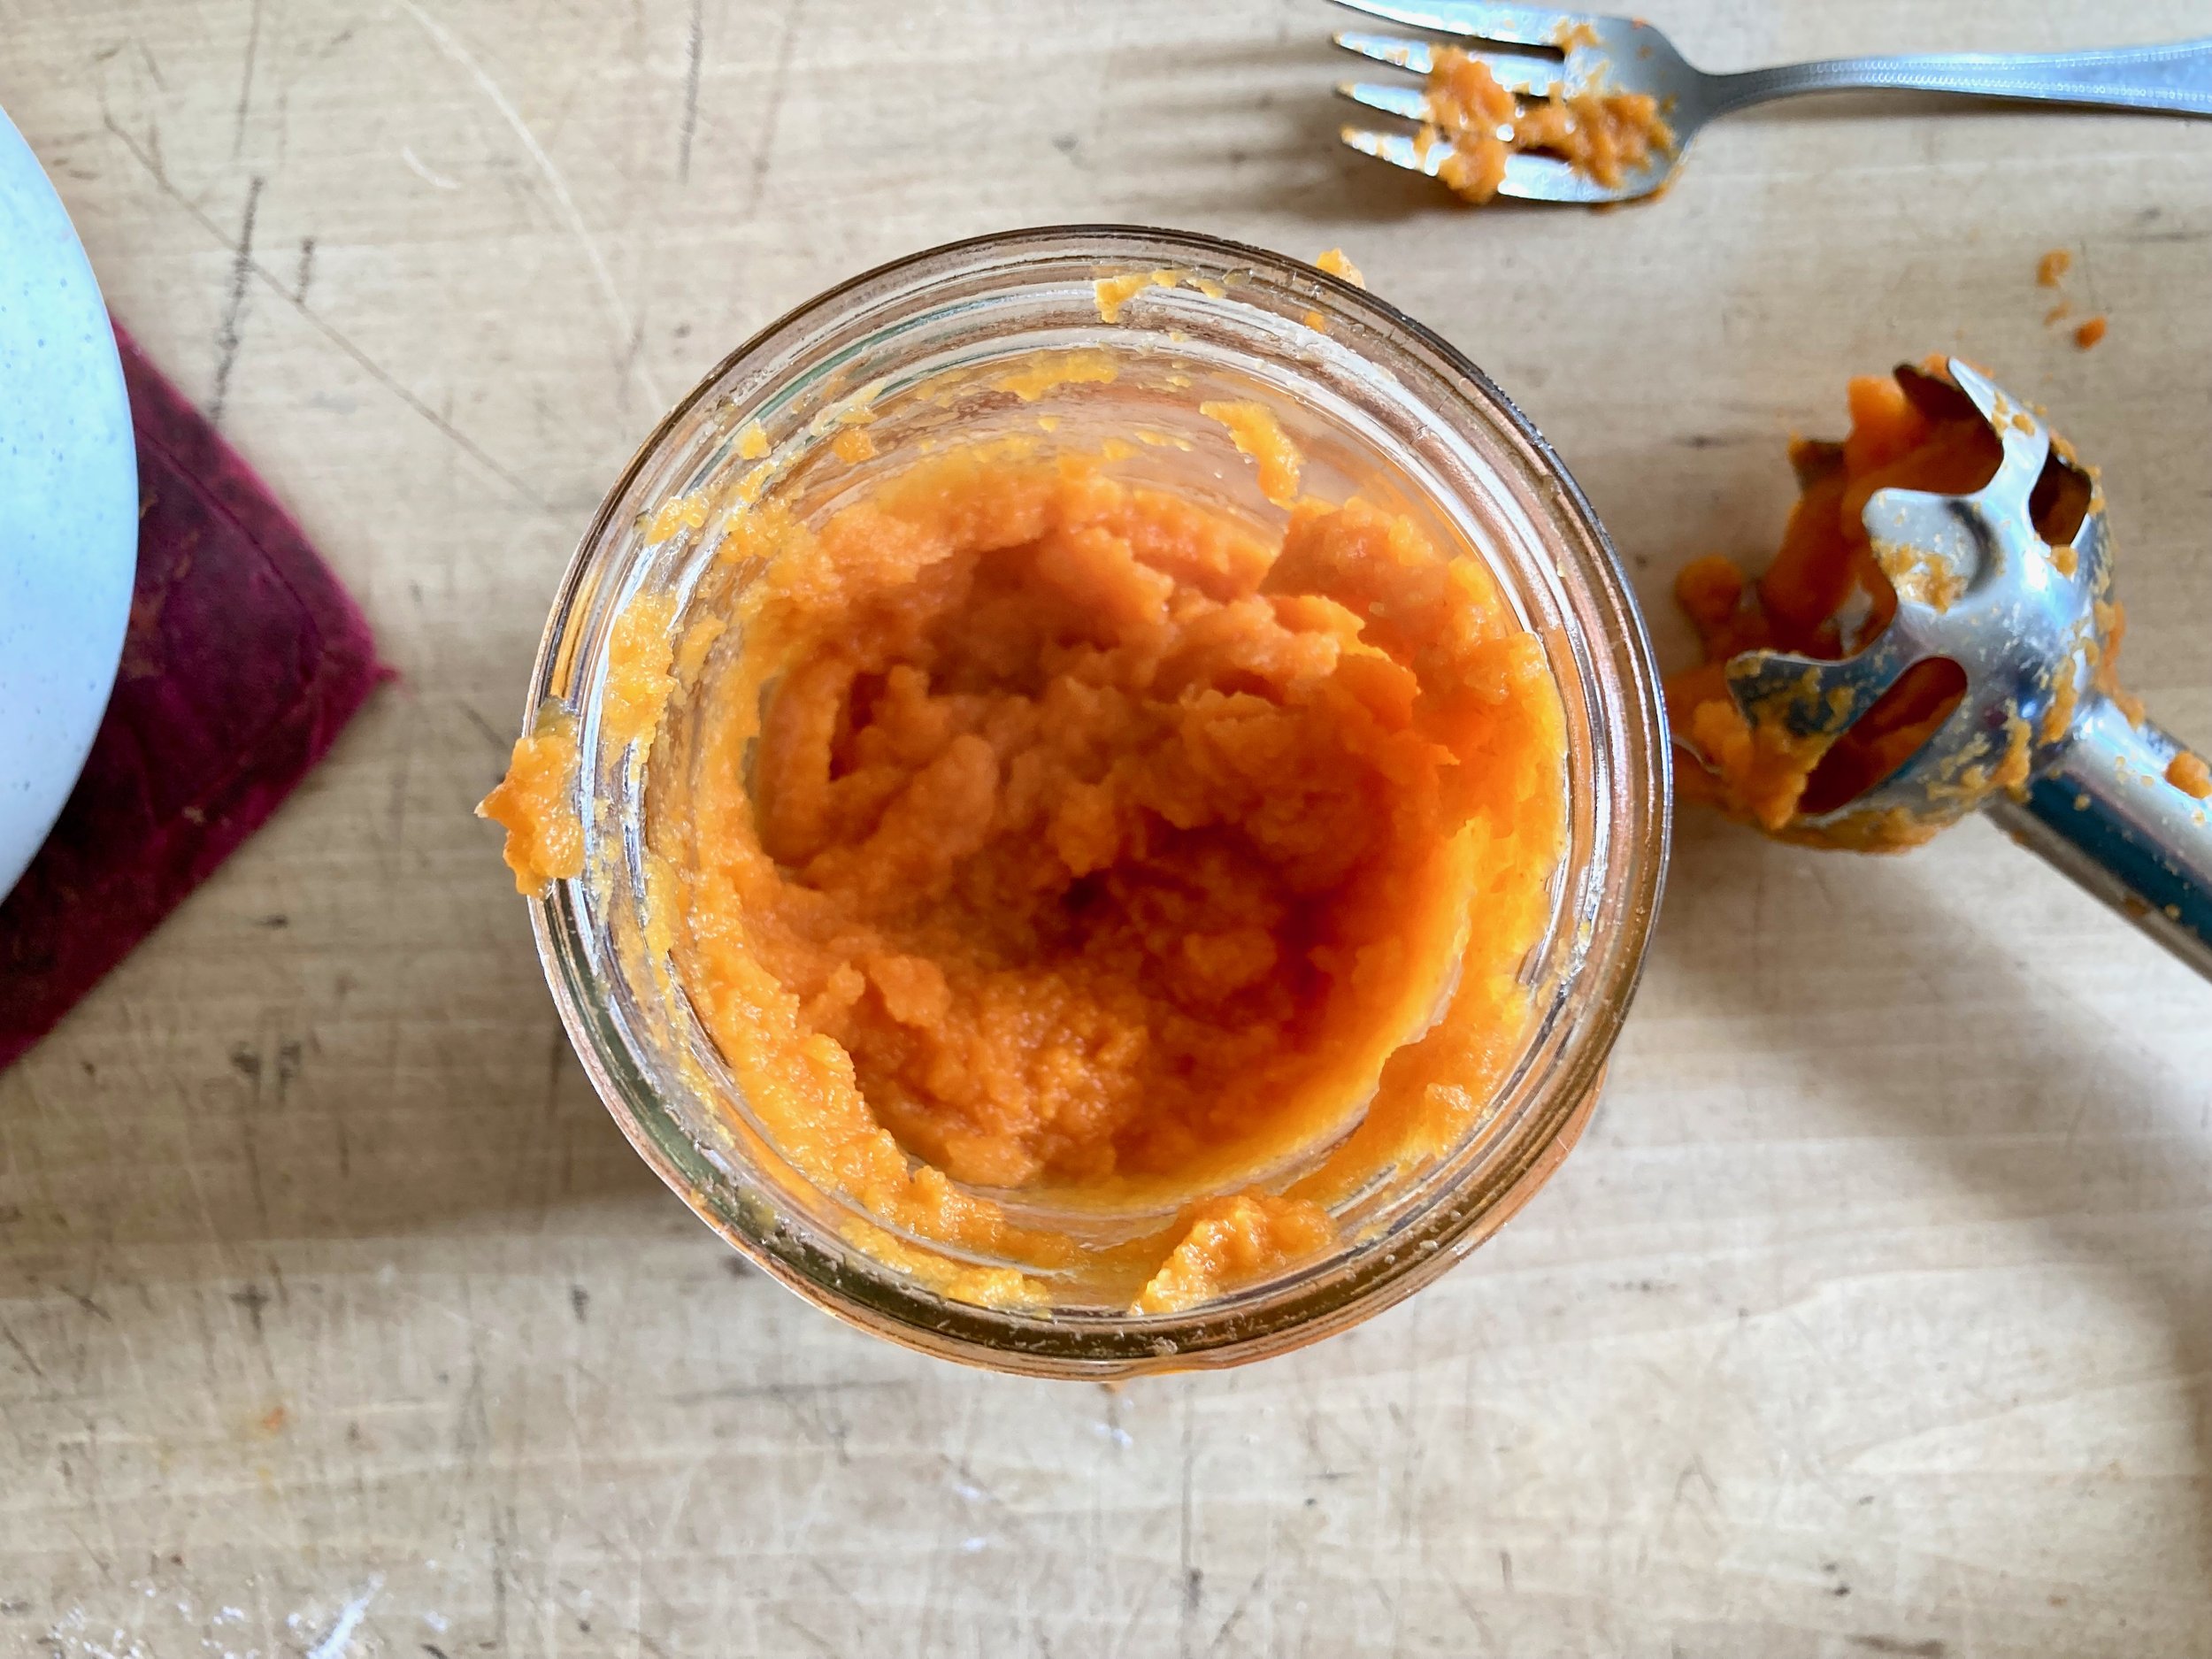
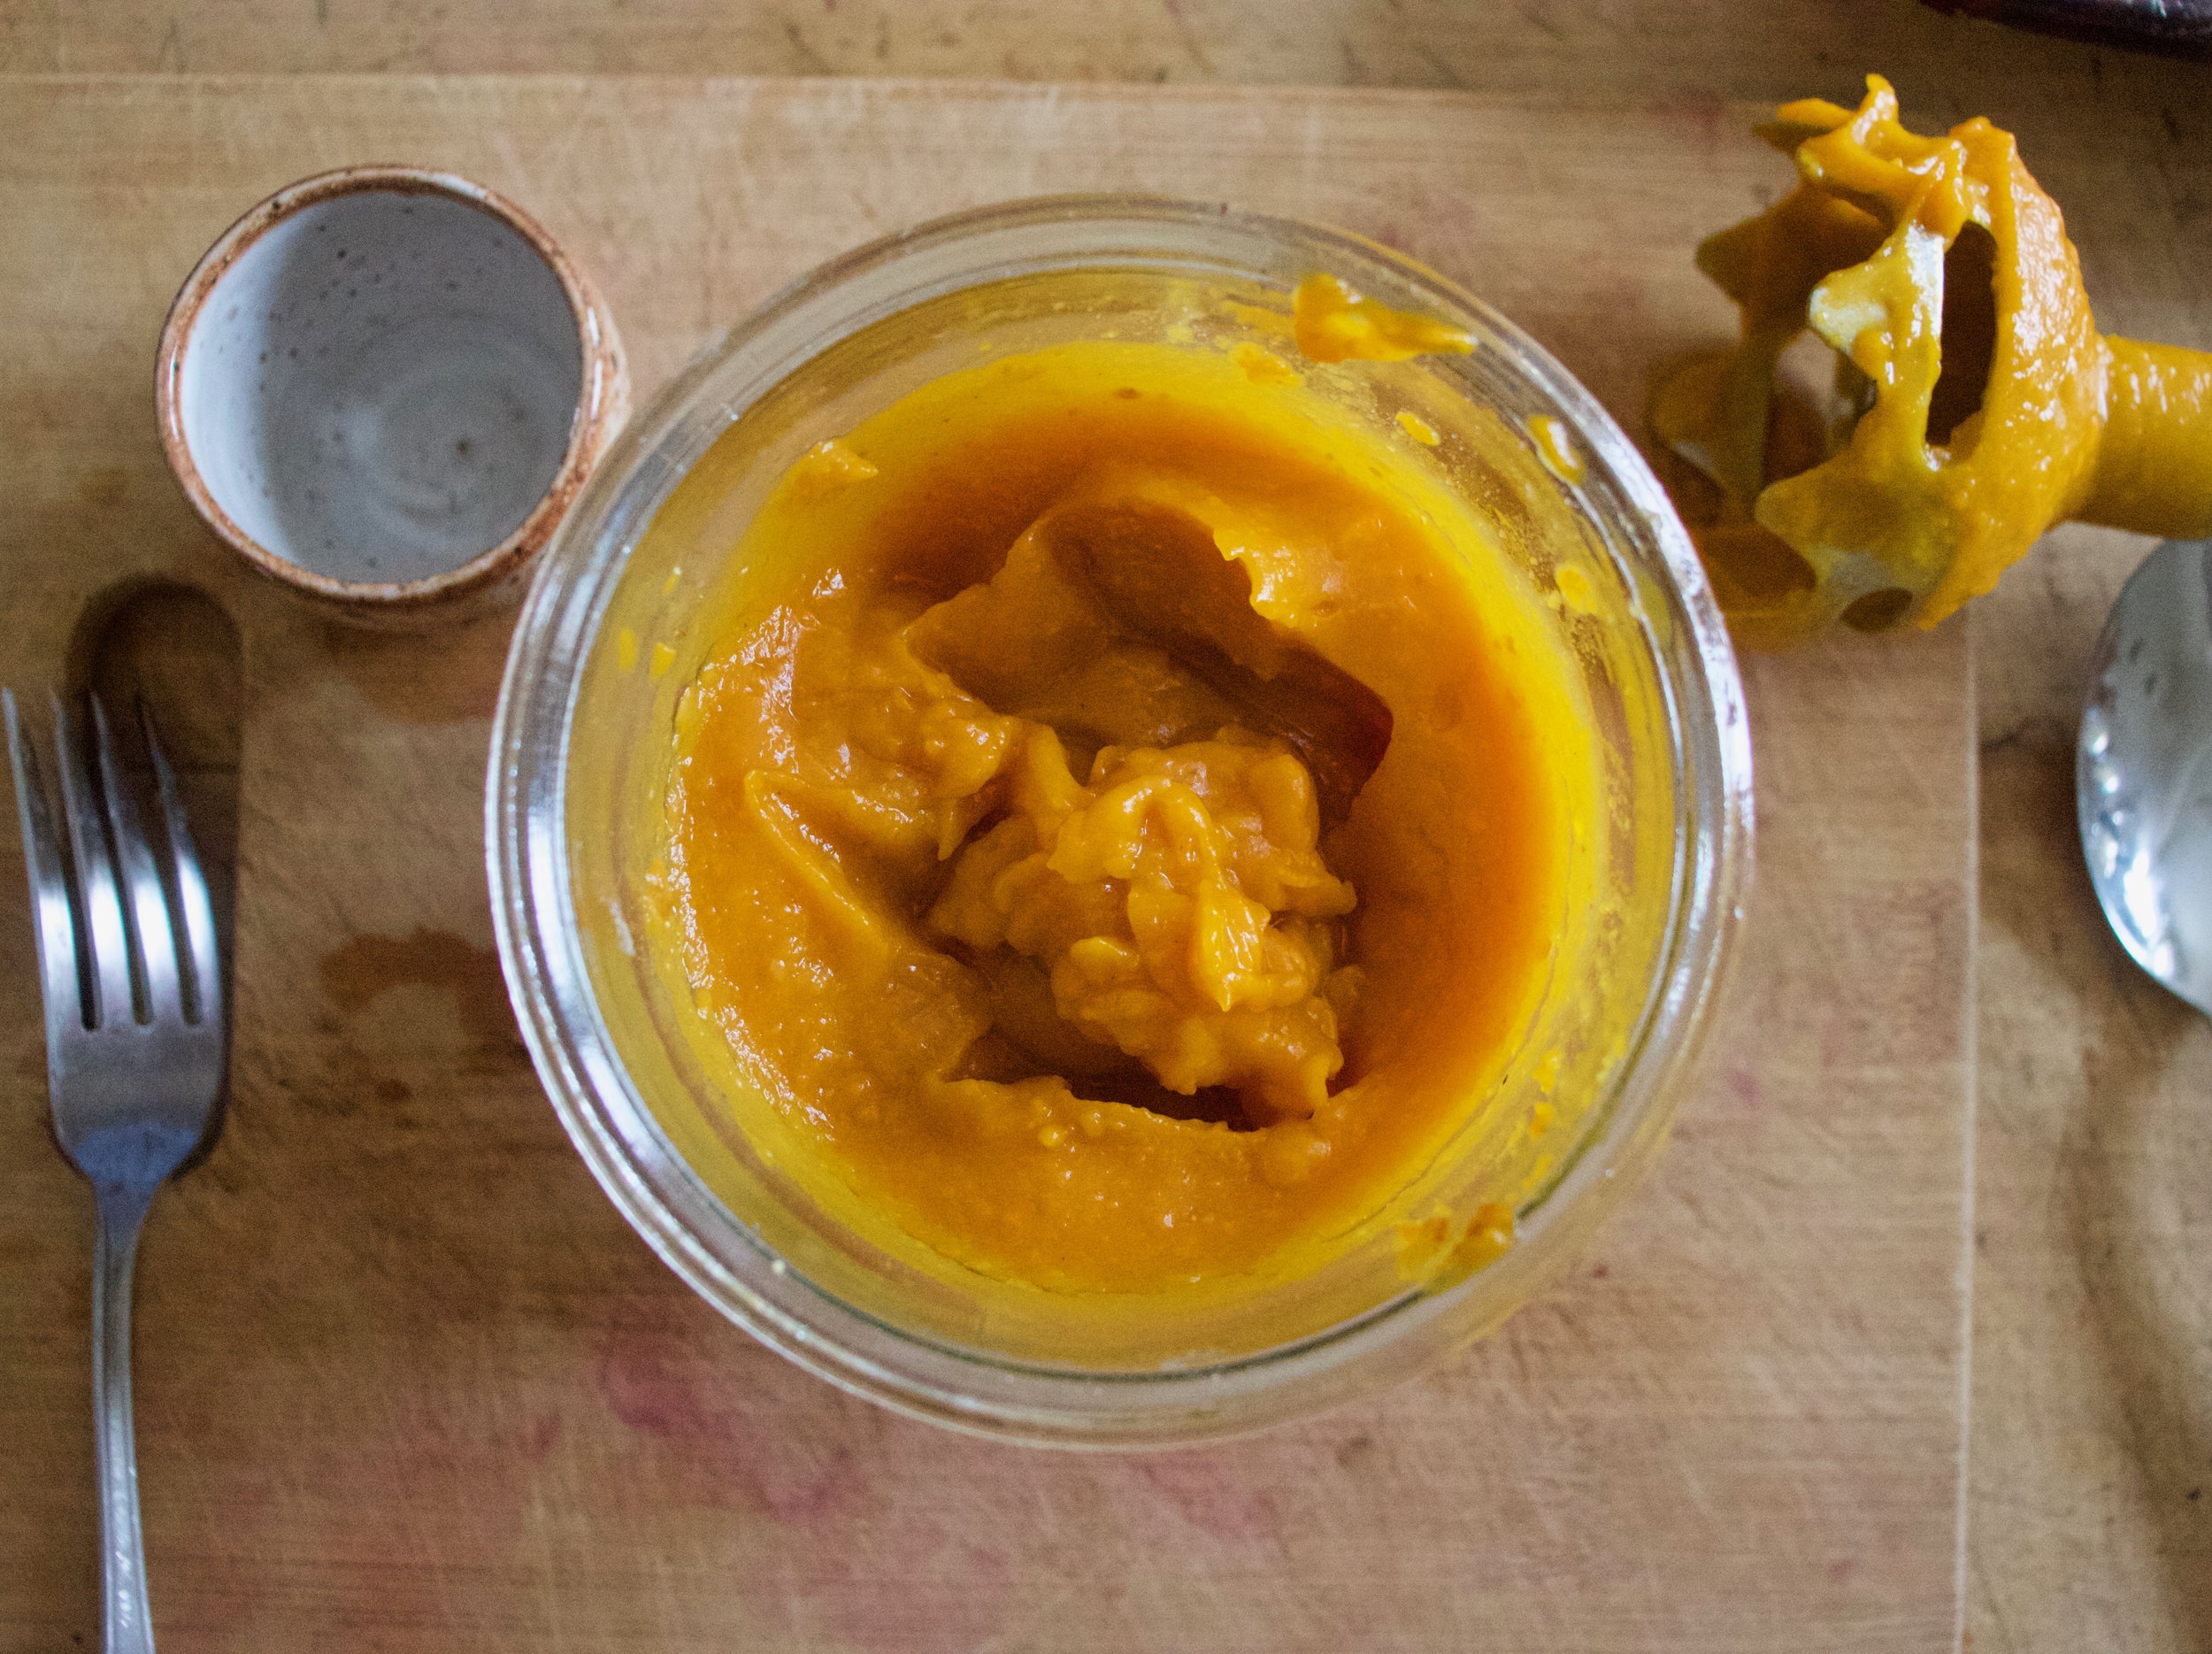
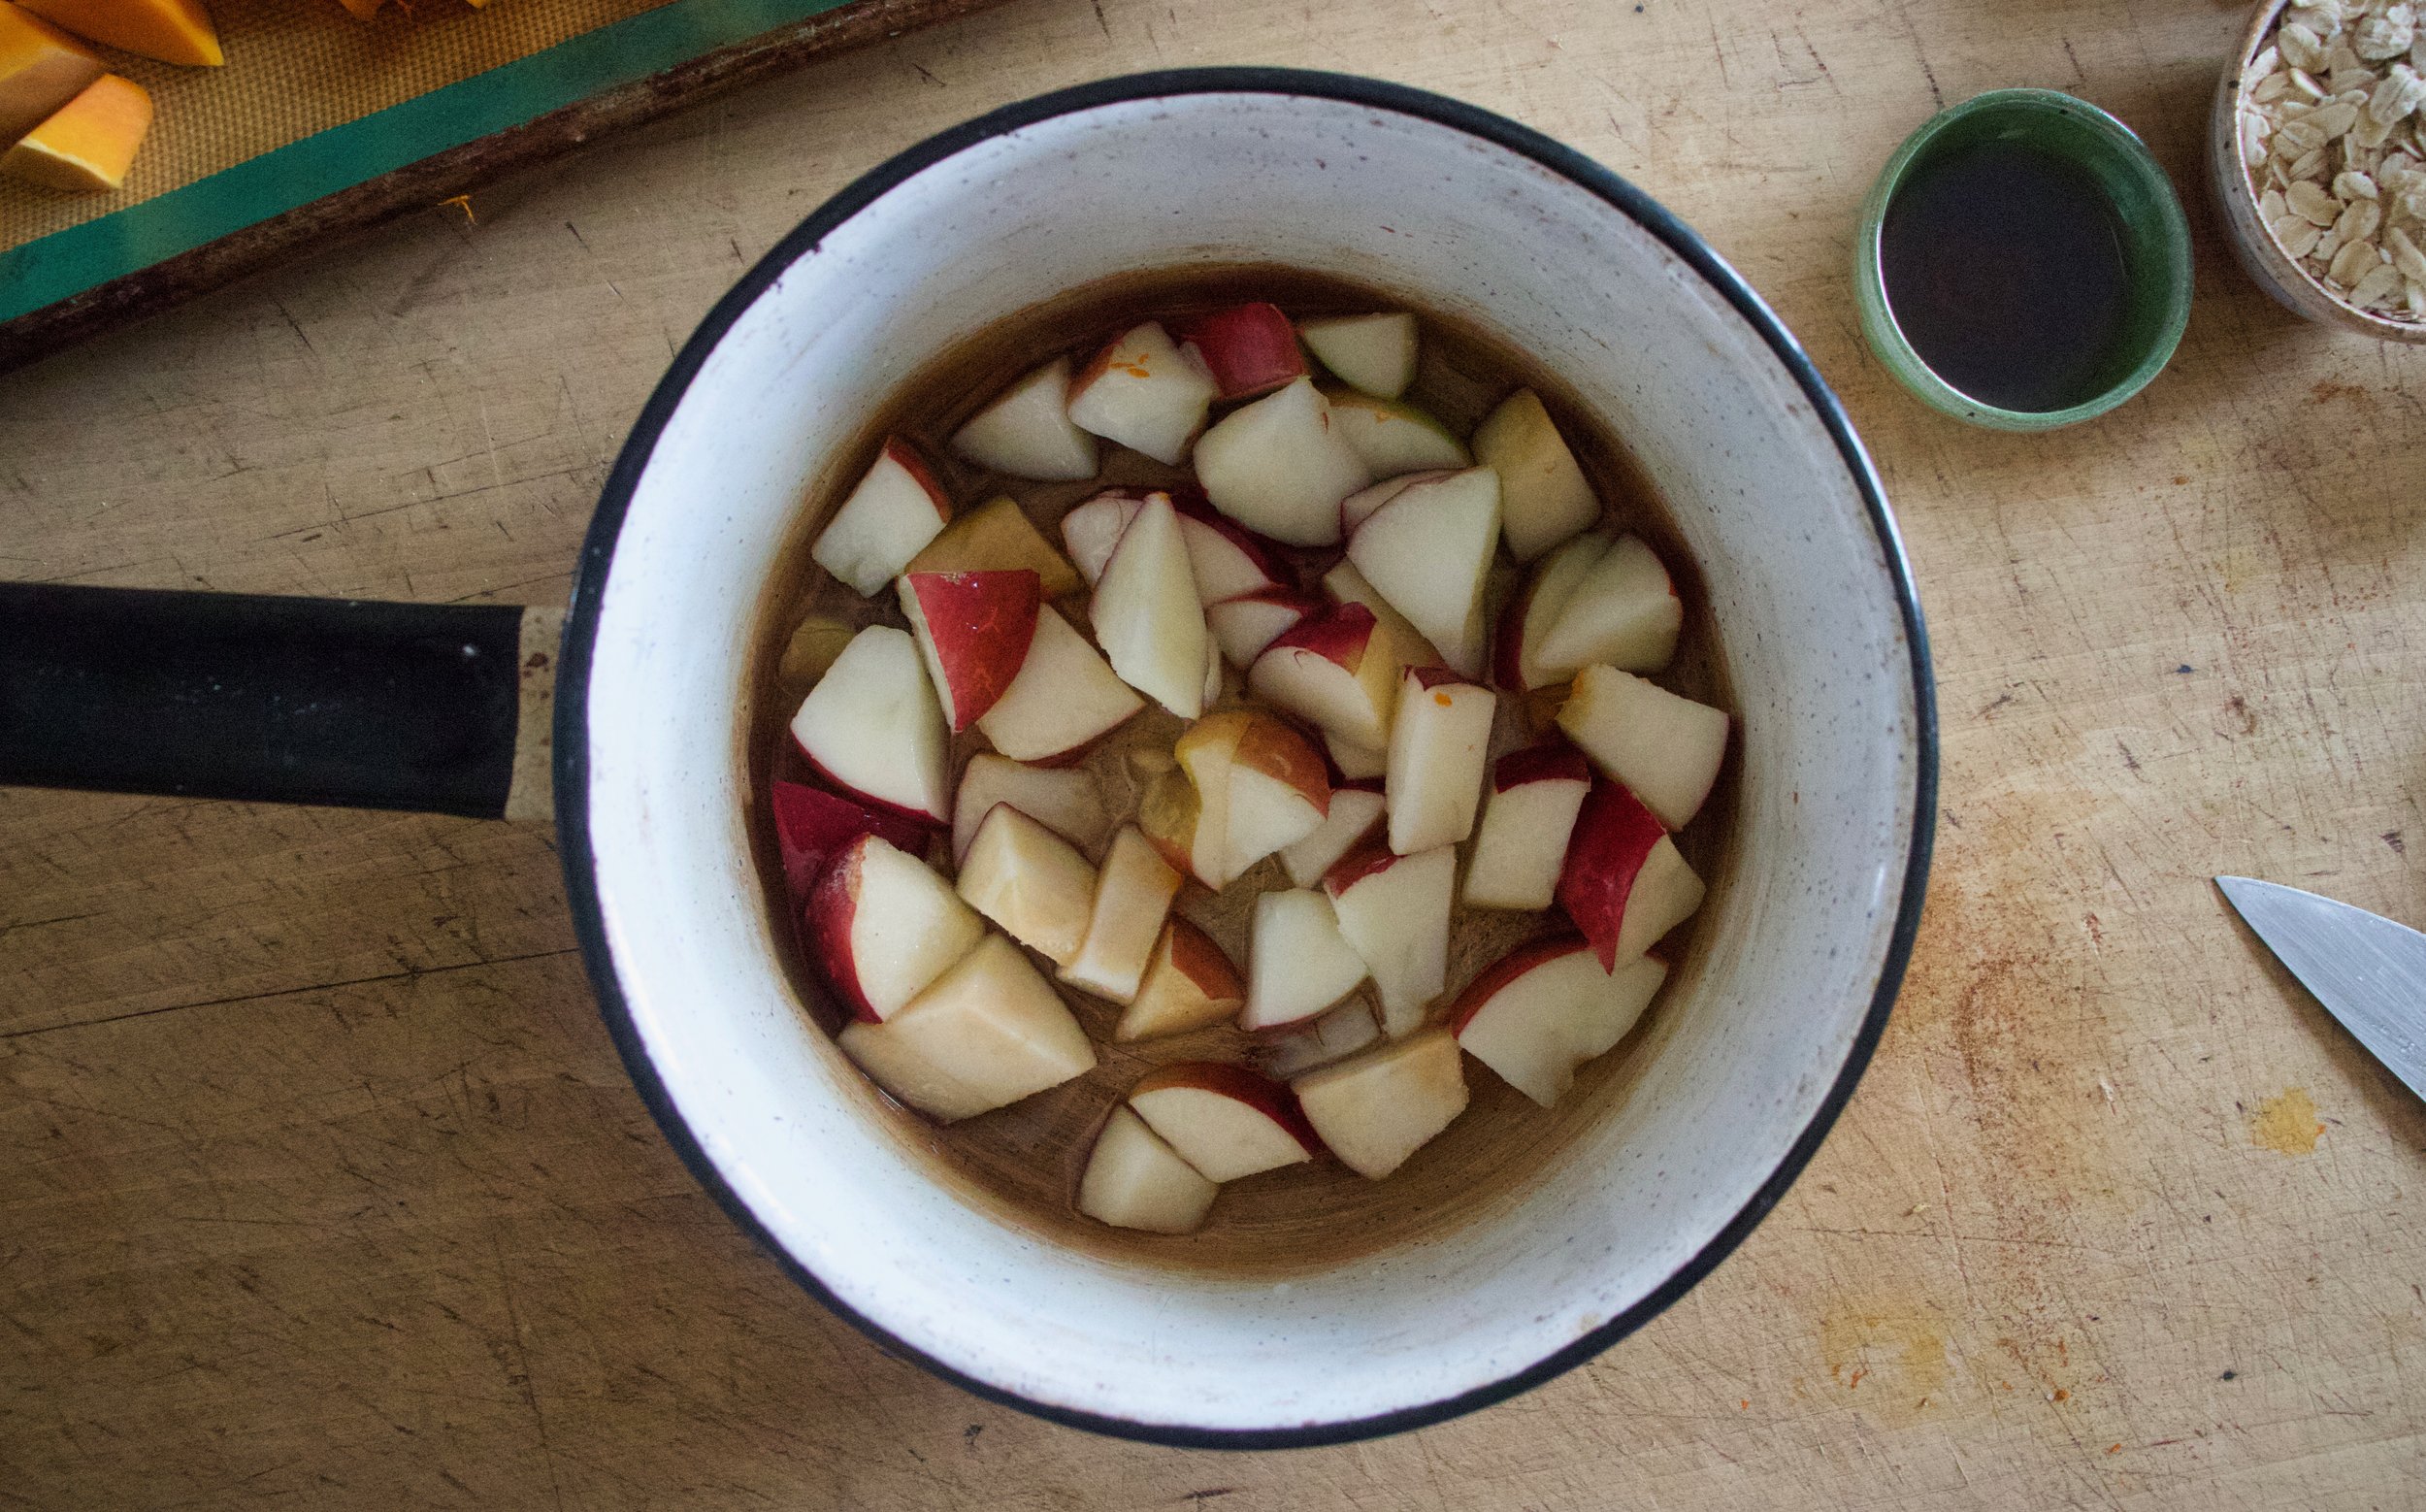
  • 2 cups chopped rhubarb (fresh or frozen and thawed and chopped into 1/4-1/2 inch chunks)

  • 1 1/2 cup powdered sugar

  • 1 lemon

  • 2 tabslpoons strawberry jam (optional)

Preheat oven to 375.

Add vinegar to the milk.

In a large bowl mix together the oil, vanilla, and brown and white sugar until compelelty combined. In a separate bowl whisk together the flour, salt, zest from the lemon, baking powder and soda, and cinnamon. Dump the dry into the wet and gently mix while pouring in the milk and vinegar mixture. Once mixed fold in the chopped rhubarb.

Grease and flour a bundt pan. Pour the cake batter into the pan, tap the bottom on the counter to remove any bubbles , then place into preheated oven. Bake for 1 hour or until a deep golden brown and a tester poked into the center comes out clean.

Once baked, remove from pan and let cool on a wire rack.

While it is cooling make the glaze. Squeeze the juice of the half the lemon into the powdered sugar and mix until combined. If it seems to thick to drizzle, add more juice. To thin, add more powder sugar.

Once cake has cooled, drizzle glaze all over. If you want fancy and a little flavor pop, add a few plops of strawberry jam on top.

Then you eat cake.

Cake will be good in airtight container on counter for 4-5 days. Any longer just cut it up and freeze it.

In cake, Vegan Tags Rhubarb, bundt cake, vegan, spring, dessert, cake, sweet, easy, plant based, dairy free
Comment

Chocolate Chocolate Chip Carrot Muffins

March 26, 2022 Colleen Stem
IMG_2177.jpg
IMG_2181 2.jpg

The people in my family, they really enjoy a muffin, so I find myself making muffins more often then any other baked good. This is fine by me because muffins are pretty easy to whip up and the flavor choices are endless.

This past batch of muffins were for the purpose of a dessert like treat so I made them chocolate and because it’s spring and carrots go hand in hand (right?) they needed to have carrots too. And sure some might question the flavor combination of chocolate and carrot but let me just stop you right there and say that nothing but good things happen when you pair the flavors. Would a 15 year old girl stuff her face with these muffins otherwise?

No, no she would not.

And so I declare this another winner for delicious muffins that the people in my family will now bug me to make them. Oh the burden of being an awesome baker. It is hard sometimes. 😂. But for real.

Now to the muffins!

The stuff. Carrots, cocoa, flour, baking powder and soda. Salt, cinnamon, brown and white sugar, plant milk, oil, chocolate chips, and some walnuts,

First you need to prepare the carrots so chop them up into chunks.

IMG_2046.jpg
IMG_2061.jpg
IMG_2067.jpg
IMG_2078.jpg

Place the chopped carrots into a pot with some water and steam until tender. Once tender, blend them up into a smooth puree.

Mix all the dry ingredients together.

IMG_2079.jpg
IMG_2087.jpg
IMG_2093.jpg
IMG_2098.jpg

And dump the carrot puree, milk, sugars, and oil into a big bowl and mix until completely combined. Add in the dry ingredients and mix until the dry is incorporated into the wet then fold in the chopped walnuts and chocolate chips.

Scoop batter into greased or lined muffin tins and pop into preheated oven.

Baked muffins.

When baked and all nice pop them out if the pan and place on a wire rack to cool.

Then you got yourself muffins to eat at your pleasure. Share if you want. No pressure.

-C


Chocolate Chocolate Chip Carrot Muffins

makes 16 muffins

  • 1 1/4 all purpose flour

  • 2/3 whole wheat flour

  • 1 teaspoon baking soda

  • 1 1/2 baking powder

  • 1 teaspoon salt

  • 1/3 cup cocoa powder

  • 1/2 cup neutral oil

  • 1 cup plant milk

  • 1/2 cup white sugar

  • 1/3 cup brown sugar

  • 1 cup carrot puree (about 4 large carrots and 1/3-1/2 cup water)

  • 1 teaspoon cinnamon

  • 1/3 cup mini chocolate chips

  • 1/2 cup chopped walnuts (optional)

preheat oven 350

Take whole carrots and cut into small chunks. Place into a pot with enough water to just cover them and place on medium heat and cover. Cook for about 8 minutes, checking after 4 or 5 minutes, unitl tender. If water completely evaporates before, just add more.

Once carrots are tender, place in a blender with about 1/3 cup cool water and blend until smooth. Add a little more water if needed to get the carrots to a smooth puree.

In a medium bowl mix together the flours, baking powder and soda, salt, cinnamon, and cocoa powder. In a large bowl mix together the oil, carrot puree, milk, and sugars until completely combined. Add in the dry and minx until everything is just incorporated (don’t over mix), then fold in the chocolate chips and chopped walnuts.

Scoop batter into well greased or line muffins pans, filling each well up about 3/4 of the way, then pop the pans into preheated oven. Bake for about 17 -20 minutes or until a poke test comes out clean.

Once baked remove from oven and pop muffins from pan. Place on a wire rack to cool.

Eat. Store muffins in a airtight container at room temapture for up to 5 days. They also freeze great as well.

In Vegetables, Vegan, sweet breads and muffins, chocolate Tags Chocolate Chocolate Chip Carrot Muffins, vegan, plant based, dairy free, egg free, whole wheat, dessert, breakfast, carrot, chocolate, easter, brunch, food
Comment

Chocolate covered Peanut Butter and Jelly patties

February 12, 2022 Colleen Stem
IMG_0682.jpg
IMG_0667.jpg

The other day I was talking to So, my little 9 year old niece about Valentines day and what she loves about it. Of course the conversation quickly because about food and then about candy and what kind of candy is the best. So, being the eater that she is, had a tendency to steer towards anything chocolate and eats more peanut butter then me, (and I eat a lot) which meant that it was decided that the best candy is chocolate and peanut butter anything. We then decided that I should make peanut butter chocolates for Valentines day.. We wanted to do it together but she has like school and all sorts of after school ballet classes all week so yeah, she told me I should just go ahead a make a batch for her, And you know what, that is what I did. And because I wanted to make them a little more, I don’t know, fun, I added the jelly. Who wouldn’t want a chocolate covered peanut butter and jelly?

These patties are super easy to make. The only time consuming part is freezer time for setting the peanut butter. There are no crazy ingredients, just peanut butter, jelly, graham crackers (the peanut butter part is ground up with graham crackers to give it some heft and a little cookieness) and chocolate (plus a little oil to melt with the chocolate). And the results are as good, if not better then any chocolate you will find at any store. Plus if you are feeling fancy you can drizzle white chocolate and or add sprinkles because um, yeah. So cute!

Anyways, I made the patties and have hidden most of them away (from the mr) to bring over to So. I am a little worried she won’t like the jelly because she really has very specific food preferences and we didn't talk about the jelly part…. But again, super easy to make and if she doesn't like them I know a bunch of other littles (and the mr) that will love them. And now that I am thinking about it I am probably should make another batch to share with the other littles anyways so I’ll just make more and set aside a few without the jelly, just in case.

Man those littles, they got me whipped. HA!

Now to the peanut butter and jelly patties!

The stuff. Peanut Butter, jelly, graham crackers, chocolate chunks and coconut oil.

IMG_0622.jpg
IMG_0627.jpg
IMG_0641.jpg

Super basic. Add graham crackers to food processor and blend until the crackers are super crumby. Add in the peanut butter and pulse (scrap sides if needed) until the graham crumble and peanut butter are completely incorporated.

Scoop out balls of the peanut butter graham cracker mixture onto a wax or silicone lined baking sheet. Once all scooped, roll into a ball then with you finger (dipped in water to prevent sticking,) make a little well in each ball and flame it a bit. Fill the wells with jam then place the baking sheet into the freezer. Freezer for about an hour.

IMG_0653 2.jpg
IMG_0656.jpg

Right before you take the peanut butter jelly patties from the freezer, melt chocolate. Just add the oil to the chocolate and place in the microwave for about 30 seconds, Stir around until it starts to melt. Stick it back in the microwave for another 15 seconds if it didn't get ht enough to become smooth.

And once you have the chocolate smooth, grab the frozen patties and start dipping them in the chocolate. I don’t know what I was thinking at the time but I went ahead and spooned the chocolate on top then realized that I need to the do the bottoms so had to let them harden and them had to dip the bottom after whihj was annoying. So Mayne just dip the whole thing in the first time.

And if you are feeling fancy, decorate the patties. Sprinkles are alway welcomed around here so I melted a little white chocolate and dazzled it on and stuck the sprinkles to that because the chocolate what already hard (if adding sprinkles they need to be added before the chocolate gets hard) and plus the white chocolate looks pretty.

And that is it. Chocolate covered peanut butter and jelly patties. Perfect for all chocolate needs and maybe a sweet treat to make for your special Valentine… Or a 9 year old that basically told you too. 🤣


Chocolate covered Peanut Butter and Jelly patties

makes around 15 chocolate patties

  • 3/4 cup creamy peanut butter (the non natural kind like skippy)

  • 1/3 cup strawberry jam

  • 8 whole graham crackers

  • 1 1/4 cup dark or semi sweet chocolate chips or chunks

  • 2 teaspoons coconut oil

  • sprinkles and or 1/4 cup white chocolate chips (optional)

Start but placing graham crackers into a food processor and blend until they have became a medium fine crumb. Add in the peanut butter and pulse (scraping down sides if needed) until the peanut butter and graham cracker crumb have been completely incorporated so about a minute or 2.

Line a baking sheet with wax paper or silicone mat and scoop out about 2 tablespoons of the mixture and roll into a ball. Place on baking sheet and with a wet finger (so it doesn’t stick) slightly flatten the ball and make a little well into the patty. Fill the wells up with about 1/2 teaspoon or so of jam. Once they all have been jammed place the baking sheet into the freezer. Let the patties freeze for about an hour.

Right before taking the peanut butter patties from freezer, melt chocolate. If using a microwave just add oil to the chocolate and melt for 15 second increments unit the chocolate starts to melt. (30-45 seconds should be enough). Once the chocolate is starting to. melt, stir untll smooth. Or if doing it on the stove, stir chocolate in a double boiler until smooth.

Once chocolate is ready pull the peanut butter patties from the freezer. Dip each patties (jelly side up, into chocolate so it is completely covered and place back on baking sheet. If you want to add sprinkles, do it right away before chocolate sets. If you want to add white chocolate, let the dark chocolate set until hard and then melt white chocolate the way you did the dark chocolate and then drizzle it on.

And that is it. You then eat them. Store left over chocolates in airtight container. They are fine at room temperature but are best left in the freezer.

In candy, Vegan Tags Chocolate Covered Peanut Butter And Jelly Patties, peanut butter, jelly, candy, chocolates, Valentines day, dessert, vegan, easy, homemade
Comment

Butternut Squash and Apple Parfait

January 8, 2022 Colleen Stem
IMG_8611.jpg
IMG_8613.jpg

I have a thing for squash and apples. I roast them together all the time. It is a combination that I never get sick of. I go savory mostly but once in a while I’ll go the slightly sweeter route. This is one of those times. And I also opted to make it seem fancier then my average eating situation (eating with fingers of baking sheet) and added a few steps, and made parfaits out of them. (Parfaits are fancy right?) The result is amazing and maybe even more delicious then ever before. That’s saying something.

Basically what these parfaits consists of is layers of creamy pureed roasted butternut squash and slightly chunky cinnamon applesauce topped with oats and walnuts. That might not sound fancy or even that spectacular but you know when you underestimate something but once you experience it you are very much surprised by how fantastic it really is? Well if you are doubting me then that is what will happen here because this parfait situation even surprised me at how much I loved it.

So if you are in need of a breakfast, lunch, snack, or dessert that will satisfy all of your hunger needs then you should most definitely try this out. It is simple and easy to make, super healthy, can be made ahead or time, and looks cute. (Did I just call a parfait cute? Yes, yes I did.) And again, super freaking delicious of course.

Now to the parfaits!

The stuff. Butternut squash, a couple of big apples, old fashion oats, walnuts, maple syrup, cinnamon, and almond milk.

IMG_8540.jpg
IMG_8554.jpg
IMG_8567.jpg
IMG_8571.jpg

For the squash you need to roast it so do that. Place on a baking sheet and roast until tender. Once cooked transfer to a blender or jar (if using stick blender) , add in milk or water and blend until smooth. Add in maple to taste.

IMG_8544.jpg
IMG_8548.jpg
IMG_8556.jpg
IMG_8584.jpg

For apples. Core and chop apples into small pieces and place into a pot with water. Cook on medium heat until apples completely break down. Then either transfer to a blender or use as stick blender and blend until slightly smooth but still a bit chunky. Stir in some cinnamon.

And toast up the oats and walnuts, in the oven, just for 5-8 minutes.

Now assemble. You can do this while the stuff is still warm or wait until it is cold. Delicious either way.

So basically all you do is layer a bit of the squash and then apple a few times in a bowl or jar then top with toasted oats and walnuts. Simple as that.

Ans then you eat it. Or wait and eat it later. Or do what I did and assemble a few jars for the week but then eat all of them in one day. I couldn't stop myself. It was just too freaking good.

-C


Butternut Squash and Apple parfait

makes 2-3 parfaits

  • 3 cups cubed butternut squash

  • 2 large apples (I used Macs)

  • 1/2-3/4 cups plant milk (or water)

  • 1-2 teaspoons maple syrup (optional)

  • 1-2 teaspoon cinnamon

  • 1/2 cup old fashion oats

  • 1/4 cup walnut pieces

  • 1/2 cup water

Preheat oven to 425.

Place cubed squash on a lined baking sheet and stick into hot oven and roast until fork tender.

While squash is roasting grab apples, cut and remove core and seeds, chop into smaller pieces and place into a pot with enough water to submerge the apple. Place on medium heat, stirring every few minutes, and cook until the apple starts to break down. If the water evaporates, add in more. When apples are soft and falling apart remove from heat and let cool a few minutes then either transfer to a blender or using a stick blender, blend until less chunky, but not completely smooth. You could also just smash it use with a fork. Add in a teaspoon or so of cinnamon and mix.

Once squash is roasted , remove from a pan and place either in a blender, or a jar or bowl if using a hand blender, add in 1/2 cup milk or water, and blend until smooth. If it seems really thick still, add in more liquid. Also add in maple to taste.

While oven is still hot, place oats and walnuts on baking sheet and place in oven for 5-8 minutes or unit walnuts and oats are toasted.

To assemble parfaits grab a bowl or jar and layer in a bit of squash then apple a few times. Top with some toasted oats and walnuts and sprinkle with more cinnamon and drizzle more maple if you want.

Eat warm or cold. Store left overs in fridge for up to a week.

Tags Butternut Squash and Apple Parfait, fruit, squash, walnuts, oats, apples, plant based, dairy free, vega, sugat free, sugar free, healthy, snack, easy, simple, dessert, make ahead, breakfast, gluten free, food
Comment

peppermint candy cane sugar cookies

December 18, 2021 Colleen Stem
IMG_8347.jpg
IMG_8388.jpg

When is the last time you have eaten a candy cane? I feel like I never see people actually eating them, that they use them more as decorations on the tree. And as I say that I realize I am thinking of adults. I never see adults eating candy canes. The littles, well they have stripped my tree bare of the candy many of times. They will, and enjoy eating anything and everything that contains sugar. Especially if you can suck it into a sharp object and I guess that probably makes candy canes are the perfect candy. Ha!

Anyway I forgot to buy candy canes this year and I was planning on adding one to each of my Christmas cards (cause I am an adult!). Sure I could and can still go to the store and get them but I decided cookies are better so I just made candy cane cookies instead band which I think are way better.

These cookies are essentially just sugar cookies with peppermint extract, dyed a little, and twisted into canes. They are fun to make, smell really good, and eaten by littles and adults alike. I would know. Out of 24 candy cane cookies I had made to give out with my cards, I think I ended up with a handful left. The littles came over and ate them all. And the mr too. Oh well, whatcha gonna do?

Now to the candy cane cookies!

The stuff. Sugar, plant butter, oil, peppermint and vanilla extract, flour, baking powder, salt, a flax egg, and some red food coloring.

IMG_8277.jpg
IMG_8281.jpg
IMG_8283.jpg
IMG_8287.jpg

Make cookie dough. Creamy together the sugar, butter, oil, and extracts until light and fluffy. Then add I the lax egg and mix until combined. The dry then goes into bowl and gets mixed with a spoon until it is just easier to use your hands and knead the mixture until a dough forms. Once a dough, let it sit for a few minutes.

IMG_8291.jpg
IMG_8295.jpg

After resting, take dough and on a lightly floured surface, cut in half. Take half and set aside and the other knead red dye into it. How red you make it is up to you.

Now take a chunk or red and white and roll each piece out into 1/2 inch thick ropes that are the same length. Place ropes next to each other and kind of squish them together.

Cut a section of the rope (about 4-5 inches long) and then twist the dough until it resembles the twist of a candy cane. Then shape it into a cane.

Also, if you doughs start o get a little misxd up, well that is quite all right. They will still look like candy canes and people will still eat them.

Place canes onto a baking sheet and pop into a hot oven.

Out of the oven, smelling all like a candy cane cookie should.

Move them to a wire rack to cool and if you just so happen to have a handful of white chocolate chips on hand that you want to melt down and drizzle on top, well then you should do that too.

Make some cookies!

-C


peppermint candy cane sugar cookies

makes about 2 dozen

  • 2 cups all purpose flour

  • 3/4 cups white graduated sugar

  • 1/2 cup (one stick) vegan butter

  • 2 tablespoon neutral oil

  • 1 flax egg (1 tablespoon ground flax seed plus 4 tablespoons plant milk or water)

  • 1/2 teaspoon baking powder

  • 1/2 teaspoon salt

  • 1 teaspoon vanilla extract

  • 1 1/2 teaspoon peppermint extract

  • red food coloring

  • 1/4 cup white chocolate chips (and teaspoon coconut oil optional)

In a large bowl mix together the sugar, butter, oil, vanilla, and peppermint oil until light and fluffy. Add in flax eg and mix until combined then add in the flour, baking powder ask salt ans mix with wooden spoon until it is easier to just knead it together with you hands until a firm dough forms. Let dough rest for 5-10 minutes

Preheat oven 350

Take dough and divide in half. One half dye red, as red as you like, and leave the other half white. Now take a chunk of each color and roll into a rope about 1/2 inch thick and the same length. Place the ropes next to each other and kind of squish together to form one rope then gently start to twist the dough until it resembles a candy can twist. Cut a section any length you want ( I recommend about 4-5 inches) and place on a baking sheet, curling the top to look like a candy cane. Once you have assembled a baking sheets worth, place in oven and bake for 122-13 minutes or until the cookies are barely golden brown on bottom.

Once baked remove from oven and place on wire rack to cool. If you want, melt white choclate and coconut oil in microwave for 20-30 seconds or until almost melted. Stir together until completely melted and drizzle onto cookies.

Now eat some cookies. Or give them to you people. Or some of both.

Cookies are best for about a week at room temperature in airtight container.

In cookies Tags peppermint sugar cookies, cookies, peppermint, candy cane, vegan, dessert, christmas, holiday, white chocolate, easy, fun, winter
Comment
← Newer Posts Older Posts →
 

https://thelovelycrazy.squarespace.com/config#/|/about/

Me. Food Maker.Food eater. Woo HOO!

STEM+NODE  SMALL BATCH AND ONE OF A KIND POTTERY

stem+node ceramics


____________________

Subscribe

GET NEW POSTS IN YO EMAIL

You are AWESOME!!!


@thelovelycrazy 2014-2021