 I don't know what got into my head today, but I was hell bent on making blondes. I was already committed to make cupcakes with the help of a little little, but, not going to lie, the cake was coming from a box. It wasn't going to satisfy my baking itch. You see, it's the misters birthday this week and tonight was the family B-day dinner. My family consists of a whole lot of people, and half of them are 13 and under. So instead of busting my butt baking an amazing 4 tiered strawberry chocolate cream cheese cake for kids who won't even try it(that was last week, the cake came out fantastic and everyone but the birthday girl ate it. But maybe a 2 year old doesn't need to like strawberry cake) I decided that I was going boxed and low and behold, they loved Hey, sometimes you gots to make the people happy. But I really wanted to do something else, something a little more special, something for the more mature pallet……..banana brown butter blondes…..Oh yea, I did and I did.
 Not a heck of a lot of ingredients. Flour, sugar, banana, butter, egg and vanilla. I always forget something in my ingredient line up pics. Today it was the cinnamon, but thats ok, its optional anyway.

 Start with browning the butter… lots of lovely little bits. Smells super nutty.. You want to do it first so it can cool a little before using.
 Cooled butter mixed with the brown sugar.(I might have jumped the gun a bit and hit was still slightly warm) Make sure when you add the butter you add all the little flavor bits. Mix or beat it up. then add the vanilla and egg.
 Now mash up and mix in the nanaers. Swirl it in, just like that. Now is a good time to add a little cinnamon… but don't add it if your don't want too.
  I don't know how I ended up using like five different mixing instruments for this little batch of brownies, but I did, and I definitely trashed the kitchen. First off, I was at my sisters and I don't know where she puts all of stuff.(She doesn't either) Secondly, I was also making cupcakes and garlic bread, pasta, and salad at the same time…so maybe that all made me a little more messy than usual…..Whatever. its ok, I cleaned it up. Anyway, above you see me using an electrical beater to mix in flour. I used the beater for the cupcakes and then started used it in the brownies..It was fine, I used low speed for just a sec but I would recommend to just stir in the flour..Try not to overwork the batter.
 Ready for the pan…..Its a bit thick, which is good. Your going to have to scoop it more than pout it. Make sure to spread it evenly in pan and not just plop it in and stick it into the oven.
  Aaaahhh, so darn pretty.
 And cut into little squares..I love the casserole dish in this picture.… my sister might not ever get it back.
  To add a little something something, I went and added a small smear of Nutella on half the batch……I think it was a good idea.
Banana Brown Butter Blondies
- 1/2 cup (1 stick)unsalted butter
- 1 cup brown sugar
- 1 cup all purpose flour
- 1 egg
- 1 teaspoon vanilla
- 1 teaspoon cinnamon(optional)
- 1 medium mashed banana
Preheat oven to 350
Place butter in a small pot or pan over medium heat. Stir frequently until the butter is completely melted and starting to foam. It will start to smell nutty and turn brown within a few minutes…when its a medium brown, take of heat and let cool.( I stick my in the freezer in a shallow pan to help cool faster.)
Once butter has cooled a bit, cream together with the brown sugar. In a small bowl, mash banana. Add egg, vanilla and banana. mix together, then mix in flour until just incorporated. Scoop batter into a grease 8x8 pan and spread evenly. Place in oven for about 20 minutes or until golden brown..It should be cooked all the way through but still a little gooey, moist and brownie like
Let cool and remove from pan….cut and do what you need to do! For a little more decadence..add a drizzle of chocolate or a bit of peanut butter. or do what I did, a smear of Nutella…and serve with the recommendation of a cold glass of milk.
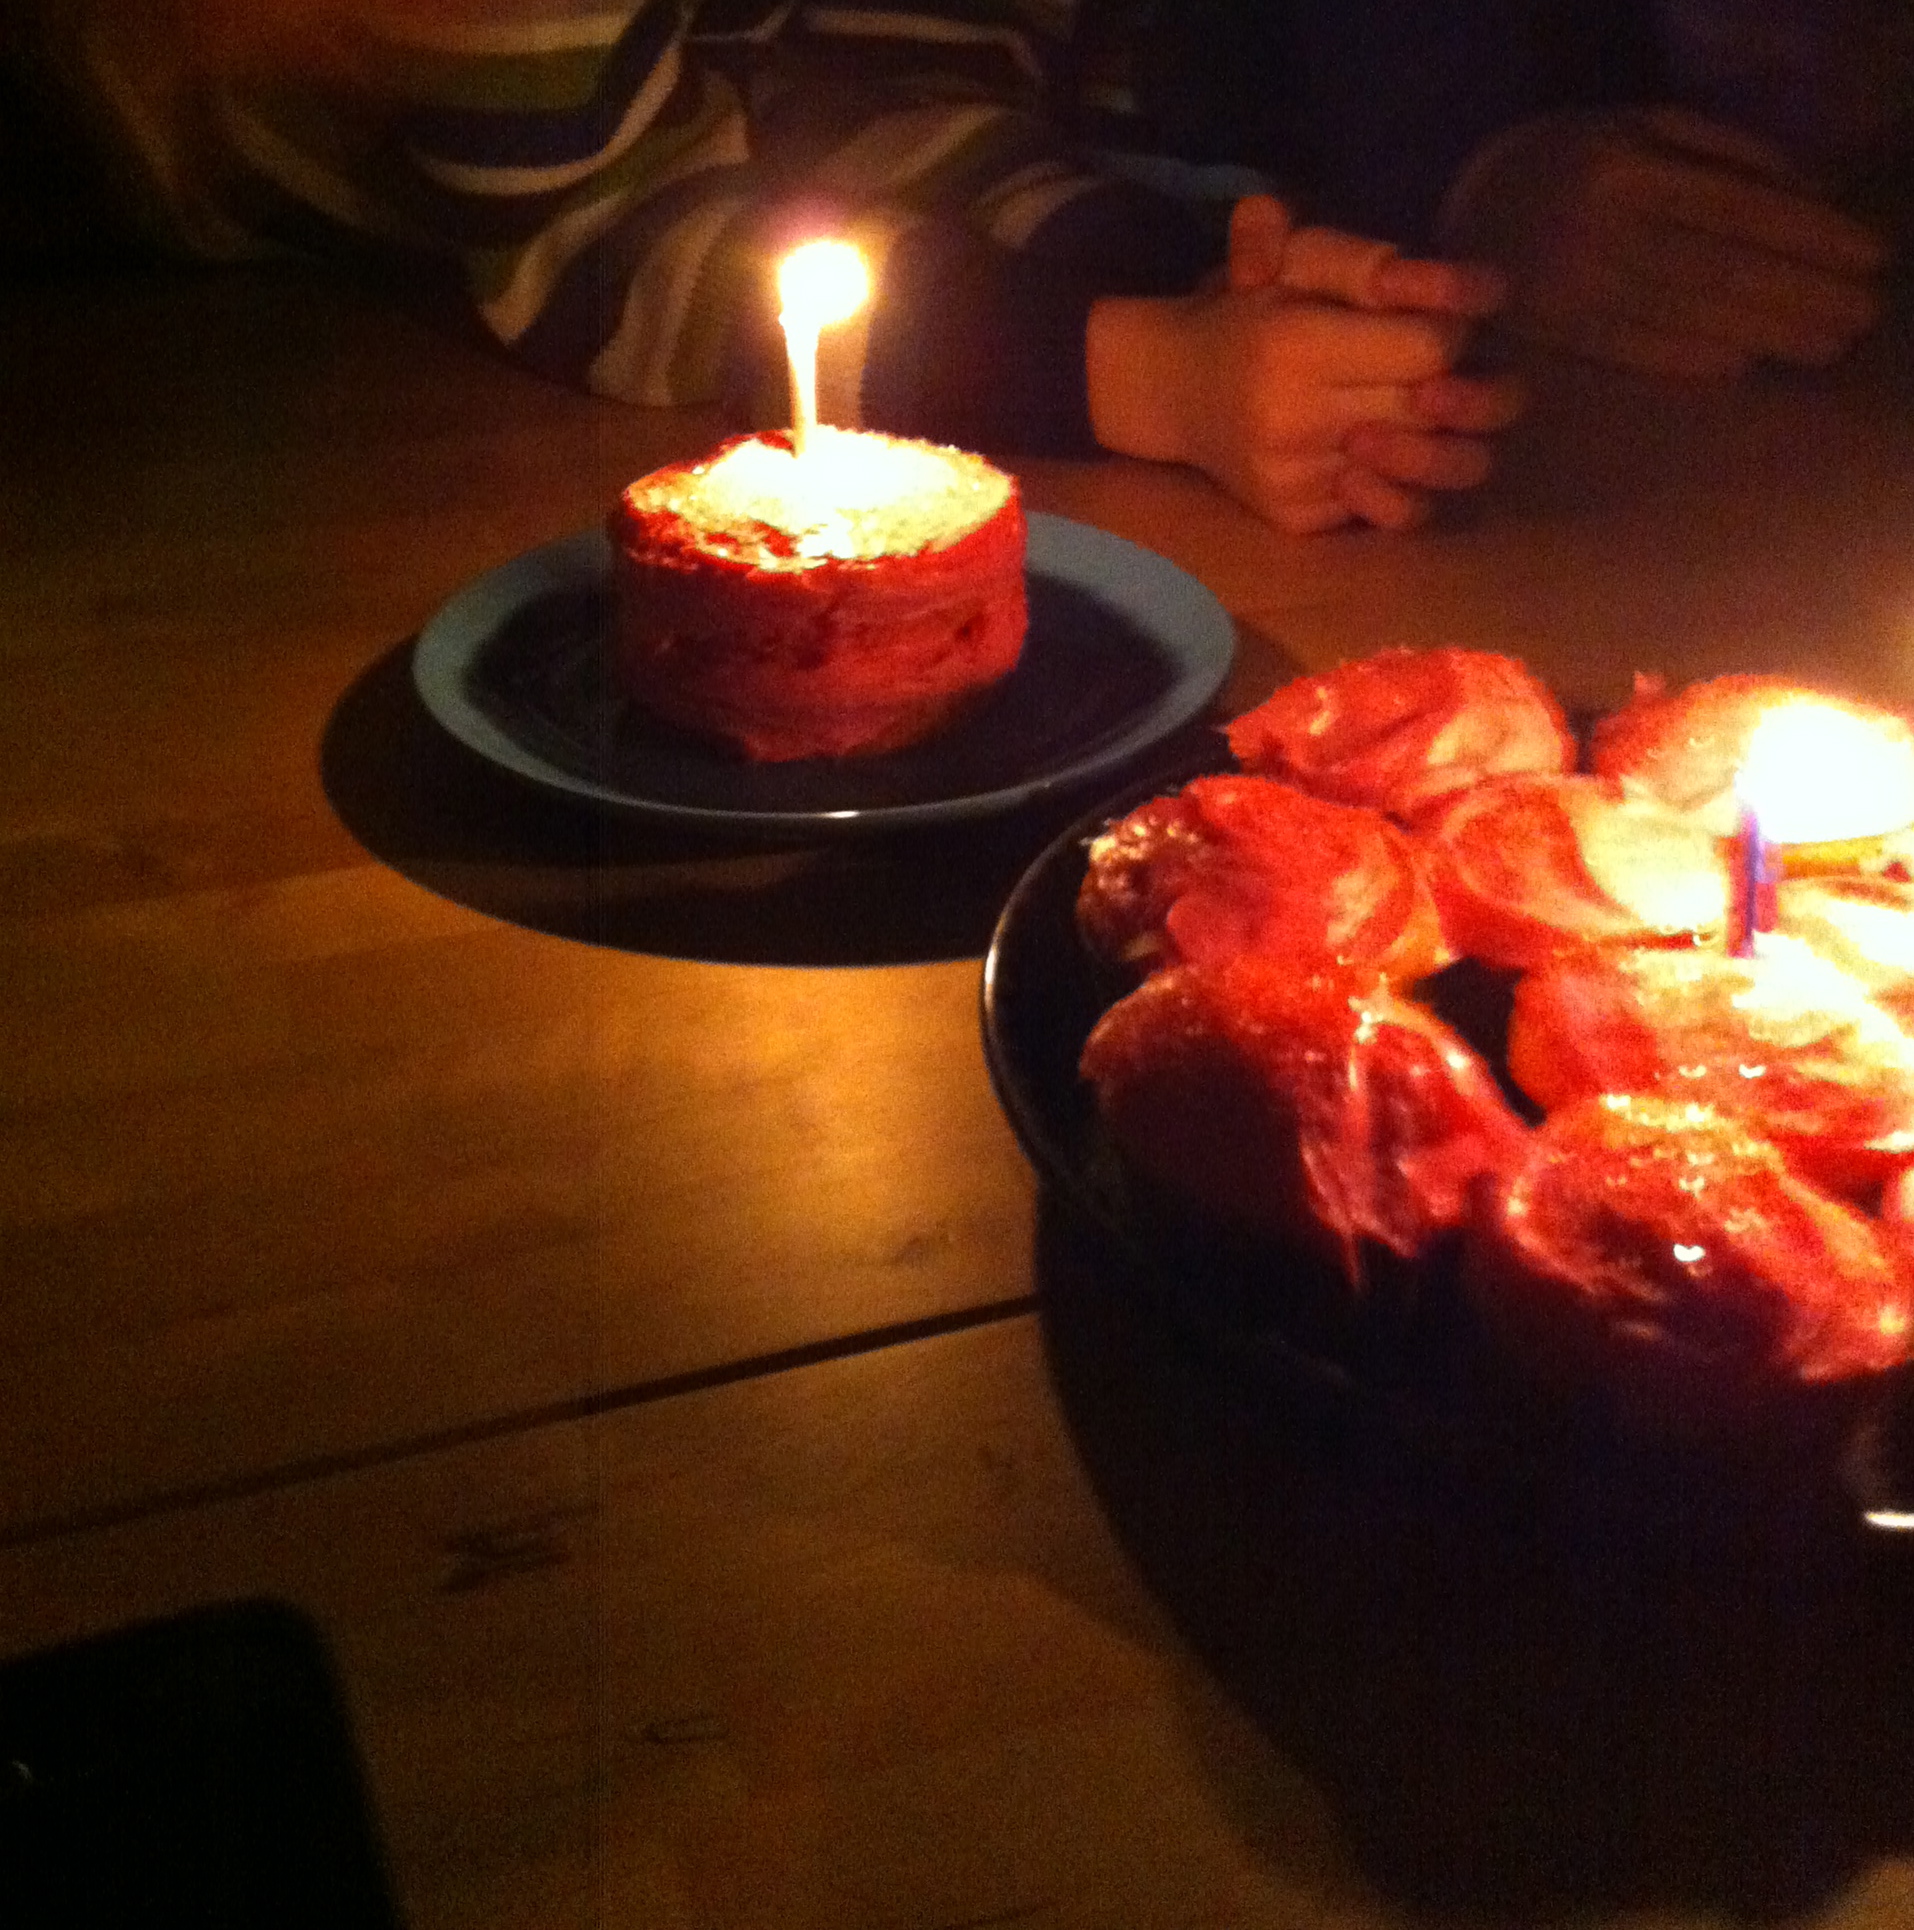
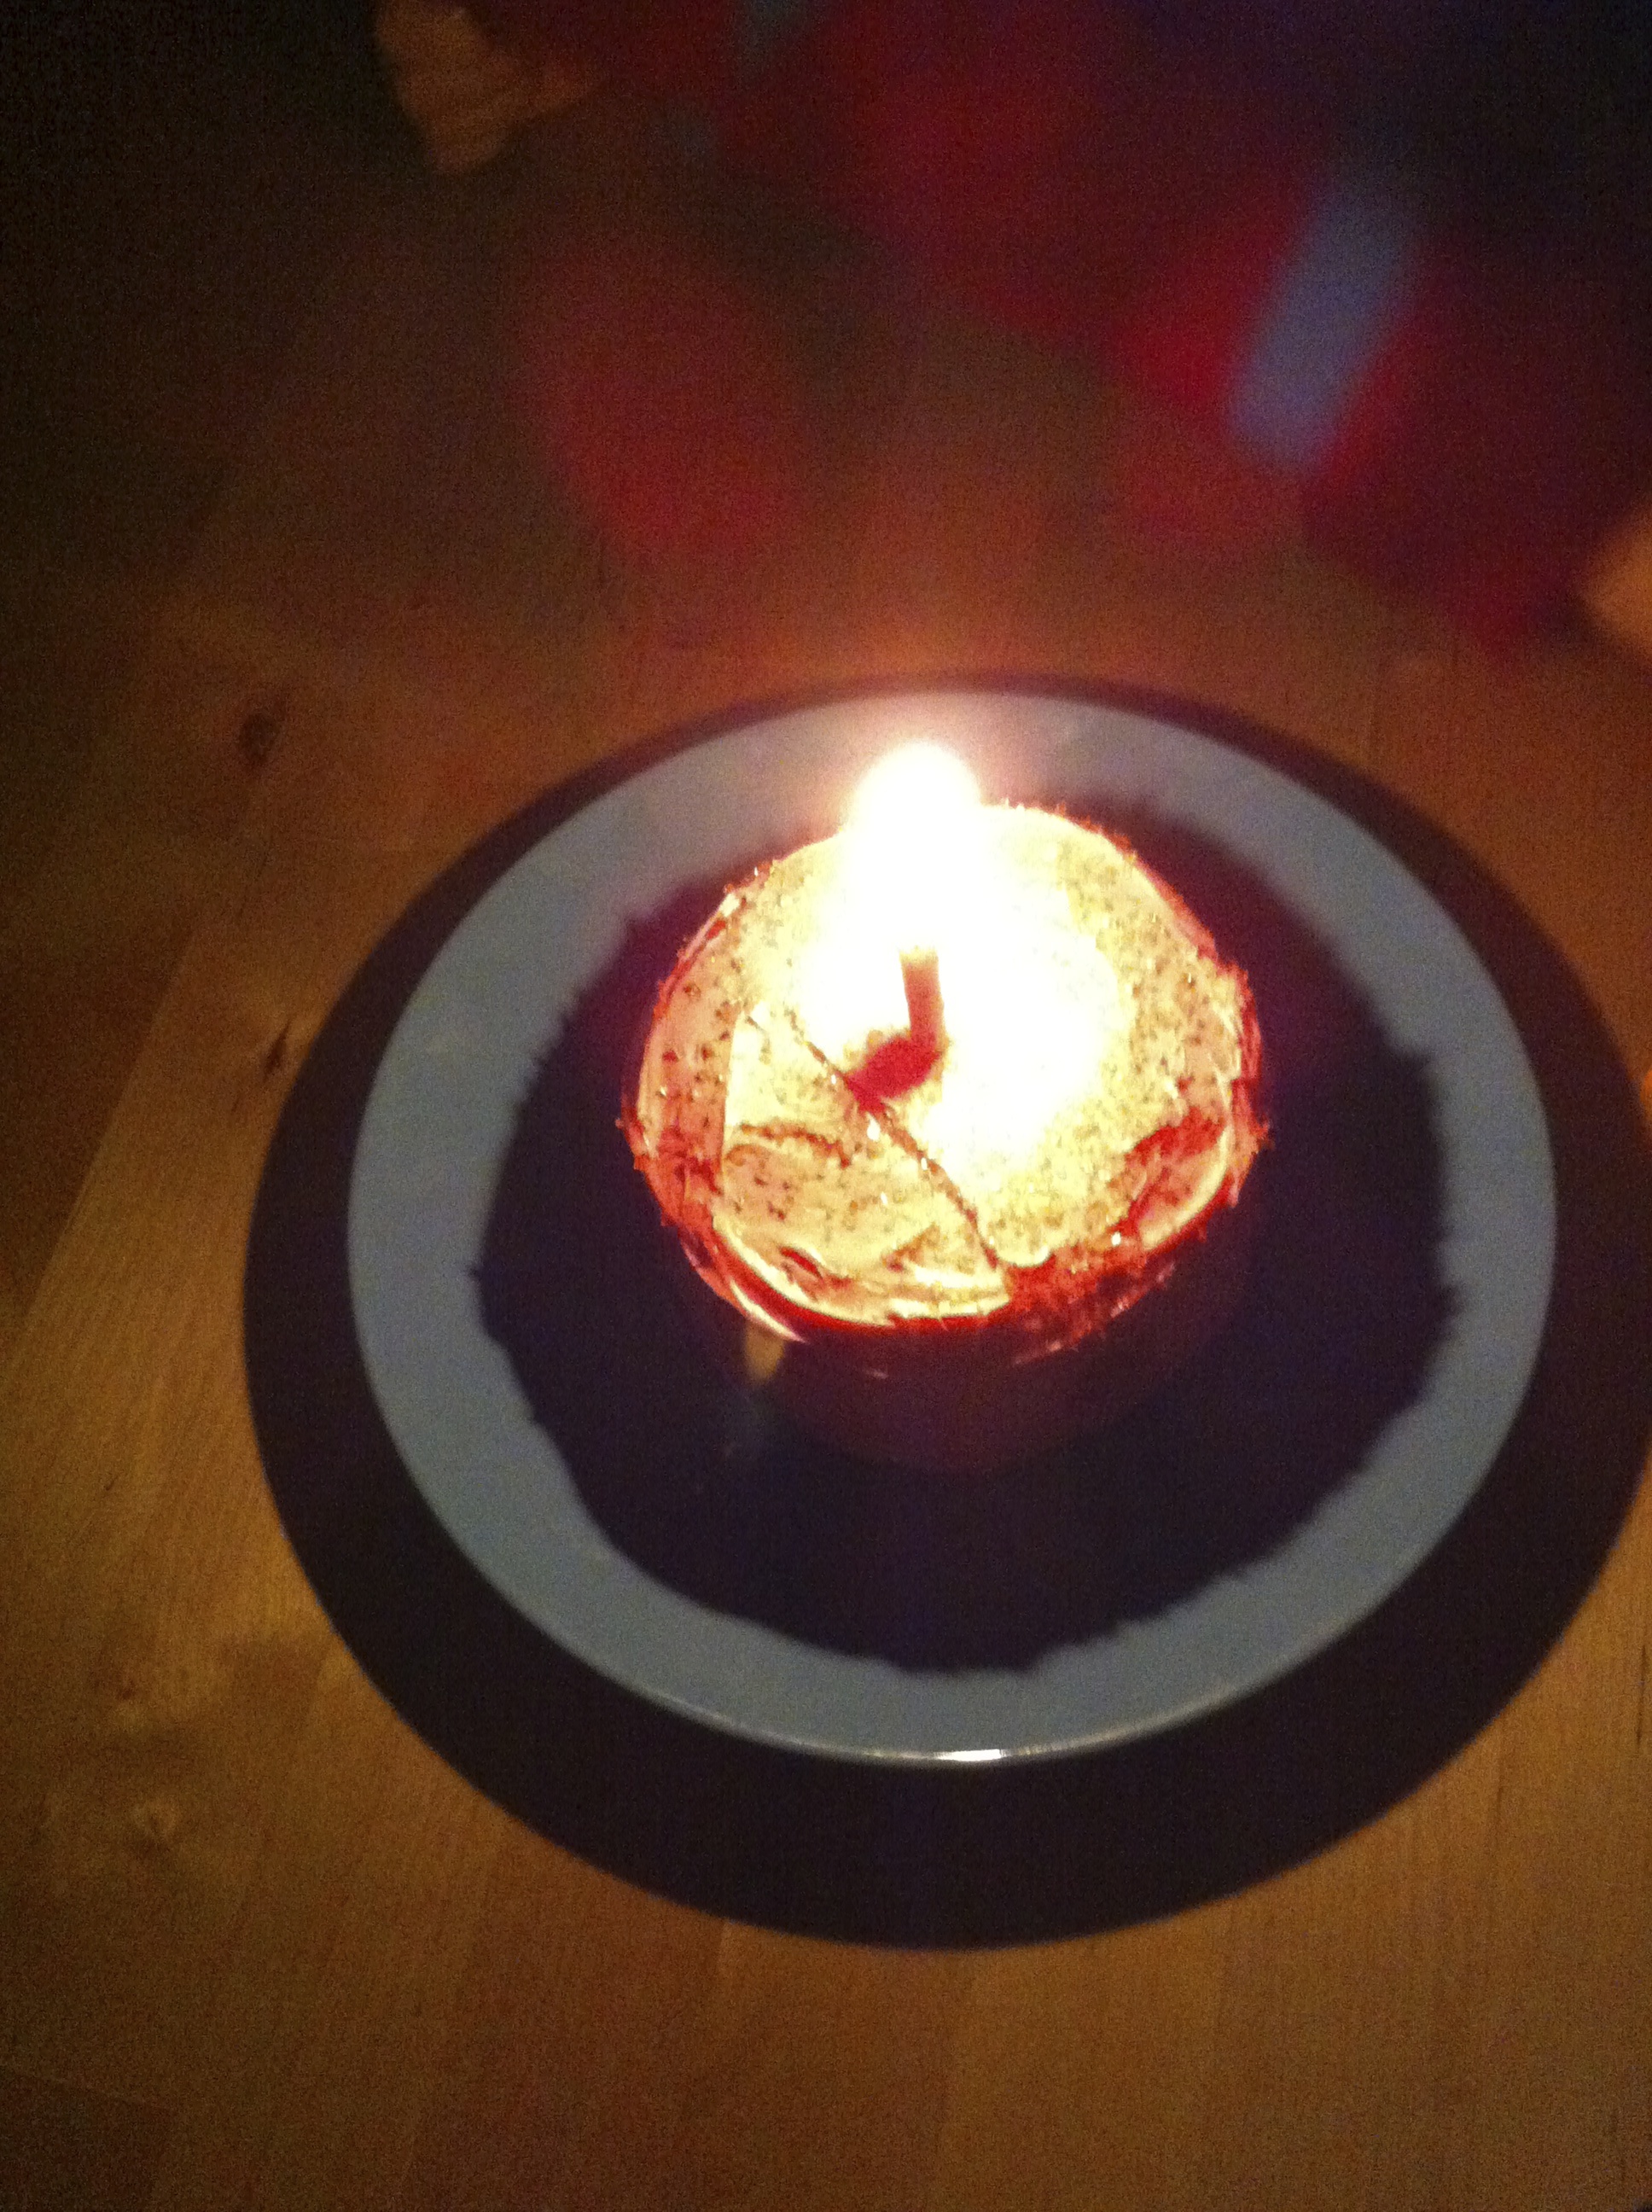
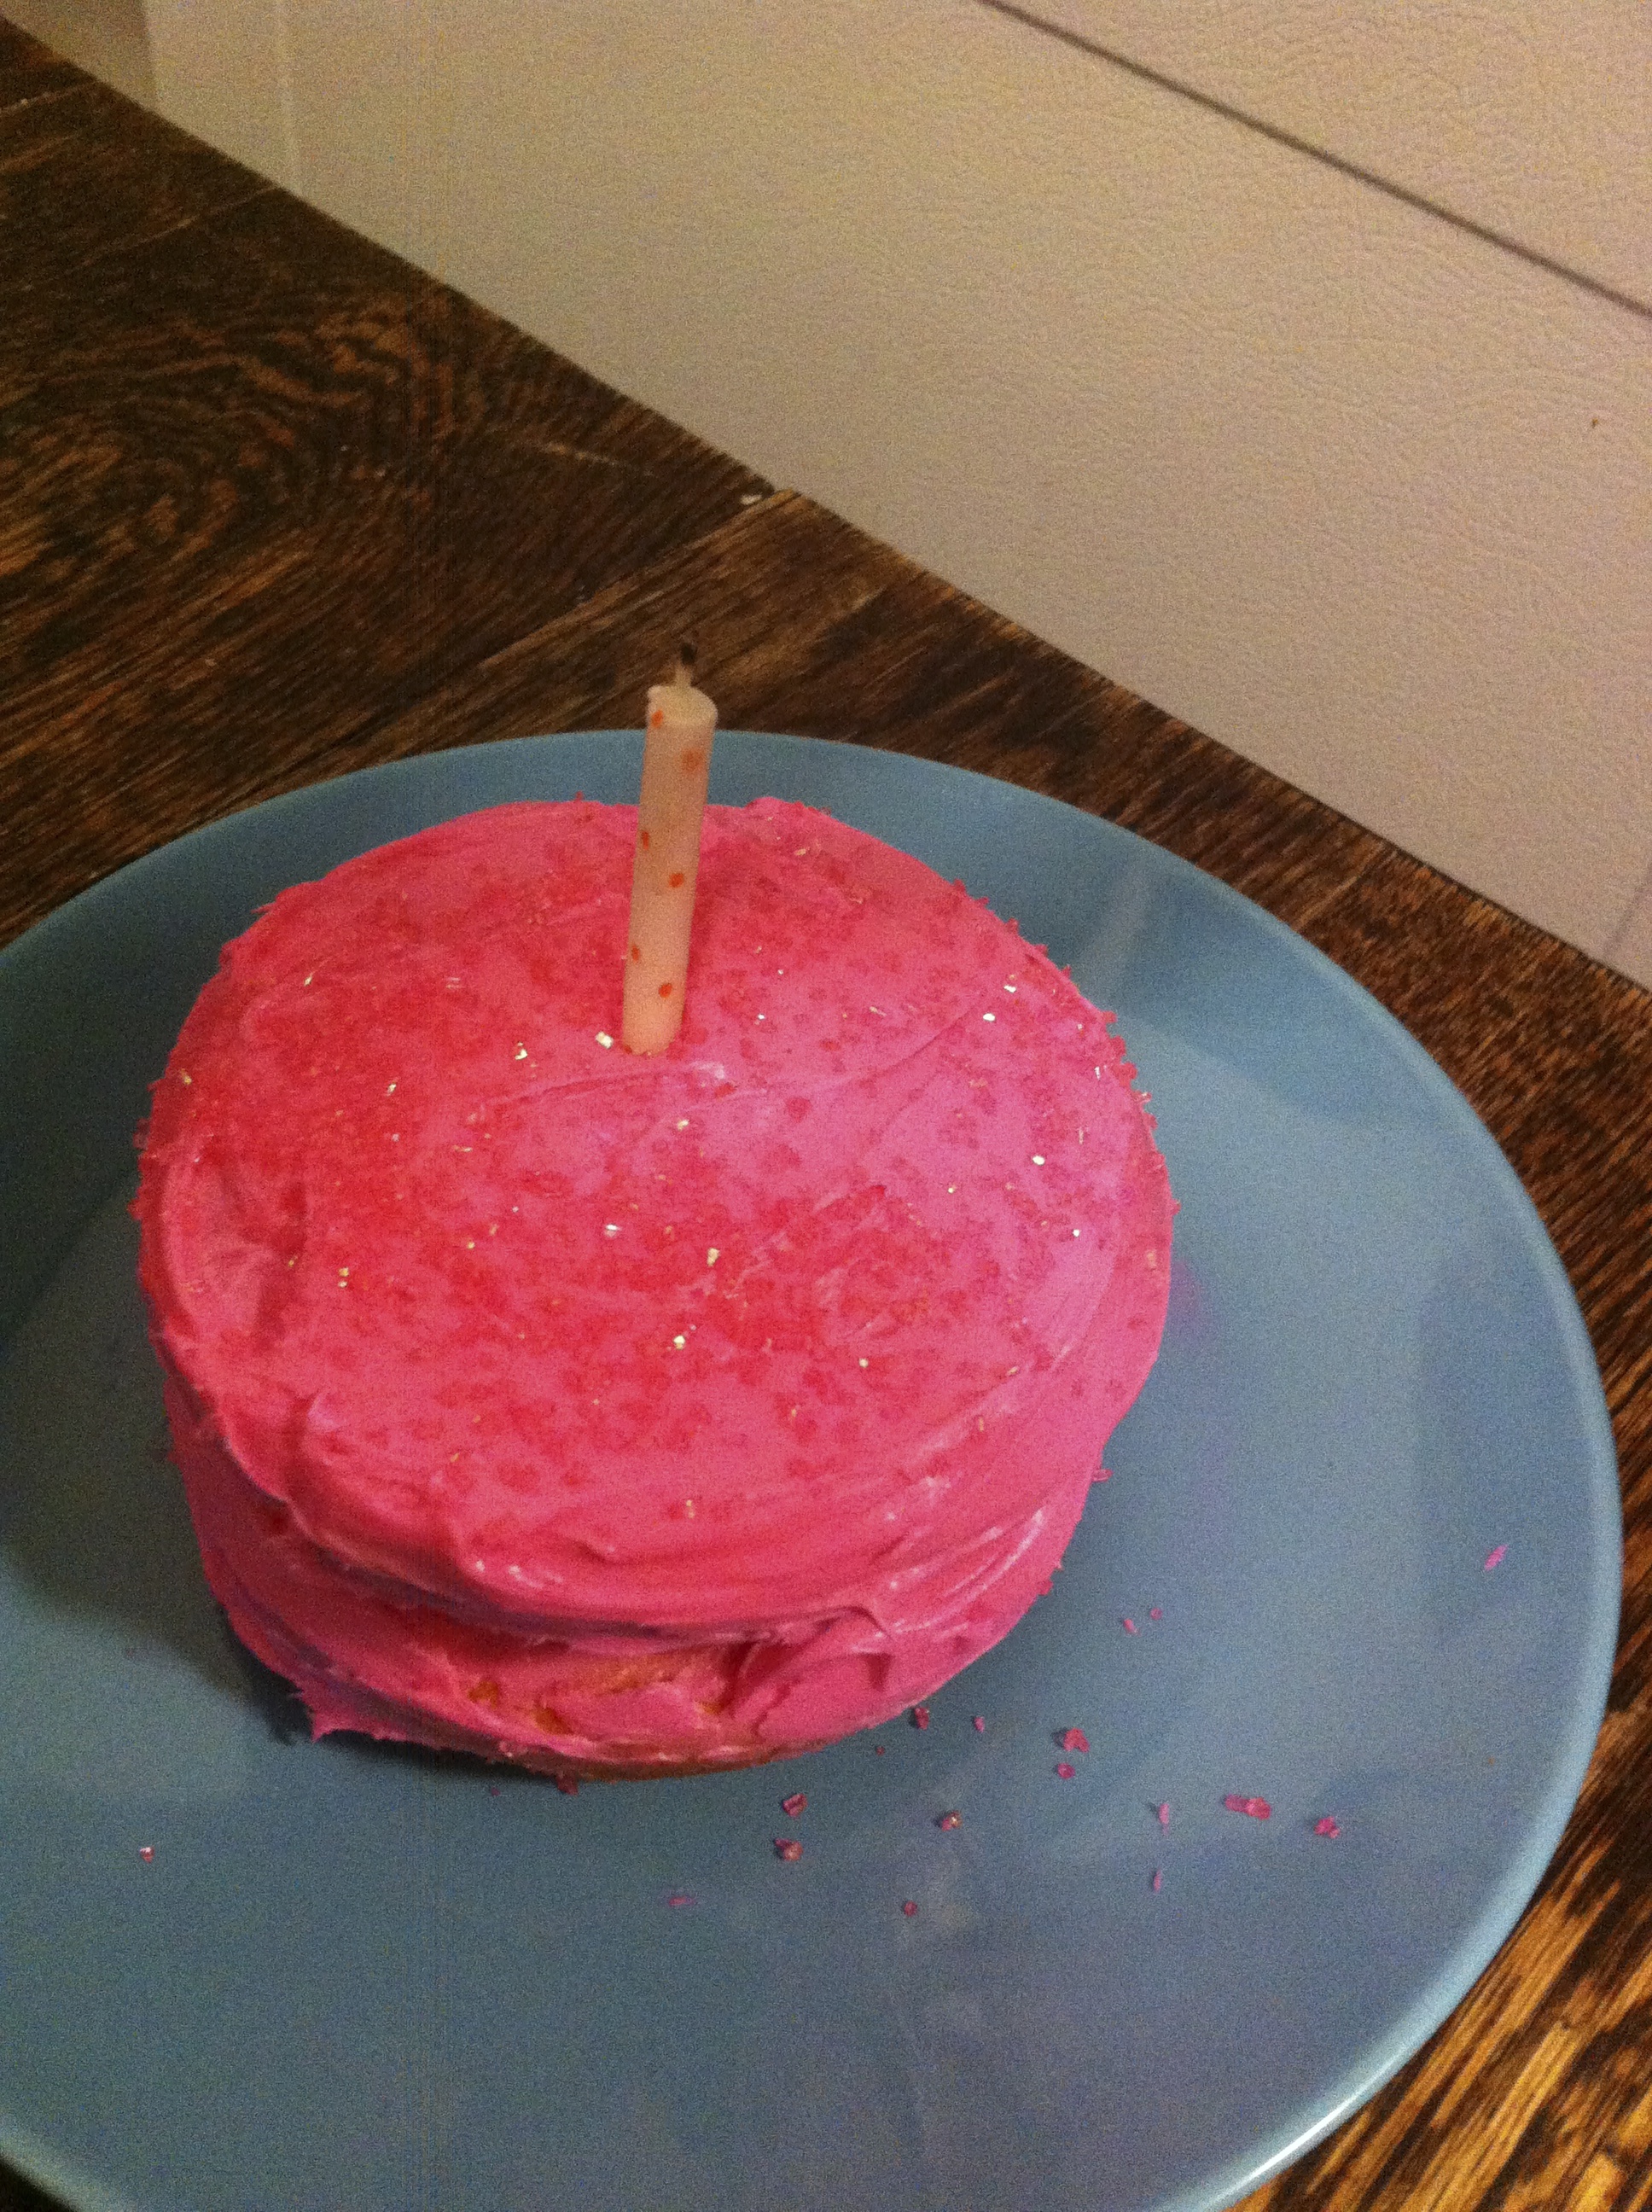
I know your all curious about the cupcake so I'll show you…I actually made cupcake and a two layered 4 inch cake for the birthday boy. I know, I know…. and the bright pink frosting. It's actually pretty amazing. That kind of color doesn't excises in nature.
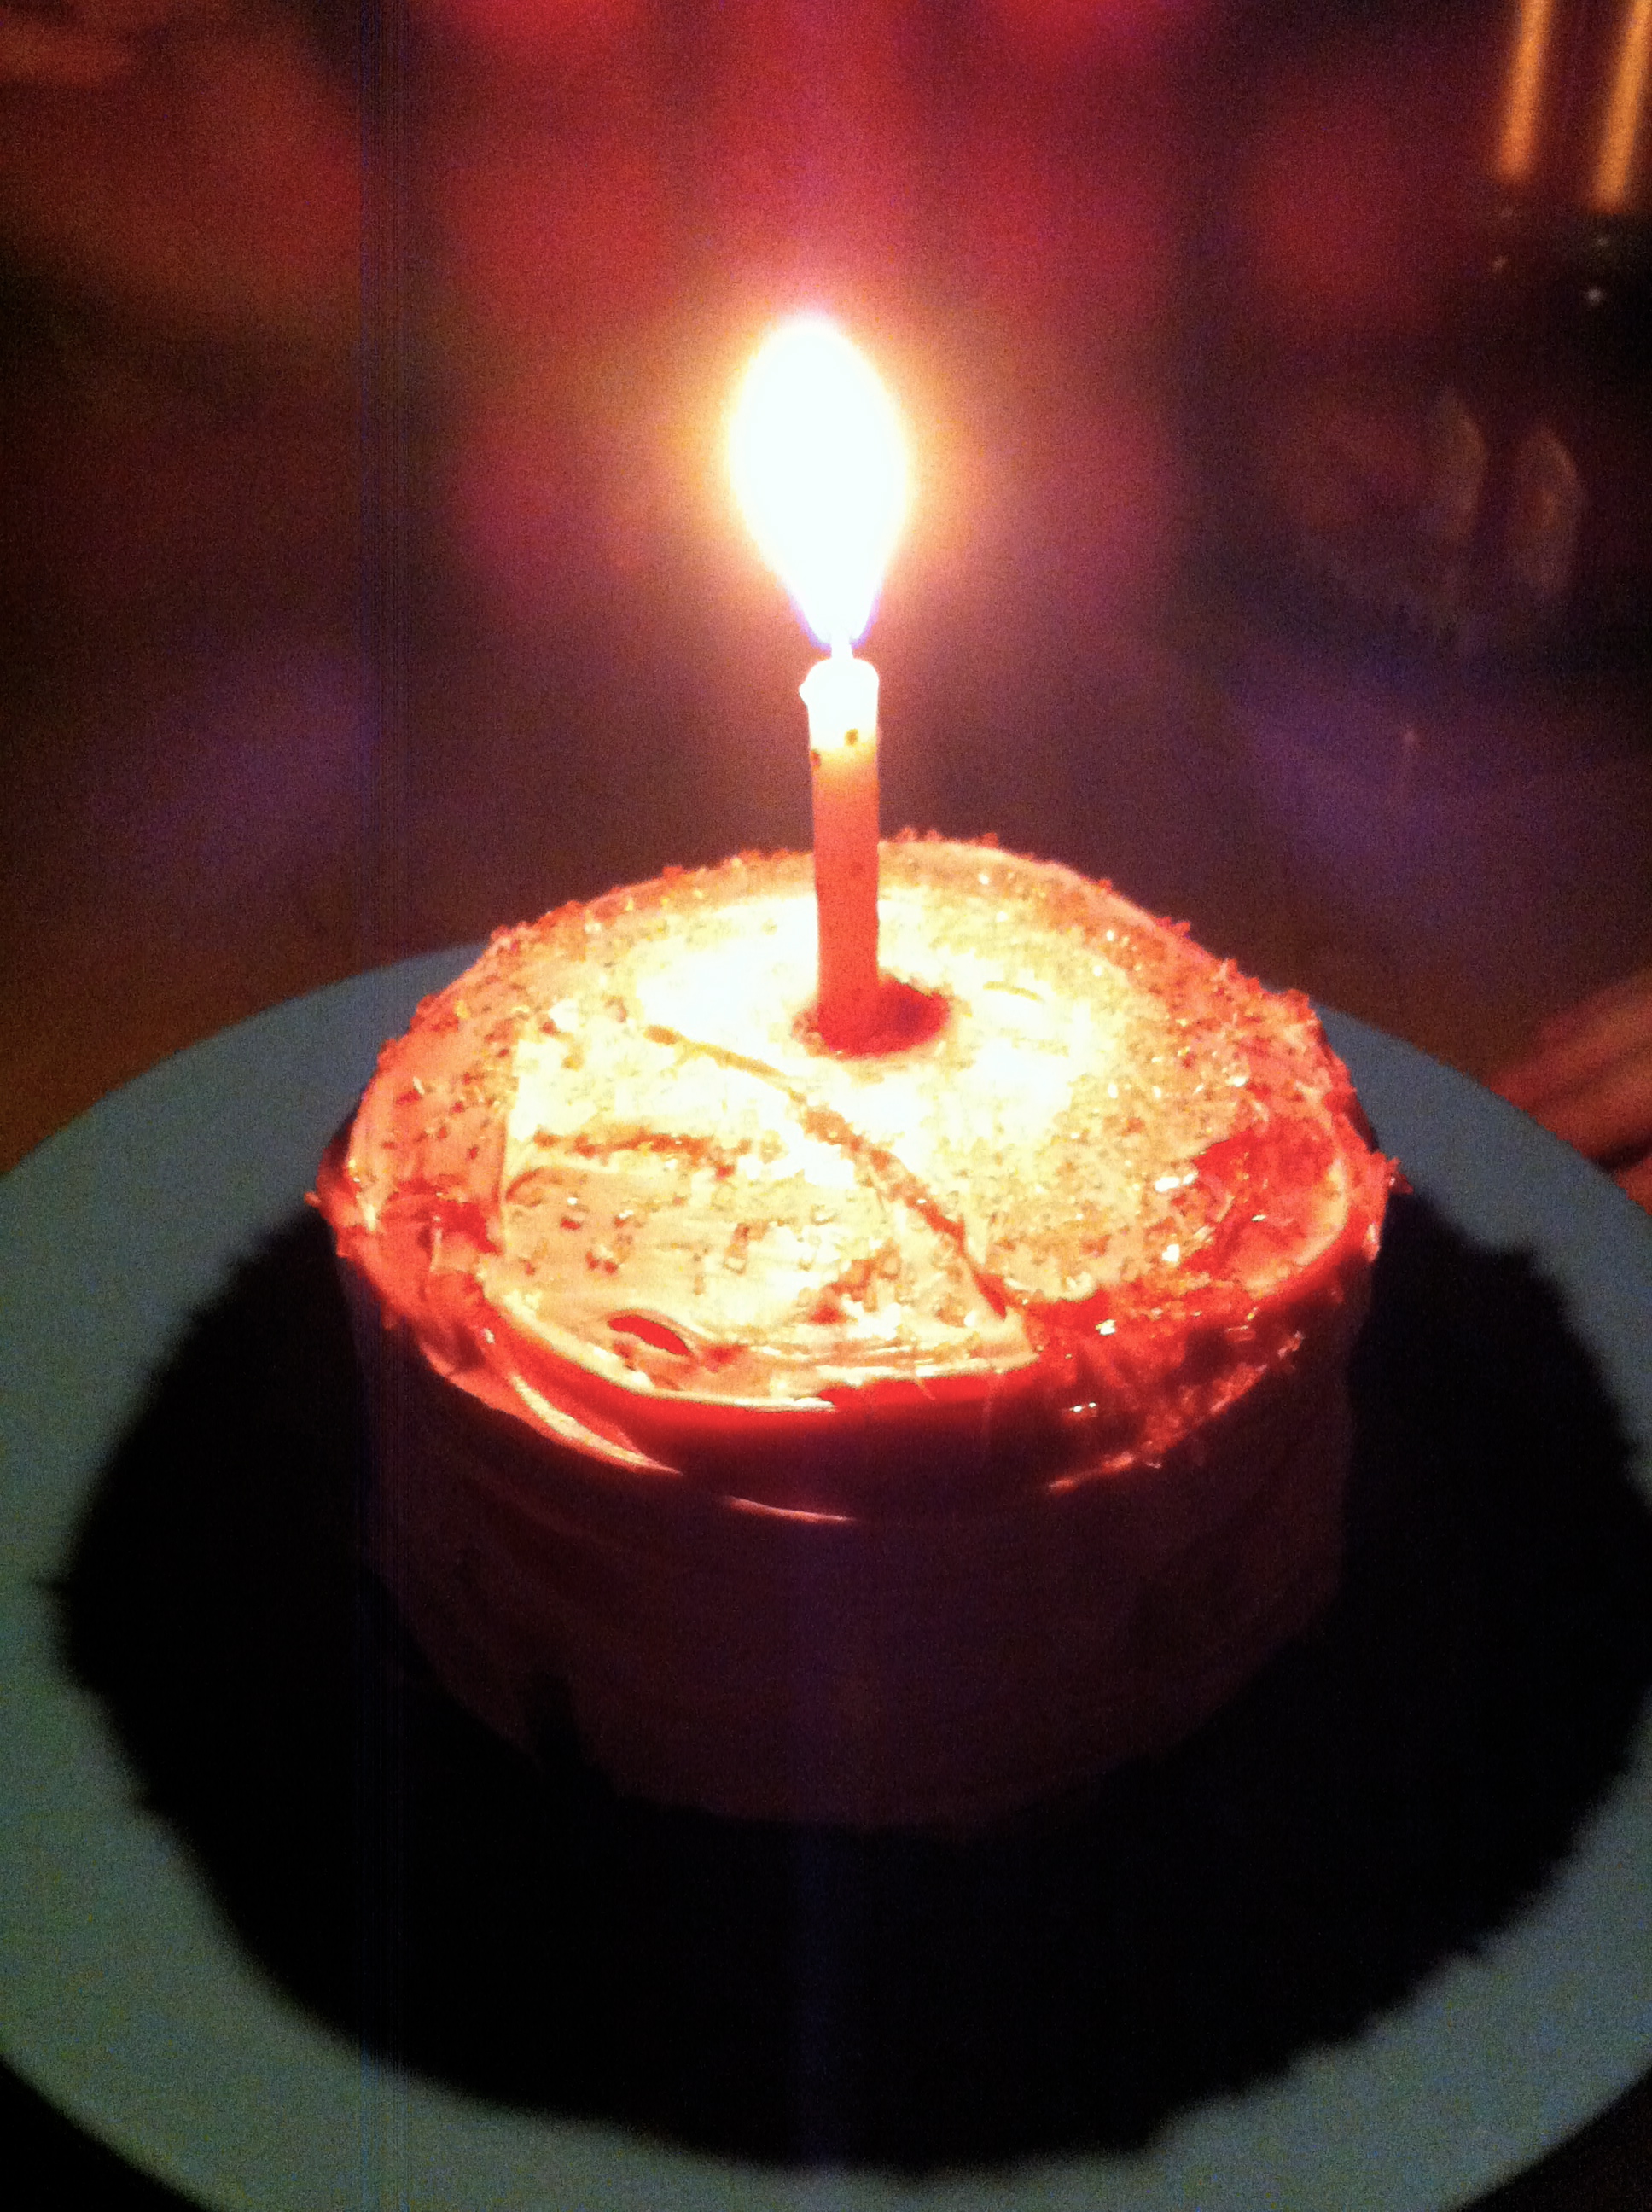
HAPPY ALMOST BIRTHDAY LOVE!!!!!!!!!!


